


IKEA hack: From bread bin to bedside table - simple instructions & tips
5 min reading time
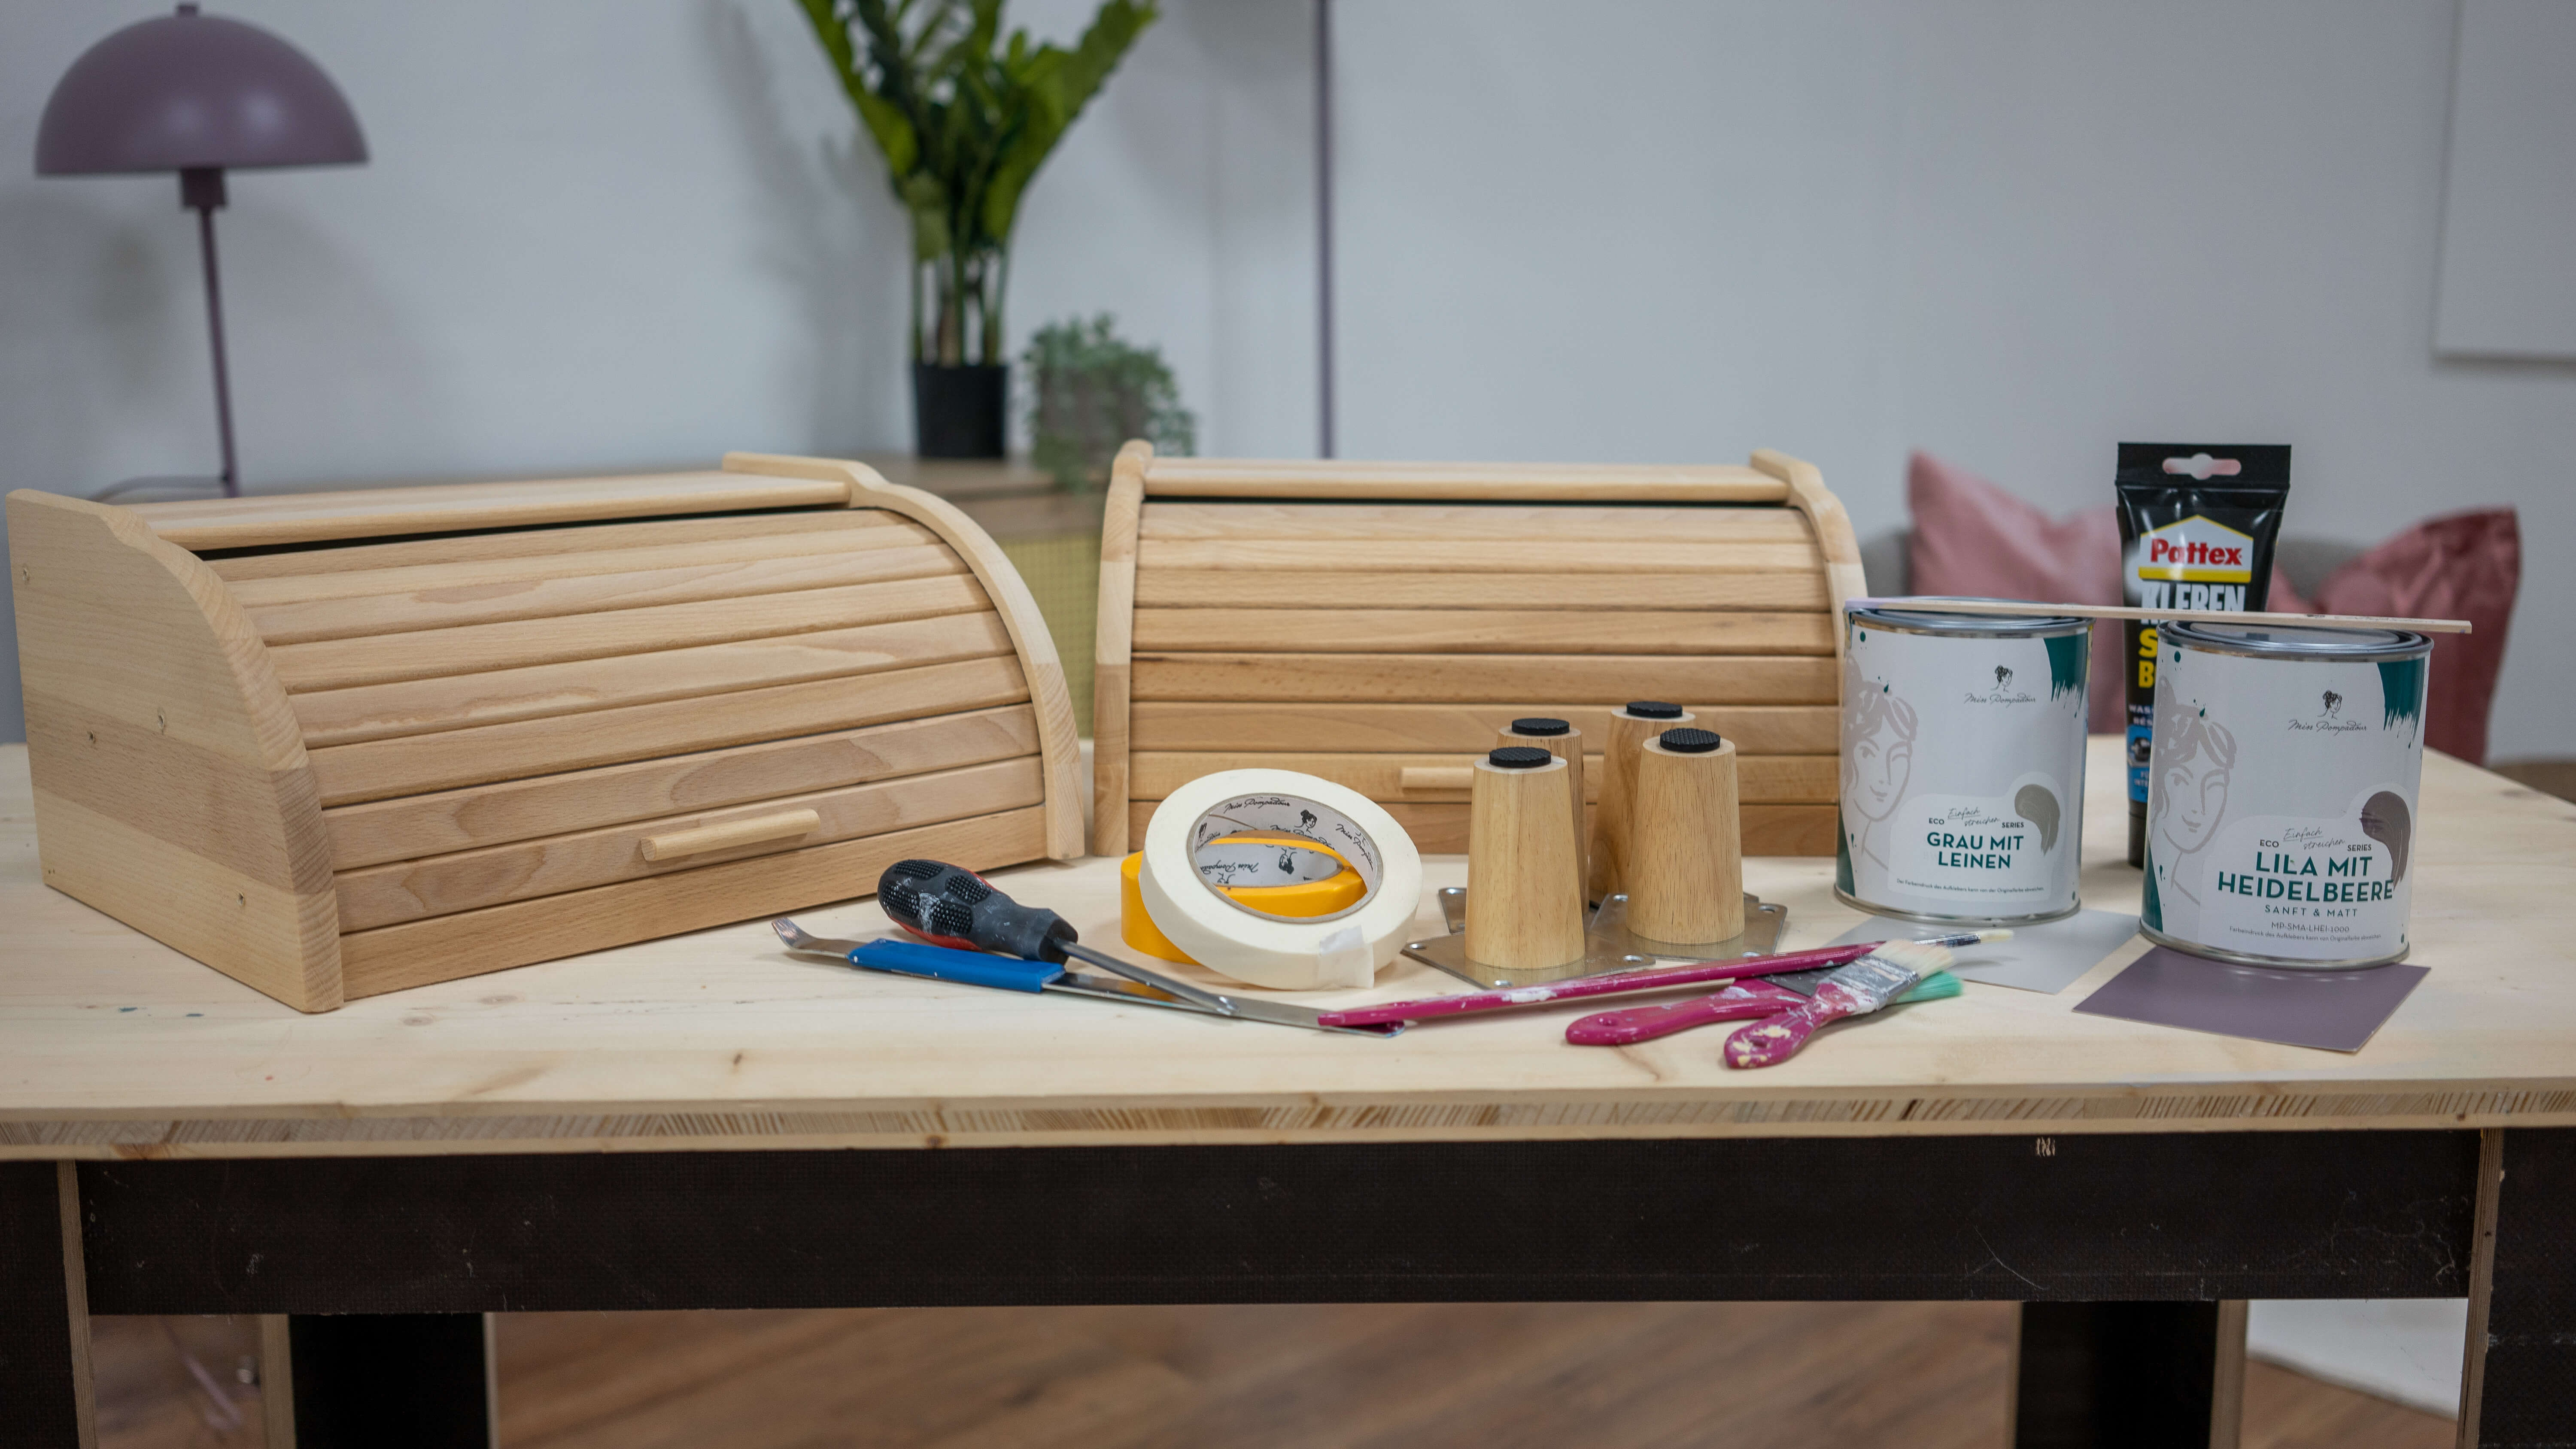
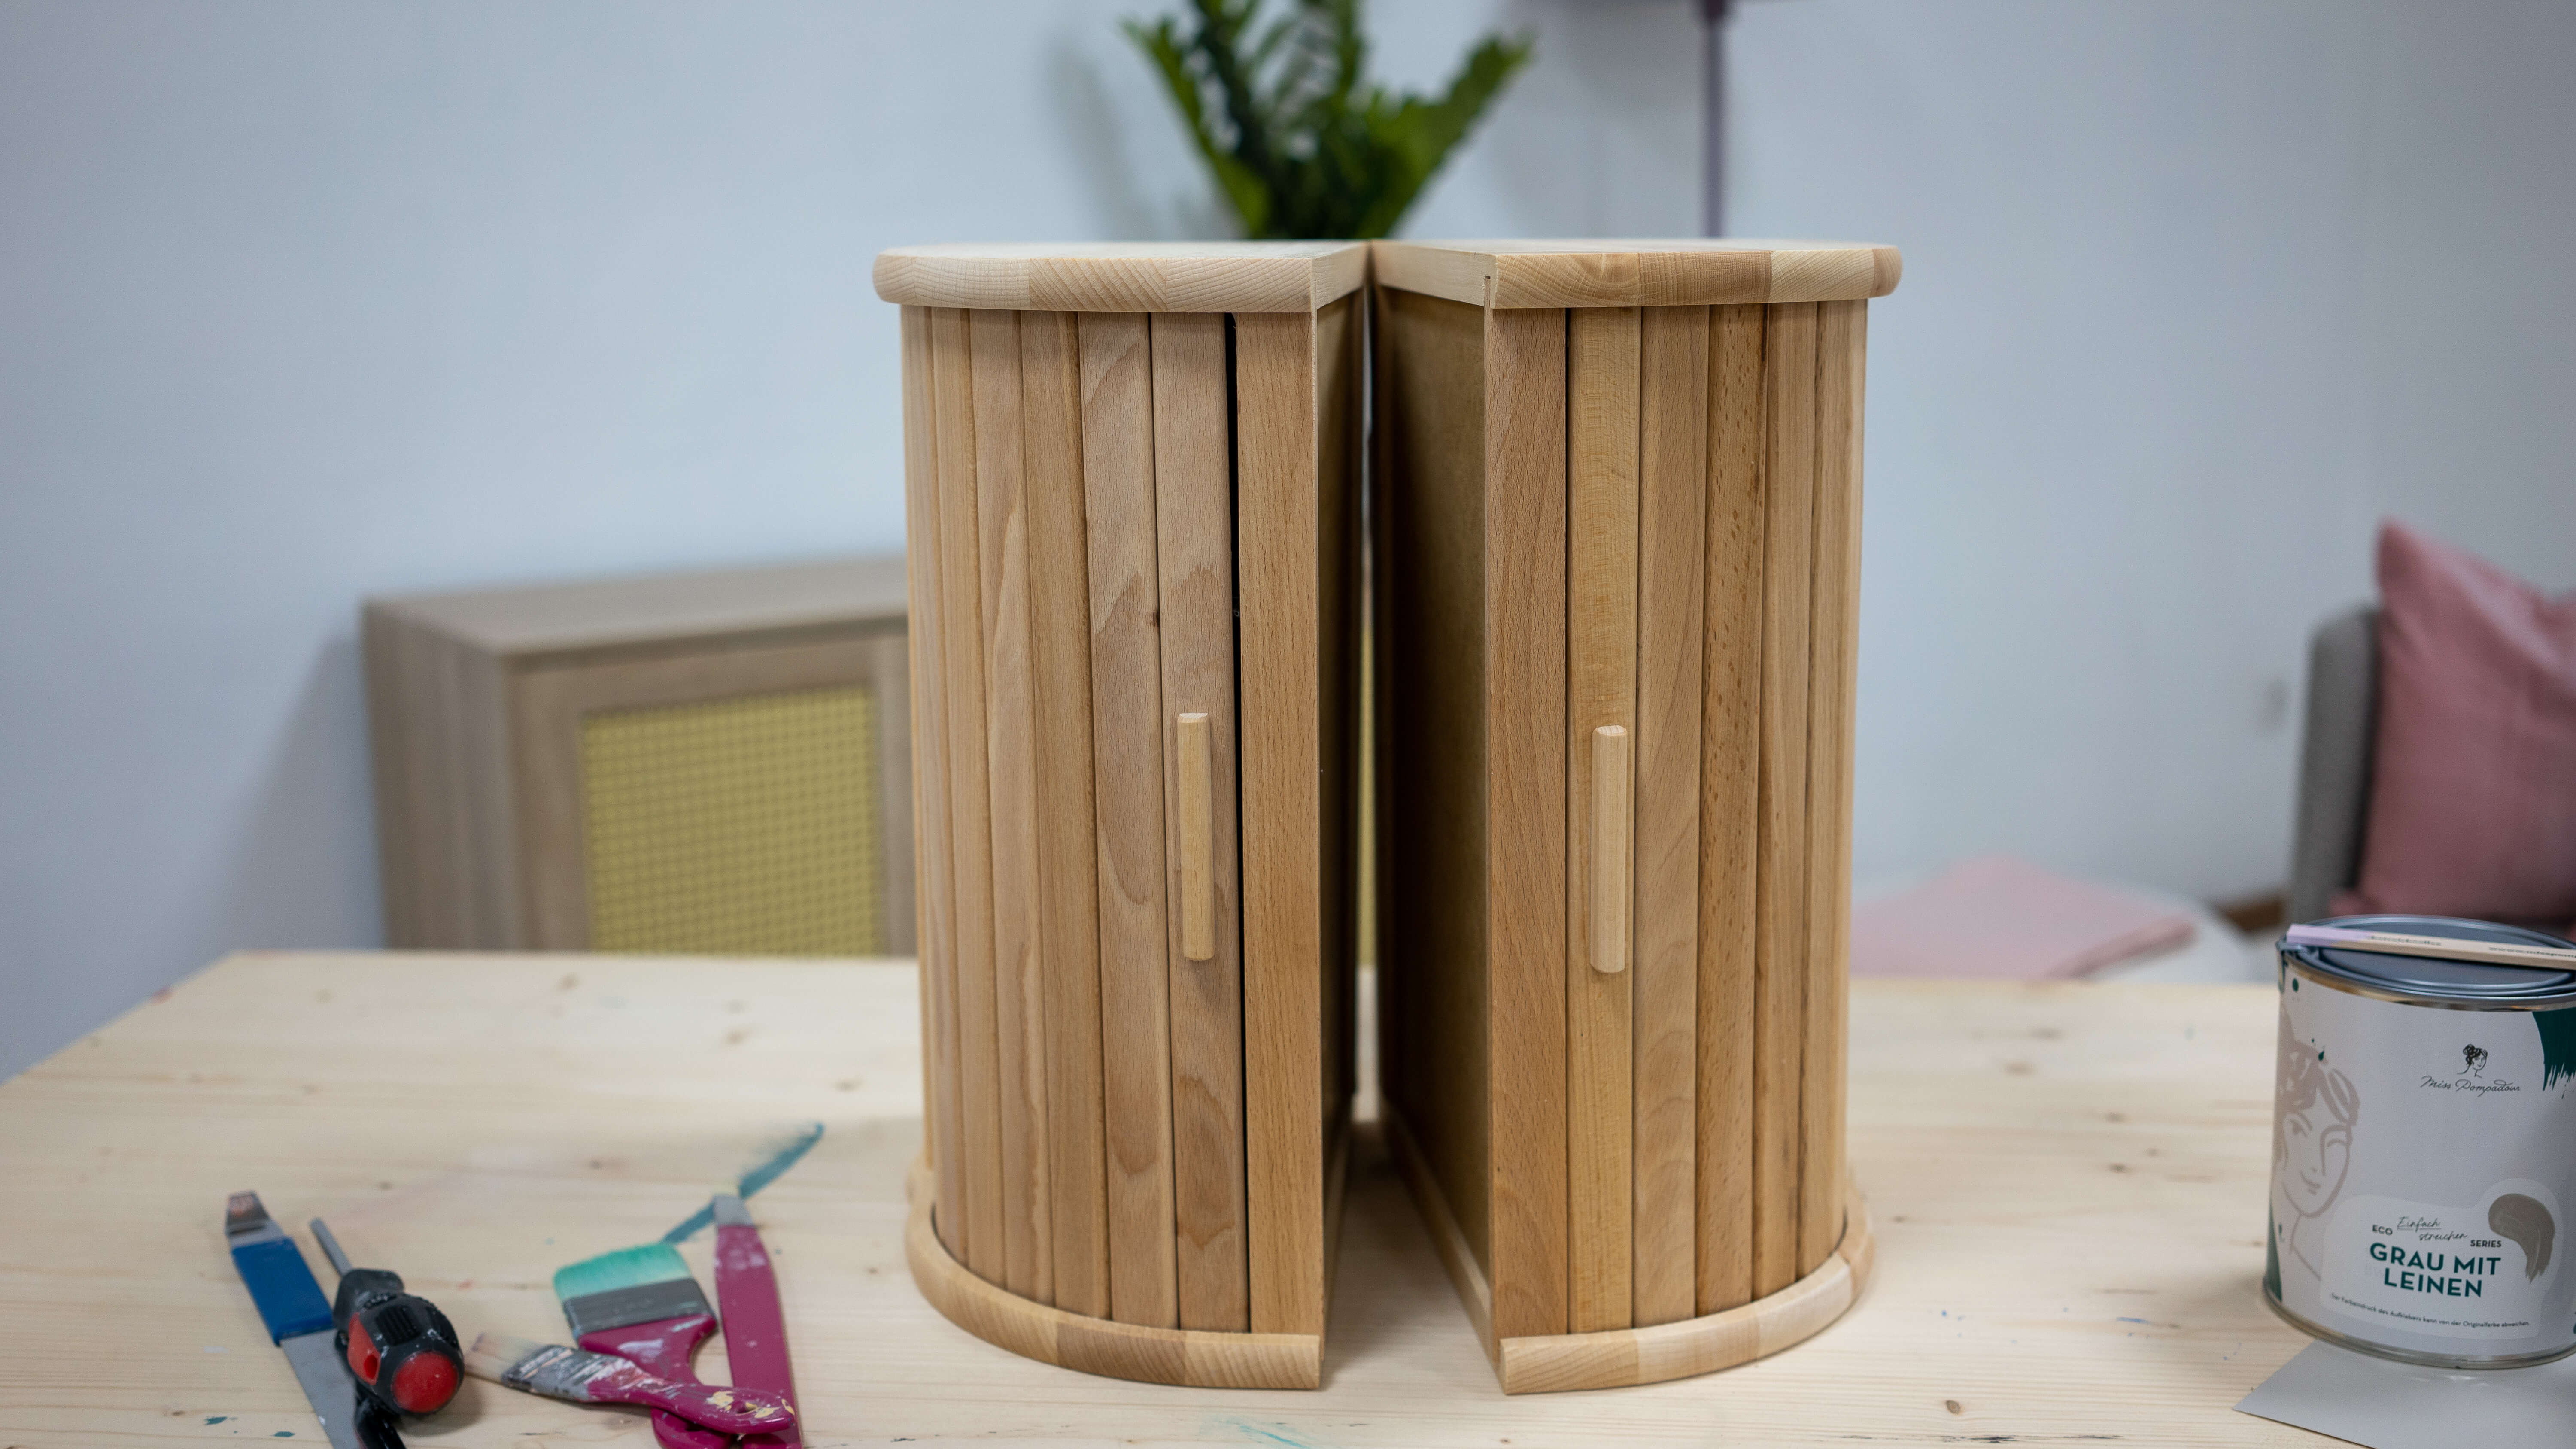
Do you fancy a creative craft project that will give you a truly sensational result? Then you'll find what you're looking for in this magazine, because apart from two IKEA Magasin bread boxes, some paint and tools, you don't need much to conjure up an elegant bedside table.
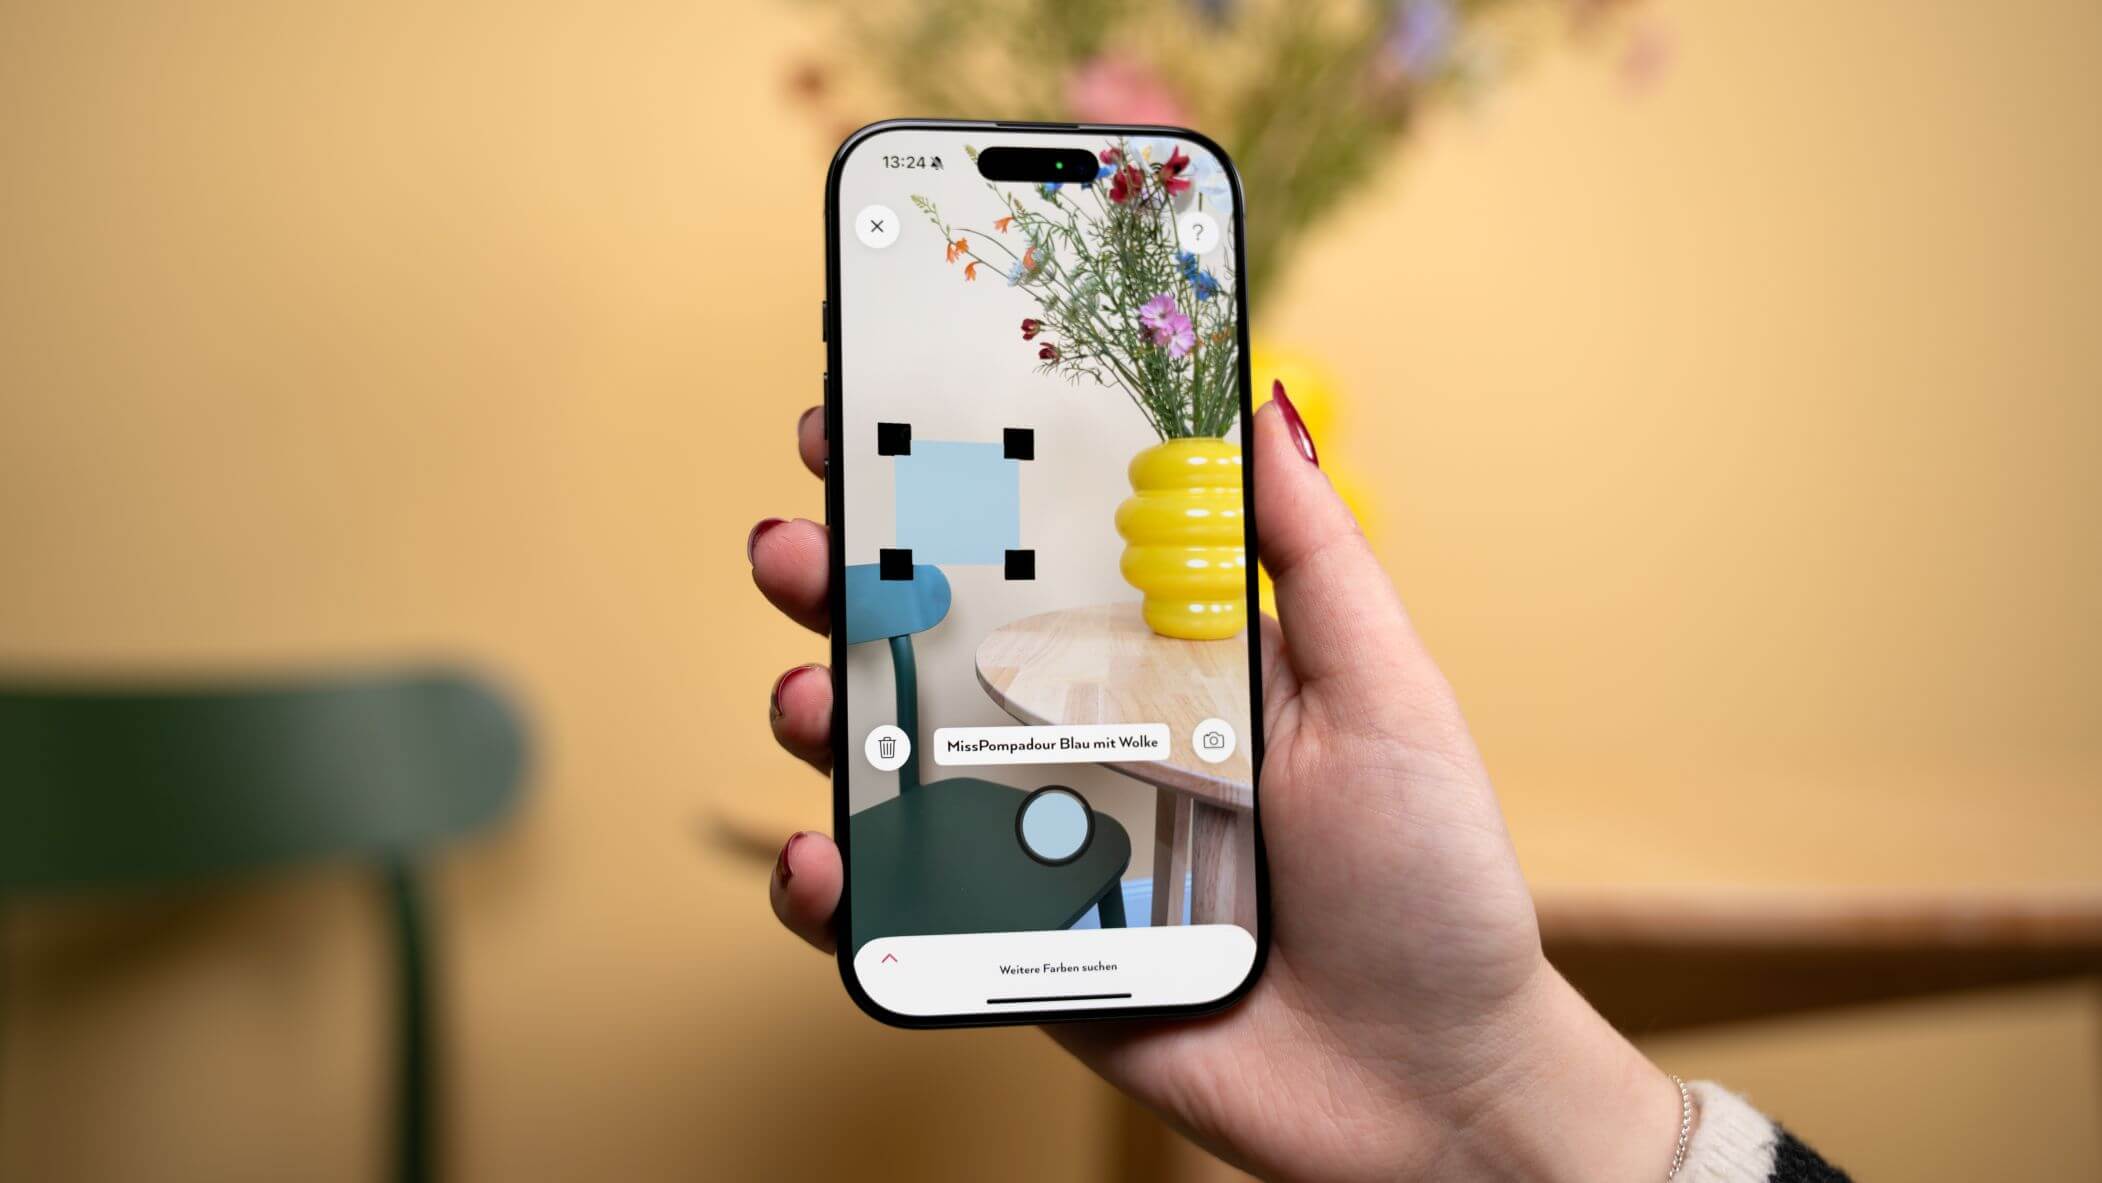
Want to paint your new bedside cabinet?
It's really easy to build a great side table with two bread bins and chic legs. The finishing touch to your new piece of furniture is, of course, the perfect colour scheme.
Simple instructions: IKEA bread box bedside table hack
First start with MissPompadour To Clean.
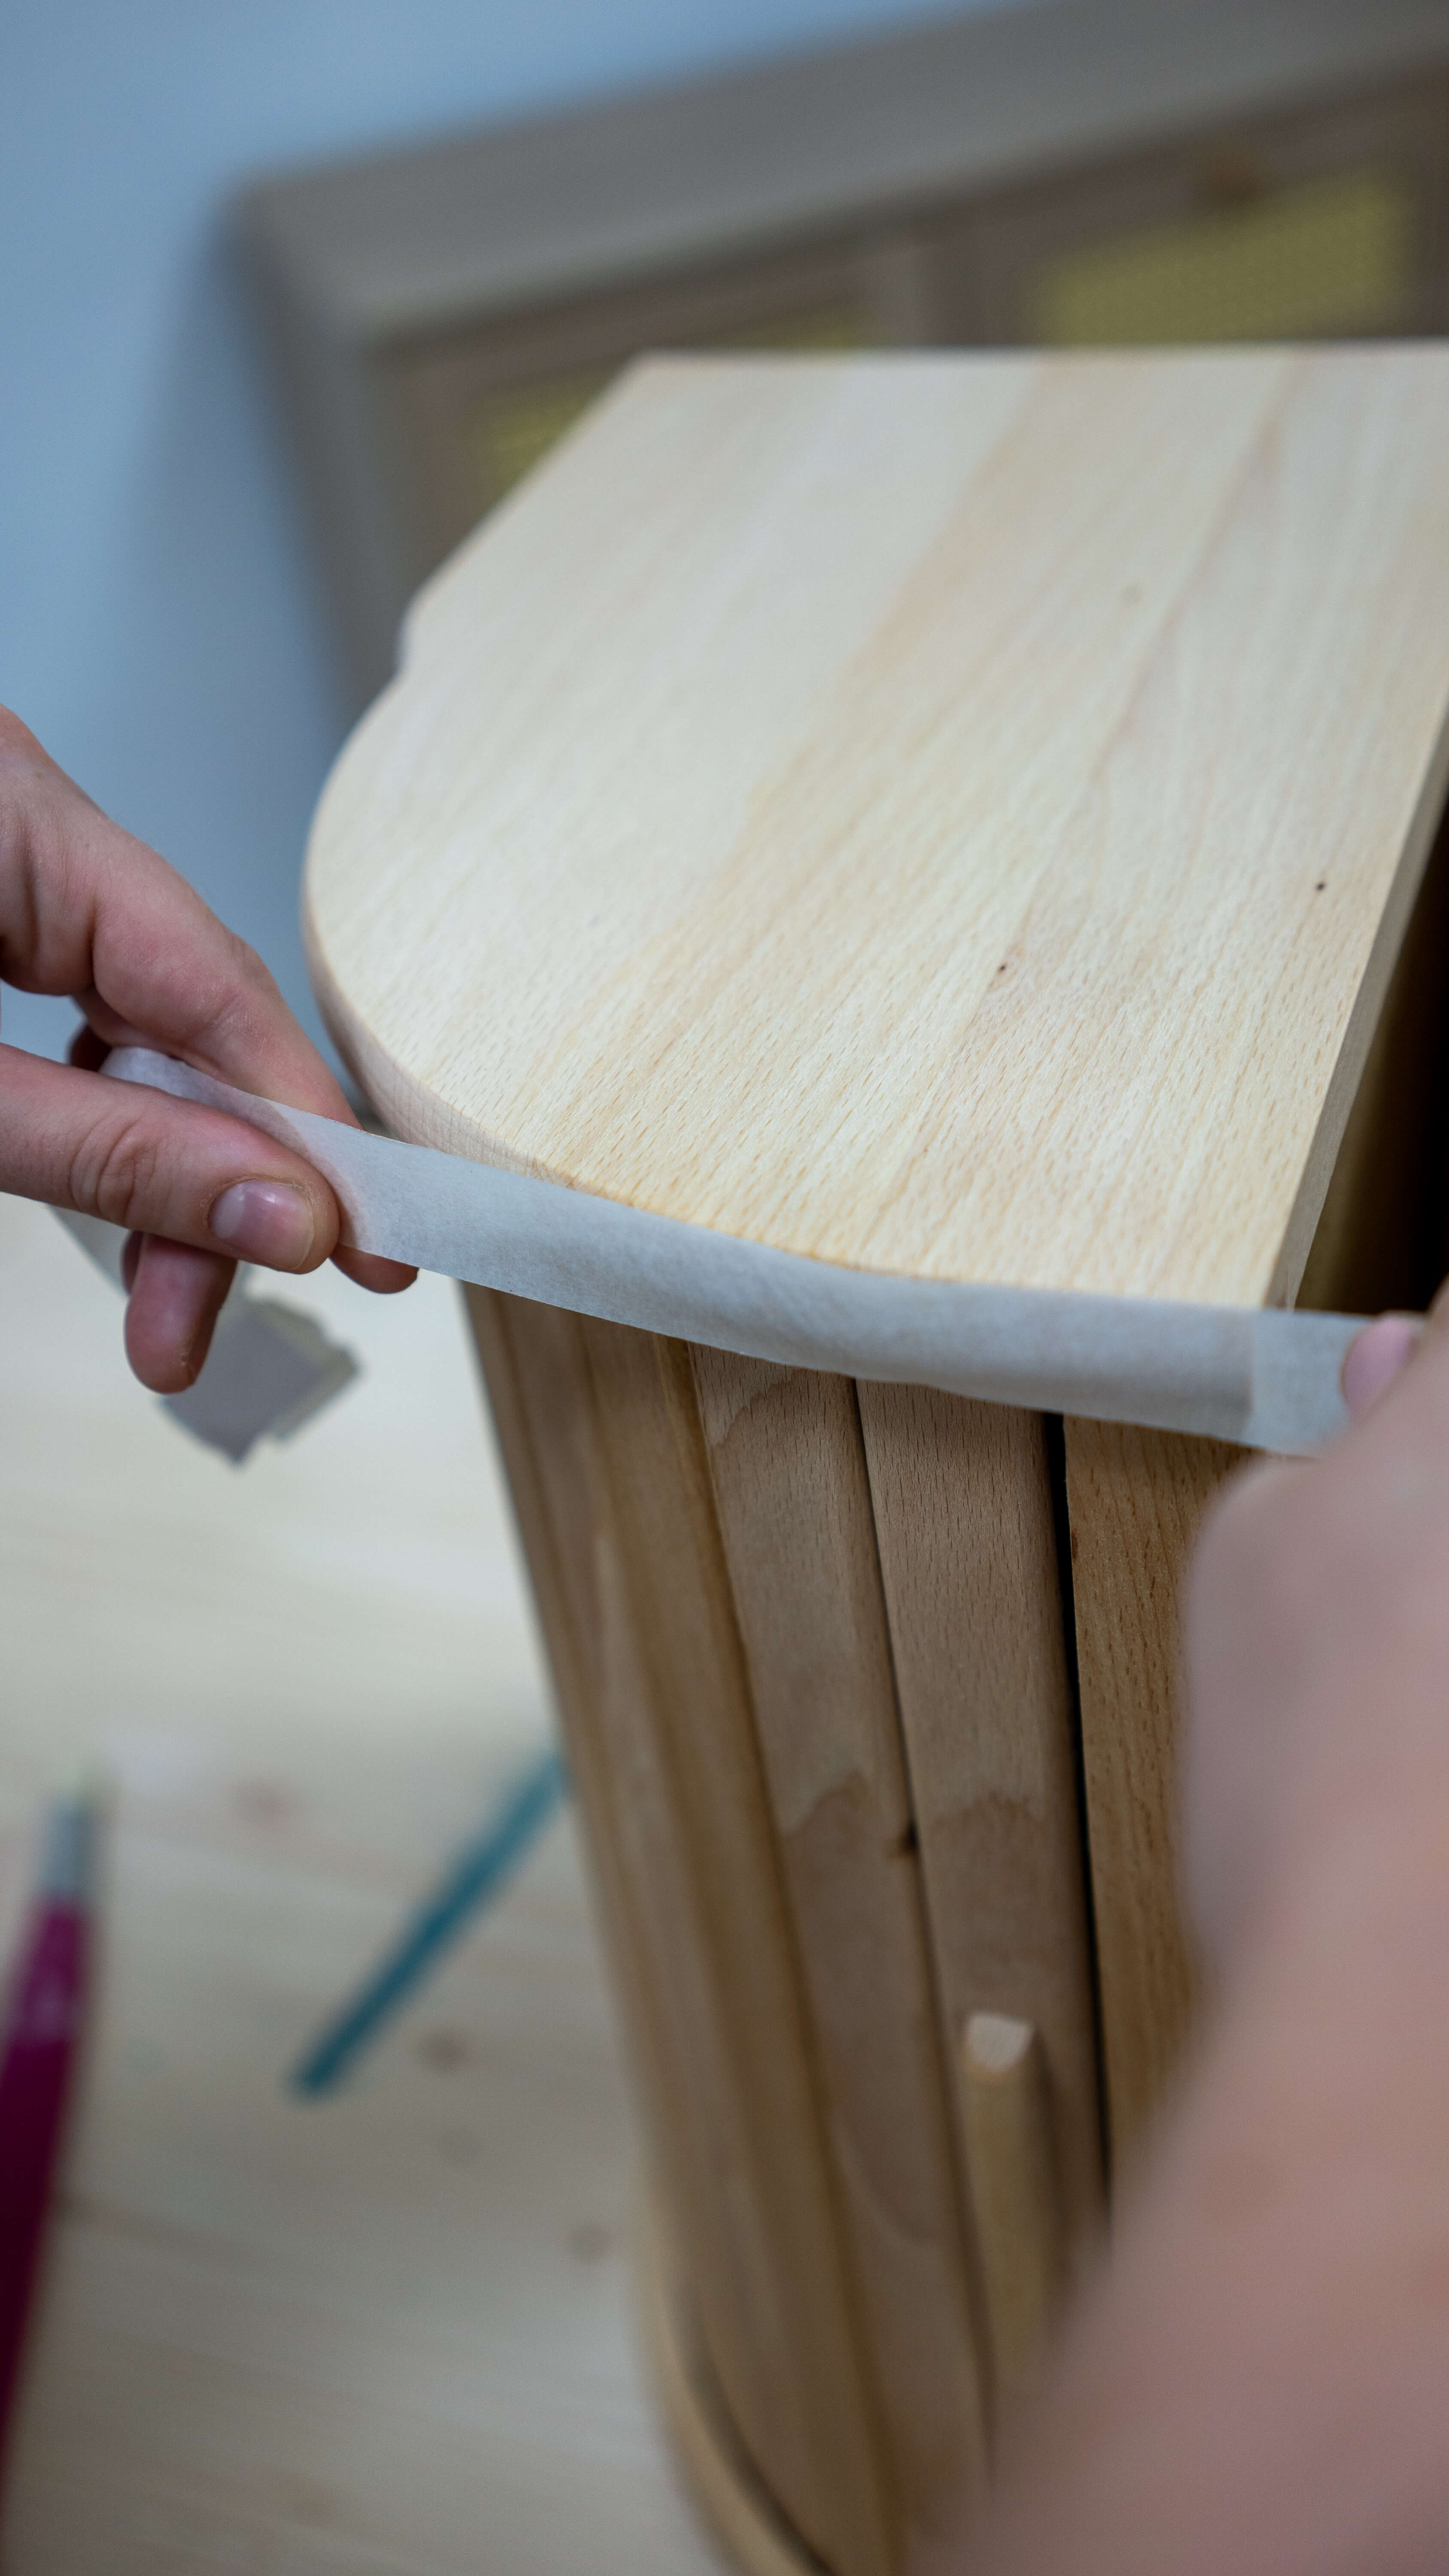
As the bread bins will be painted later, they must be free of dust and grease. This will help the paint to adhere better
Then glue the two bread boxes together with the undersides. The handles should be parallel to each other. It is best to use express wood glue, which dries within five minutes and holds firmly. Perfectionists can have matching bases cut to size at the DIY store and also glue them into the bread bins. But of course you can do it without.
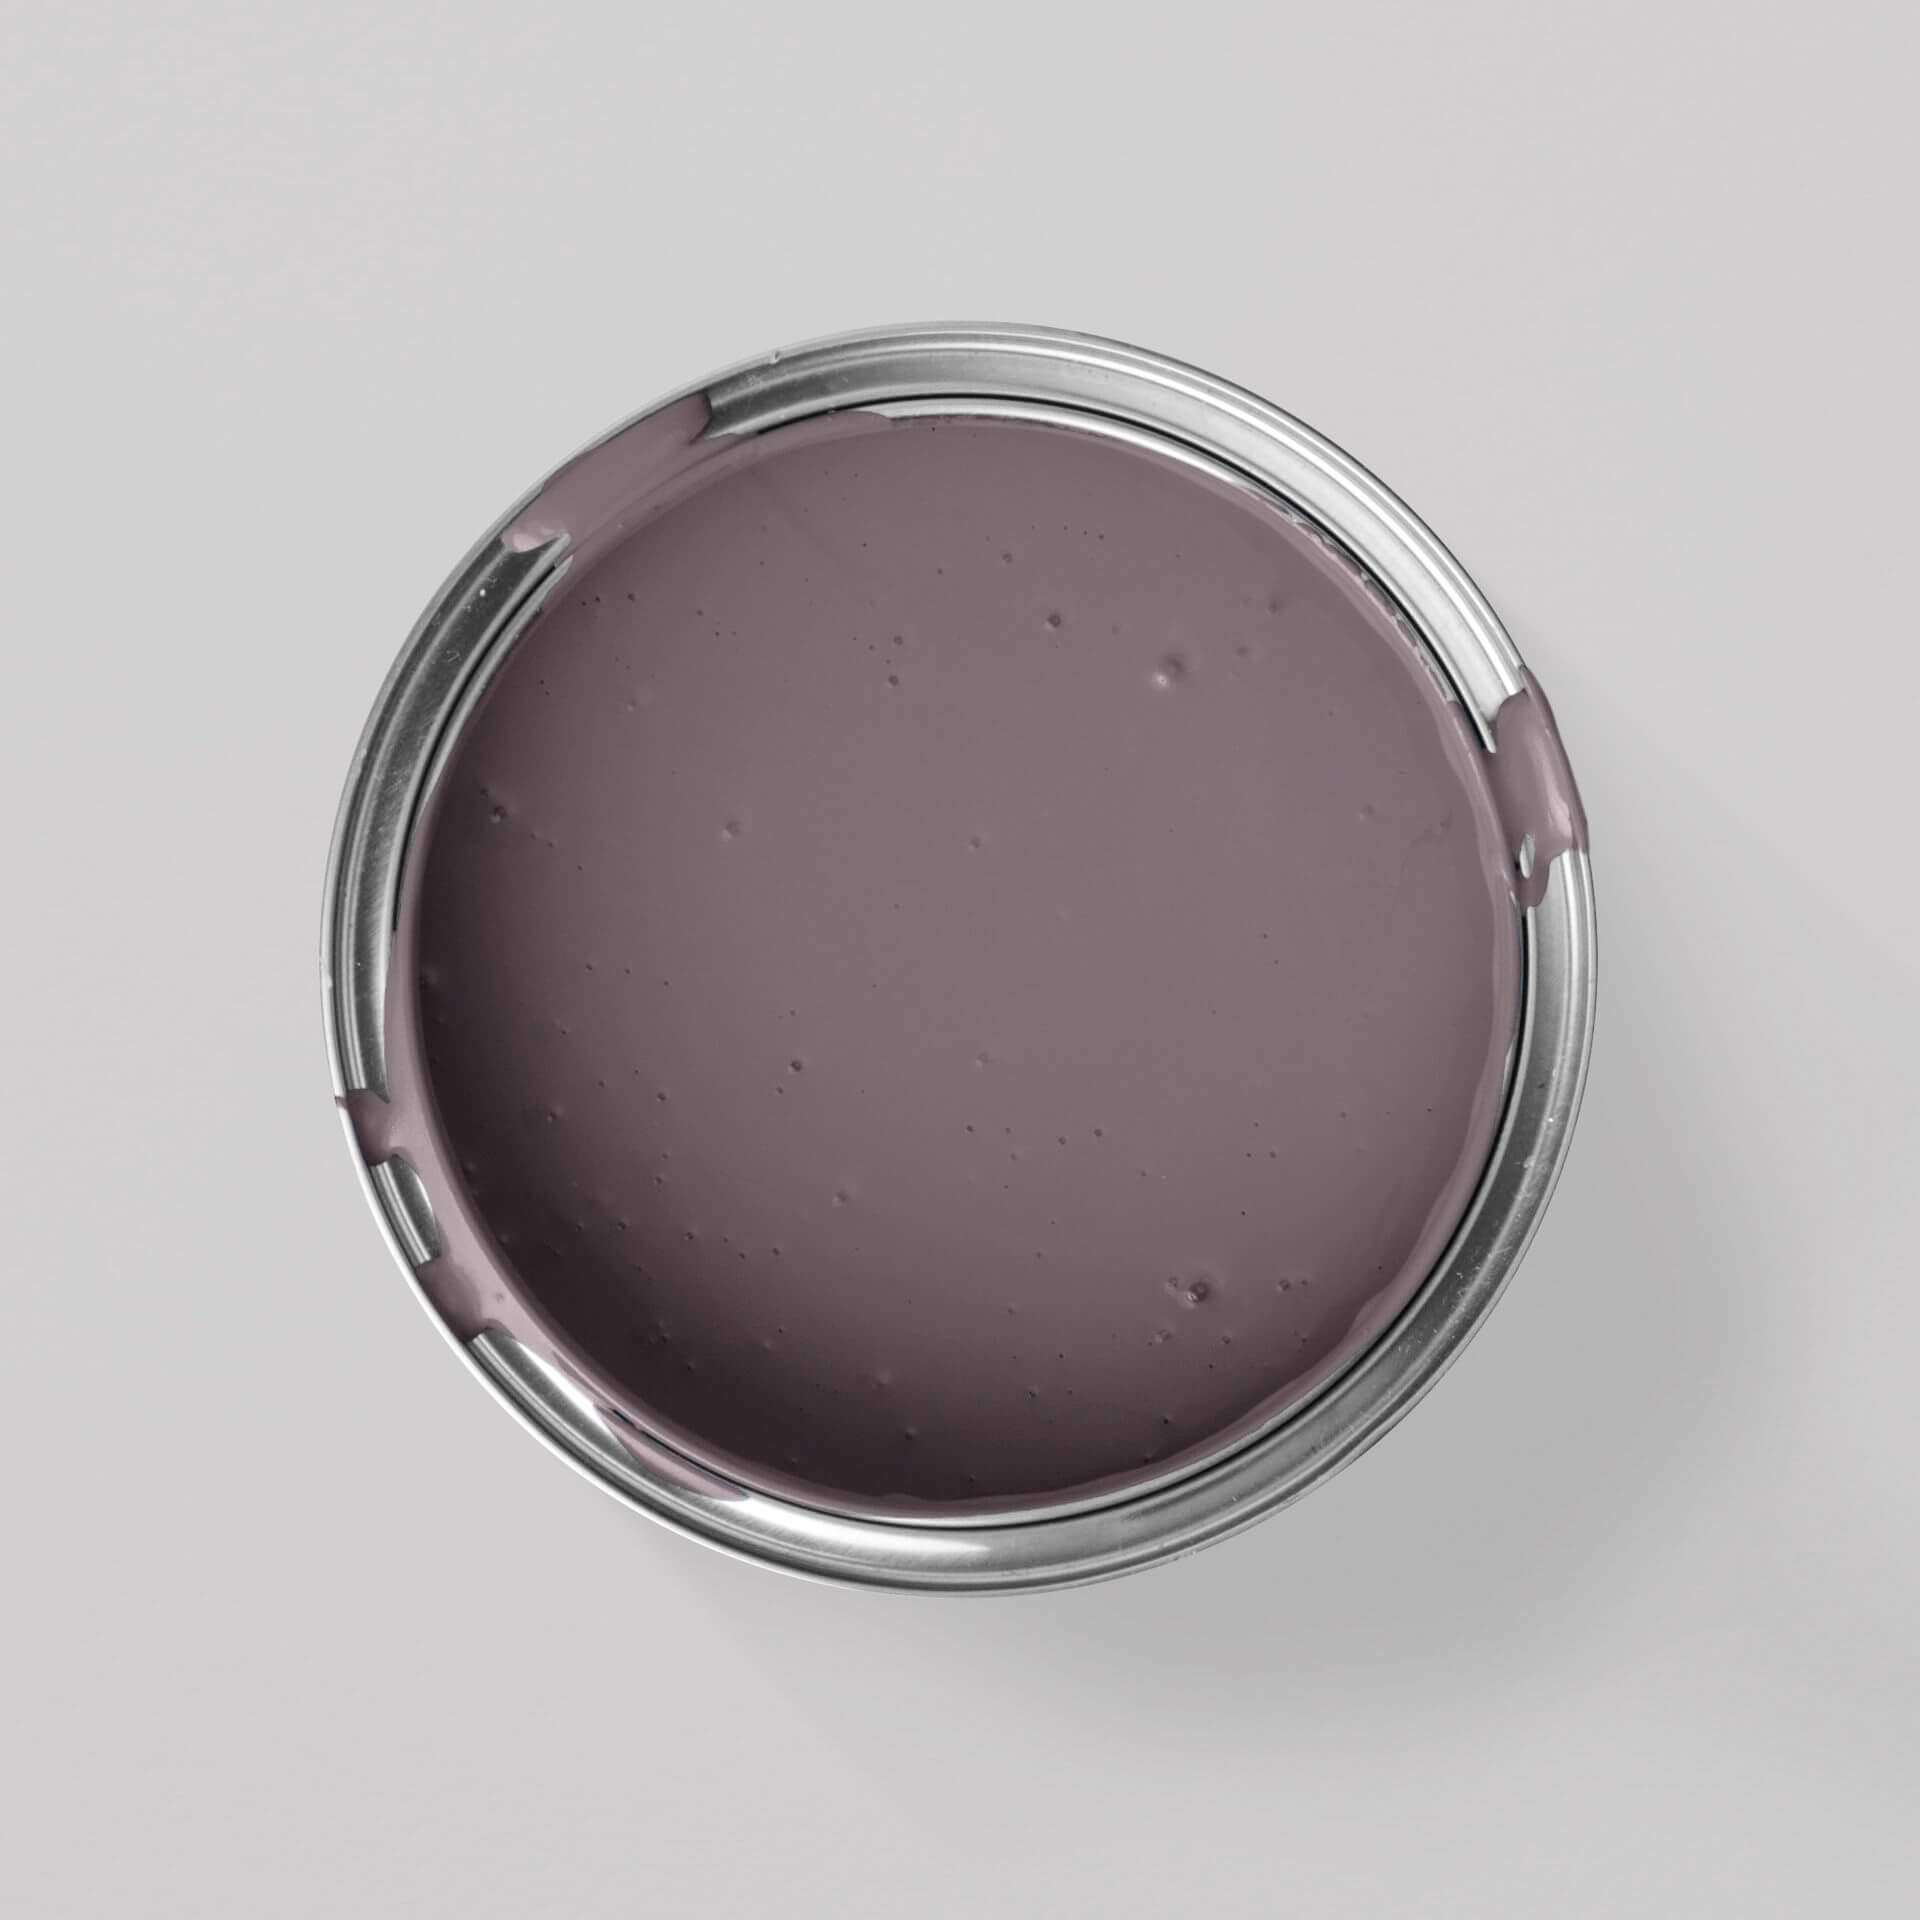
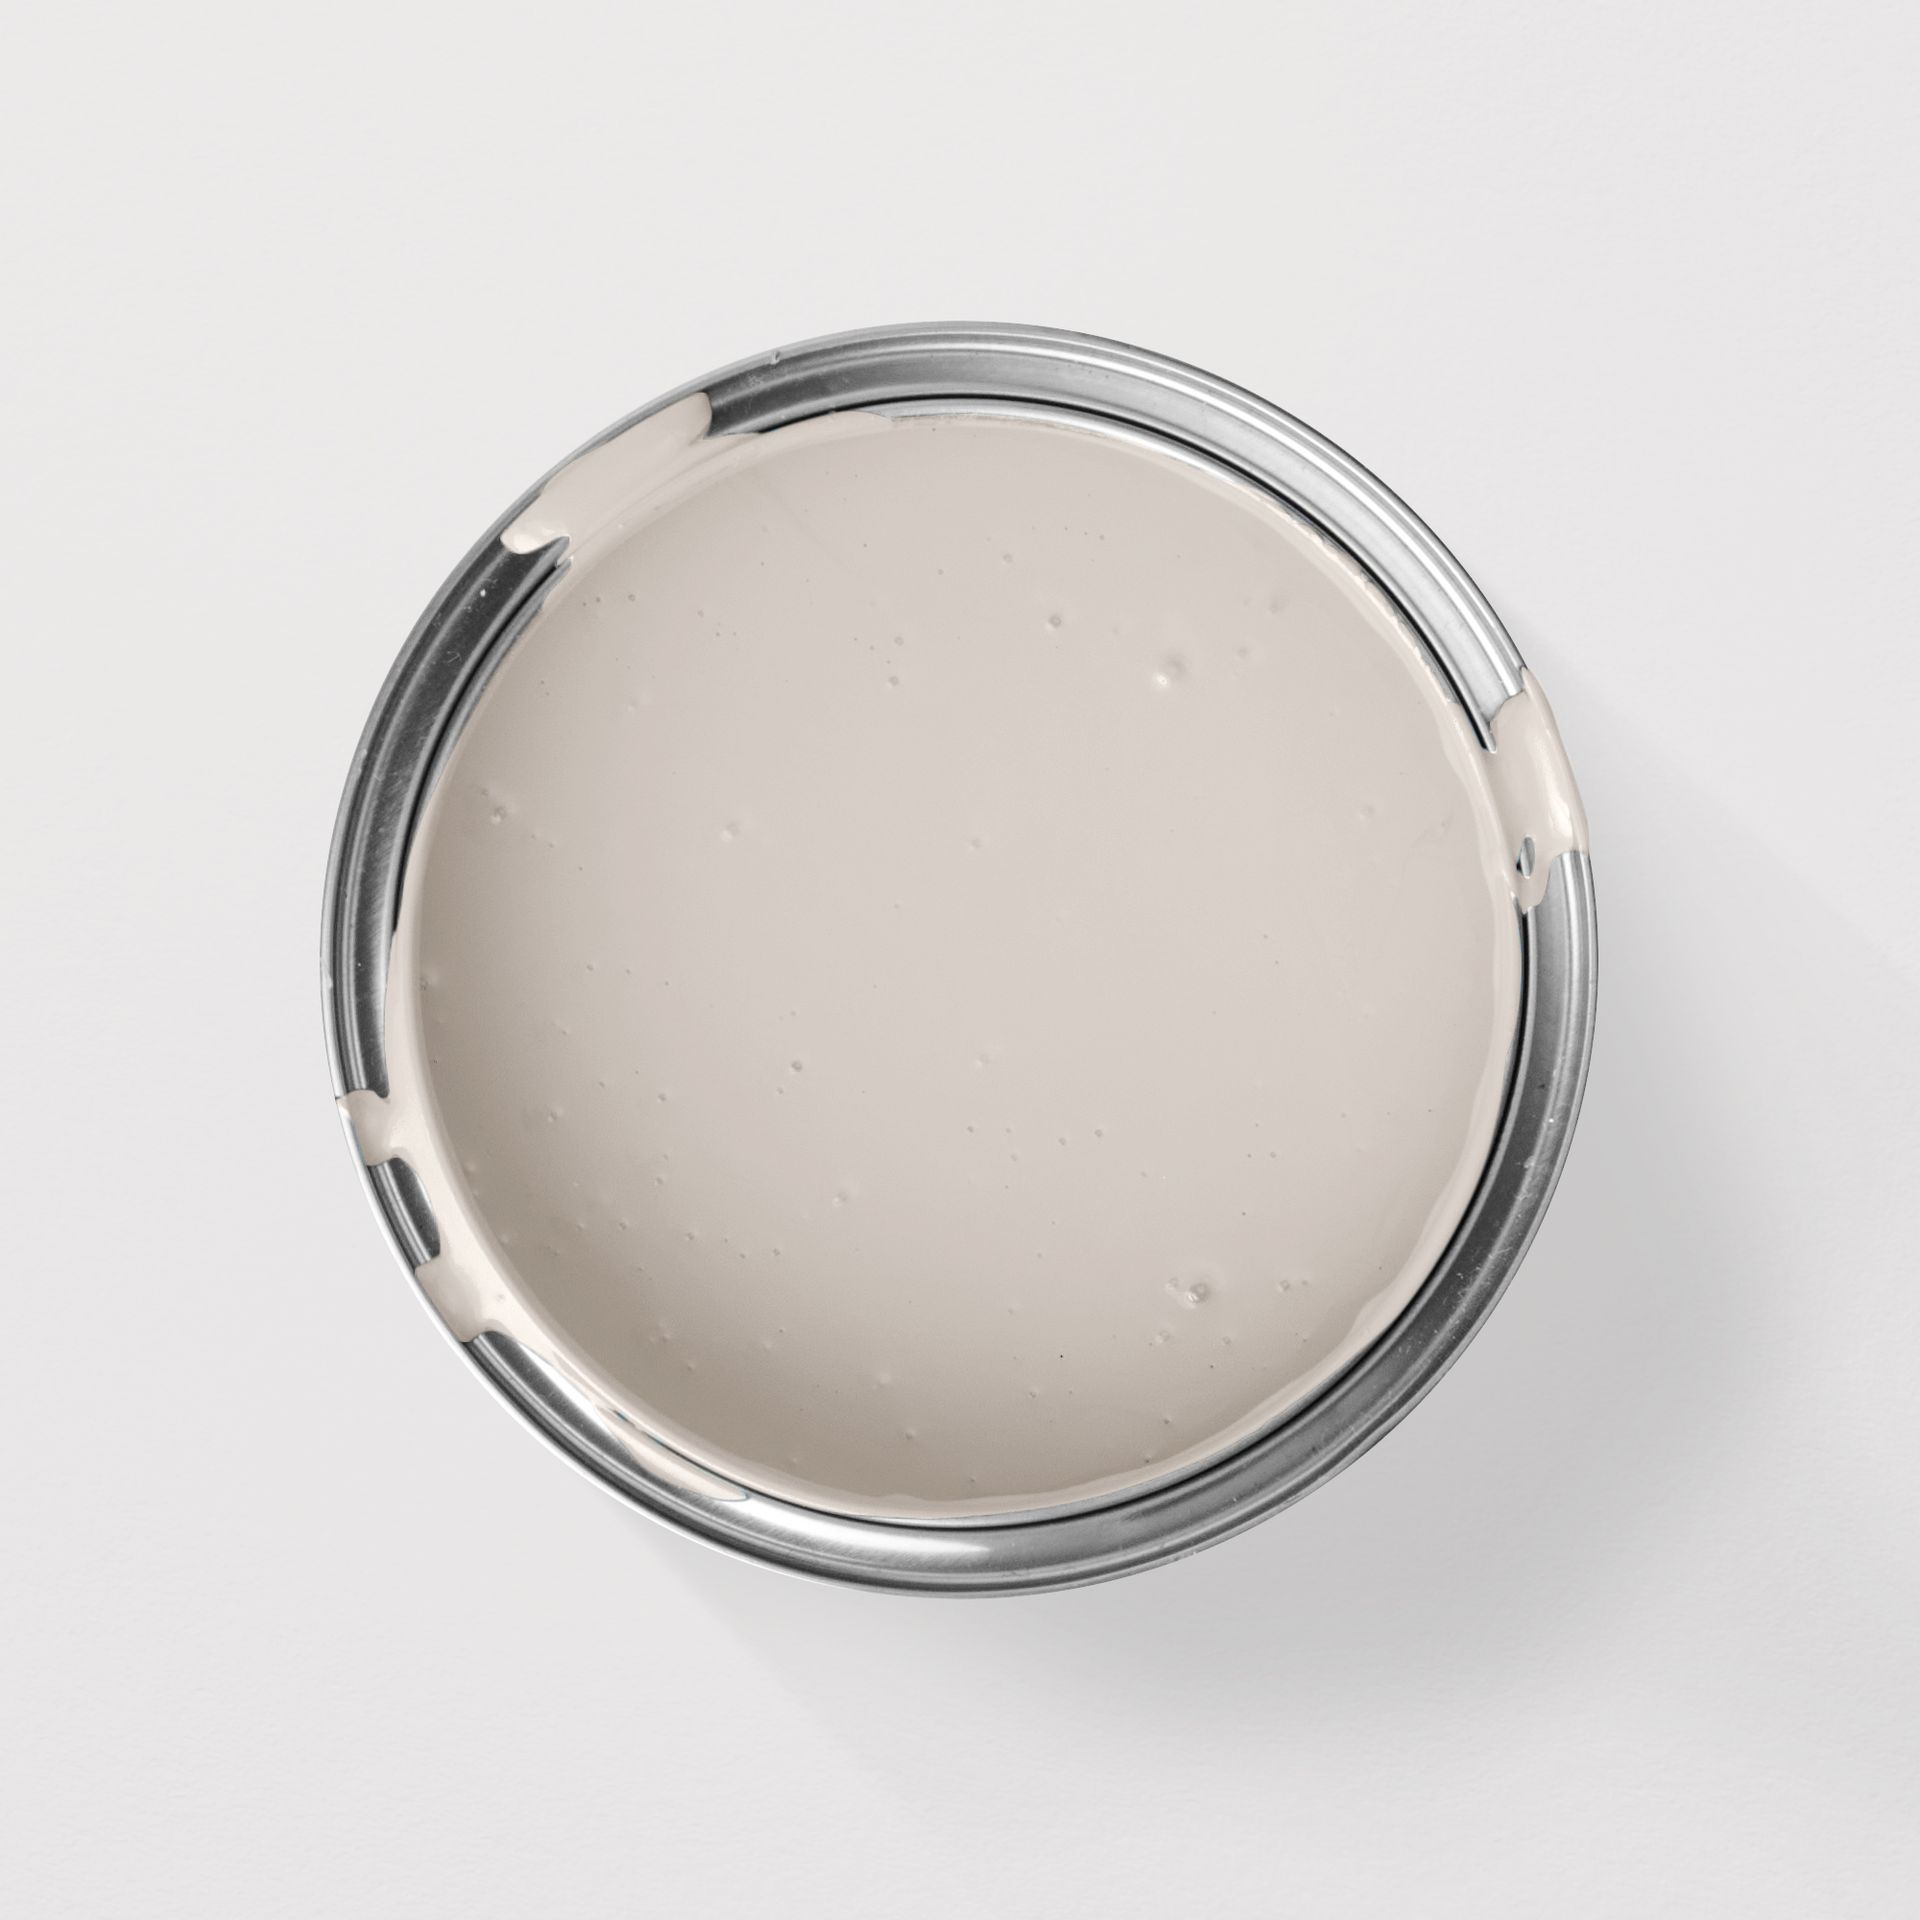
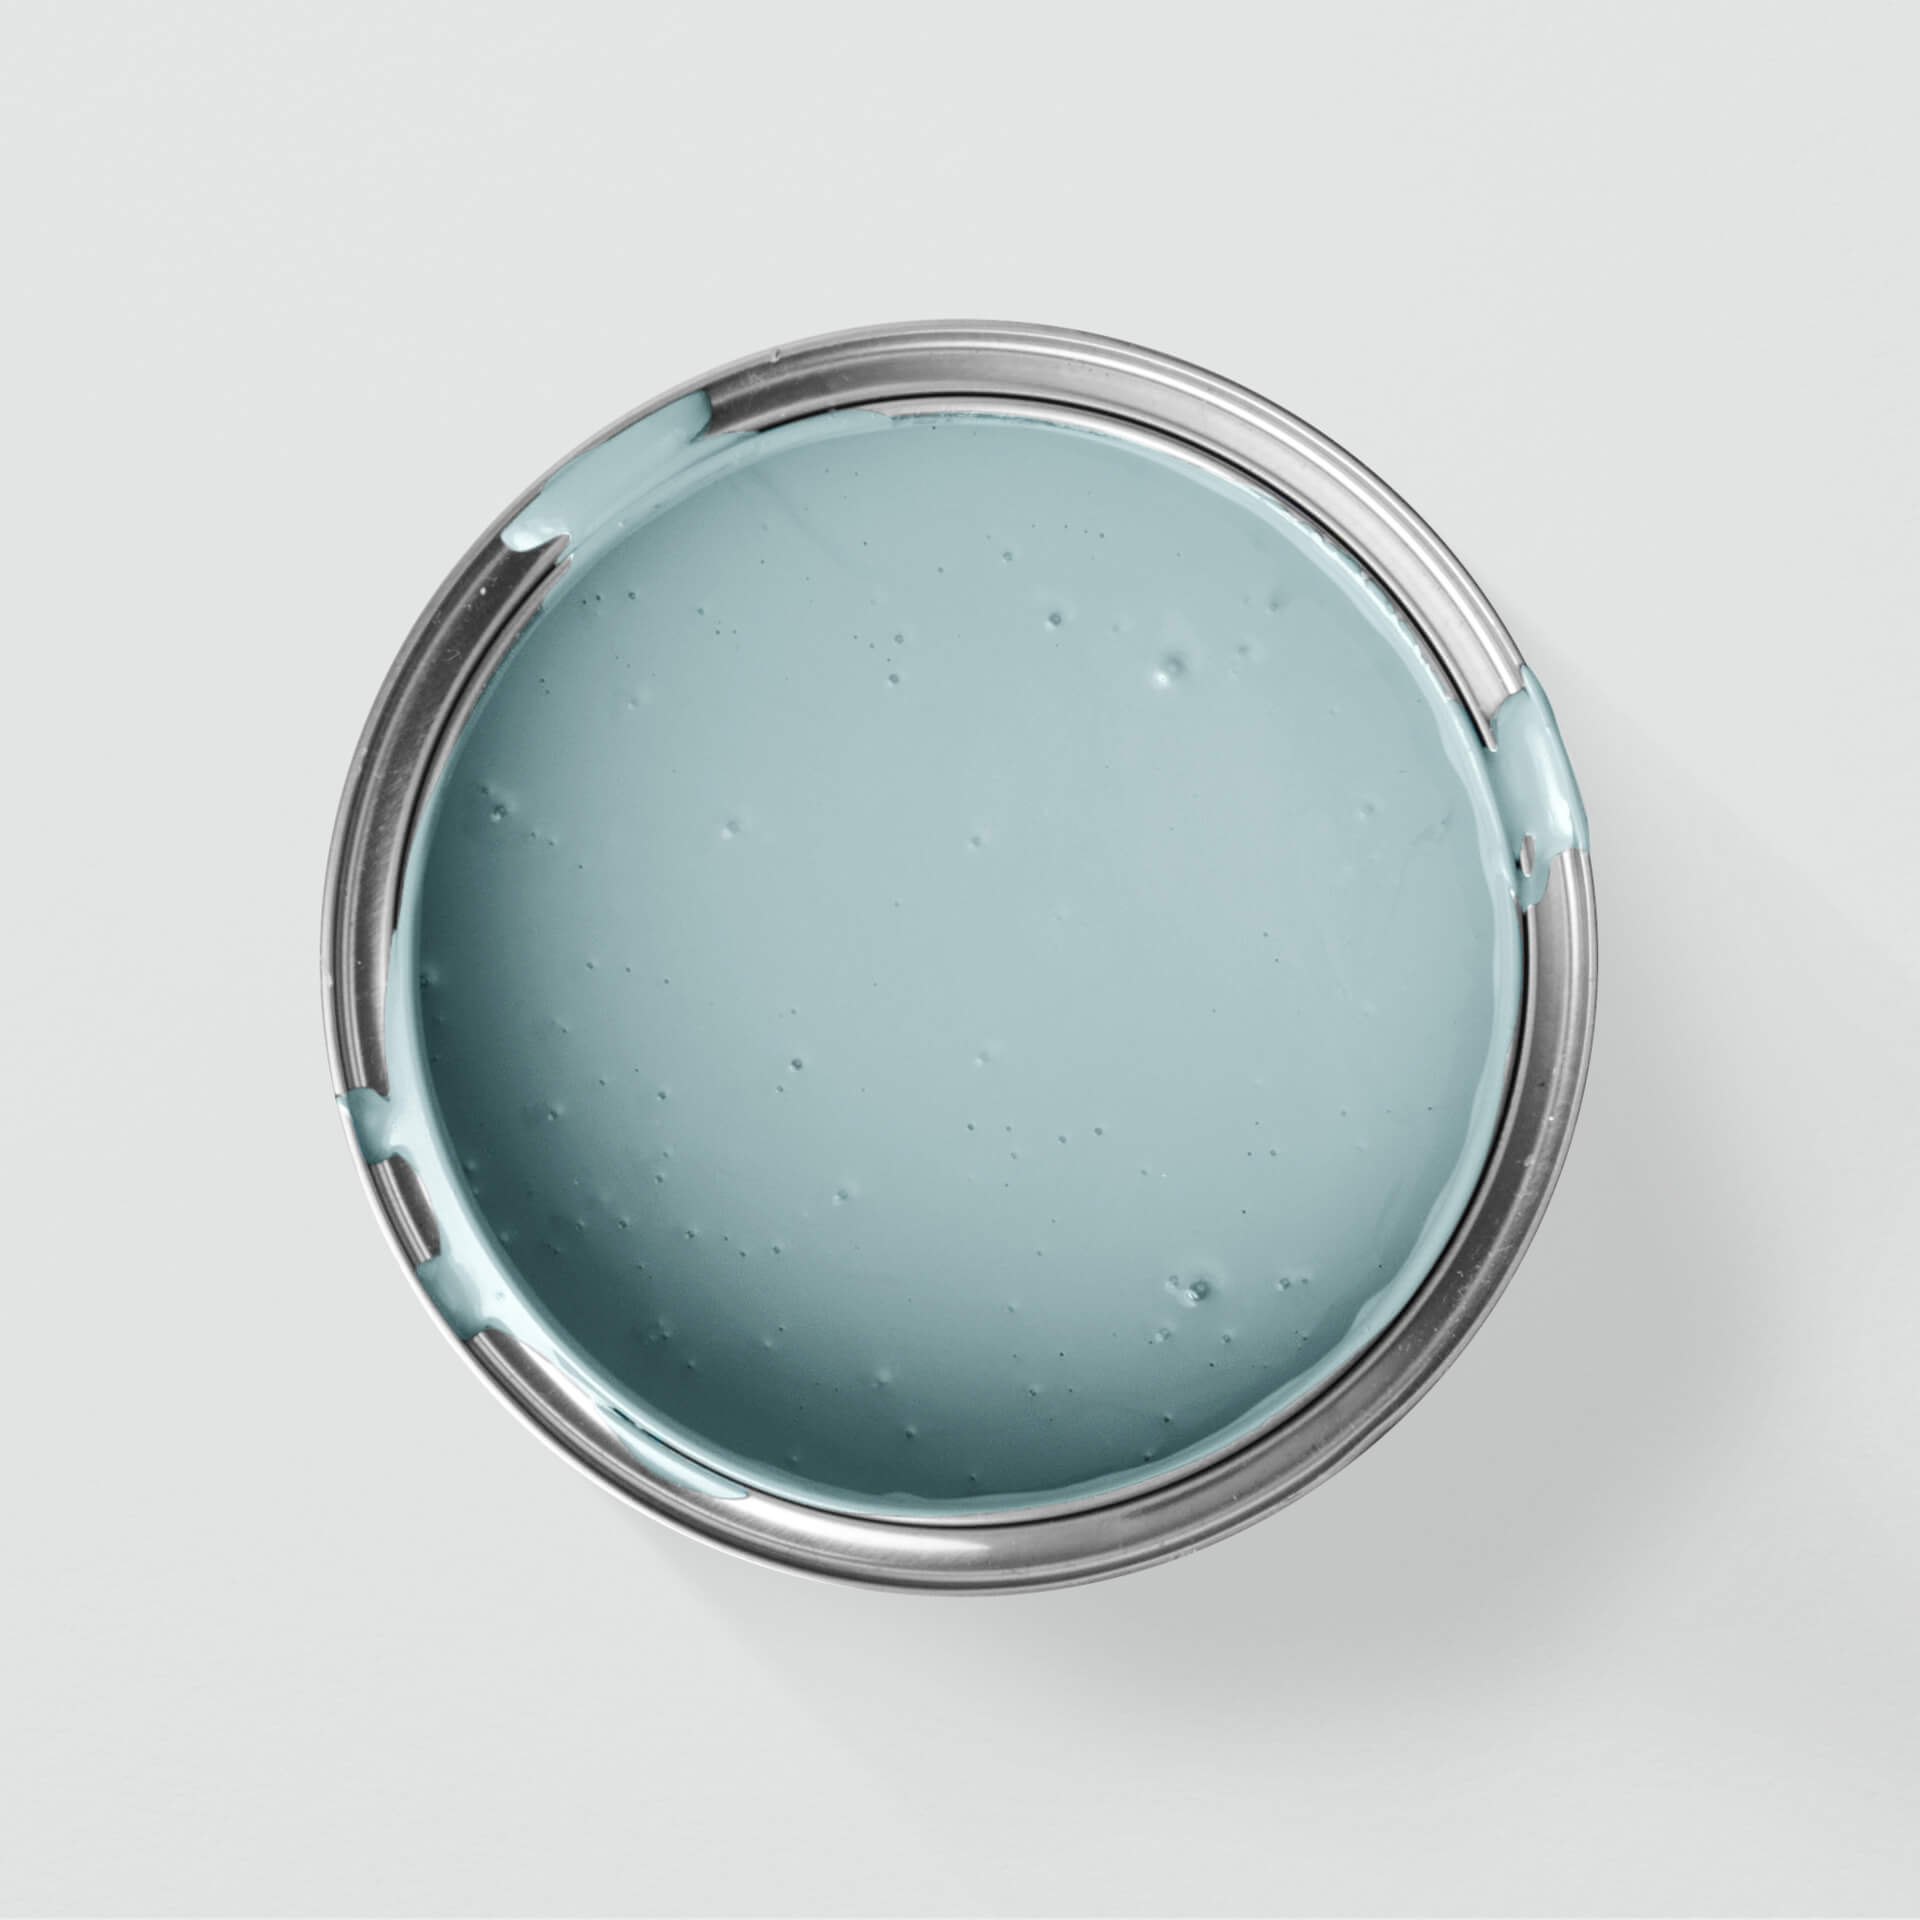
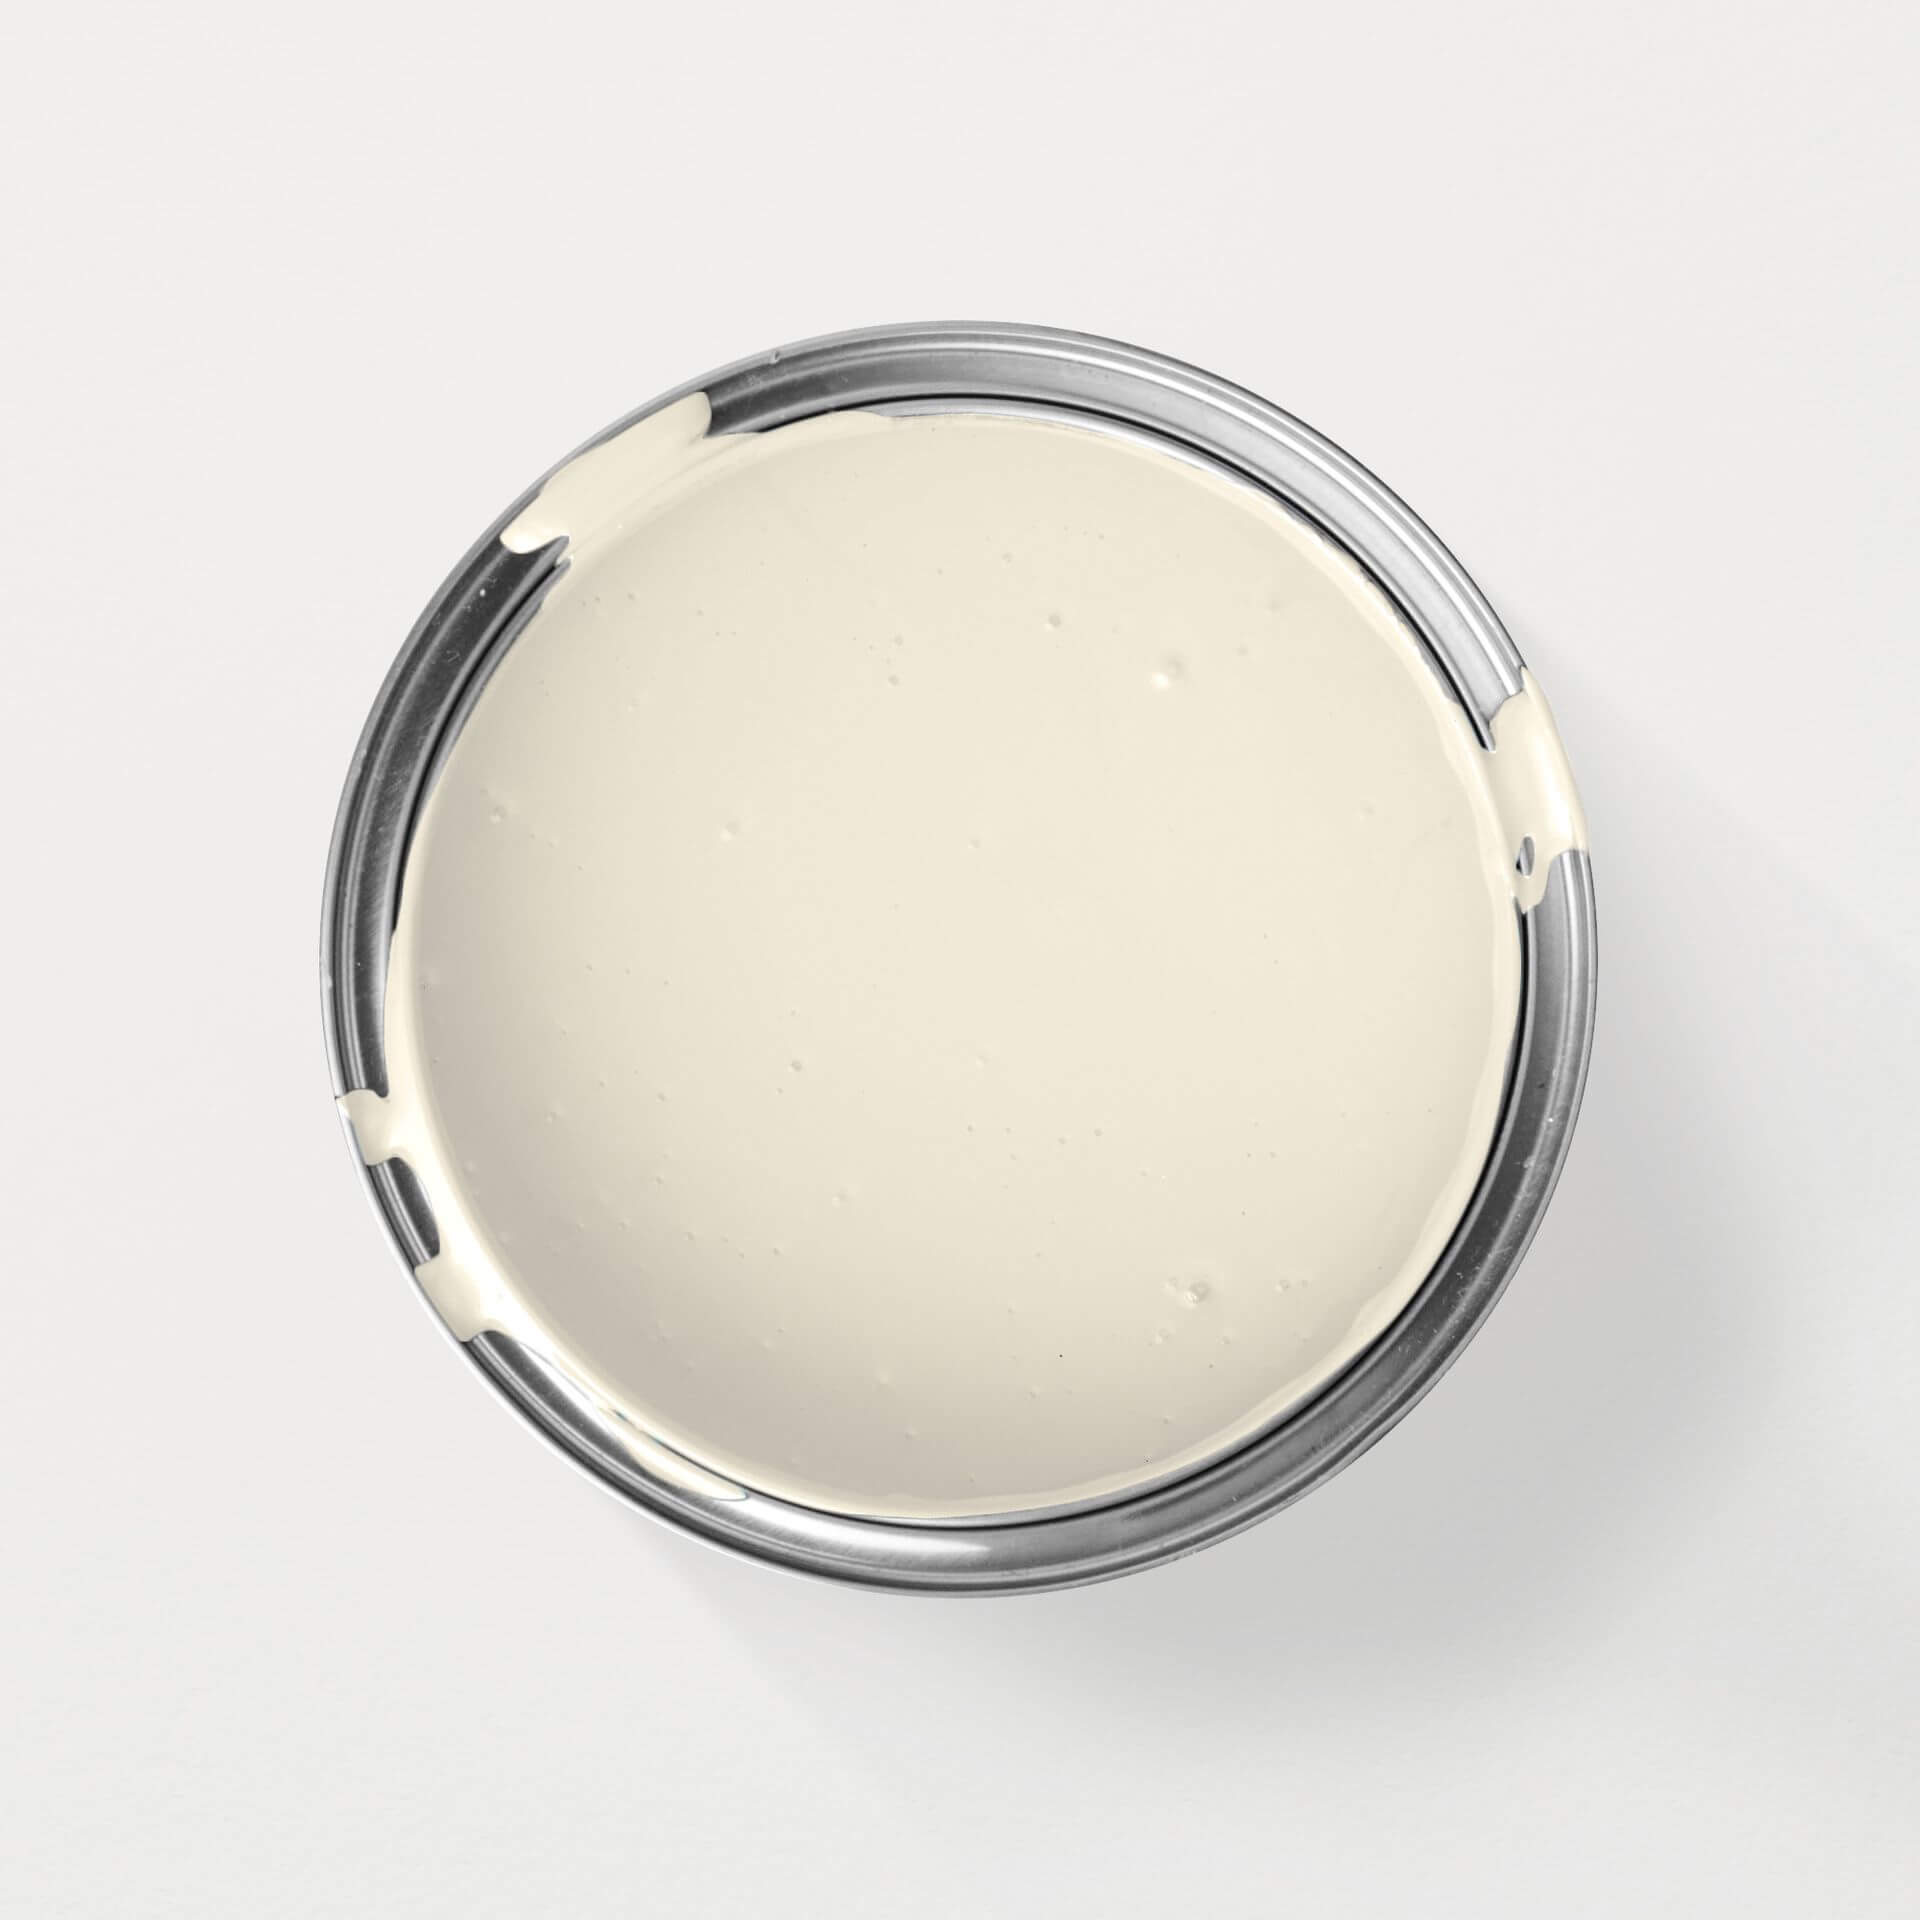
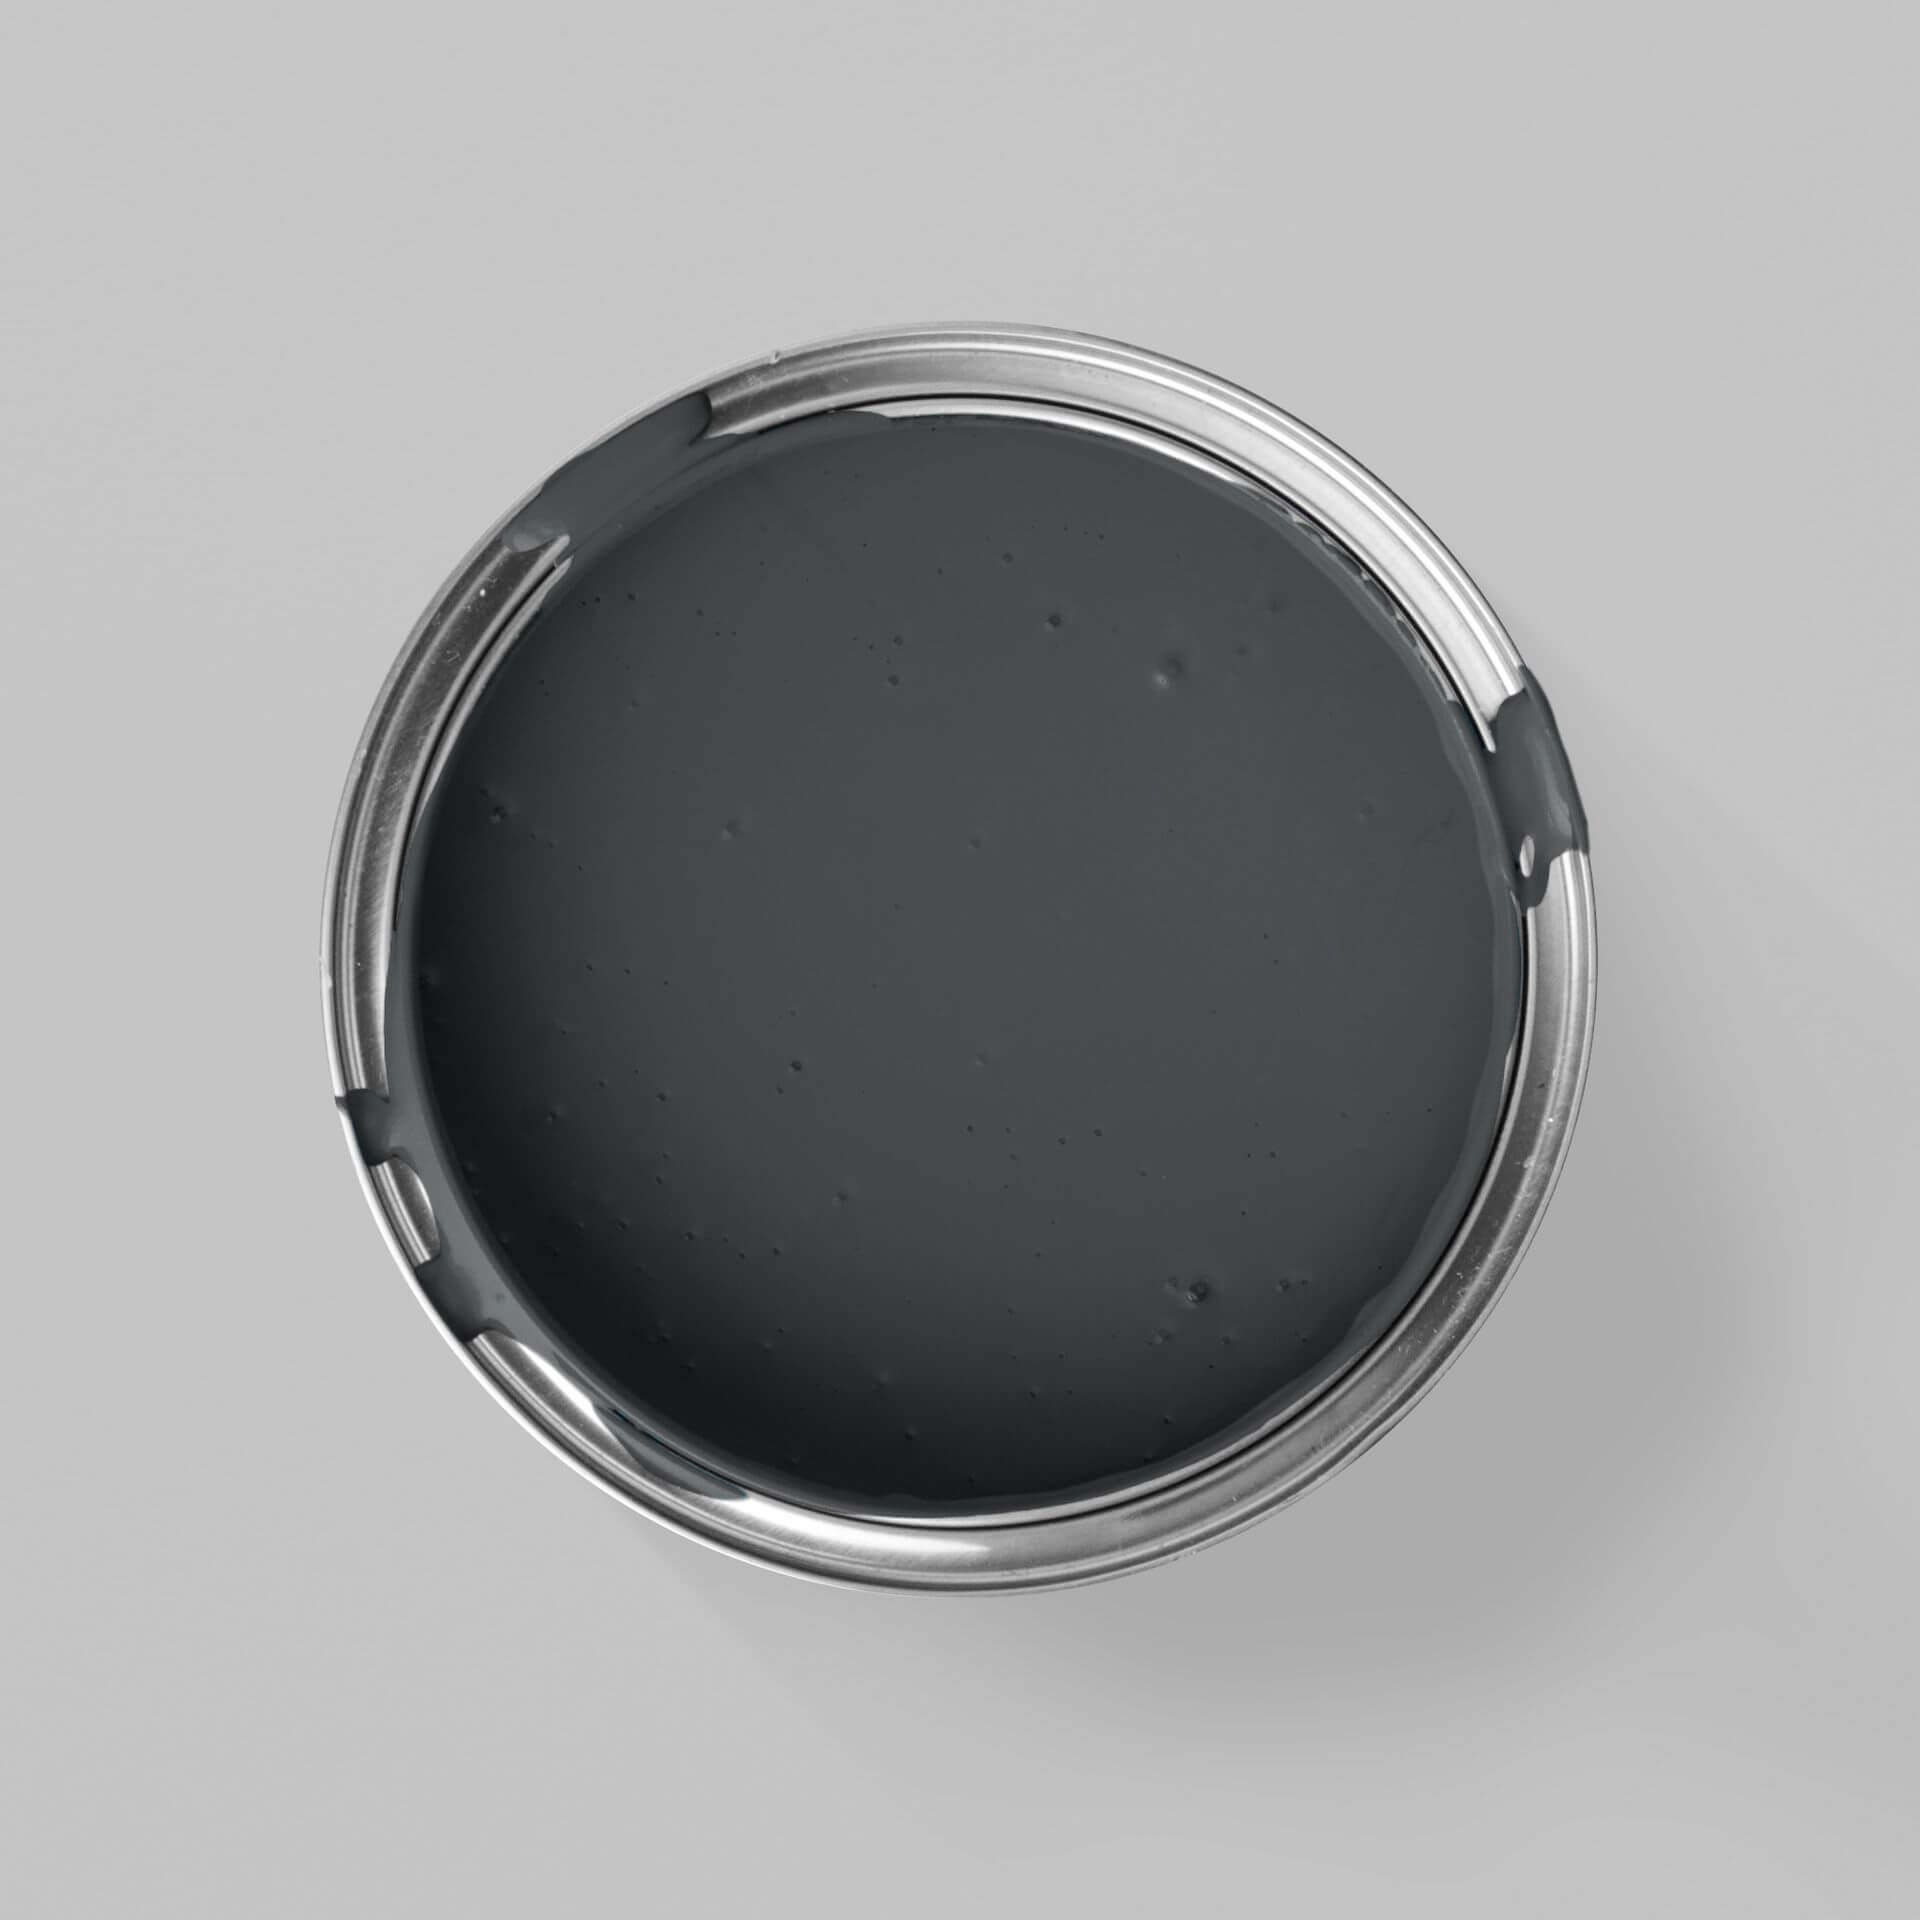
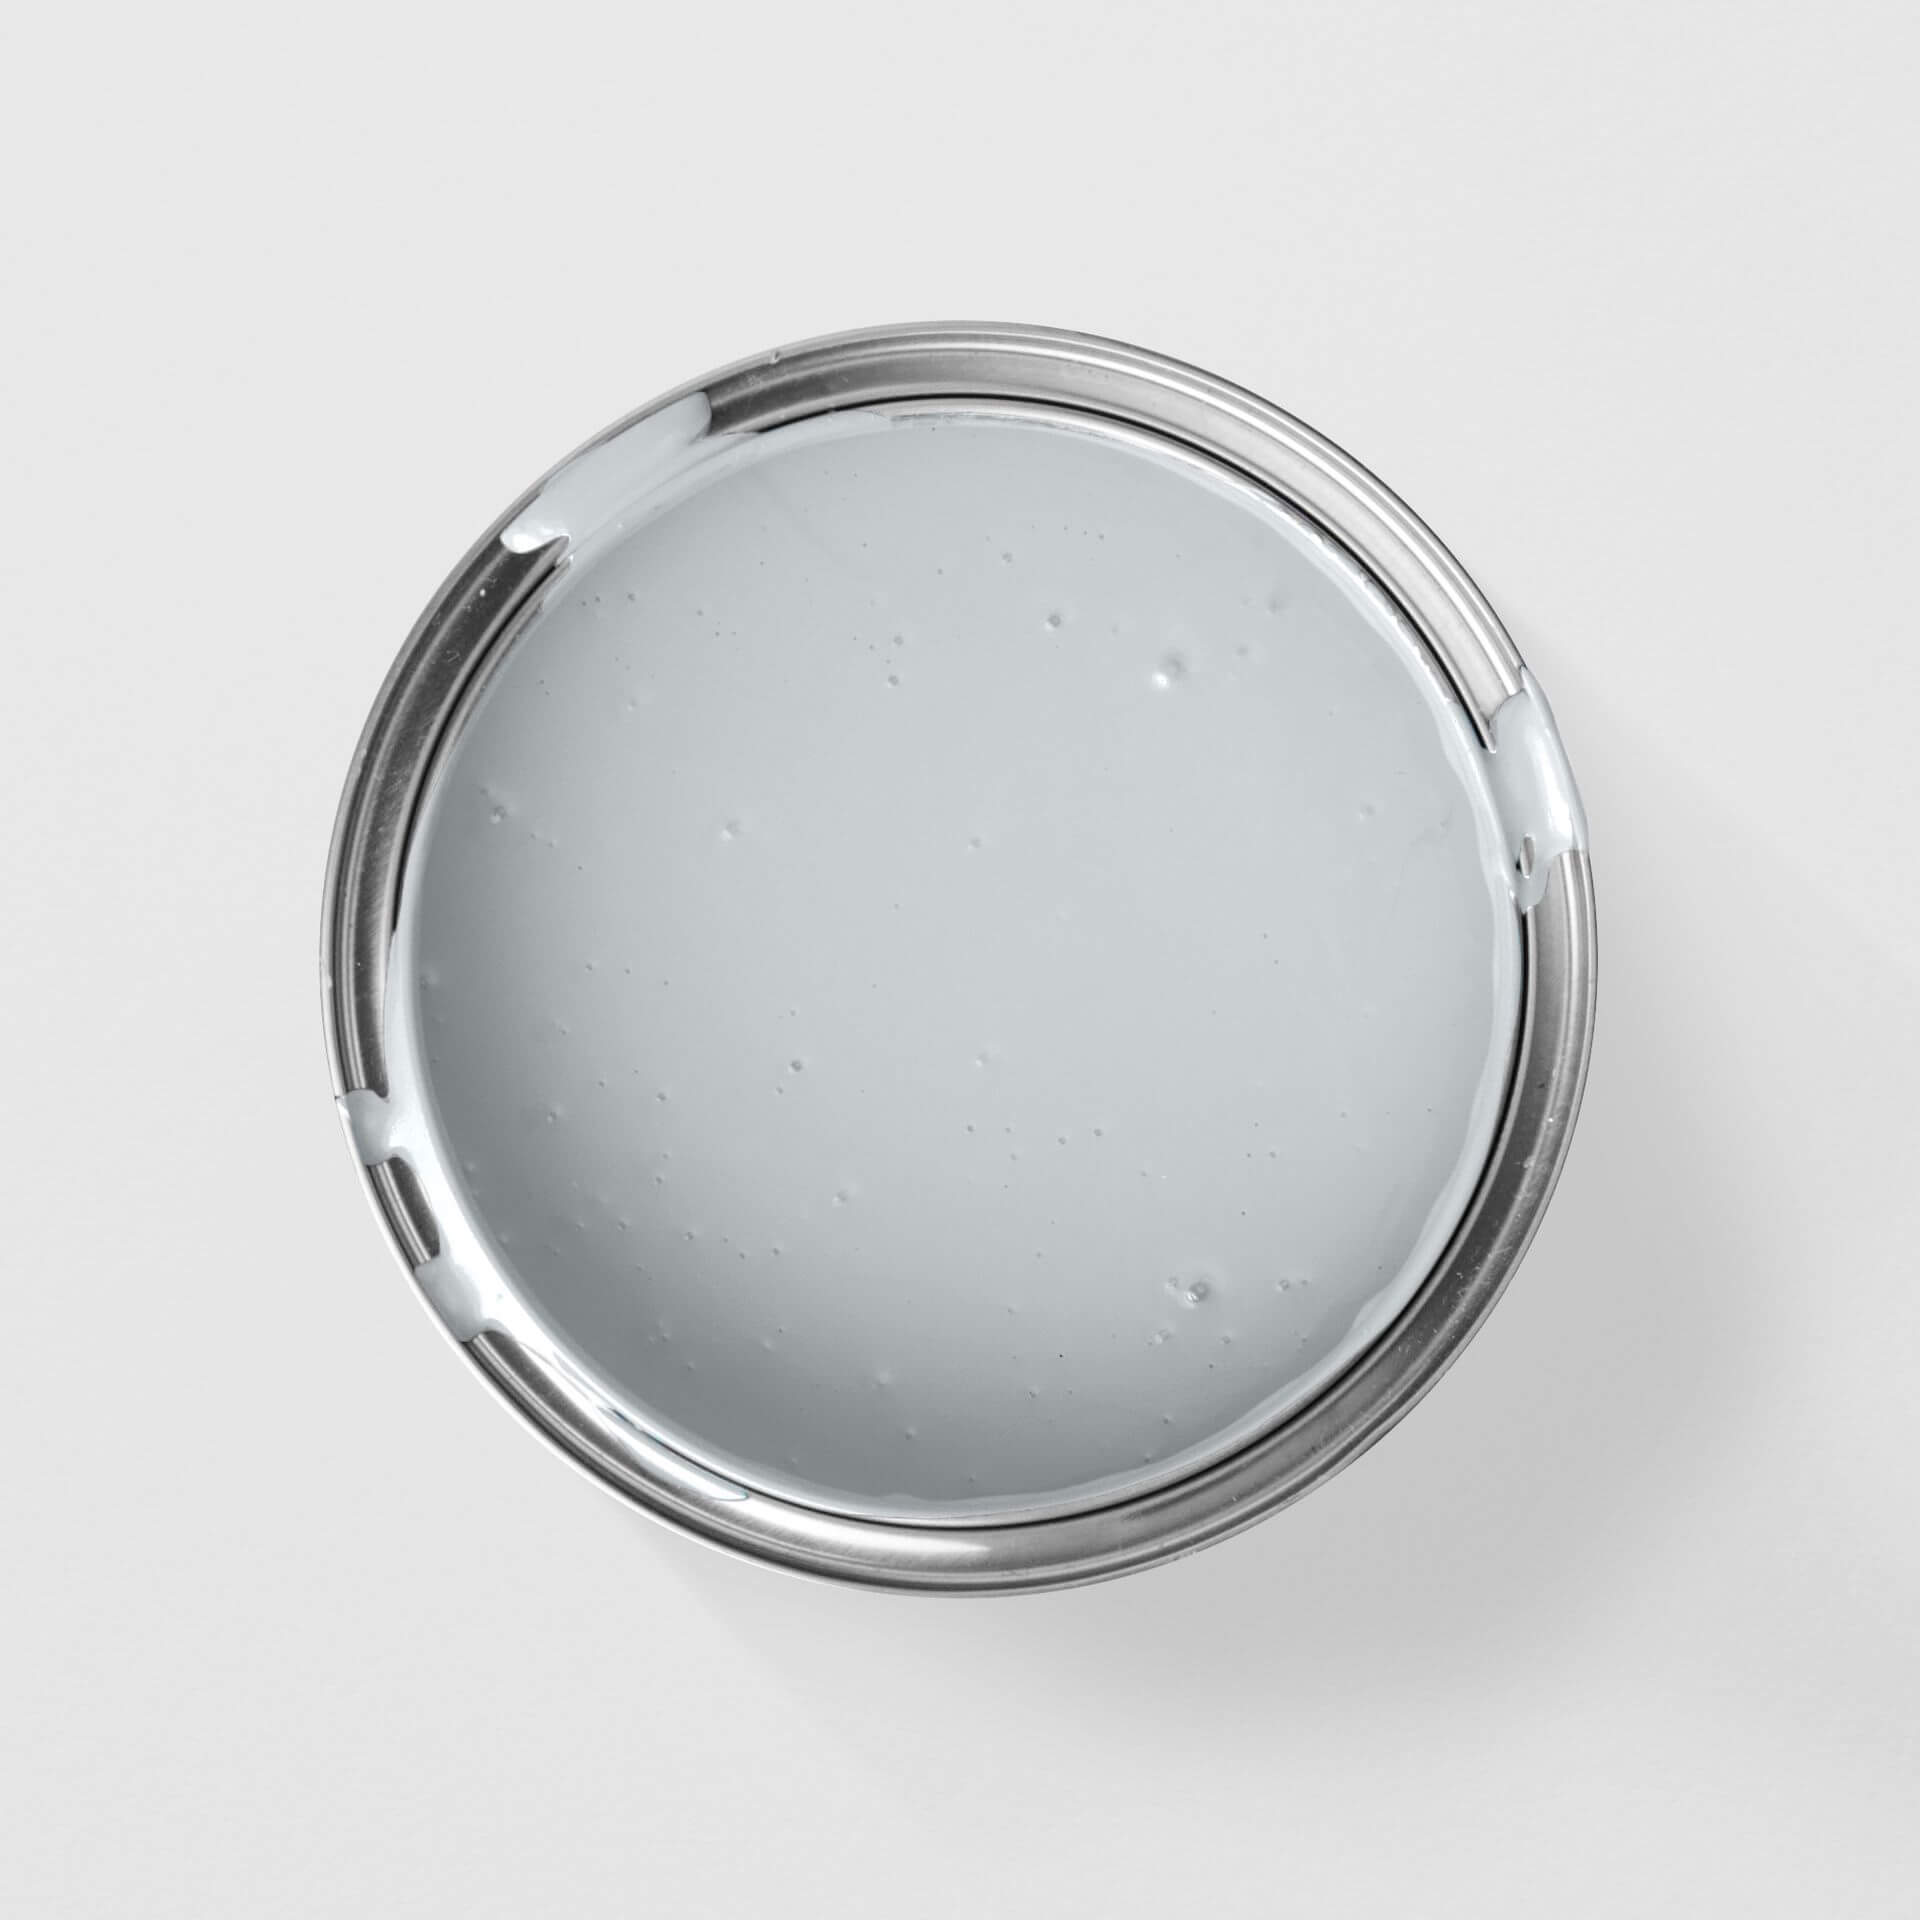
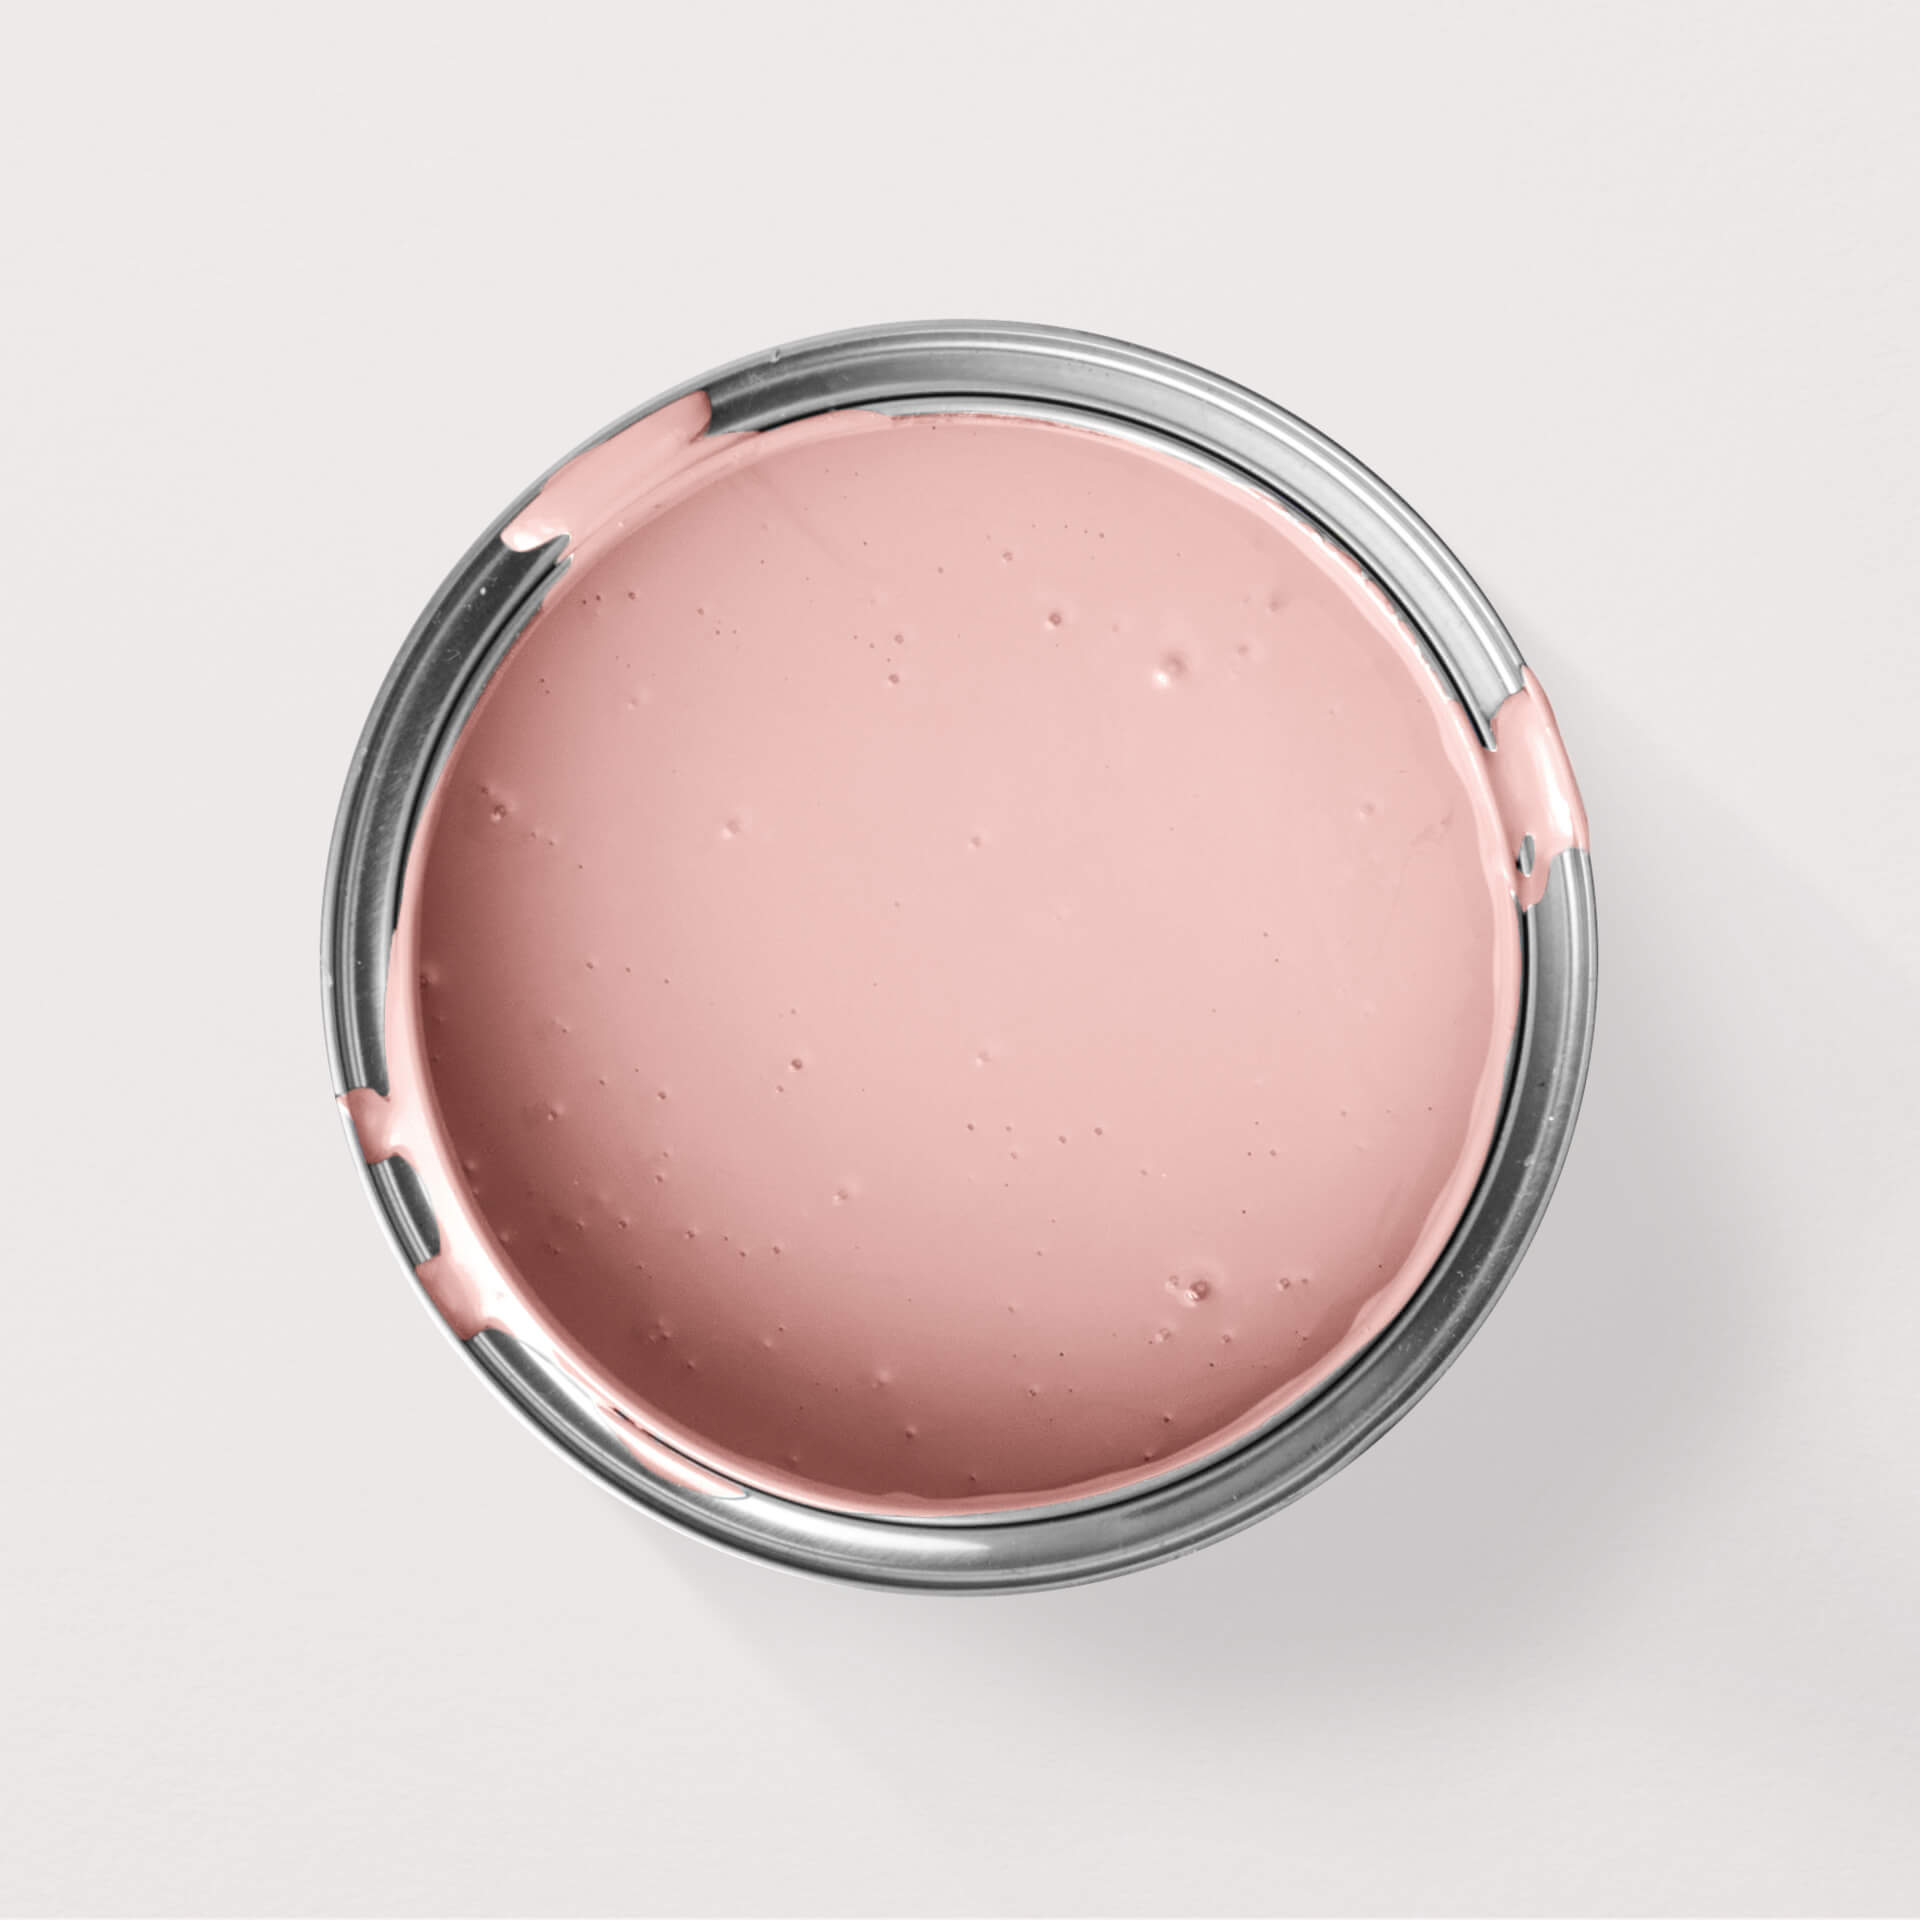
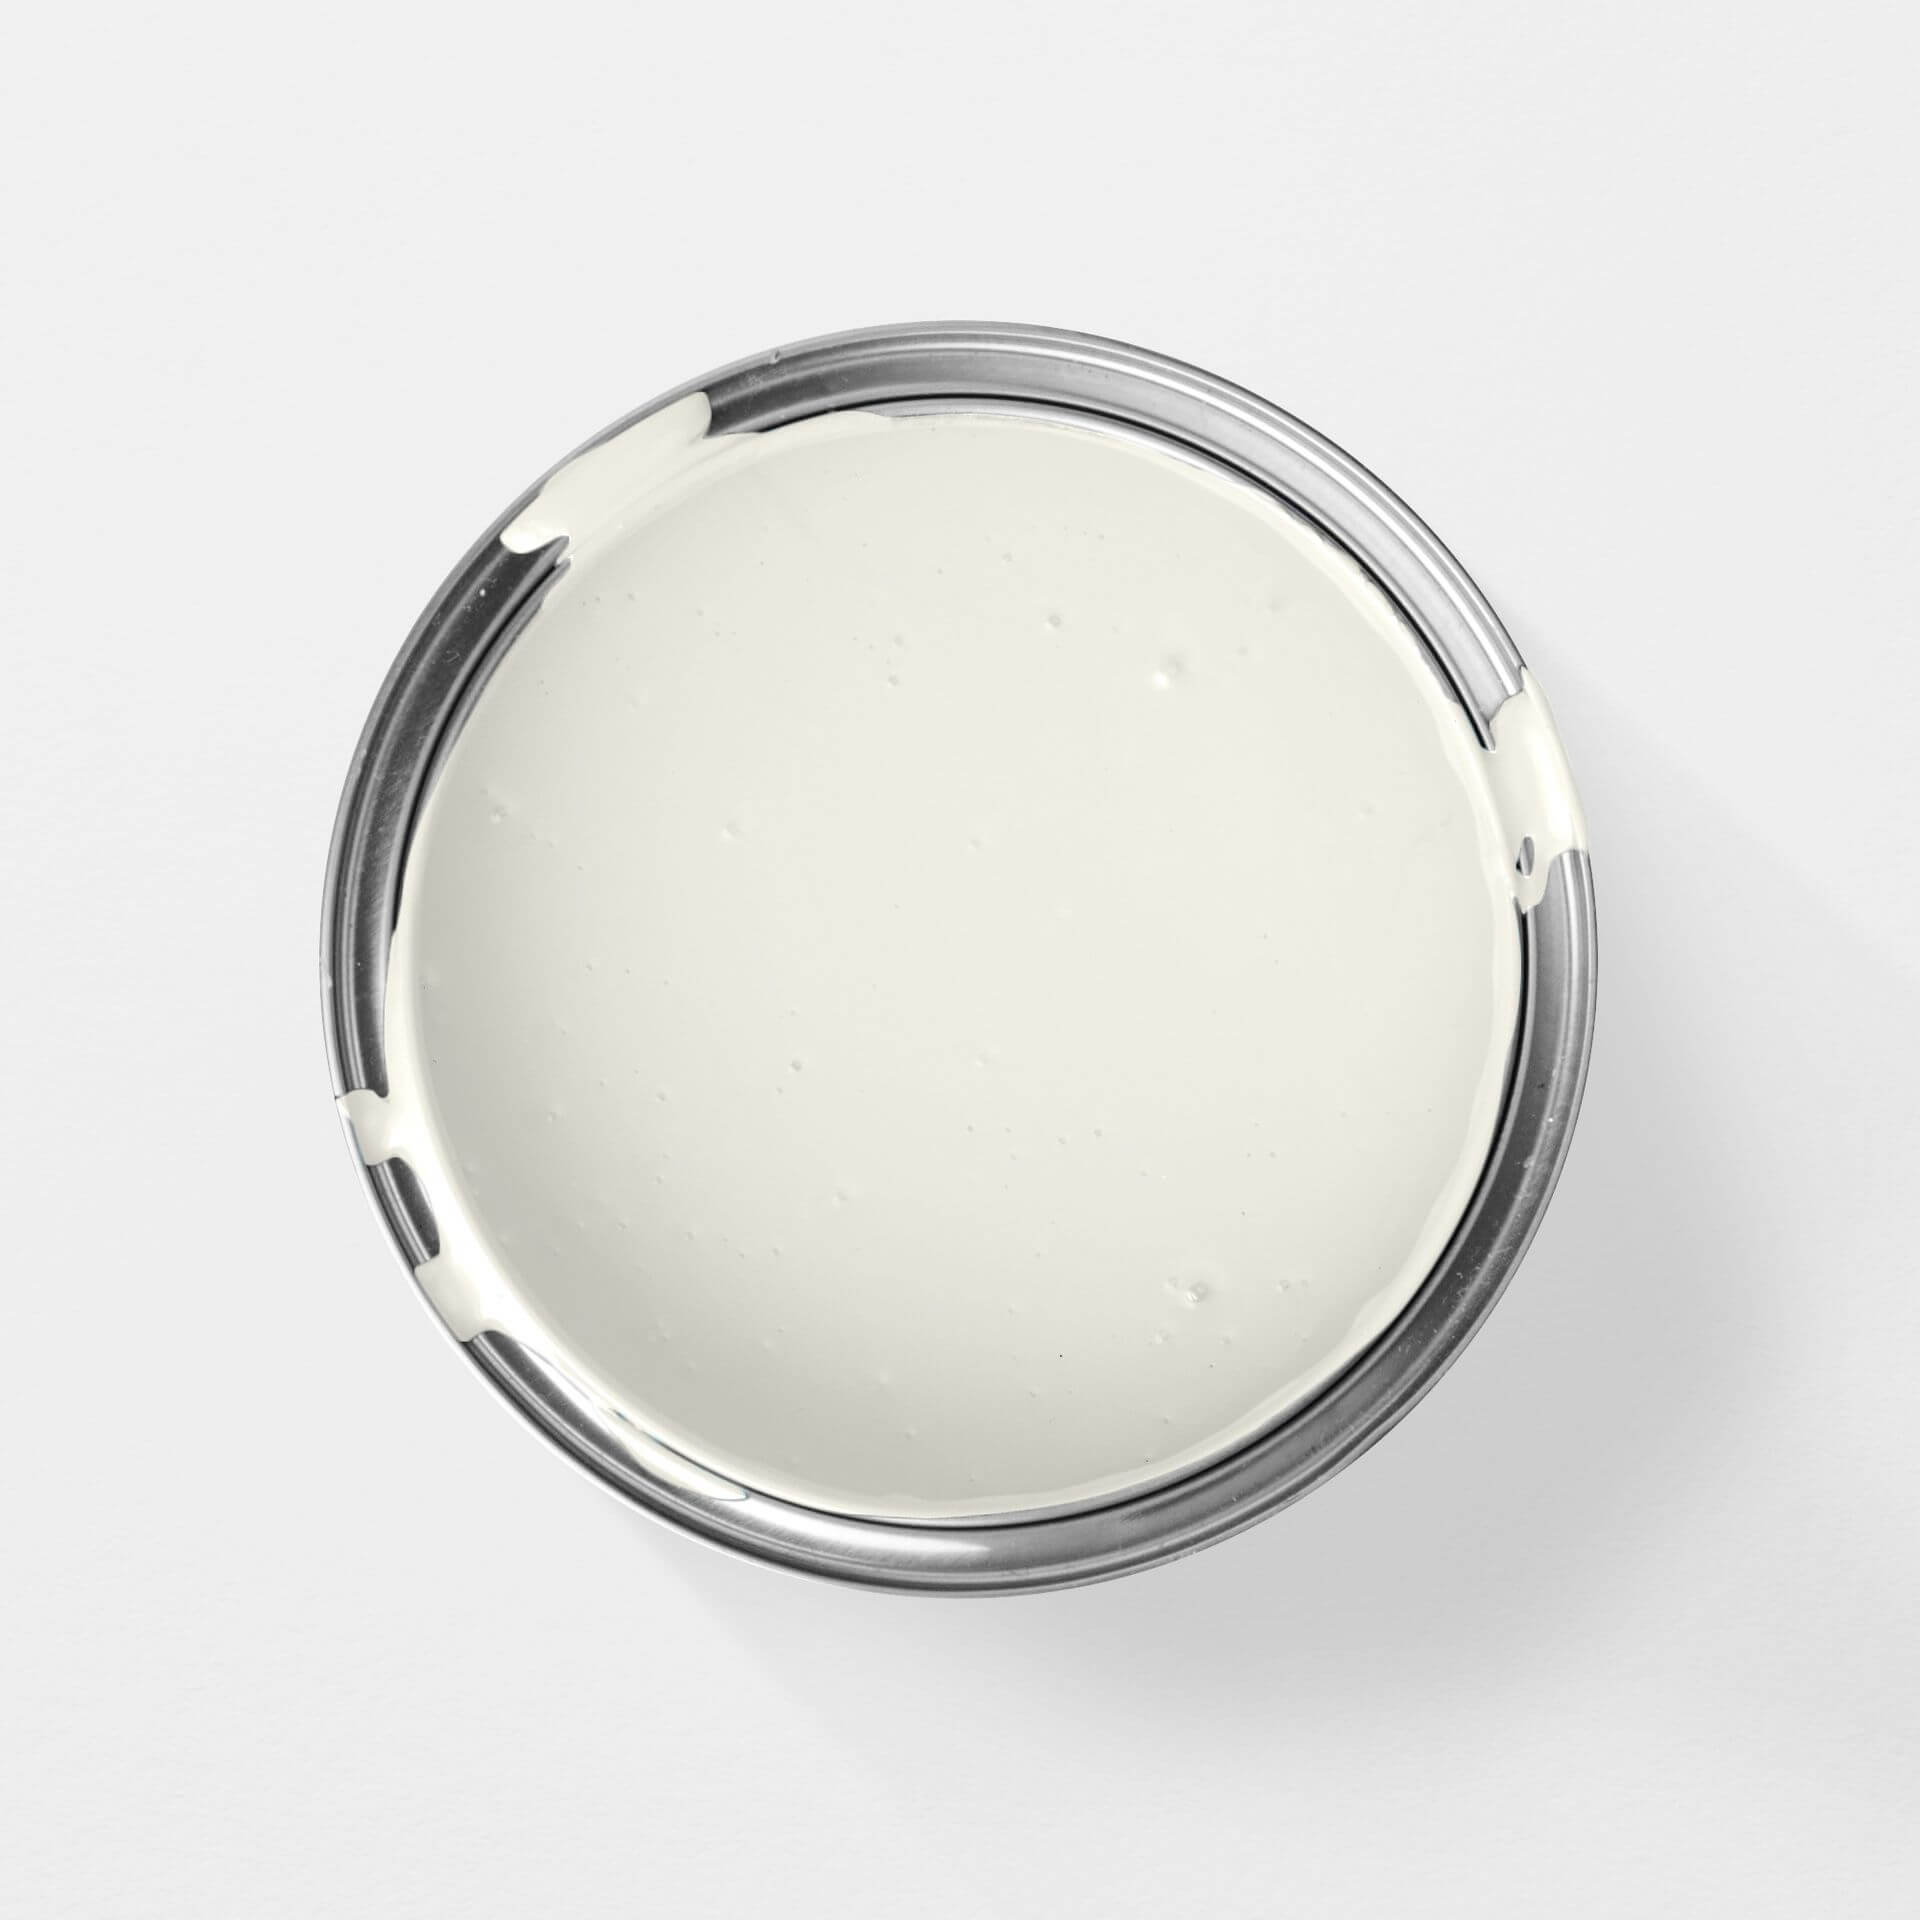
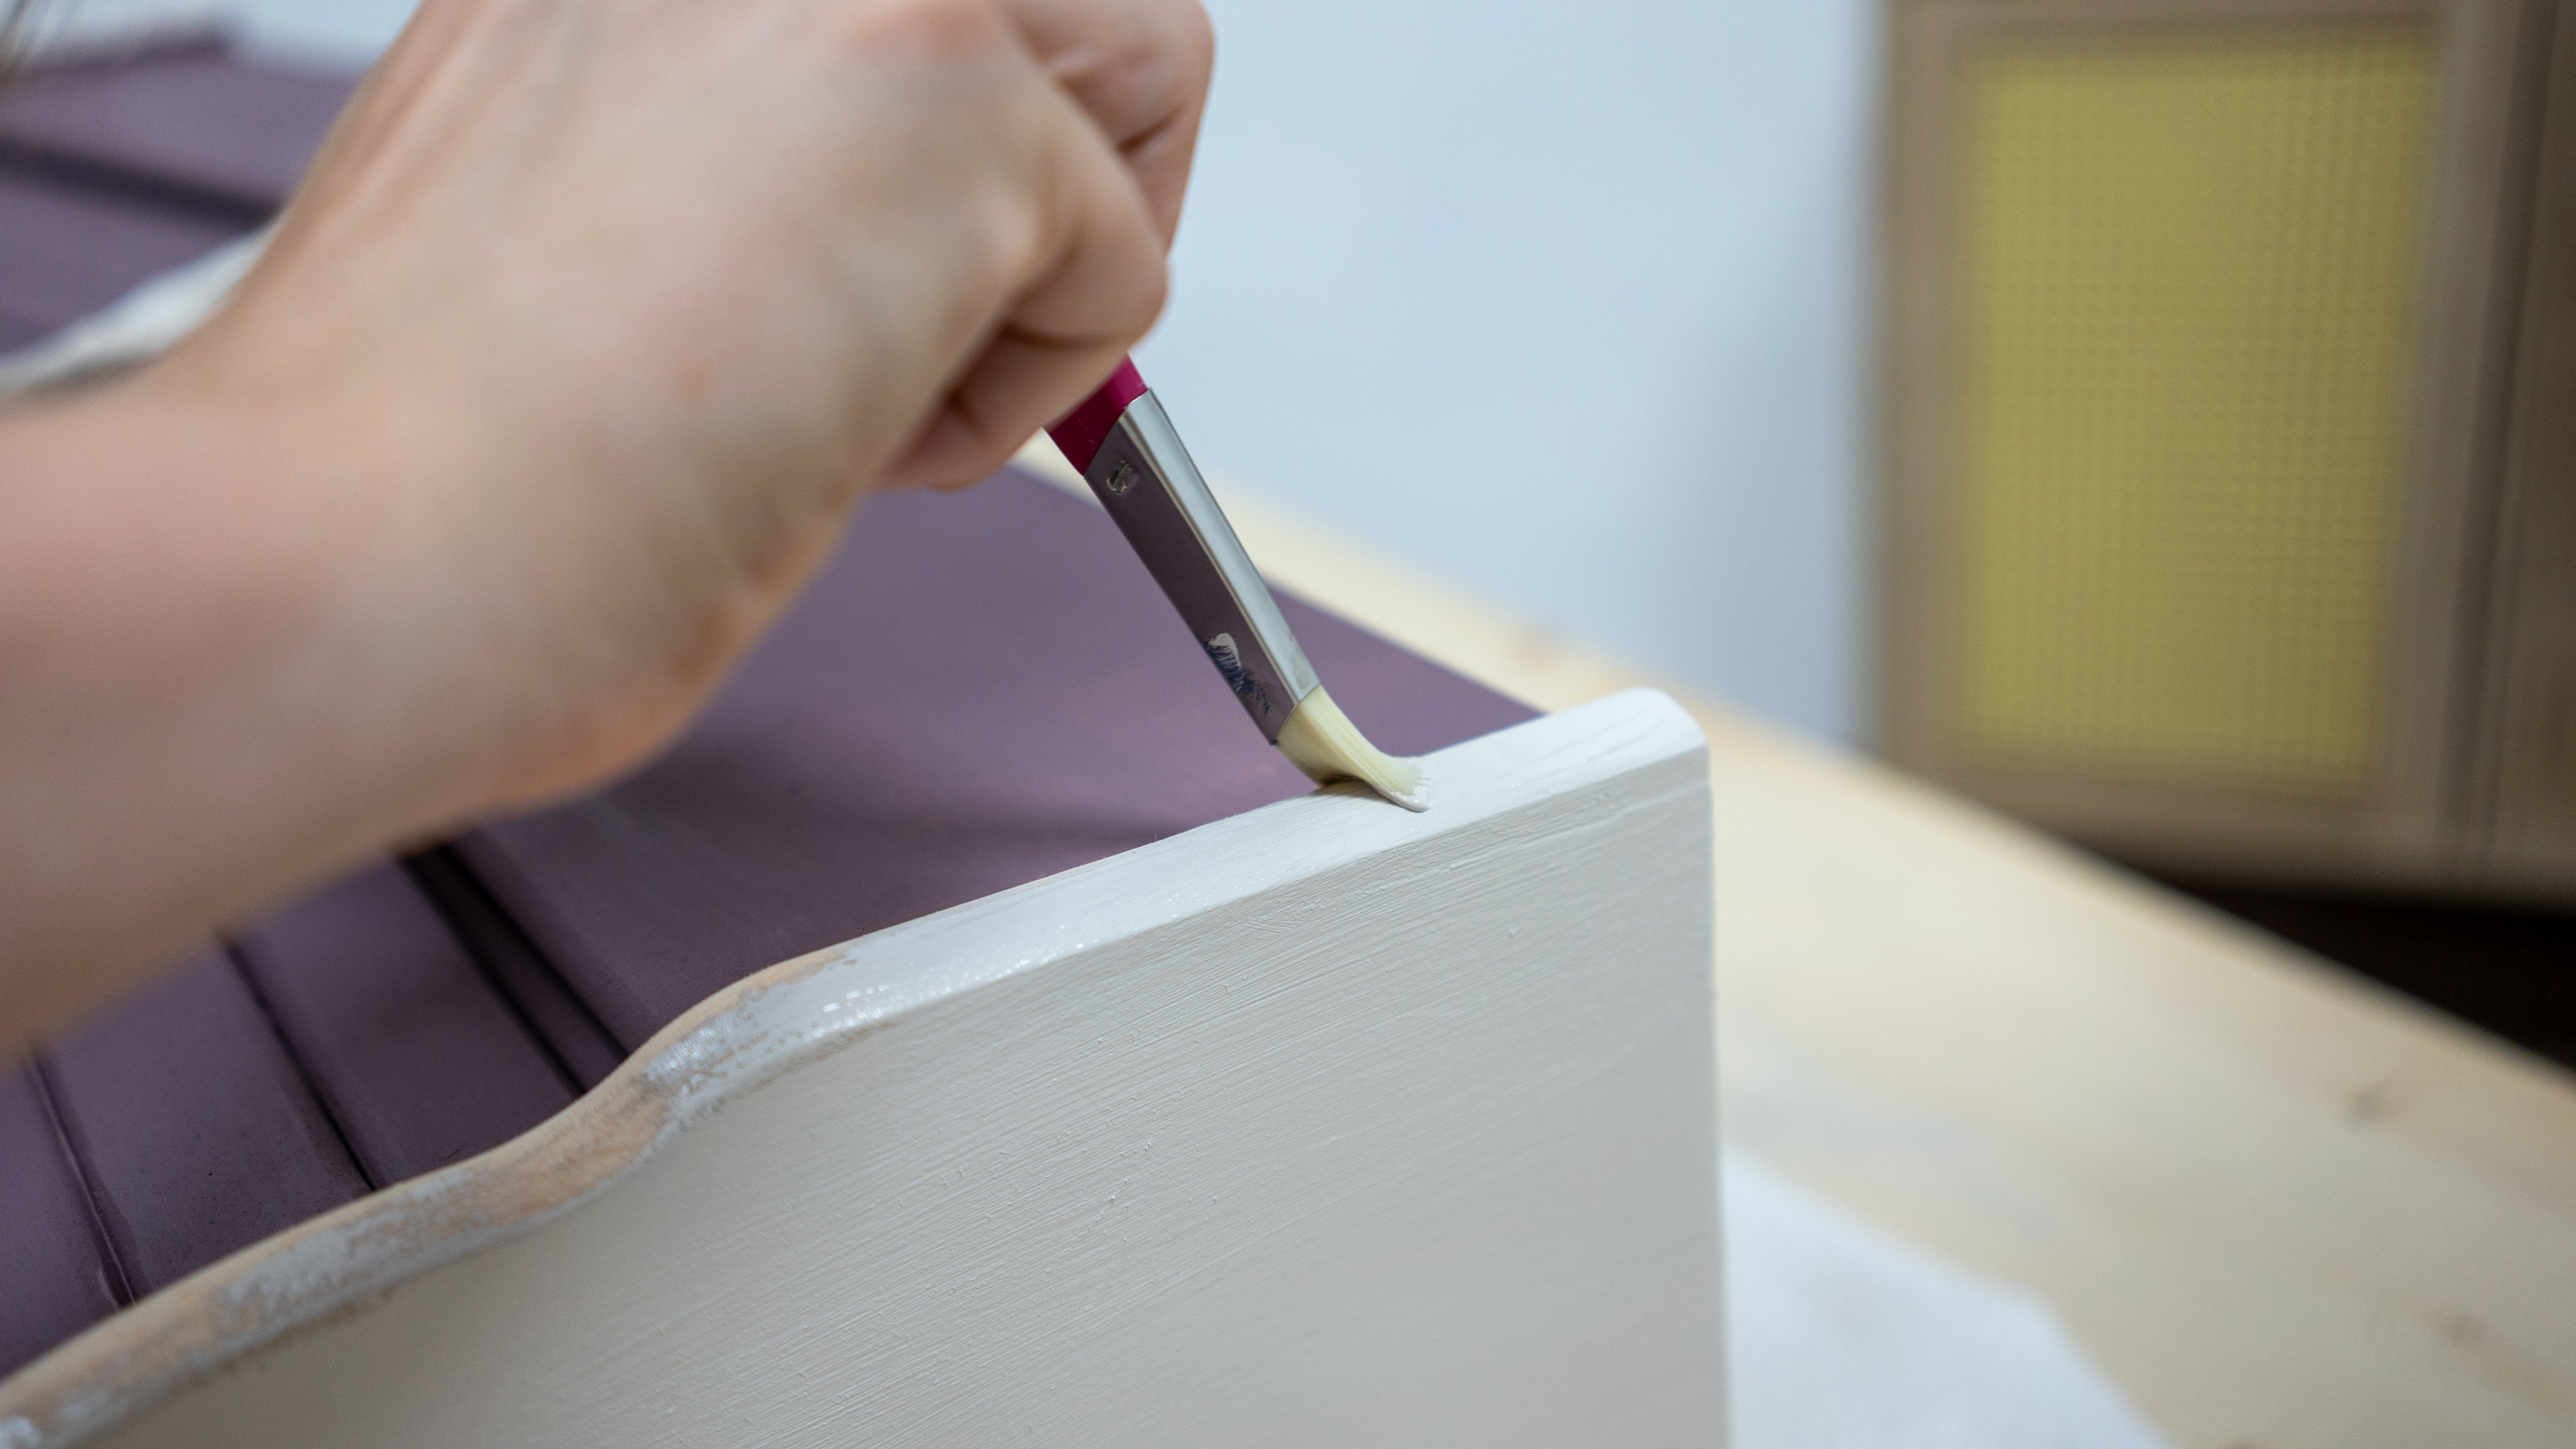
The next step is to apply the colour. Combine two chic colour shades to achieve a particularly elegant result.
To do this, mask off the area you want to paint in the second colour and then paint this part. It is best to apply the colour in two coats, allowing it to dry for around 5 hours between coats.
It is best to remove the tape while the paint is still wet.
Once you have also painted the legs, you can now screw them to the underside of your table.
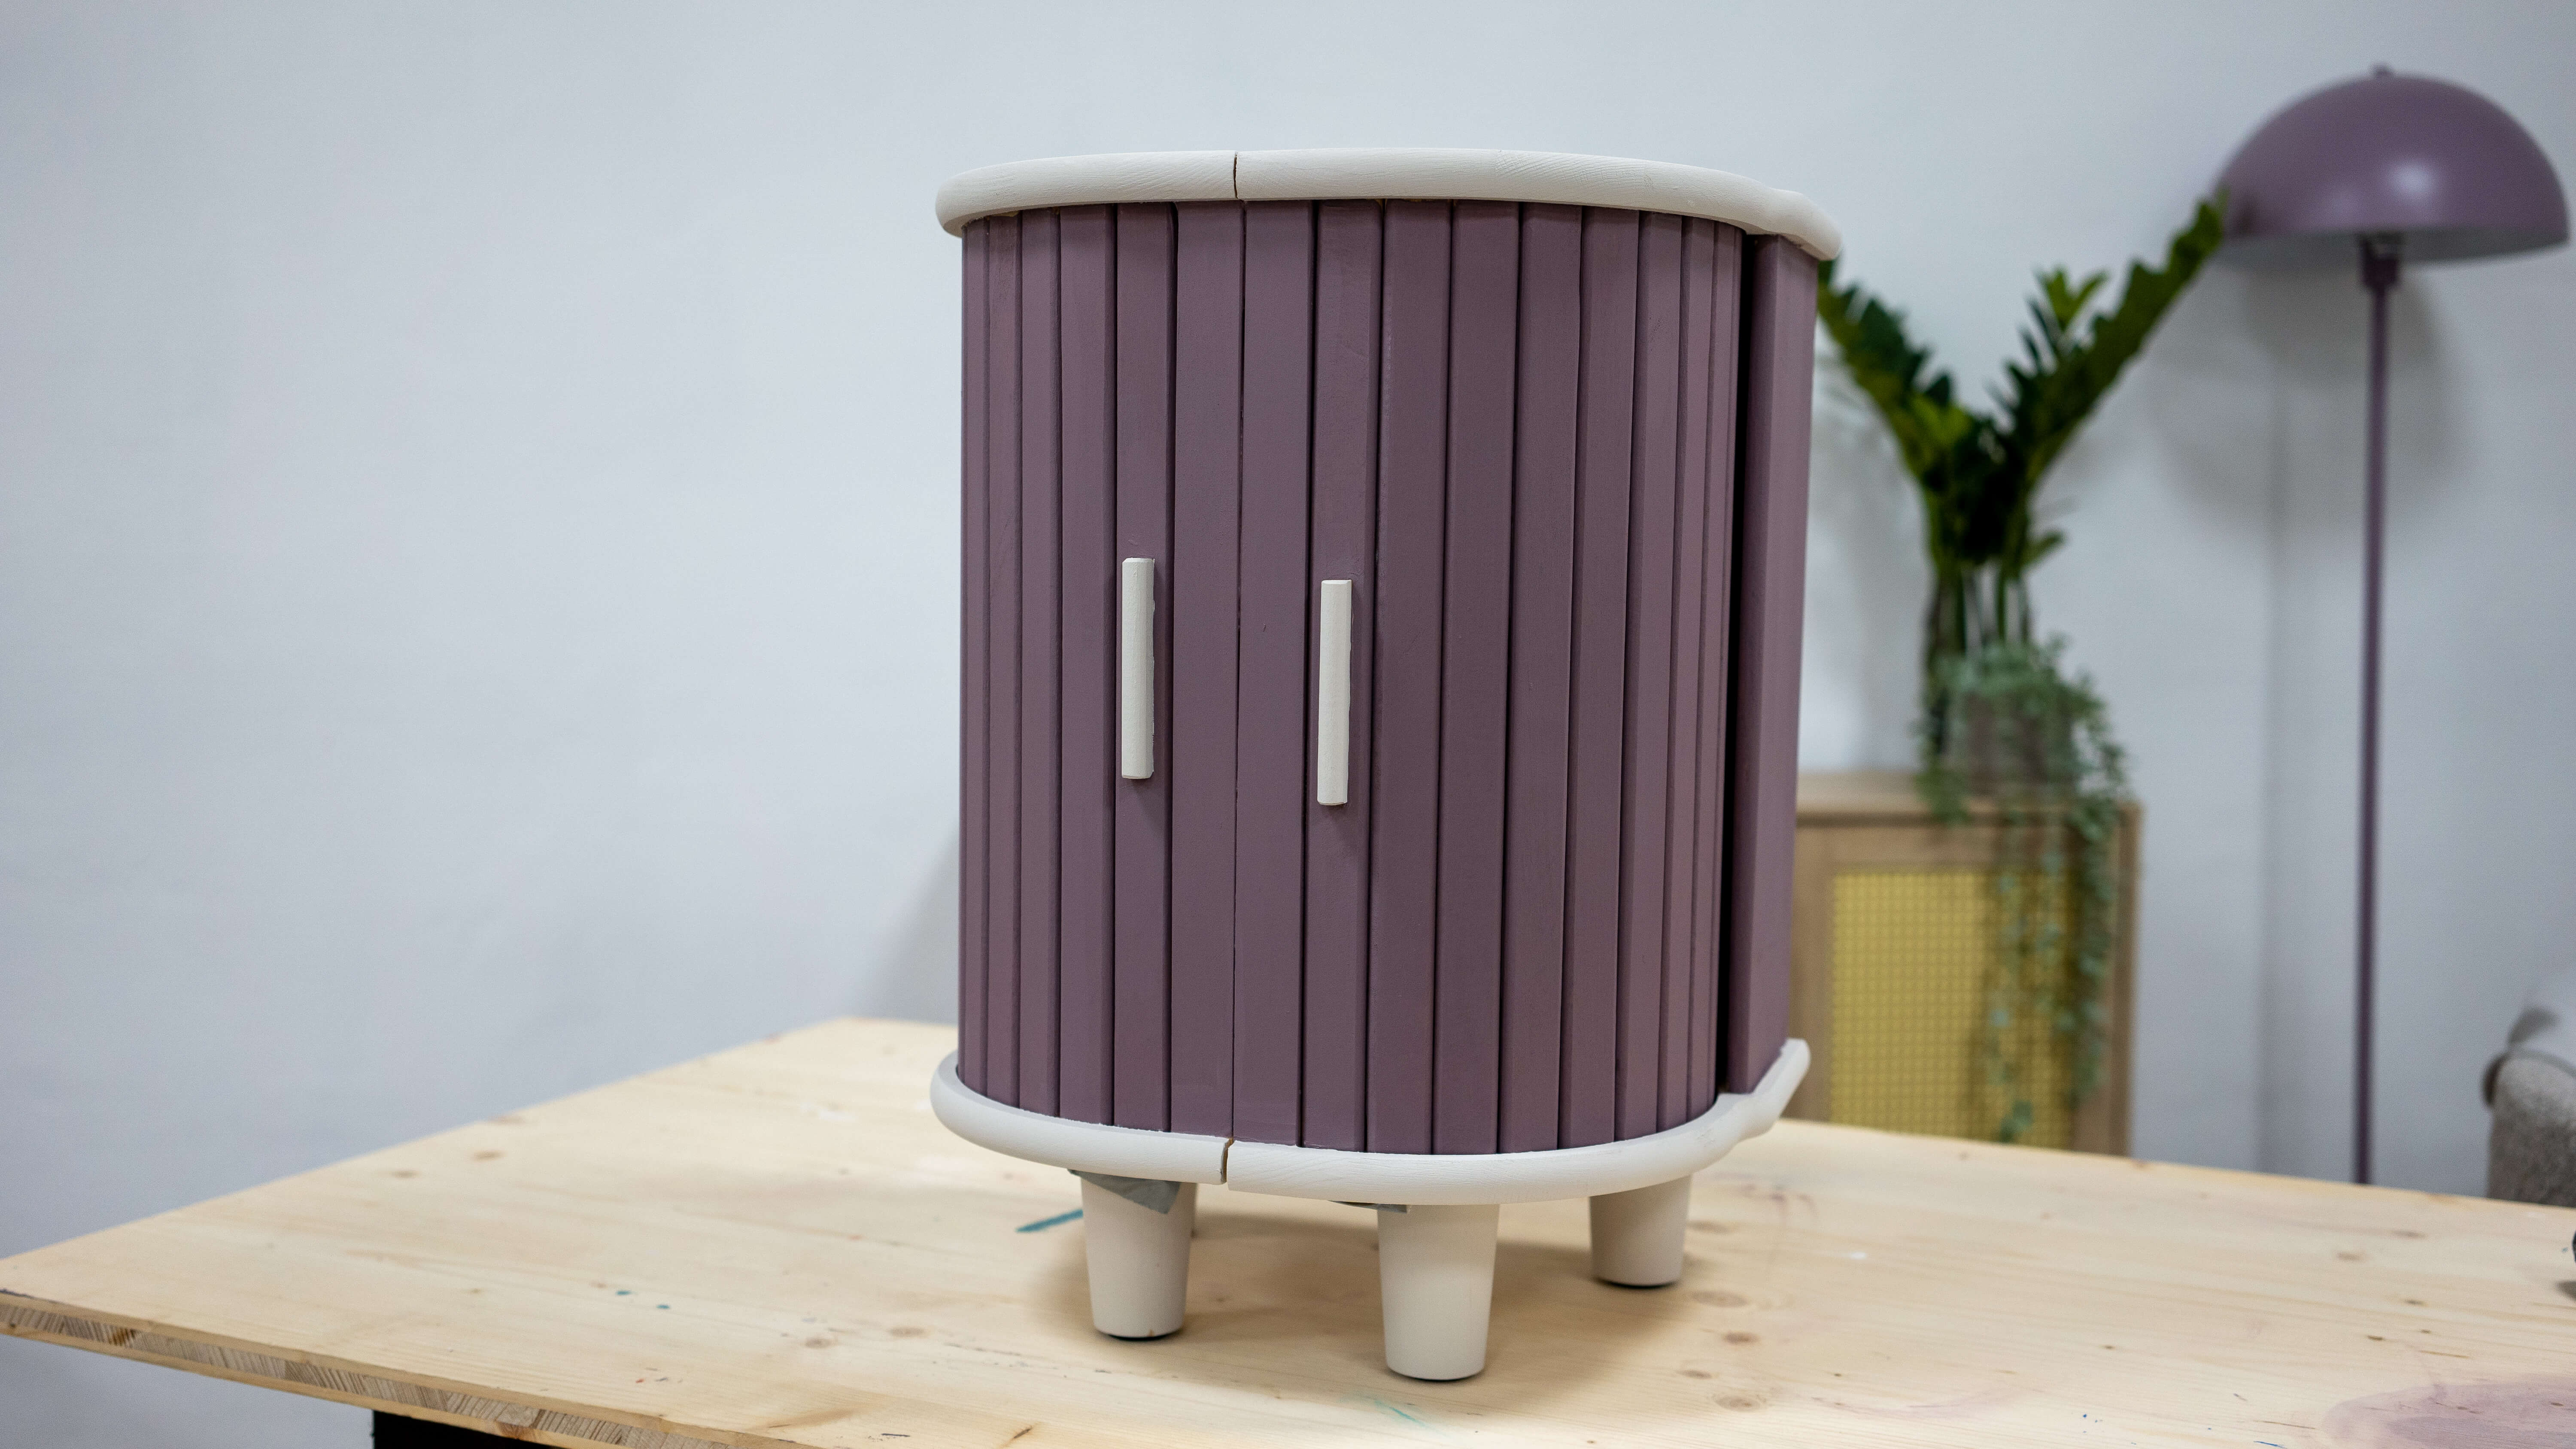
Finally, place the assembled bread bins on the screwed or glued legs. Now open the tambour doors by sliding them to the right or left.
IKEA Magasin as a stylish side table - for every interior design style
Now it's time to embellish: Of course, you can also hang the small cabinet on the wall. In this case, you don't need the legs. But if you want it to stand, it's time to choose the legs. In our example, we have opted for simple, compact legs.
However, not only short, sturdy legs are suitable. With filigree metal legs in the shape of a hairpin, your side table can immediately be placed in the mid-century era of the last century. Depending on the choice of legs, the side table adapts to its surroundings and fits in with any interior style.
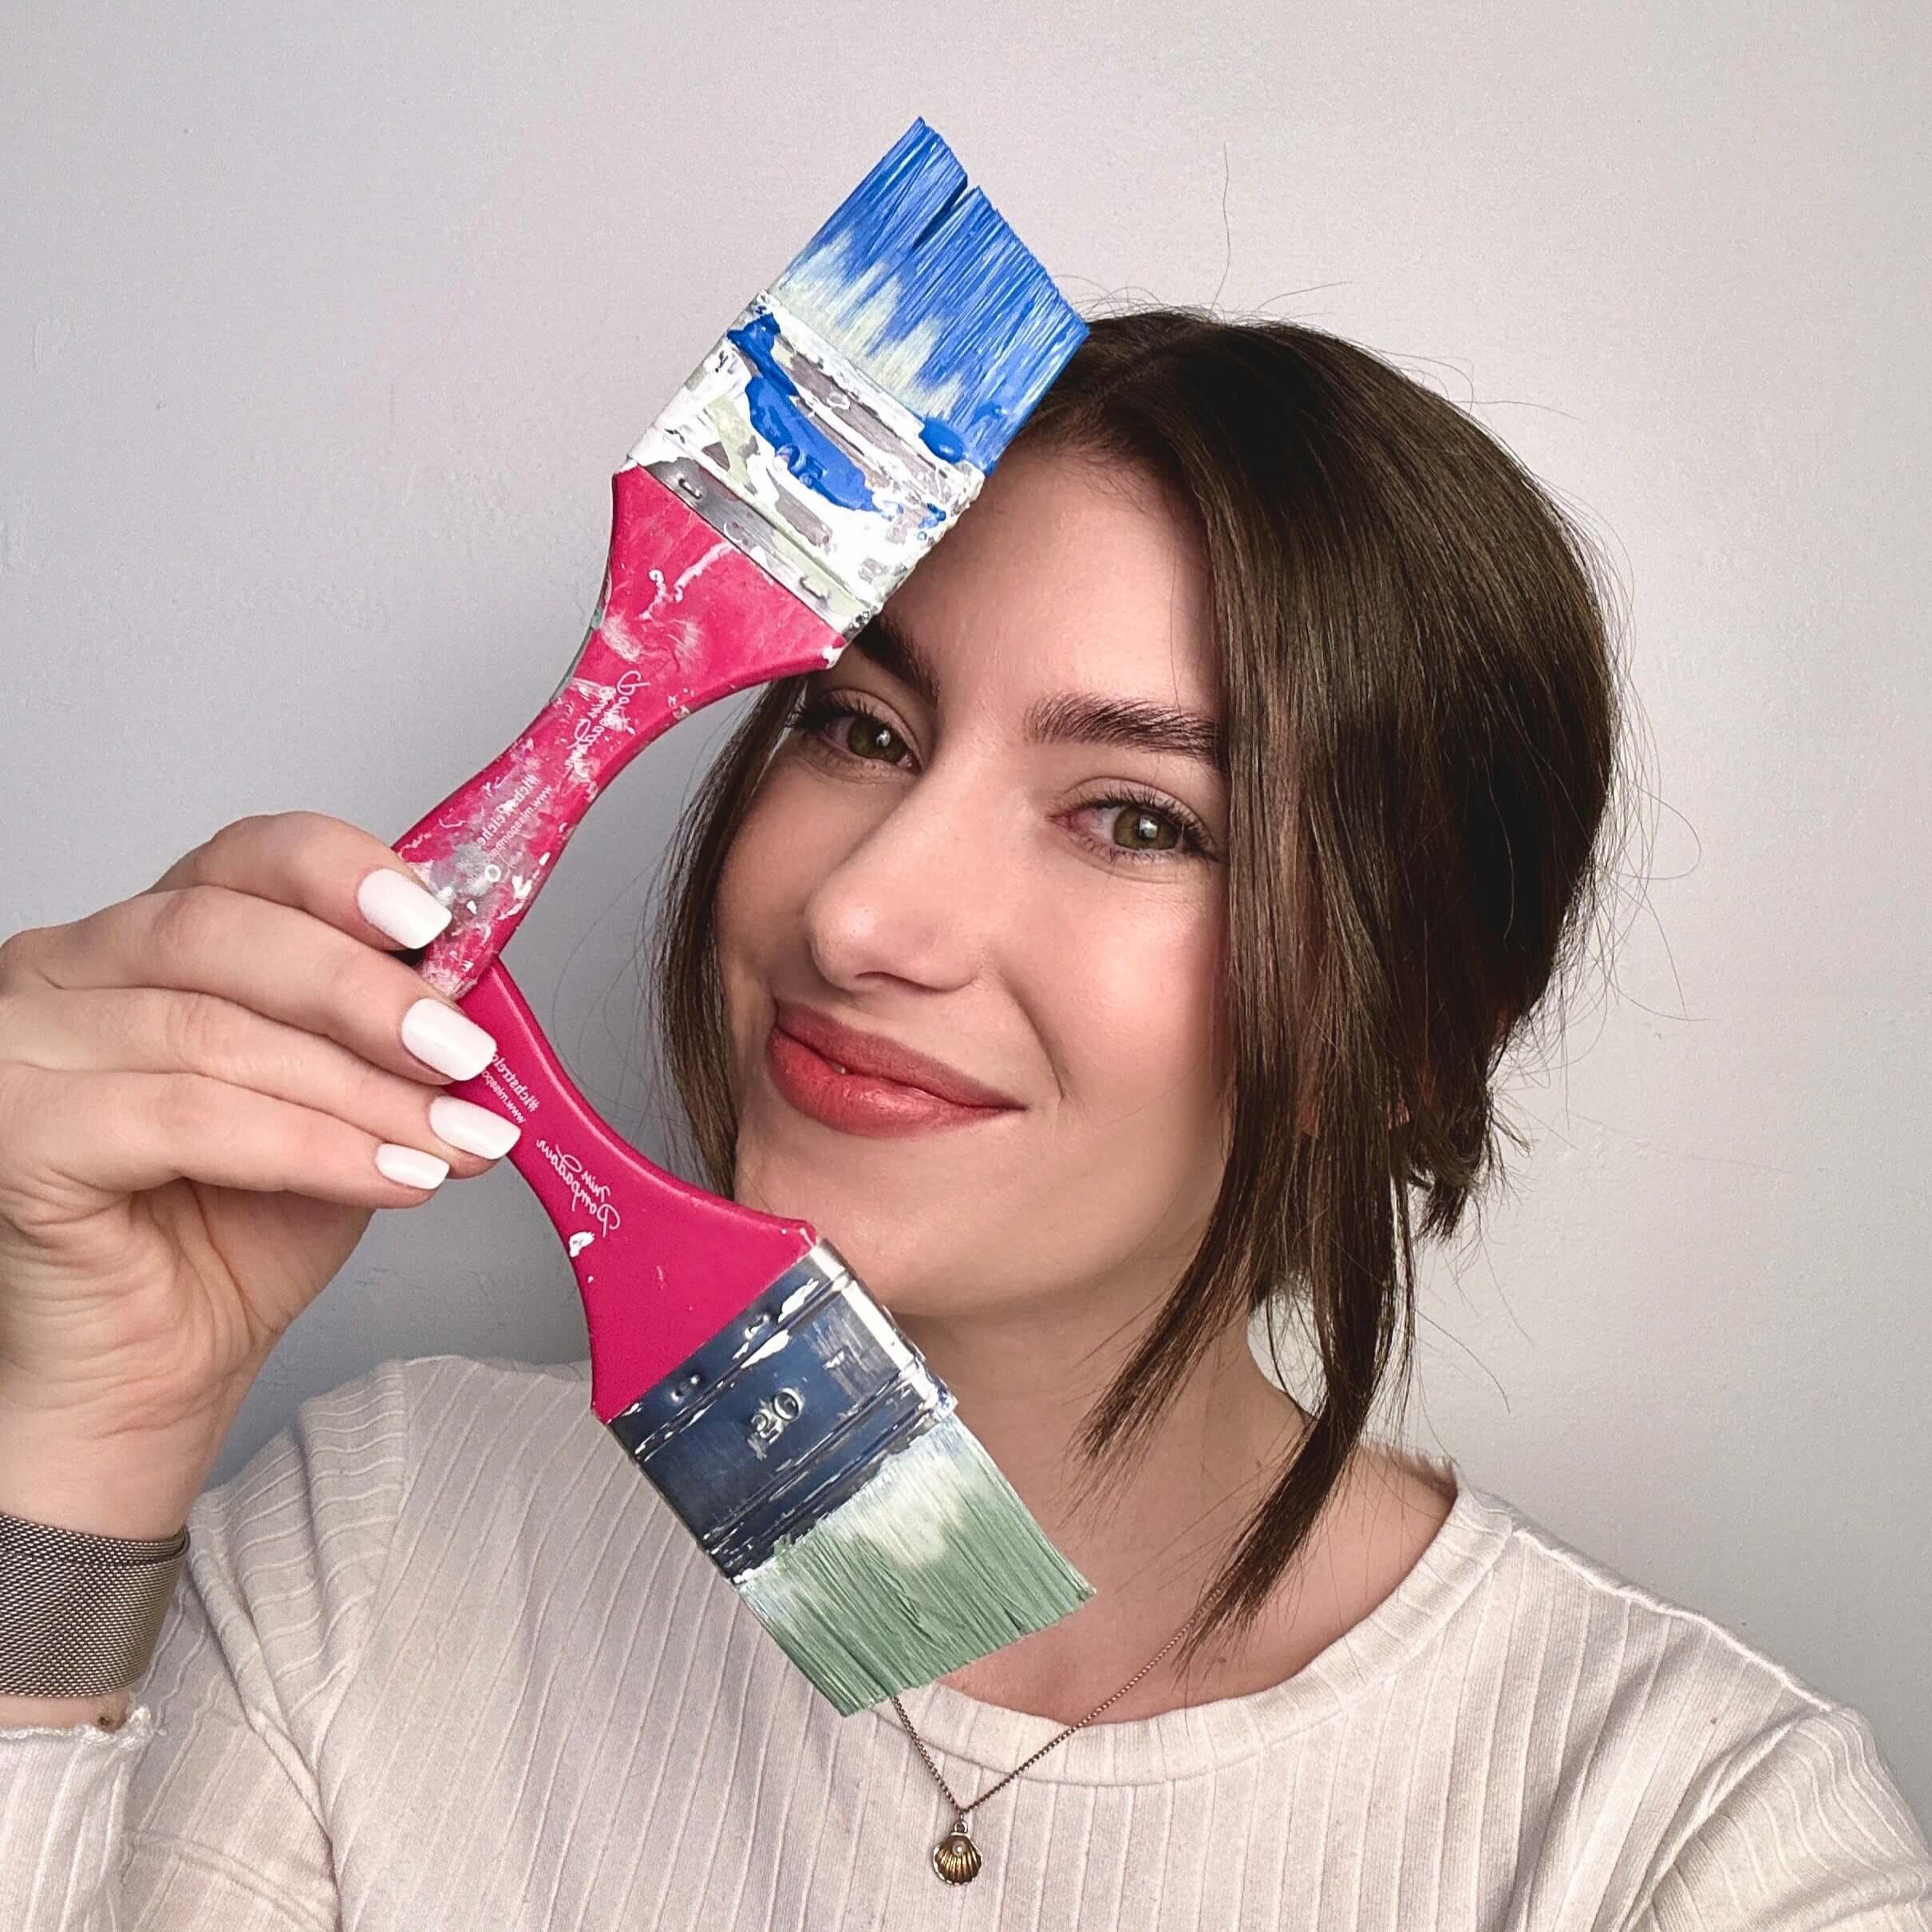
Finally, the most important thing: the colour scheme.
The side table looks particularly attractive if you contrast the colour of the top and bottom edges with the body. You can also paint the handles in a contrasting colour.
If you use Easy Eggshell! you will get a silky matt, elegant surface. The side table also looks particularly elegant in a matt finish. Choose one of the chalk varnishes from the CosyColours or LittlePomp collections and give free rein to your creativity when selecting the colour shades.
Pro tip: If you want to hang two bedside cabinets on the wall to the right and left of the bed, you can achieve a particularly sophisticated effect by painting them tone on tone with the wall.
Discover even more IKEA hacks at MissPompadour
With this simple IKEA hack you have conjured up a really great result.Fancy more? Then take a look at the other IKEA hacks from MissPompadour! You can also find instructions for Kallax here and create great, unique furniture from Hemnes.