


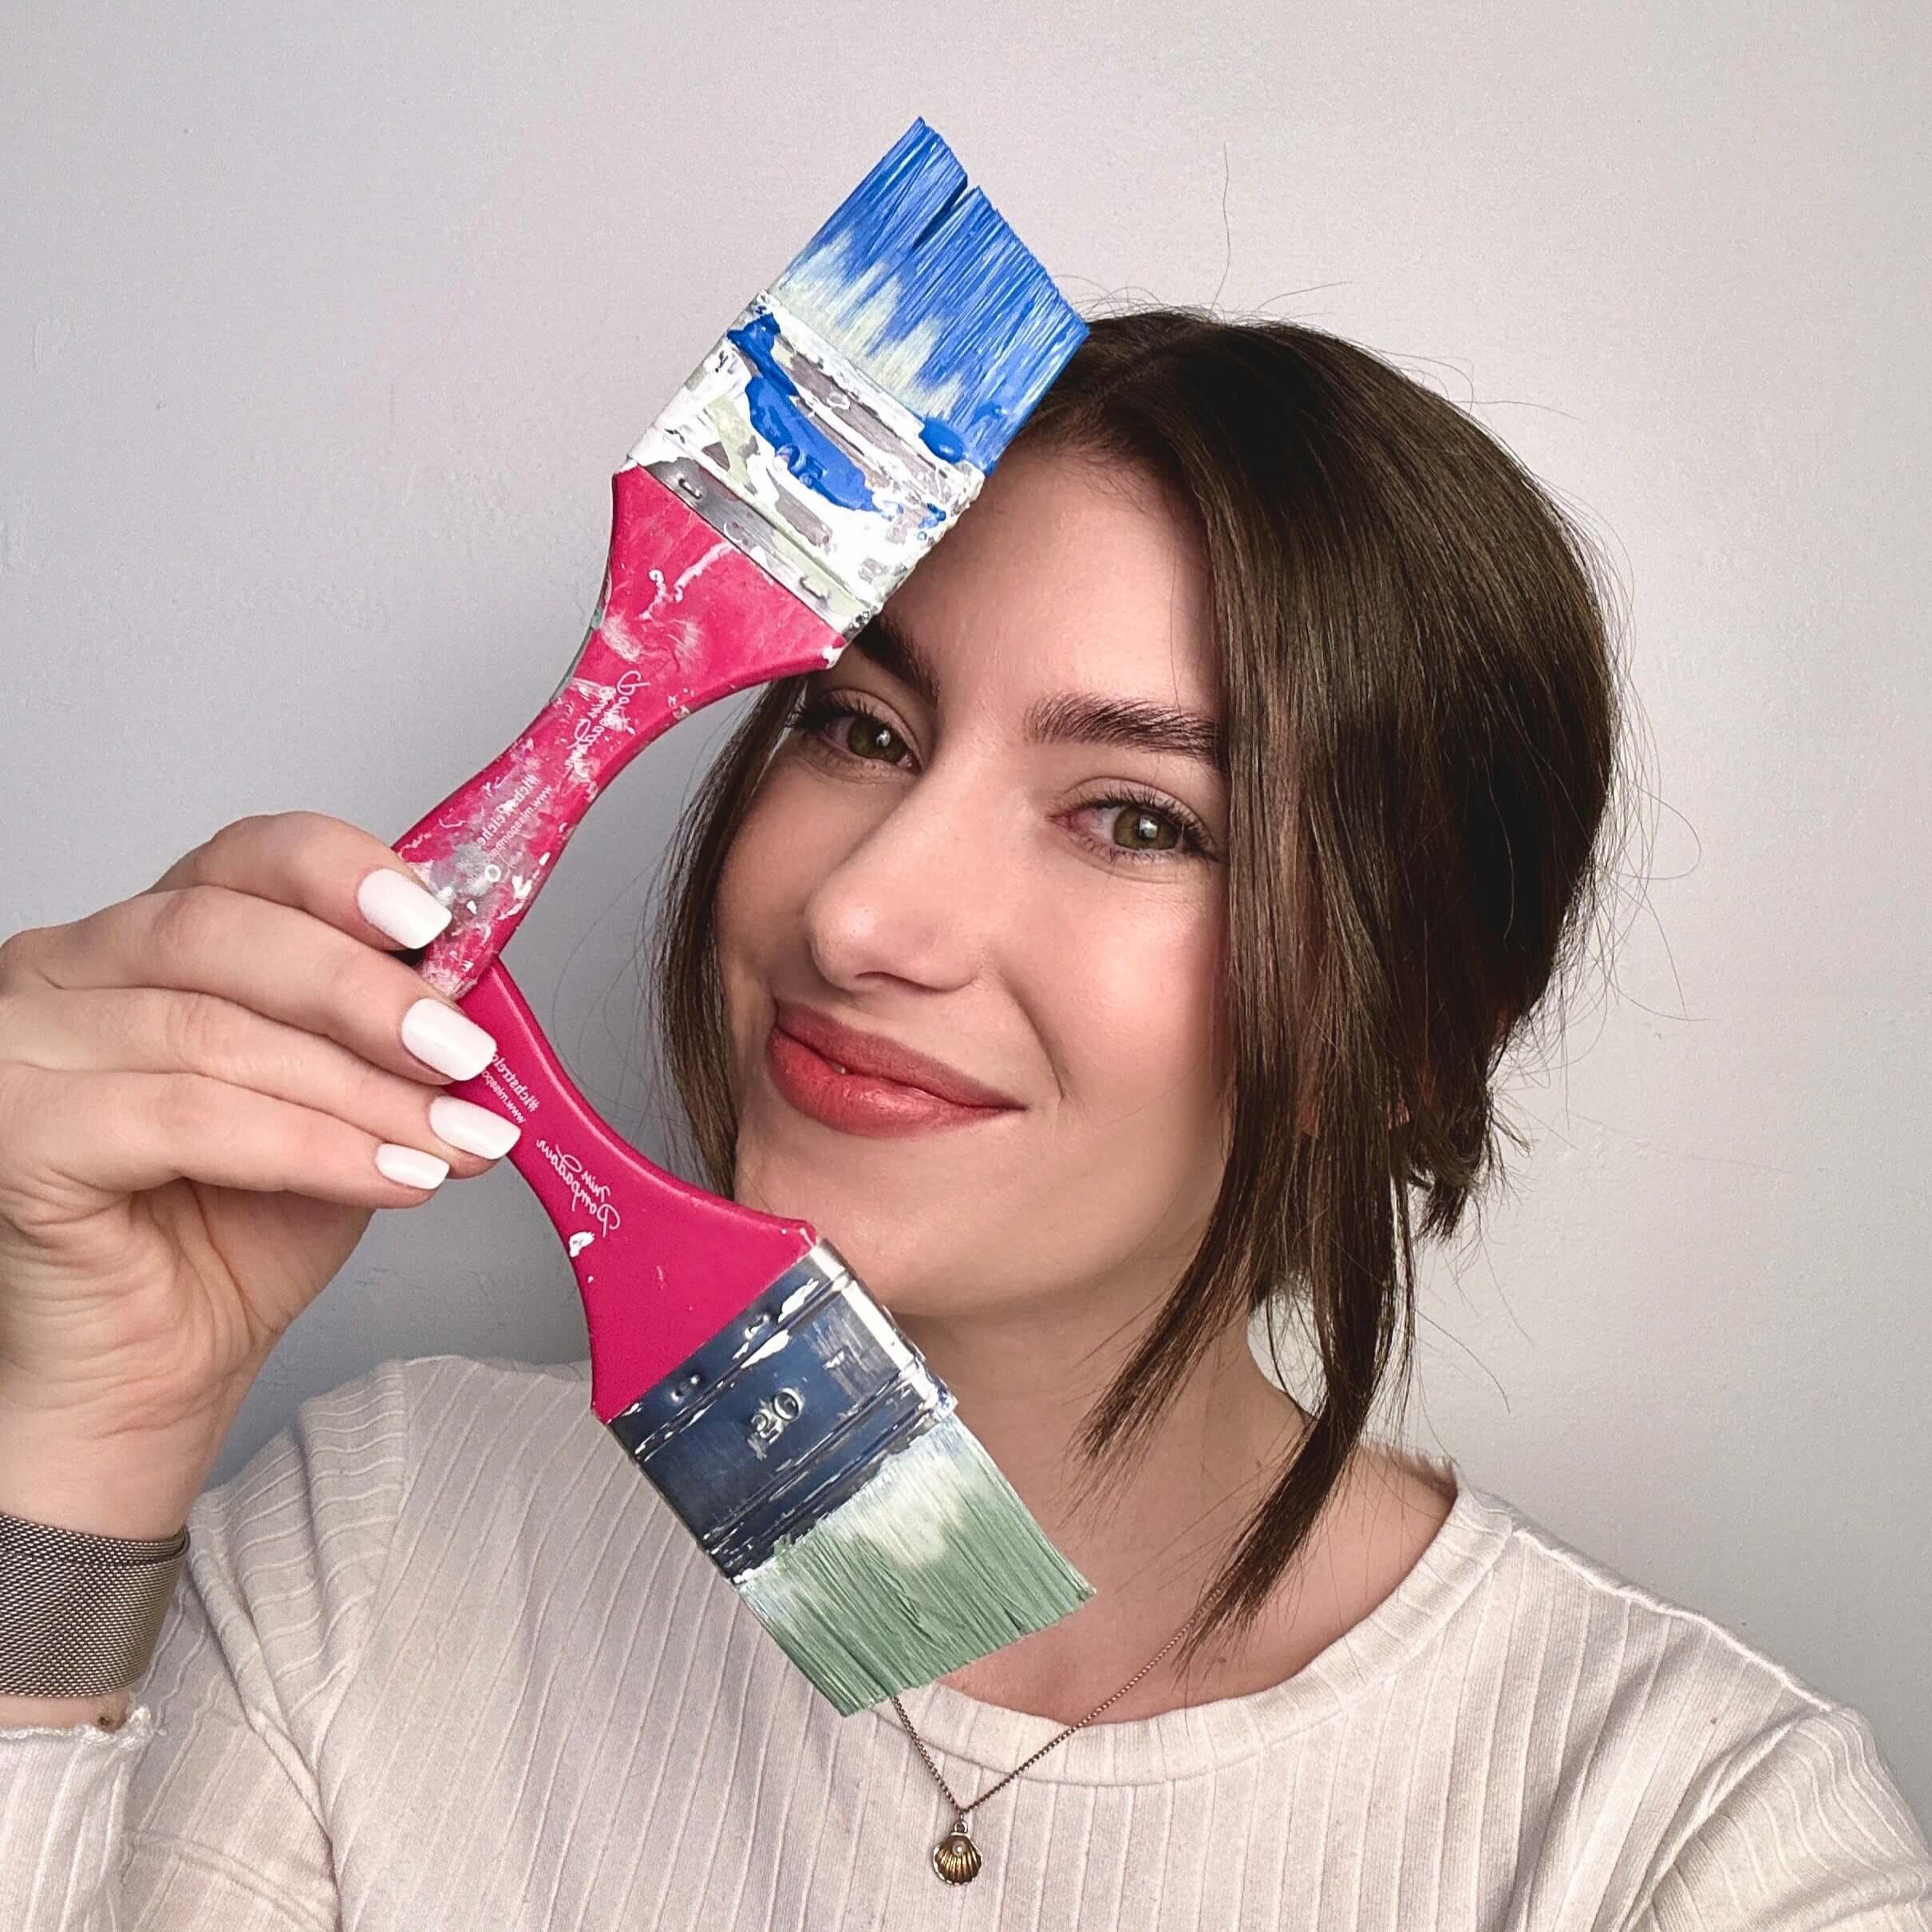


Painting Tiles in Kitchen and Bathroom: the MissPompadour DIY-Tutorial
15 min reading time
New house, new flat - but unfortunately the tiles in the bathroom and kitchen are anything but beautiful! The budget is exhausted for now, but you still don't really want to put up with the tiles. What can you do? We say: just paint! Whether bathroom or kitchen tiles. Here we explain how you can beautify your tiles with the help of our varnishes!
With relatively little effort, you can transform your old tiles into modern eye-catchers. The painted tiles are hand-dry after a few hours and develop their full stability during the curing time of around 10-14 days - then you have a robust surface suitable for everyday use.
Would you like to paint floor tiles? Click here for the right blog.
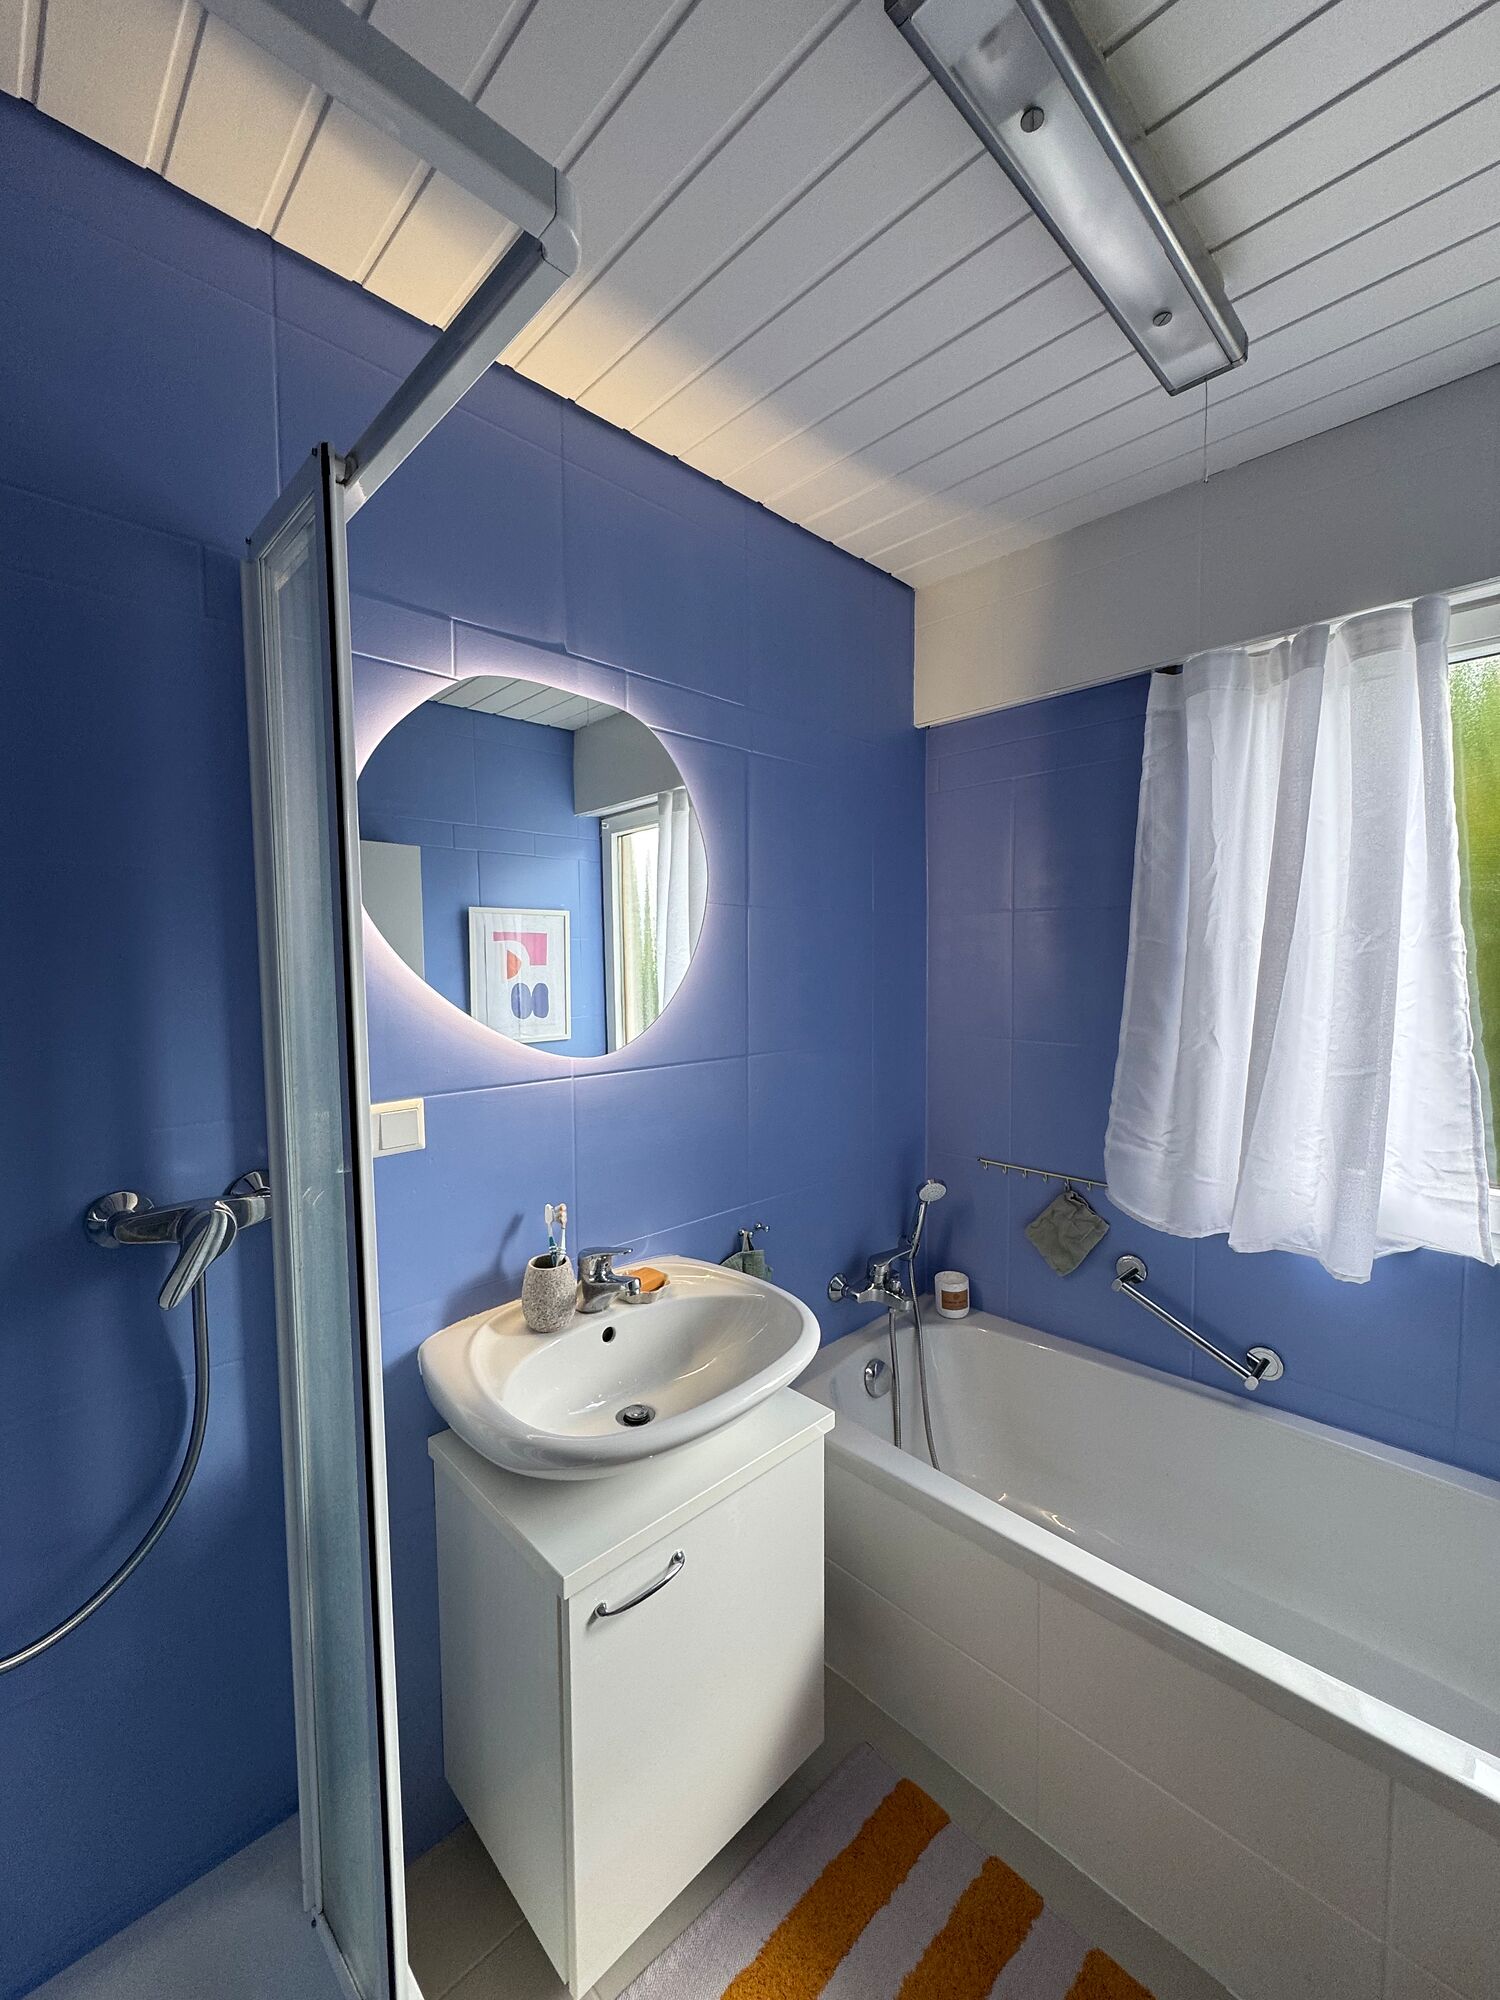
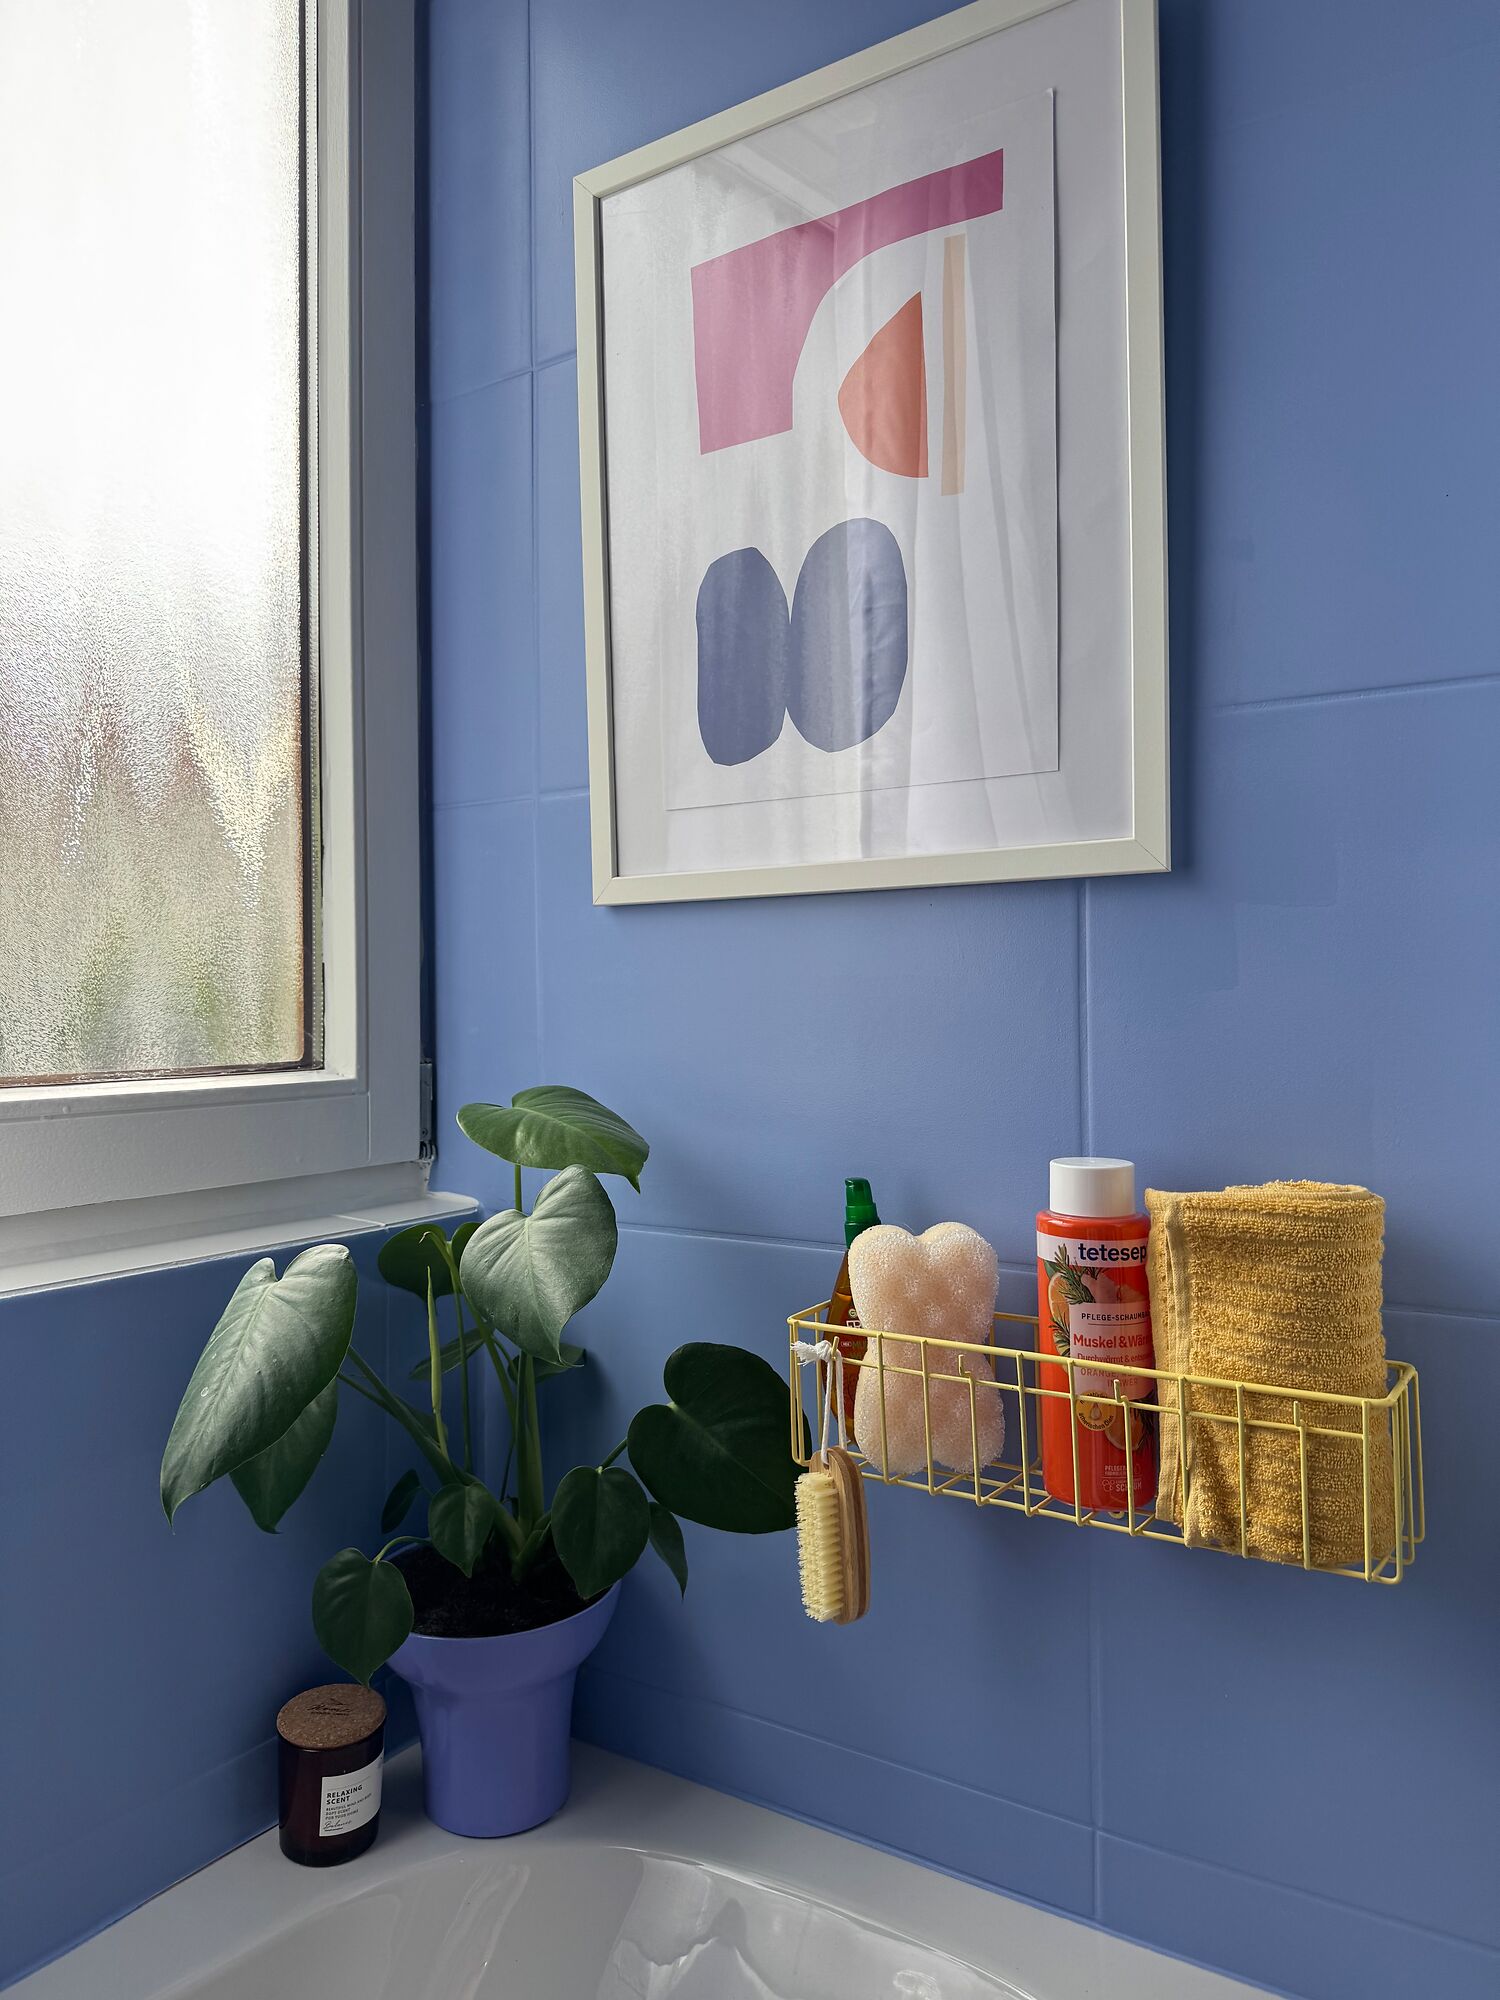
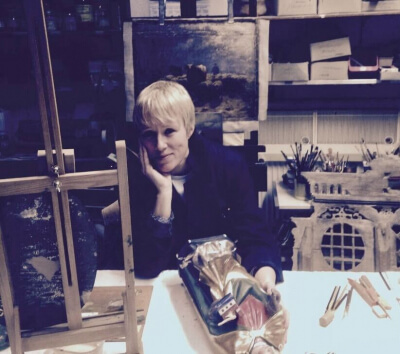
Painting tiles: Before and After pictures from our Painting community
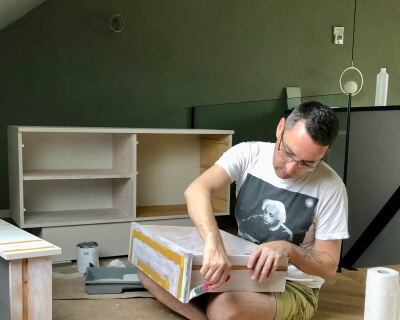
Why should you paint your tiles? Because you can! With relatively little effort, you can transform your old, unsightly tiles into modern, eye-catching features. In the meantime, our customers have already beautified hundreds of bathrooms and kitchens and given some really ugly tiled surfaces a new look. Take a look and let us inspire you!
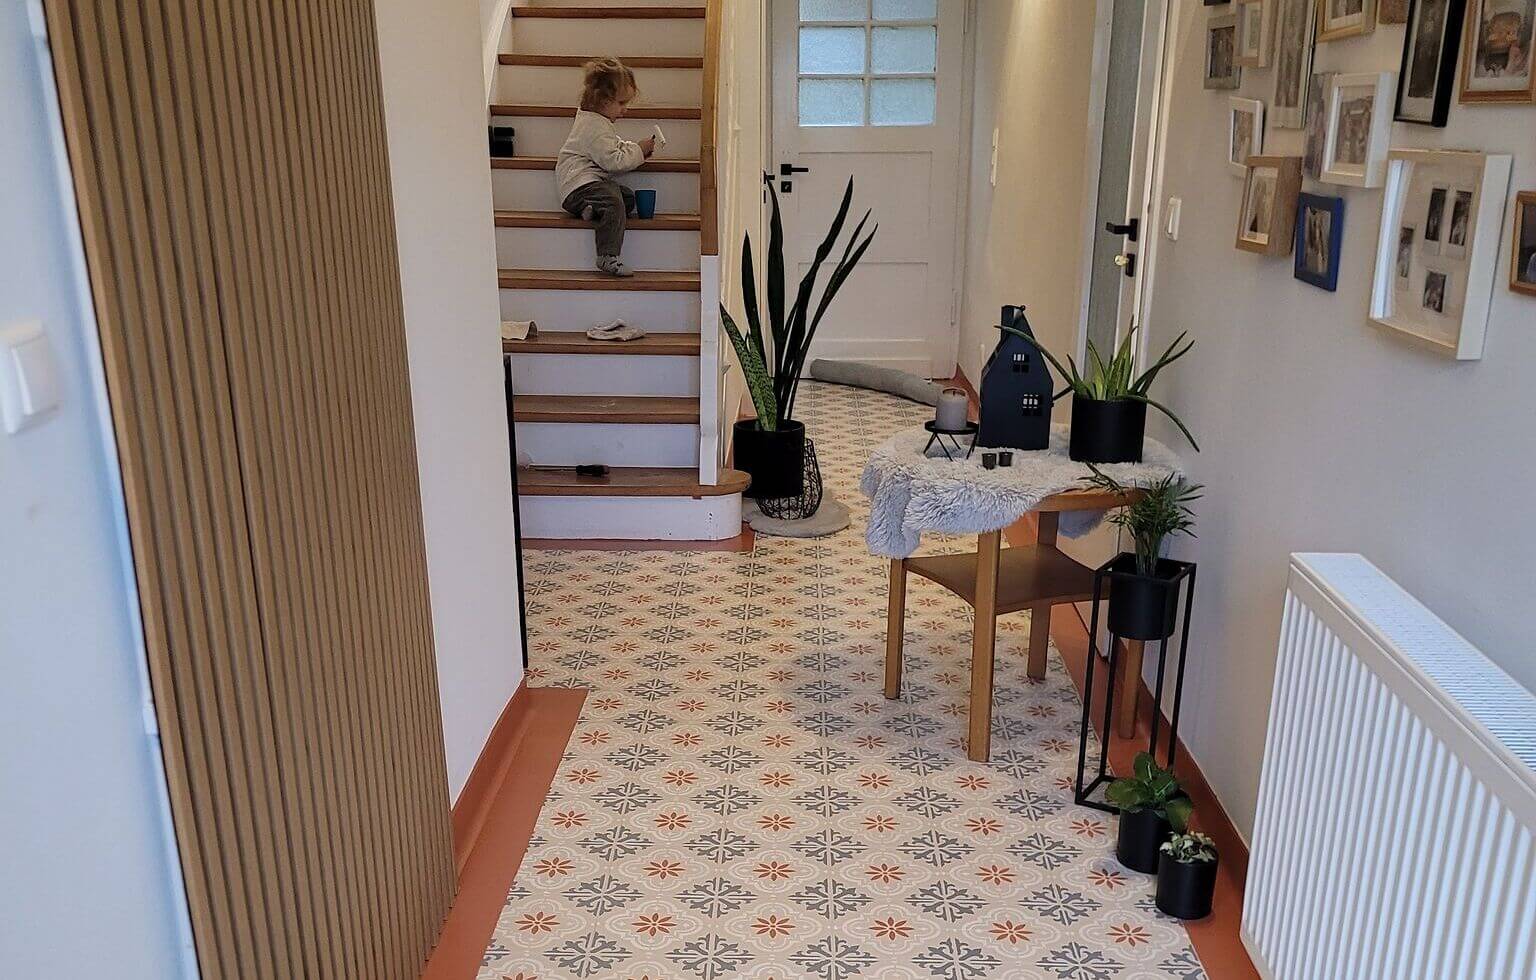
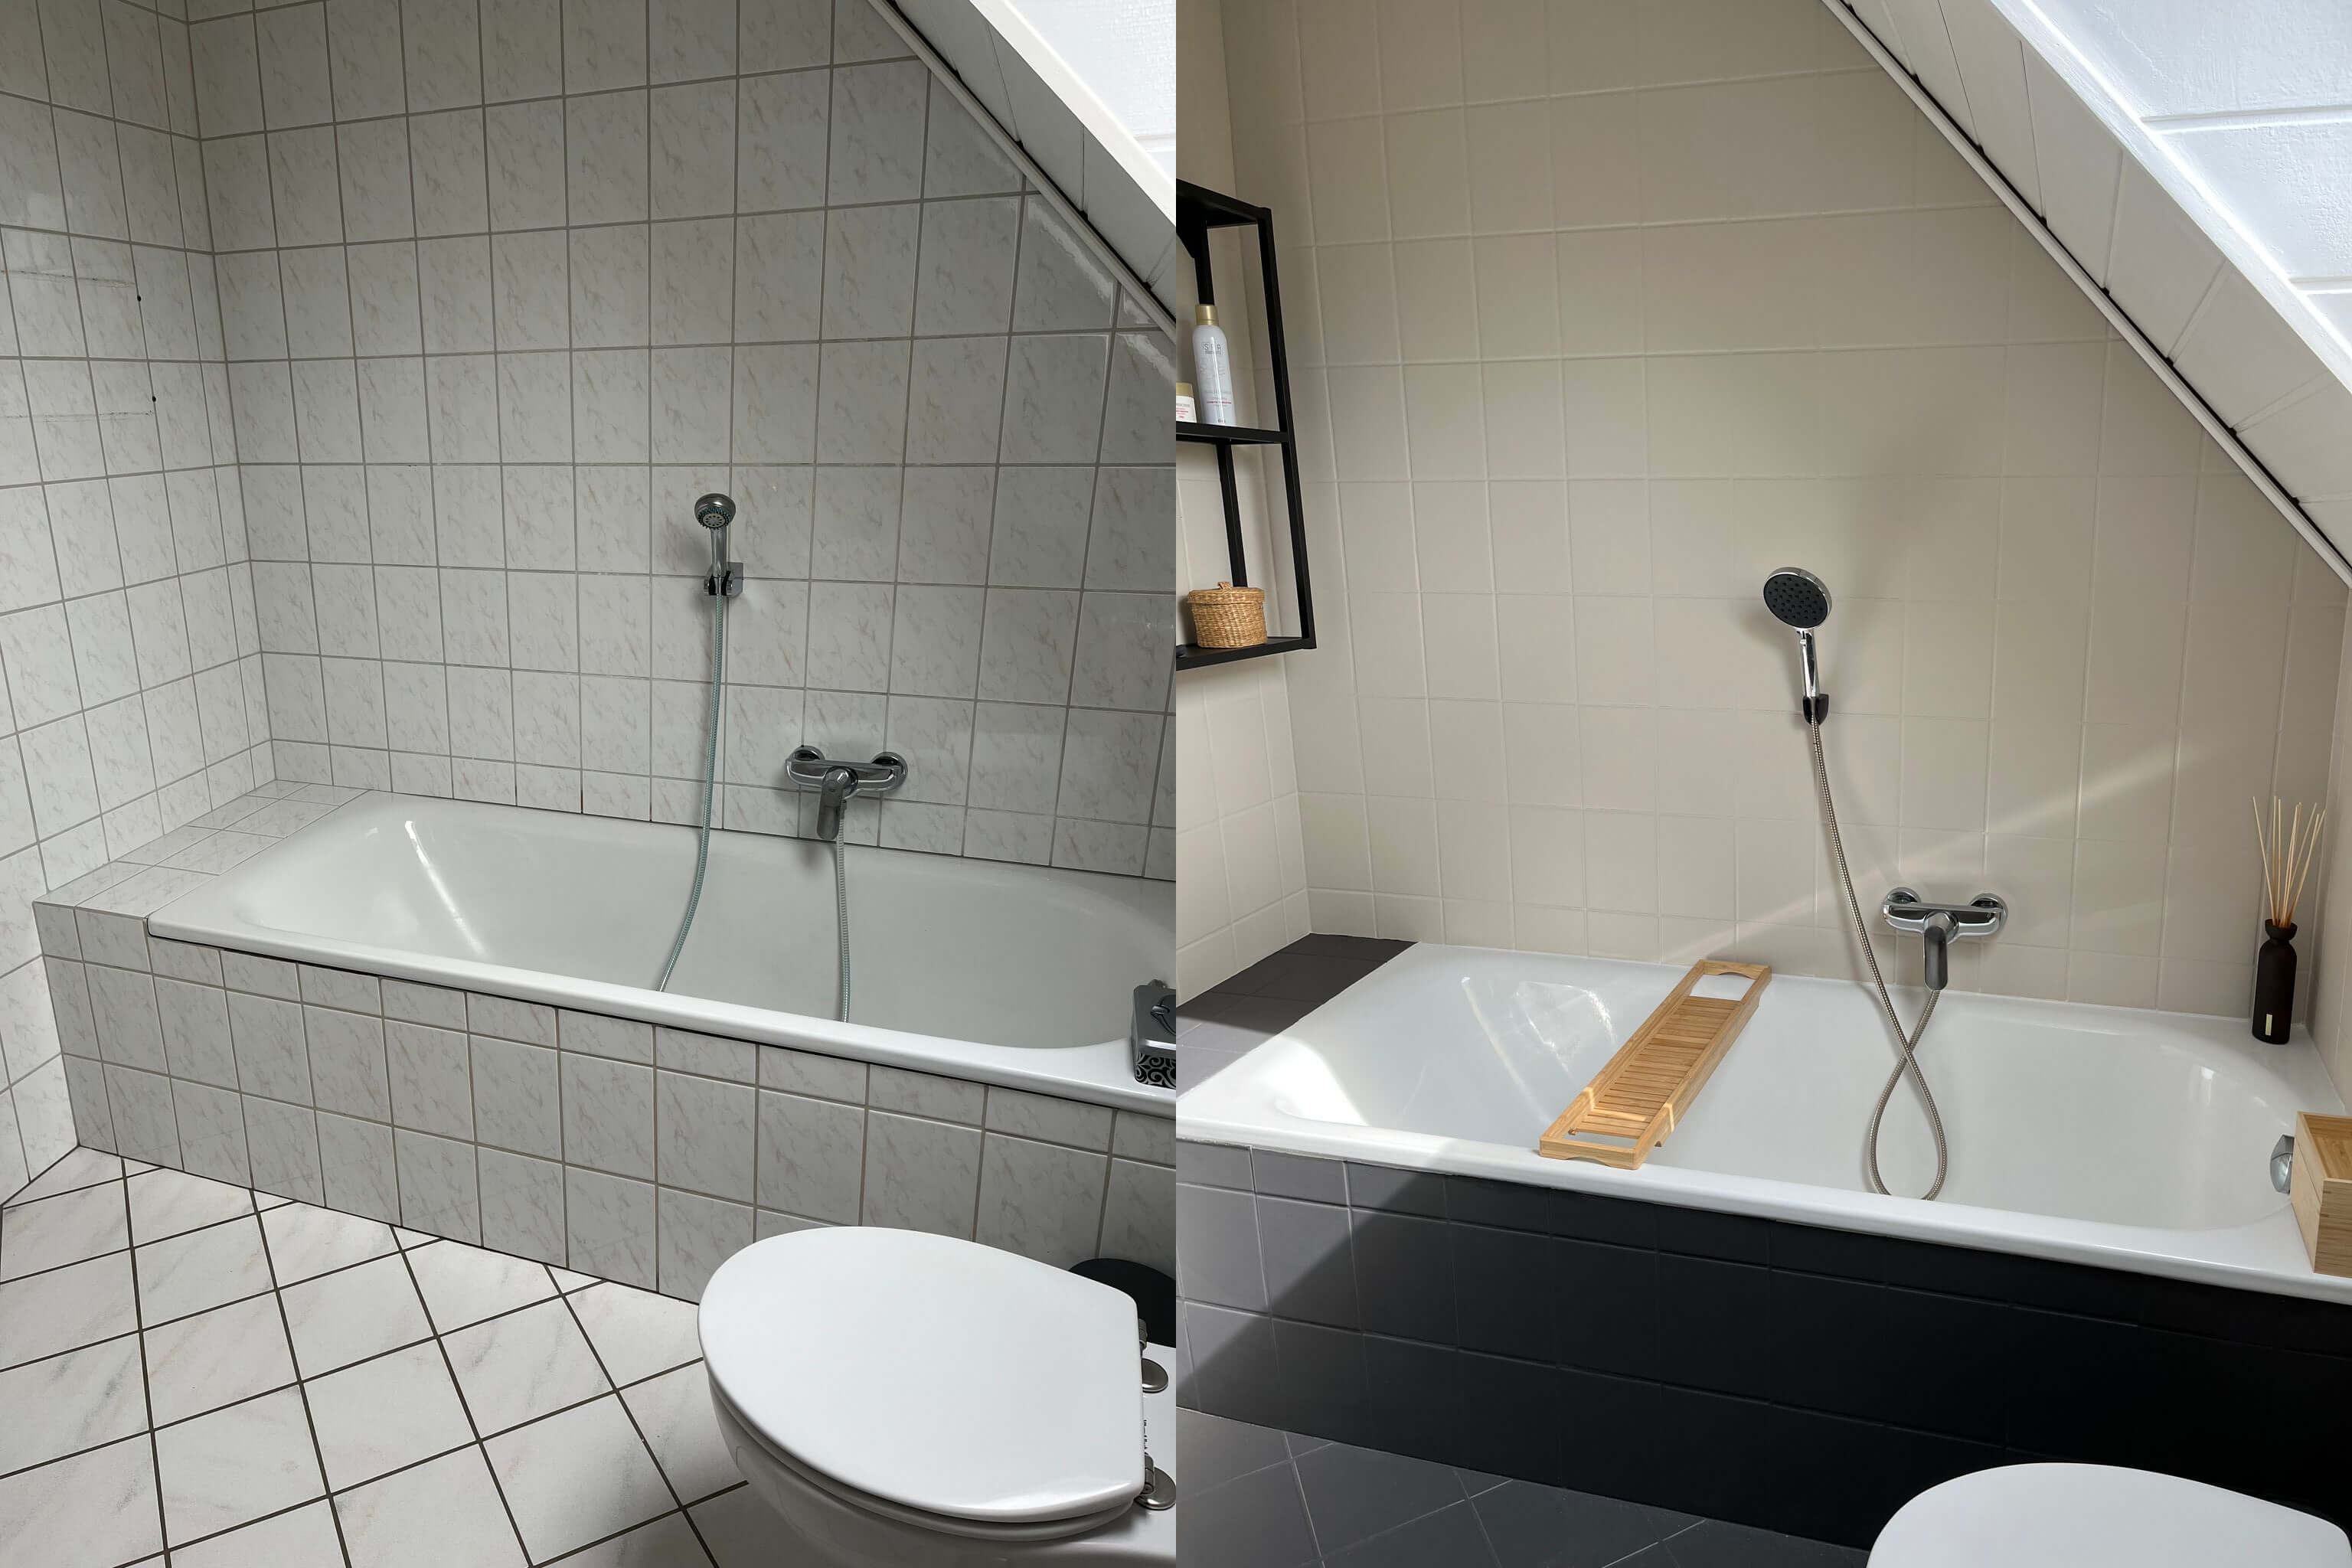
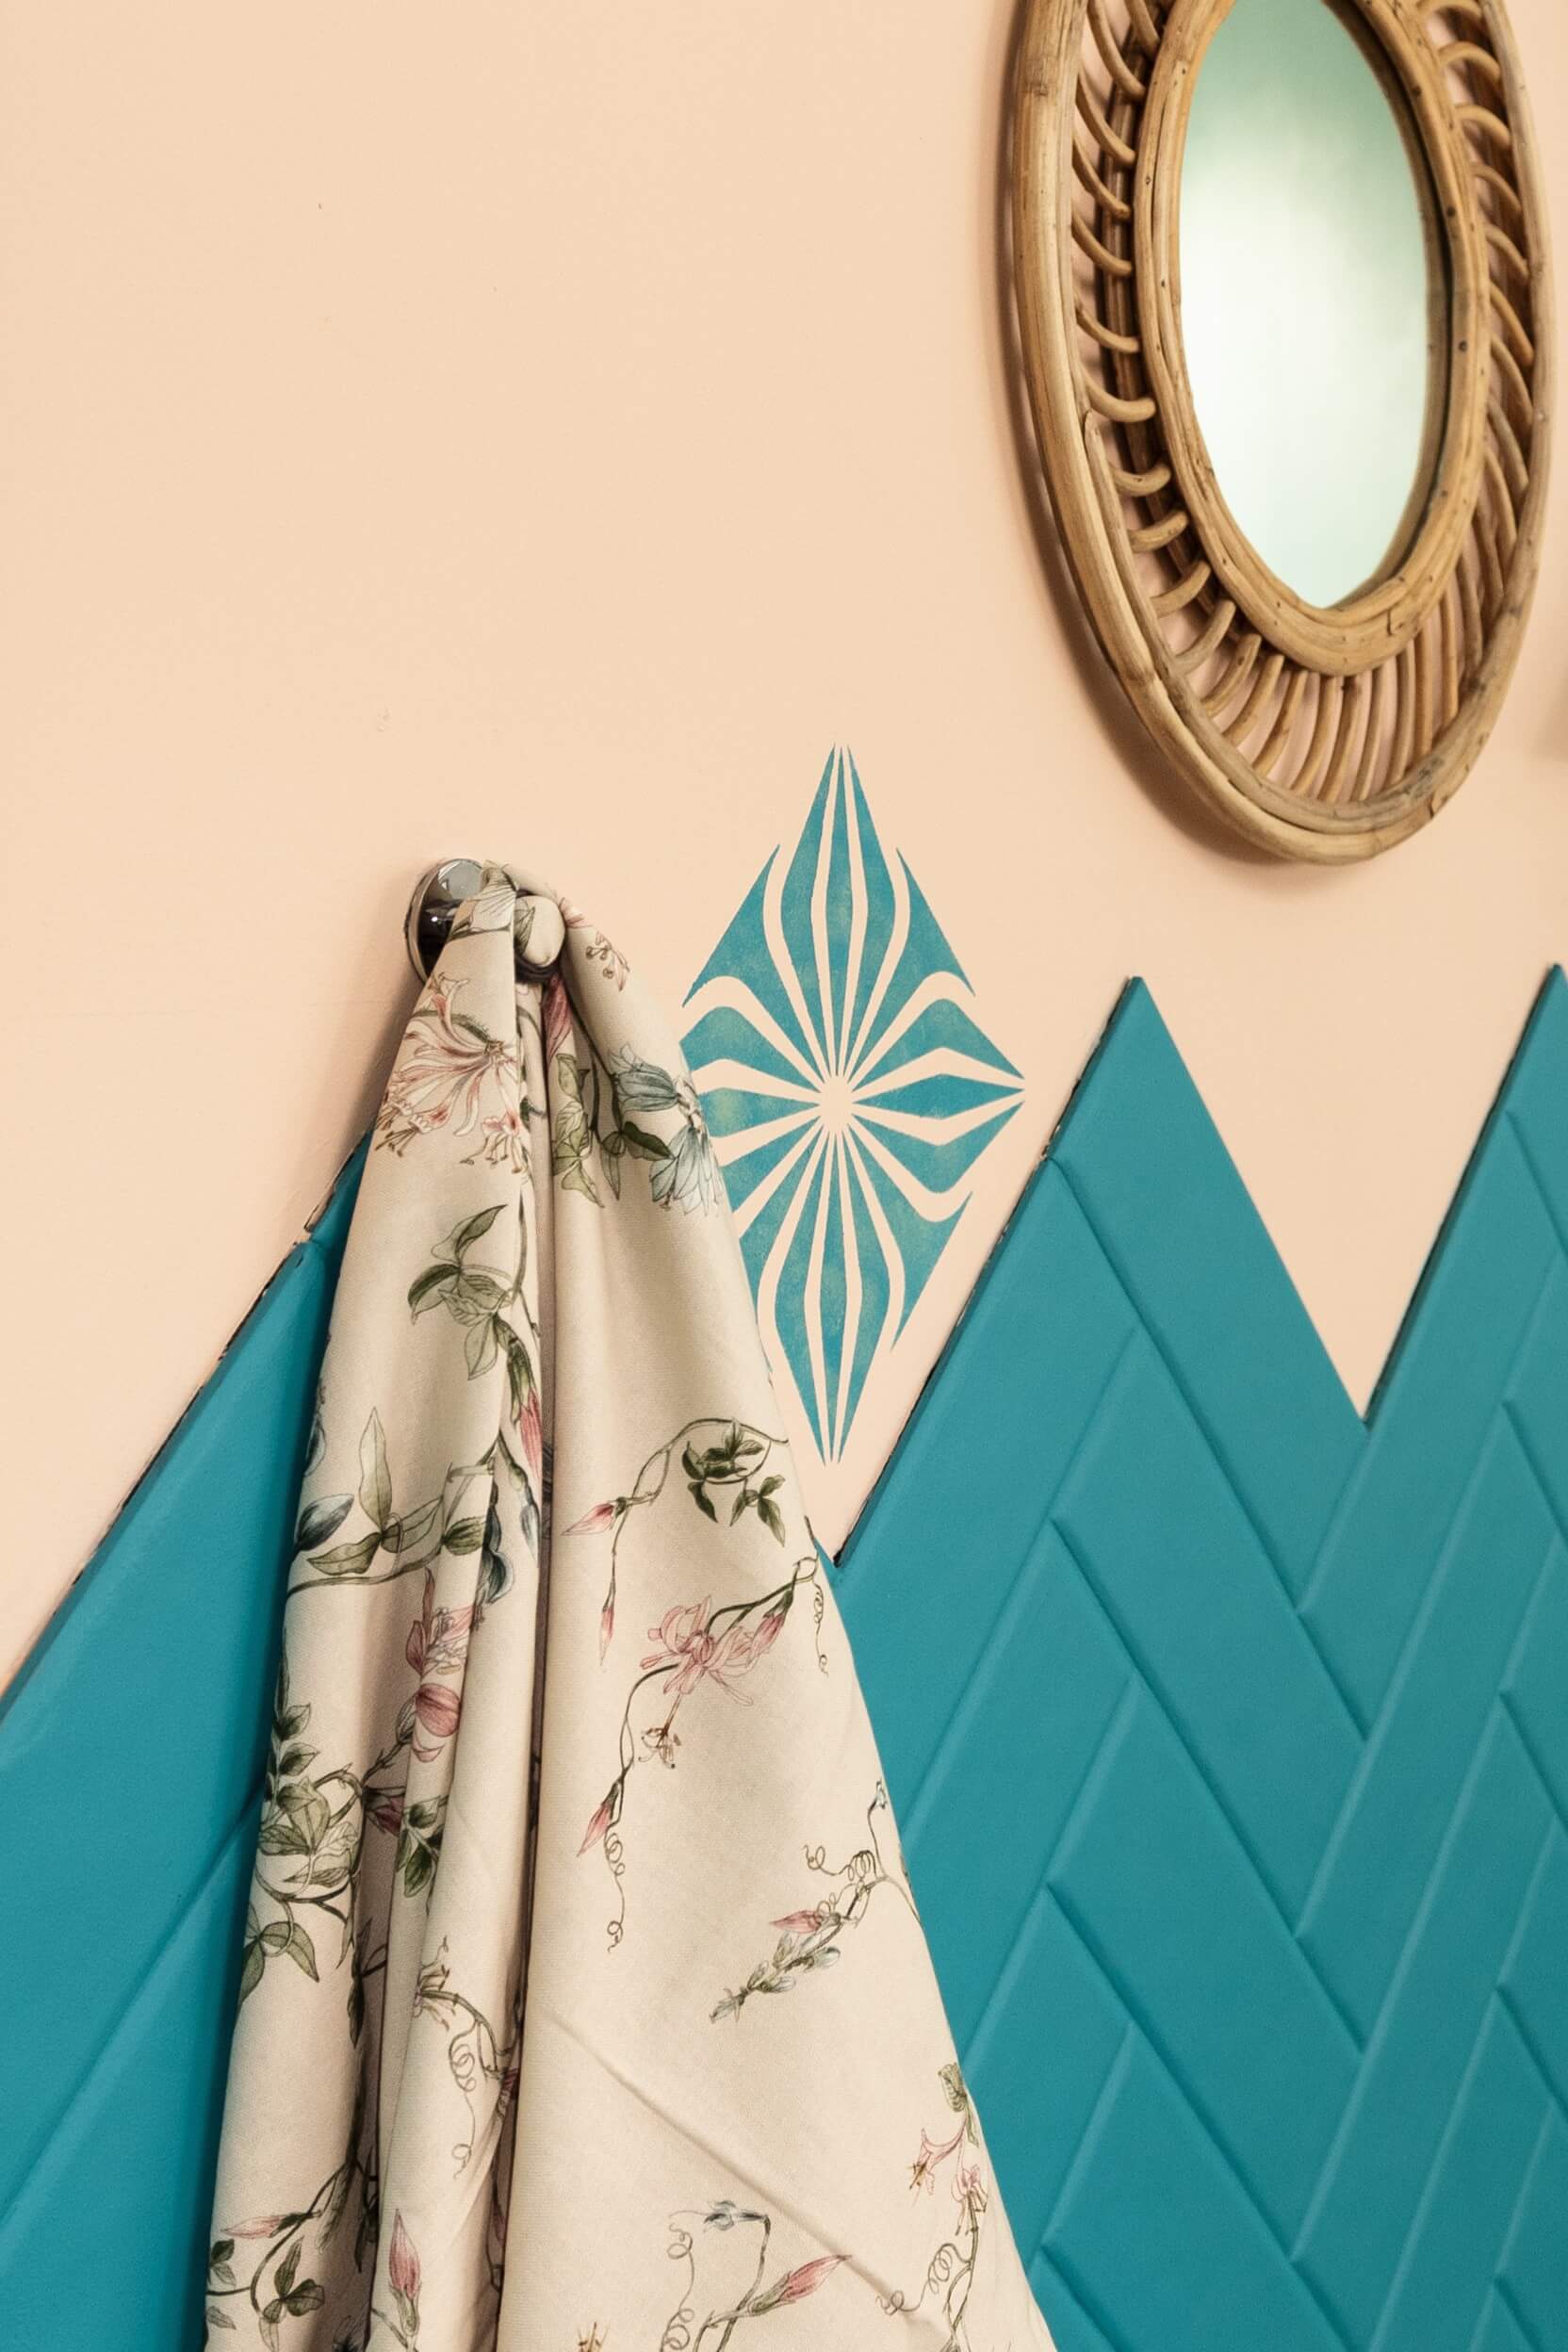
Wall tiles in the bathroom
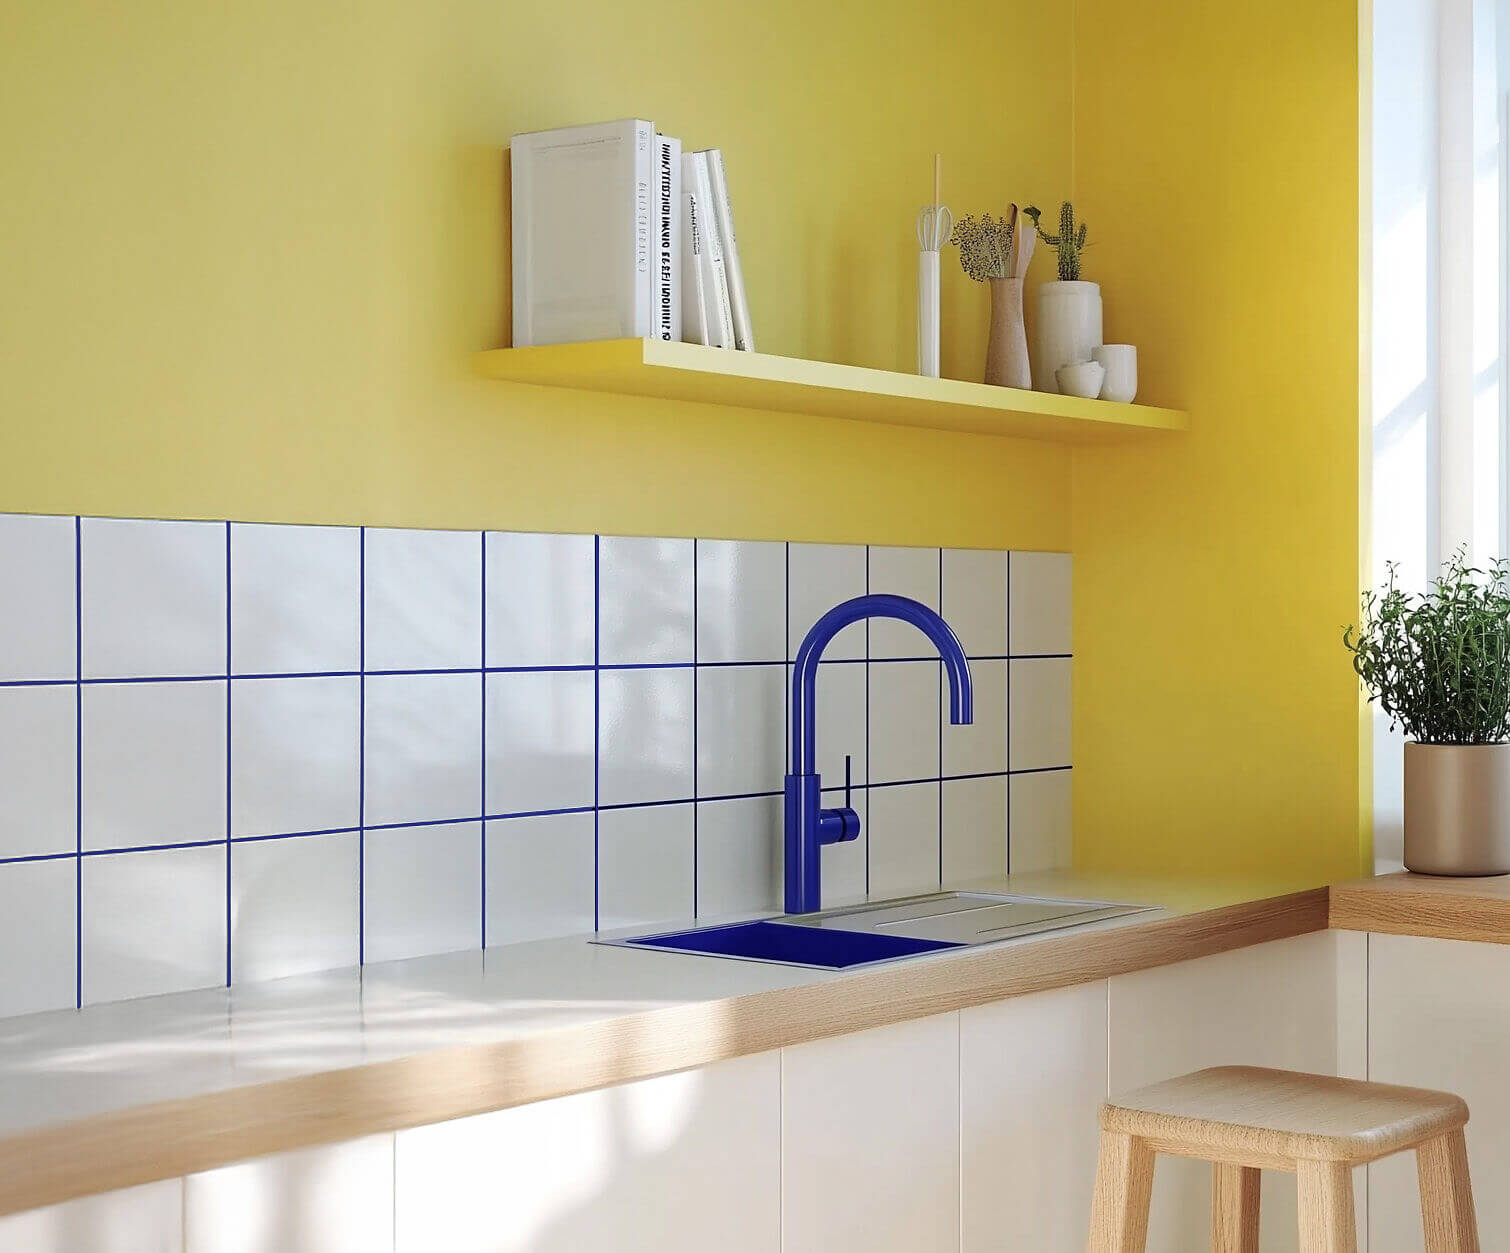
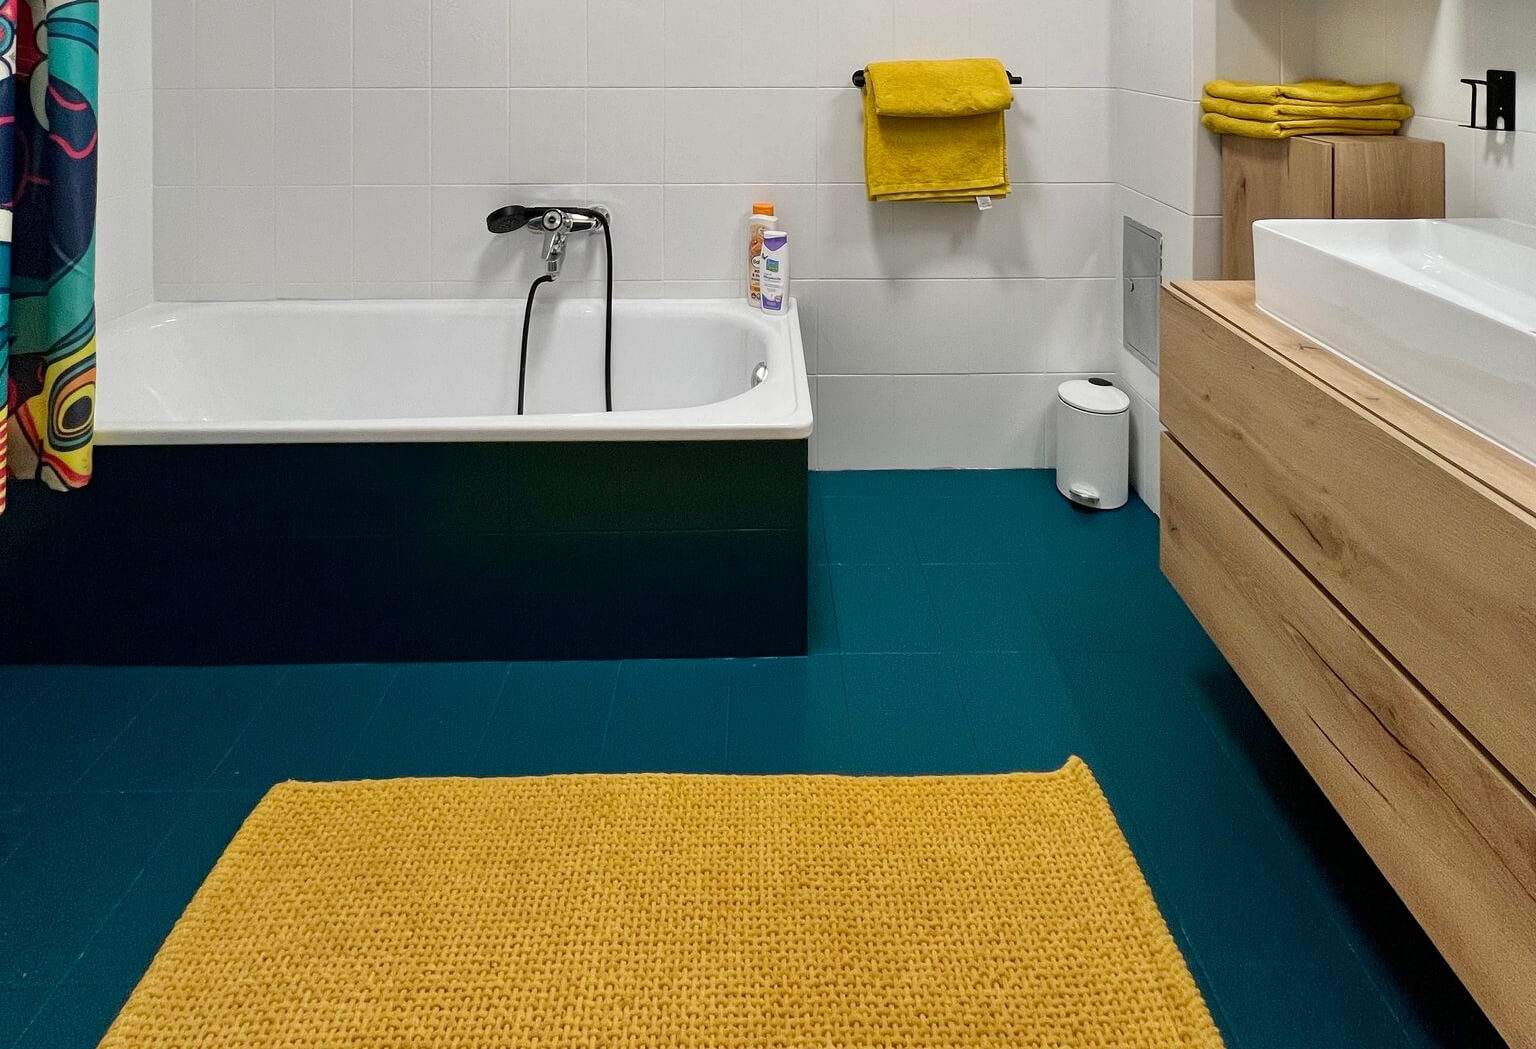
Kitchen tiles
Your Step-by-Step Guide to Painting Tiles
Step 1: Choose Your Paint
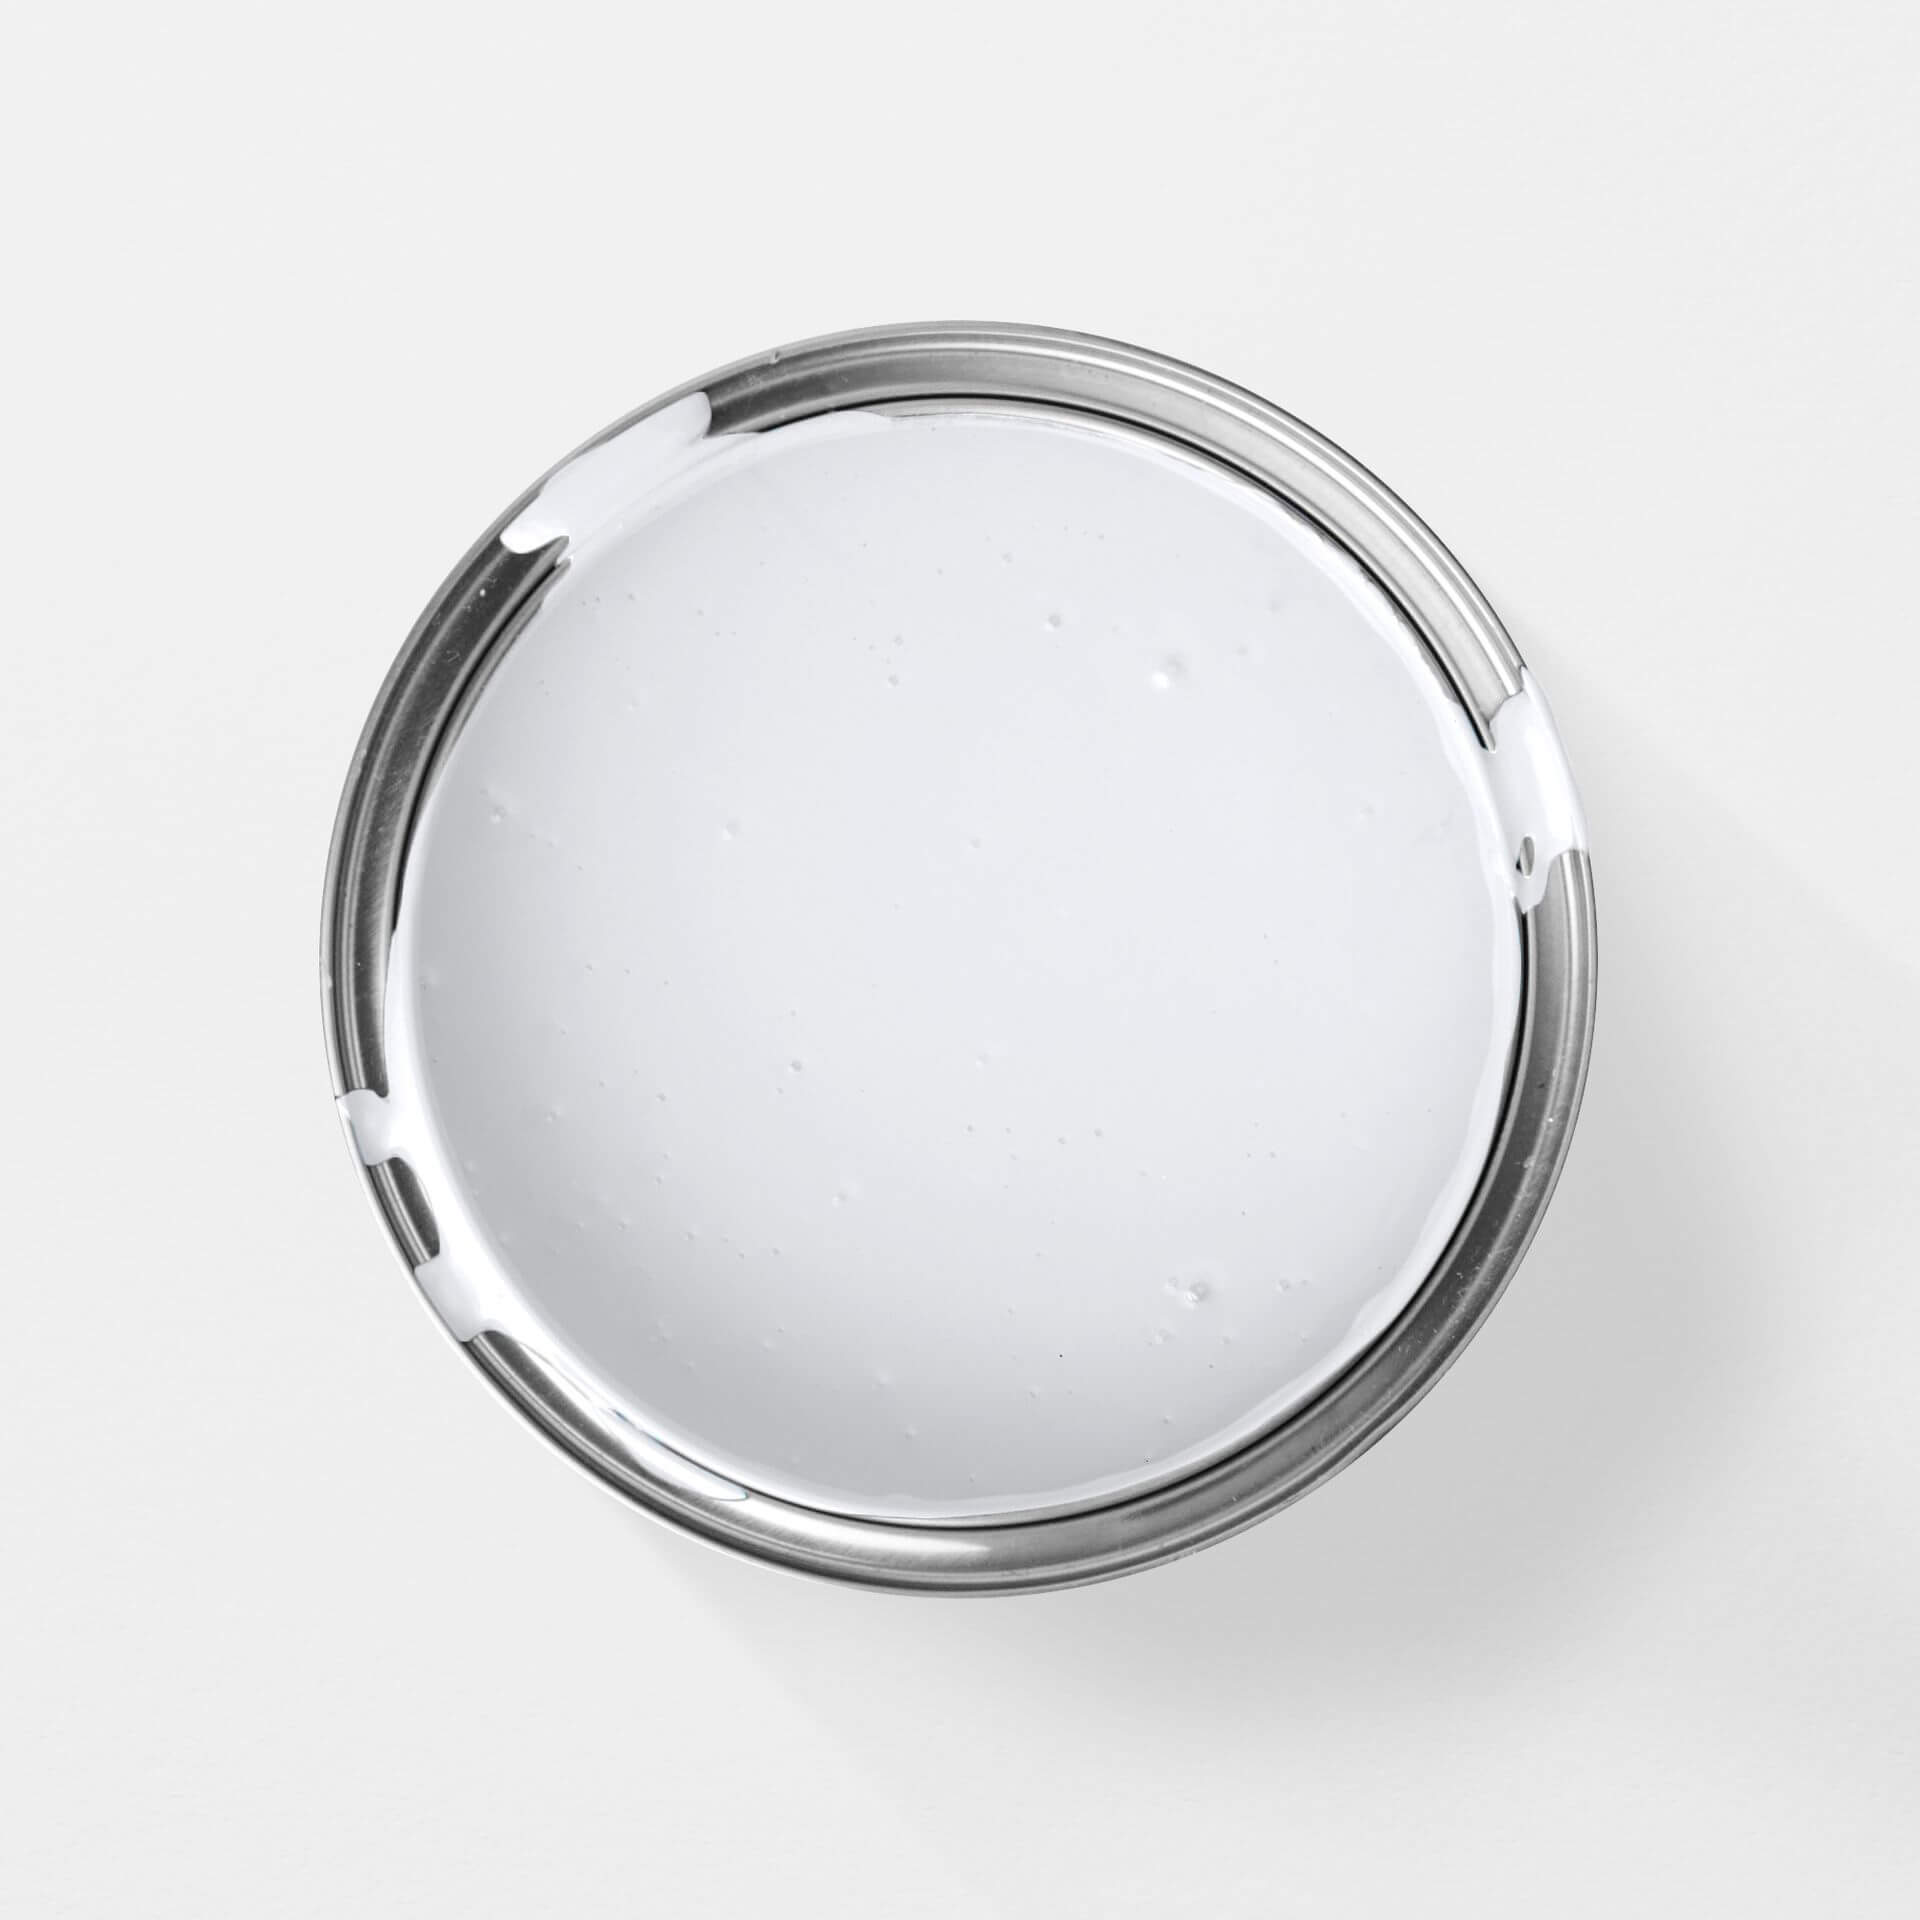
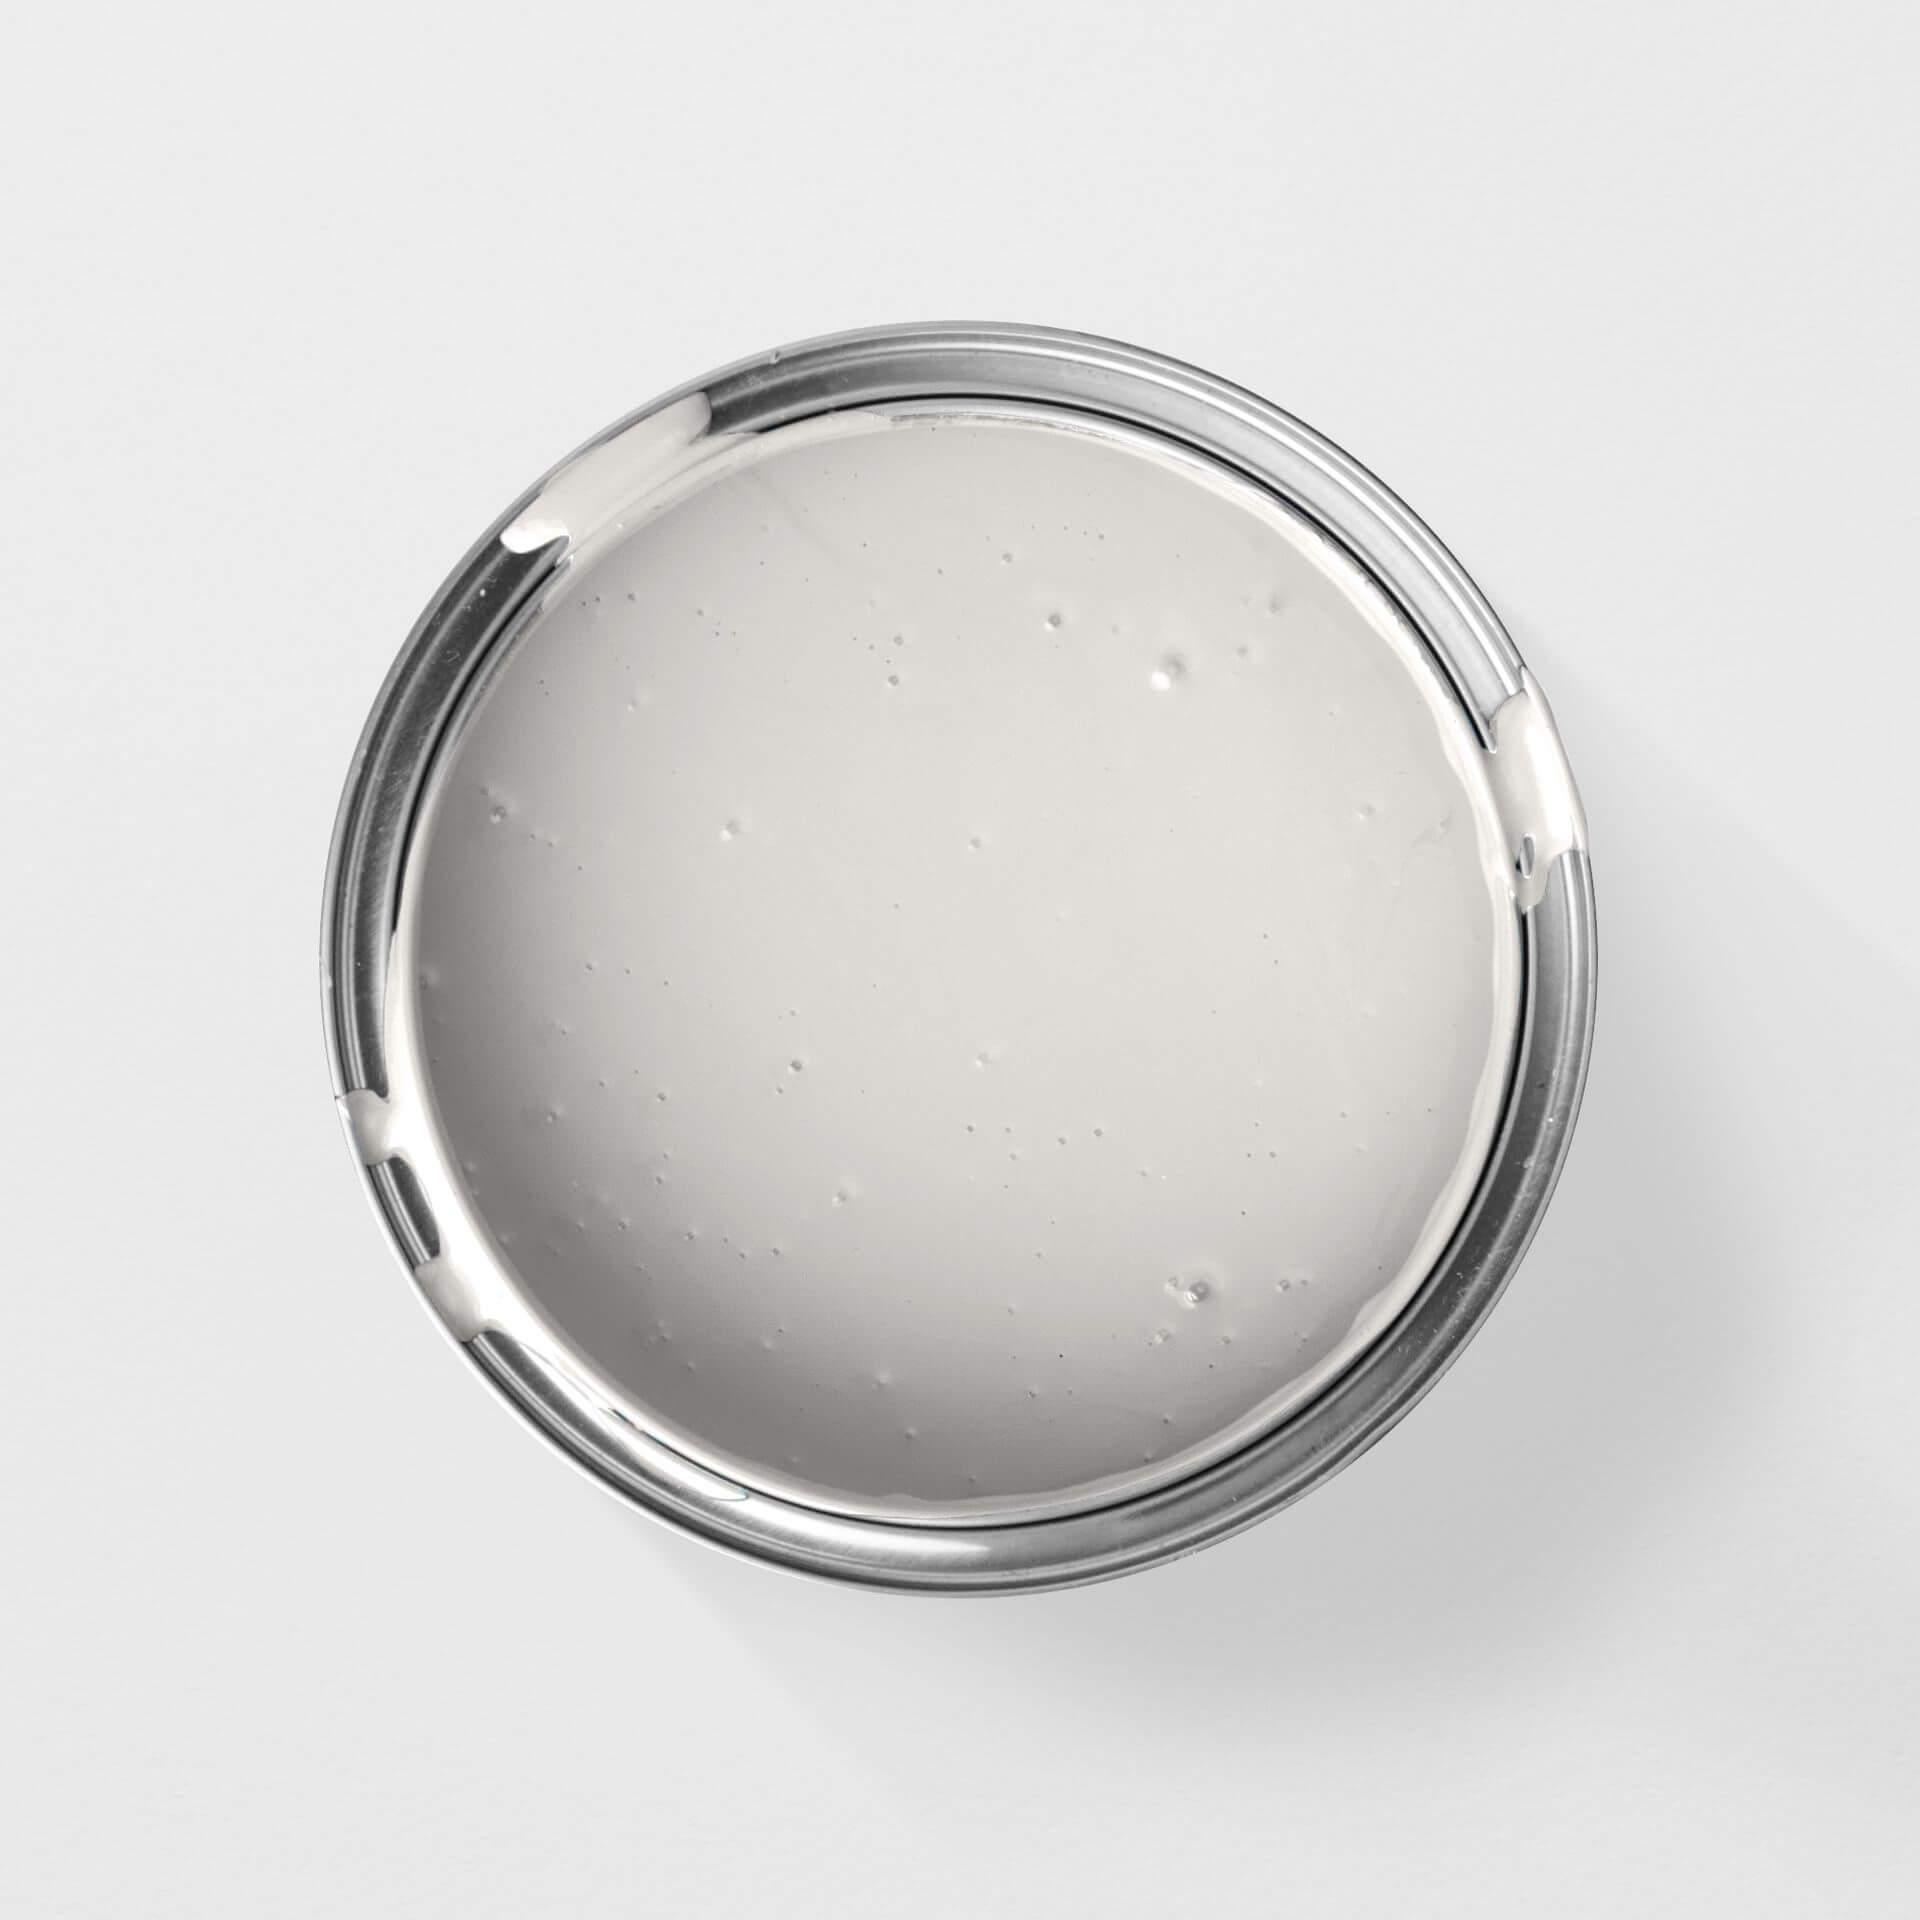
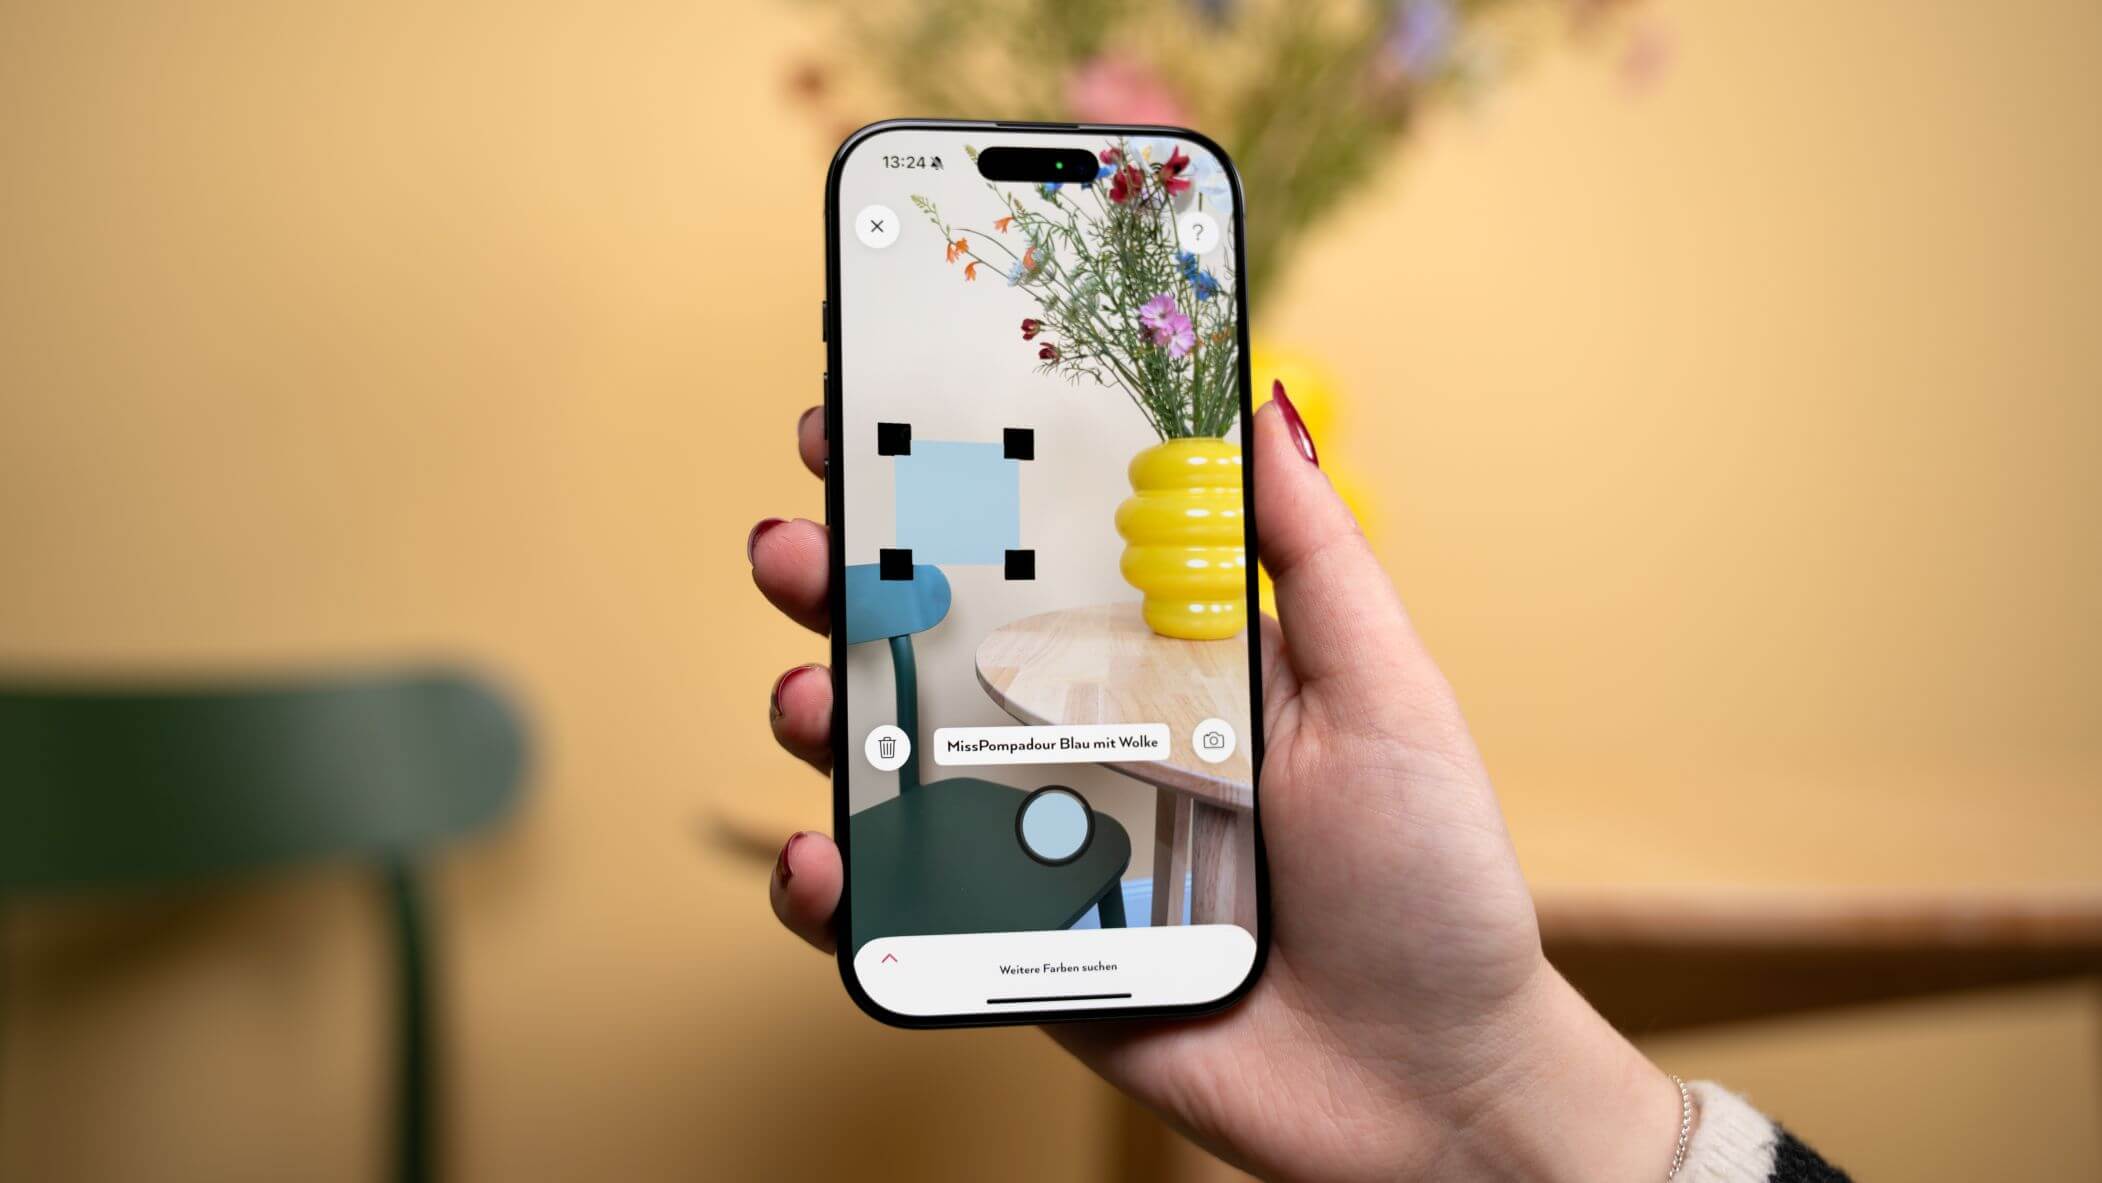
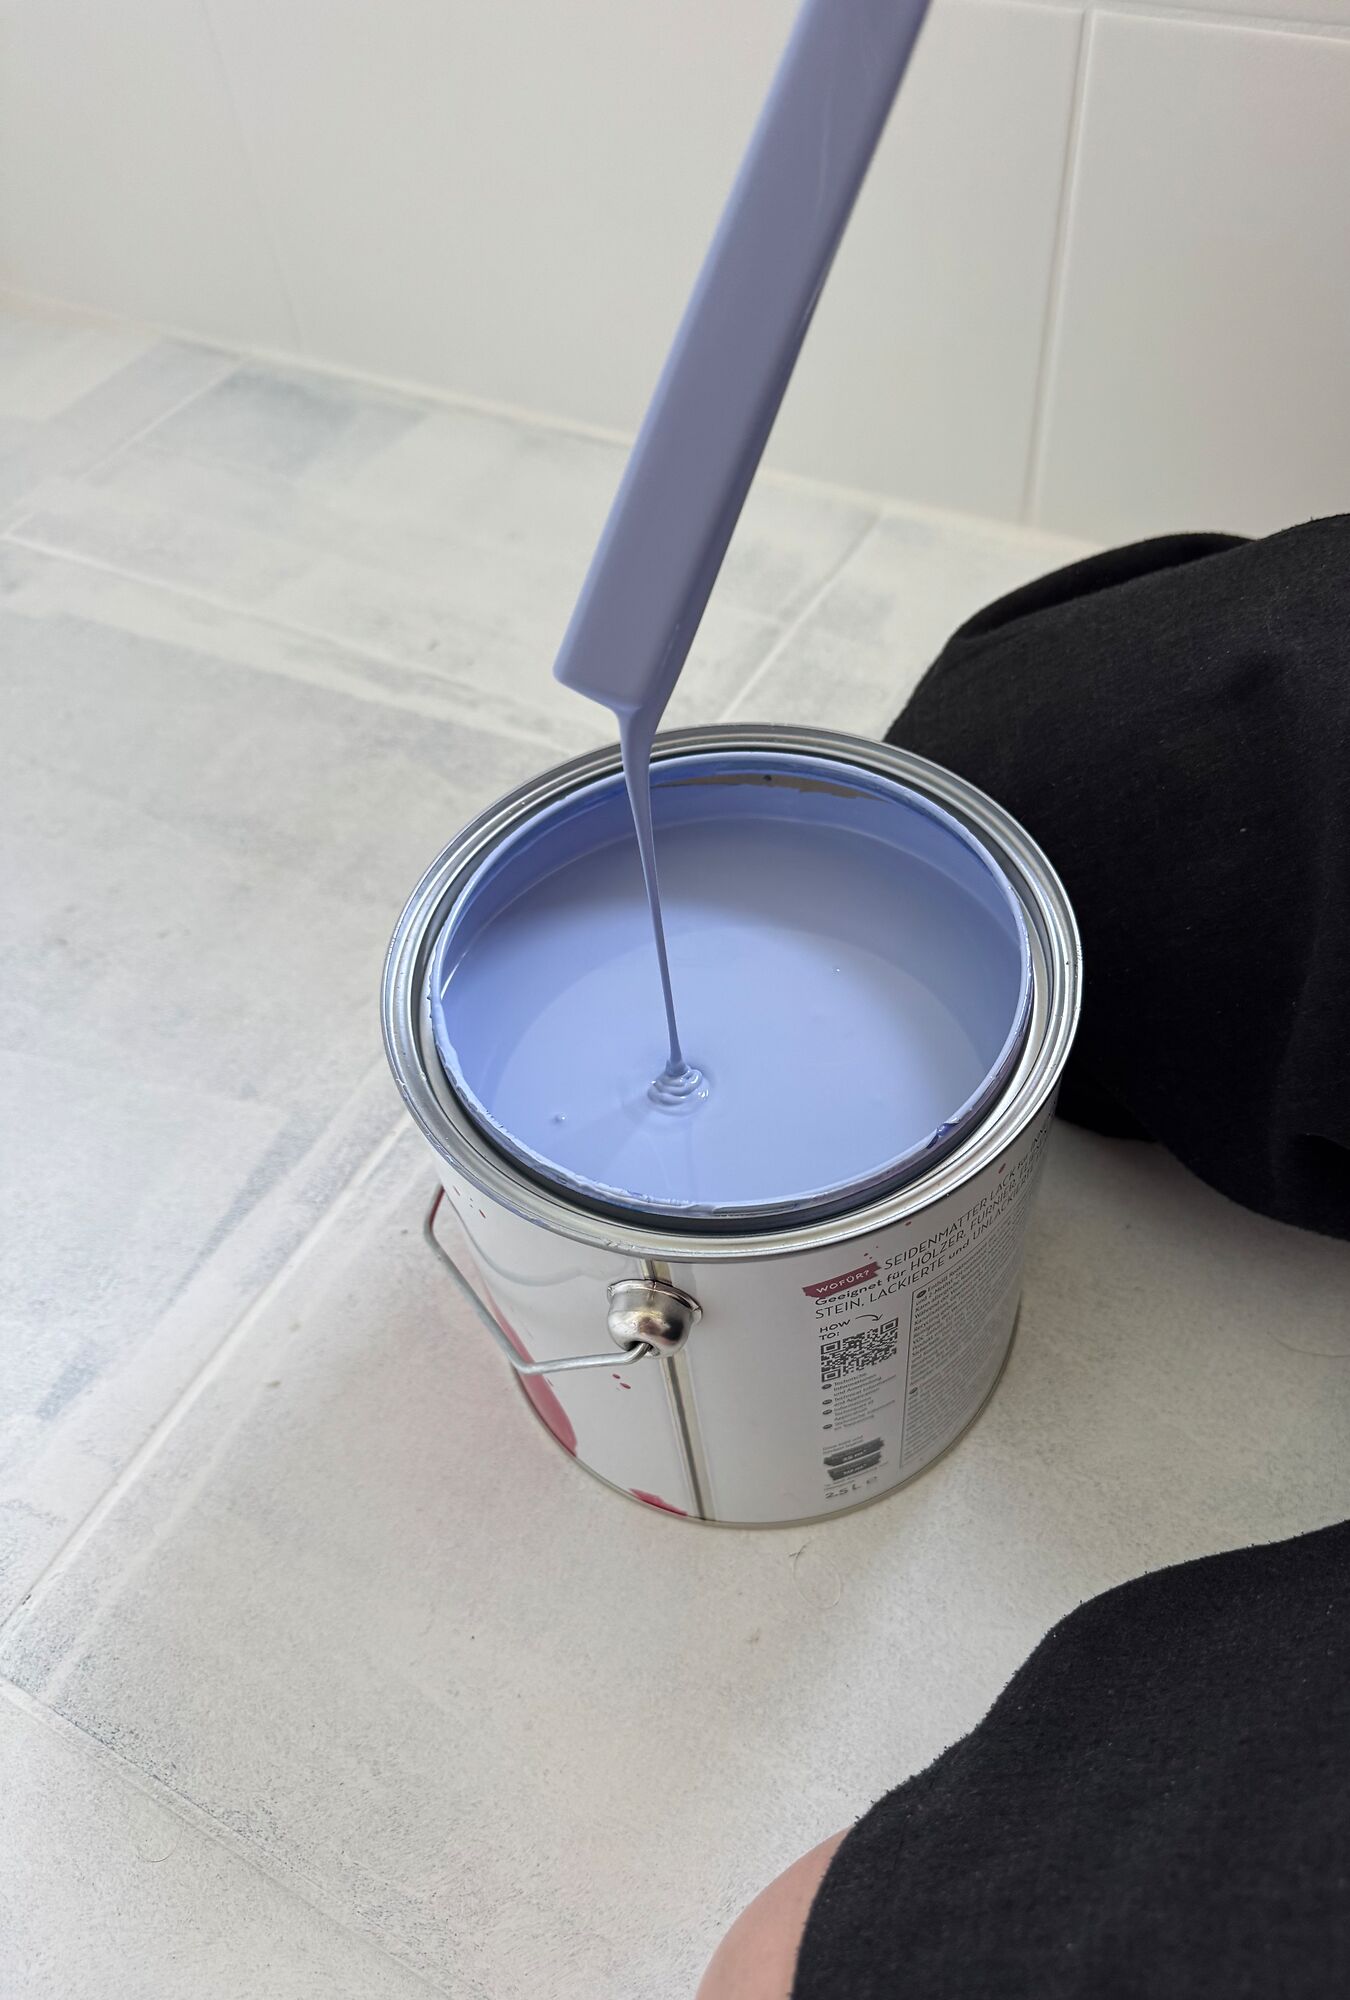
You can paint your tiles with our tile paint. Easy Eggshell! is the perfect choice for your project! Perhaps you prefer a neutral look and want to paint them white, grey, or black? Or are you interested in adding a pop of pink or blue? With our wide range of colours, you're guaranteed to find a shade that perfectly suits your tiles! Our colour cards can offer extra help.
Step 2: Prepare the Surface
Remove anything you don't want to paint beforehand. You can easily repair drill holes and cracks with To Fill – MissPompadour filler. After that, simply sand smooth with fine sandpaper.
For the paint to last on your tiles, it's crucial that they have no existing coatings. Residues from floor polish and wax must be thoroughly removed with special cleaners before painting.
Please note that even our paints have their limits. Areas where water pools cannot be painted! This includes, for example, the shower floor or horizontal ledges within the shower.
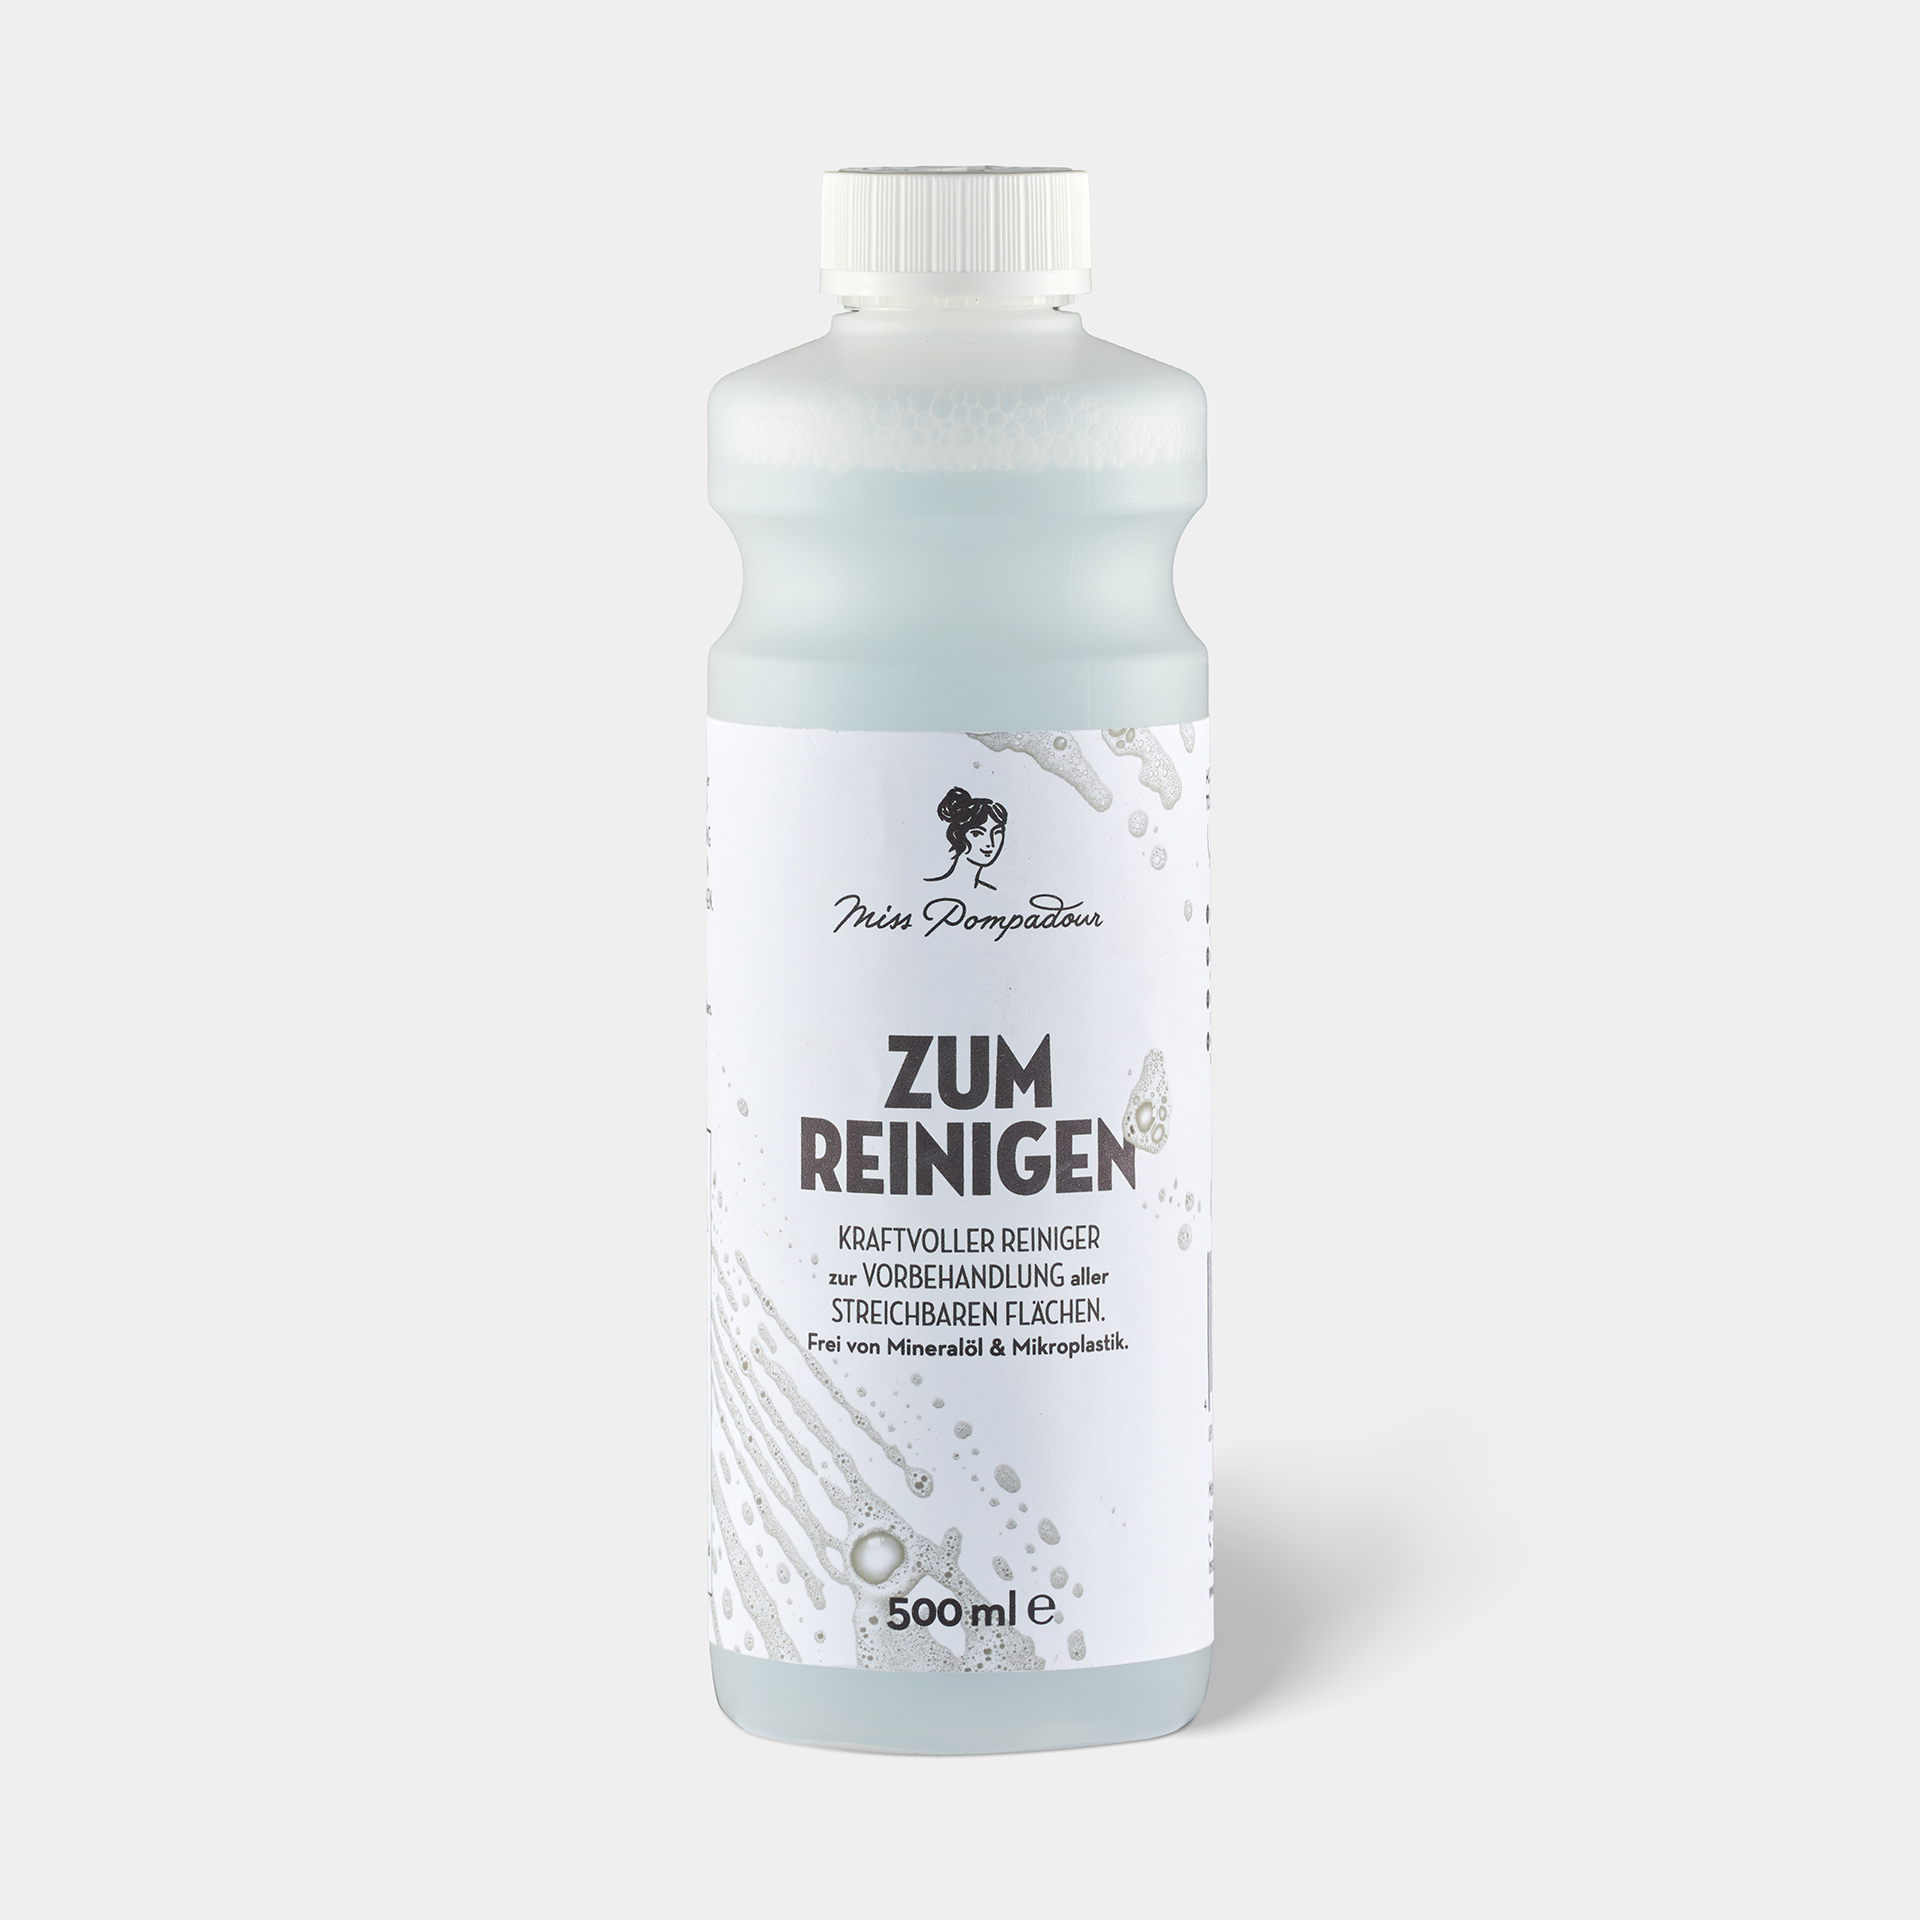
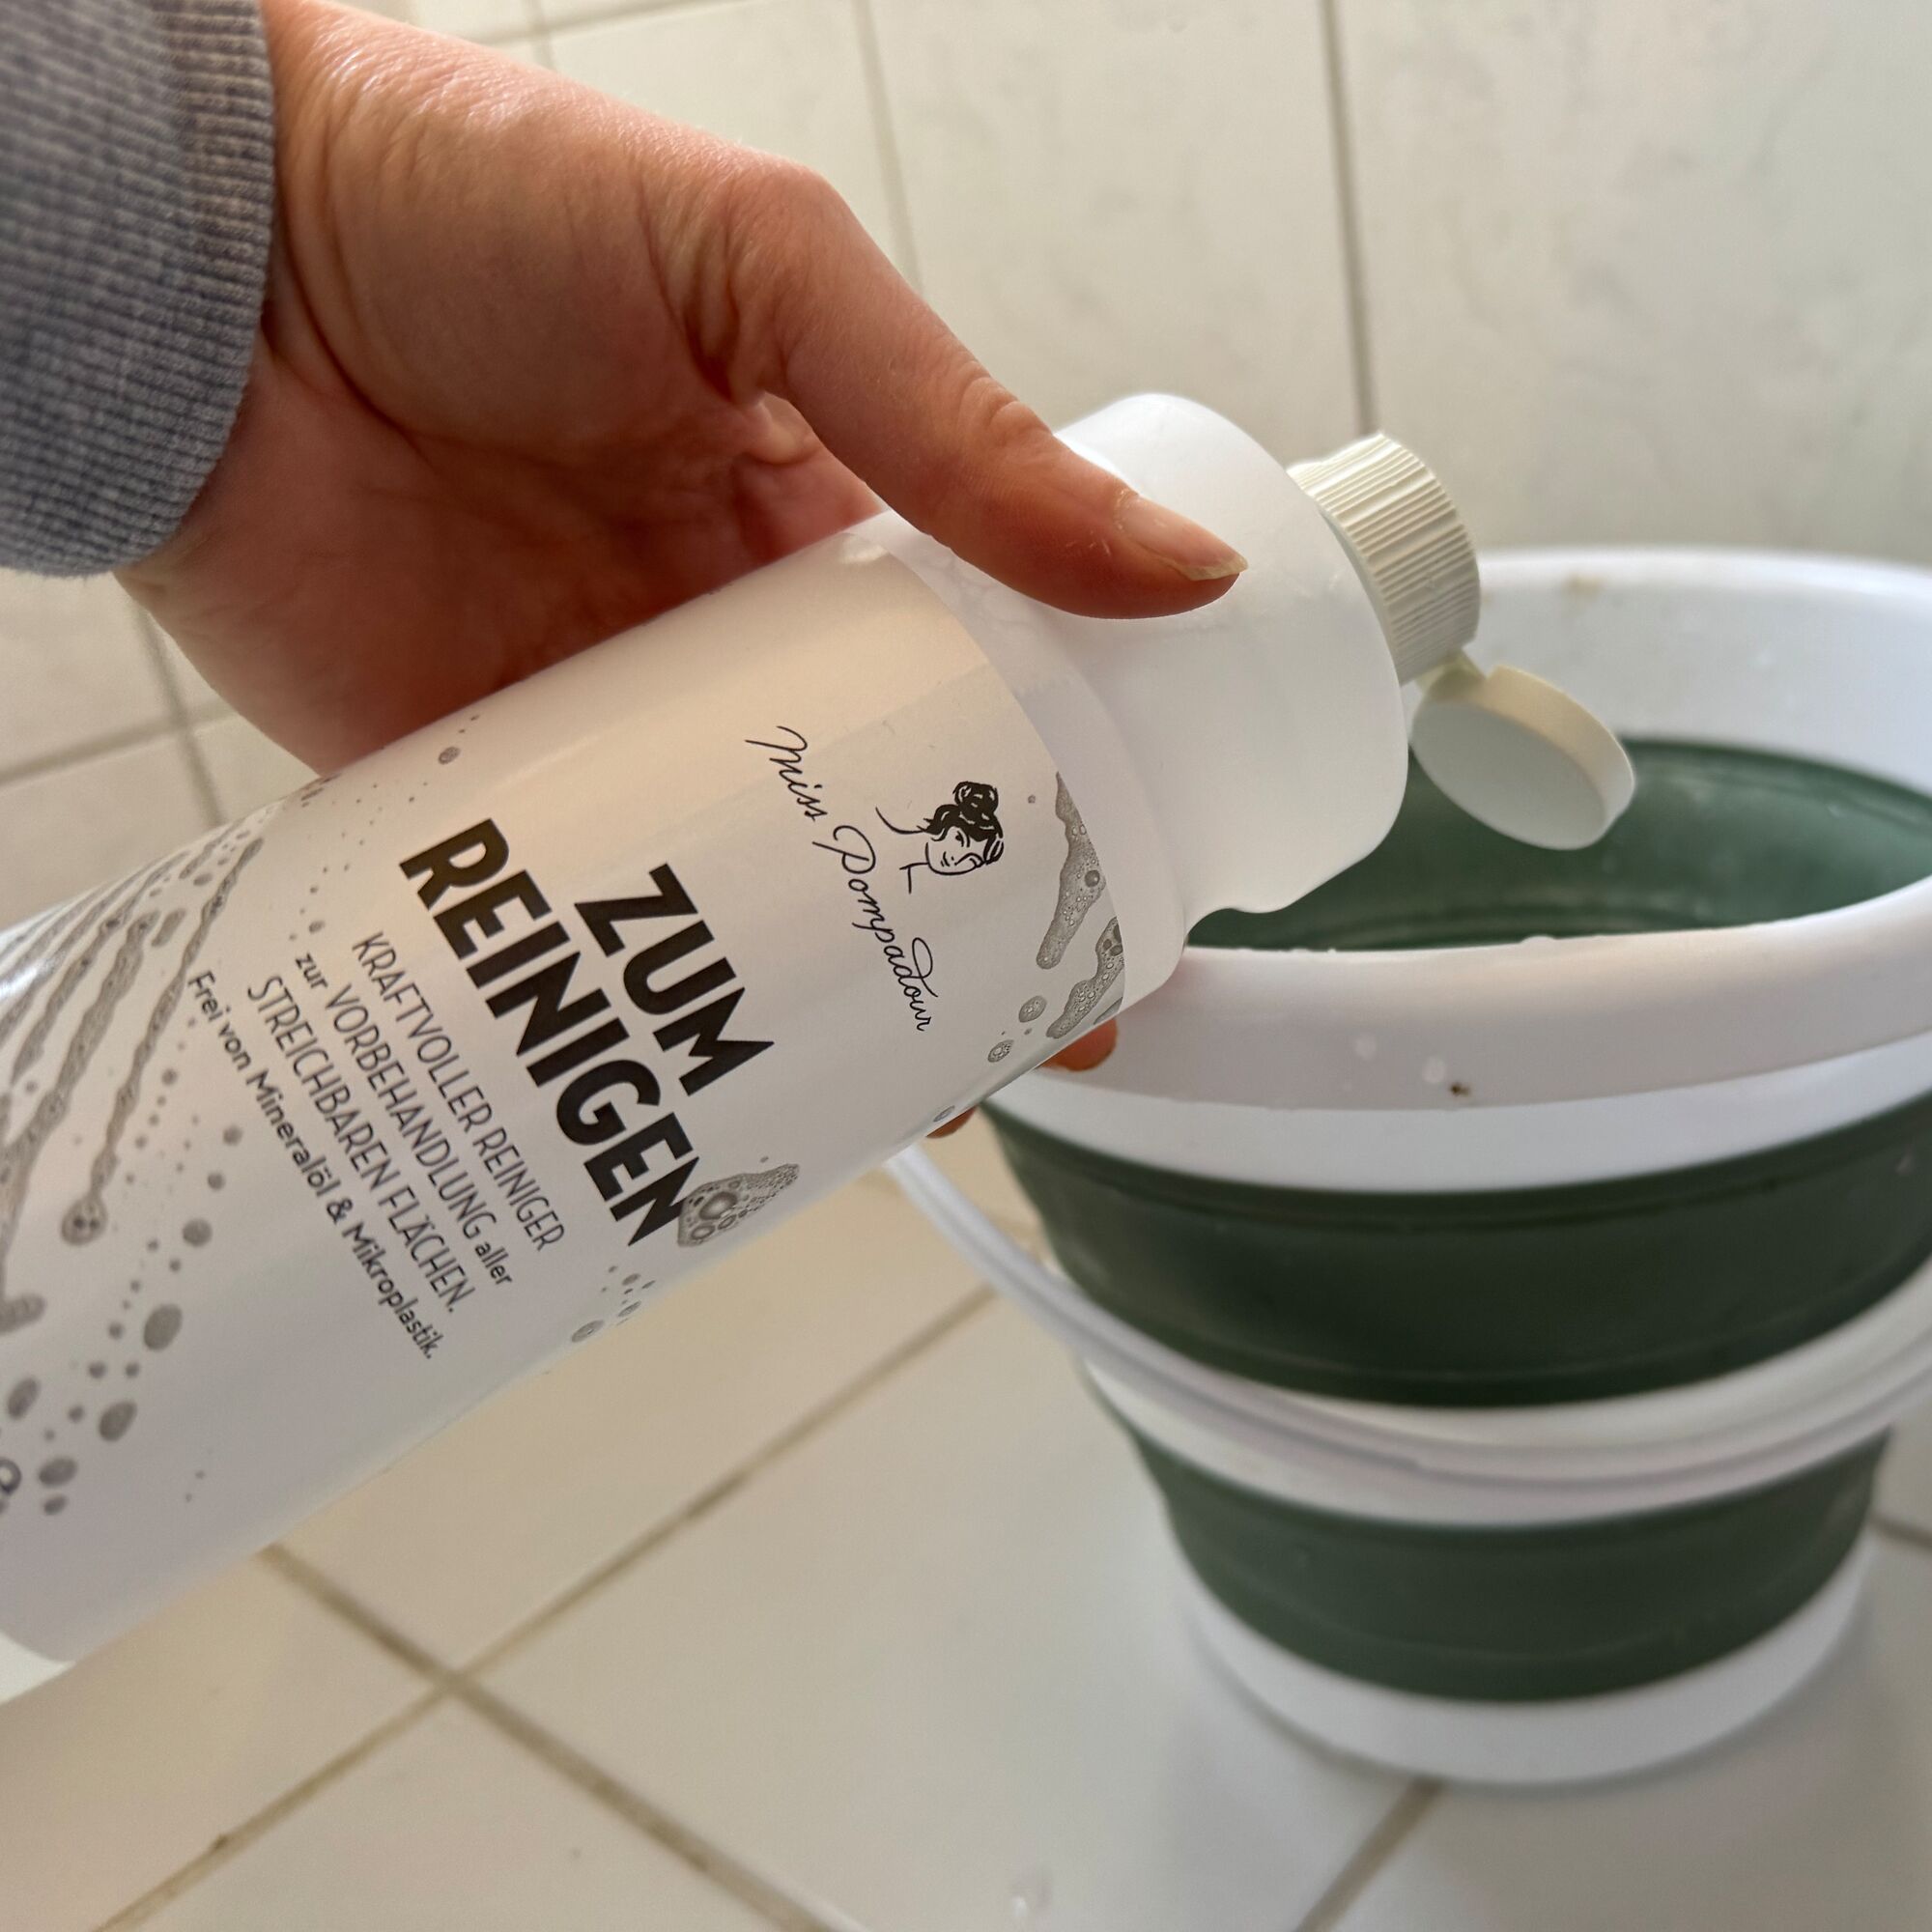
Step 3: Clean the tiles
To ensure that the surface is completely free of dust and grease, it is best to clean it with To Clean - MissPompadour Cleaner. To remove particularly stubborn stains such as limescale, you can also use a bathroom cleaner. Please refrain from cleaning joints with chlorine or mould stop. This can build up and damage the coating later on. It is important that you wash off the cleaner thoroughly with clean water and allow everything to dry thoroughly.
Do you need to mask off?
Now is the time to mask off sockets, taps and anything else that you don't want to paint.
Pro tip #1: Always remove masking tape immediately after painting while the paint is still wet. This will prevent you from removing the new paint when you peel it off. Then re-tape for the next coat of paint.
Pro tip #2: If you want to apply adhesive tape to your painted tiles (e.g. to paint in two colours), the varnish must be fully cured. In this case, give it at least 14 days, depending on the humidity and temperature. In special cases, it may take longer. Simply test the varnish on an inconspicuous area.
Step 4: Prime surfaces
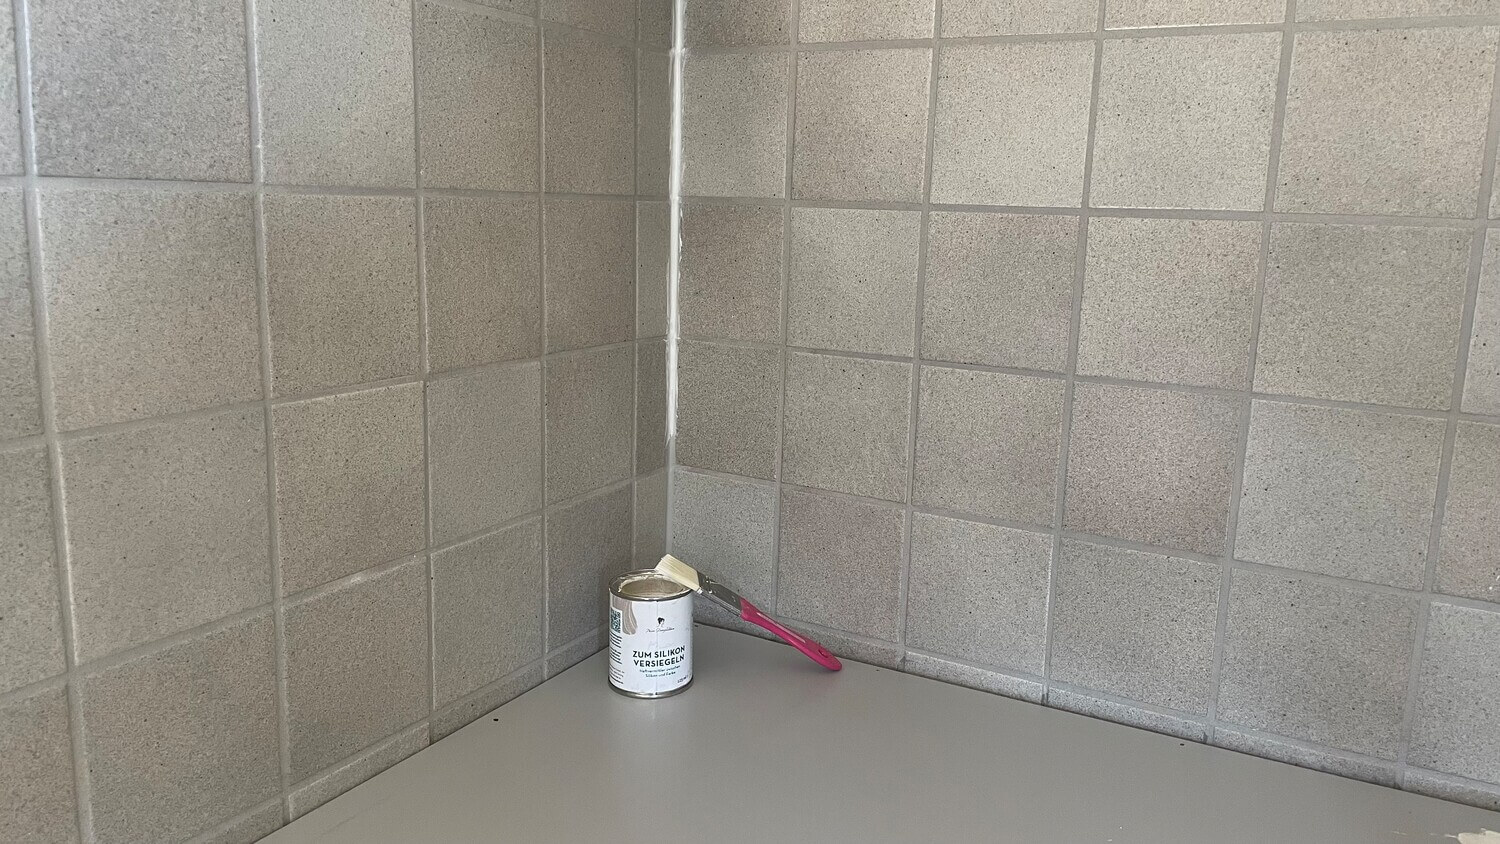
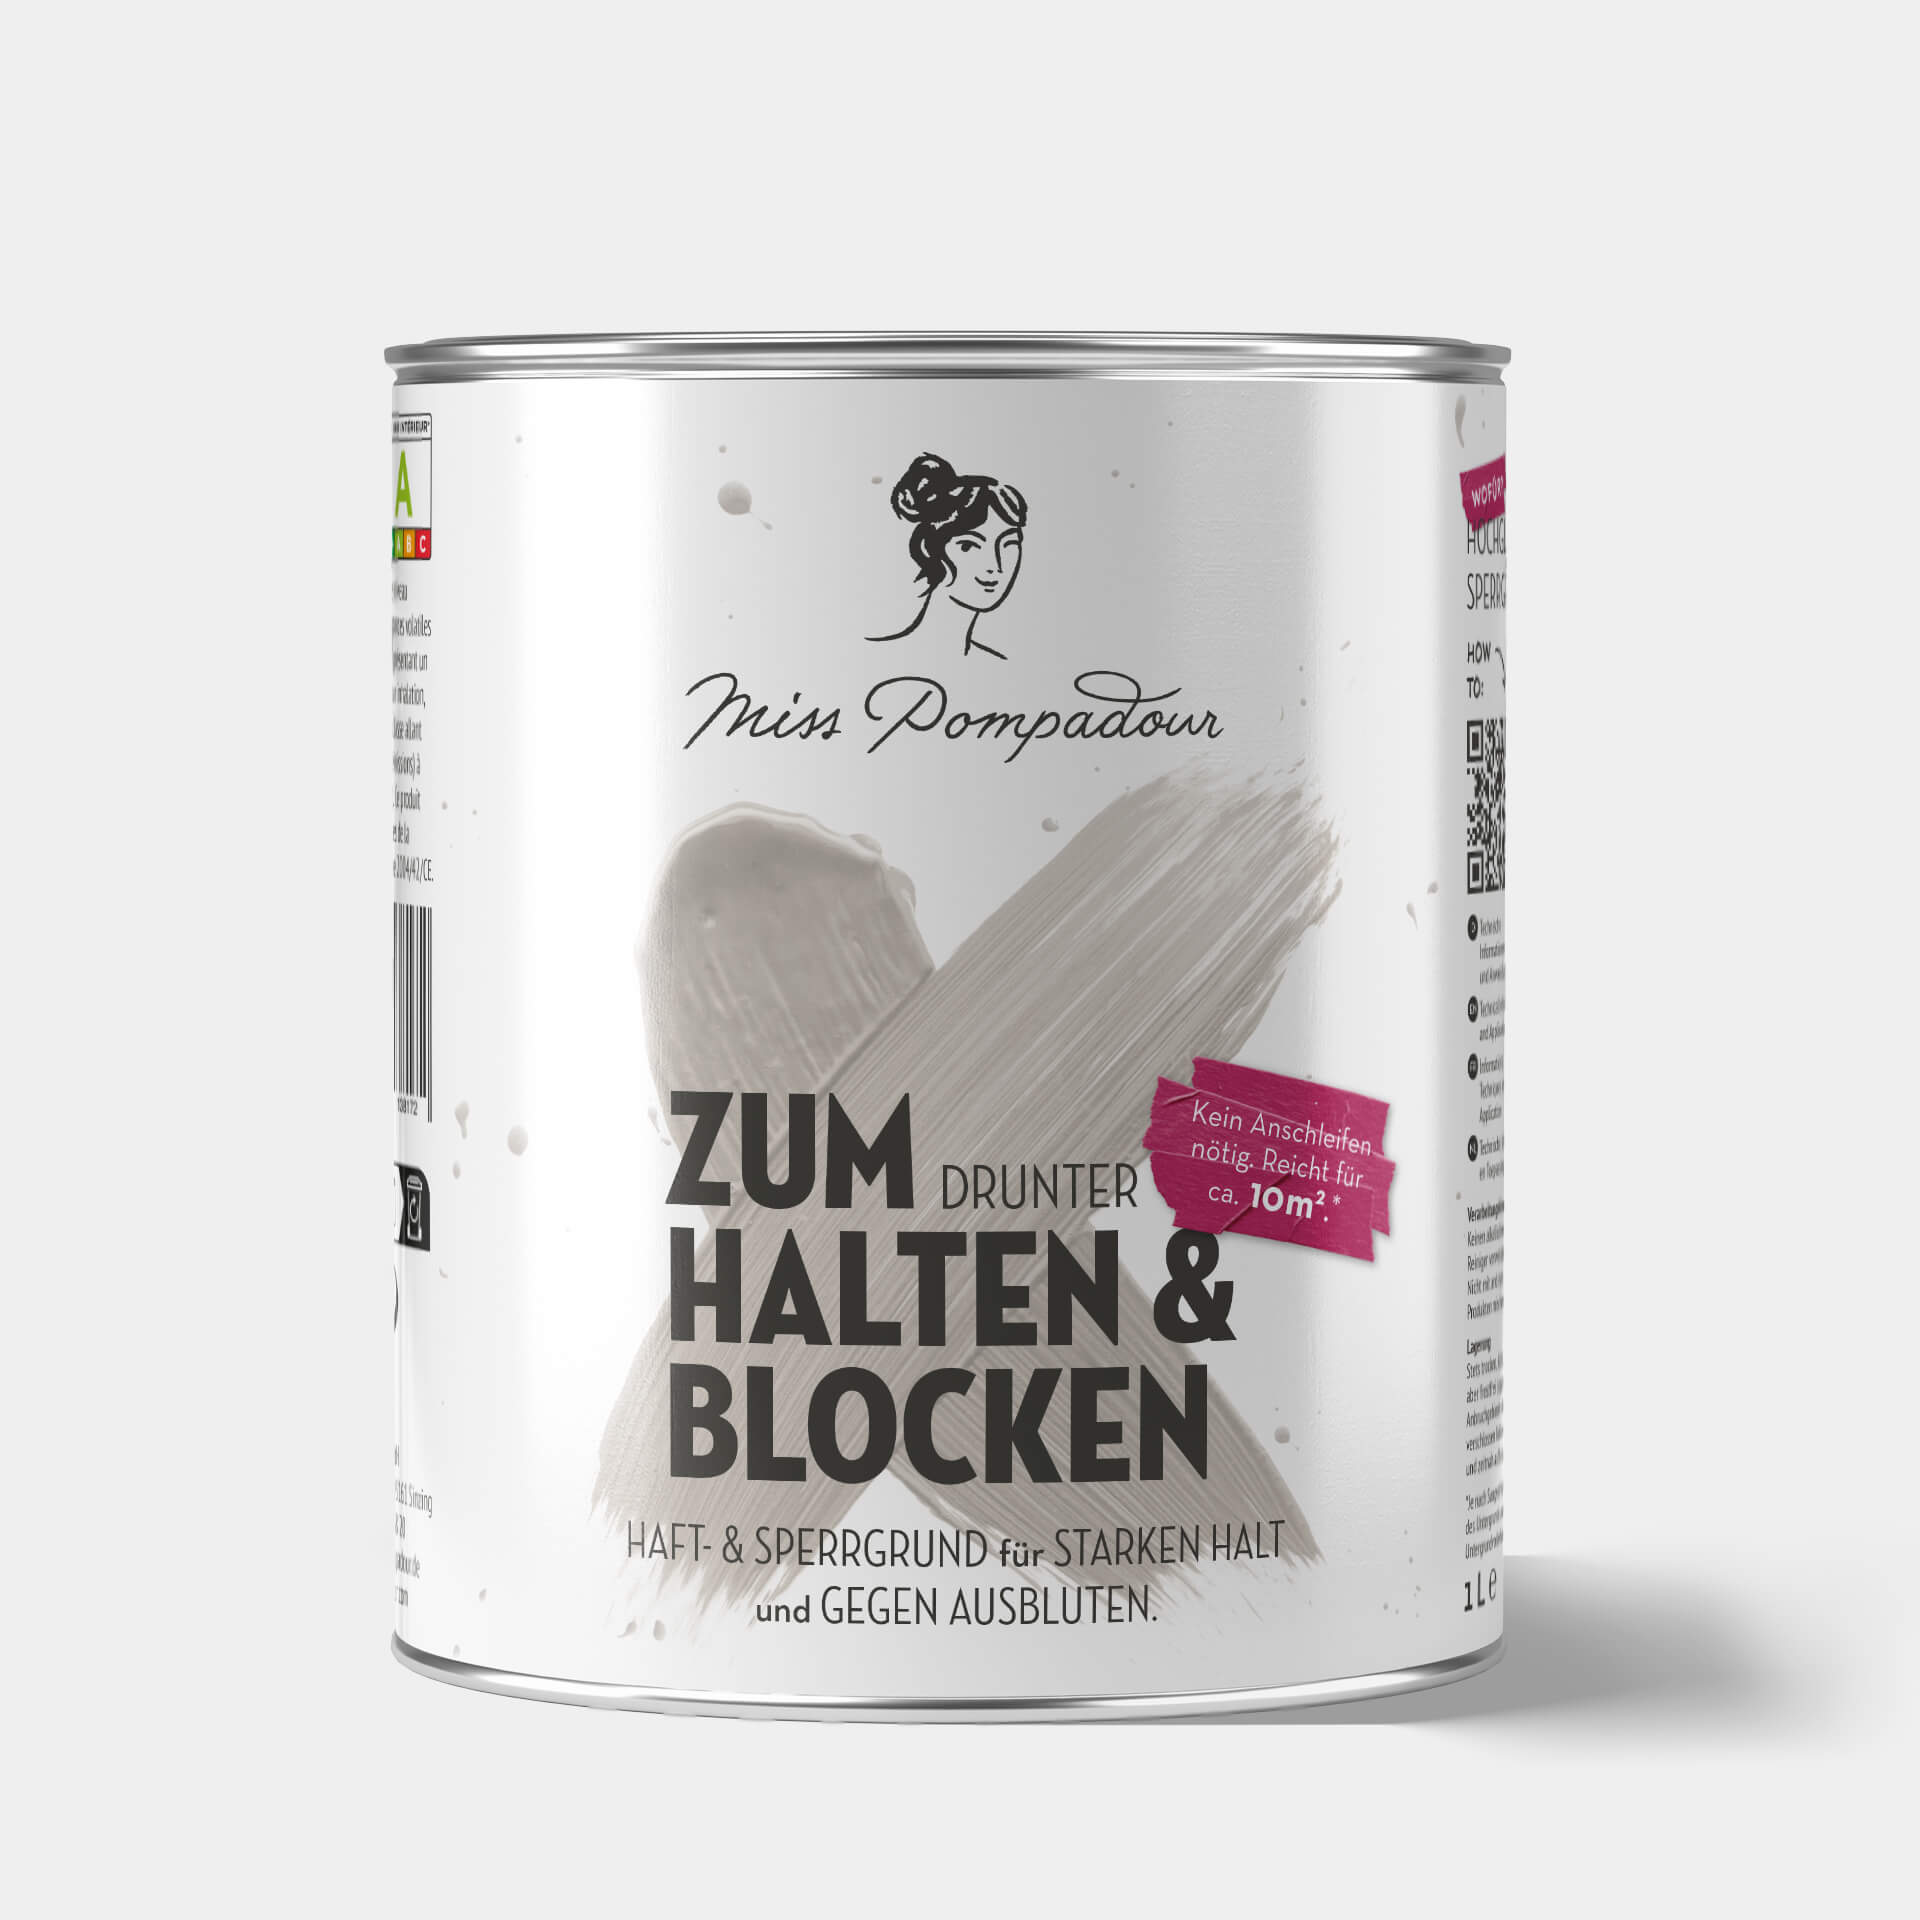
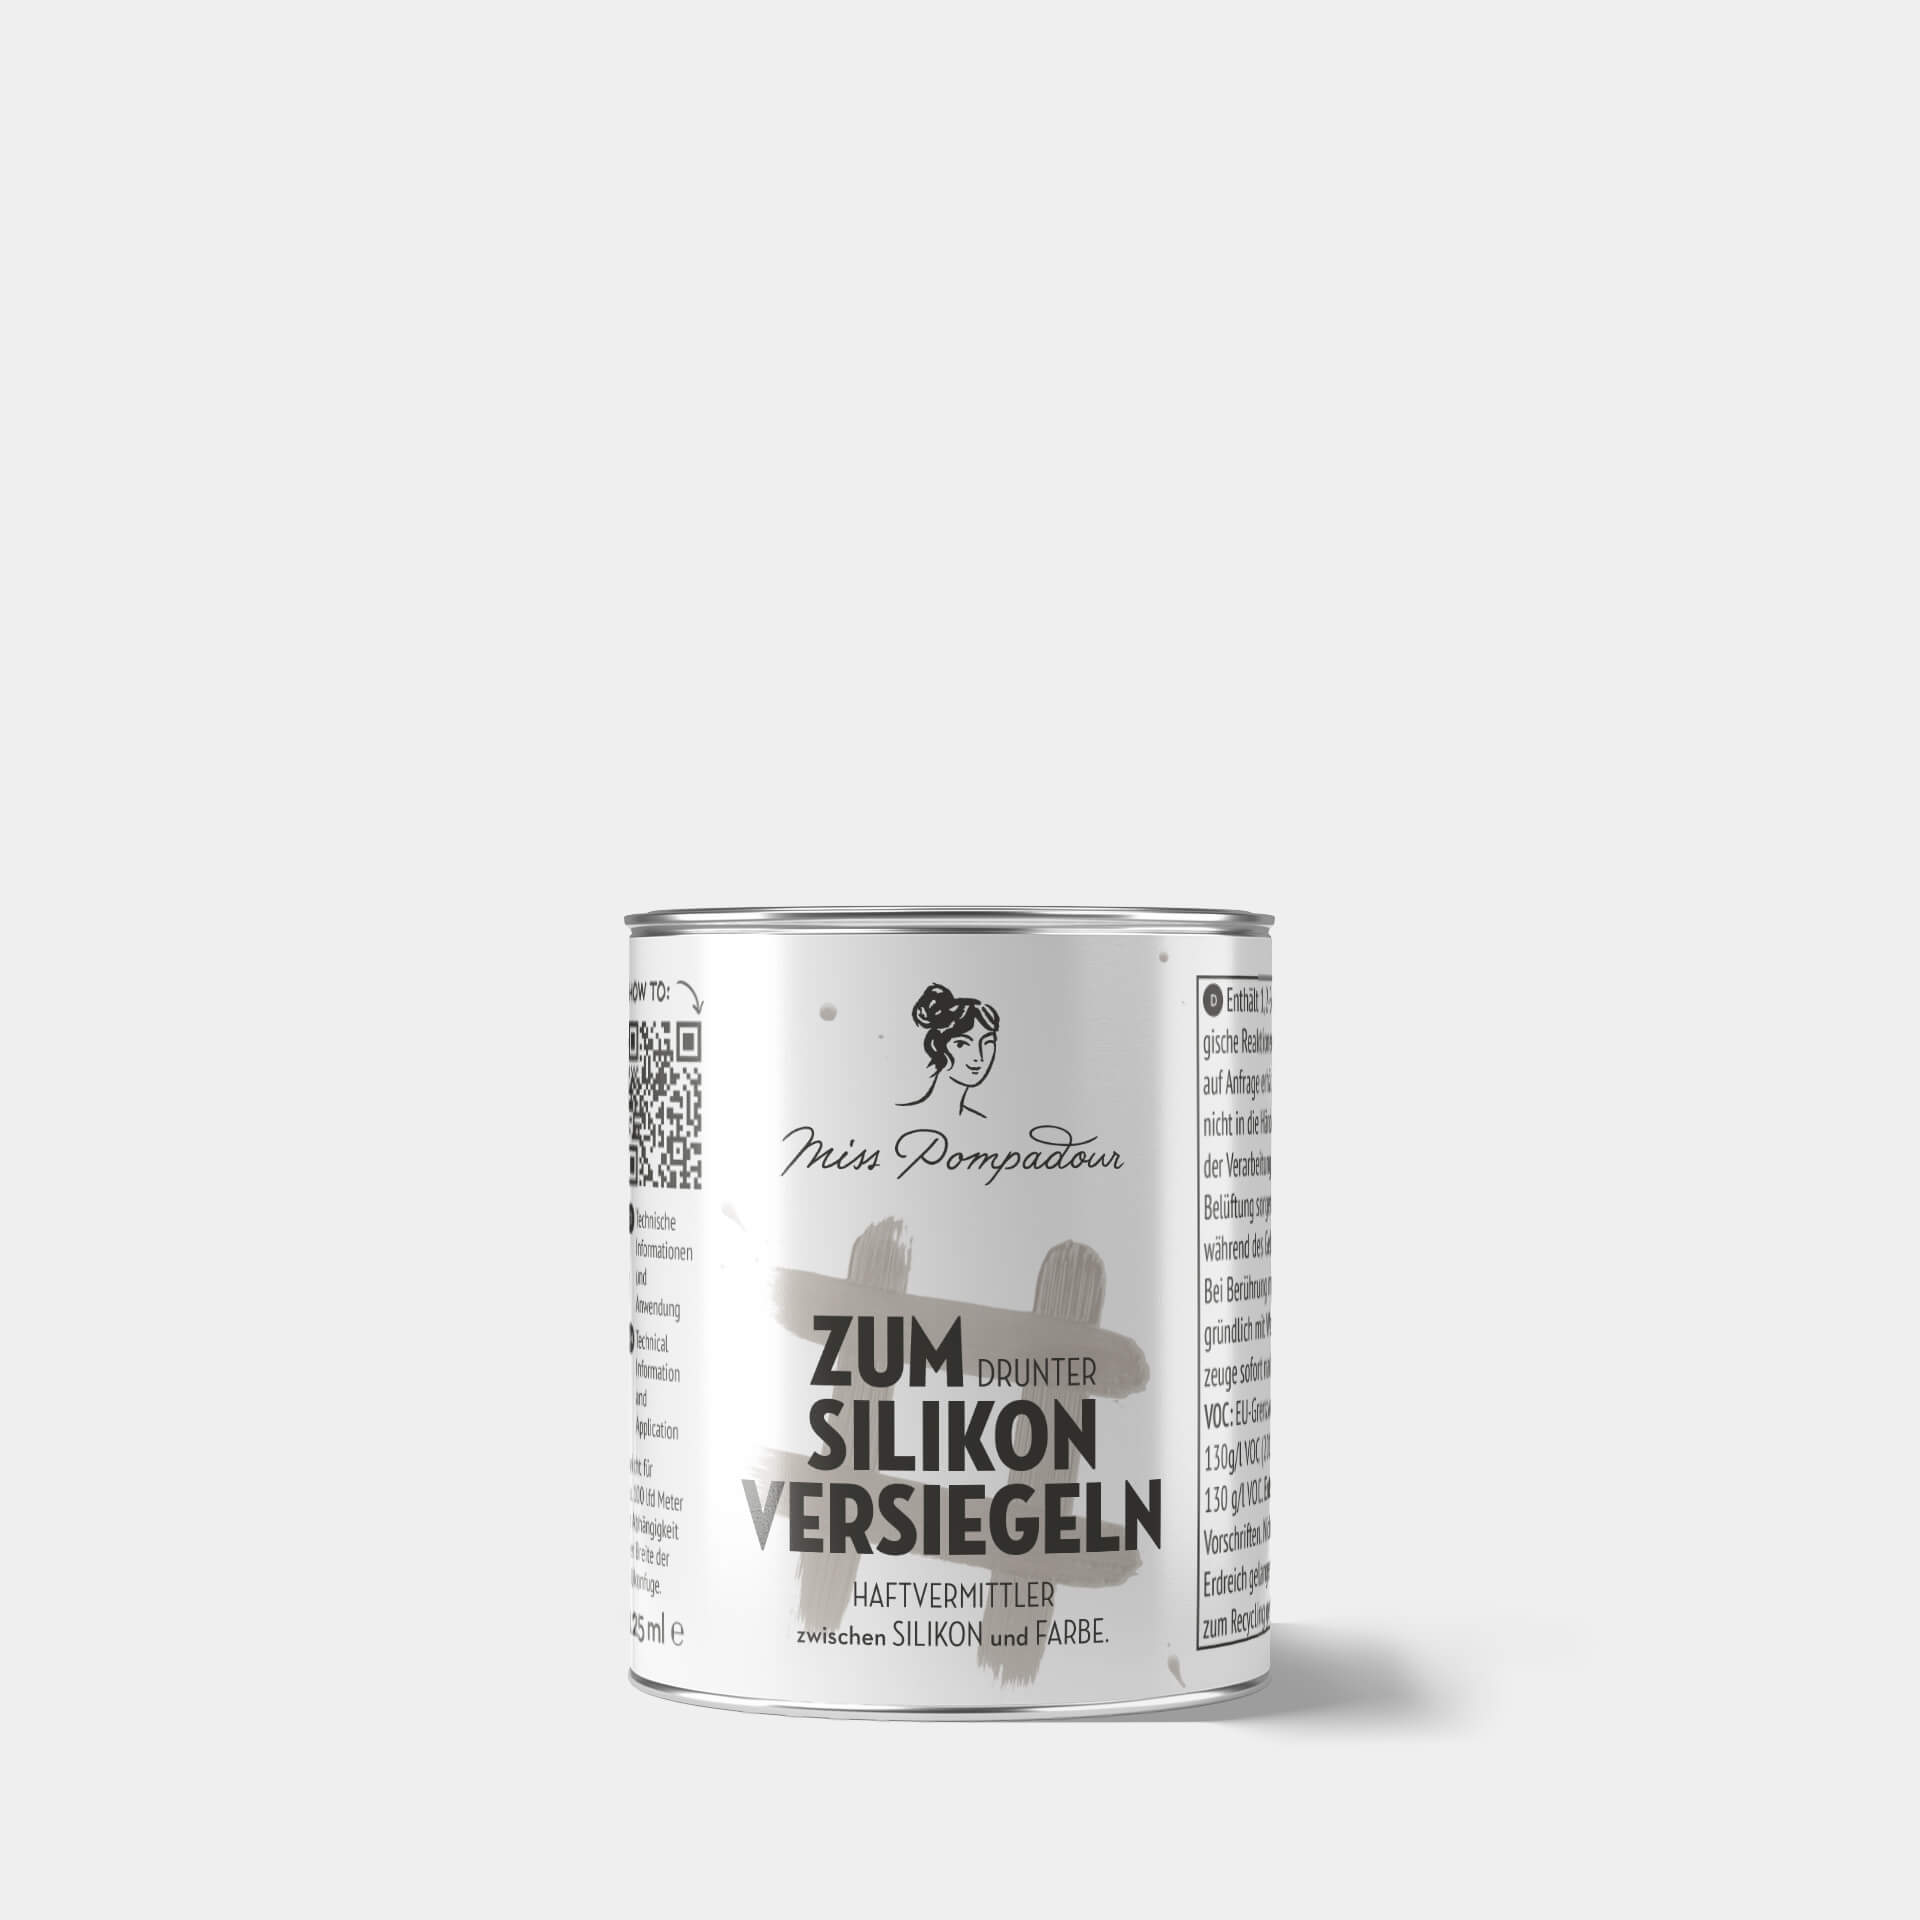
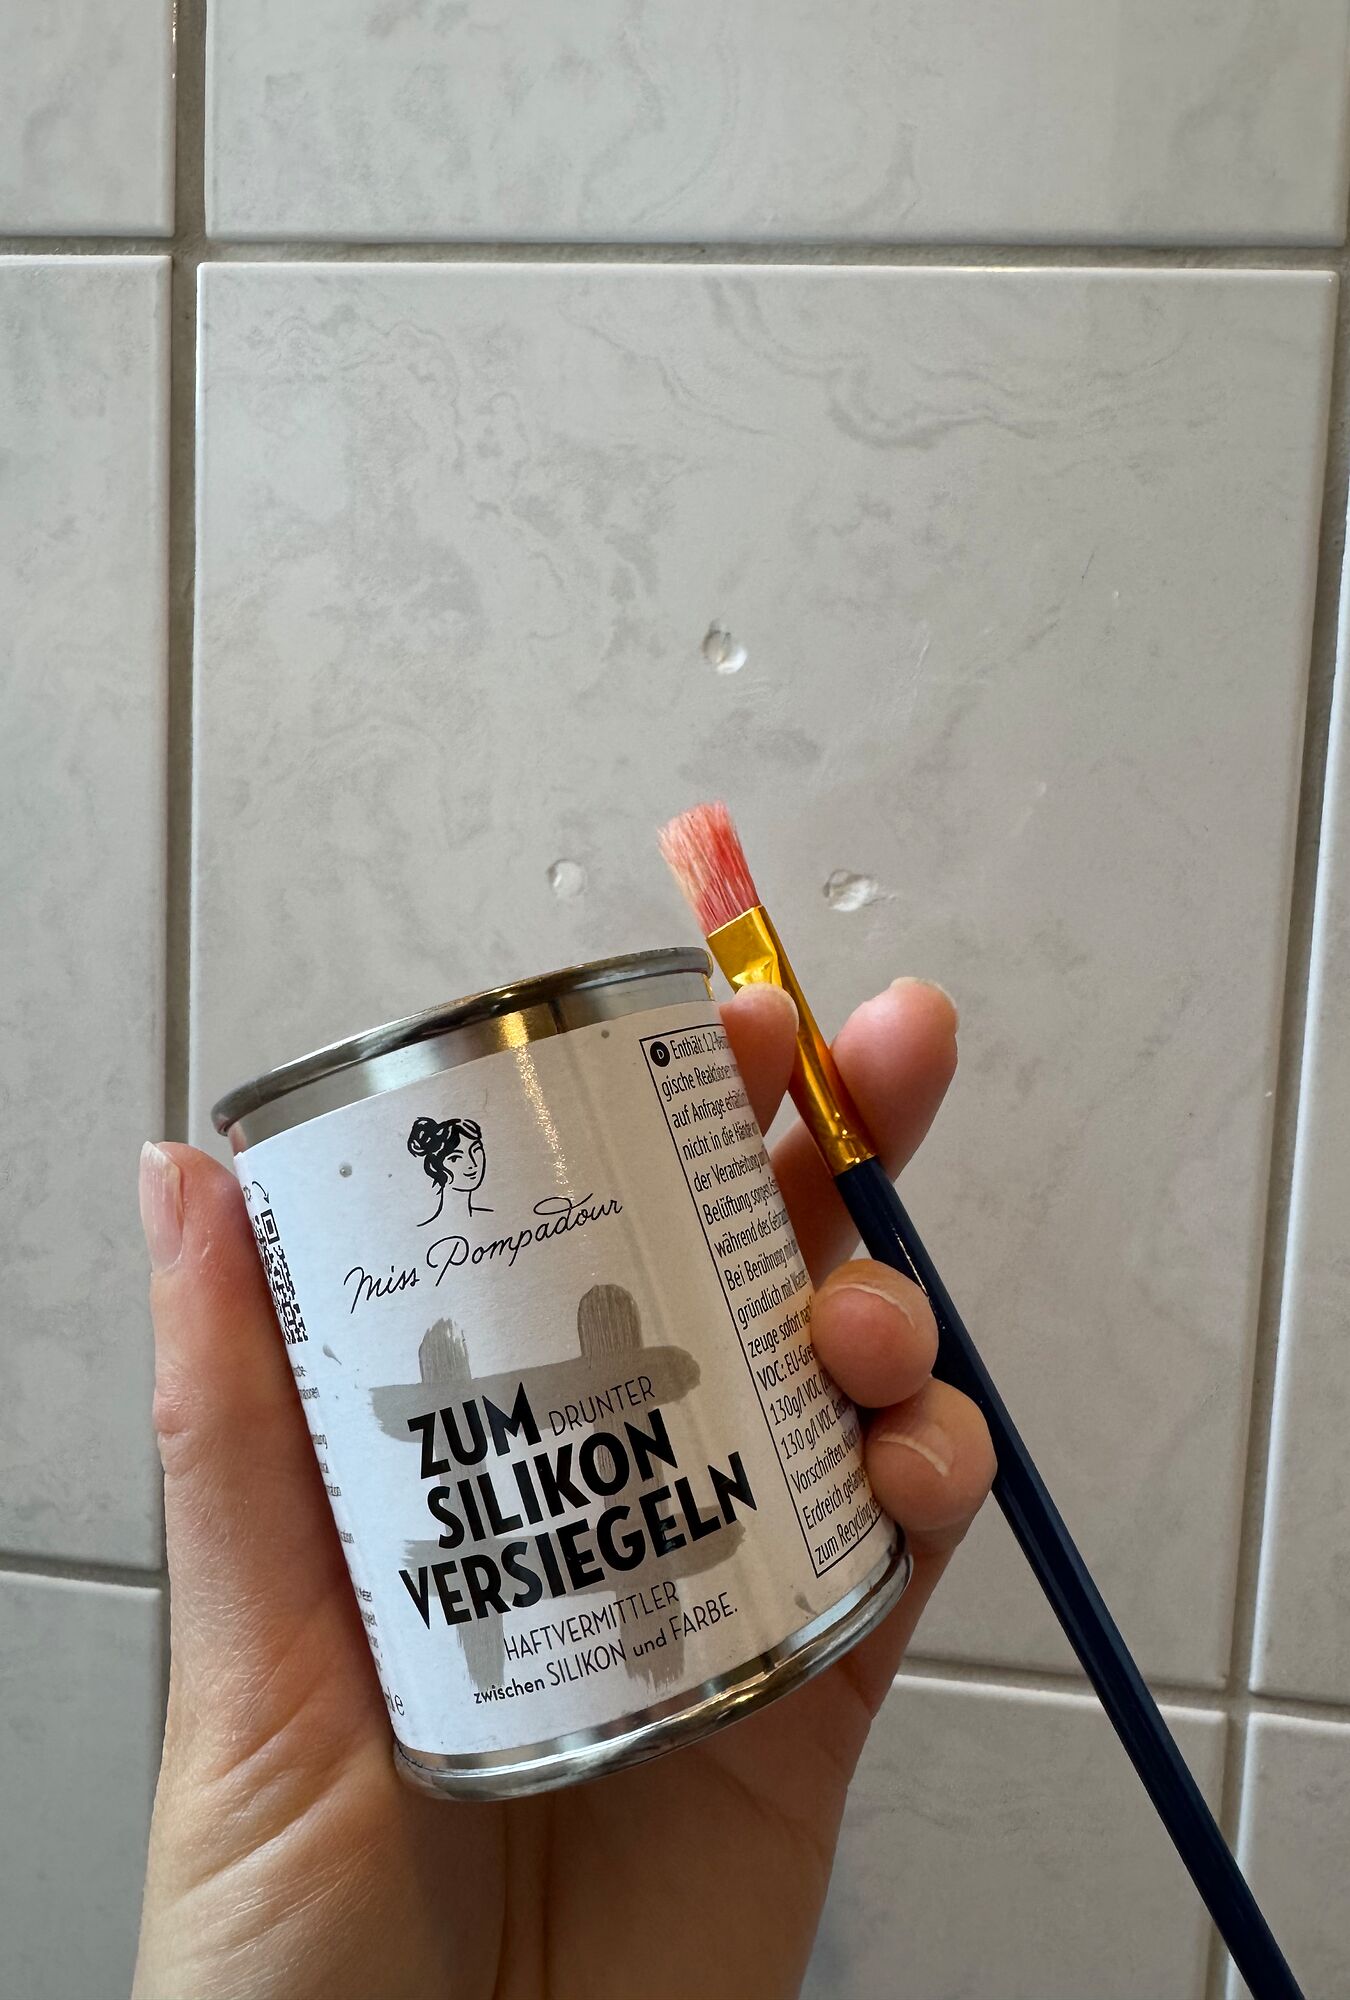
If you have silicone joints that you want to paint over, prime them first with our To Seal Silicone, as silicone cannot be painted over with primer or varnish. Priming is no longer a problem.
When painting floor tiles and wall tiles, apply a generous layer of MissPompadour To Bond & Block to ensure that your paint adheres well to the substrate. Every area should be fully covered with the primer, but the paint does not have to be evenly covering. Cold exterior walls, small rooms and high humidity sometimes mean that the primer takes longer to dry properly. In such cases, simply take longer breaks and only apply the first coat of paint after 3 hours or overnight. Be sure to use clean tools when painting the primer.
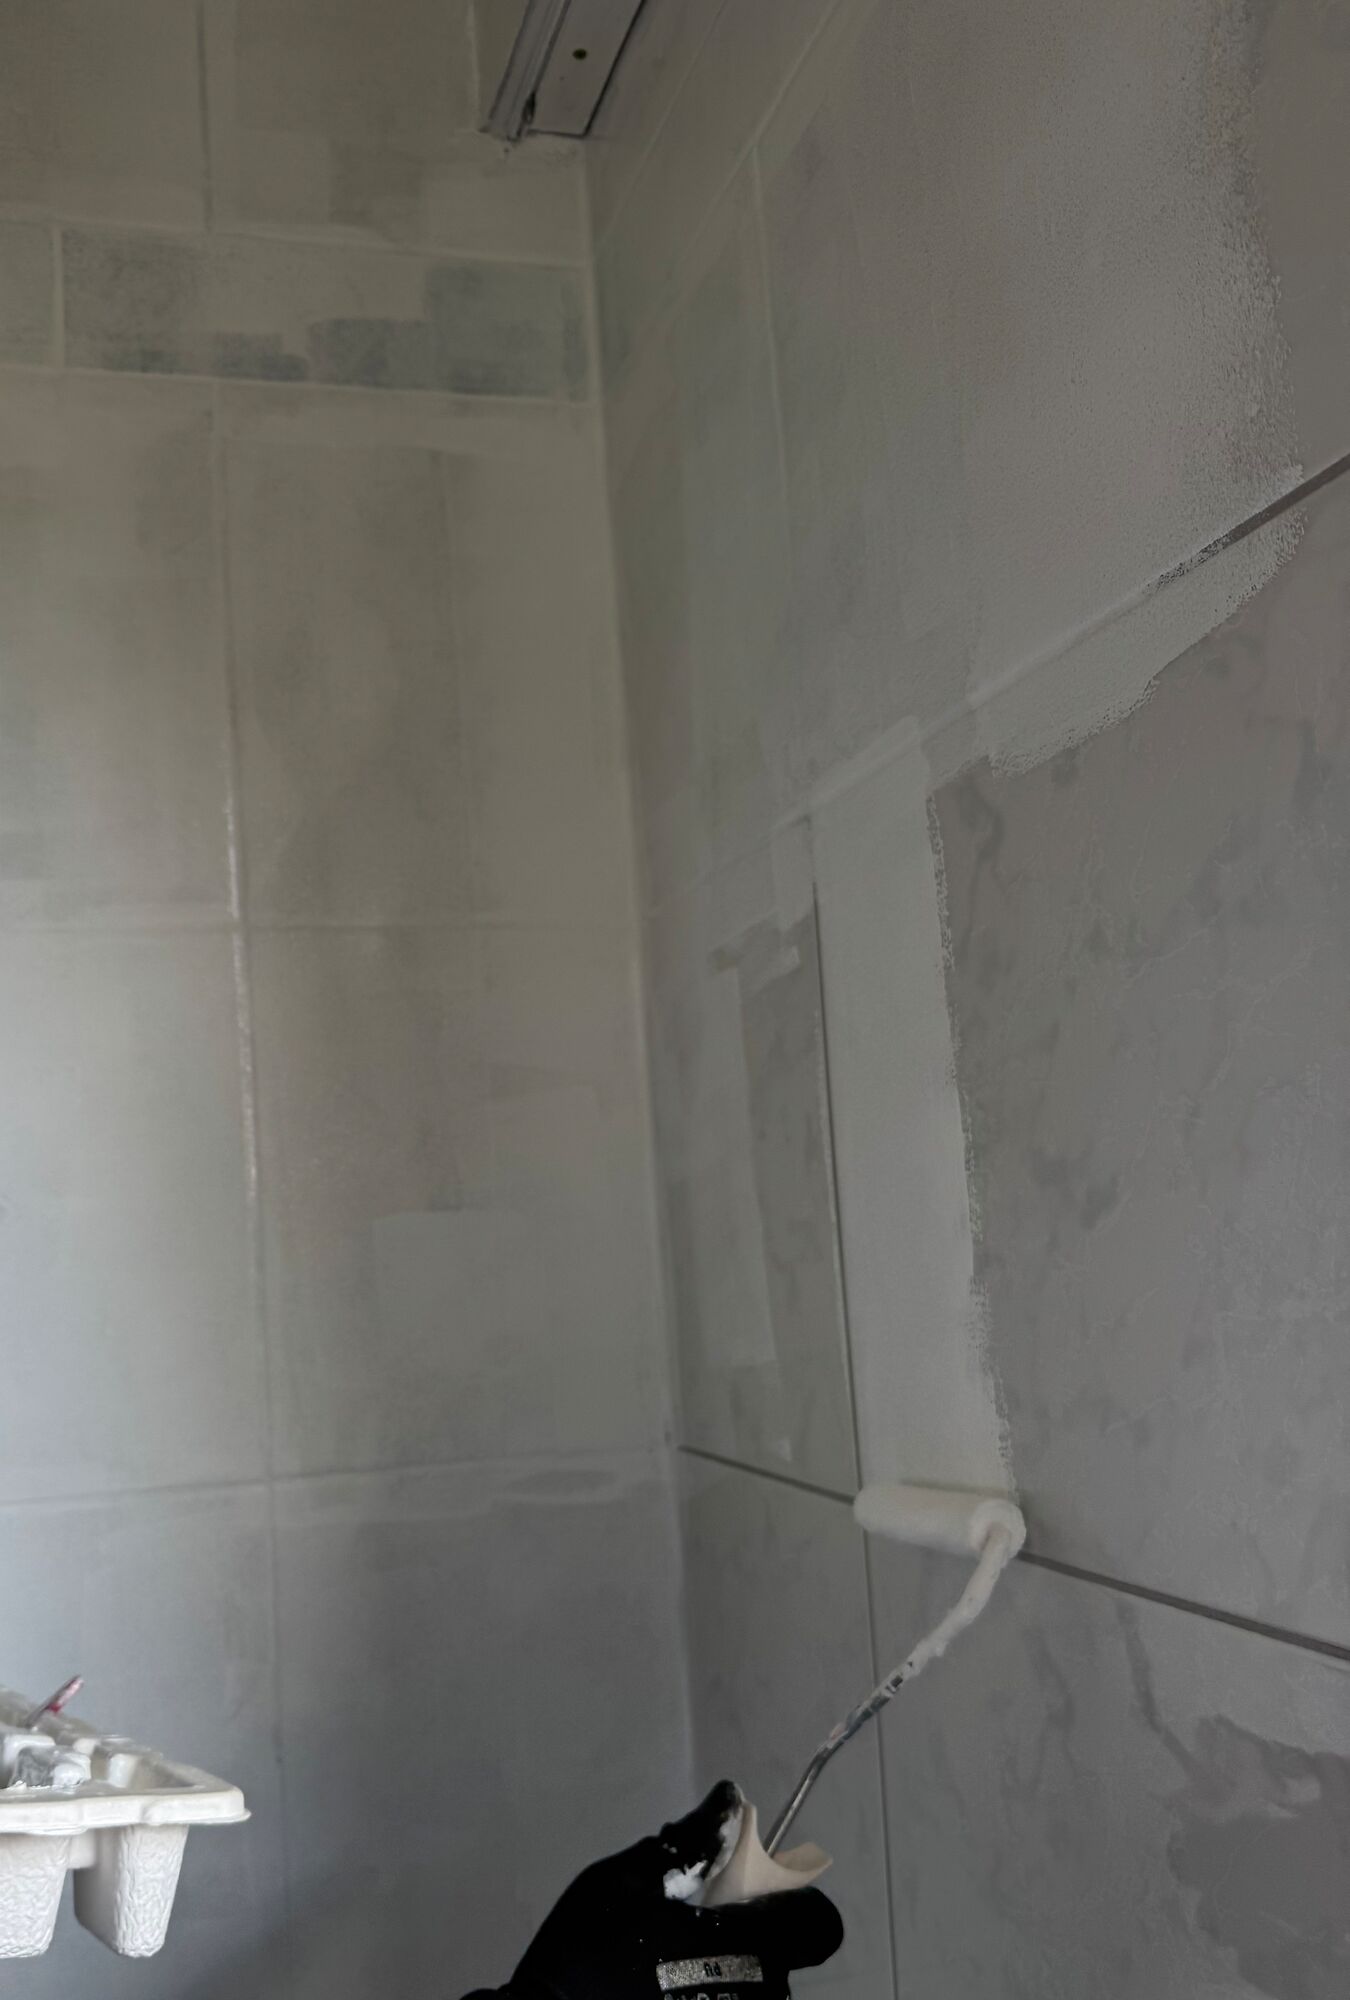
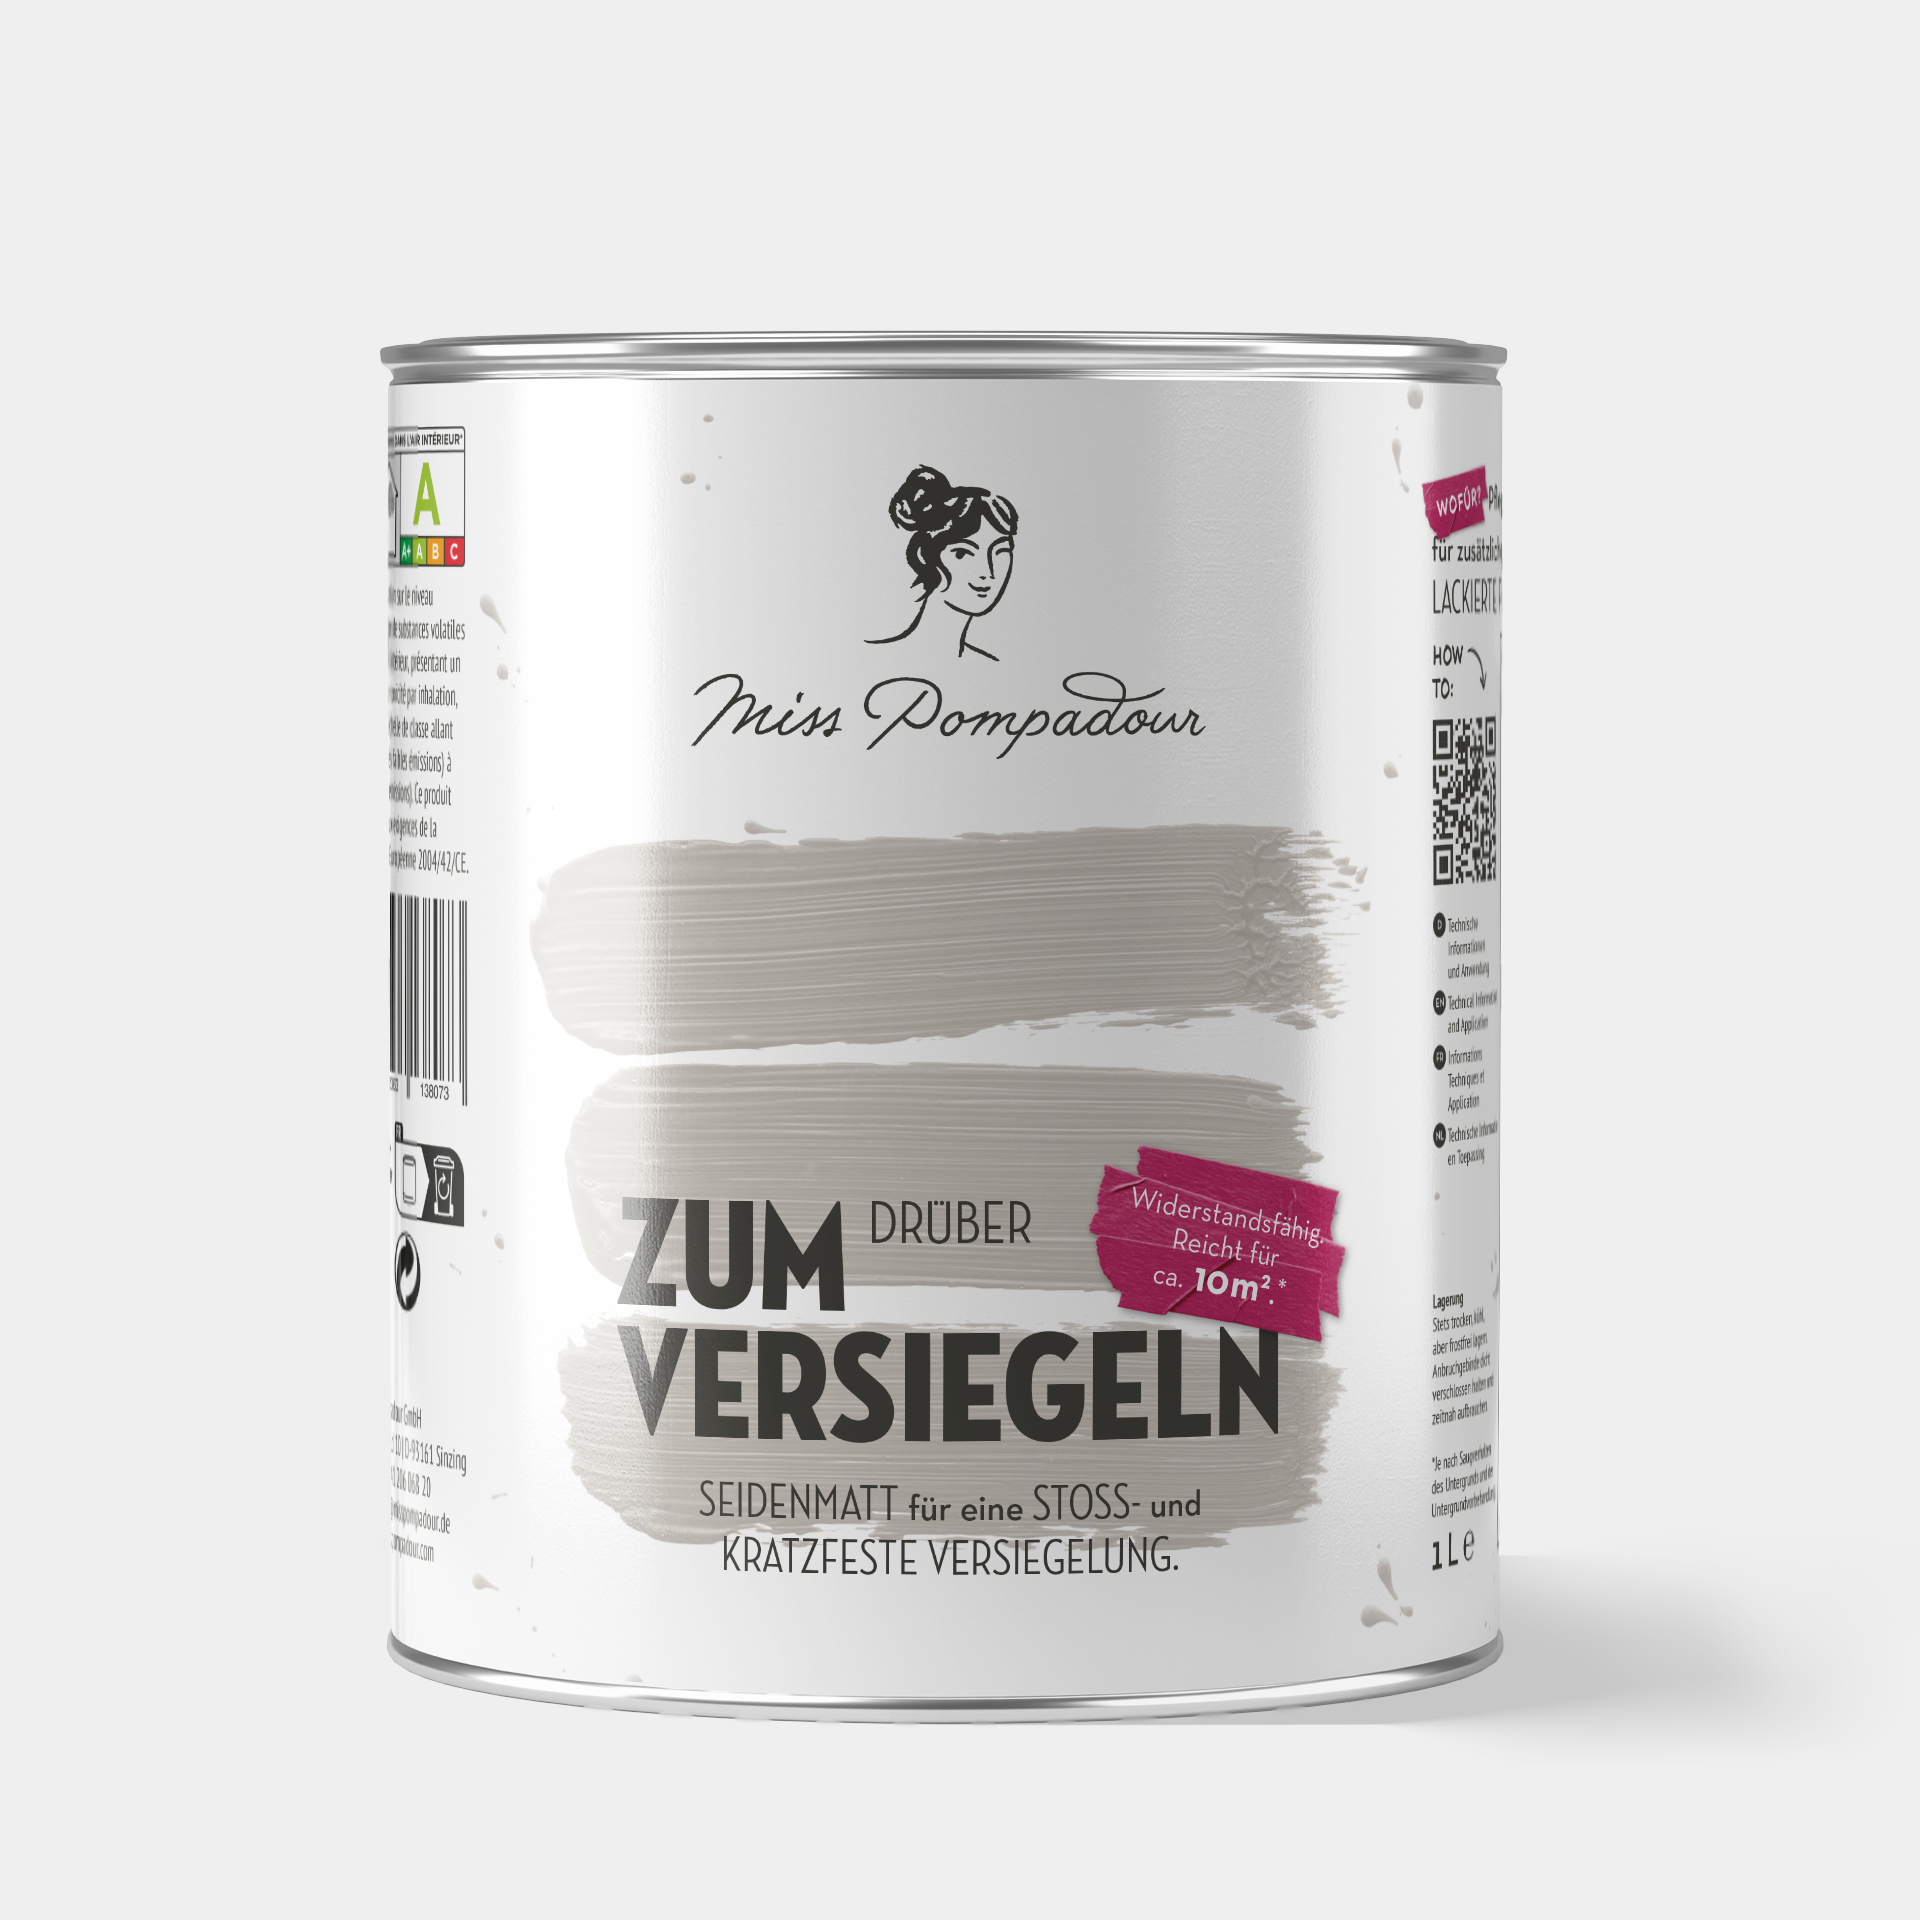
Step 5: Varnish the tiles
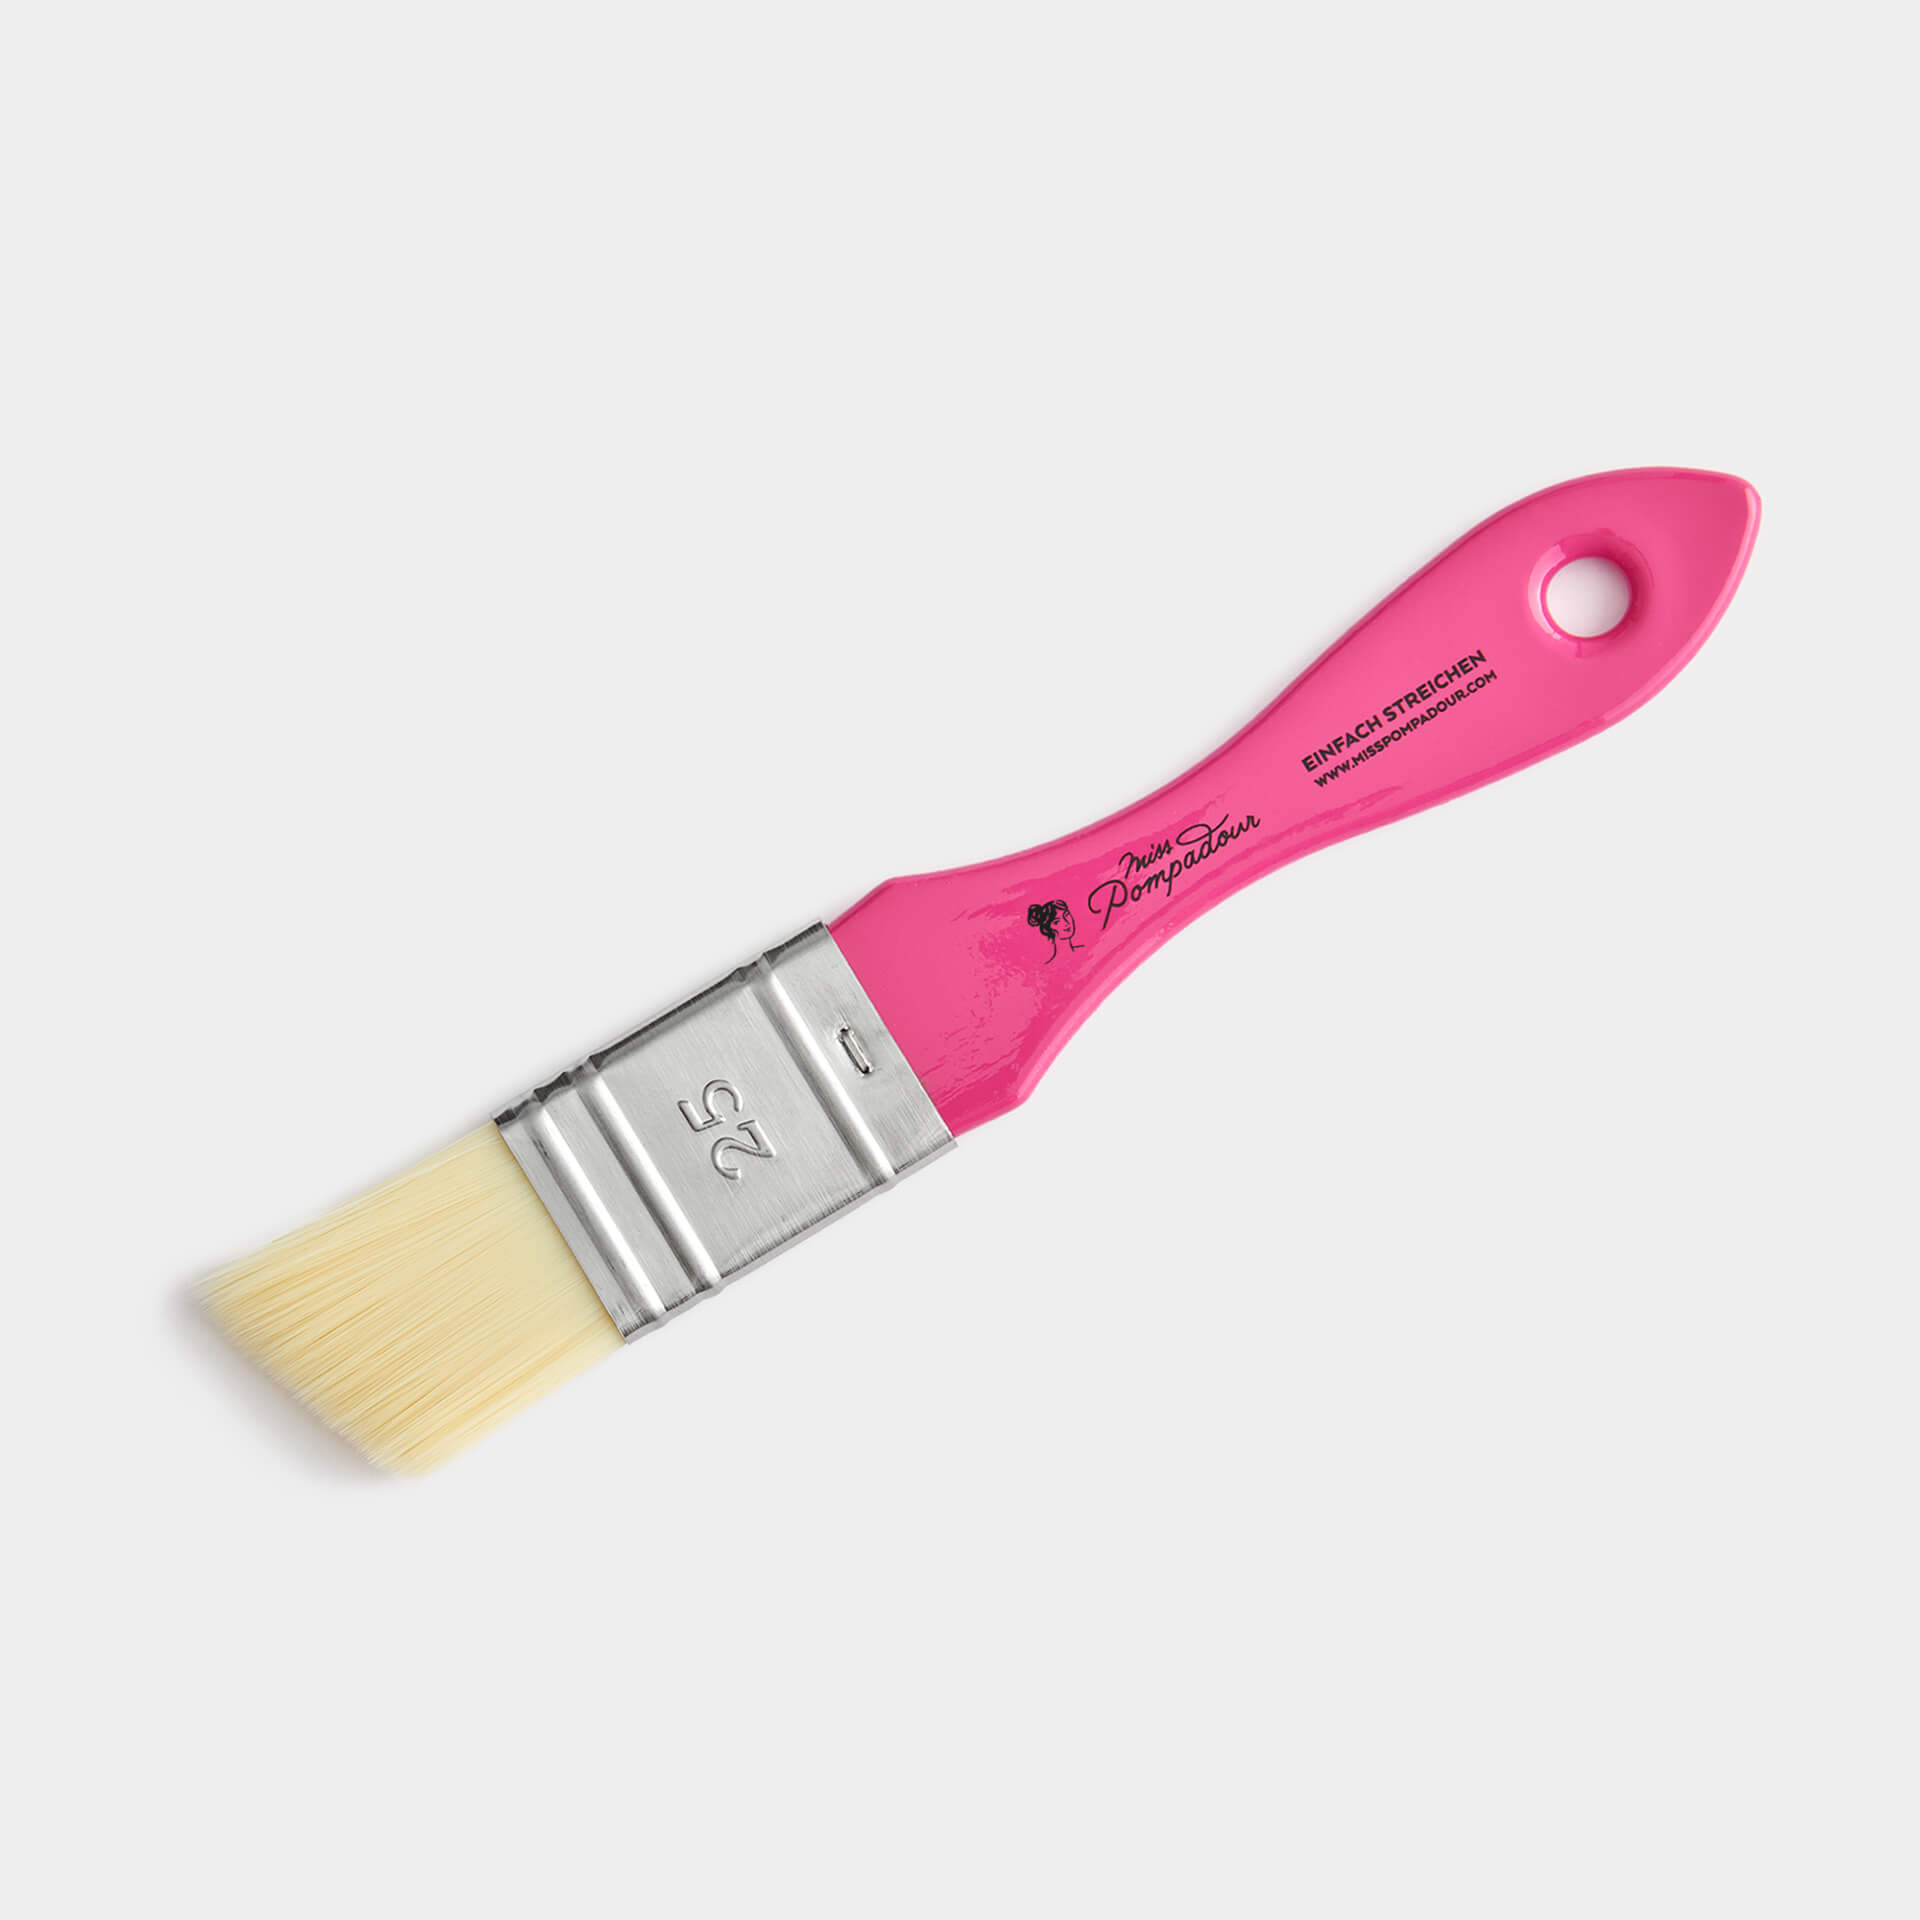
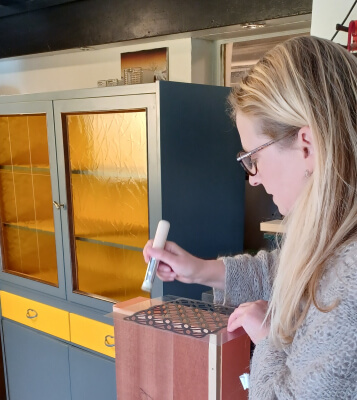
Now you can apply the coats of varnish. As many as you need until you are happy with the result. Two coats are often enough for an opaque finish, but you can also apply more. Allow each coat to dry very well. Usually 4 - 6 hours is enough, but it can take longer depending on the ambient conditions. The surfaces become more stable from day to day and have reached a very good stability after 10 - 14 days. It is best to pre-paint the joints with To Paint - Fine MissPompadour Brush in 25mm. Then paint the tiles with the varnish roller for water-based varnishes. Make sure you work wet on wet if possible. To do this, first paint a few joints and then roll the corresponding tiles, then go a little further.
Once you have painted one coat, remove the adhesive tape directly while the paint is still wet.
Step 6: Seal the result
If you are painting floor tiles or other heavily used tiles, To Seal - MissPompadour Topcoat will ensure that your coating lasts as long as possible. Wall tiles that are often exposed to moisture, such as in the shower or behind the cooker, can also be protected with To Seal. Floor tiles in the shower or other areas where standing water collects cannot be painted. Wait 24 hours after the last coat of paint before applying the topcoat.
Note: Please note that horizontal tiles are always a special surface. Whether as a storage surface or floor, they are exposed to higher loads, which must be assessed by each individual. We recommend applying a topcoat of To Seal to floor tiles in any case and cannot guarantee the durability of the varnish.
Which paint is suitable?
Which paint should you use for your old tiles?
Our low-maintenance and robust Easy Eggshell! is ideal. This paint provides a silky-matte, durable finish. Whether you're looking for beige, green, or brown – you'll find your perfect shade here!
What makes MissPompadour tile paint stand out?
Unlike conventional tile paints, our paints do not require mixing a 2-component lacquer, which, in addition to emitting a strong odour, also needs to be applied immediately. Easy Eggshell! is ready-to-use, allowing you to take a break and continue painting whenever you like. This is especially useful as the transitions in our paints are seamless. What's more, conventional tile paints simply can't match the velvety, softly silky-matte finish of ours.
You still need these tools for your tiles
- Cleaning bucket, sponge and cloth: The surfaces to be painted should be free of dust and grease. Limescale deposits should be removed as well as possible.
- Screwdriver for dismantling: It is best to remove all towel rails, hooks and furniture. This is the cleanest way to work and saves you a lot of tedious masking.
- Masking tape for masking: Always remove the masking tape when the paint is not yet dry to ensure a clean edge. Please also refer to the instructions in the FAQs.
- plastic drop cloth or newspaper: This protects the areas that should not get any paint.
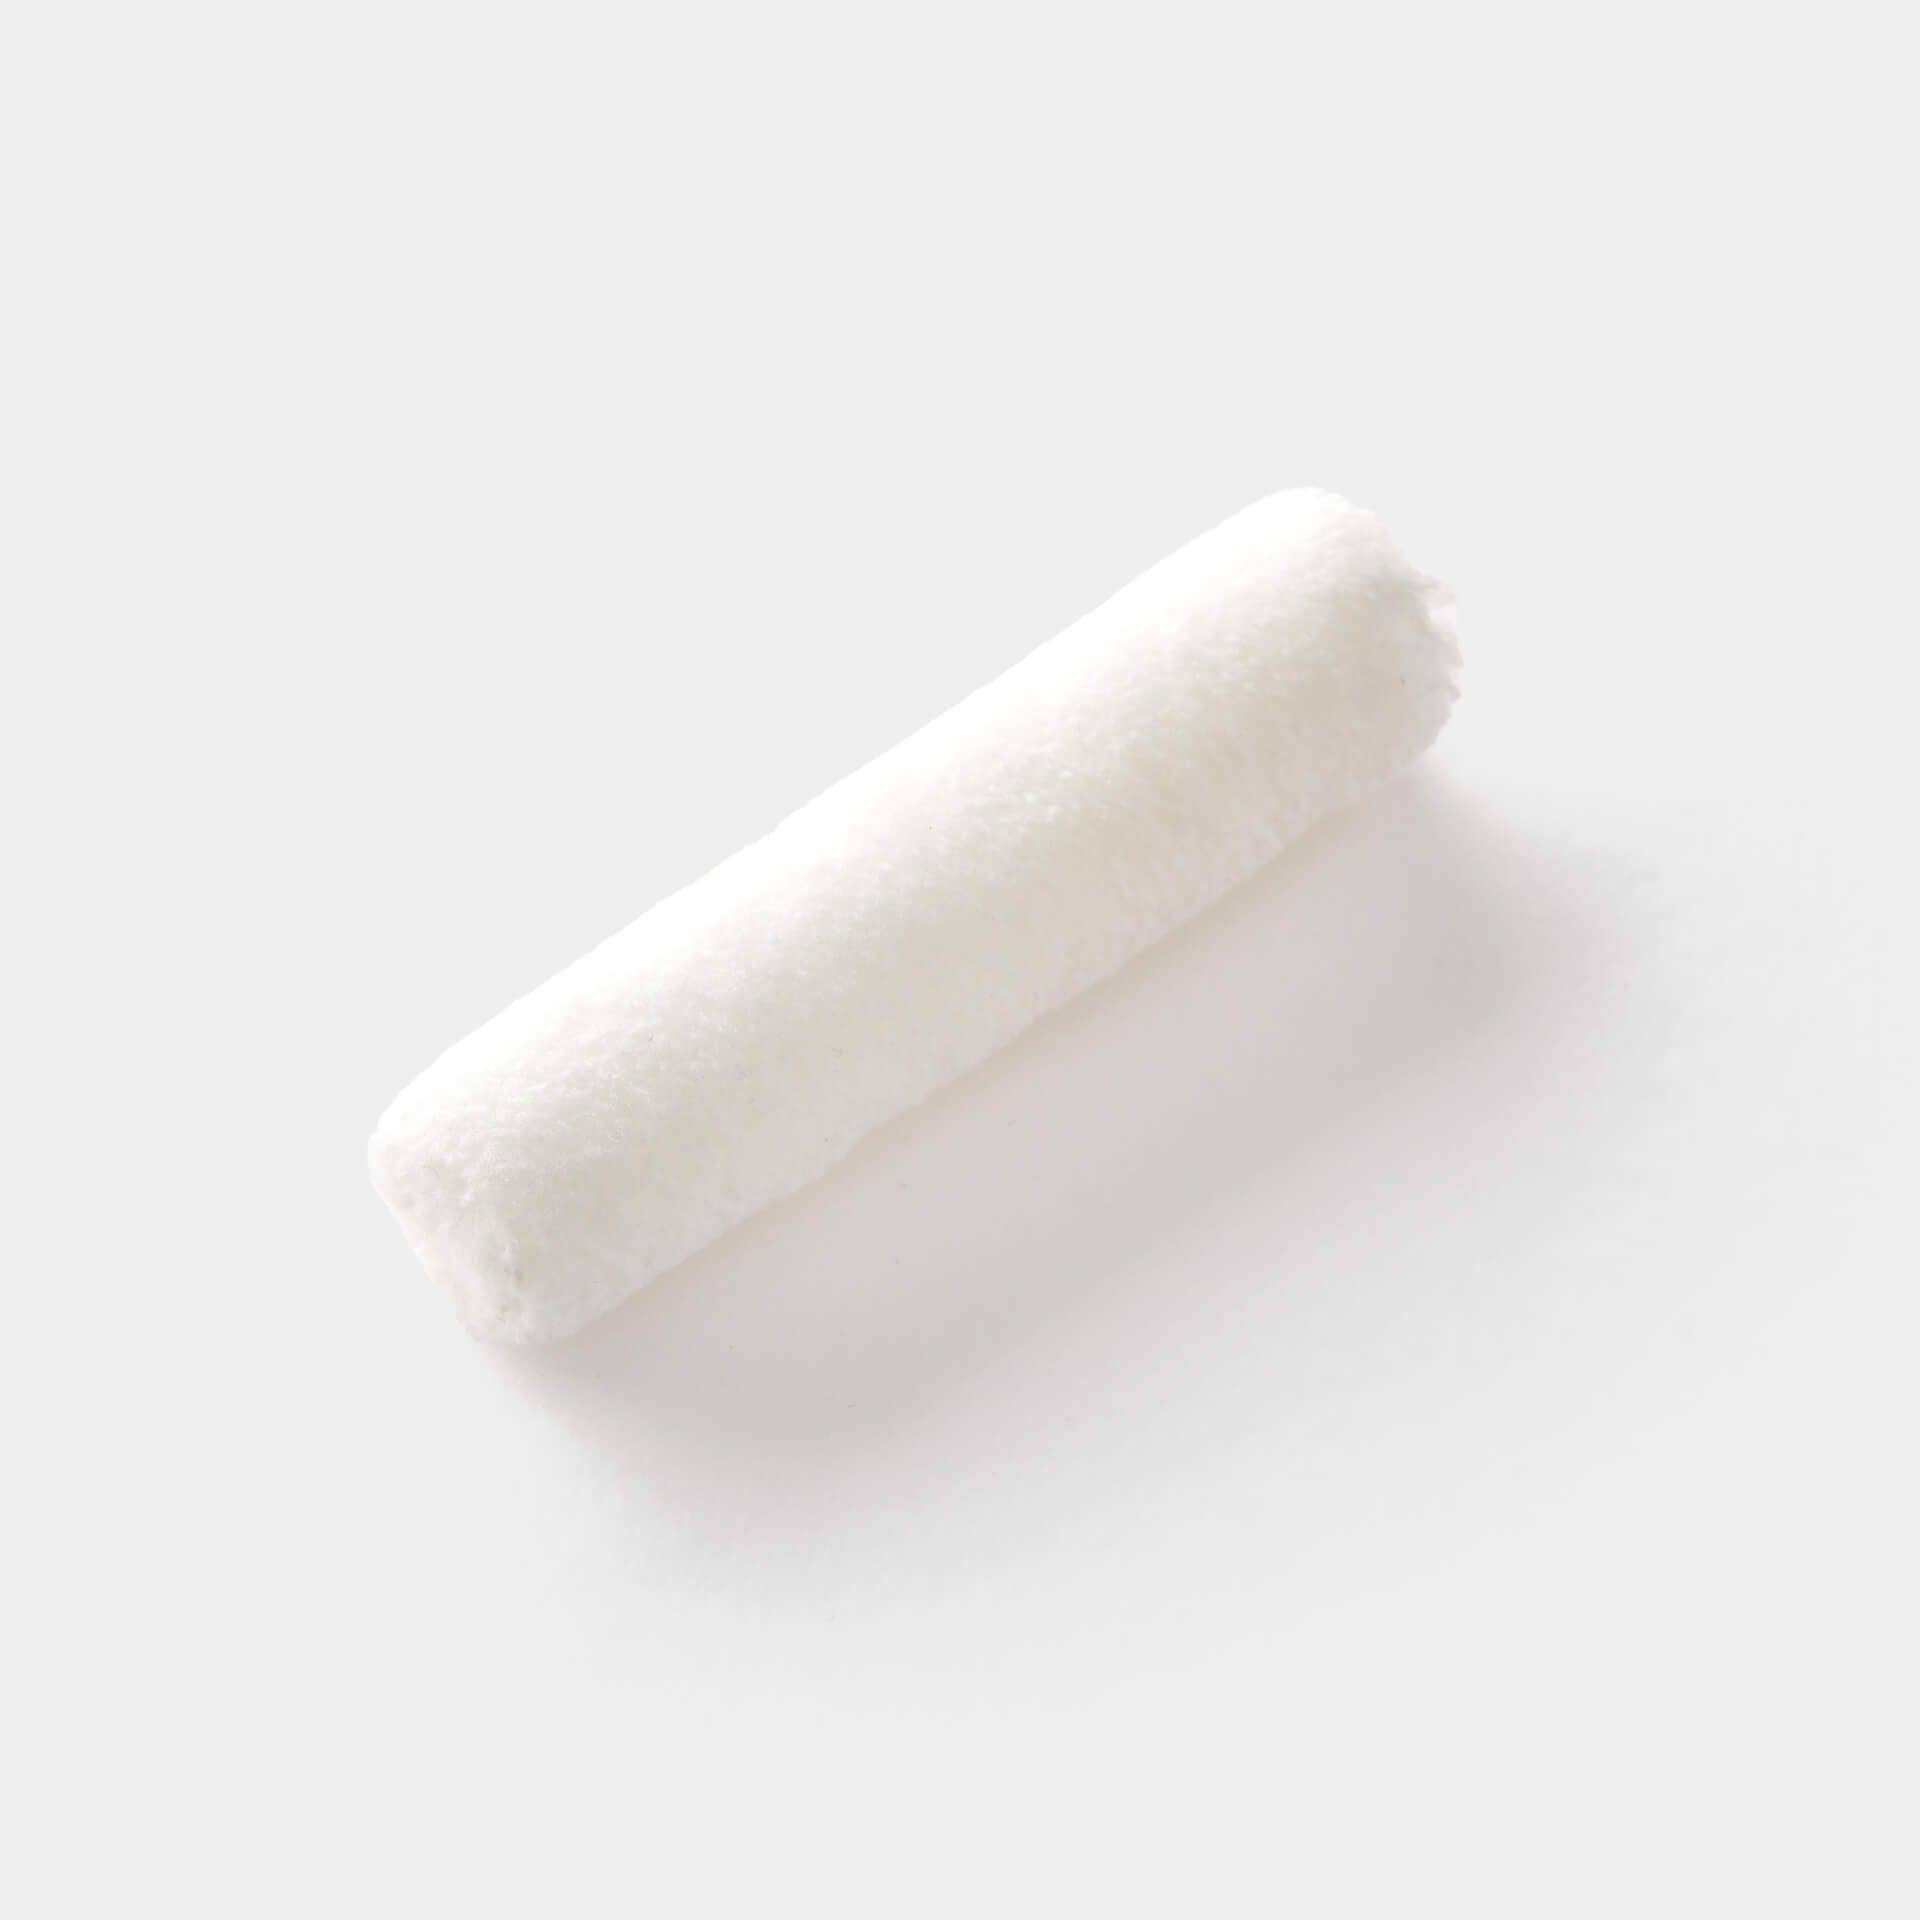
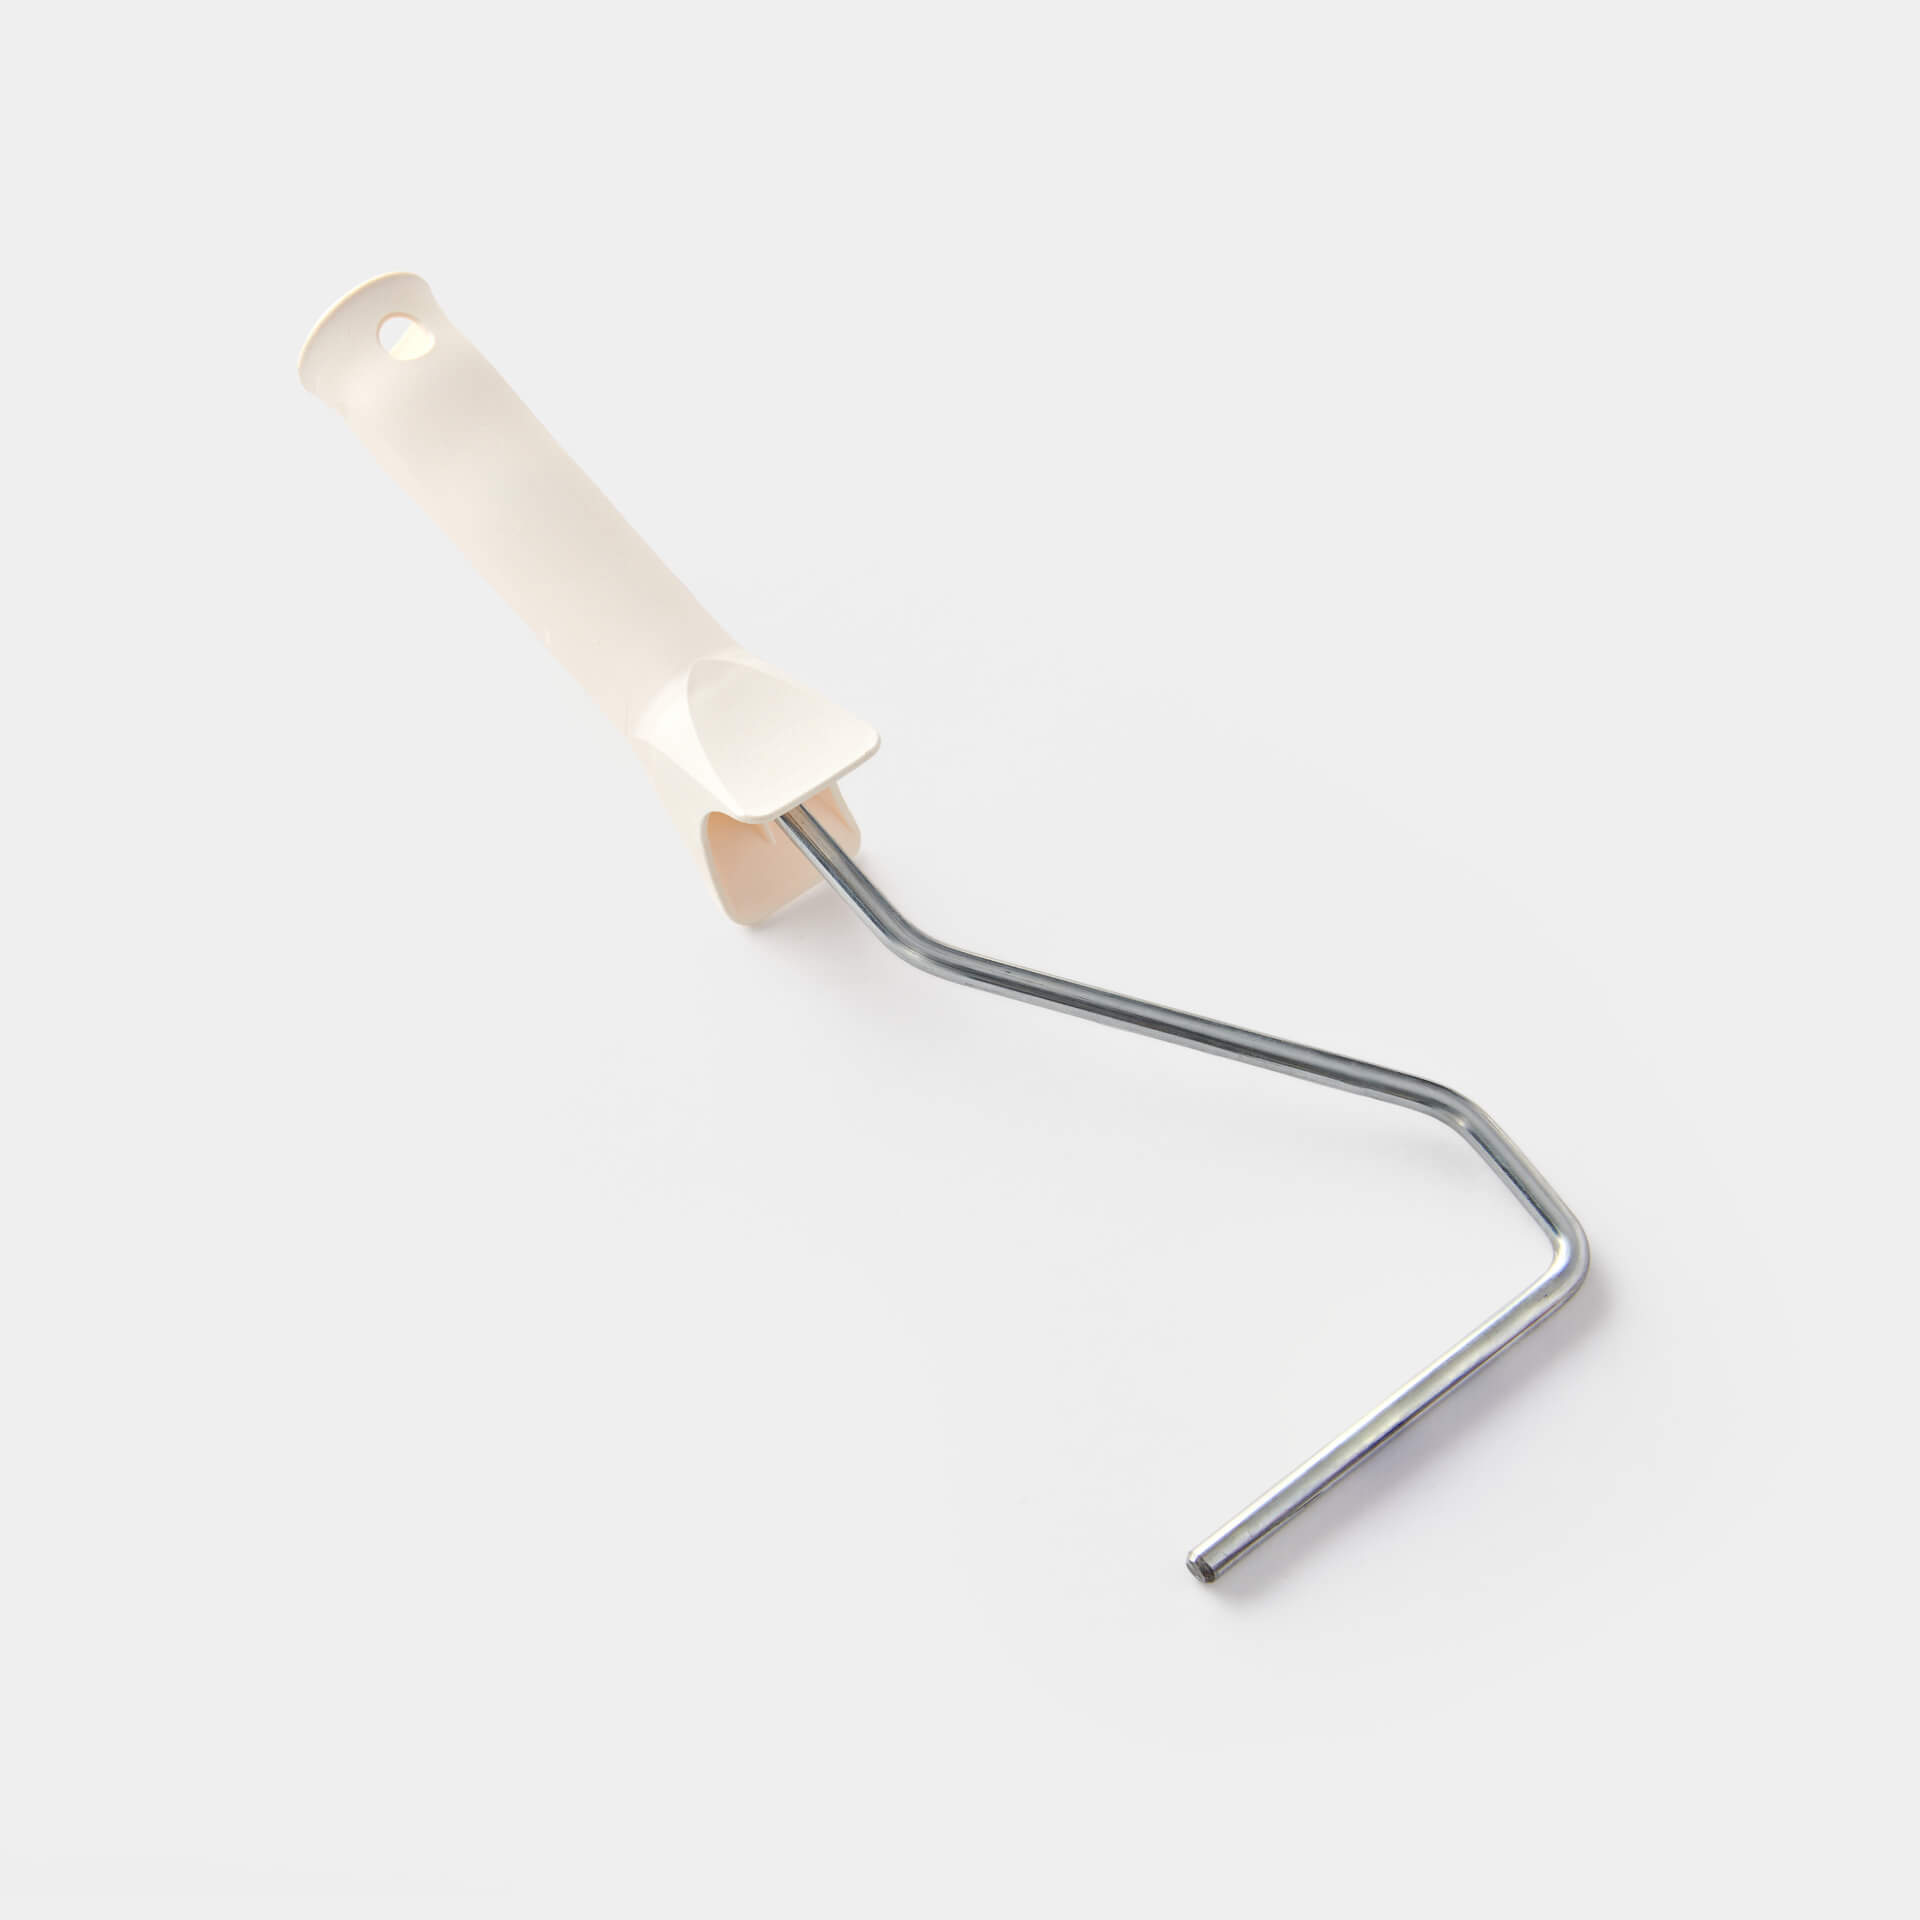
- Brush, varnish roller and paint tray: It is best to pour the varnish into the paint tray. Paint corners and edges as well as all joints with the brush and the surfaces with the varnish roller.
- Sandpaper or sanding pad: To be on the safe side, it's a good idea to have something to sand on hand. This way, you can easily touch up small blemishes such as noses at the joints and continue working.
Frequently asked questions about painting tiles
1. General questions about painting tiles
Can you simply paint over tiles?
Yes, you can! You can paint almost all tiles, and it's especially easy with our Easy Eggshell!
Which tiles can I paint?
Almost all tiled surfaces can be painted. There are, however, a few exceptions: Tiles coated with wax or treated with an impregnating agent are difficult to paint over. Terracotta tiles, for example, are often sealed with a wax coat to make them easier to clean. Modern surfaces with a lotus effect coating cannot be painted either. Even some floor care products that have an impregnating effect. Outdoor tiles that are exposed to rain are also not a suitable surface for painting. Of course, every surface is different and reacts differently to a coat of paint therefore, we cannot guarantee proper adhesion and durability.
Which paint roller and brush do I need to paint tiles?
It is best to work with a combination of our fine MissPompadour brush and the varnish roller for water-based varnishes. Pre-paint the joints with the brush held lengthways, then use the roller on the tiles. Always try to work wet on wet. Paint a few joints first and then Roller the corresponding tiles. Then paint the next joints and tiles. You'll soon get the hang of it.
How long does the colour last?
We cannot guarantee the durability of tile paints. How long a coat of paint lasts on tiles depends heavily on how it is used. Every painted surface is subject to a certain amount of wear and tear, and this wear and tear depends on the amount of use. For example, a tiled floor in a single household without pets, where shoes are always taken off at the front door, is naturally subject to different wear and tear than in a family of five with a dog and cat, where dirty wellies are sometimes walked on in the entrance. What's more, every floor is treated differently and everyone has a different opinion of how a floor should be used. You have to decide for yourself and your family whether you want to paint a floor or look for another alternative. High-traffic areas can also be additionally protected with a runner.
Do I have to repaint the tiles at some point?
Signs of wear and tear may appear over time. If there are scratches or small chips, you can repair them very easily. Sand the areas a little with the sanding pad and simply paint over them again with your varnish or chalk paint. A painted floor can be a good solution for a few years. And if you no longer like the colour, simply paint over it with another of our fantastic colour shades.
Why can I scrape the varnish off with my fingernail?
If the colour has not yet hardened, it can simply be scraped off. This is normal. Please do not do a scratch test with your fingernail. After 14 days the colour is already quite stable, but even then it hardens from day to day and can no longer be scratched off.
Can I also paint tile relief?
Yes, textured, old-fashioned tiles usually even look really cool when painted.
Can I attach suction cups to the painted tiles?
Can you paint tiles in a rented flat yourself?
Whether you are allowed to paint the tiles in the rented flat must always be clarified with the landlord. After all, it is his property and a coat of paint cannot be completely removed. It's best to always get permission in writing. That way, you'll be on the safe side when you move out.
How do I clean my painted tiles?
To Clean - Cleaner for painted tiles, you can use a normal cleaner. Please check whether it is suitable for painted surfaces, as this is stated on the label. You should avoid using chlorine-based cleaners or alcohol-based disinfectants. It is also better not to leave strong acids on for a long time. Our To Clean - Cleaner is also a great cleaner for after painting. Please avoid microfibre cloths and use normal cotton cloths instead. Microfibre can finely abrade the surface and damage the paint layer over time.
2. Questions about preparatory work, primer and topcoat
When do I need to prime my tiles?
Tiles are very smooth, so we generally recommend priming with To Bond & Block.
When do I need to seal my tiles?
It all depends on what kind of tiles you want to seal. We have different recommendations depending on whether it's a backsplash in the kitchen, wall tiles in the shower or a floor. And all our topcoats have a matt finish, so you don't have to worry about an extra shine.
What do I do with silicone joints?
Silicone cannot be painted over. You can renew silicone joints after a new coat of paint or prime them with MissPompadour To Seal Siliconebefore painting and then paint over them. If the joints are already old and worn, e.g. in the shower, it is advisable to renew them. When using new silicone, make sure that you use acid-free silicone. This will not attack the colour.
How can I mask off two-colour tiles on freshly painted surfaces?
If you intend to paint with two colour shades, you should only mask off after 14 days if possible, when the first colour has dried through, and start with the second colour. You can use our masking tape very well here. First stick the tape to your jeans or T-shirt so that fine fibres adhere and the tape no longer sticks so strongly. Then stick it carefully to the desired surface. When pulling it off, do not pull it towards you, but carefully to the side so that there is as little tension as possible and your paint is not damaged. It is important to always remove the tape while the paint is still wet so that the paint film does not tear. It is best to re-tape for each coat of paint.
3. Painting the bathroom
Which bathroom tiles can I paint?
You can paint wall tiles particularly easily. Our varnishes are also great for the walls in the shower area, as they are water-based but not water-soluble once they have hardened. Floor tiles in the bathroom can also be painted. However, you must bear in mind that varnishes and chalk paints do not tolerate standing water. Damp towels on the floor or bath mats could therefore soften the varnish under certain circumstances. It is therefore important to avoid standing water on the floor. We would not paint the floor tiles in level-access showers.
Do I need a primer for my bathroom tiles?
We recommend using MissPompadour To Bond & Block to ensure excellent paint adhesion, whether you're painting wall or floor tiles. One coat provides ample coverage.
Should I seal my bathroom tiles?
Our stable varnishes are waterproof and robust even without topcoat. Walls that repeatedly get wet, e.g. in the shower or behind the bathtub, can also be protected from moisture with MissPompadour To Seal.
You should also seal a bathroom floor with To Seal to make it more robust. The durability of a painted tiled floor depends heavily on the type of tile, the finish and, above all, the individual wear and tear.
How long can I not shower after I have painted my bathroom tiles?
You should wait at least a whole day, if possible longer, before showering again. In the first 2 weeks after painting, it is advisable not to take extensive wellness showers. In the first few days, also make sure that no very hard jets of water come into contact with freshly painted tiles and that the shower head does not hit the wall, and refrain from cleaning for the first 5 days.
4. Painting kitchen tiles
Painting tiles in the kitchen?
Your kitchen splashback doesn't match the freshly painted kitchen? No problem! You can also give your kitchen tiles a completely new look by painting them with our water-based varnishes and chalk paints.
Do I need a primer for my backsplash?
We recommend using the primer MissPompadour To Bond & Block for better adhesion. One well-covering coat is enough. It is best to leave this to dry overnight.
Should I seal the painted backsplash?
5. Painting balcony and patio tiles
Can I paint my balcony and patio tiles?
If the tiles are on the wall, they can be painted without any problems. The only important thing here is to use a varnish that can be applied outdoors. We recommend our MissPompadour Easy Eggshell! It is particularly robust and weather-resistant. Prime with To Bond & Block before painting.
It is more complicated with floor tiles in unprotected outdoor areas, as they are often exposed to standing water. You can find out more about this in our blog on painting floor tiles.
Questions ?
We're here to help
We'll help you anytime, via Phone (Mo-Fr 09-18, Sa until 16 Uhr), via WhatsApp or directly via our Contact Form.