


You Want to Paint Your Kitchen? Here's How!
12 min reading time
Table of contents
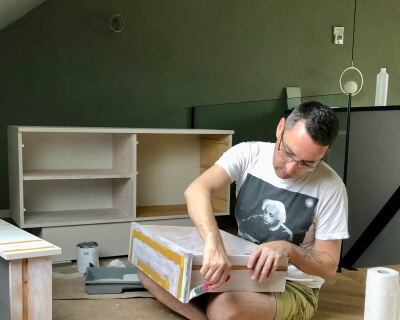
You've had your kitchen for many years. And it's technically in perfect order, all the drawers run silently. Every item has its place and you can find everything you're looking for at the flick of a wrist, even when you're asleep or in the dark at night. Does it just leave something to be desired visually? Then just paint it!
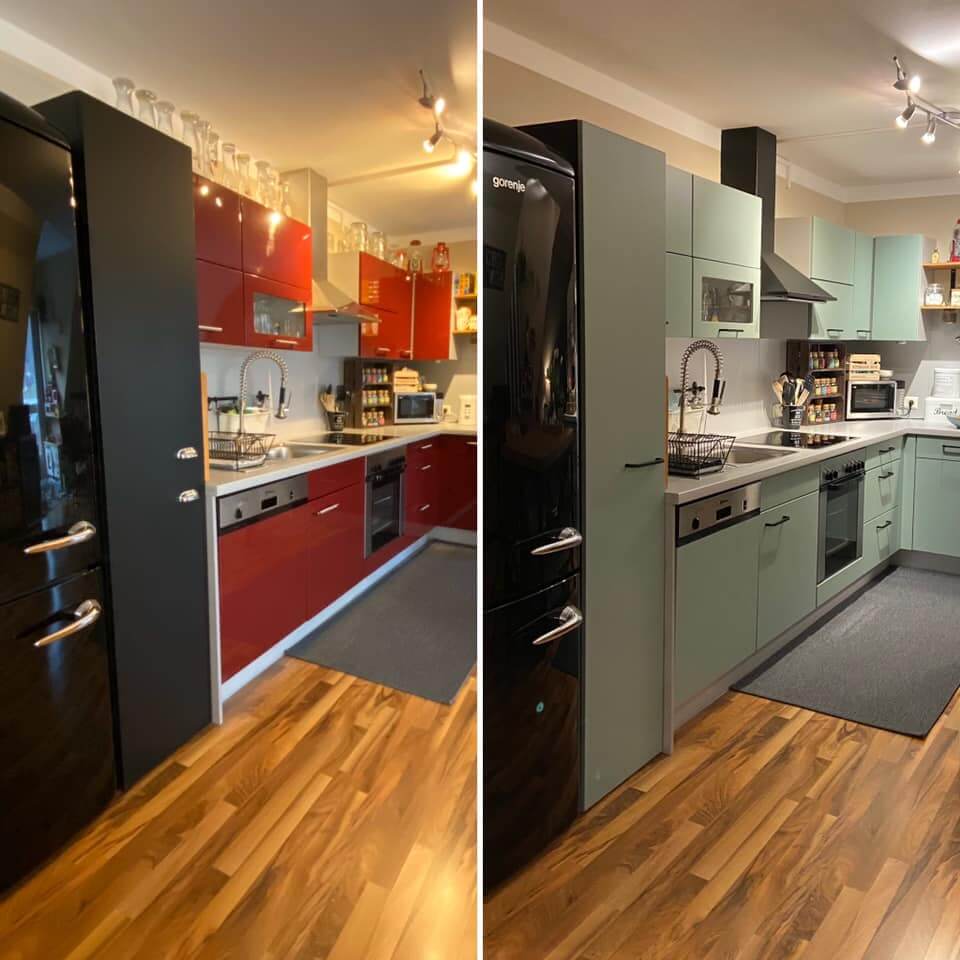
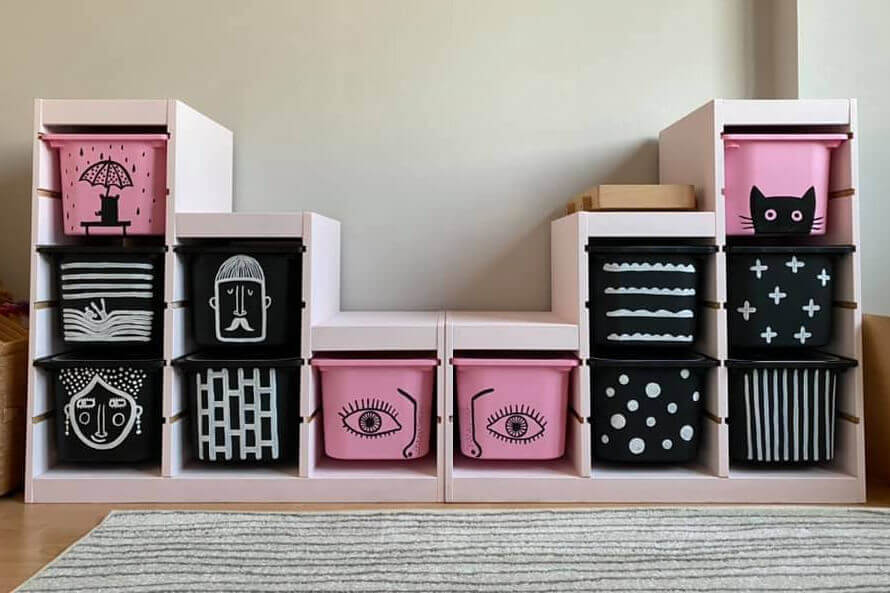
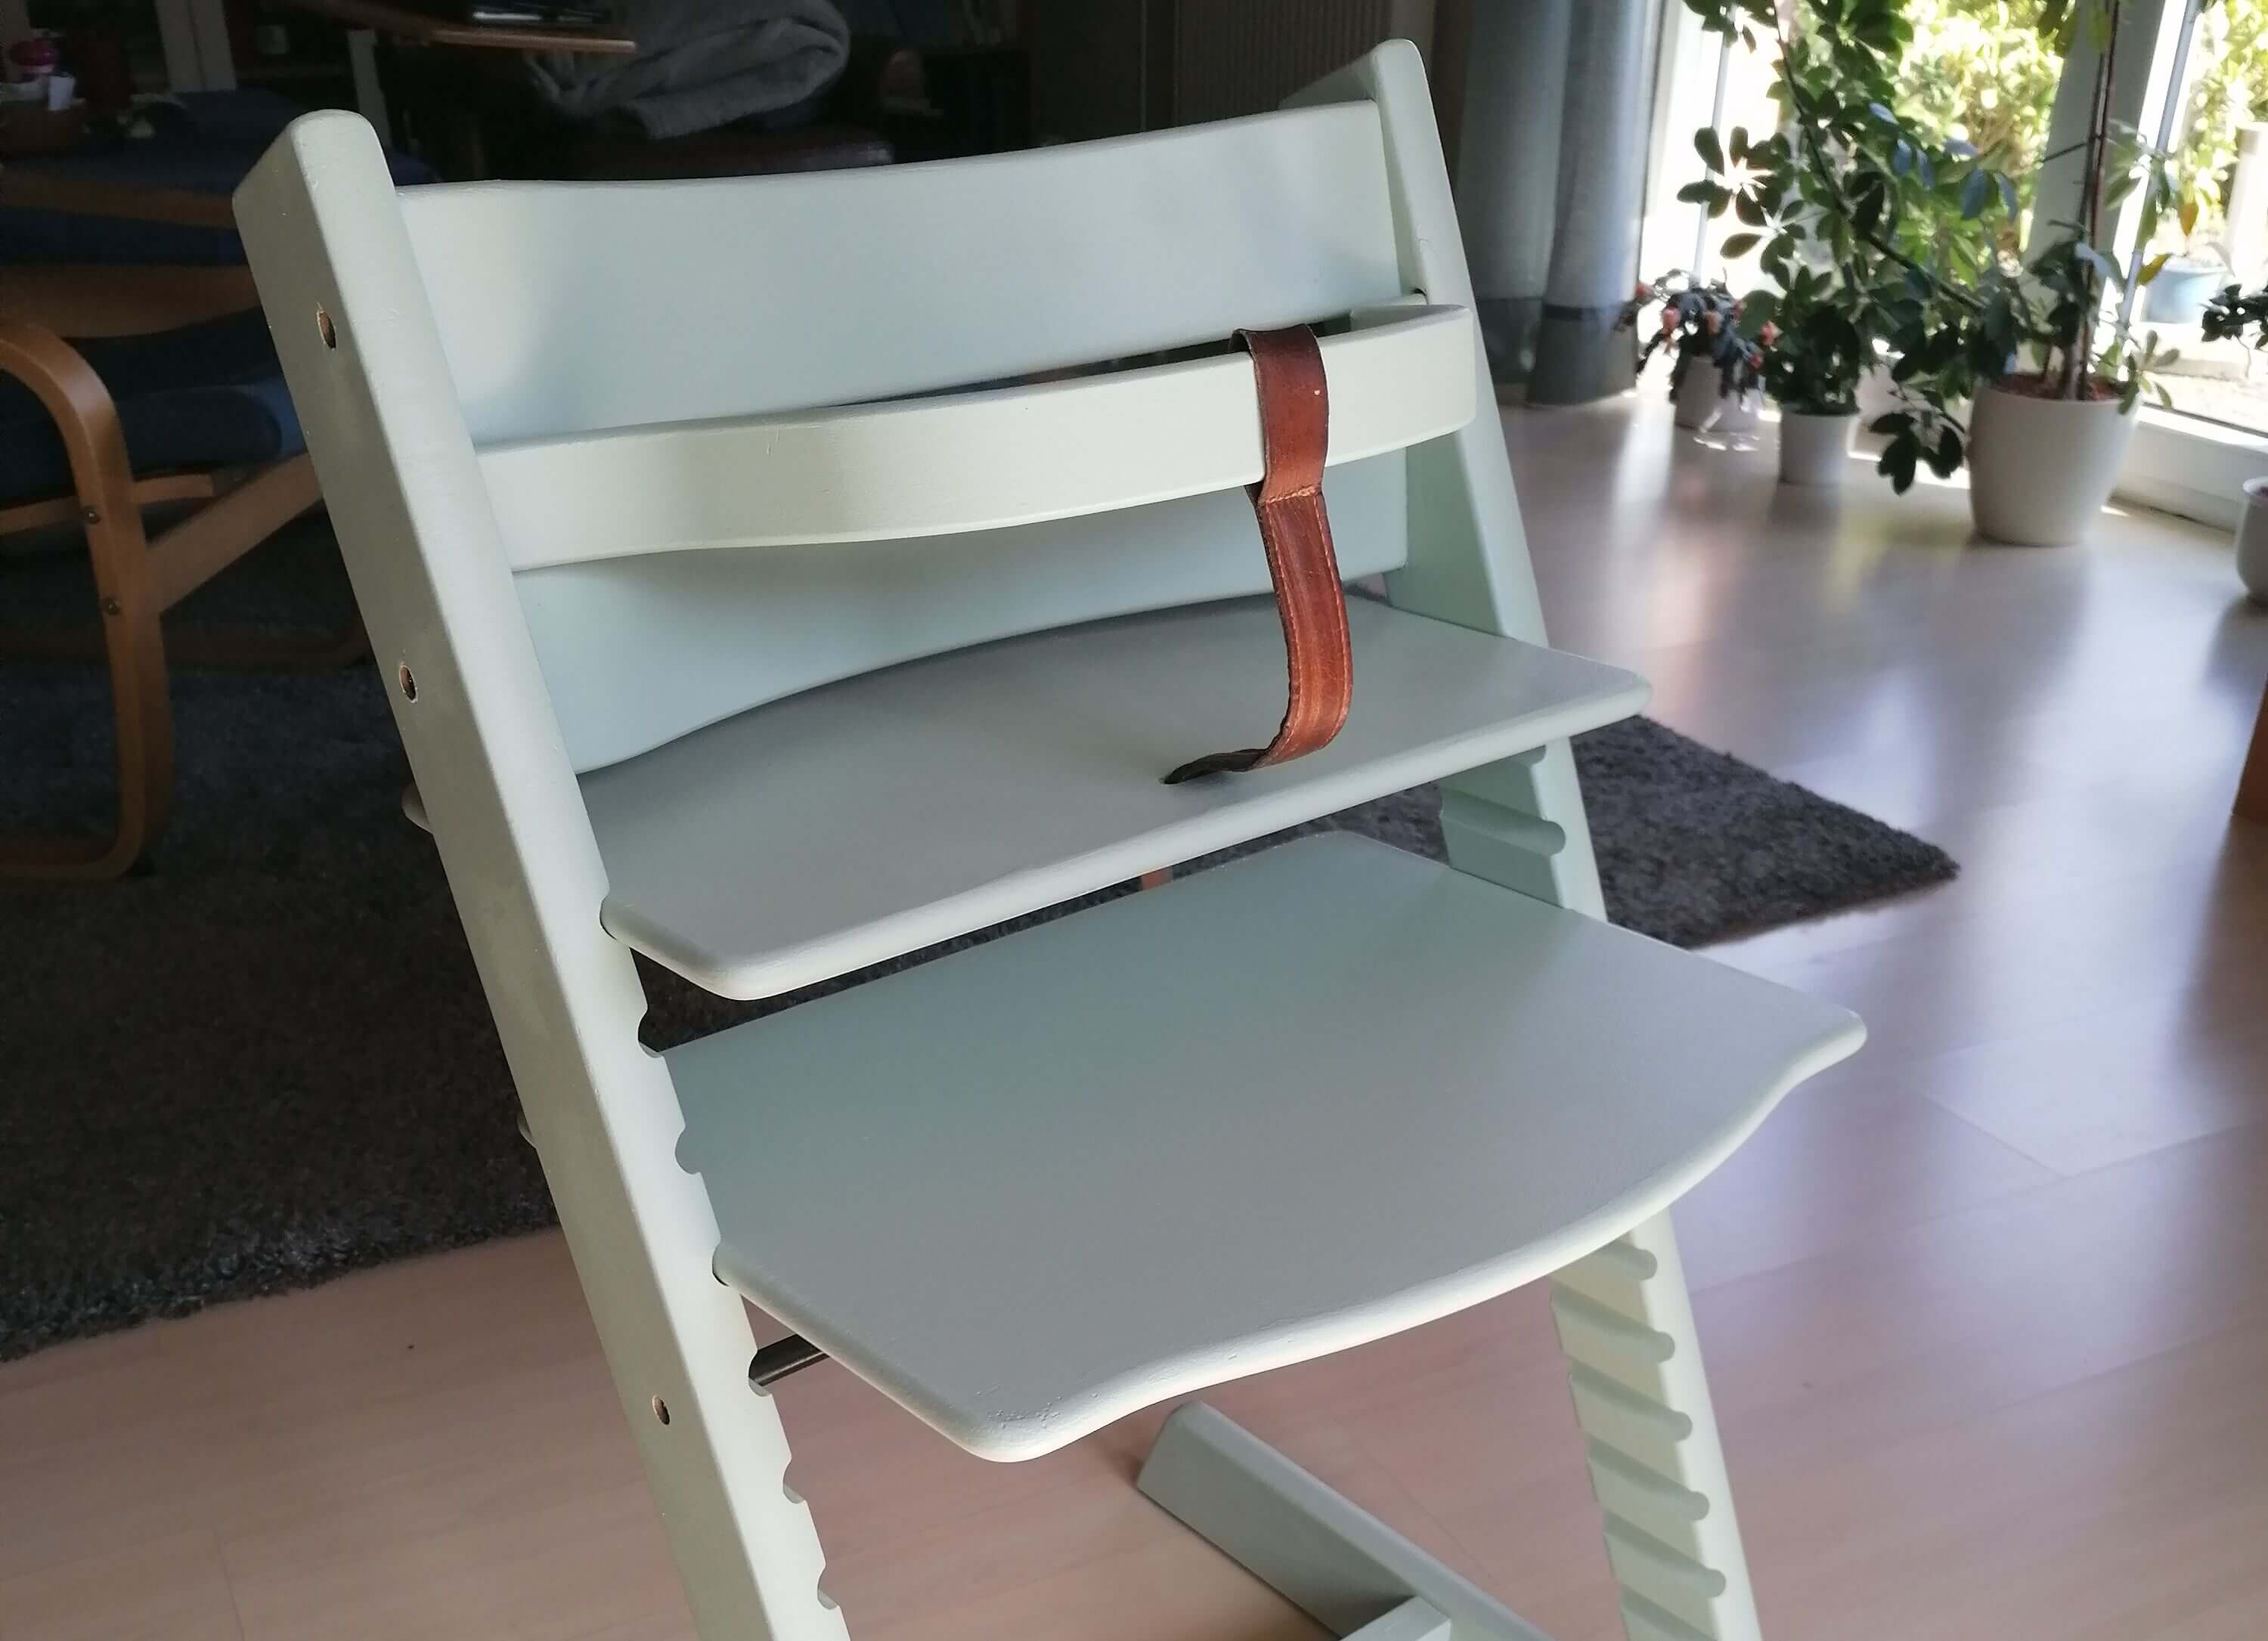
Painting kitchen furniture: Before/after example photos from our customers
Step-by-step guide: How do I paint my kitchen?
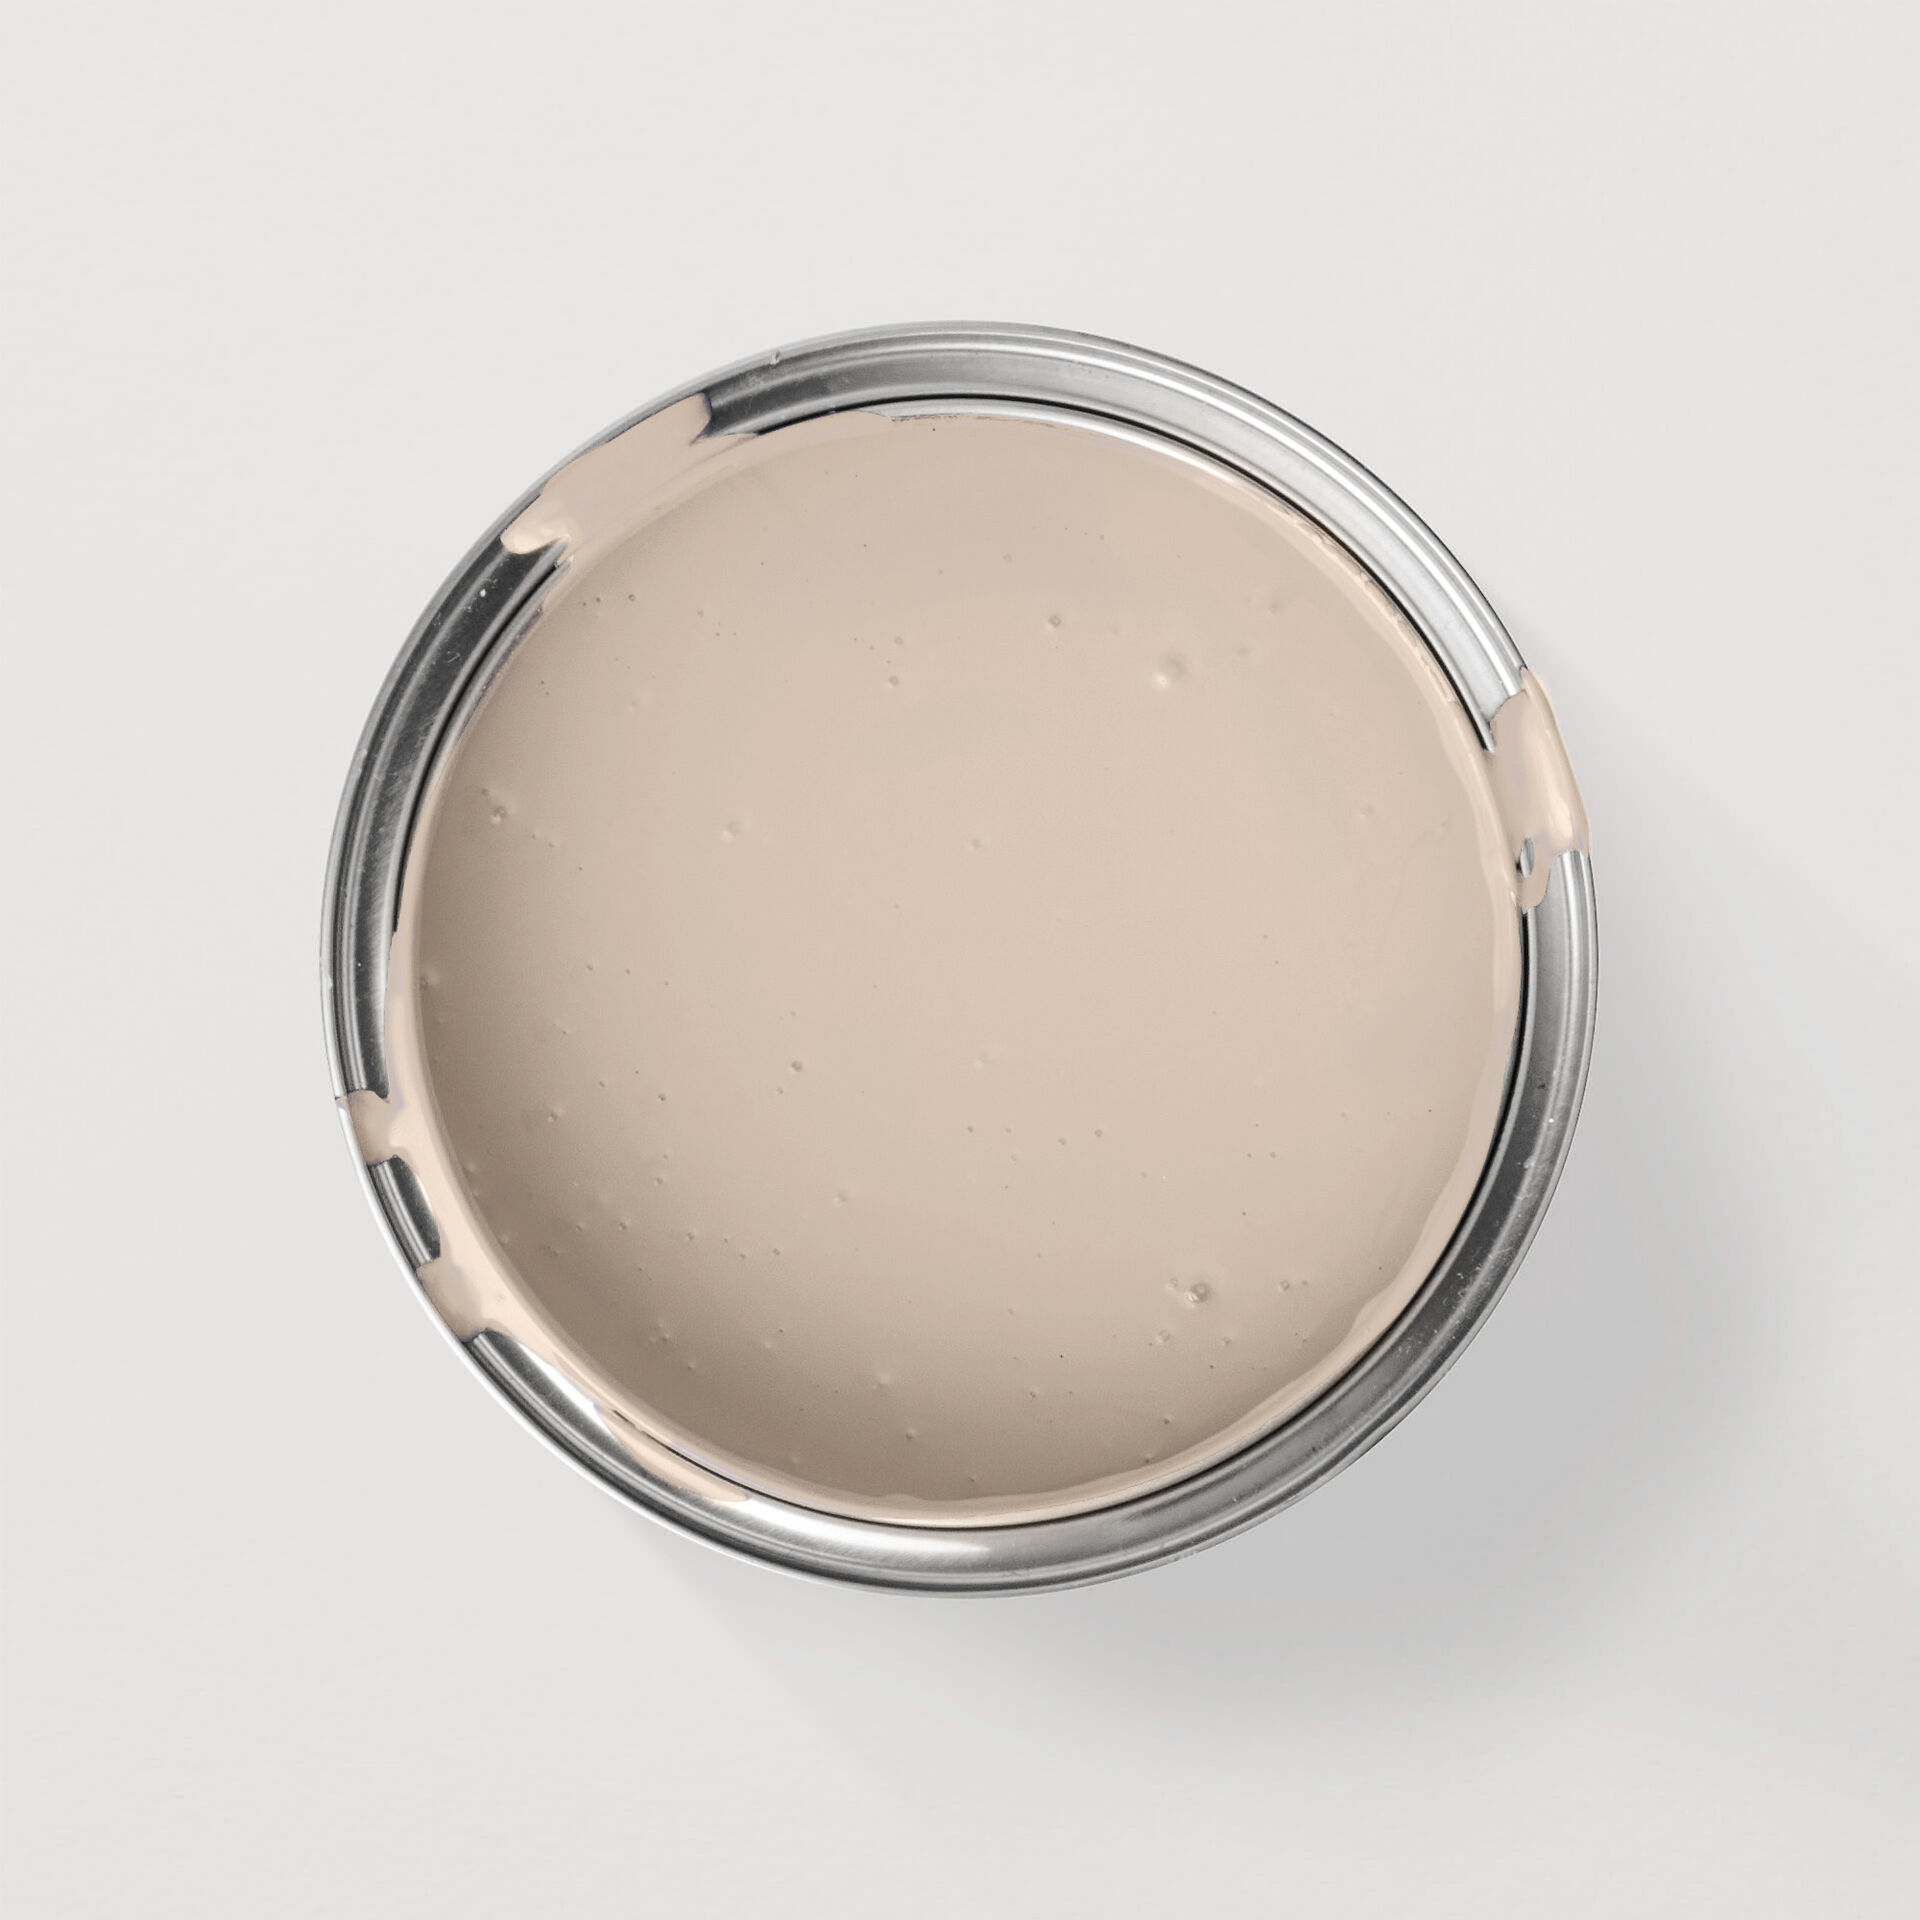
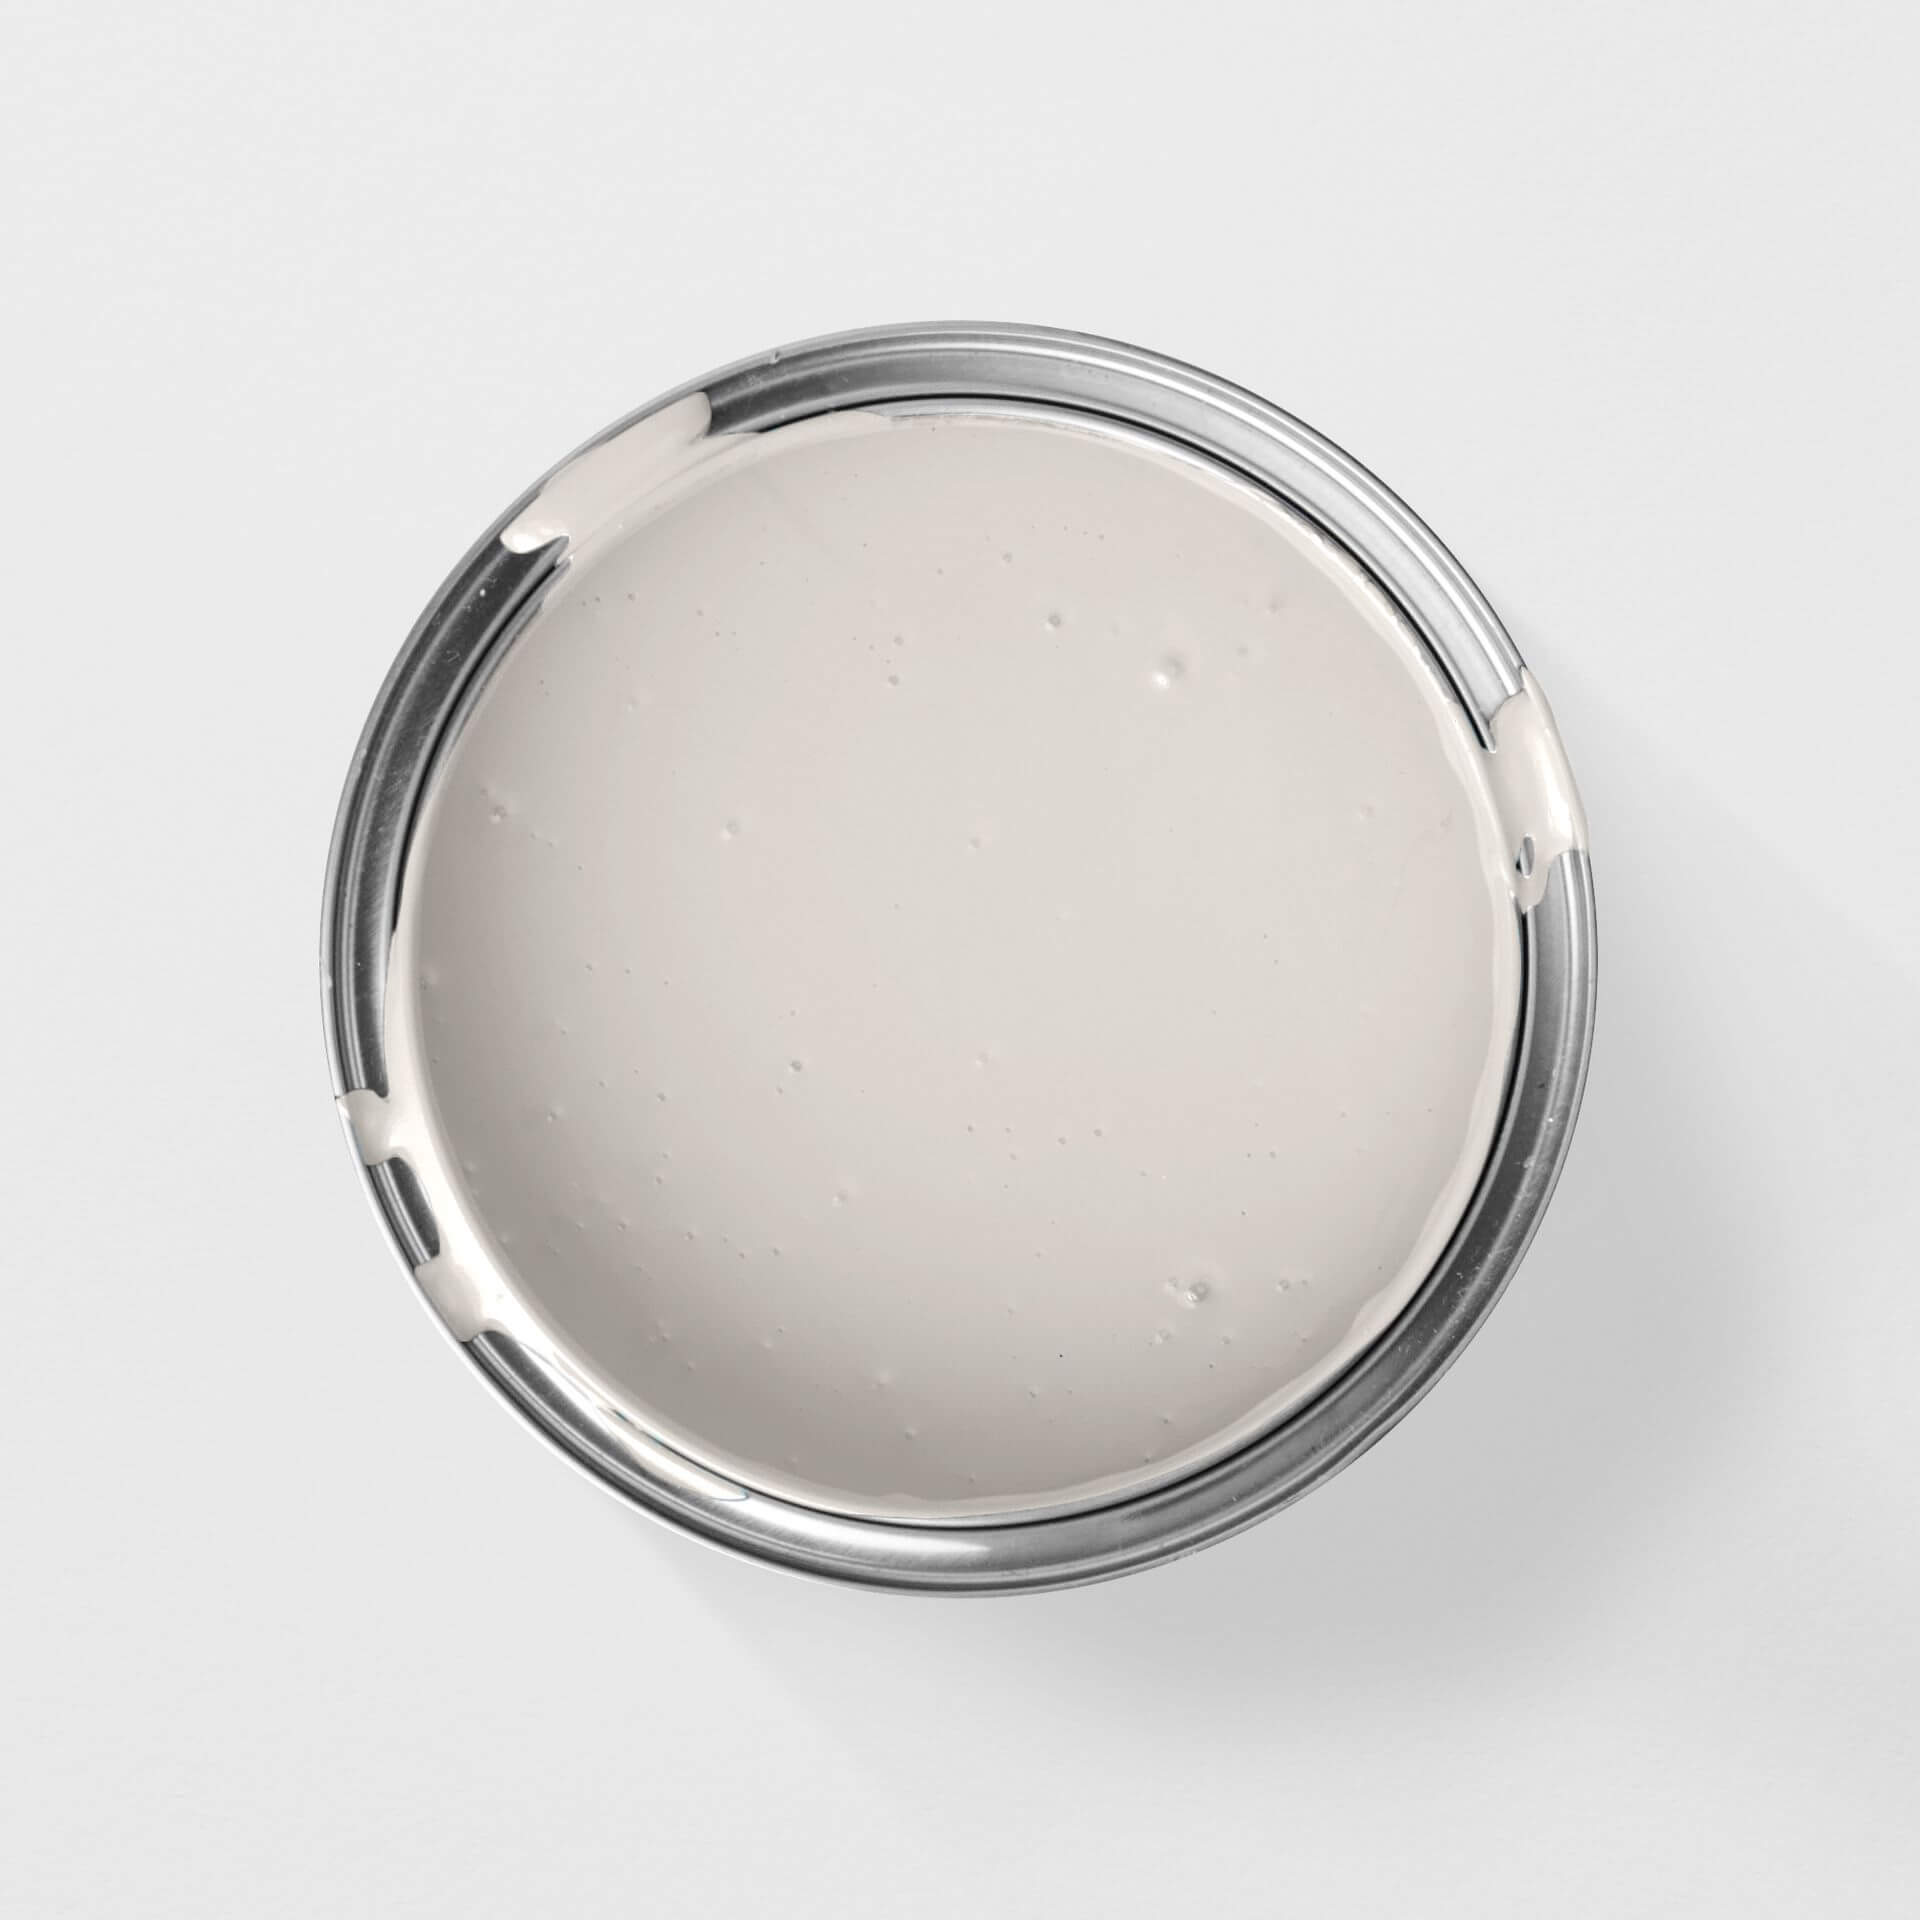
Step 1: Choose a varnish
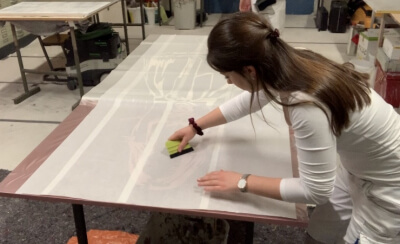
Step 2: Prepare the kitchen
Step 3: Clean the kitchen
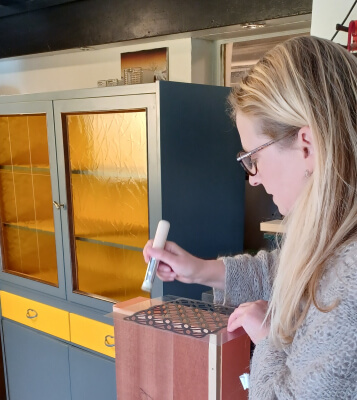
Step 4: Prime the surfaces
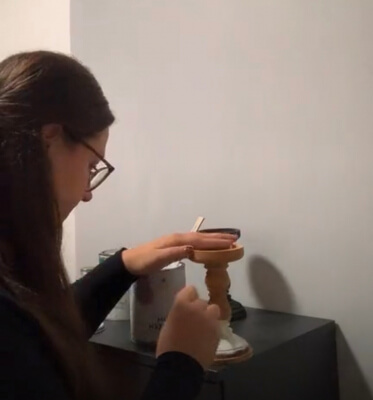
Step 5: Painting the kitchen
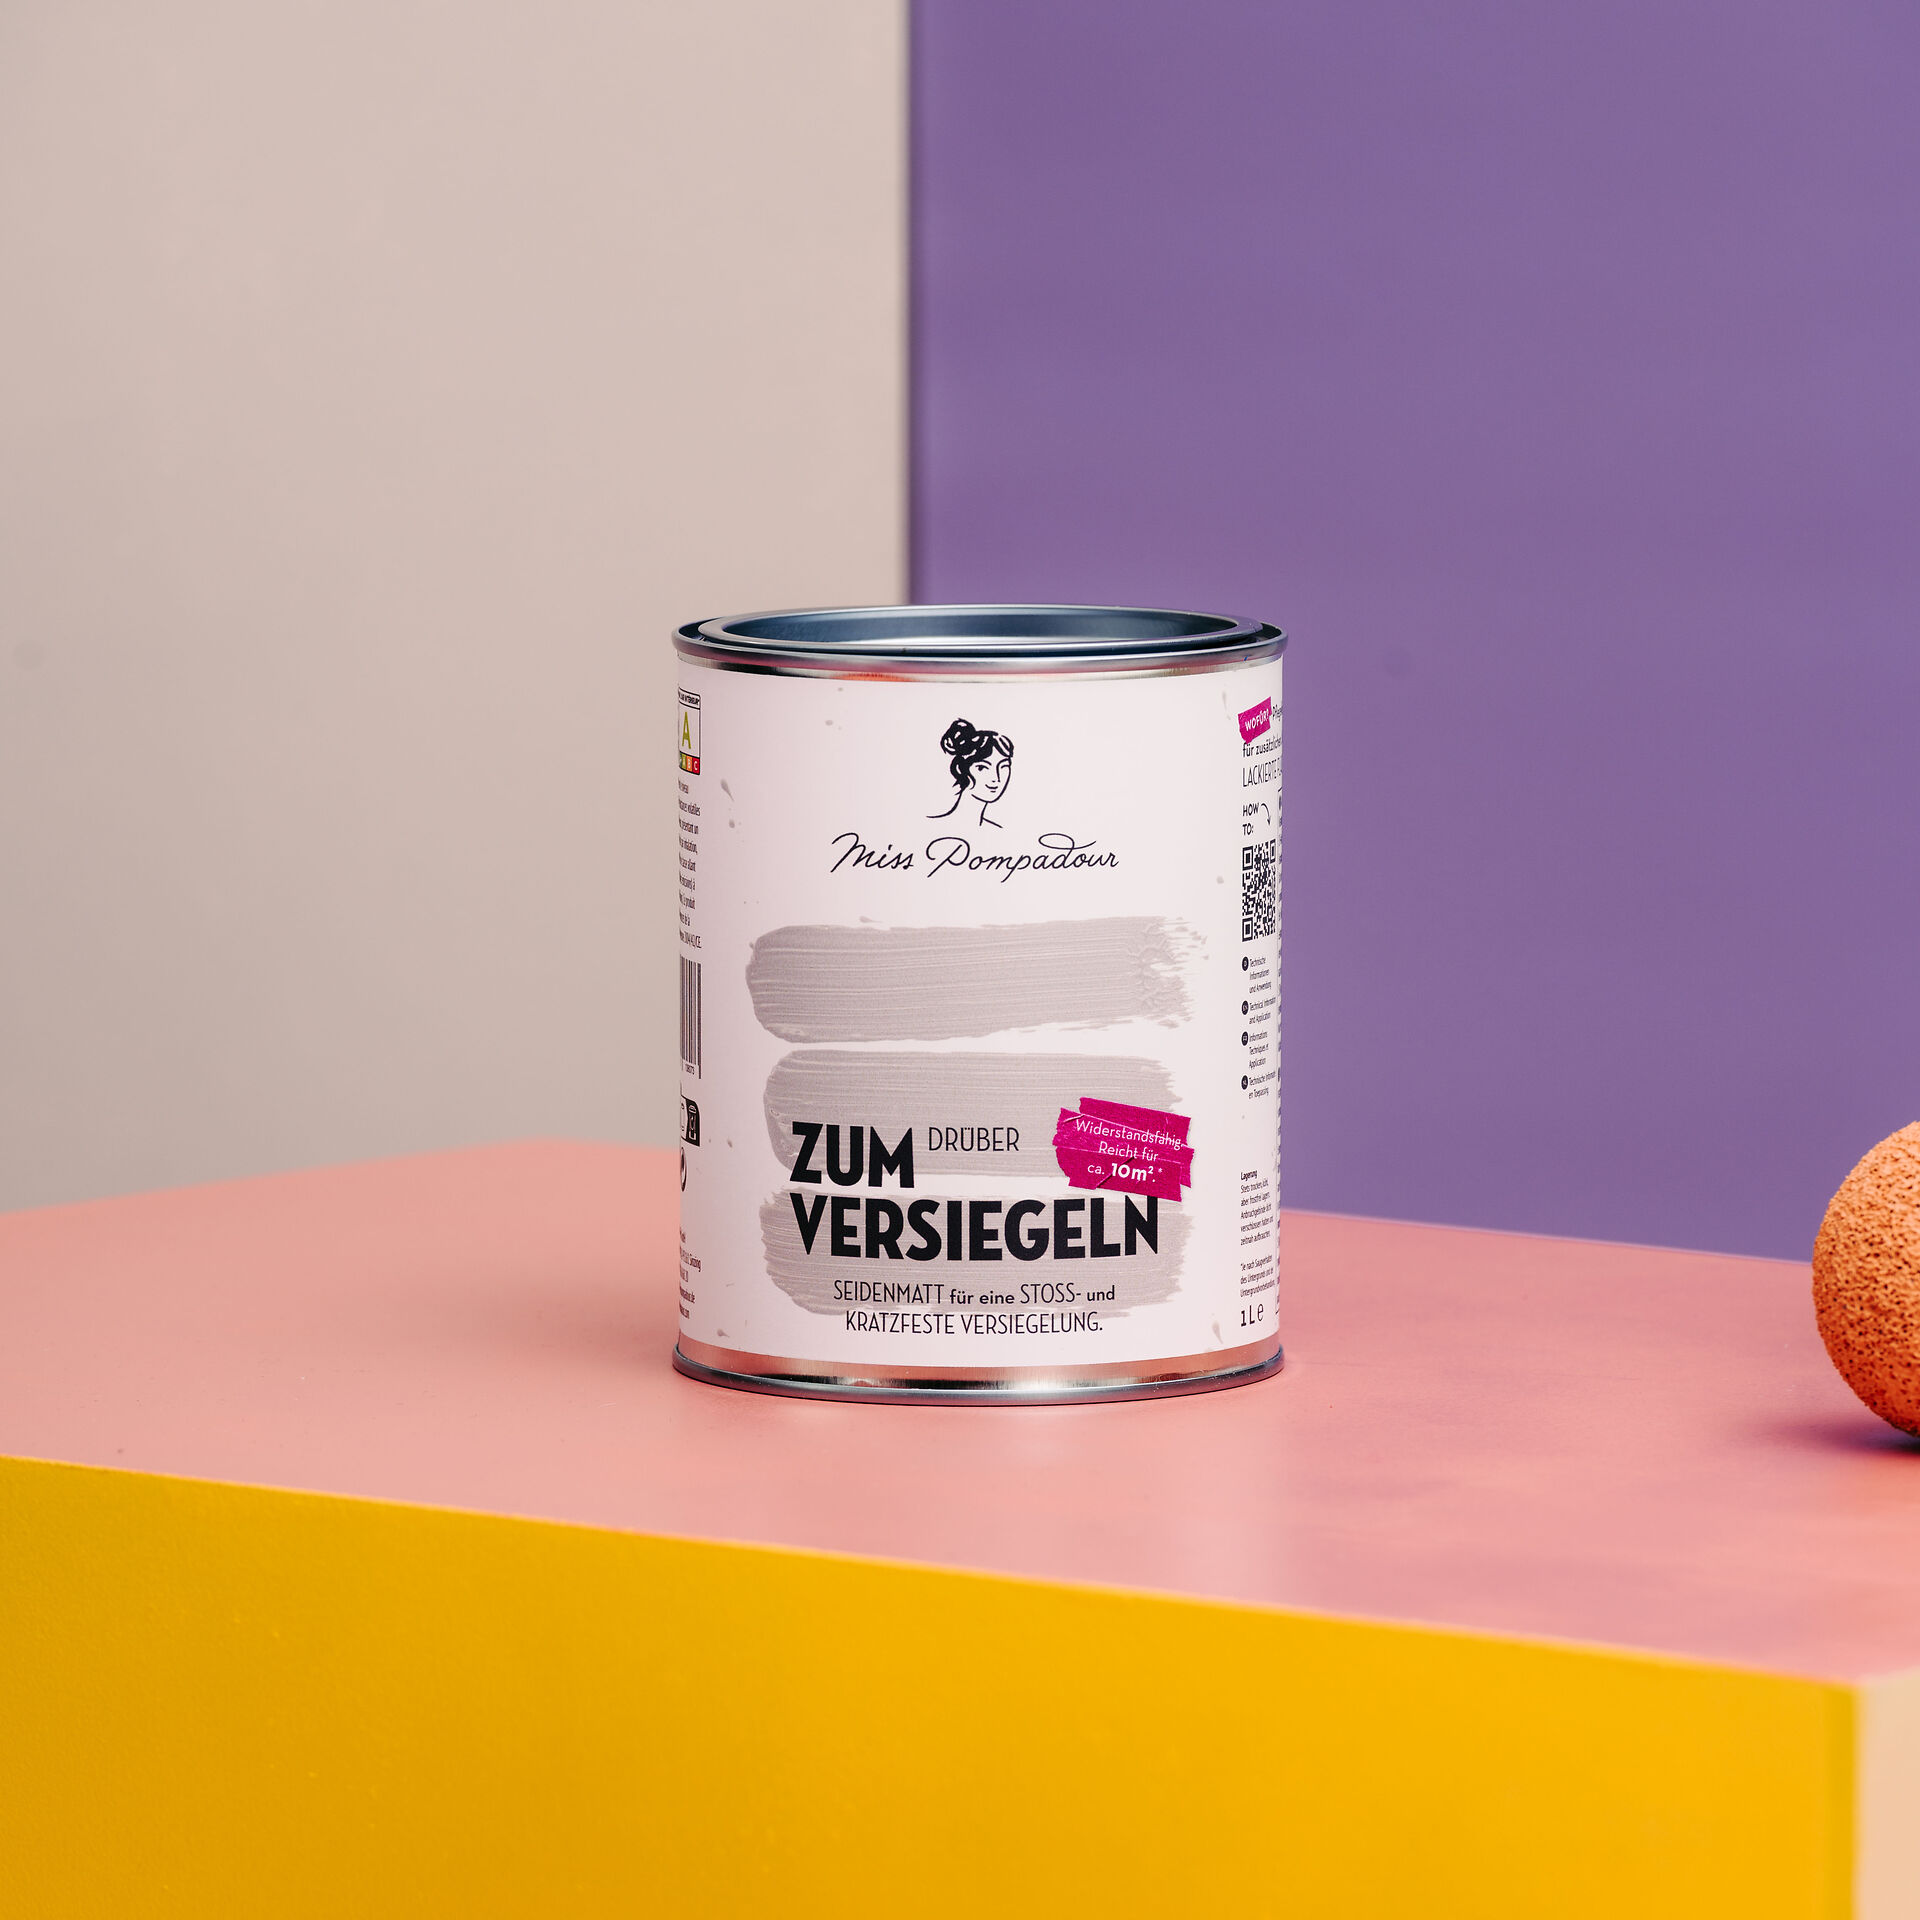
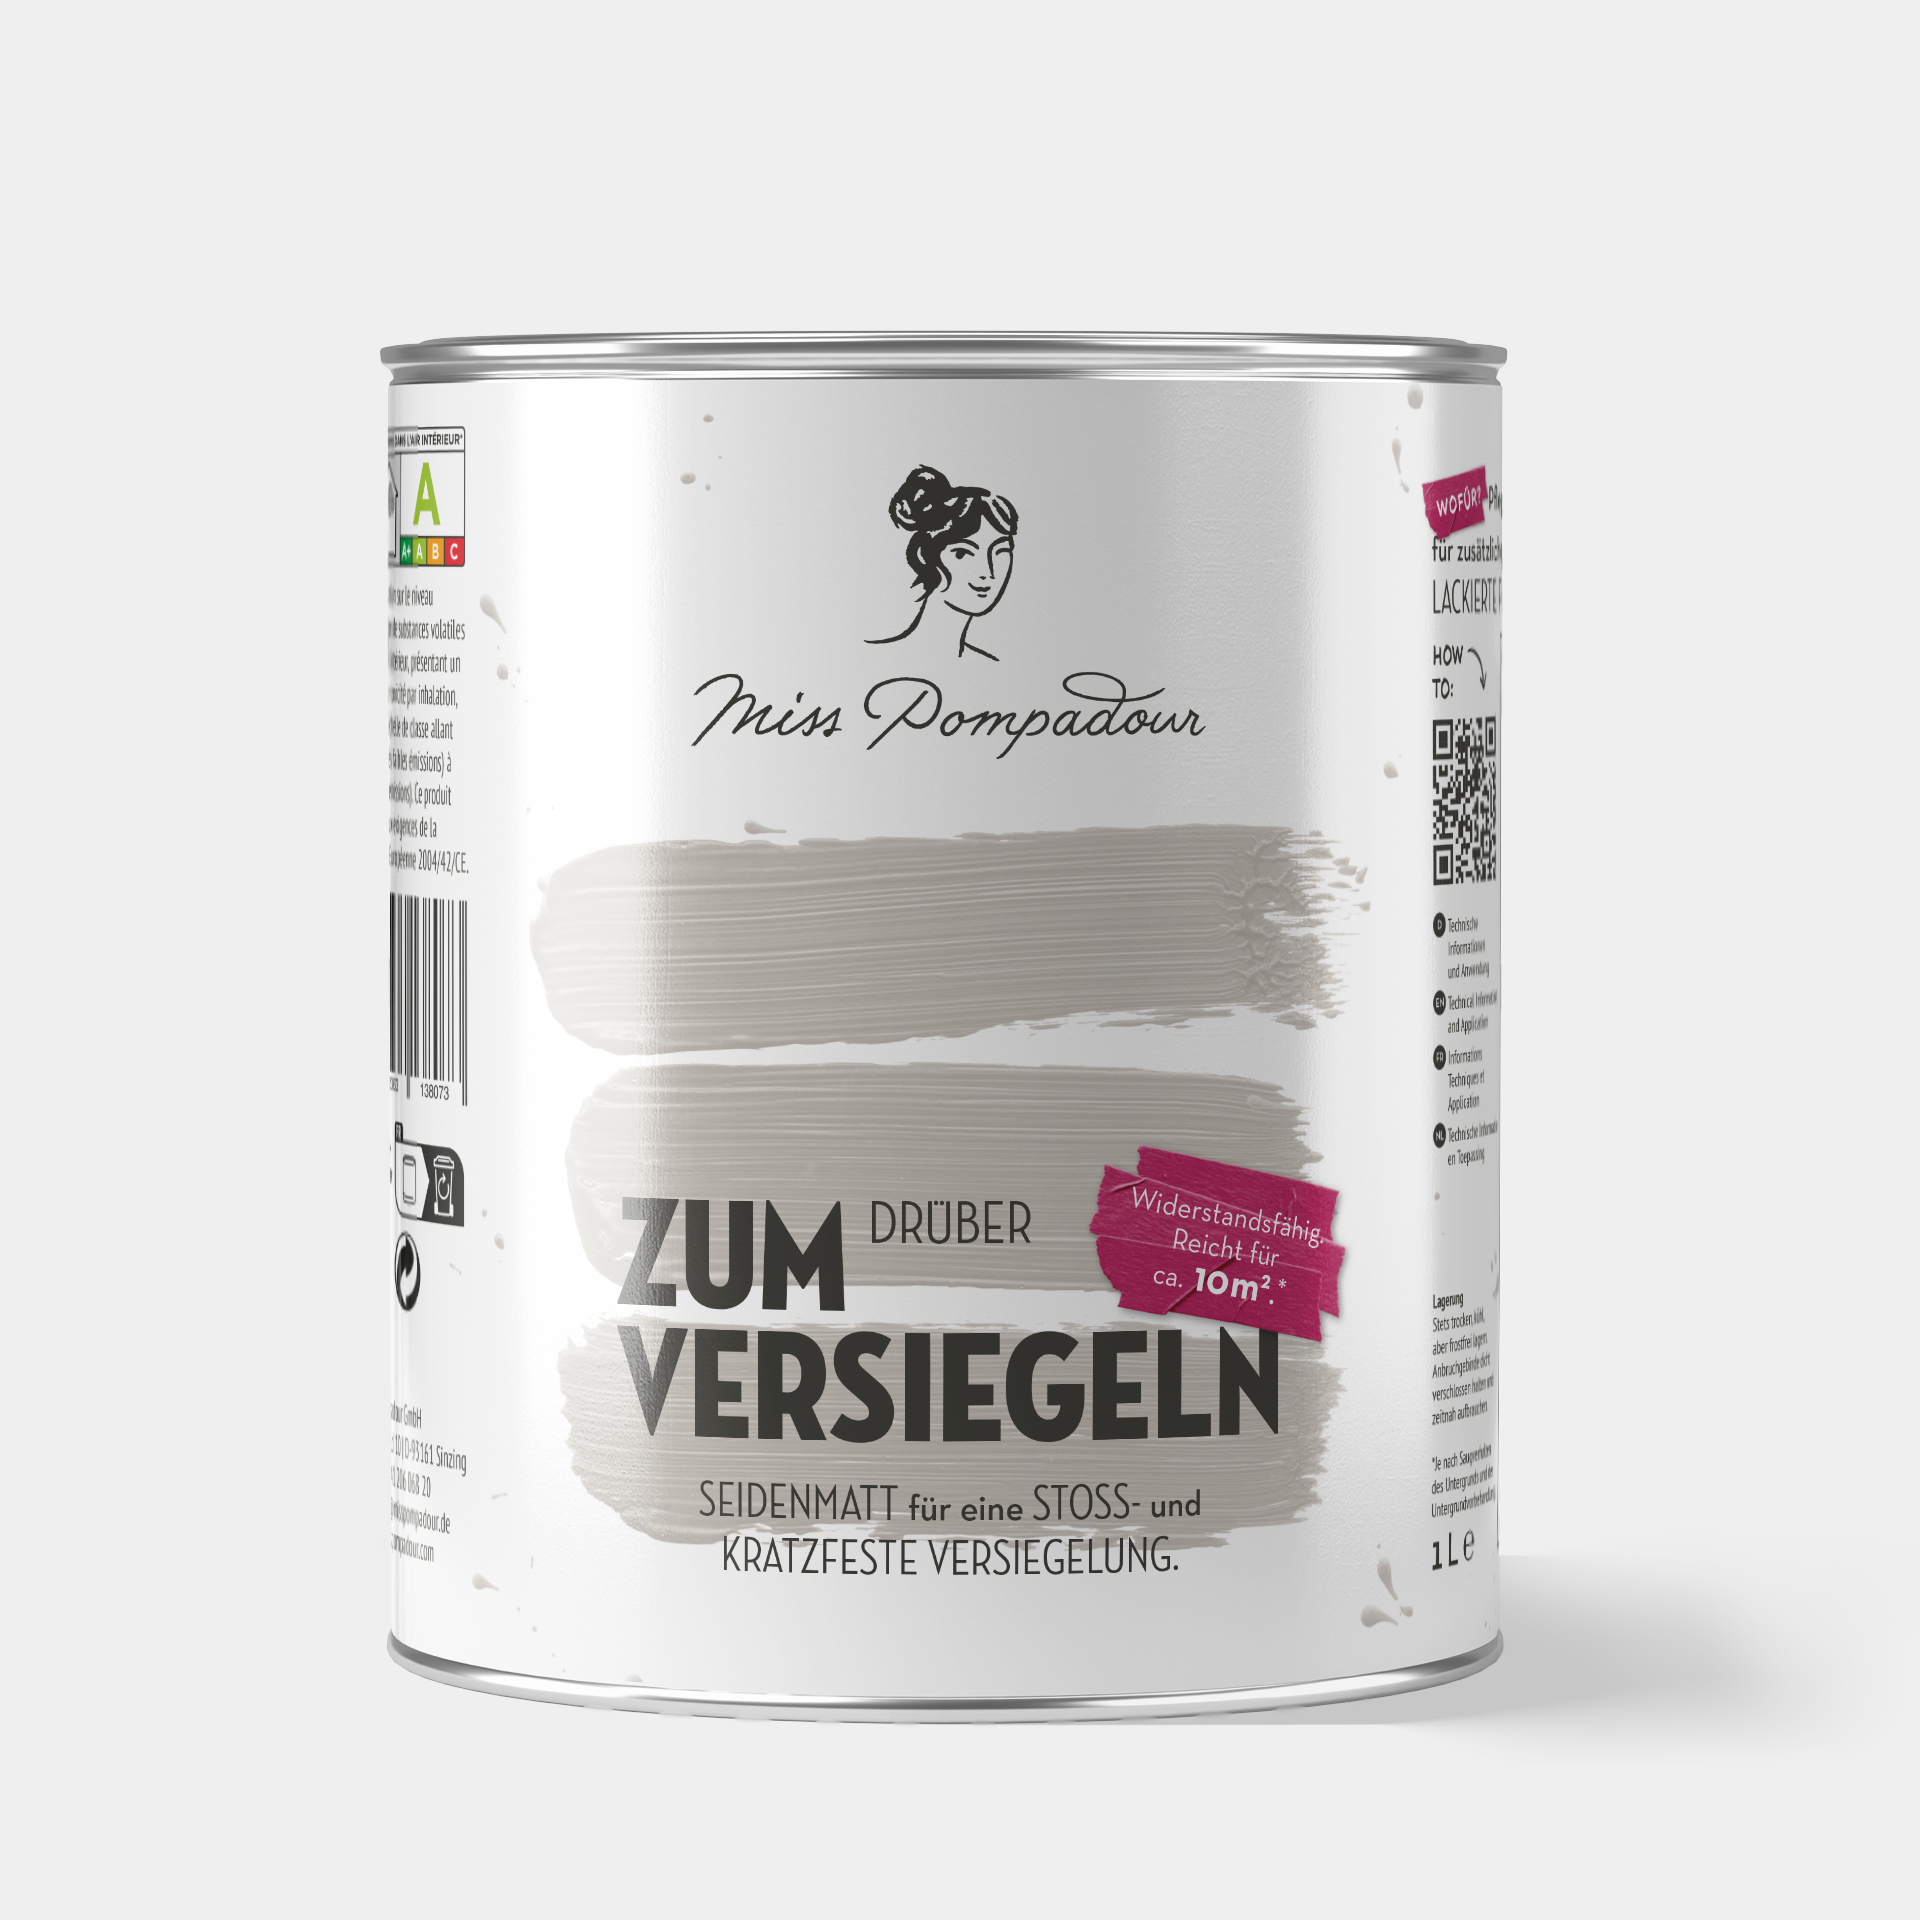
Step 6: Sealing
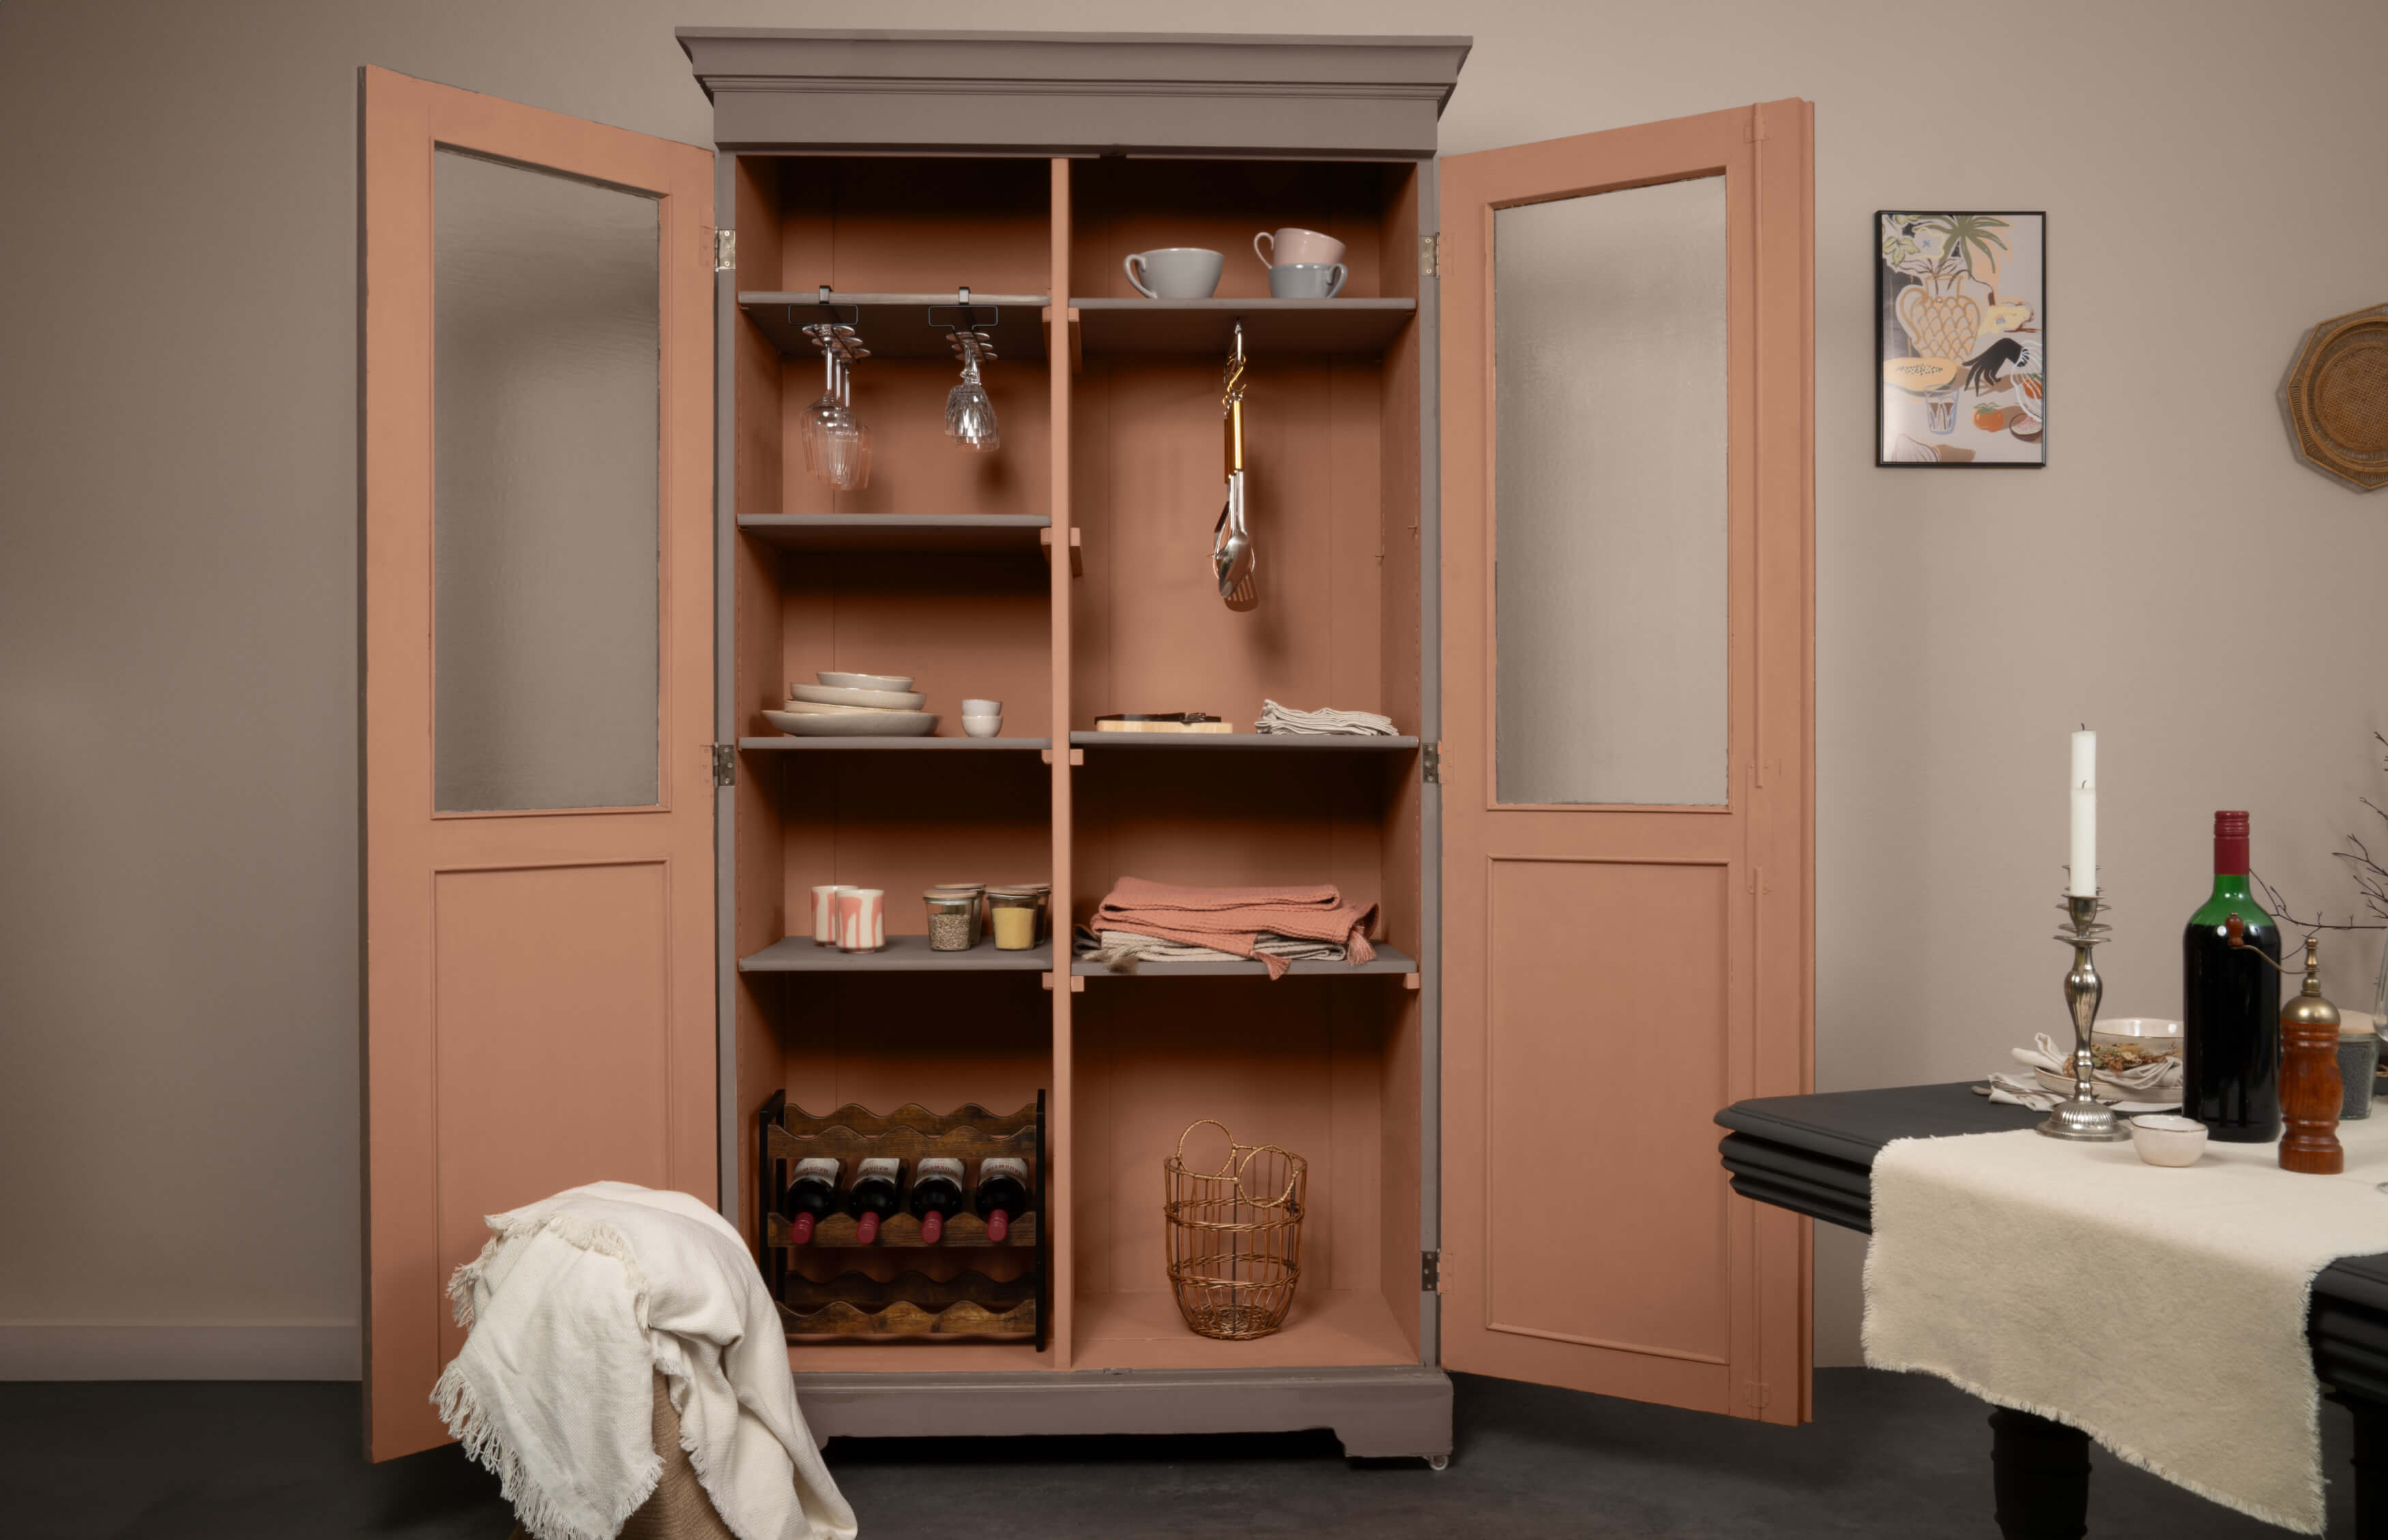
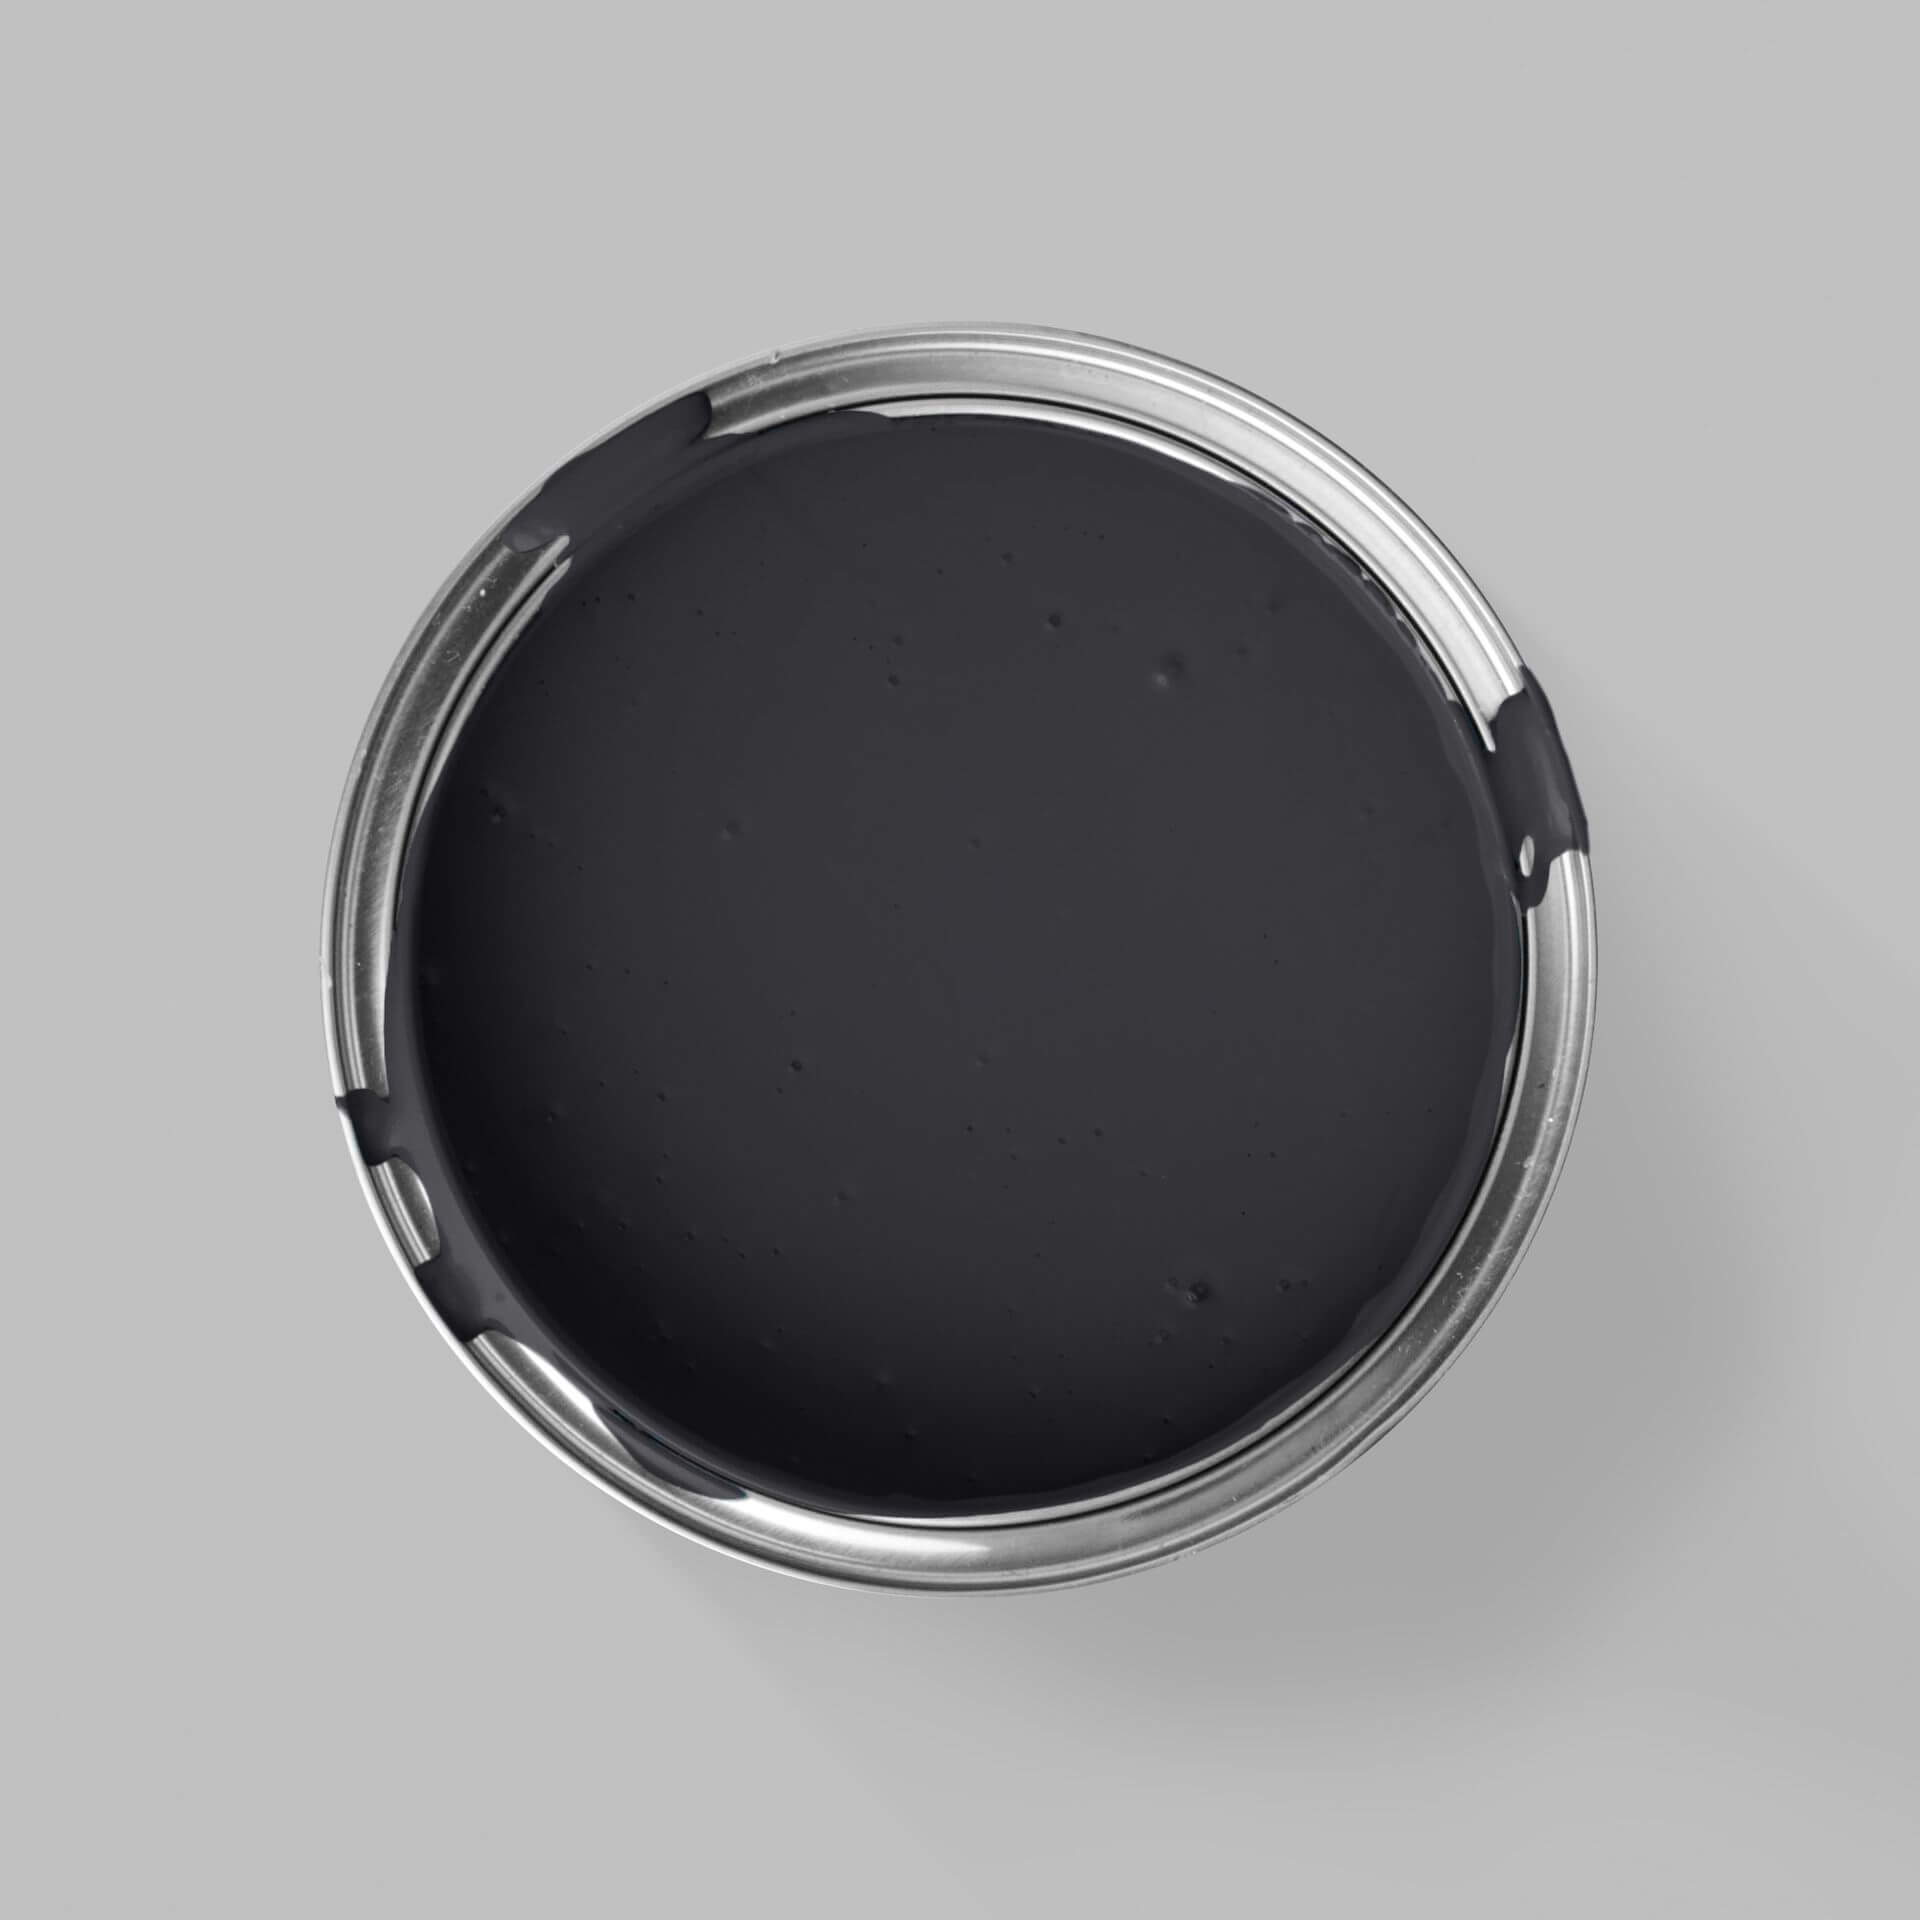
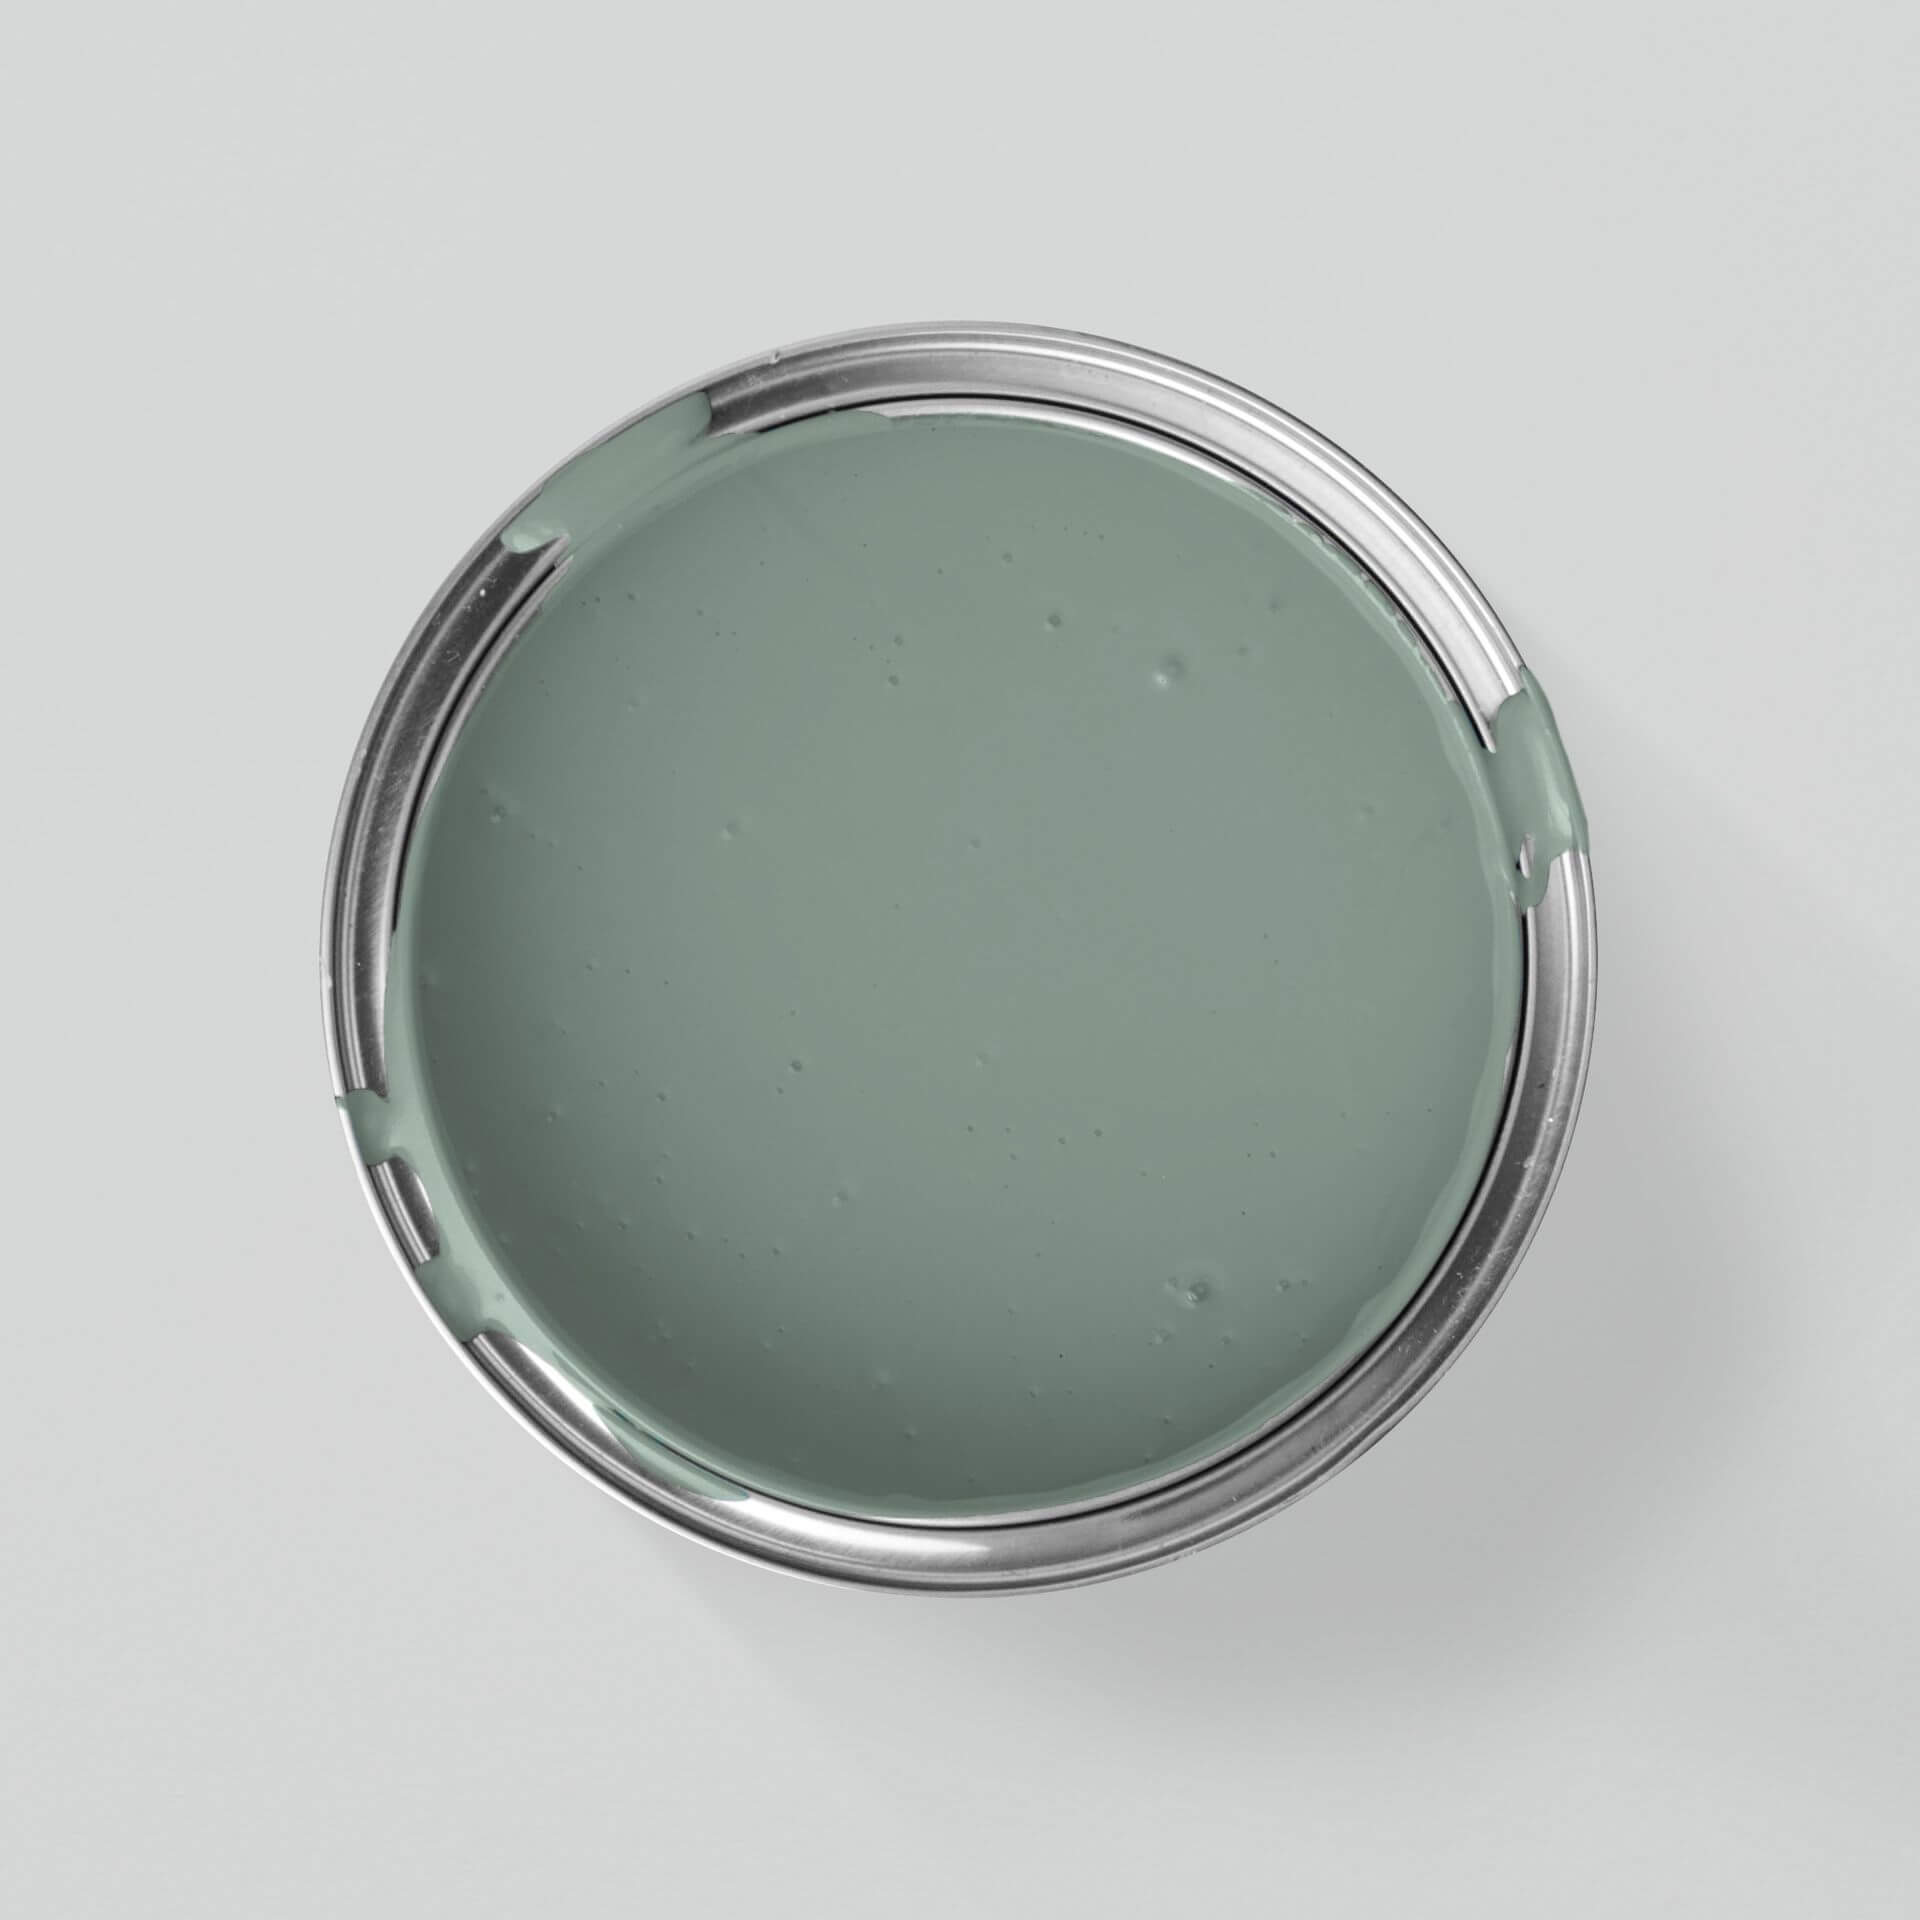
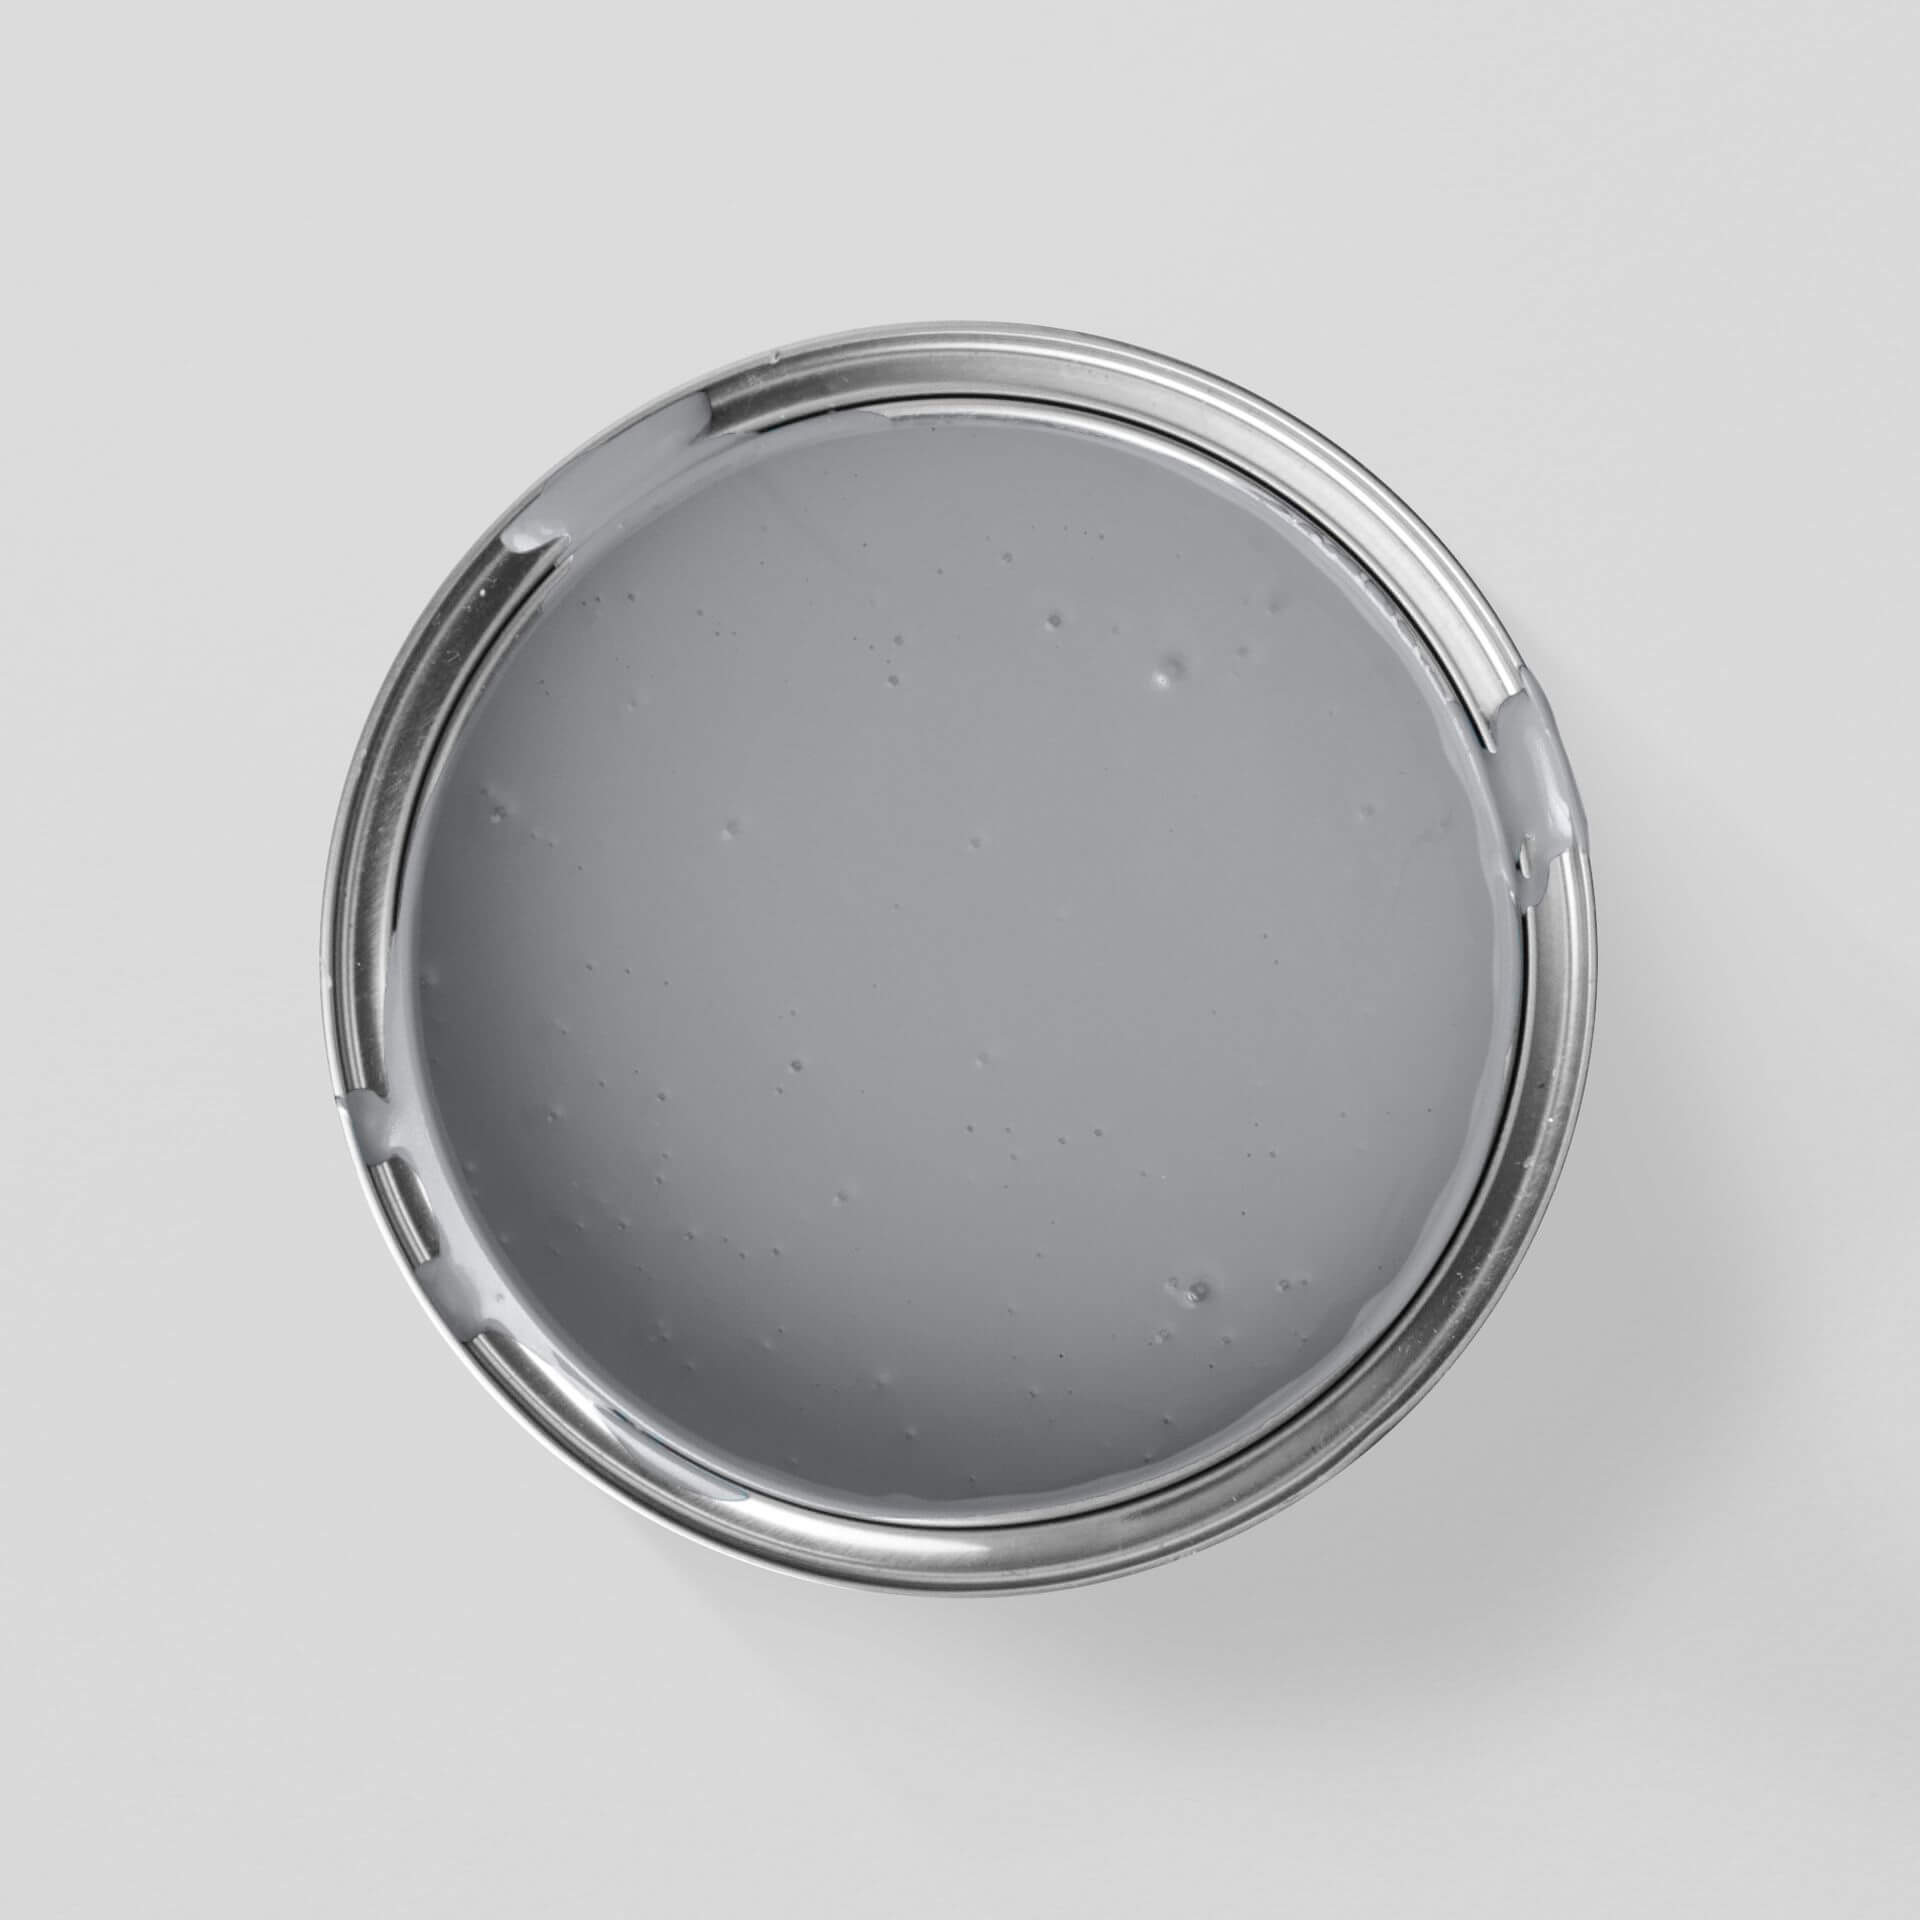
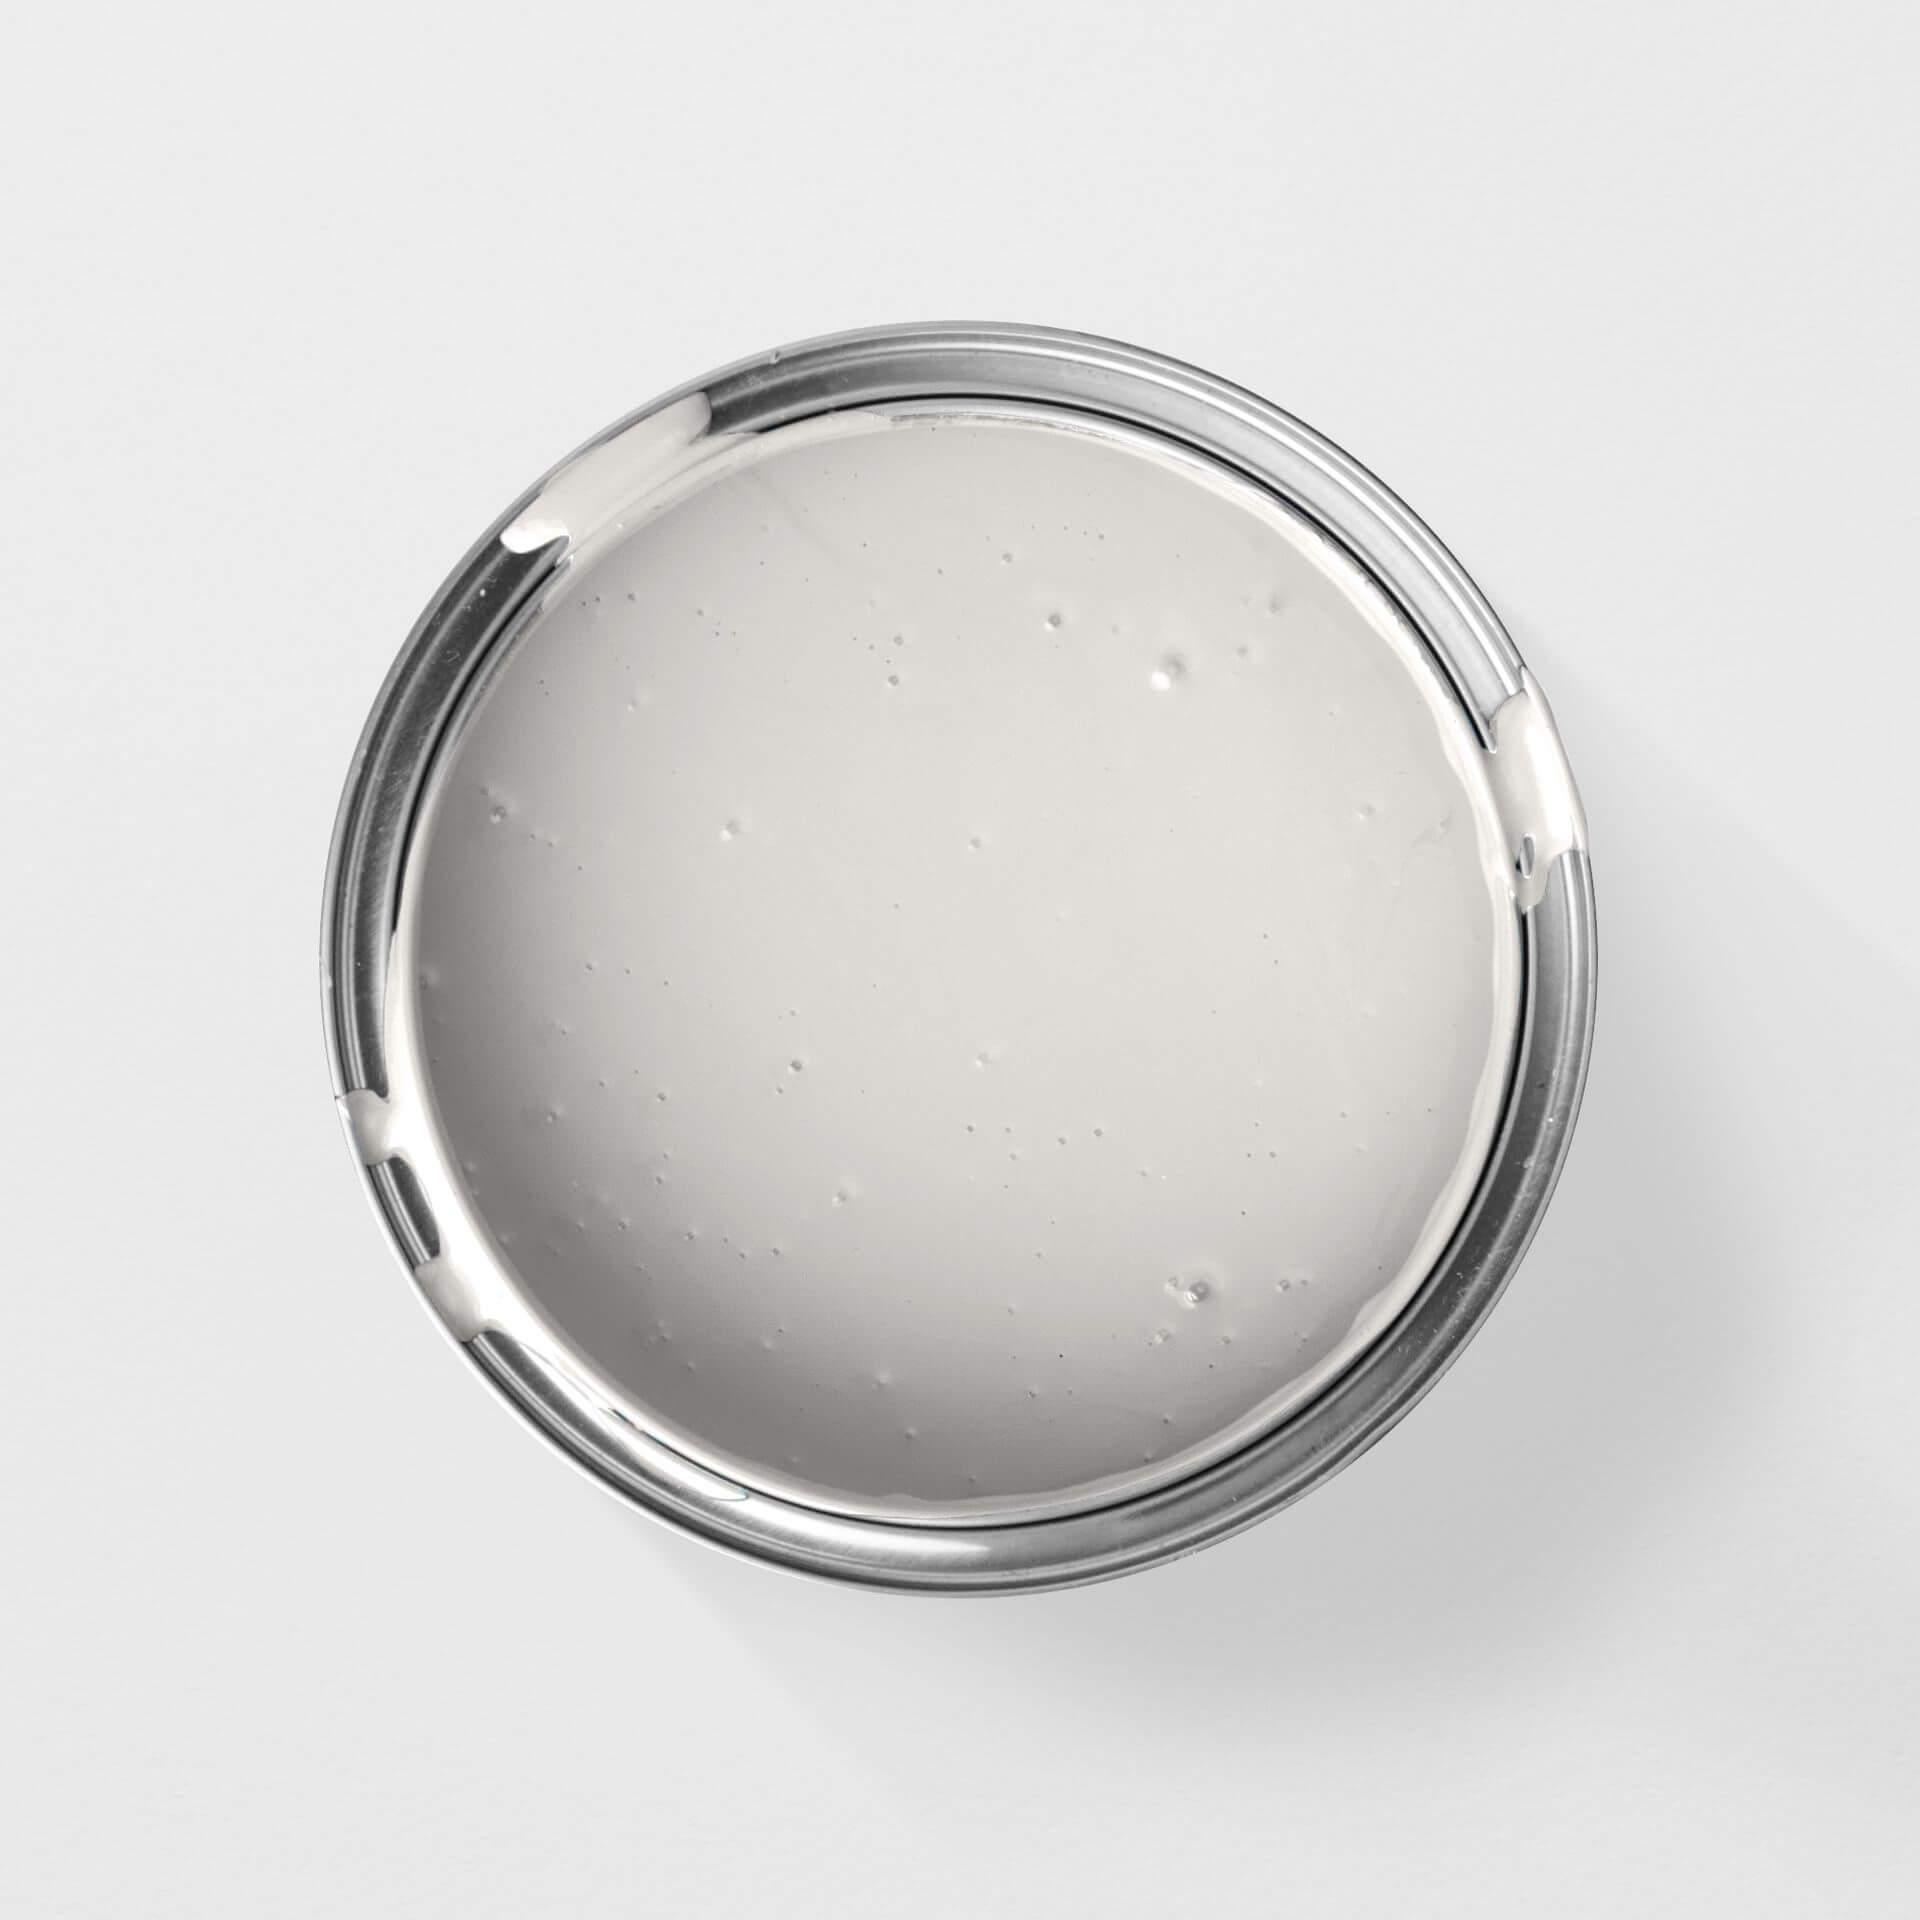
How to choose the perfect shade for your kitchen
Which shade will suit your kitchen?
If your kitchen is on the smaller side, a warm white, such as White with Melting, can be a great choice. The beauty of it is that you can pair it with almost any wall paint. For an elegant look, why not paint your walls in Brown with Nougat? Beige also creates a very friendly and bright feel in the kitchen.
But green also looks appetising and fresh – for a subtle style, you could use Grey with Green on your cabinet fronts. If you prefer something bolder and more intense, Green with Apple is a wonderful option. Pair it with White with Sun on the kitchen wall, and your kitchen will instantly transform into an oasis for the whole family.
Frequently asked questions about painting the kitchen
1. Can I just repaint my kitchen?
Can you paint a fitted kitchen?
Yes, you can paint a fitted kitchen with furniture paint. In most cases, these are still perfectly good quality, they just no longer look good. And because our paints are so easy to use, you don't necessarily have to dismantle the kitchen To Paint.
Can you paint a plastic kitchen?
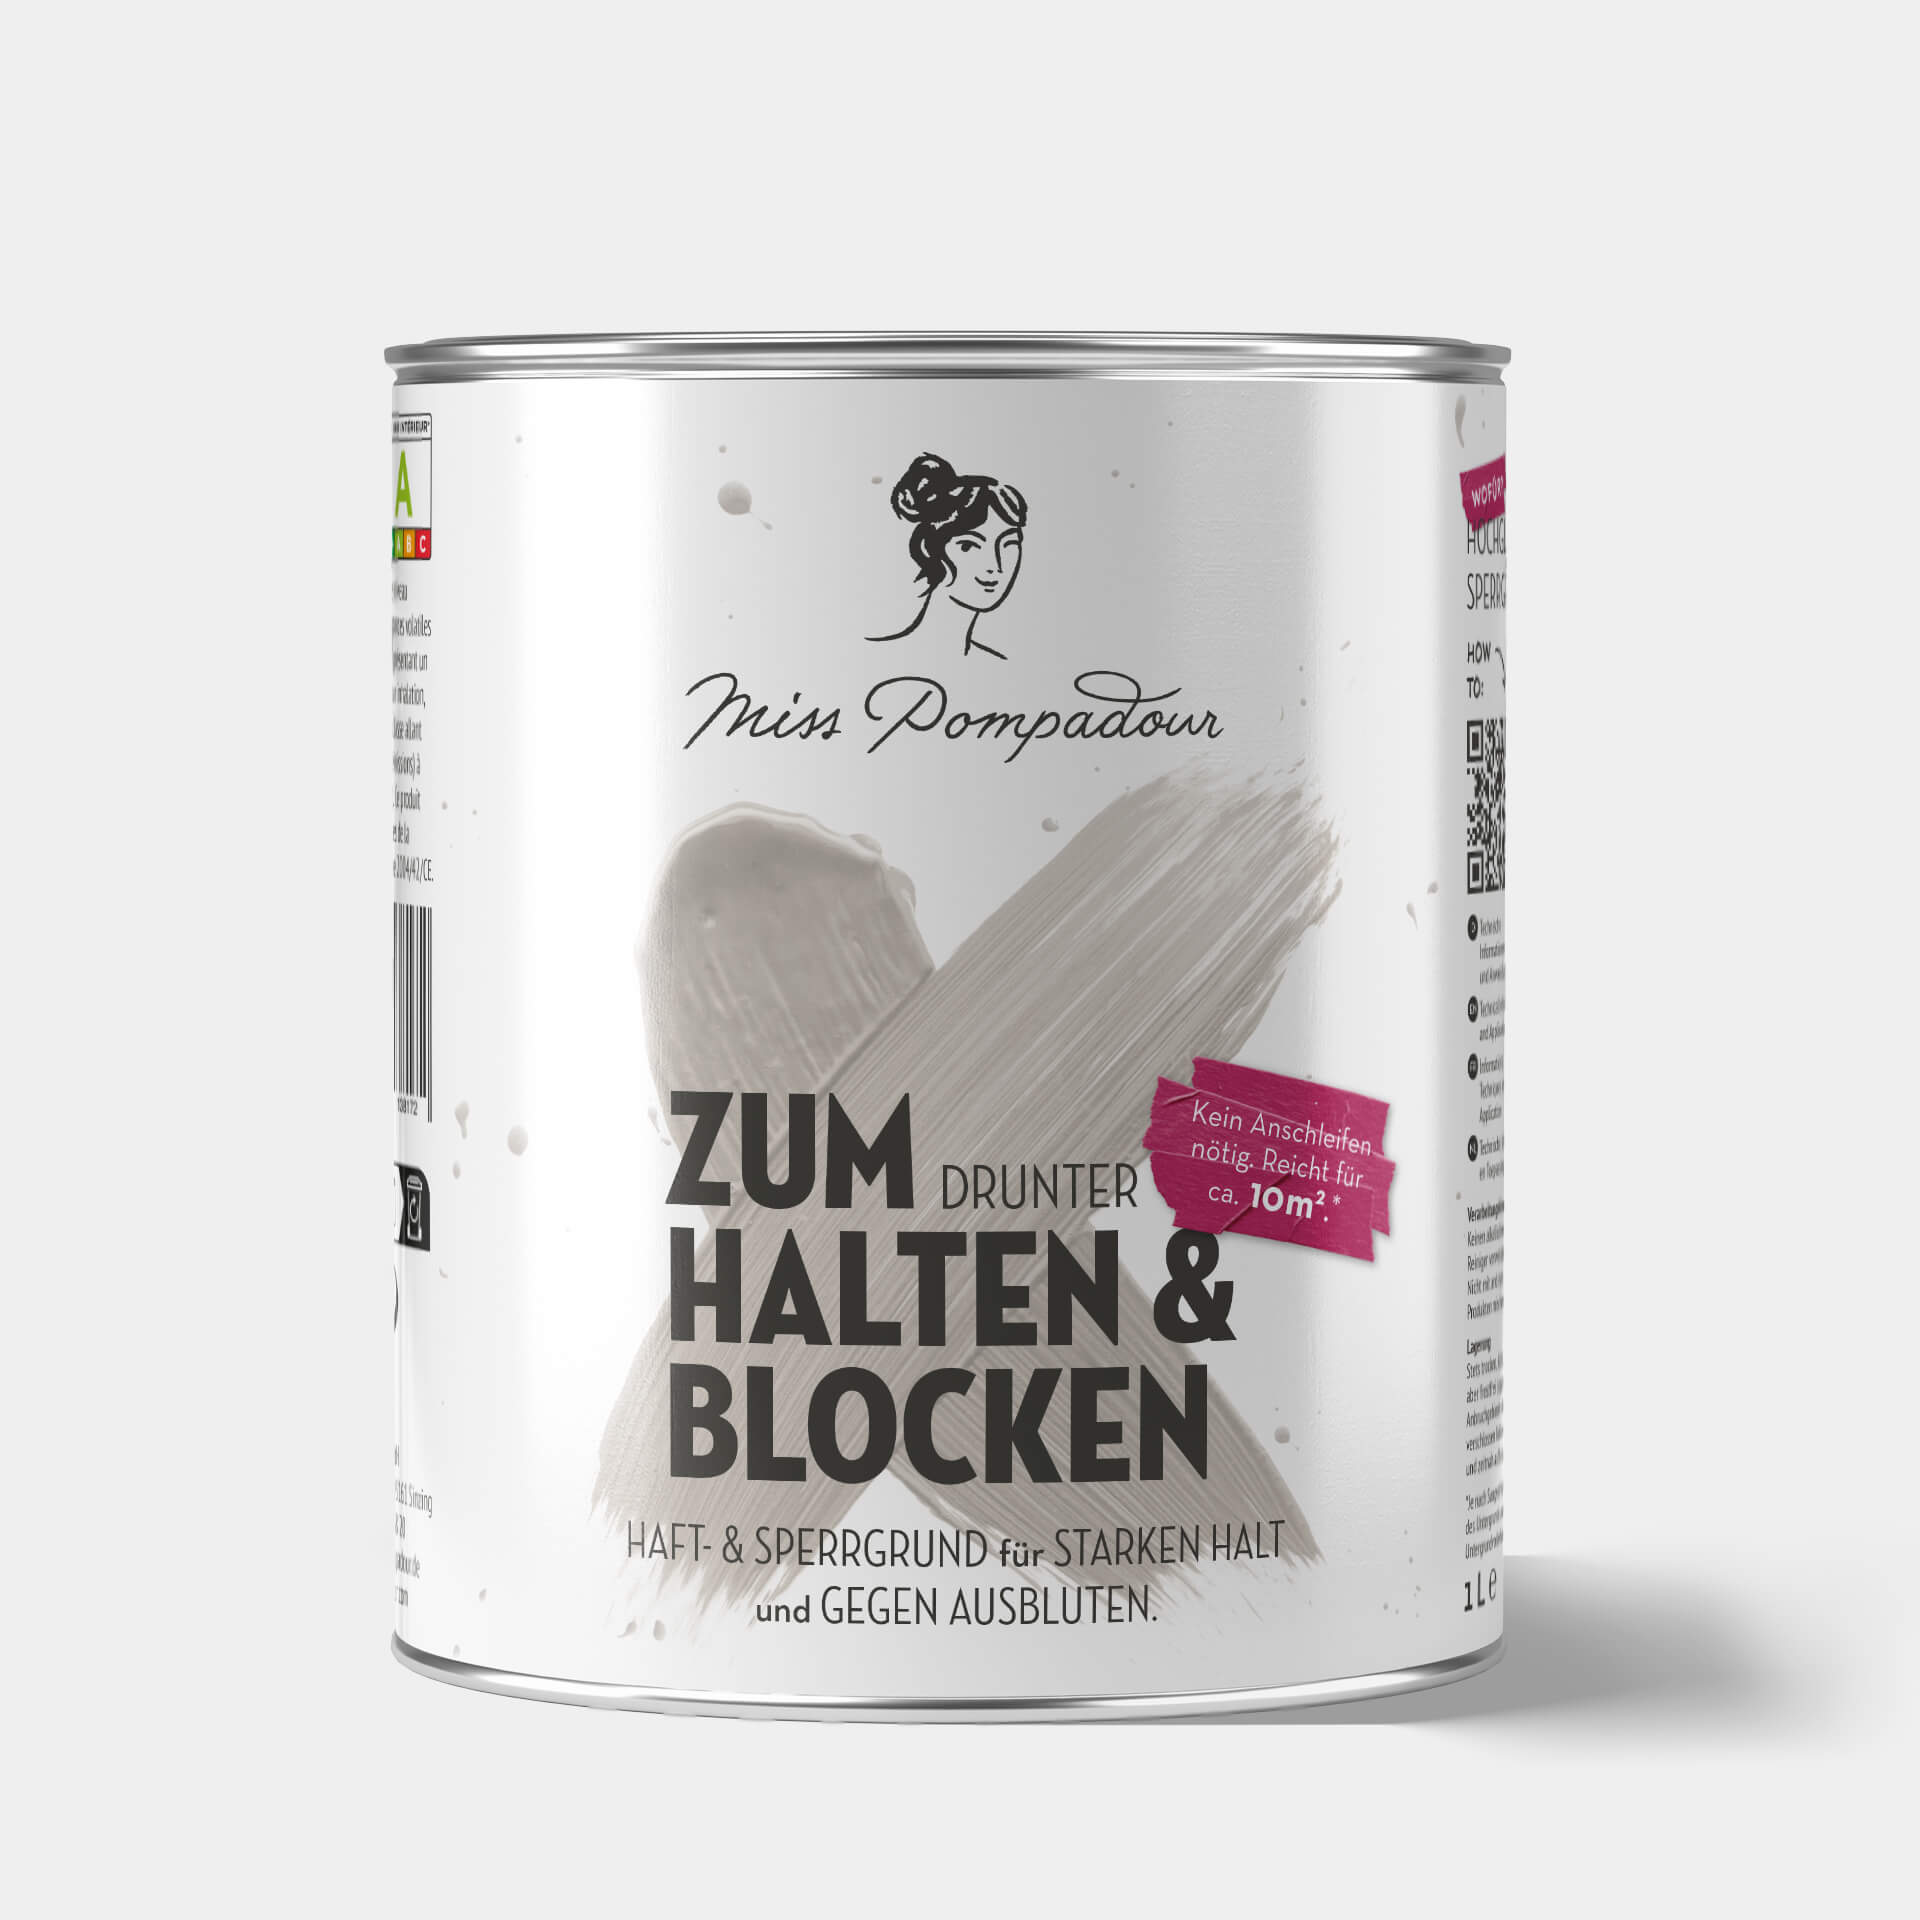
If you have a kitchen made of plastic veneer or laminated fronts, you can prime with MissPompadour To Bond & Block. This will give you a non-slip base for your paint and also ensure that the varnish adheres well. You can find out how to do this in detail in our blog on "Painting high-gloss furniture"!
Can you paint a wooden kitchen white?
Wooden kitchen fronts are also very easy to paint. The classic rustic oak kitchen should be primed with MissPompadour To Bond & To Block. Kitchen cabinets made from softwoods and tropical woods also require a primer. Otherwise, the wood may discolour your varnish if the original topcoat is no longer in top condition. If you are painting your beech kitchen, you do not need a primer. You can find out more about painting wooden furniture in our magazine on painting wooden furniture.
Can you paint any kitchen front?
We can't really think of any kitchen surface that can't be painted. Plastic, melamine, foils, high gloss, wood decor, wood veneer, solid wood, metal decor... #justpaint!
It might be difficult with modern materials with a lotus effect, you'll have to try it out.
Can I paint kitchen cabinets without sanding?
Yes, as a rule you don't have to sand the cabinets before painting them. However, if the kitchen has already been badly damaged and an old coat is flaking off in places, you should at least sand the relevant areas smooth. You can use a sanding pad or a finer sandpaper.
2. Around the kitchen
Can I also paint my tile backsplash?
You can also paint the tiled splashback directly. Conveniently, the same varnish qualities are suitable for this as for the kitchen fronts. The Easy Eggshell is particularly suitable! With smooth tiles, you can create a good surface with To Bond & Block. Behind the cooker or sink, you should apply an additional protective layer with To Seal. You can find detailed information on beautifying your tiled splashback in our article Painting tiles.
How can I paint the adjacent walls to protect them from dirt?
If you also want to change the wall in addition to your kitchen furniture, you can use the wall paints from MissPompadour, for example. Choose The Valuable Wall Paint for a matt finish in low-traffic areas. The Functional Wall Paint is particularly suitable for areas exposed to dirt, such as behind the bin, as it is perfectly washable. Despite their matt finish, they offer a smooth surface.
Can I also paint the kitchen worktop?
In principle, you can also paint a kitchen worktop. Plastic and stone worktops are best primed with MissPompadour To Bond & Block. Then you can paint with the varnish in the colour of your choice. Easy Eggshell is particularly suitable! The easiest way to achieve a beautiful result is with a paint roller. You can either apply one more coat or finish with To Seal.
Please note that a painted worktop is never as robust as an unpainted one. A worktop is often subject to very heavy loads. Moisture around the sink should always be absorbed immediately, and a chopping board is essential if you are cutting something. Light colours can also be subject to discolouration and very dark colours are susceptible to limescale stains or stains from cleaning agents. Whether you paint your worktop should always be carefully considered and certainly depends to a large extent on how passionately you use your kitchen.
Pro tip: Why not just paint the front edge of your worktop? This will bring about a visual change without compromising stability. This is often enough to make the old worktop look brand new and fresh.
3. Painting the kitchen: What do I need to consider?
Do the colours actually smell strong?
Our paints are low-emission, and you'll generally find that any smell disappears after just a few days. It's always a good idea to ensure good ventilation while painting and drying.
Paint or varnish kitchen fronts?
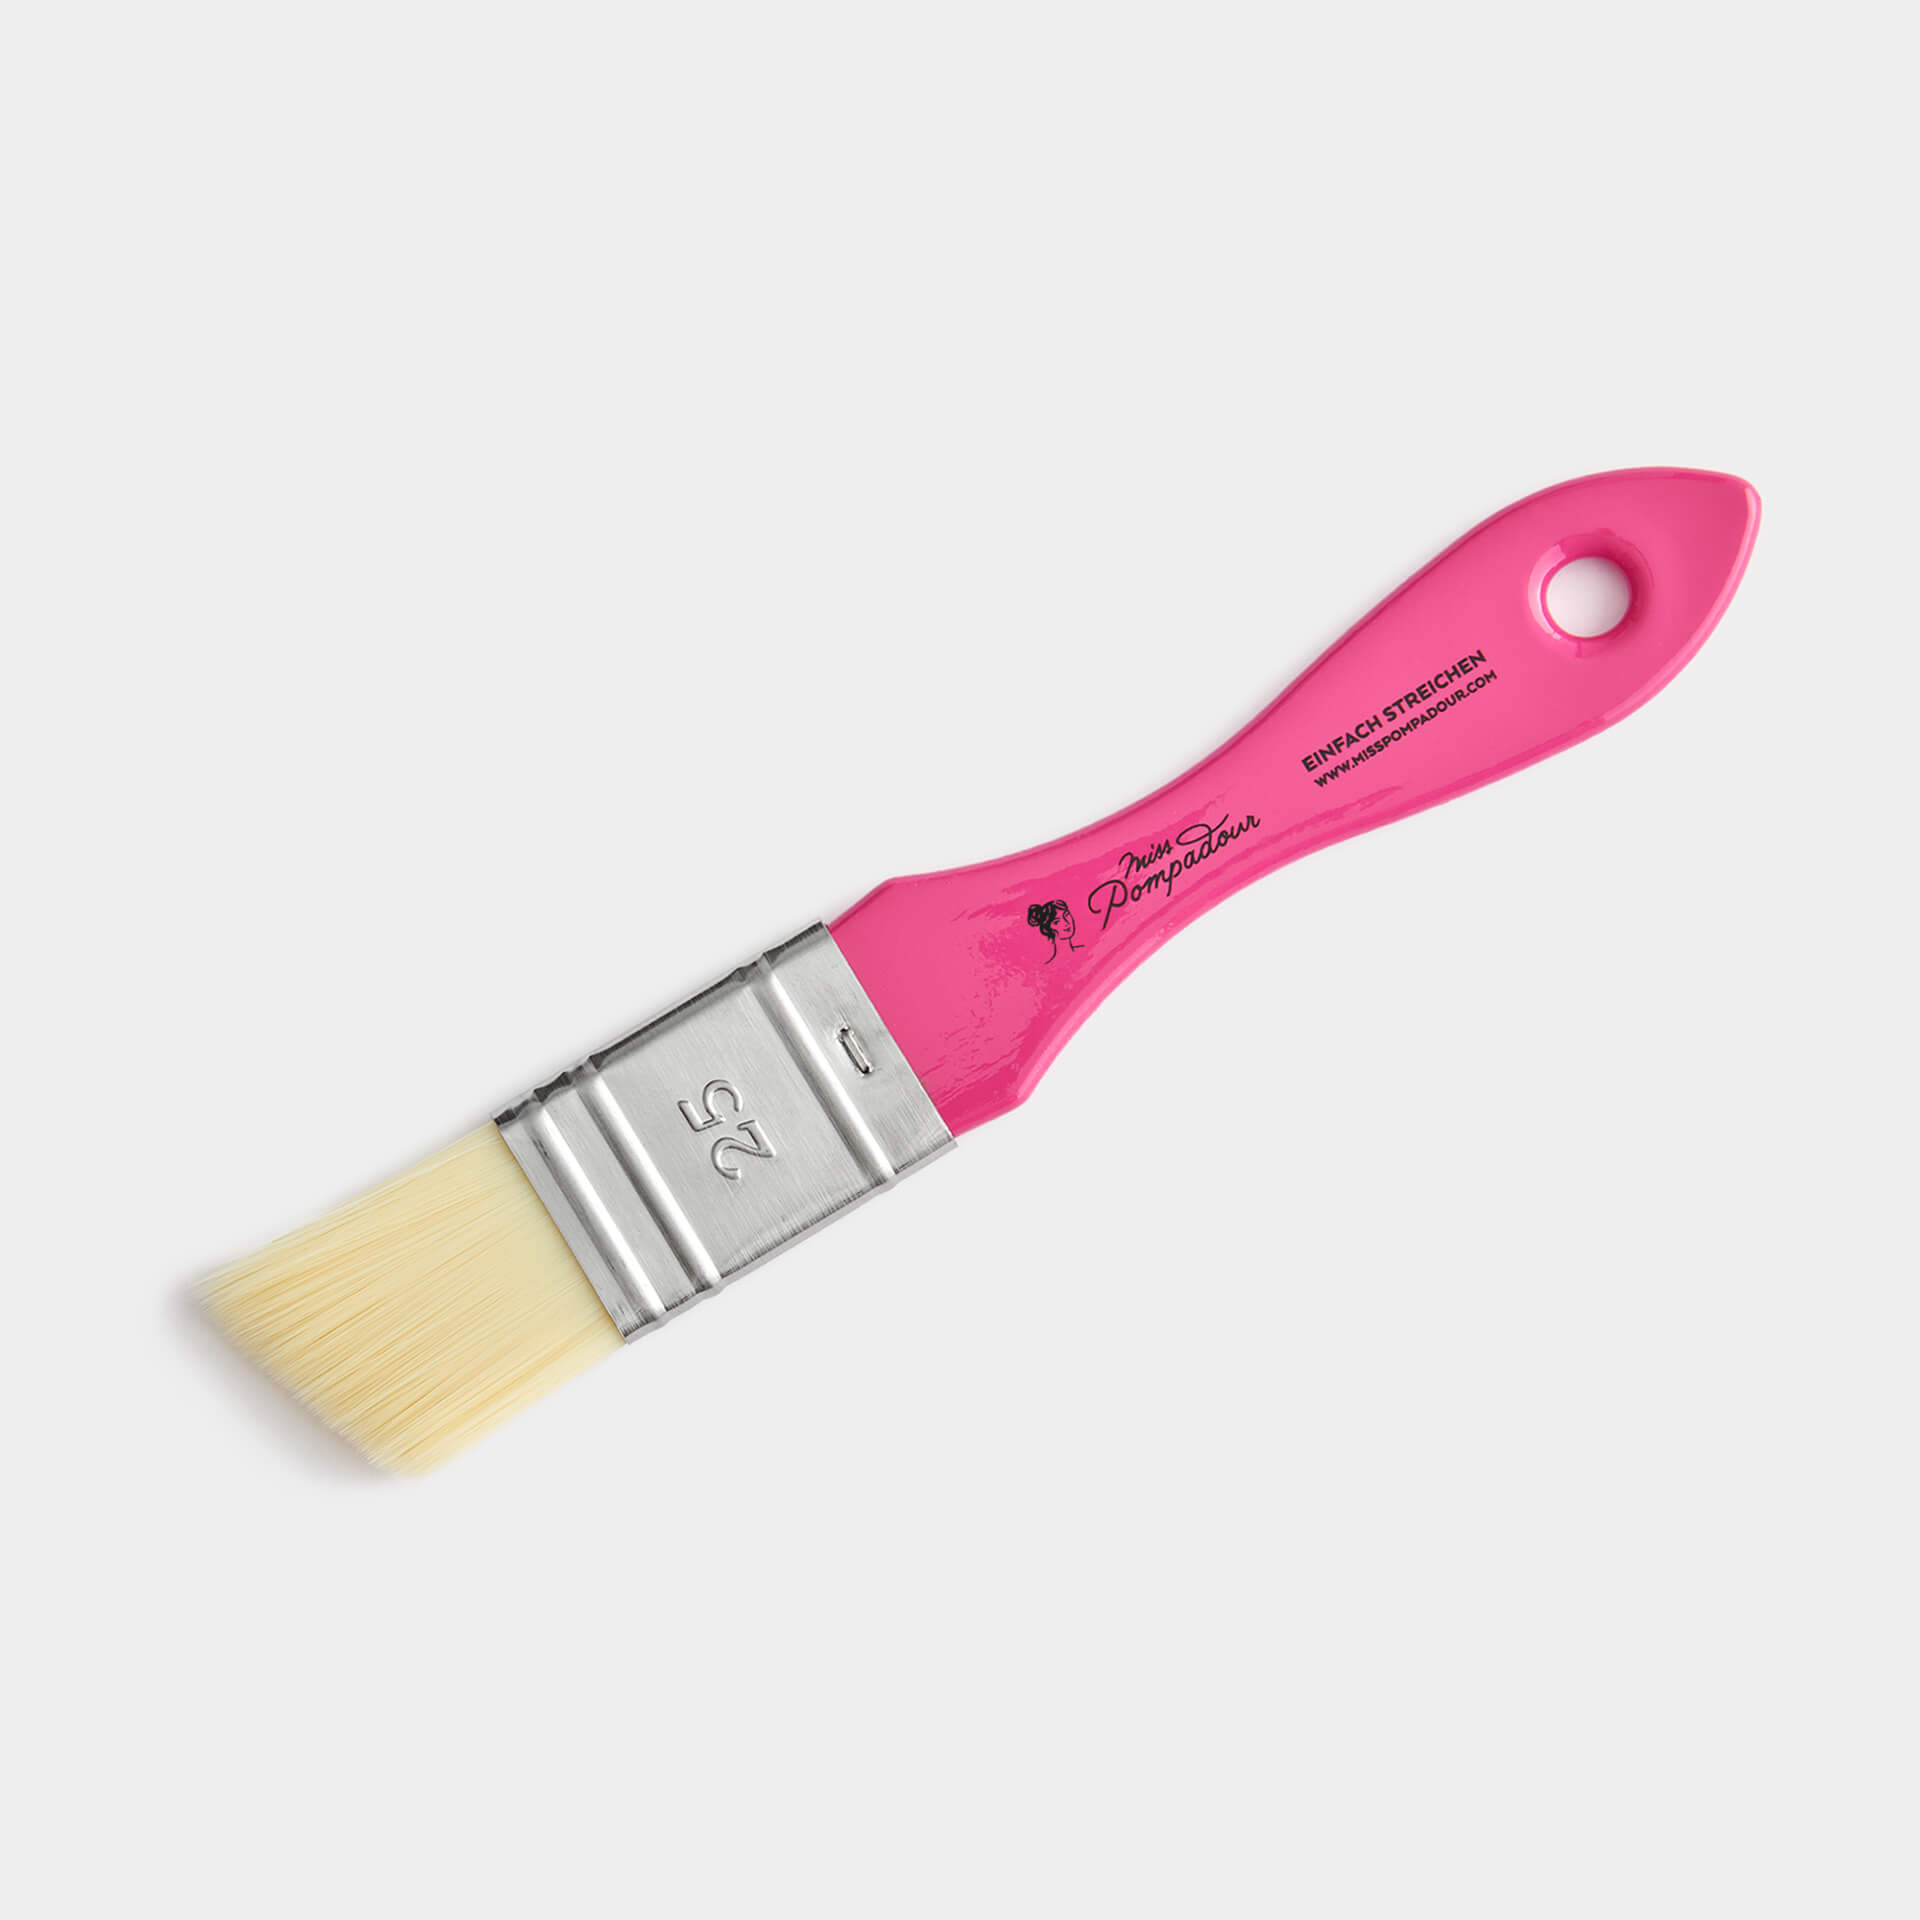
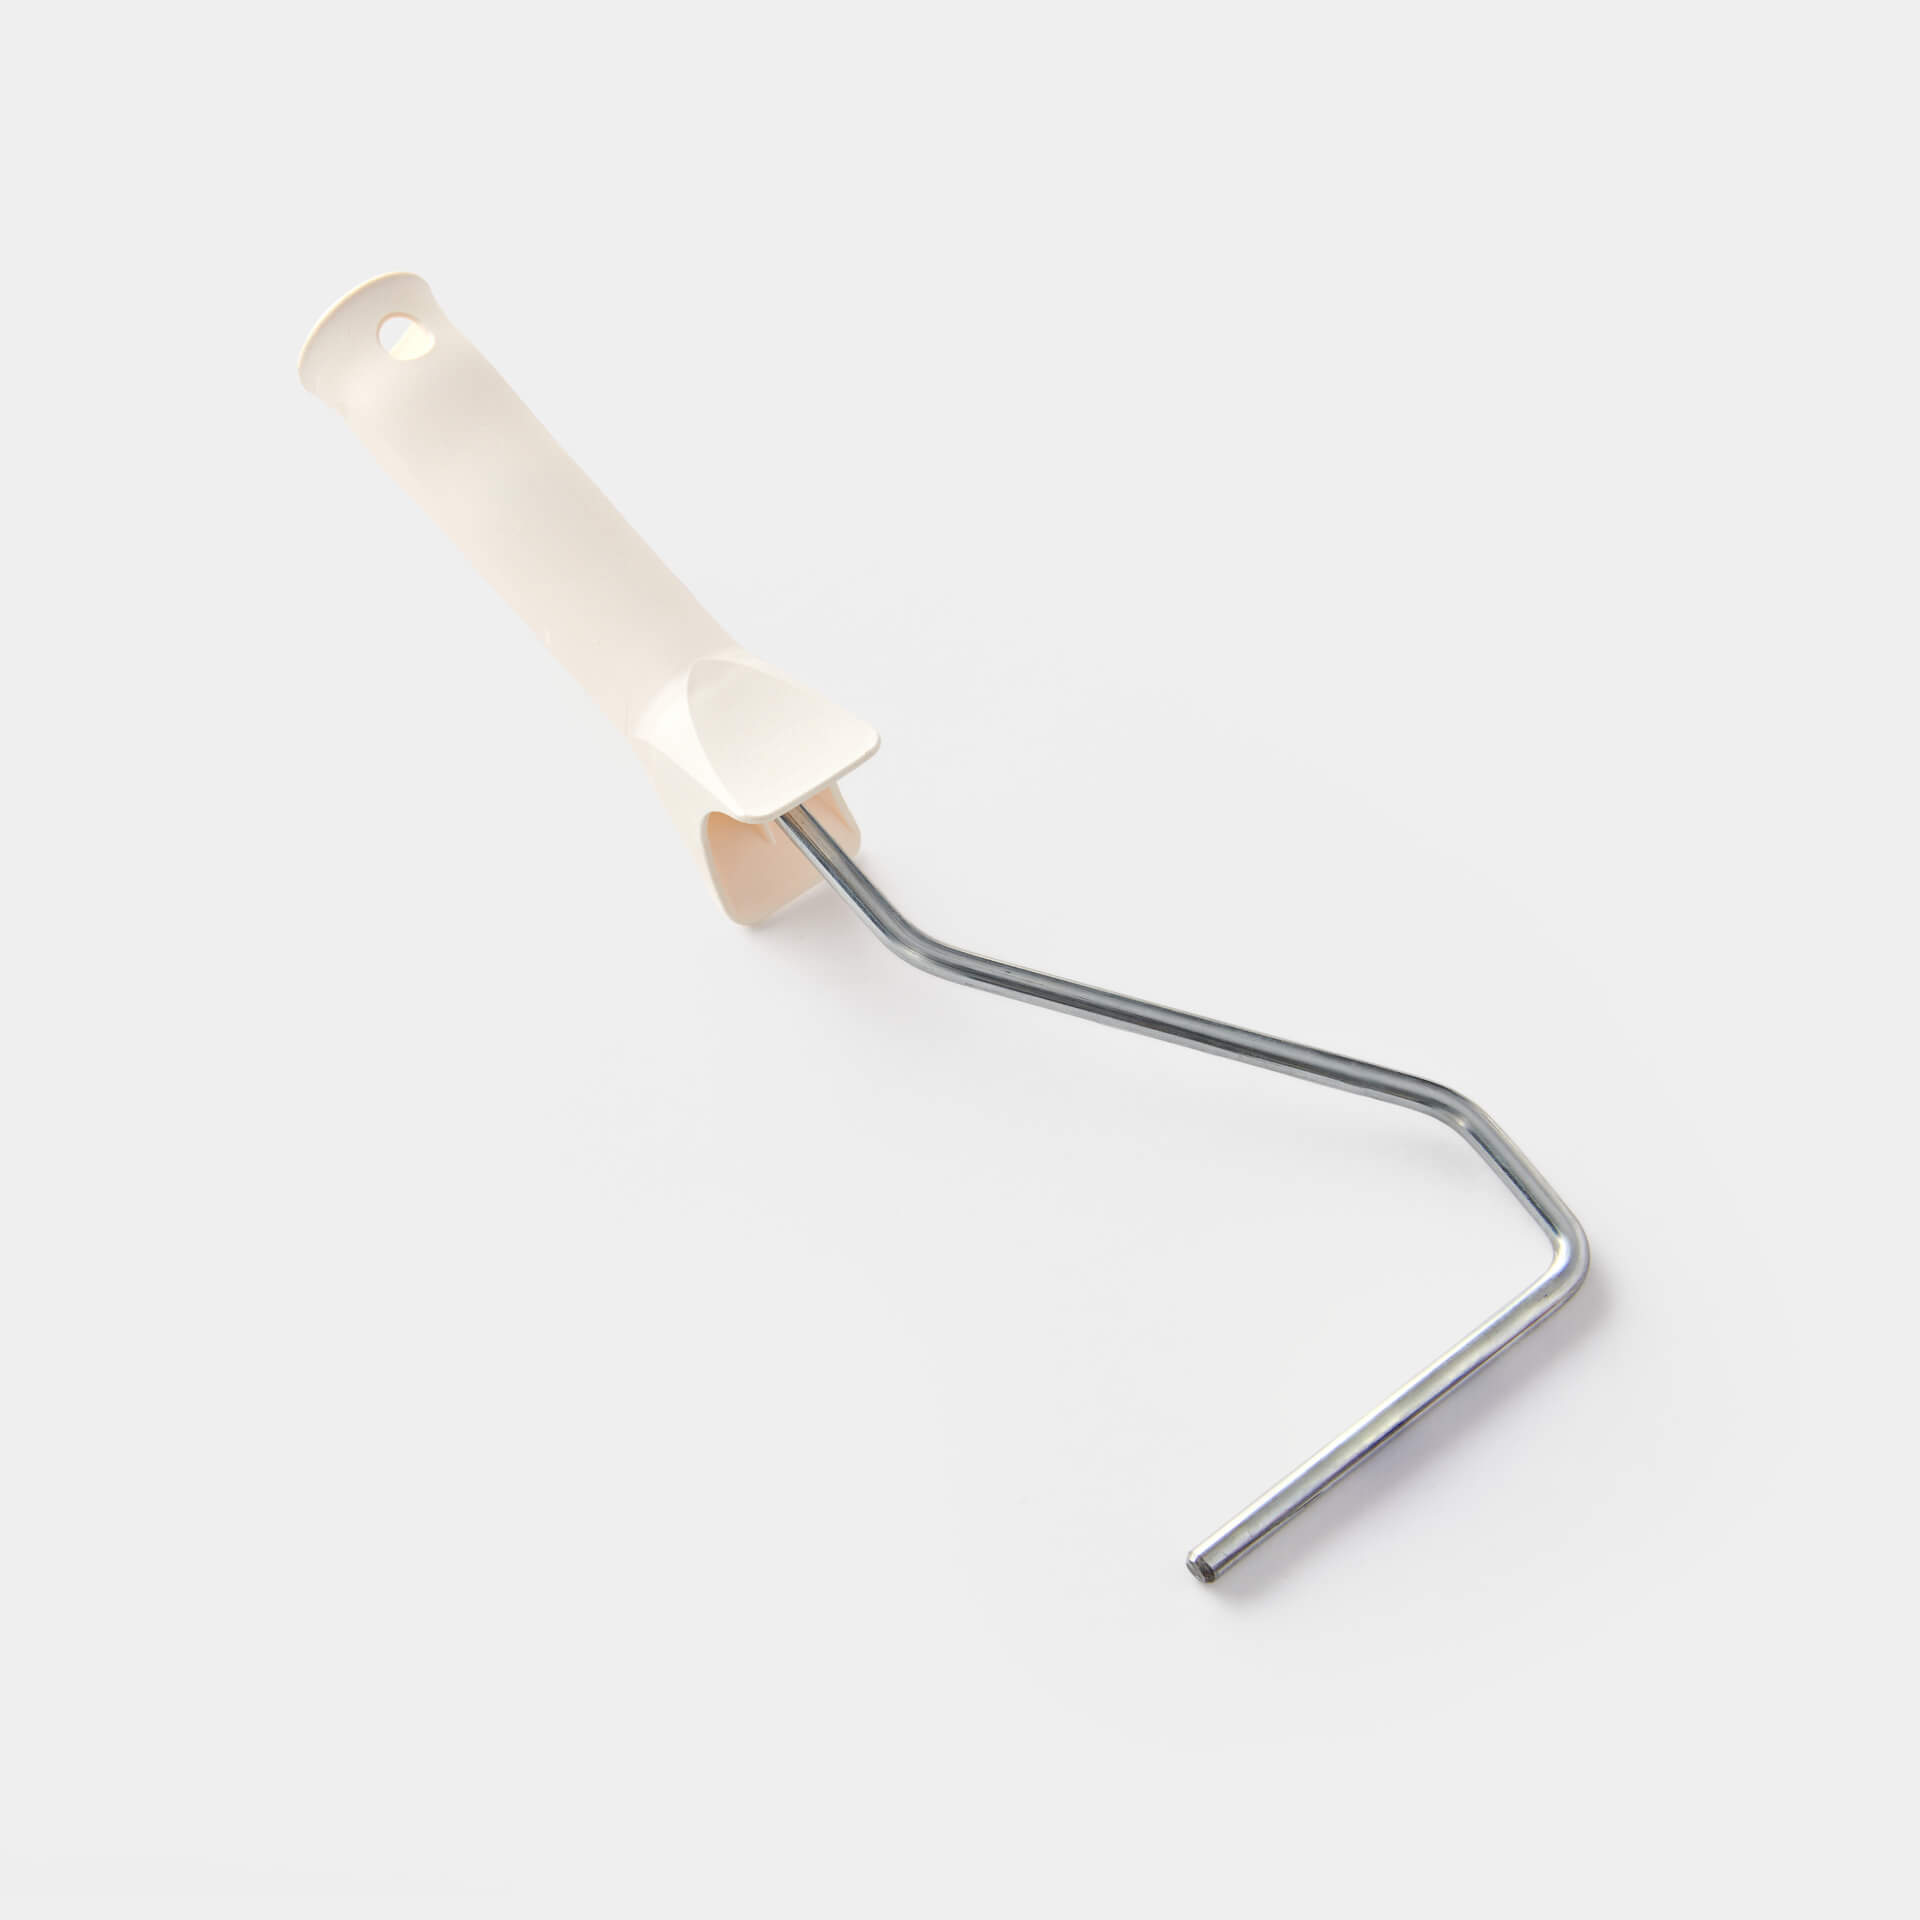
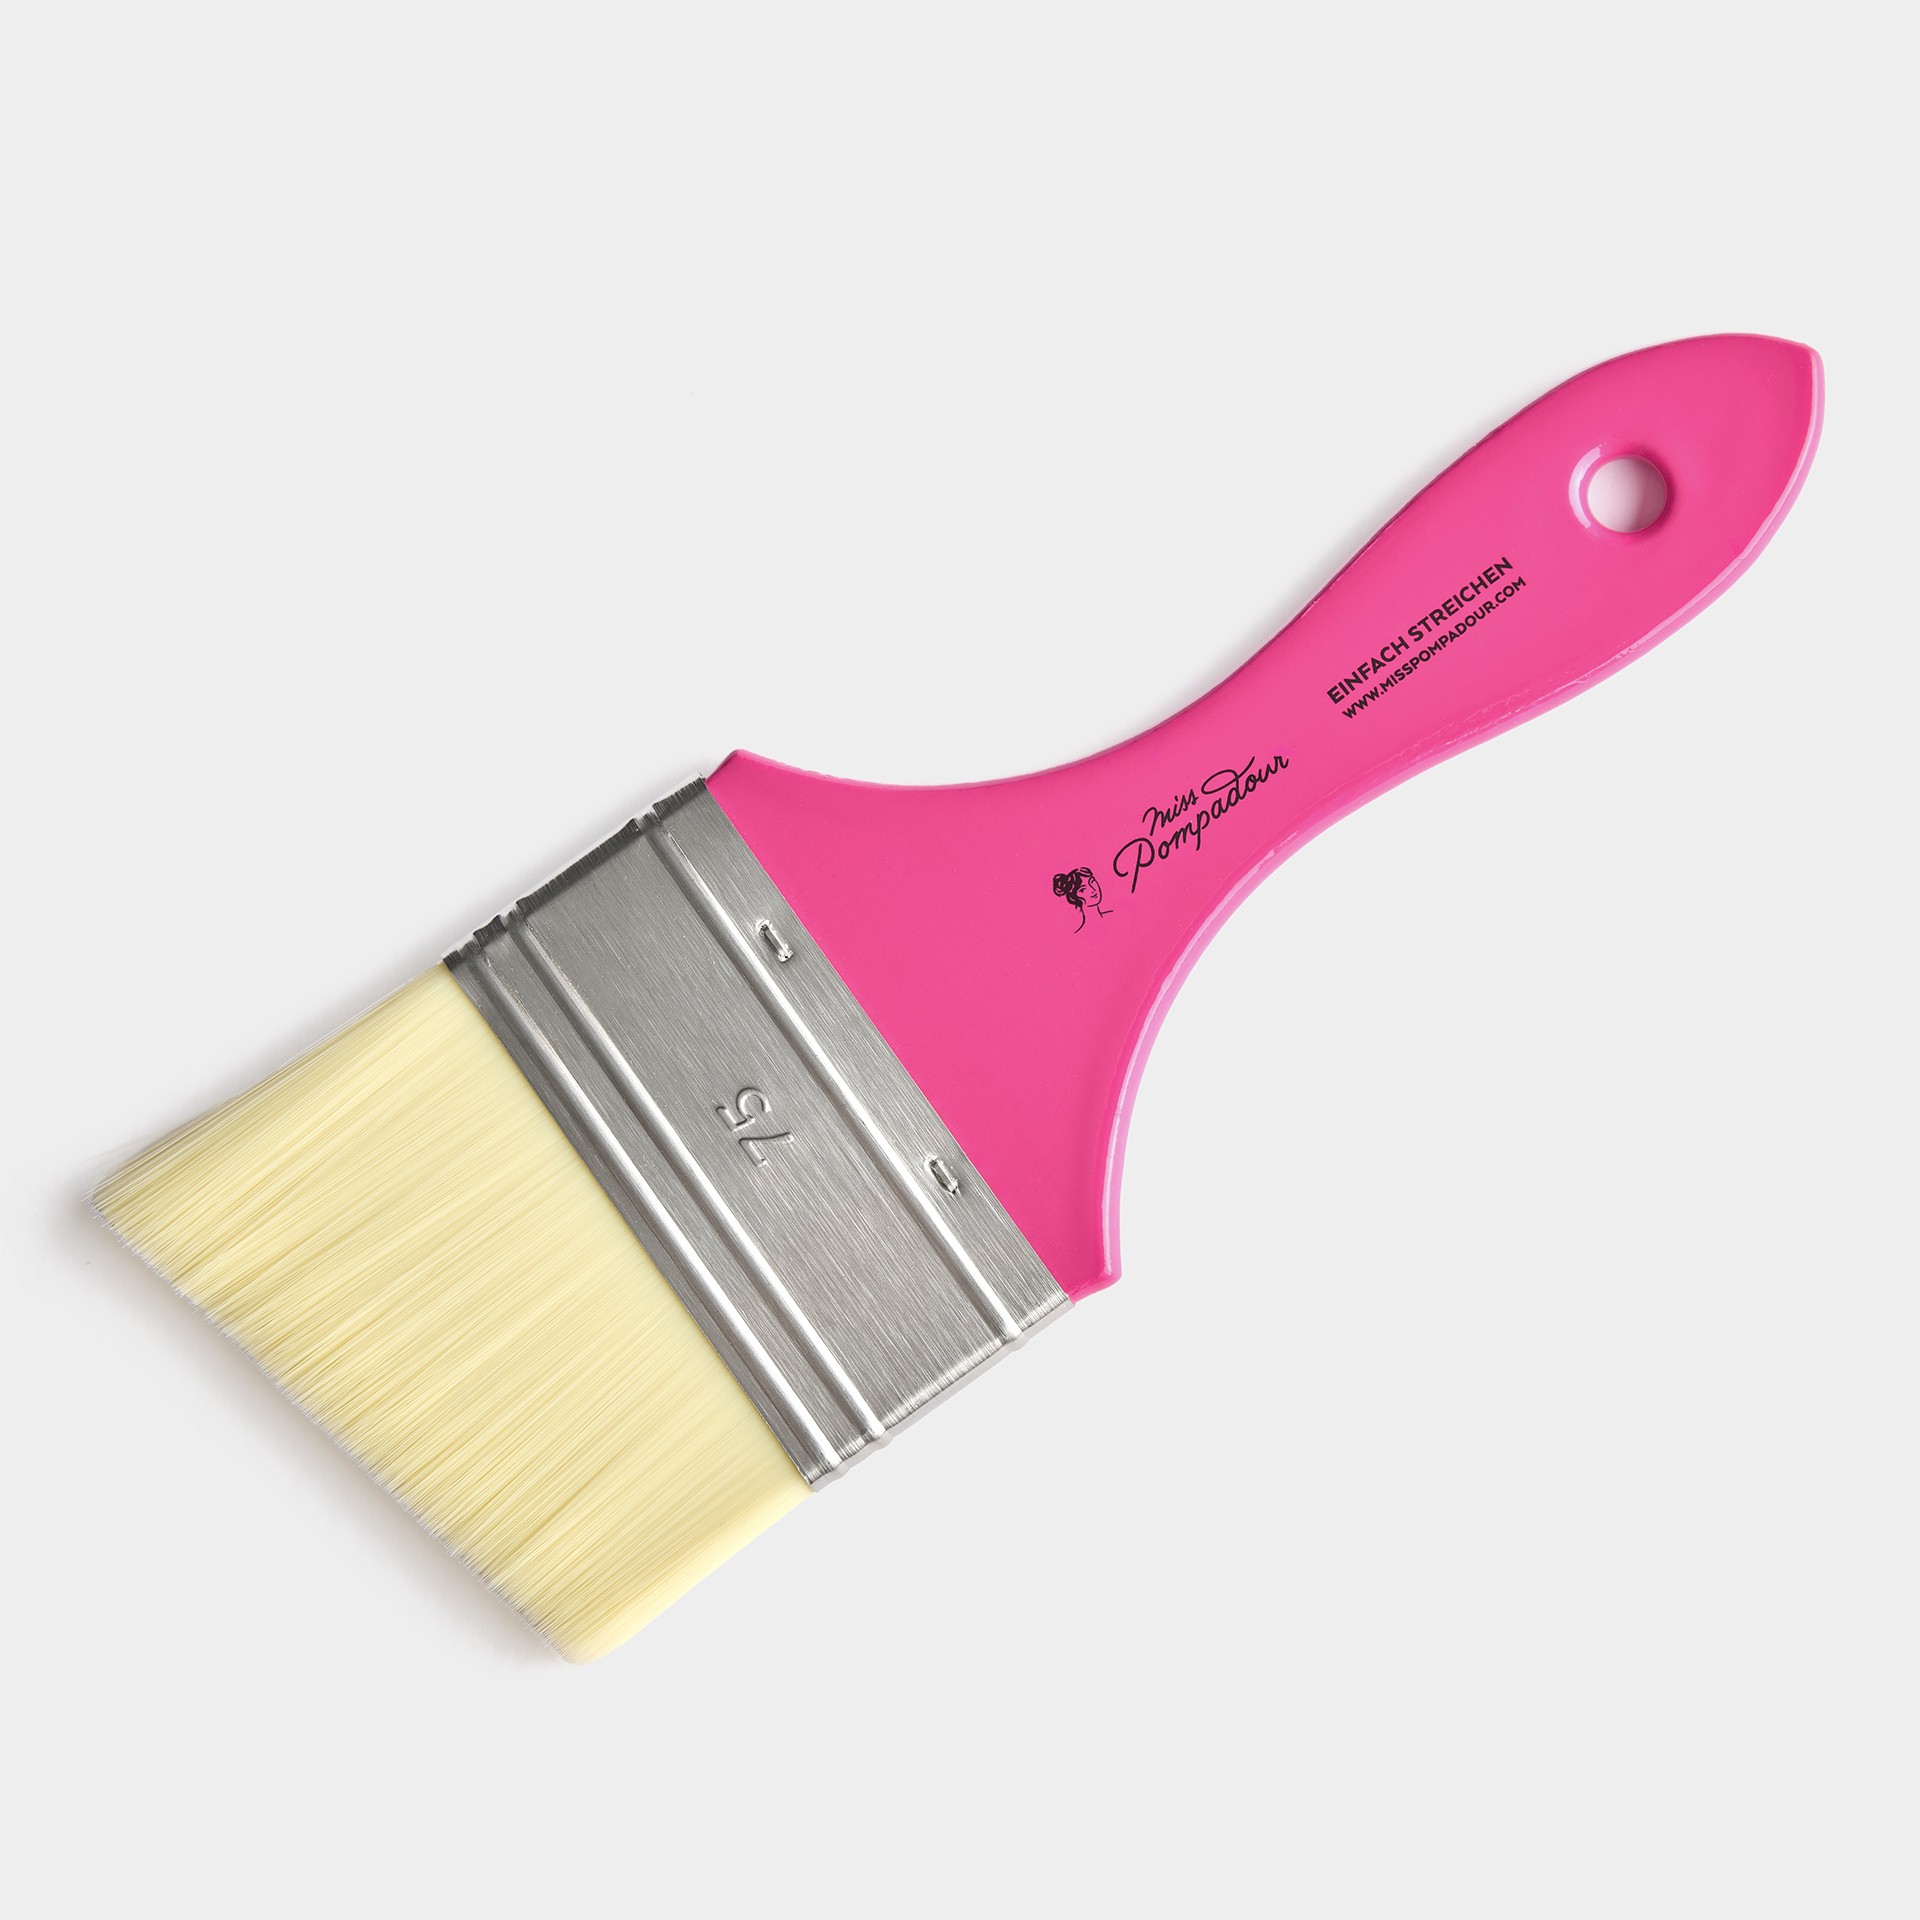
If the fronts of your kitchen cabinets are smooth and without trim, you can easily paint them with the roller. Simply use the varnish roller. If, on the other hand, your kitchen fronts have many ornaments, we recommend using the fine MissPompadour brush. Thanks to its bevelled end, you can reach all corners without having to mask them and can also paint narrow areas without any problems.
Of course, you can also spray your kitchen fronts with our colours. Please follow the instructions on dilution for the selected colour.
Do I have to seal or can I do without?
The topcoat is an additional transparent protective layer over the paint, which naturally extends its durability. Many of our customers use our durable paint finishes without a topcoat and find them incredibly hard-wearing. If your kitchen sees a lot of action, then apply To Seal for extra protection.
Brush or roller - Which painting tool do I need?
All corners and edges, as well as mouldings or recesses are easily painted with our fine MissPompadour brush in 25 or 50 mm. You can then paint surfaces with the varnish roller for water-based varnishes. Make sure to work as wet in wet as possible. For example, pre-paint the trims of a front with the brush and then roll the corresponding surfaces. This way you will get an even result.
How do I clean my painted kitchen?
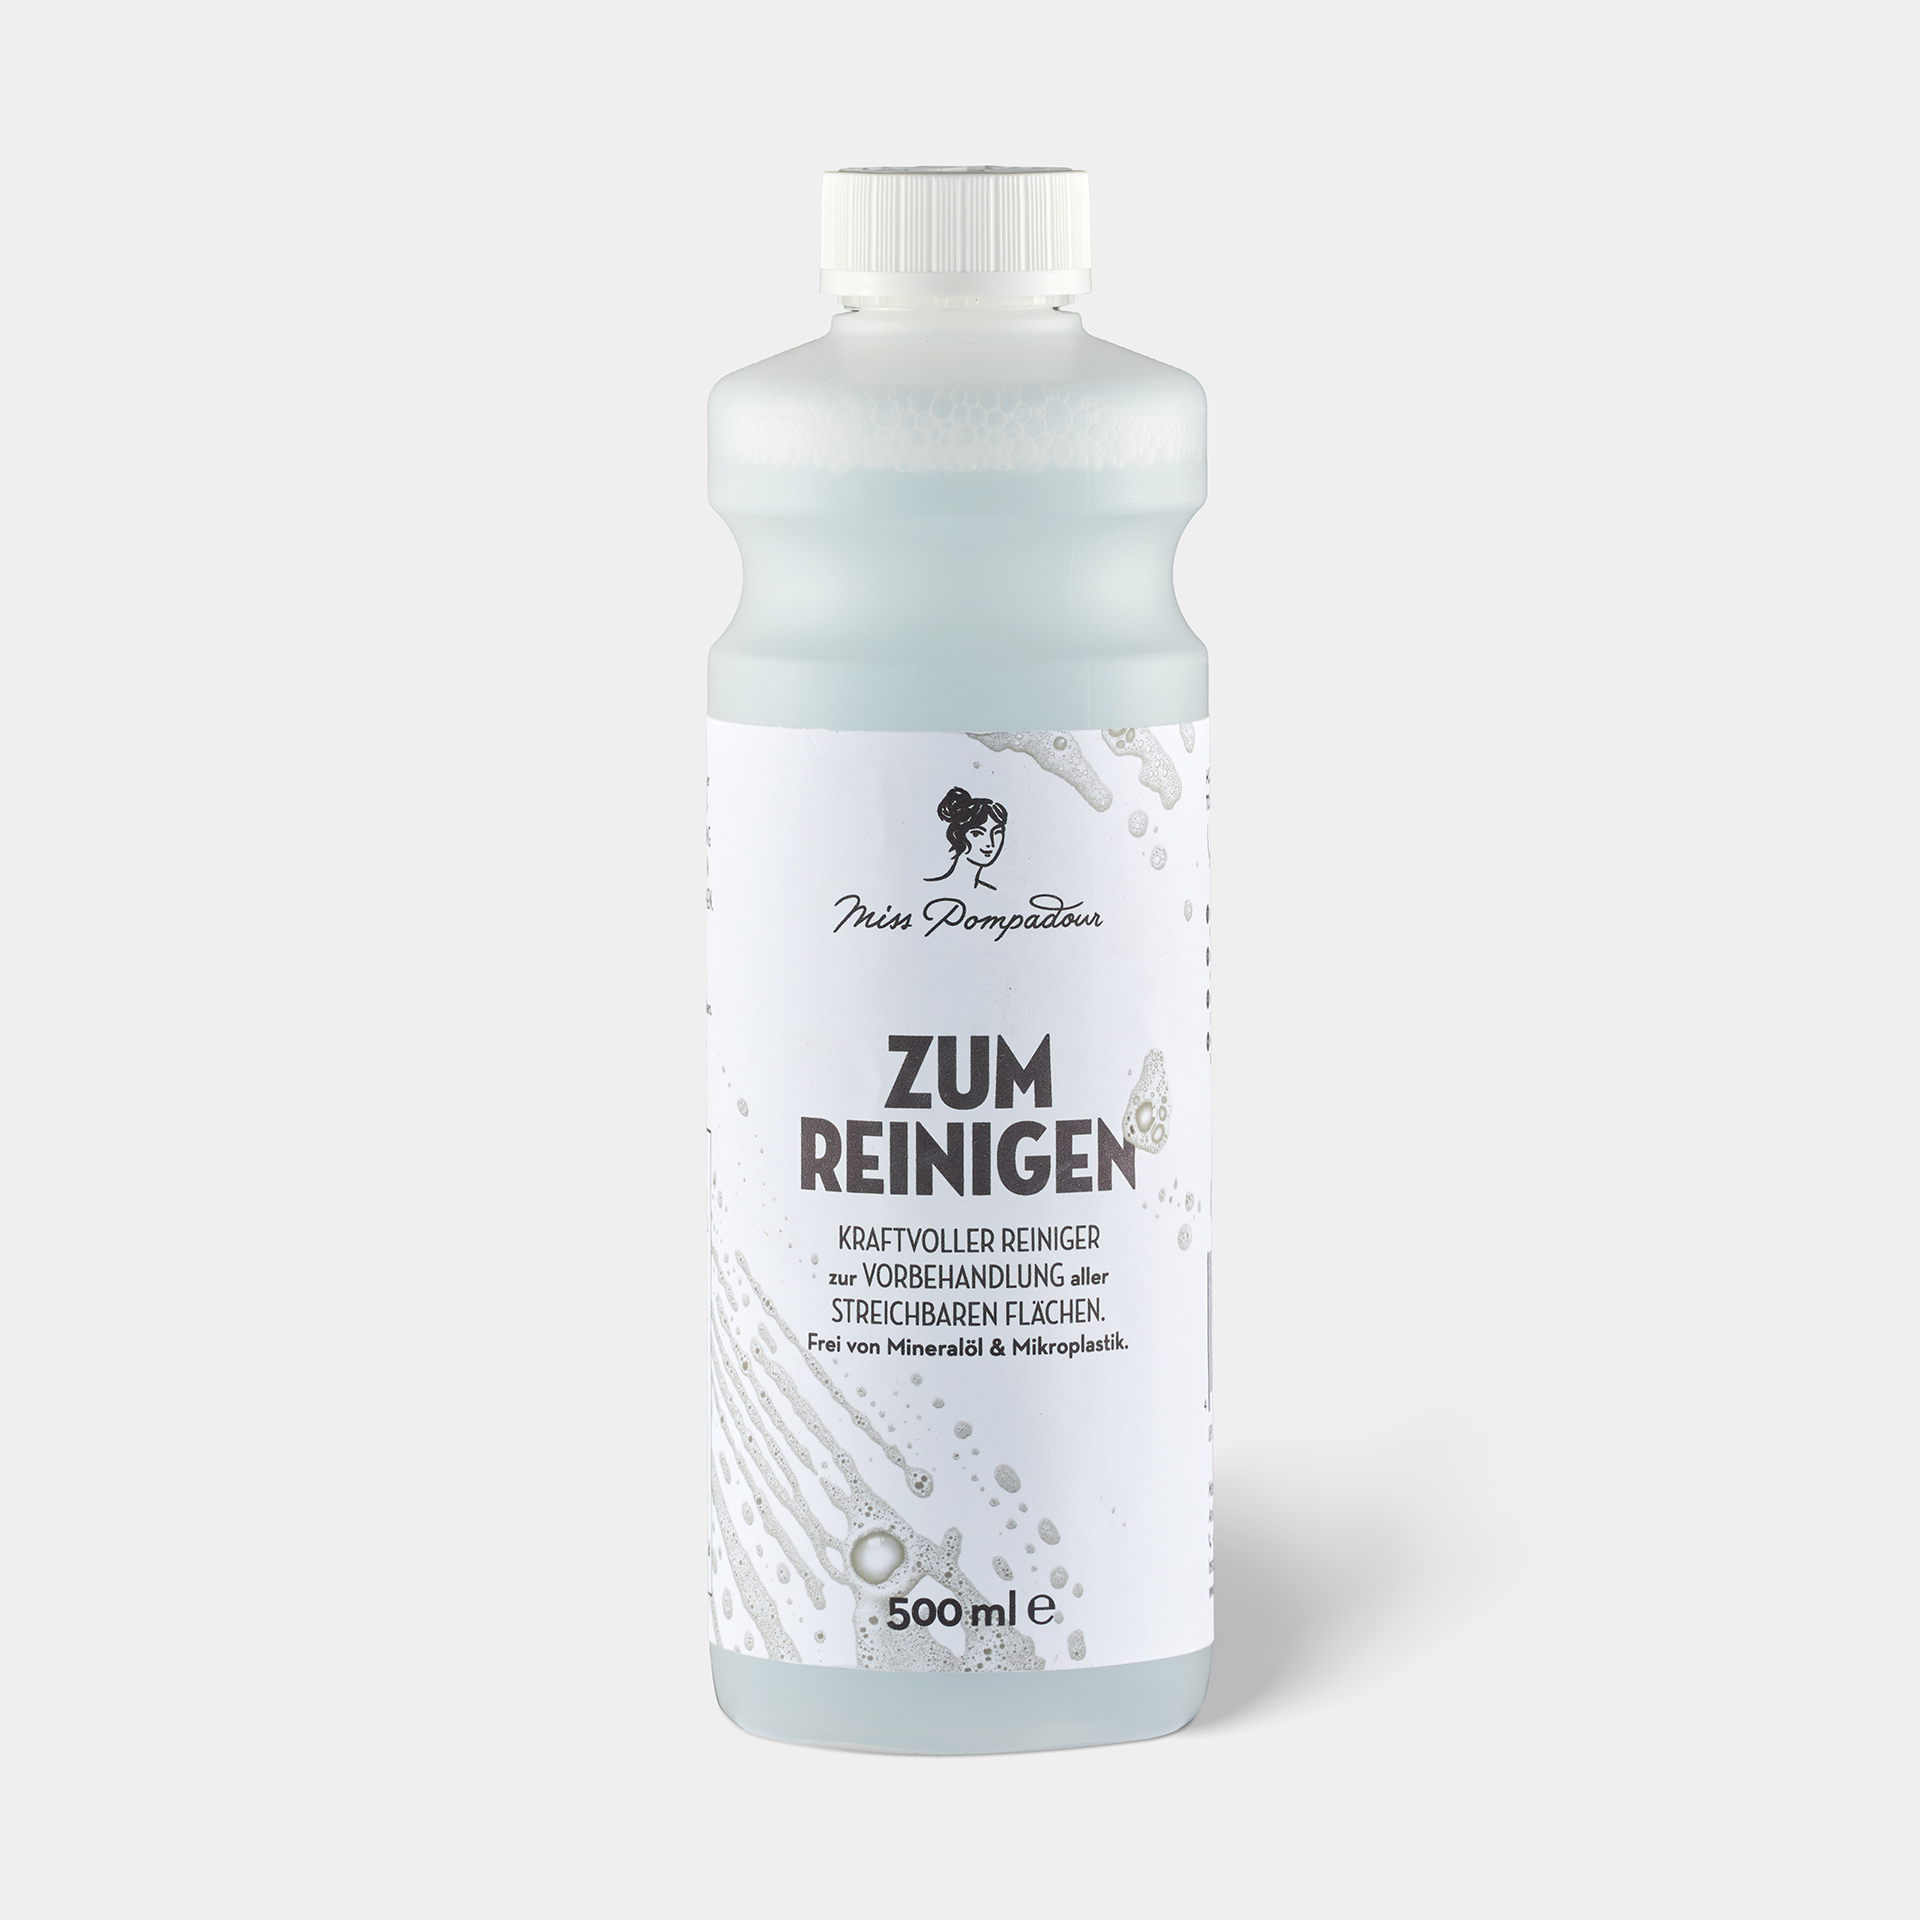
To clean painted furniture, you can use a normal kitchen cleaner. Please check whether it is suitable for painted surfaces; this is indicated on the label. Do not use chlorine-based cleaners or alcohol-based disinfectants. It is also better not to leave strong acids on for a long time. By the way, our To Clean is also a great cleaner for after painting. Please avoid microfibre cloths and use normal cotton cloths instead. Microfibre can finely abrade the surface and damage the paint layer over time.
Video Tutorial: Big Kitchen Makeover | DIY | repaint old kitchen

Big Kitchen Makeover | DIY | repaint old kitchen - How to Paint the Kitchen with MissPompadour Paint
Tools required and recommended products for painting your kitchen
- Screwdriver to remove the handles. This saves you having to mask them off. Put the finishing touches to your kitchen with new handles.
- Cleaning bucket and cloth: Thoroughly cleaning all surfaces to be painted is essential for a perfect result.
- Masking tape: Always remove the masking tape when the paint is not yet dry to ensure a clean edge. Please also refer to the instructions in the FAQs.
- plastic drop cloth or newspaper: Use this to protect the areas that should not get any paint.
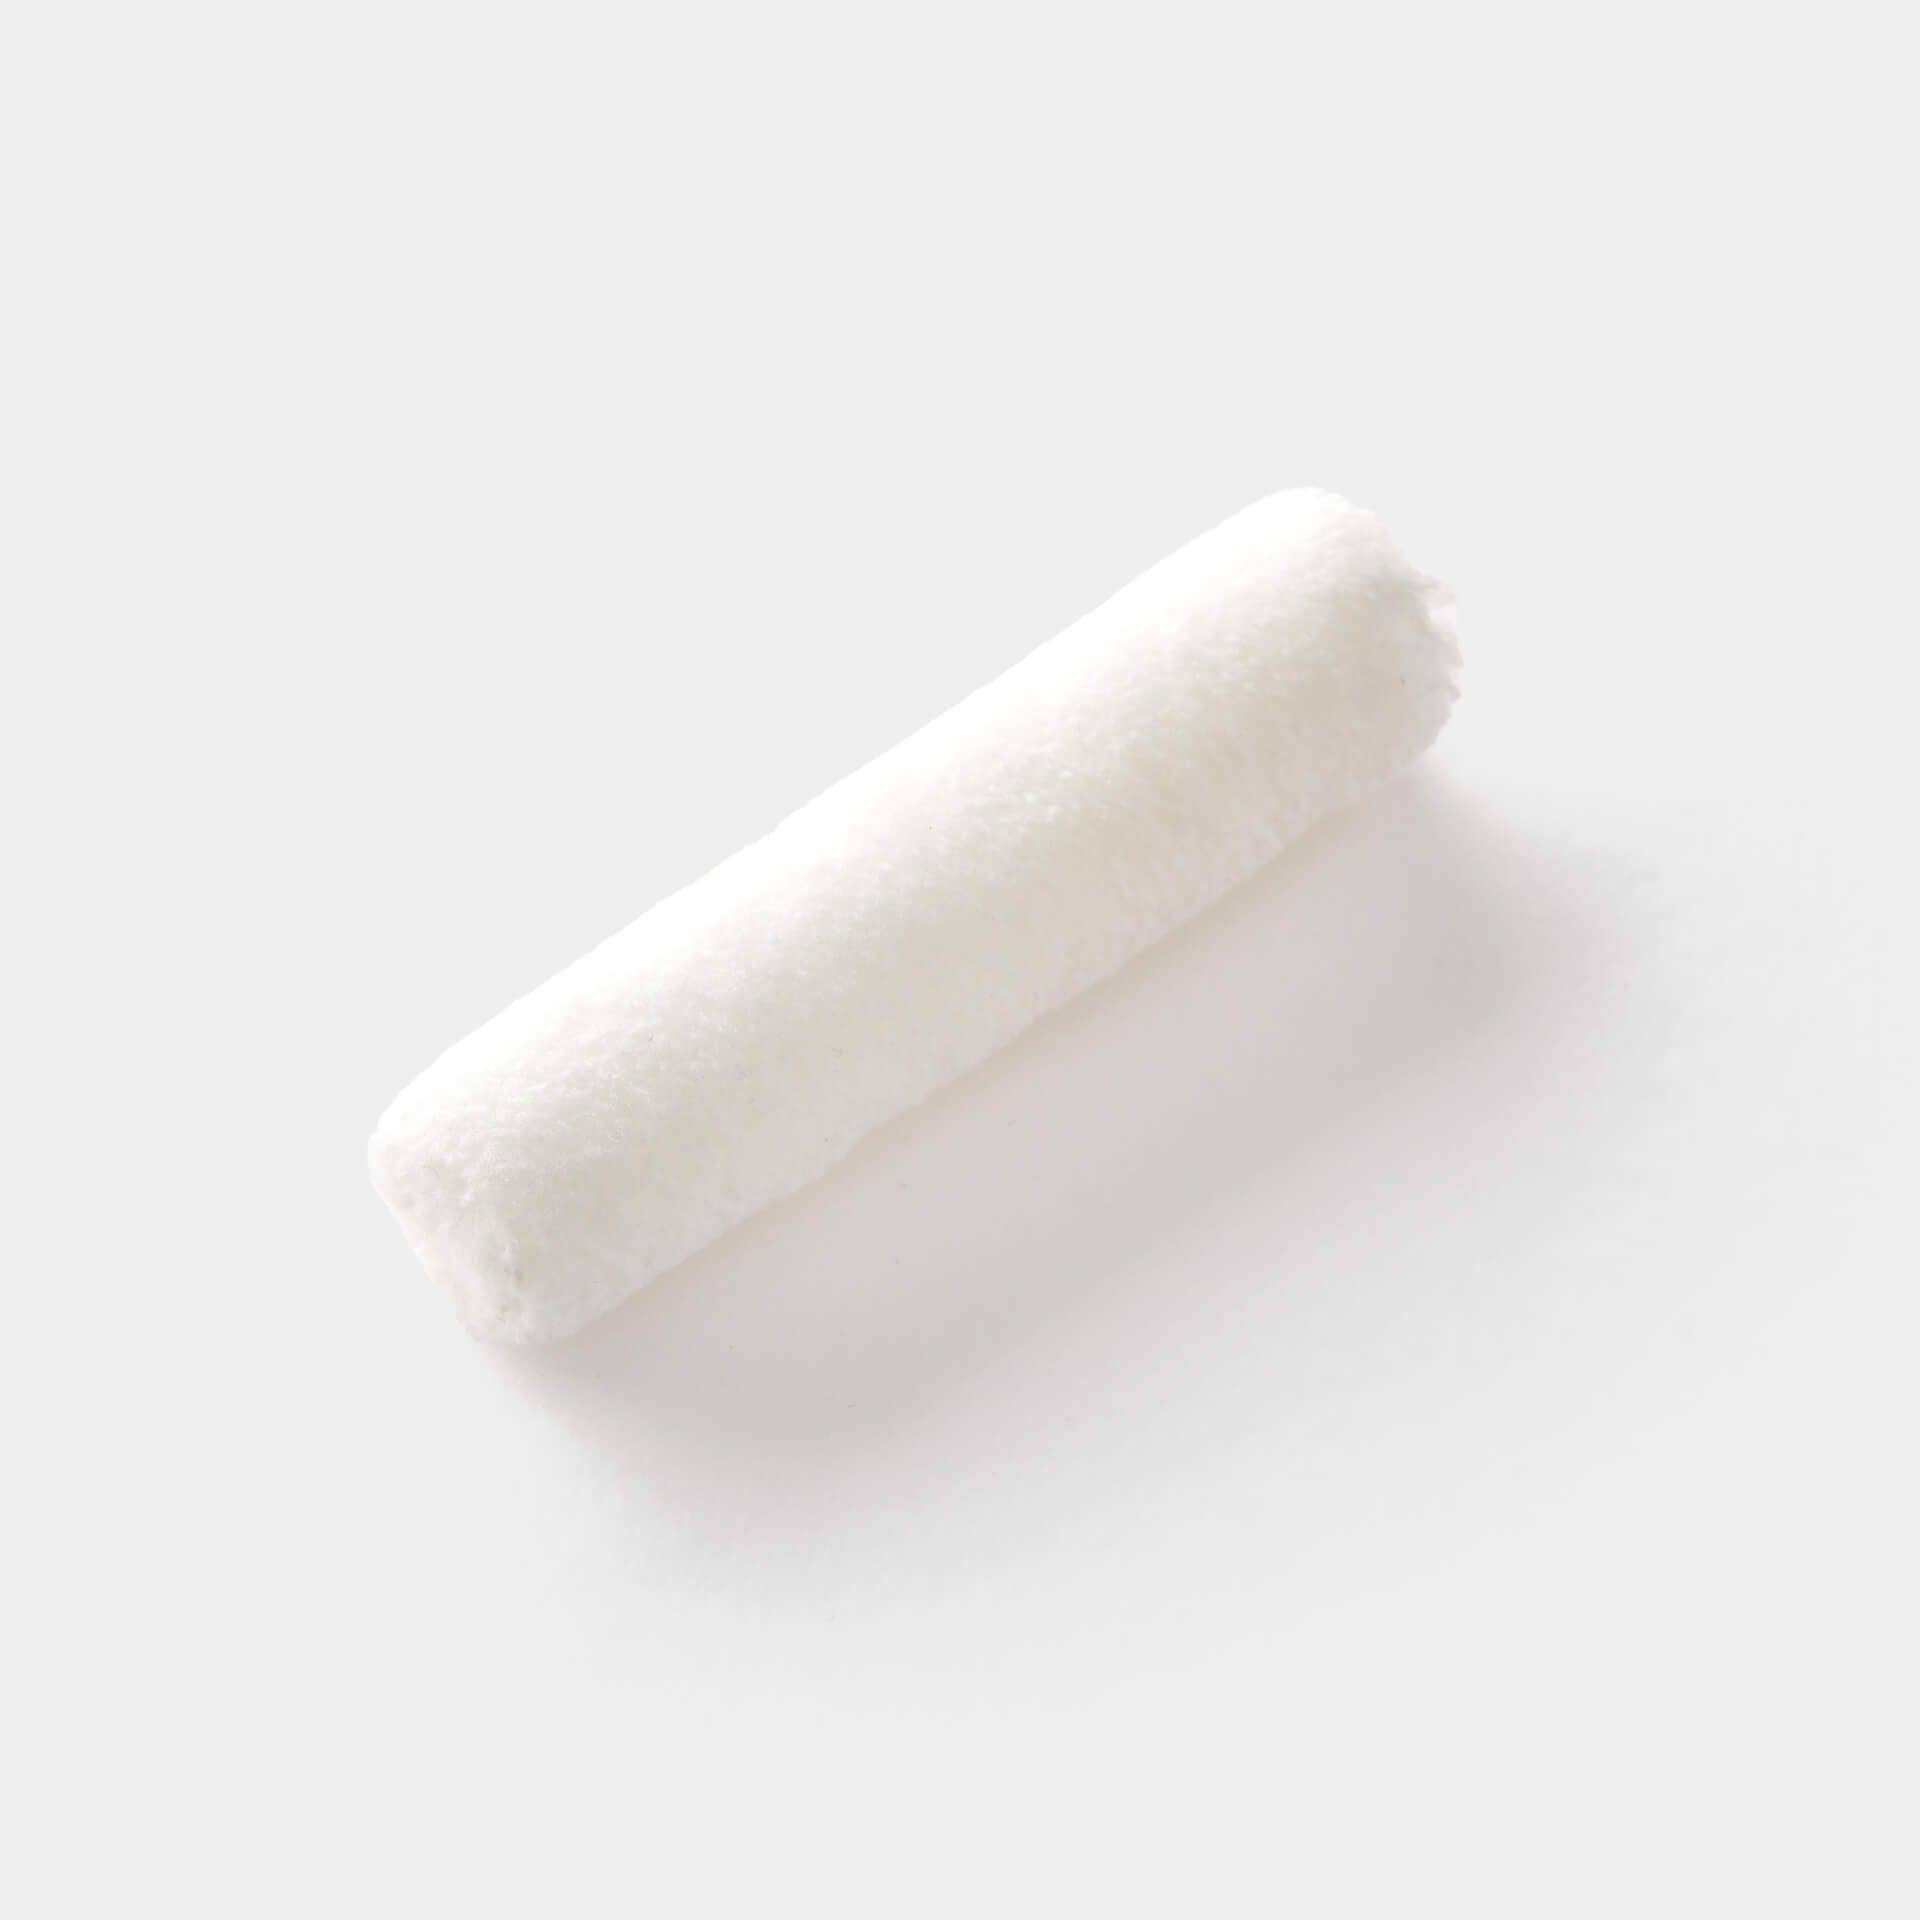
- Brush, varnish roller and paint tray: It is best to pour the varnish or chalk paint into the paint tray. Paint the corners and edges with the brush and the surfaces with the varnish roller.
- Sandpaper or sanding pad: To be on the safe side, it's a good idea to have something to sand on hand. This way you can easily touch up small blemishes such as noses and continue working.
Have you finished reading?
Your new kitchen colour

Your tool and tools


Questions ?
We're here to help
We'll help you anytime, via Phone (Mo-Fr 09-18, Sa until 16 Uhr), via WhatsApp or directly via our Contact Form.