


- Reduces absorption of the substrate
- This ensures even colour application and better coverage
- Improves adhesion
- Permeable to water vapour
- Fast drying
- Low VOC
Determine absorbency
Test the absorbency of the substrate with a few splashes of water. If these are absorbed very quickly or dry immediately, the wall is highly absorbent and To Prime Walls pure should be applied. Lime plasters, fresh gypsum plasters, renovation plasters or clay plasters are highly absorbent
Instructions for use
To be used as a primer on absorbent and porous, stone-like substrates such as concrete, masonry, plaster, panel materials, etc. for interior and exterior use. Can also be used as a primer for acrylic dispersion-based wall and façade paints. Can also be mixed with acrylic dispersion-based wall paints.
What type of wall would you like to use To Prime Walls for?
Your area of application
- Fresh or highly absorbent substrates
- Lime plaster
- Fresh gypsum plaster
- Clay plaster
Temperature:
At least 10° C ambient and substrate temperature, relative humidity max. 85 % RH. Use at extreme temperatures (air and substrate) can strongly influence the product properties.
Dilution:
For highly absorbent substrates, the primer should be applied pure and not diluted. Ensure that the primer penetrates well into the substrate.
Coverage:
The coverage is 3-5 m² per litre.
Drying time:
The primer is dust-dry after approx. 1 hour and can be painted over after approx. 4 hours. The stated drying times are average values and depend on the layer thickness, the substrate, the temperature and the relative humidity.
- Porous walls, such as plaster that dusts or sands easily
- Old coats of paint with little binding agent that are matt, chalky or no longer firmly bonded
- Walls with many repair areas, such as filled surfaces next to old paint
- Plasterboard that is absorbent to varying degrees
Temperature:
At least 10° C ambient and substrate temperature, relative humidity max. 85 % RH. Use at extreme temperatures (air and substrate) can strongly influence the product properties.
Dilution:
To Prime Walls can be diluted 1:1 to 1:3 with water. Avoid the formation of shiny areas. A shiny layer has a negative effect on the adhesion of the wall paint. It is best to try this on a test surface. If a shiny layer develops, the deep primer must be diluted with more water until there is no more shine. The typical primer for plasterboard is 1:3. Make sure that the primer penetrates well into the substrate.
Coverage:
The range here is up to 18 m² per litre.
Drying time:
The primer is dust-dry after approx. 1 hour, can be painted over after approx. 4 hours. The stated drying times are average values and depend on the layer thickness, the substrate, the temperature and the relative humidity.
- Inferior old coatings
- Other difficult substrates
Temperature:
At least 10° C ambient and substrate temperature, relative humidity max. 85 % RH. Use at extreme temperatures (air and substrate) can strongly influence the product properties.
Application:
To Prime Walls can also be added directly to the wall paint as a perfect preparation for a very durable and particularly evenly covering coat of colour.
For the first coat of The Valuable Wall Paint and LittlePomp, we recommend mixing 1 part primer with 4 to 9 parts paint. This will slightly reduce the opacity of the first coat, but will make the second coat all the more even.
For the first coat, 10 parts The Functional Wall Paint can be diluted with 9 parts To Wall Primer and 1 part water. The opacity of the first coat will be slightly reduced, but the second coat will be more even.
Drying time:
The drying time depends on the wall paint used, layer thickness, substrate, temperature and relative humidity.

Instructions
- Check the absorbency of the substrate: Check the absorbency of the substrate with a few splashes of water. Depending on the absorbency of your substrate, thinning may be necessary. Follow the instructions above.
- Masking (optional): Remove dust and dirt from the wall. Mask off everything that you do not want to prime. Please note that the preparation may vary depending on the project.
- Carefully open the tin: Carefully remove the clips on the lid with our paint can opener or use a spatula or screwdriver. Bend the clips away from the bottom upwards. If you bend the clips away from the top of the can, they will pop less. Please note that the clips are under tension and hold your hand over them when removing them. It is best to use a paint can opener to open the can.
- Stir: Stir the primer carefully and, if necessary, follow the recommendation for dilution depending on the absorbency of the surface.
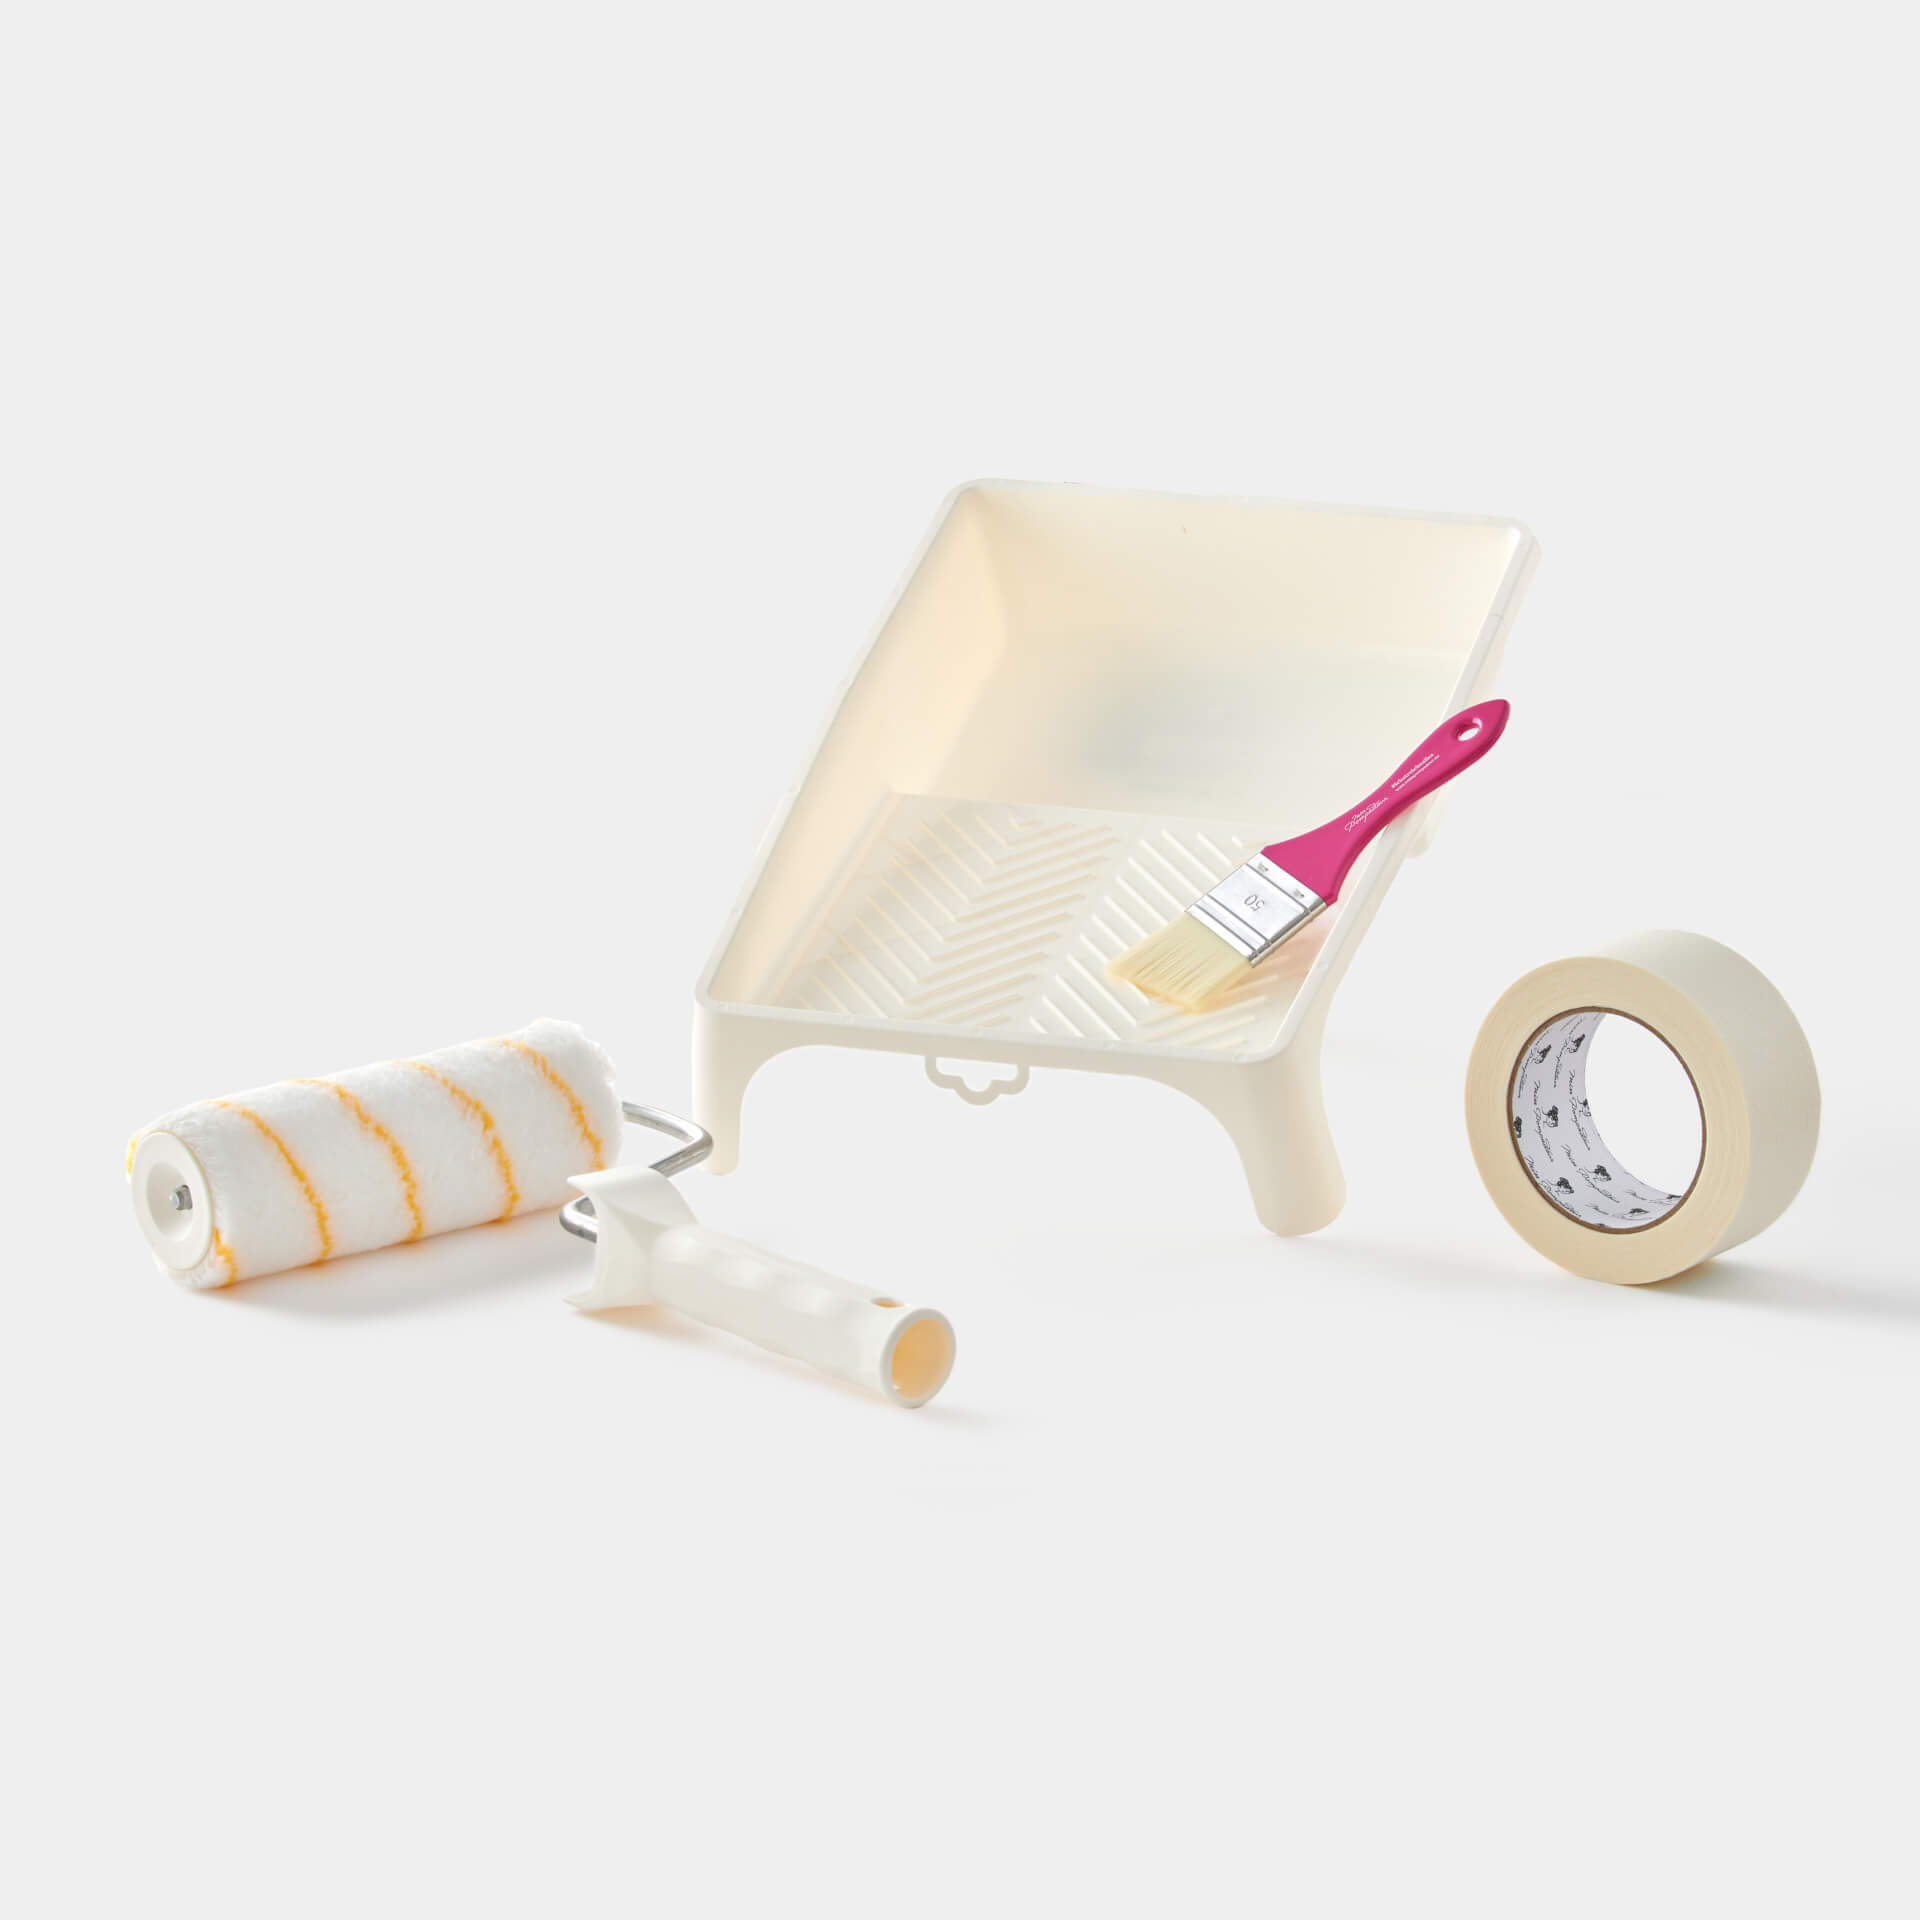
- Pouring into the paint tray: Pour a little primer into the paint tray. Do not work directly from the can to keep the can contents clean.
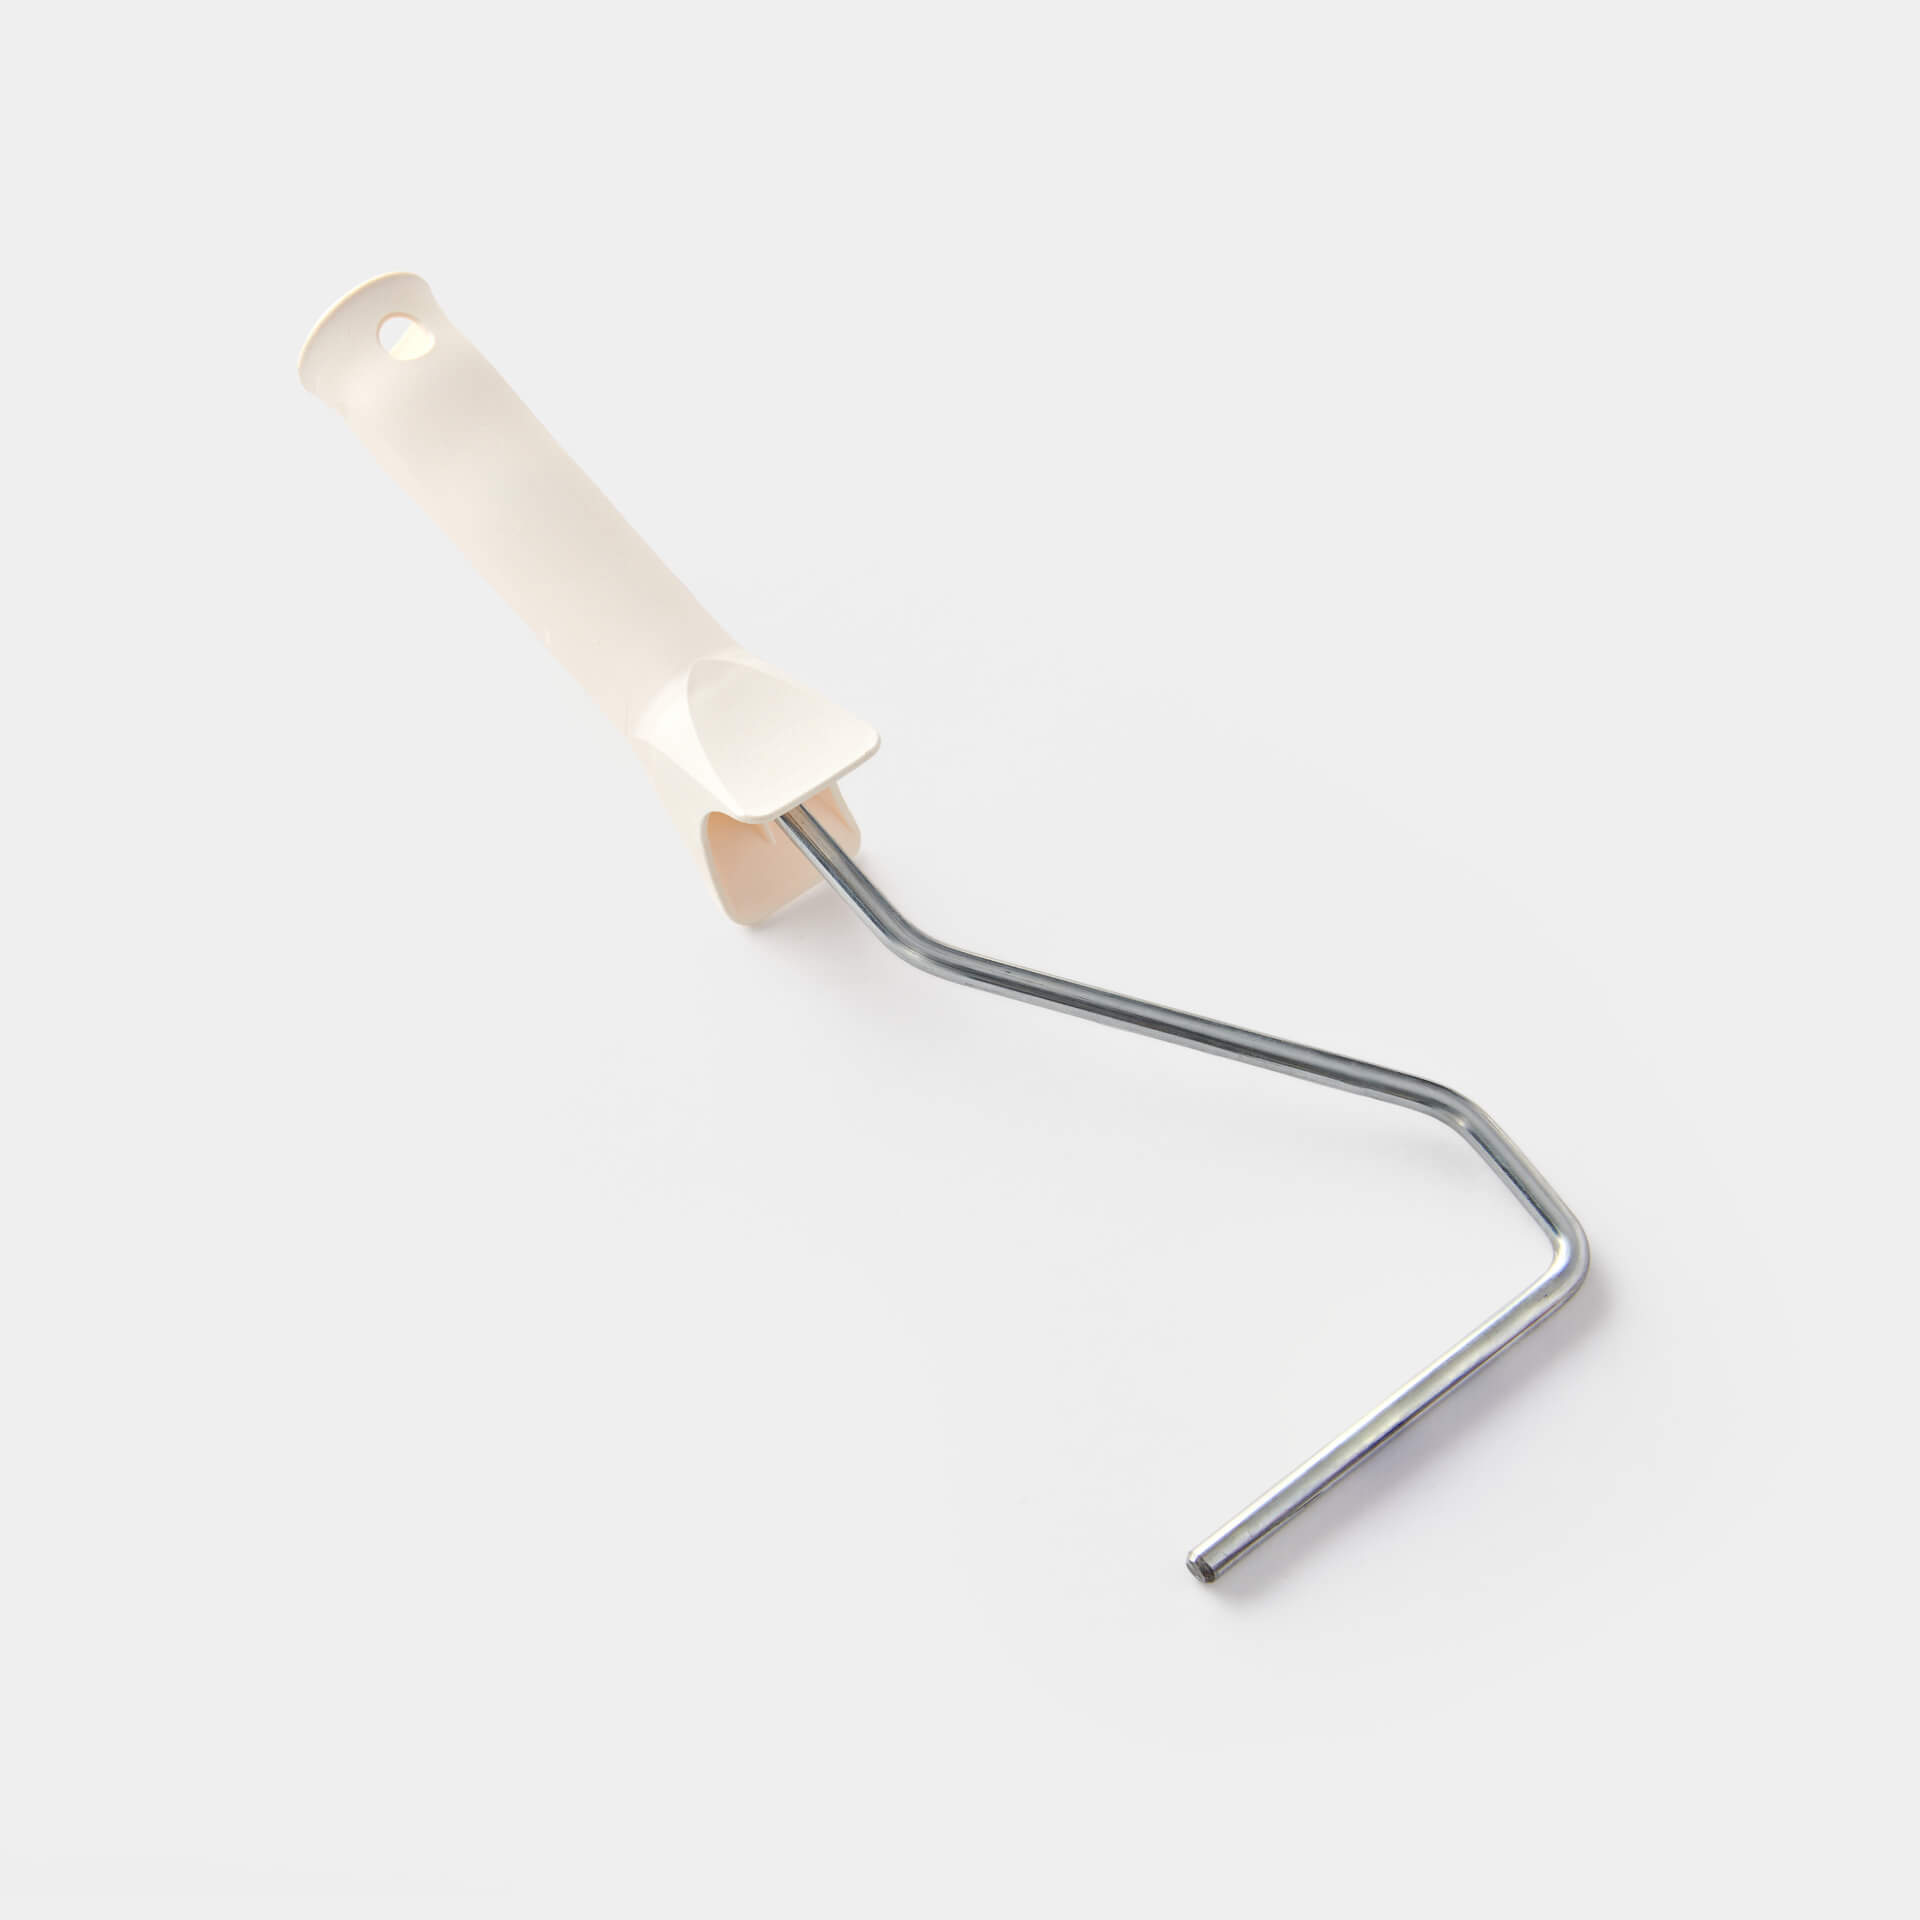
- Wet the roller: Wet the roller all around and lightly roll it out in the paint tray. Make sure that the roller is completely and sufficiently wetted with primer. It should no longer have any dry patches. Immerse the brush up to about half of the bristles.
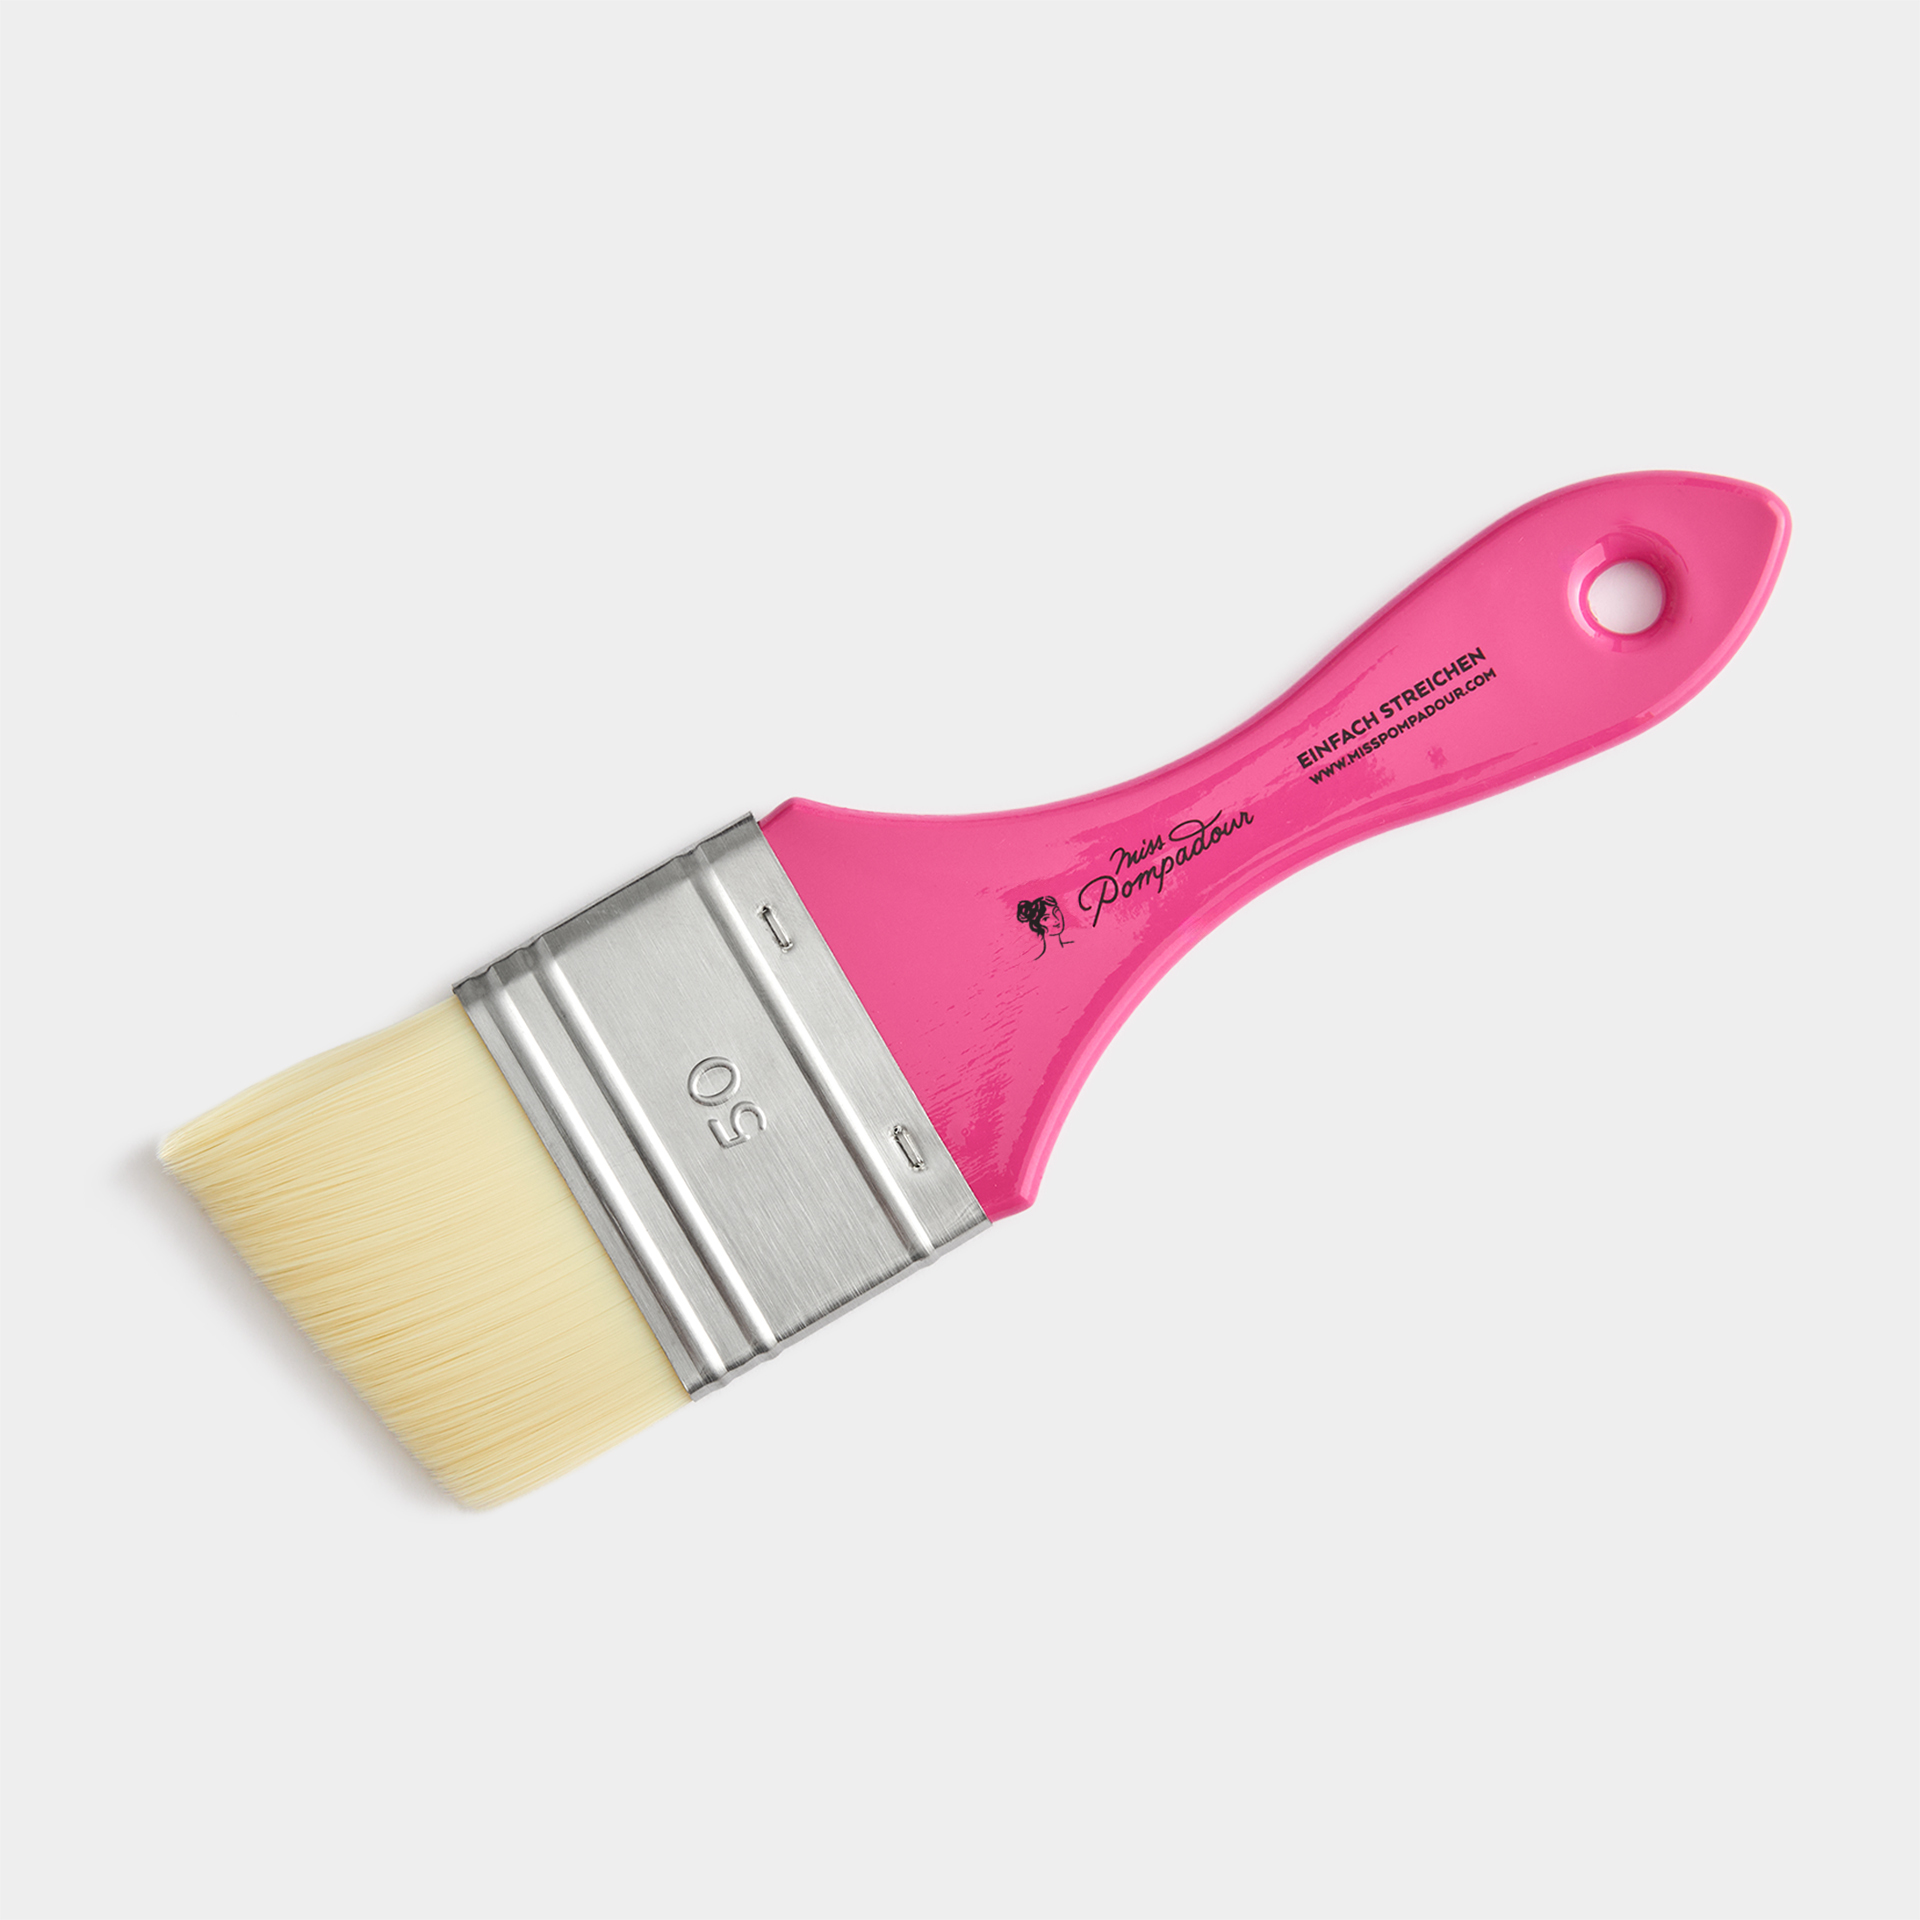
- Apply the primer & allow to dry thoroughly: Apply the primer thinly and evenly. Avoid dry spots. For mouldings and narrow areas, use our small pink brush and work in immediately with the roller. Leave the primer to dry for around 4 hours.
Technical information
- Application with synthetic or natural hair brush, paint roller, paint sprayer
- Clean tools with soap and water
- Depending on the absorbency of the substrate, dilute with up to 3 parts water, can also be mixed directly with the paint
- Range of approx. 3 - 5 m²/l, depending on the absorbency of the substrate when used undiluted (see application recommendations for recommended dilution)
- min. 10° C ambient and substrate temperature
FAQ
When do I need to prime a wall?
Whether you need to prime a wall depends on its condition and surface. Priming is particularly recommended for first coats on freshly plastered, porous or highly absorbent walls such as plasterboard, concrete, exposed brickwork or in old buildings. Even on stained or yellowed surfaces, a primer ensures that the pores are closed, the wall paint covers evenly and you use less paint.
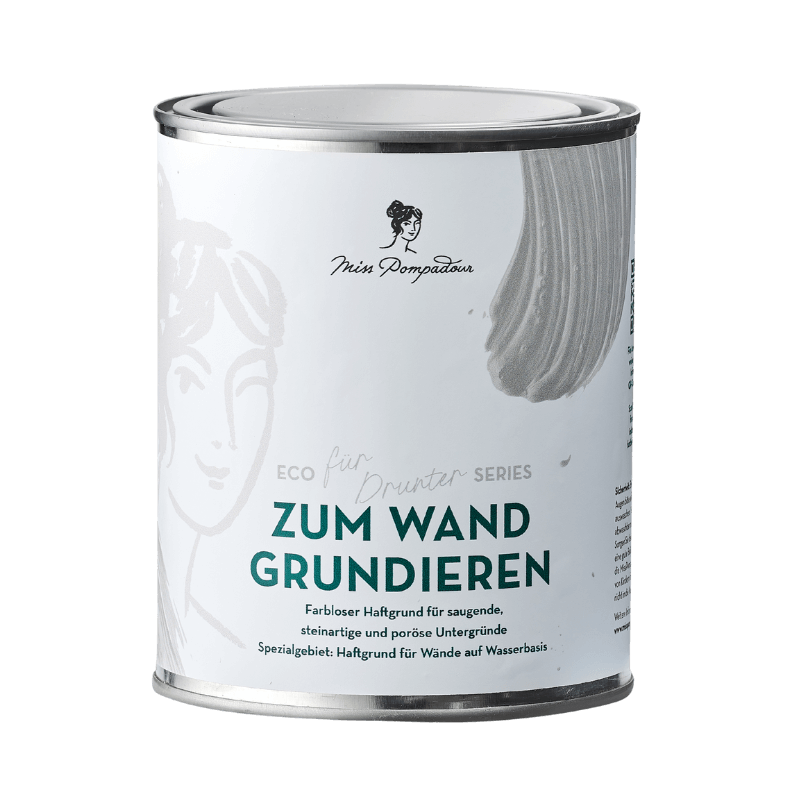
What is MissPompadour - To Prime Walls?
To Prime Walls is a milky Wall Primer that dries colourless when applied. It creates a perfect base on porous or highly absorbent surfaces so that your wall paint adheres evenly and is not soaked up too much.
How do I use To Prime Walls correctly?
First test the absorbency of your wall with a few splashes of water. The more absorbent the wall, the less you dilute the primer (up to 1:3 with water). Apply a thin layer with a roller or brush and leave to dry for approx. 4 hours before painting with the wall paint.
When do I use primer and when deep primer?
On absorbent, mineral substrates such as plaster or gypsum, use a deep primer (e.g. To Wall Primer). On smooth surfaces such as plastic, glass, tiles or glossy varnish, use primer (e.g. To Bond & Block) to create a non-slip surface for painting.
Do I also have to prime a ceiling?
Priming the ceiling is only necessary in certain cases, such as yellowing, nicotine stains or freshly filled cracks. A primer ensures an even surface and prevents stains or odours from penetrating into the paint.
Can I also use primer on stone or concrete indoors and outdoors?
Yes, To Prime Walls is ideal for stone walls, exposed brickwork and unpolished concrete. Stones always have small and tiny pores that absorb a lot of colour and make a coat of paint look slightly uneven and blotchy. Unpolished concrete also has an irregular surface and should therefore be pre-treated with a deep primer. To Prime Walls closes fine pores, prevents strong absorption of the colour and ensures an even result indoors and outdoors.

The MissPompadour App