


Painting Children's Toys with LittlePomp
5 min reading time
Old toys often bring back memories of our own childhood. Whether it's a family heirloom or a flea market find, many old treasures are simply too good to throw away. But it's not hard to give old toys a new shine and make children's eyes sparkle with the help of a little creativity and a coat of paint.
Table of contents
1. Painting children's toys: What should I bear in mind?
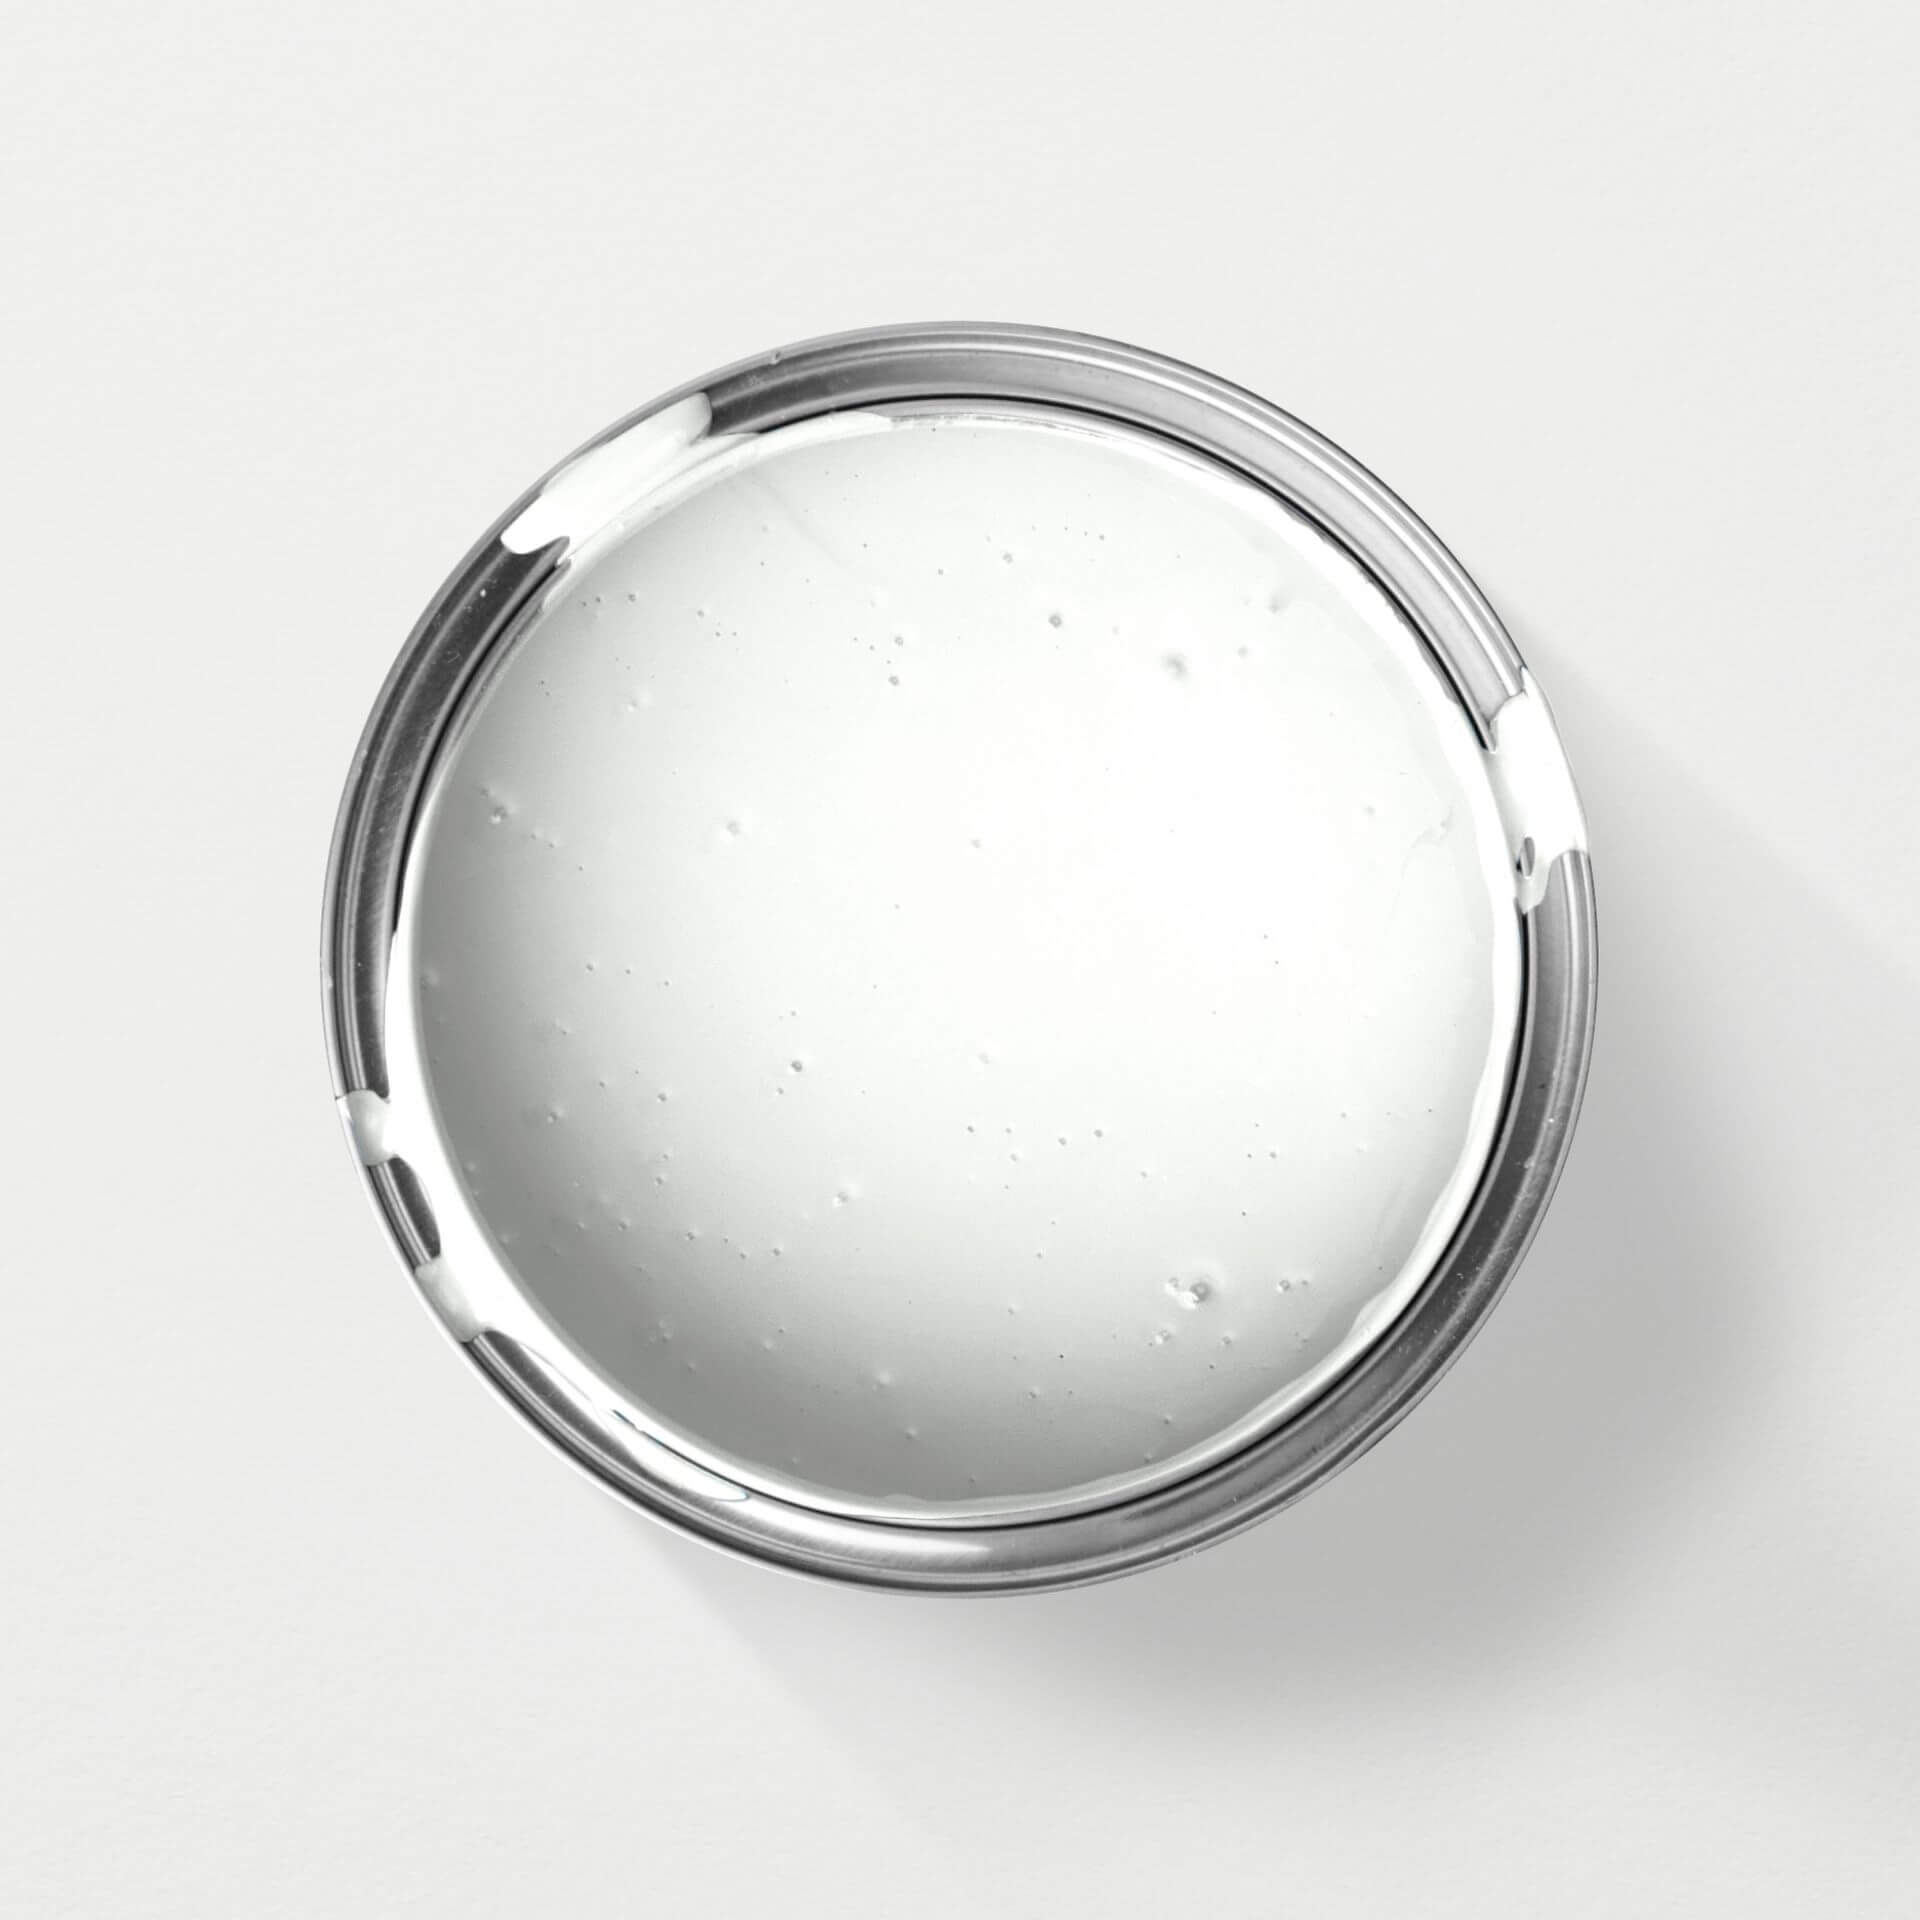
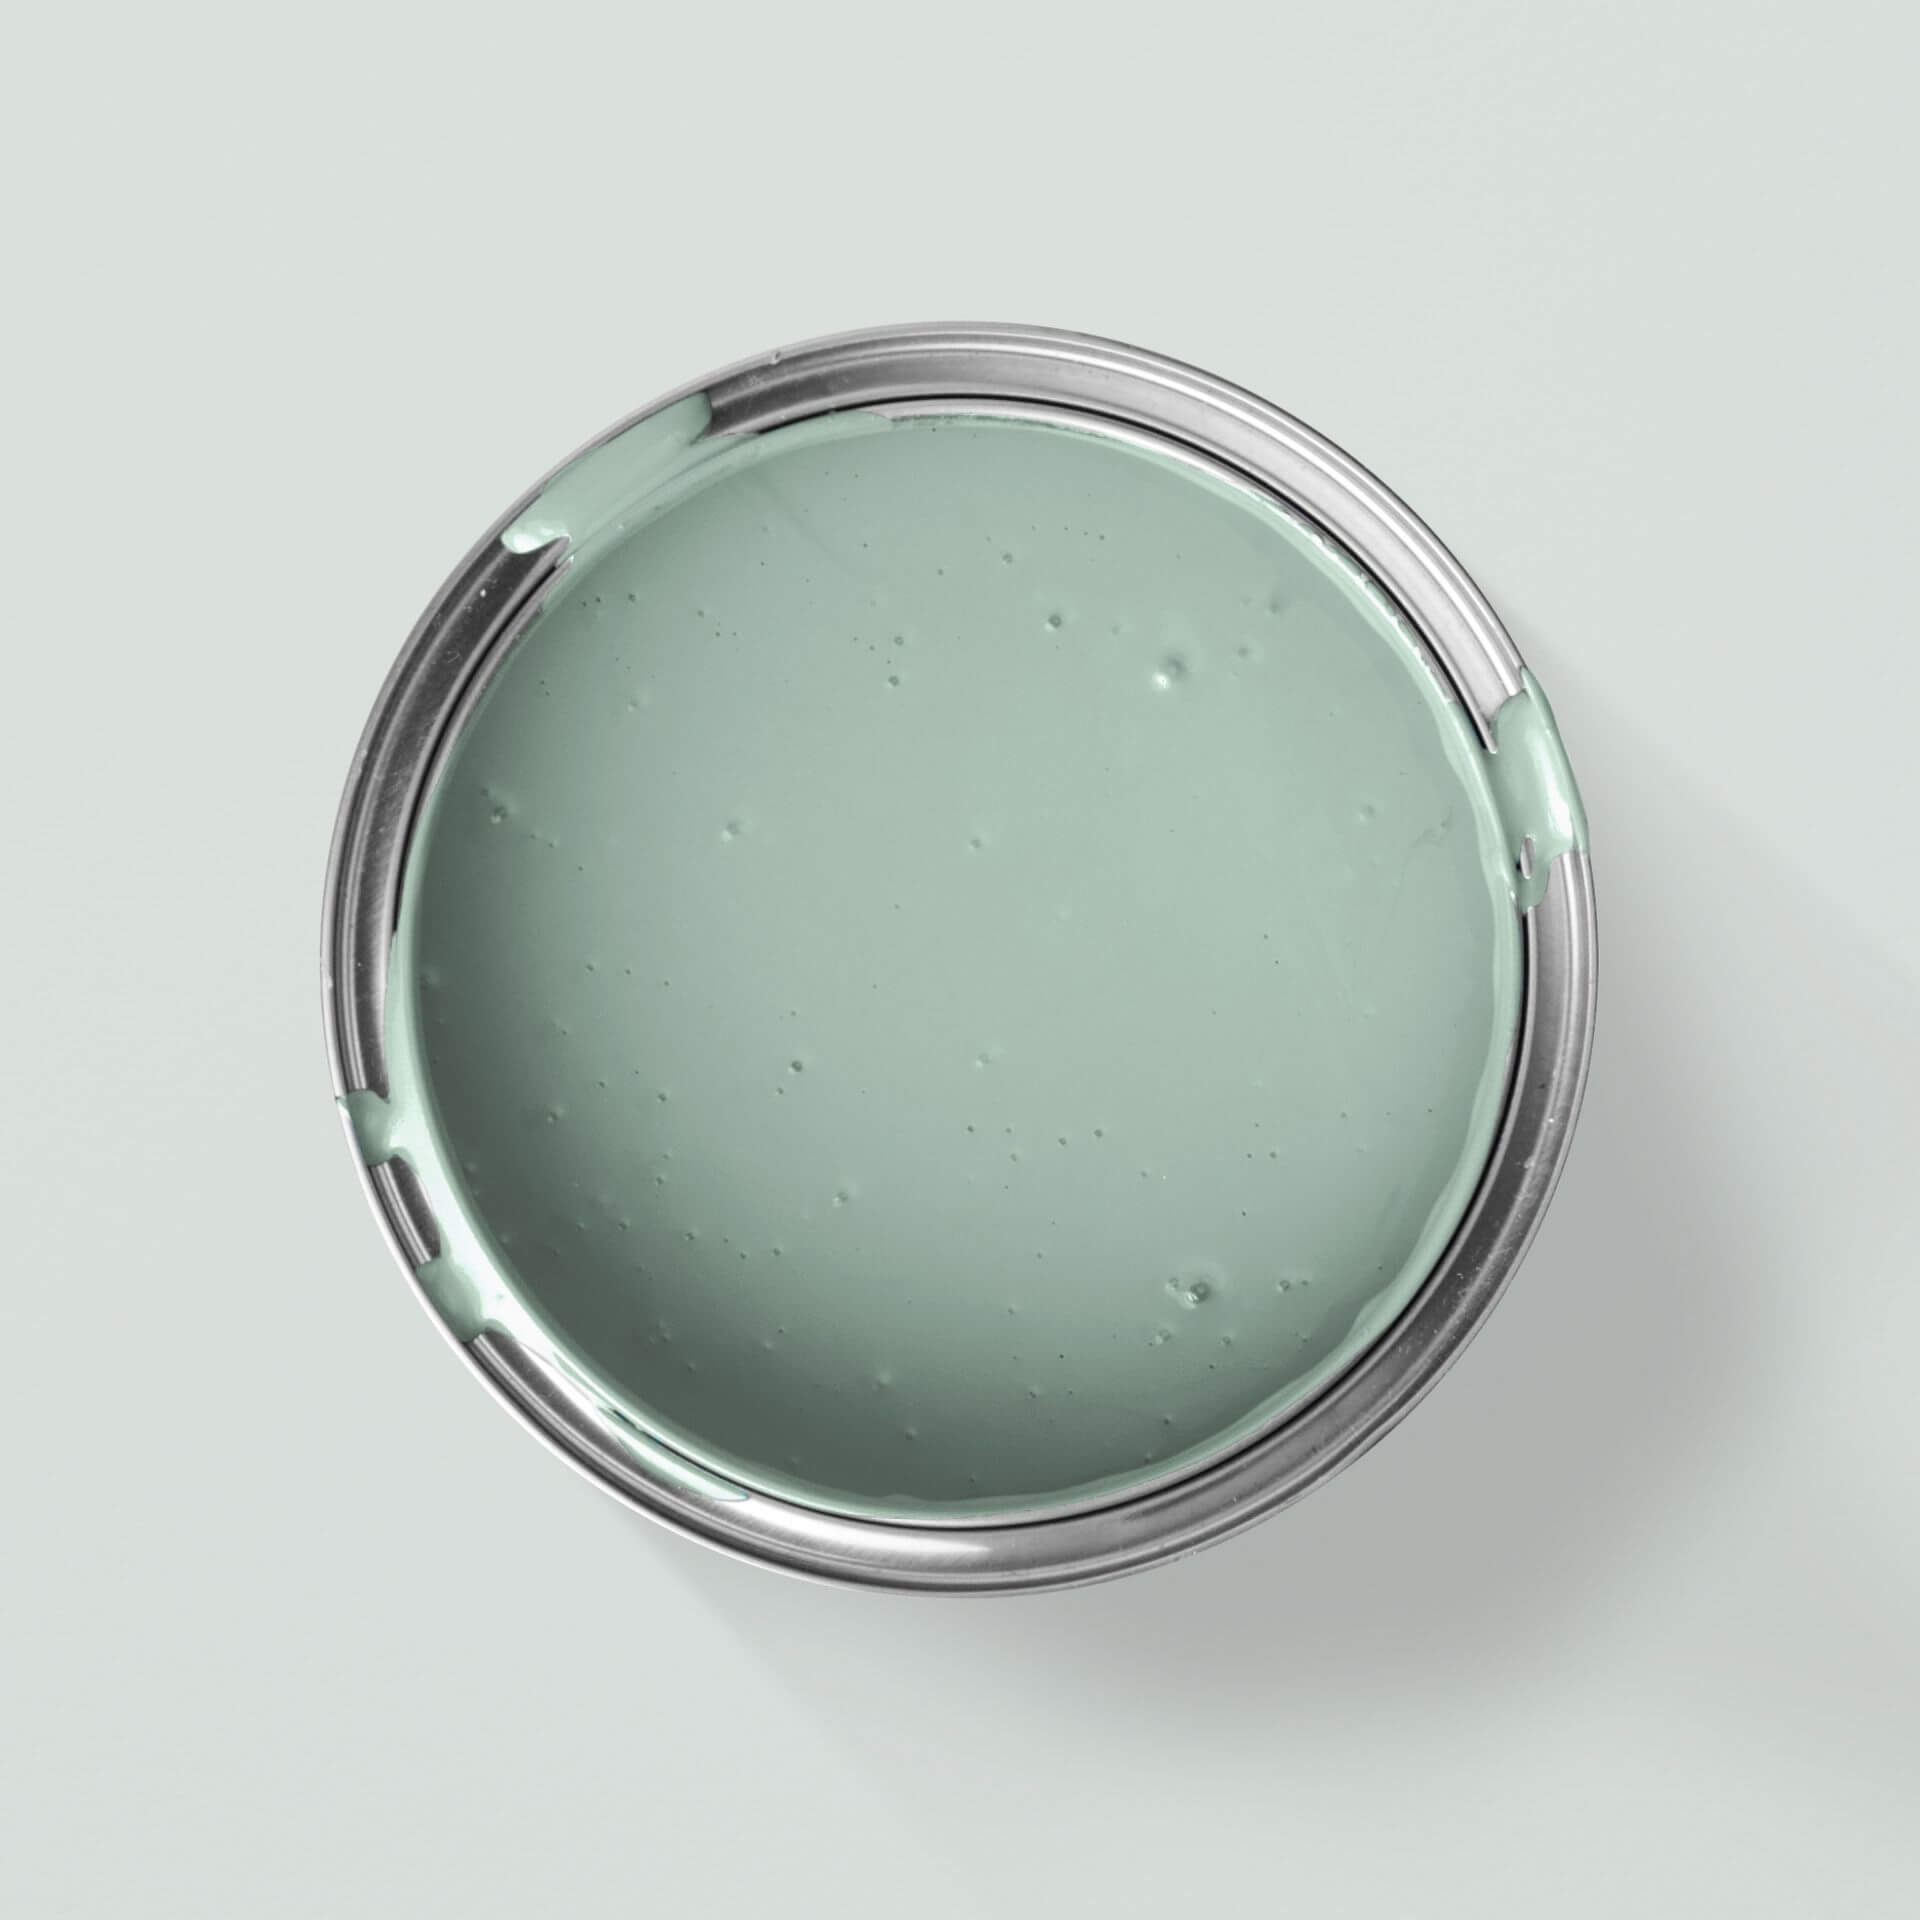
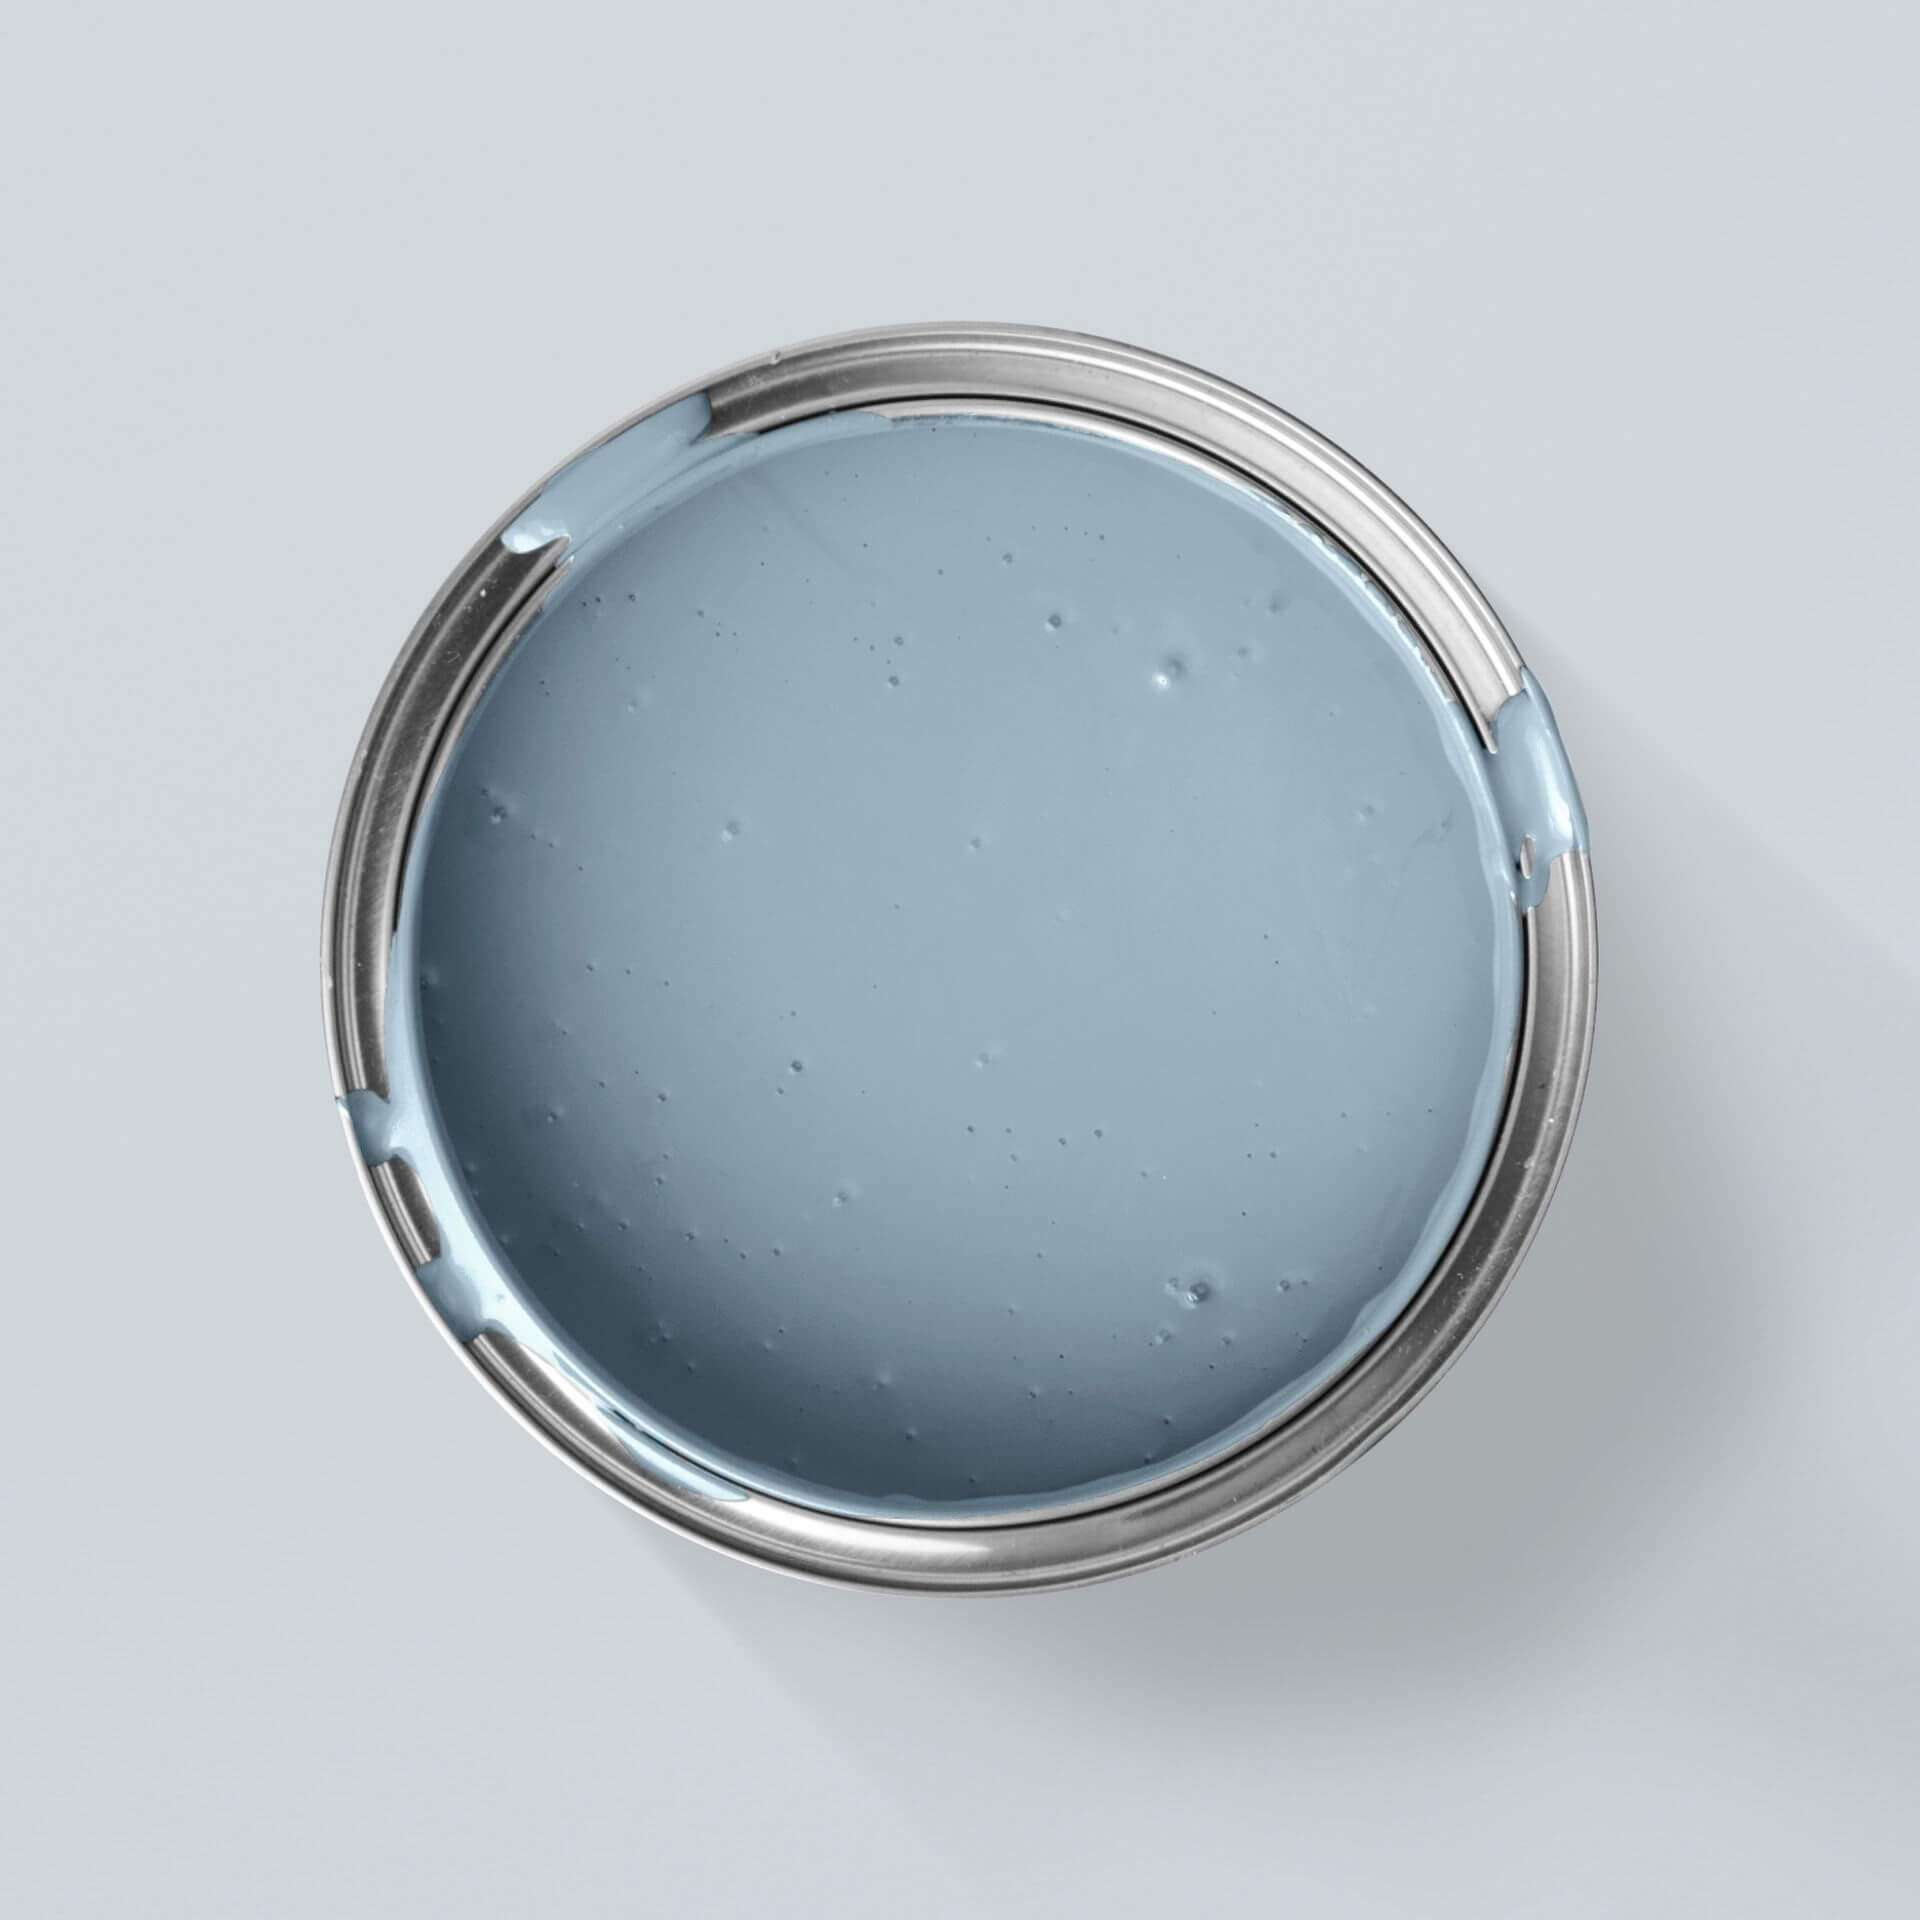
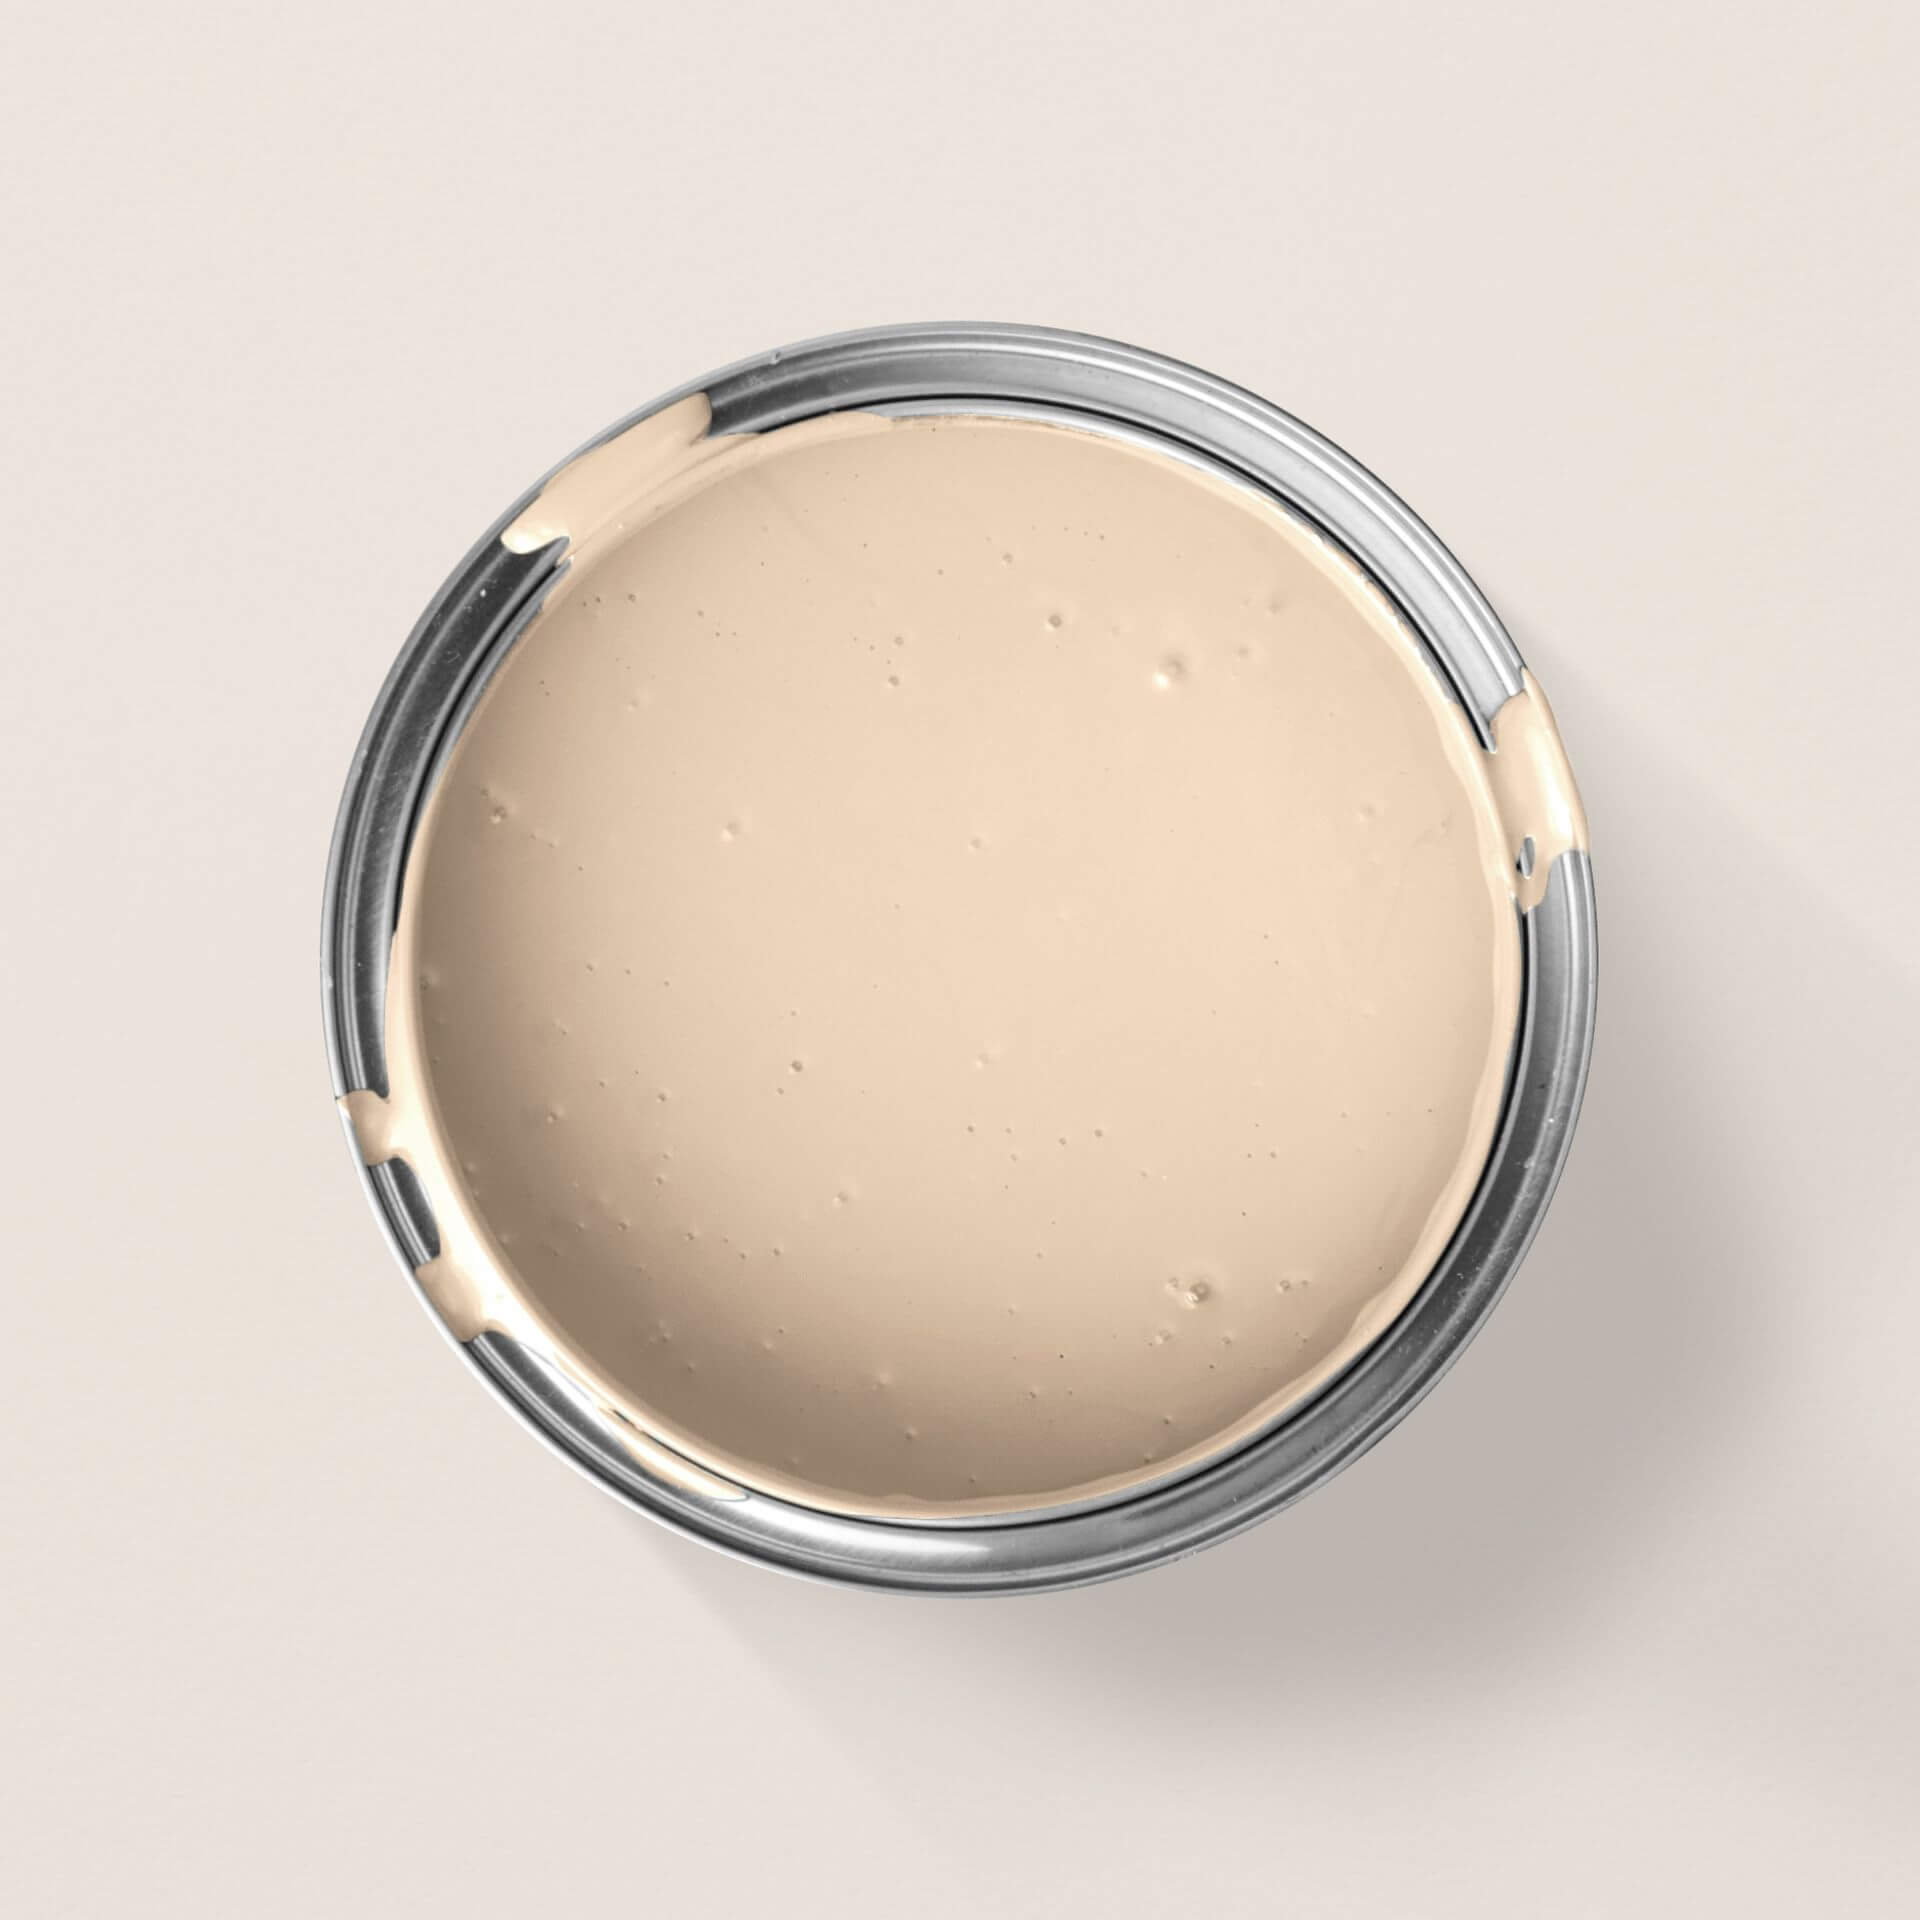
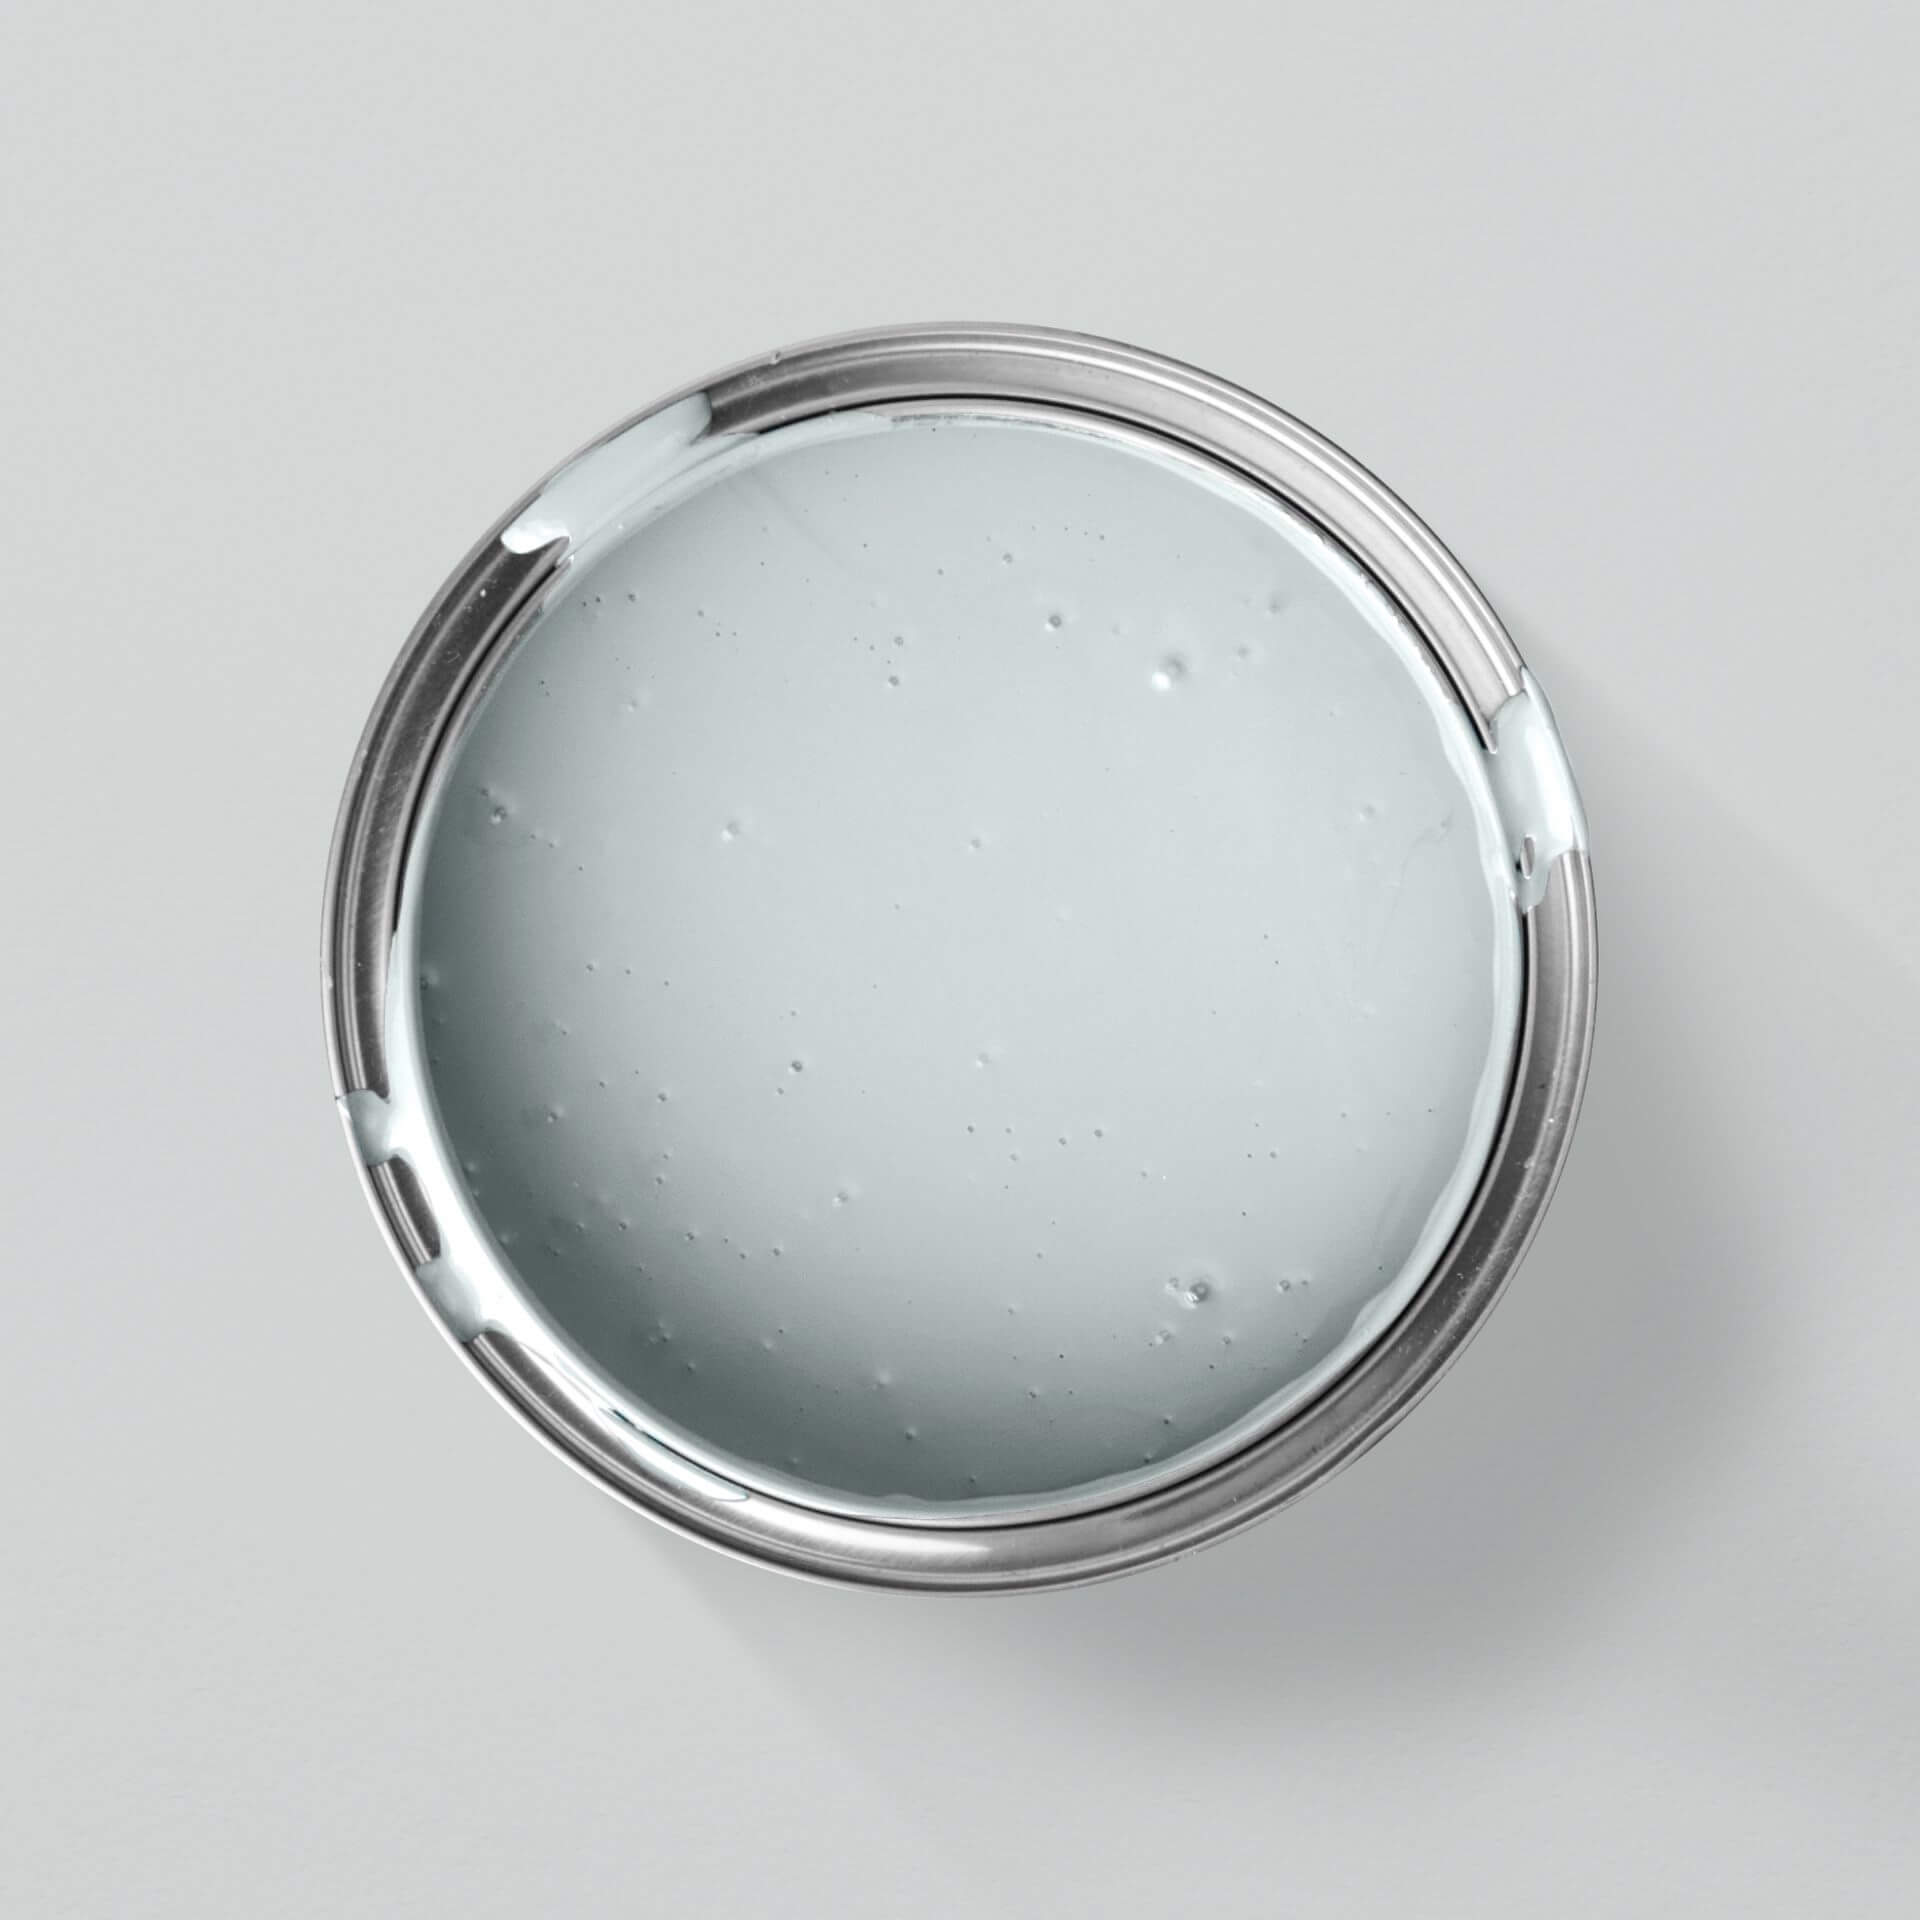
2. Completely harmless to health - LittlePomp chalk varnishes
3. Instructions: Step by step to the perfect result
4. Which colour shades look good on children's toys?
5. Painting children's toys: Child's play with these tips
Painting children's toys: What to consider?
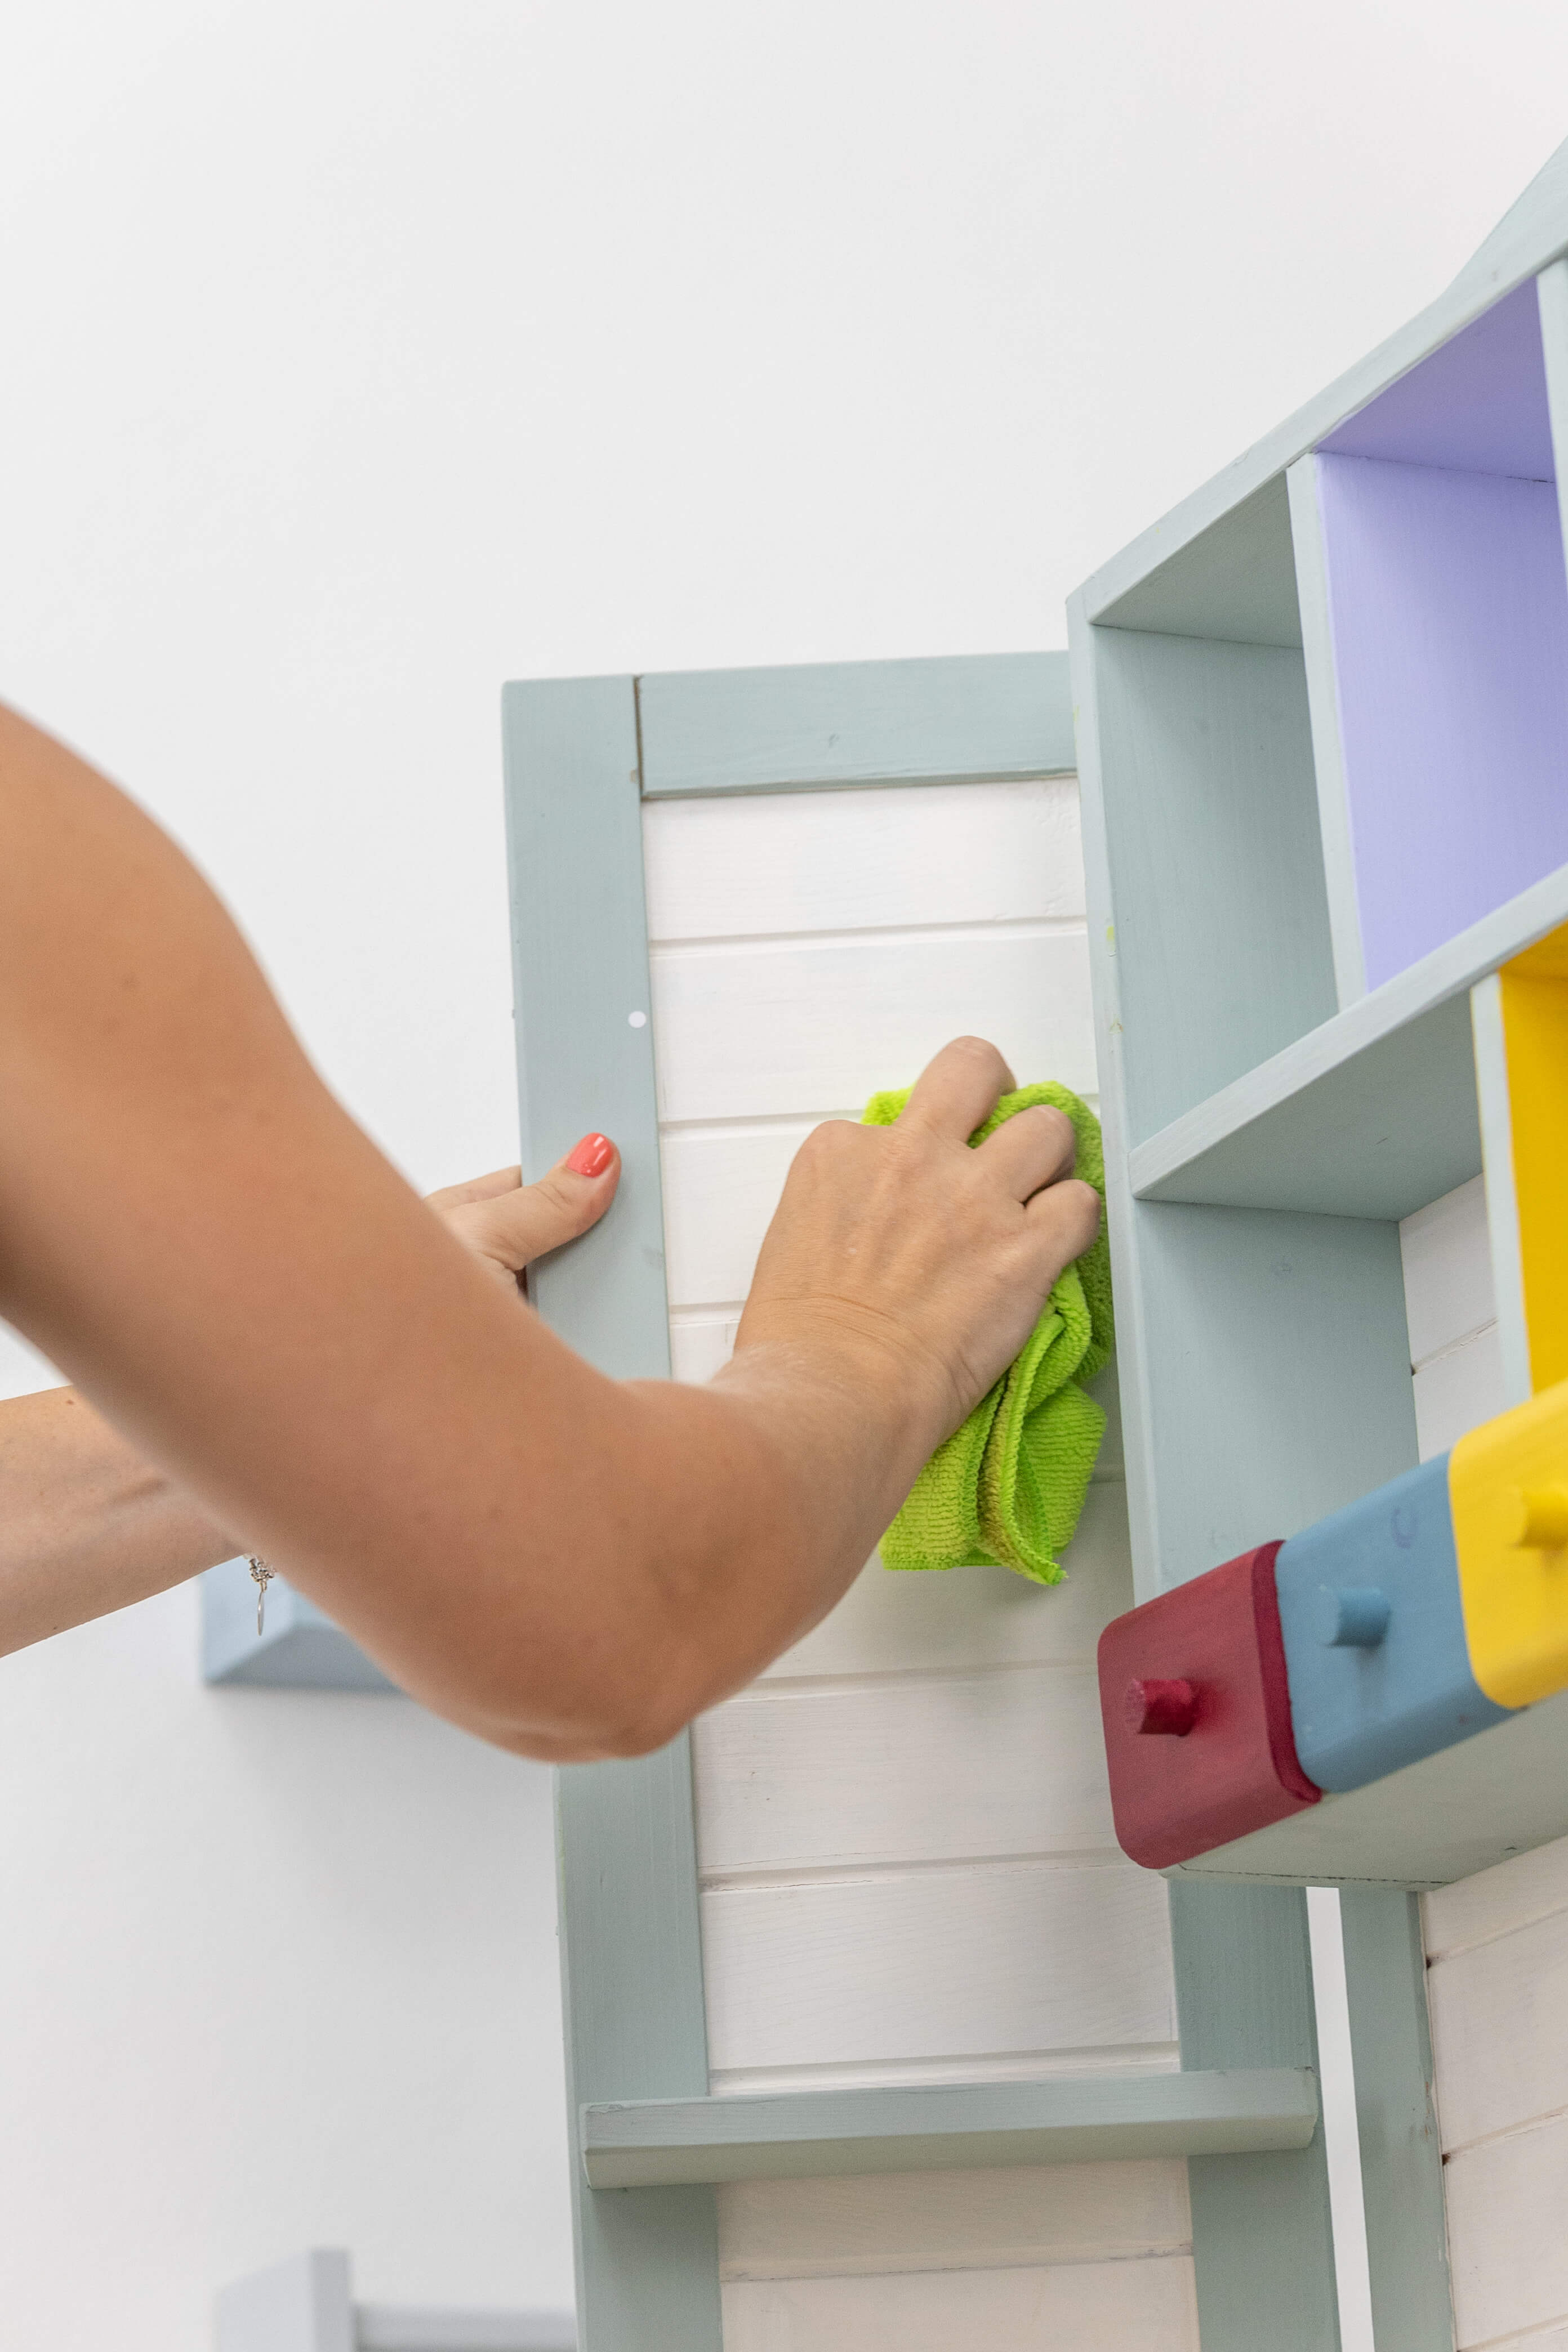
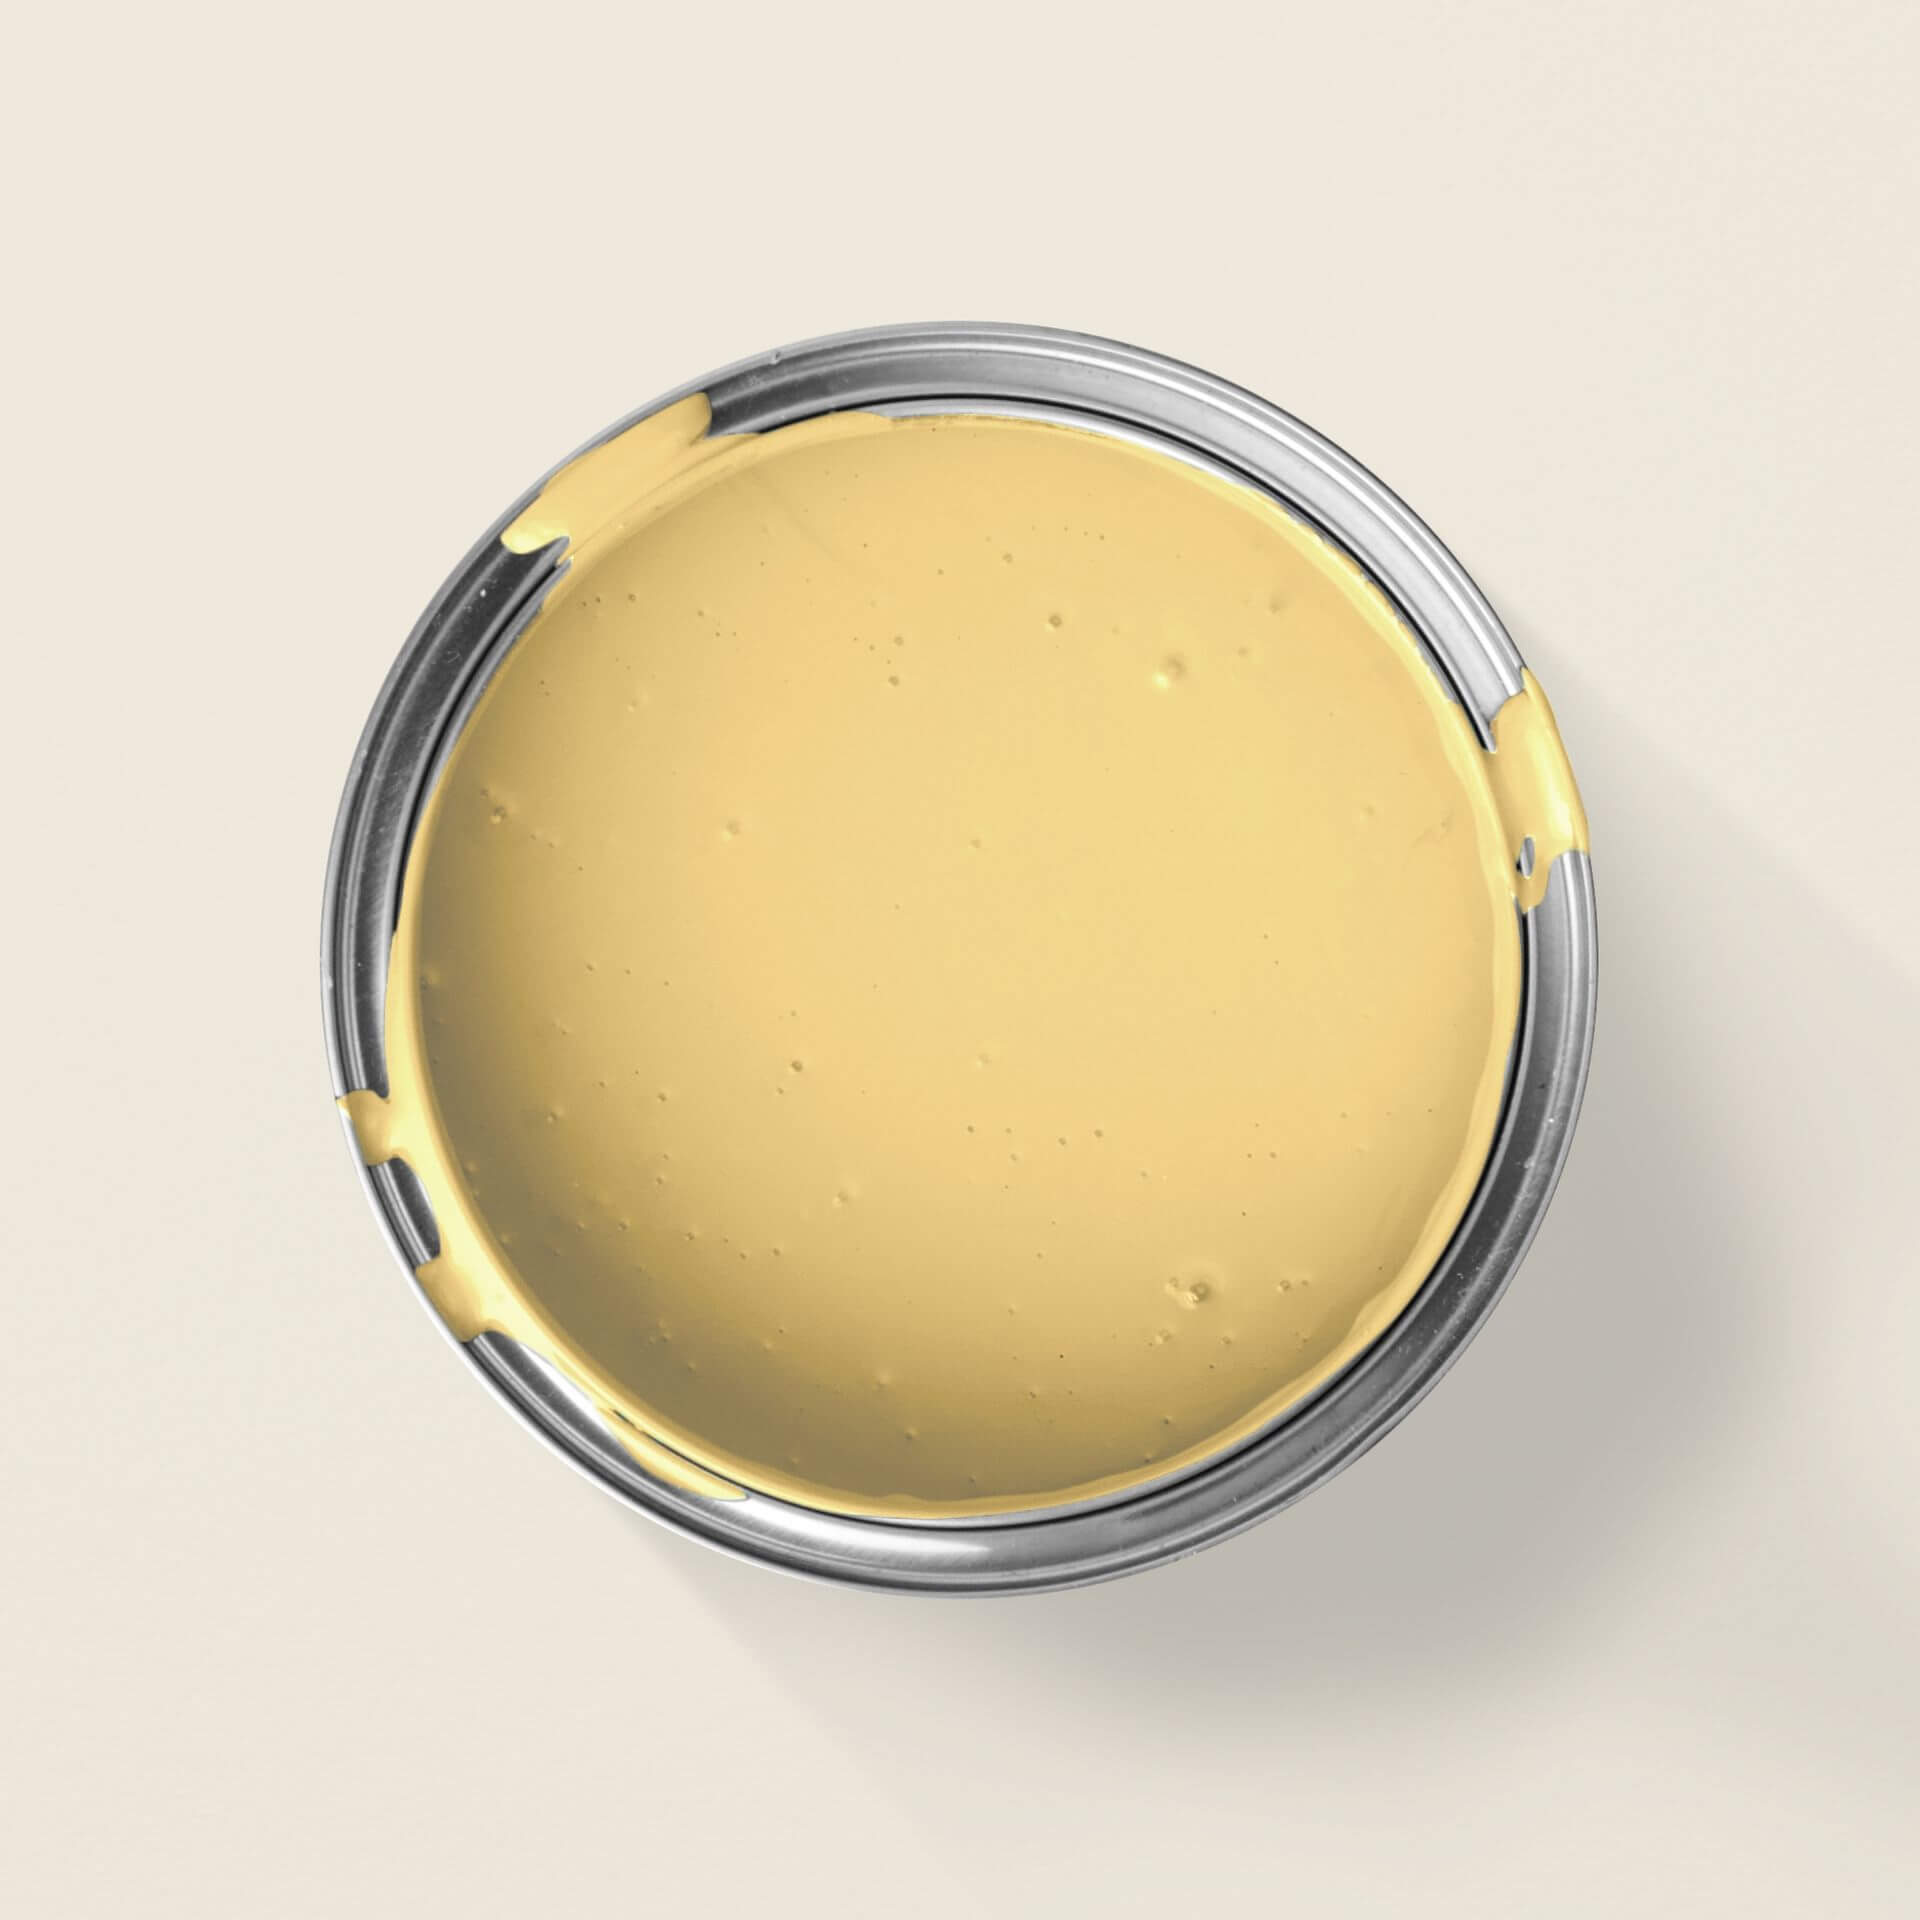
MissPompadour has added fifteen chalk varnishes in the same colour shades to its beautiful LittlePomp wall paint collection. The LittlePomp chalk varnishes are perfect for painting toys, play kitchens, play houses, or anything made of wood or plastic in a child's room. With LittlePomp chalk varnish you can personalise your children's favourite toys. We recommend using one of our fine MissPompadour brushes. With its angled brush head, you can reach any corner and smaller surfaces can be painted without streaks just as easily as larger surfaces. With our all-purpose primer, you can even paint plastic in your favourite colour. Once cured, our chalk varnishes are waterproof and can be easily wiped with a damp cloth
Absolutely harmless - the LittlePomp Chalk Paint
In a children's room, the most important thing is that all materials used are environmentally friendly and completely harmless to health. After all, babies and toddlers spend a relatively long time in their rooms, and under no circumstances should they be exposed to toxic substances. Children's rooms are often decorated by expectant mothers, who certainly should not be exposed to toxic chemicals. That's why, when developing LittlePomp chalk paints, we paid particular attention to ensuring they were not harmful to health. They are solvent-free, water-based, have low-odour during application and do not emit toxic fumes when drying. LittlePomp Chalk Paint is VOC-free and saliva-and sweat-proof, meaning the paint cannot be dissolved by your child's saliva or sweat.
Instructions: Step-by-step to the perfect result
If you follow our instructions, you really can't go wrong. As with all handicrafts, you should start well prepared and continue step by step, to achieve a perfect result.
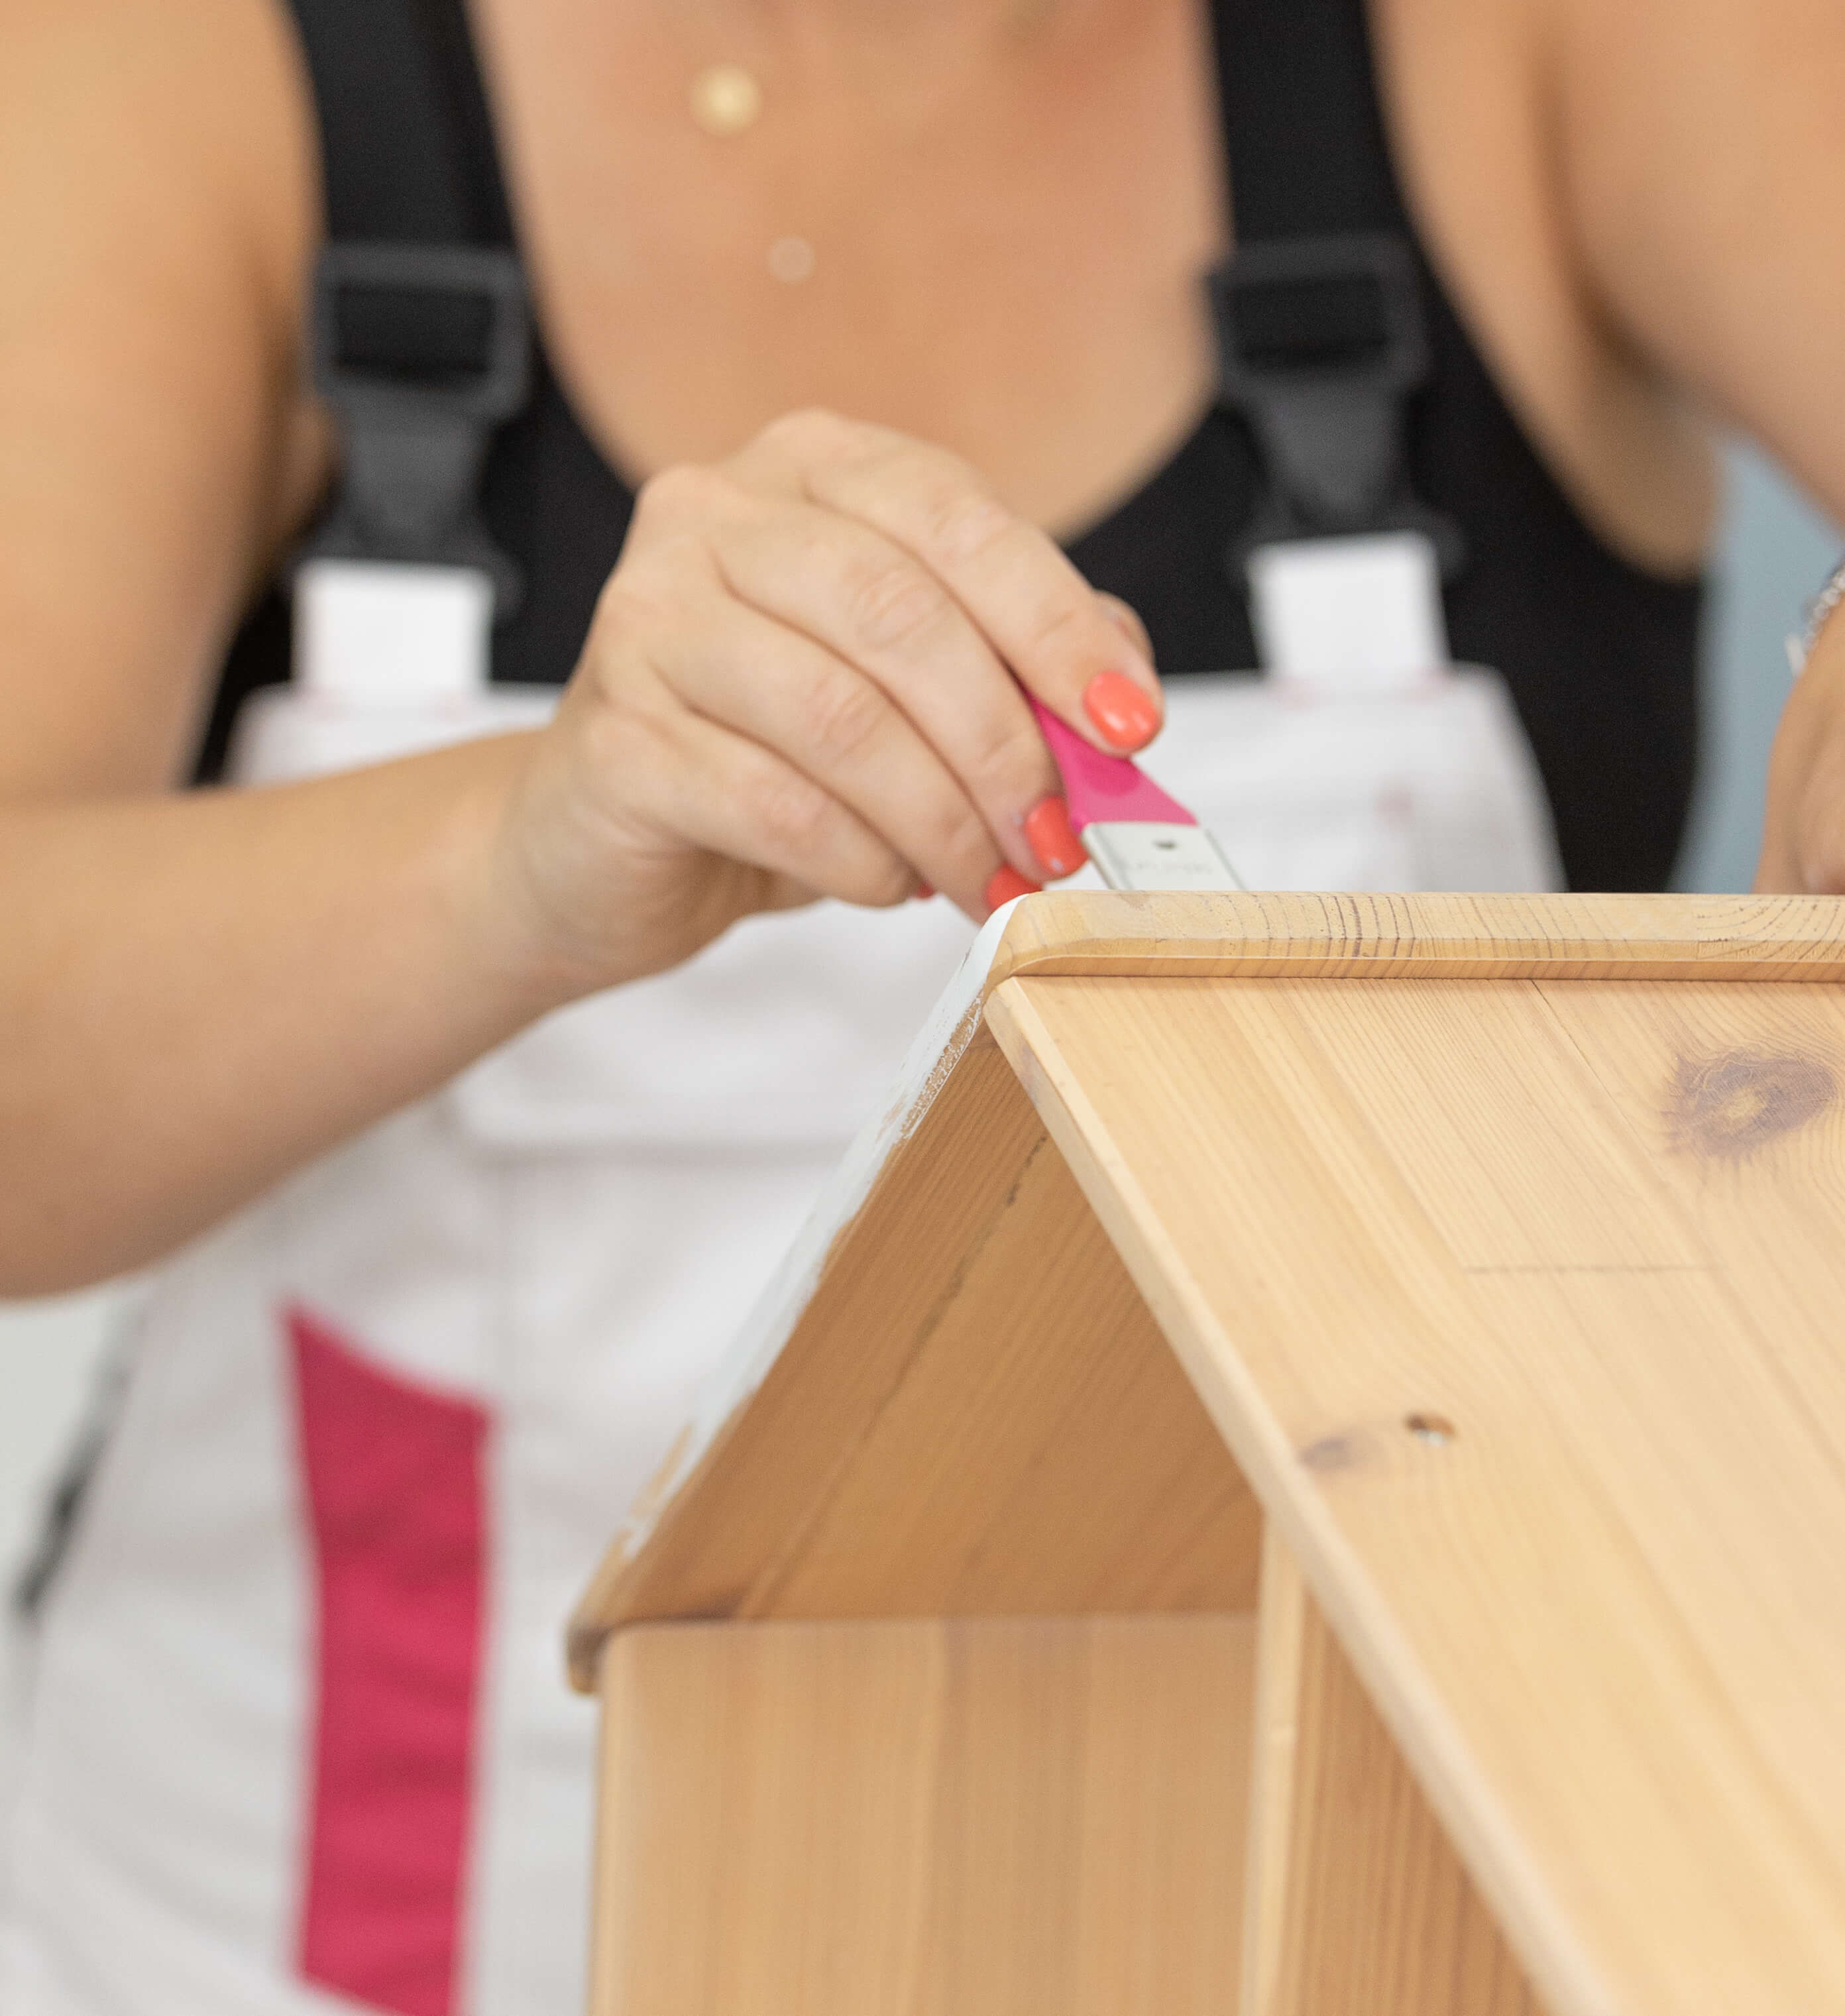
Step 1: Have the right tools ready: roller or brush?
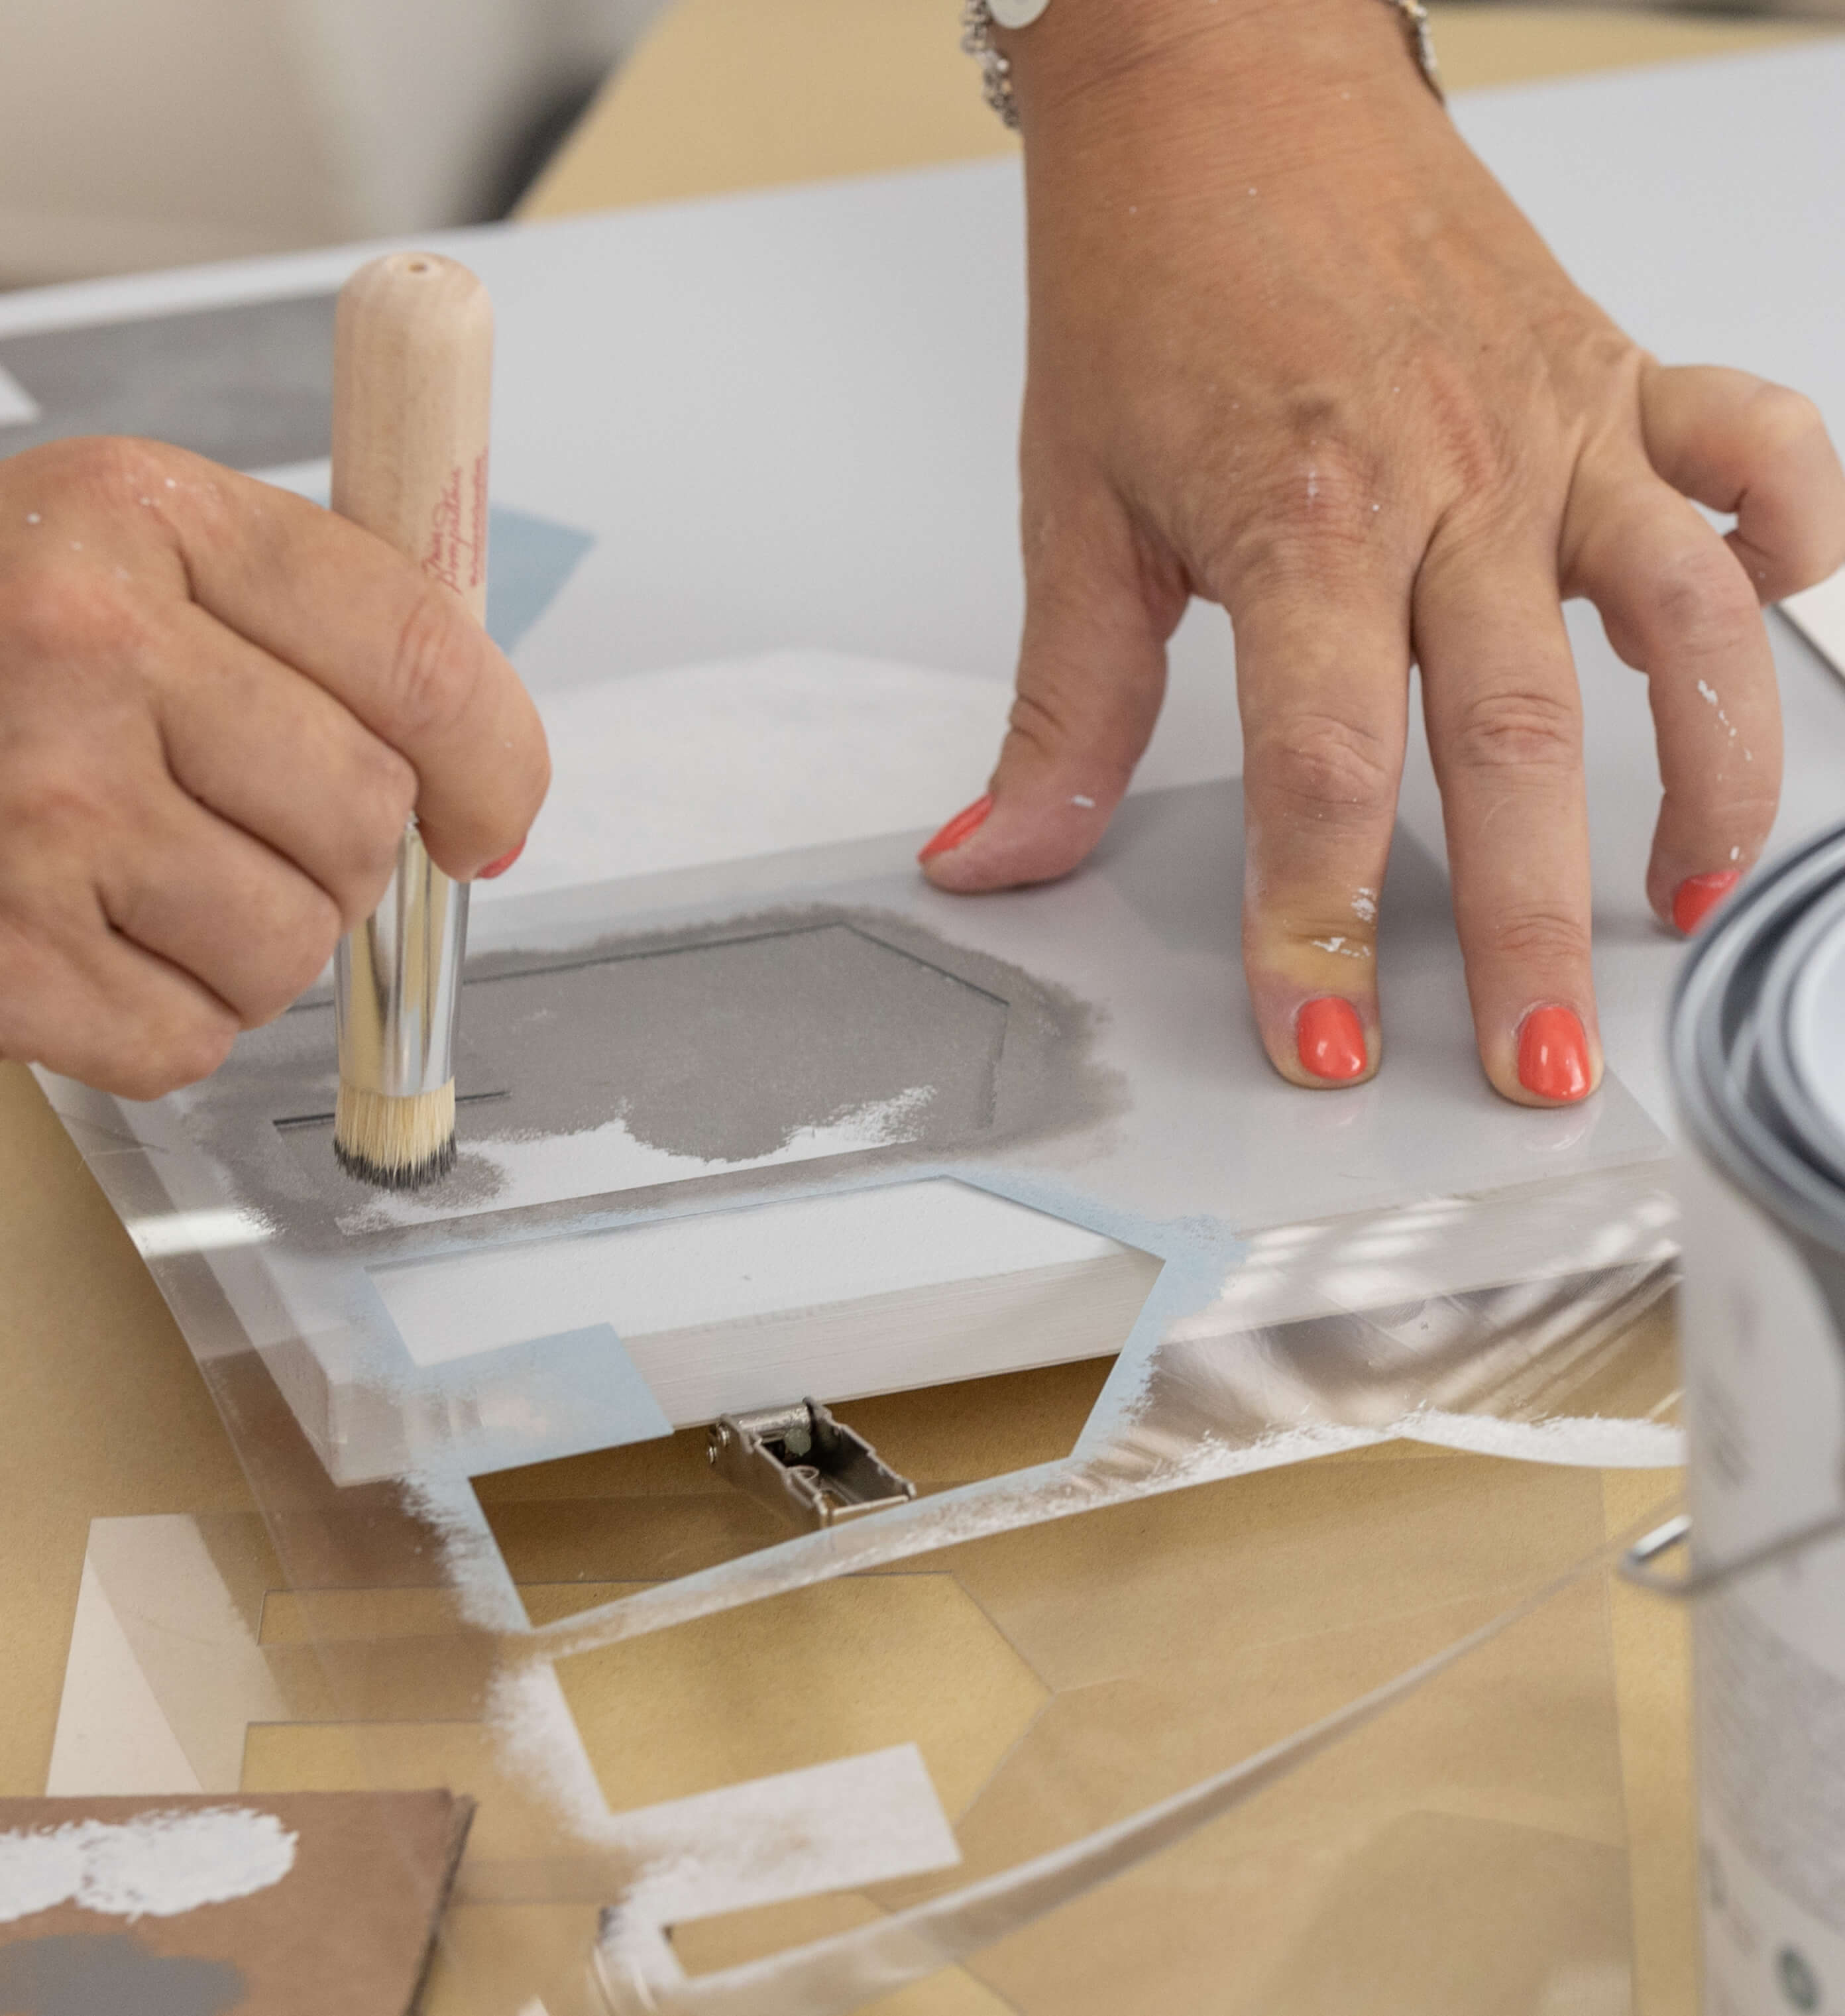
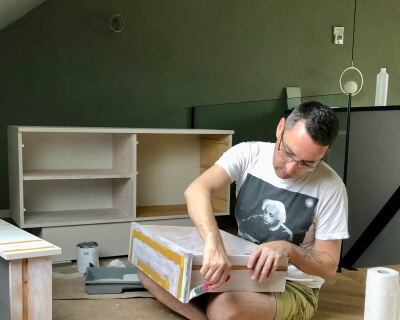
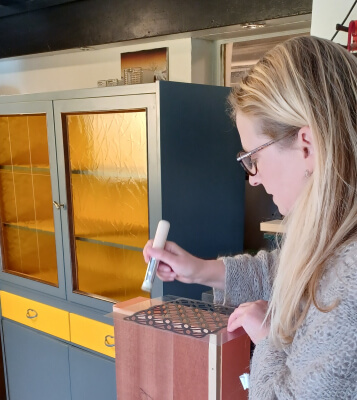
To decide on the right tool, look to see if you're going to be painting large or small areas on your toy. When painting larger, smooth surfaces, such as those found on a playhouse, we recommend a Roller. If your toy has lots of nooks and crannies with decorative elements, we recommend using our Fine MissPompadour brush. With its fine bristles, it allows you to paint without leaving streaks. First, cover the floor around your project, and then you can get started!
Step 2: Thoroughly clean and sand children's toys
Step 3: Give children's toys a new coat of paint
If you are working on an intact old varnish, no further preparatory work is necessary. If your toy is made of natural wood or the surface is very irregular, we recommend applying a primer. Use MissPompadour To Bond & Block for this. It keeps tannins and odours from leaking into the paint. In addition, the primer creates an even base even on stained or unevenly discoloured surfaces. To Paint plastic toys, we also recommend To Bond & Block. This perfectly prepares the often very smooth plastic surfaces for painting
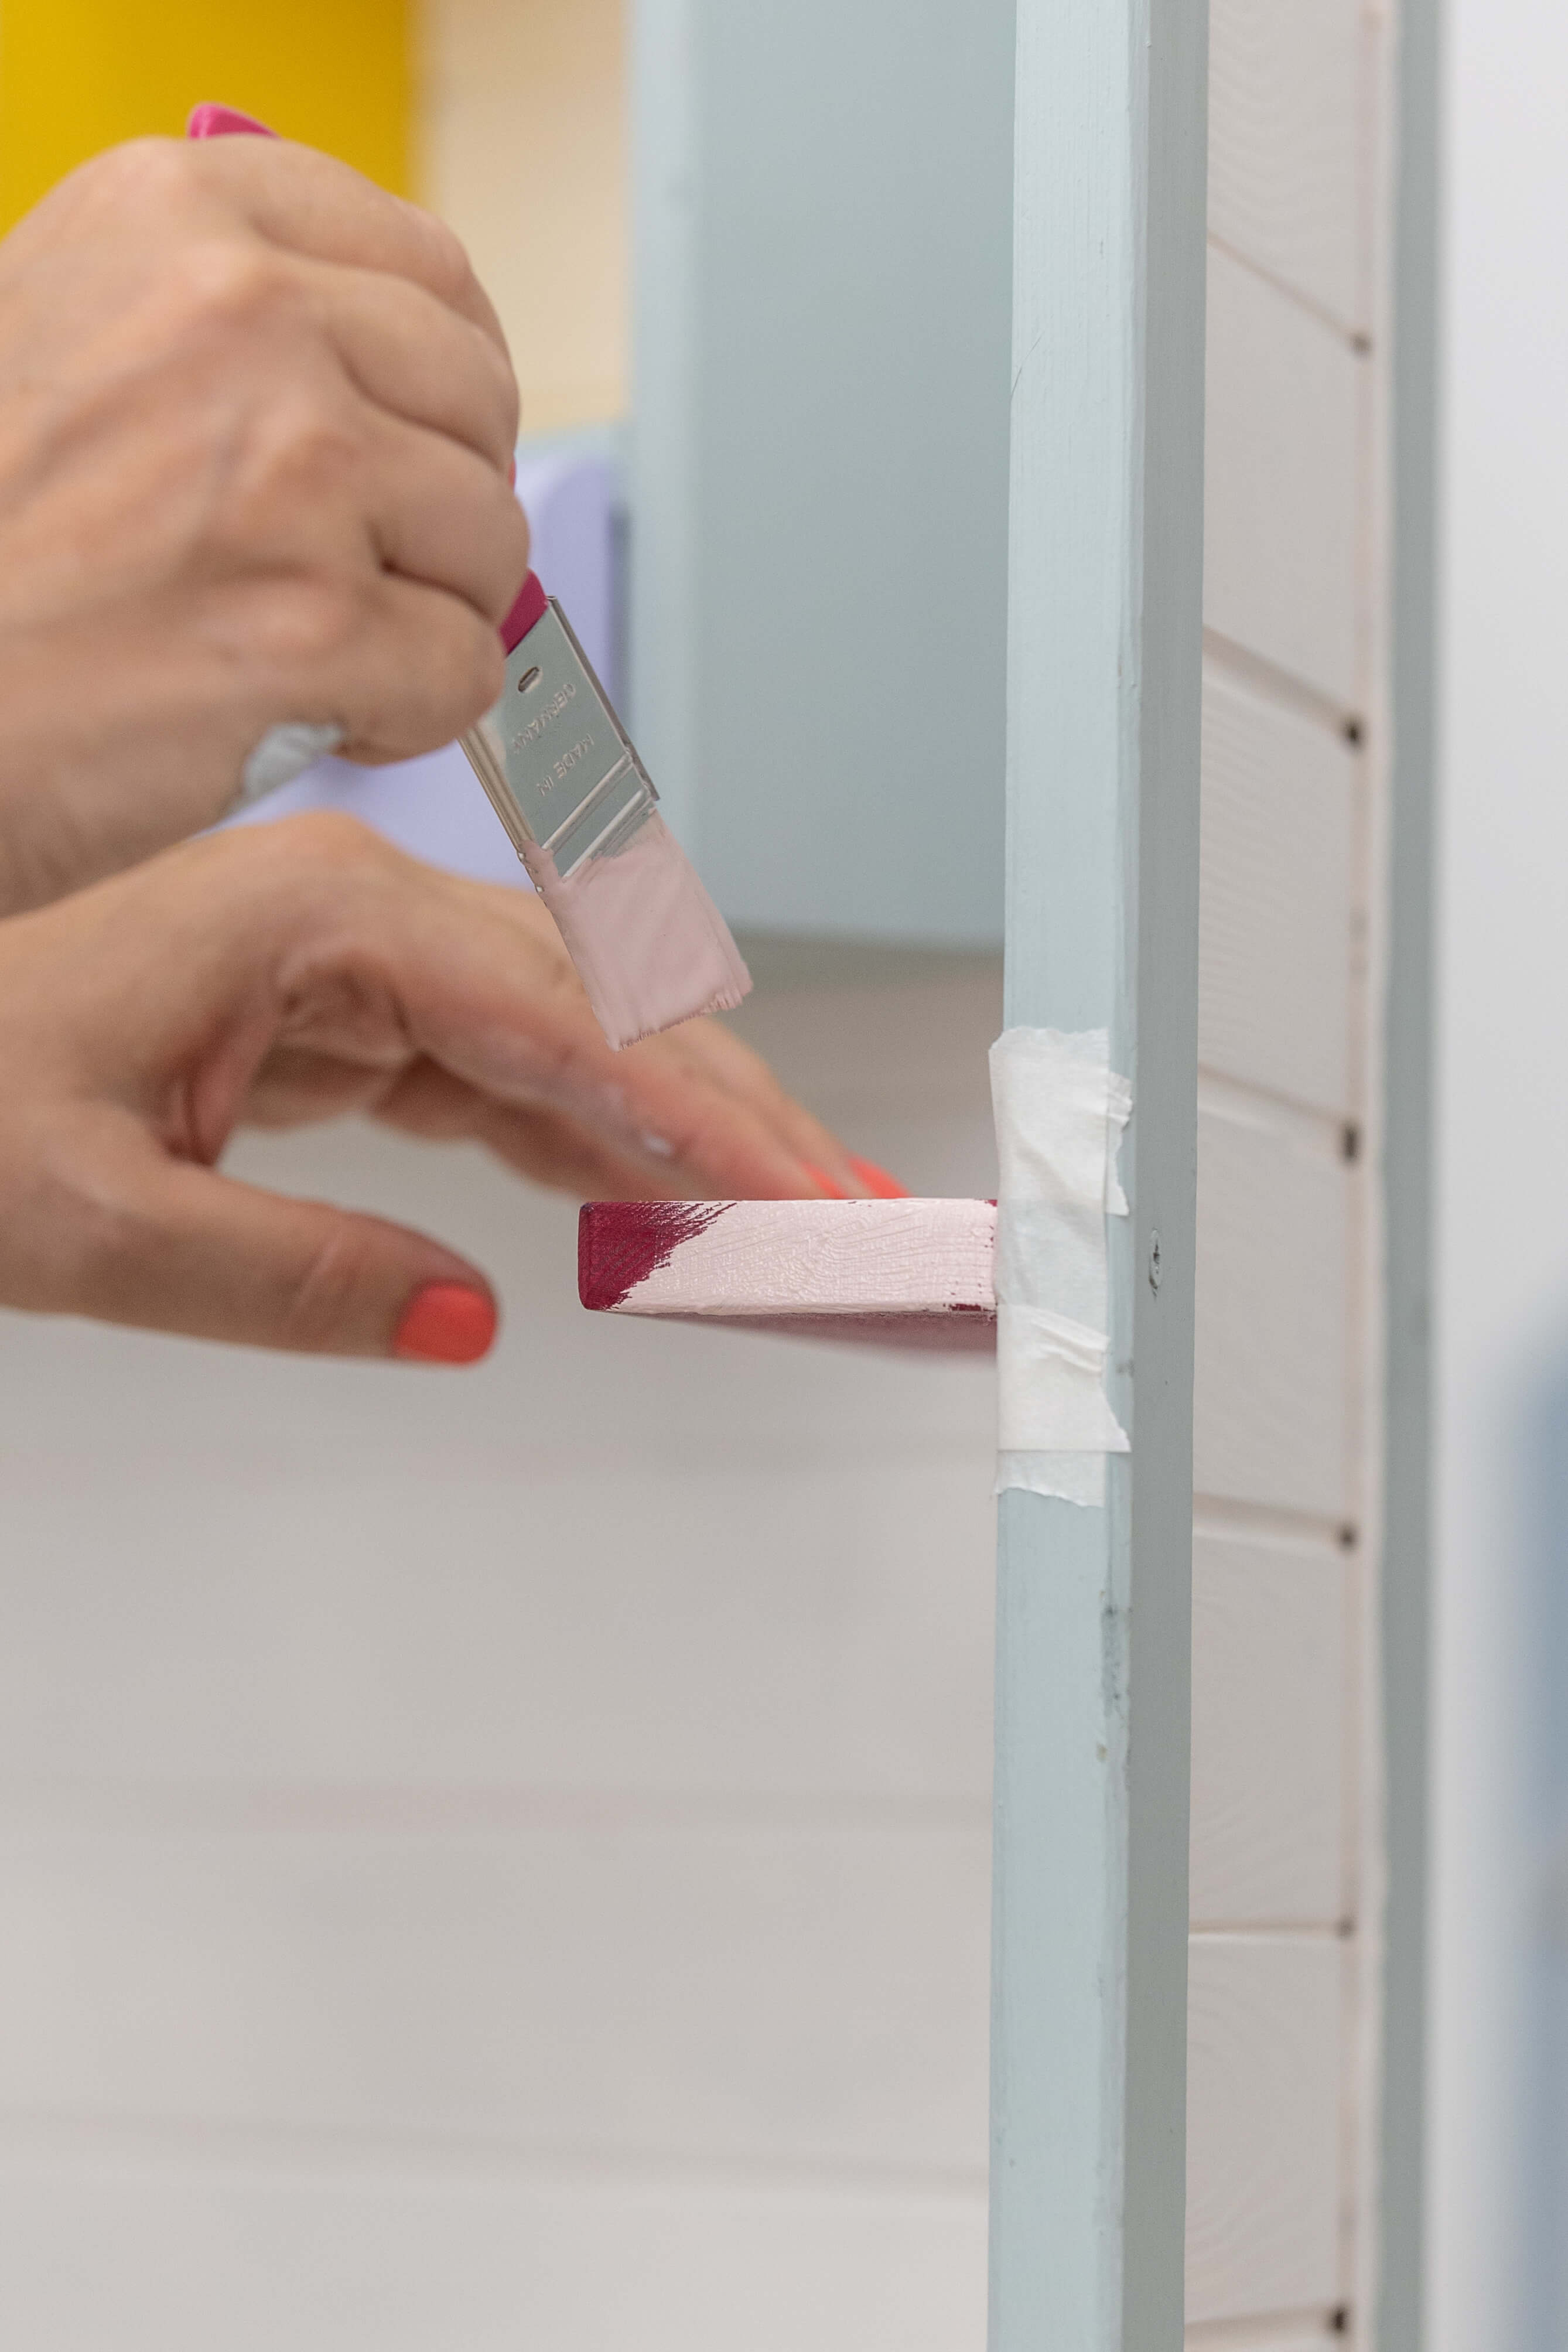
Let the primer dry for about 3 hours and then start applying the chalk varnish. You will notice how easy the LittlePomp chalk varnishes are to apply and how fantastically they cover. Don't use too much paint on the brush or Rollers and be careful not to go over an area more than 2-3 times to avoid lifting the paint off again.
Step 4: Allow the varnish to dry
Let the varnish dry for two to four hours. Then apply the second coat, which will reveal the varnish's beautiful finish. After two more hours, the colour is dry enough to touch carefully. It will be completely dry and very durable after about two weeks.
Step 5: Apply the topcoat
Much-loved children's toys have to be able to withstand a lot. Even though the LittlePomp chalk varnishes are extremely robust, we recommend that you apply a topcoat when painting toys to further stabilise the surface and make it easier to clean. MissPompadour To Seal is excellent for this
Which colour shades look good on children's toys?
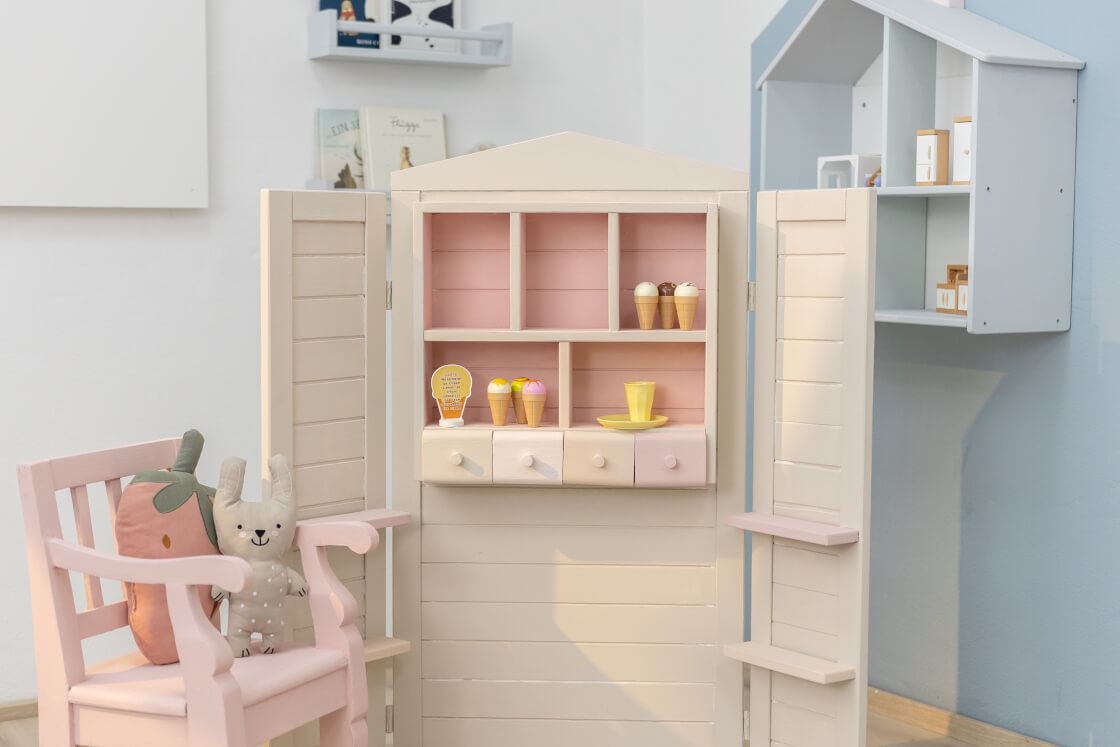
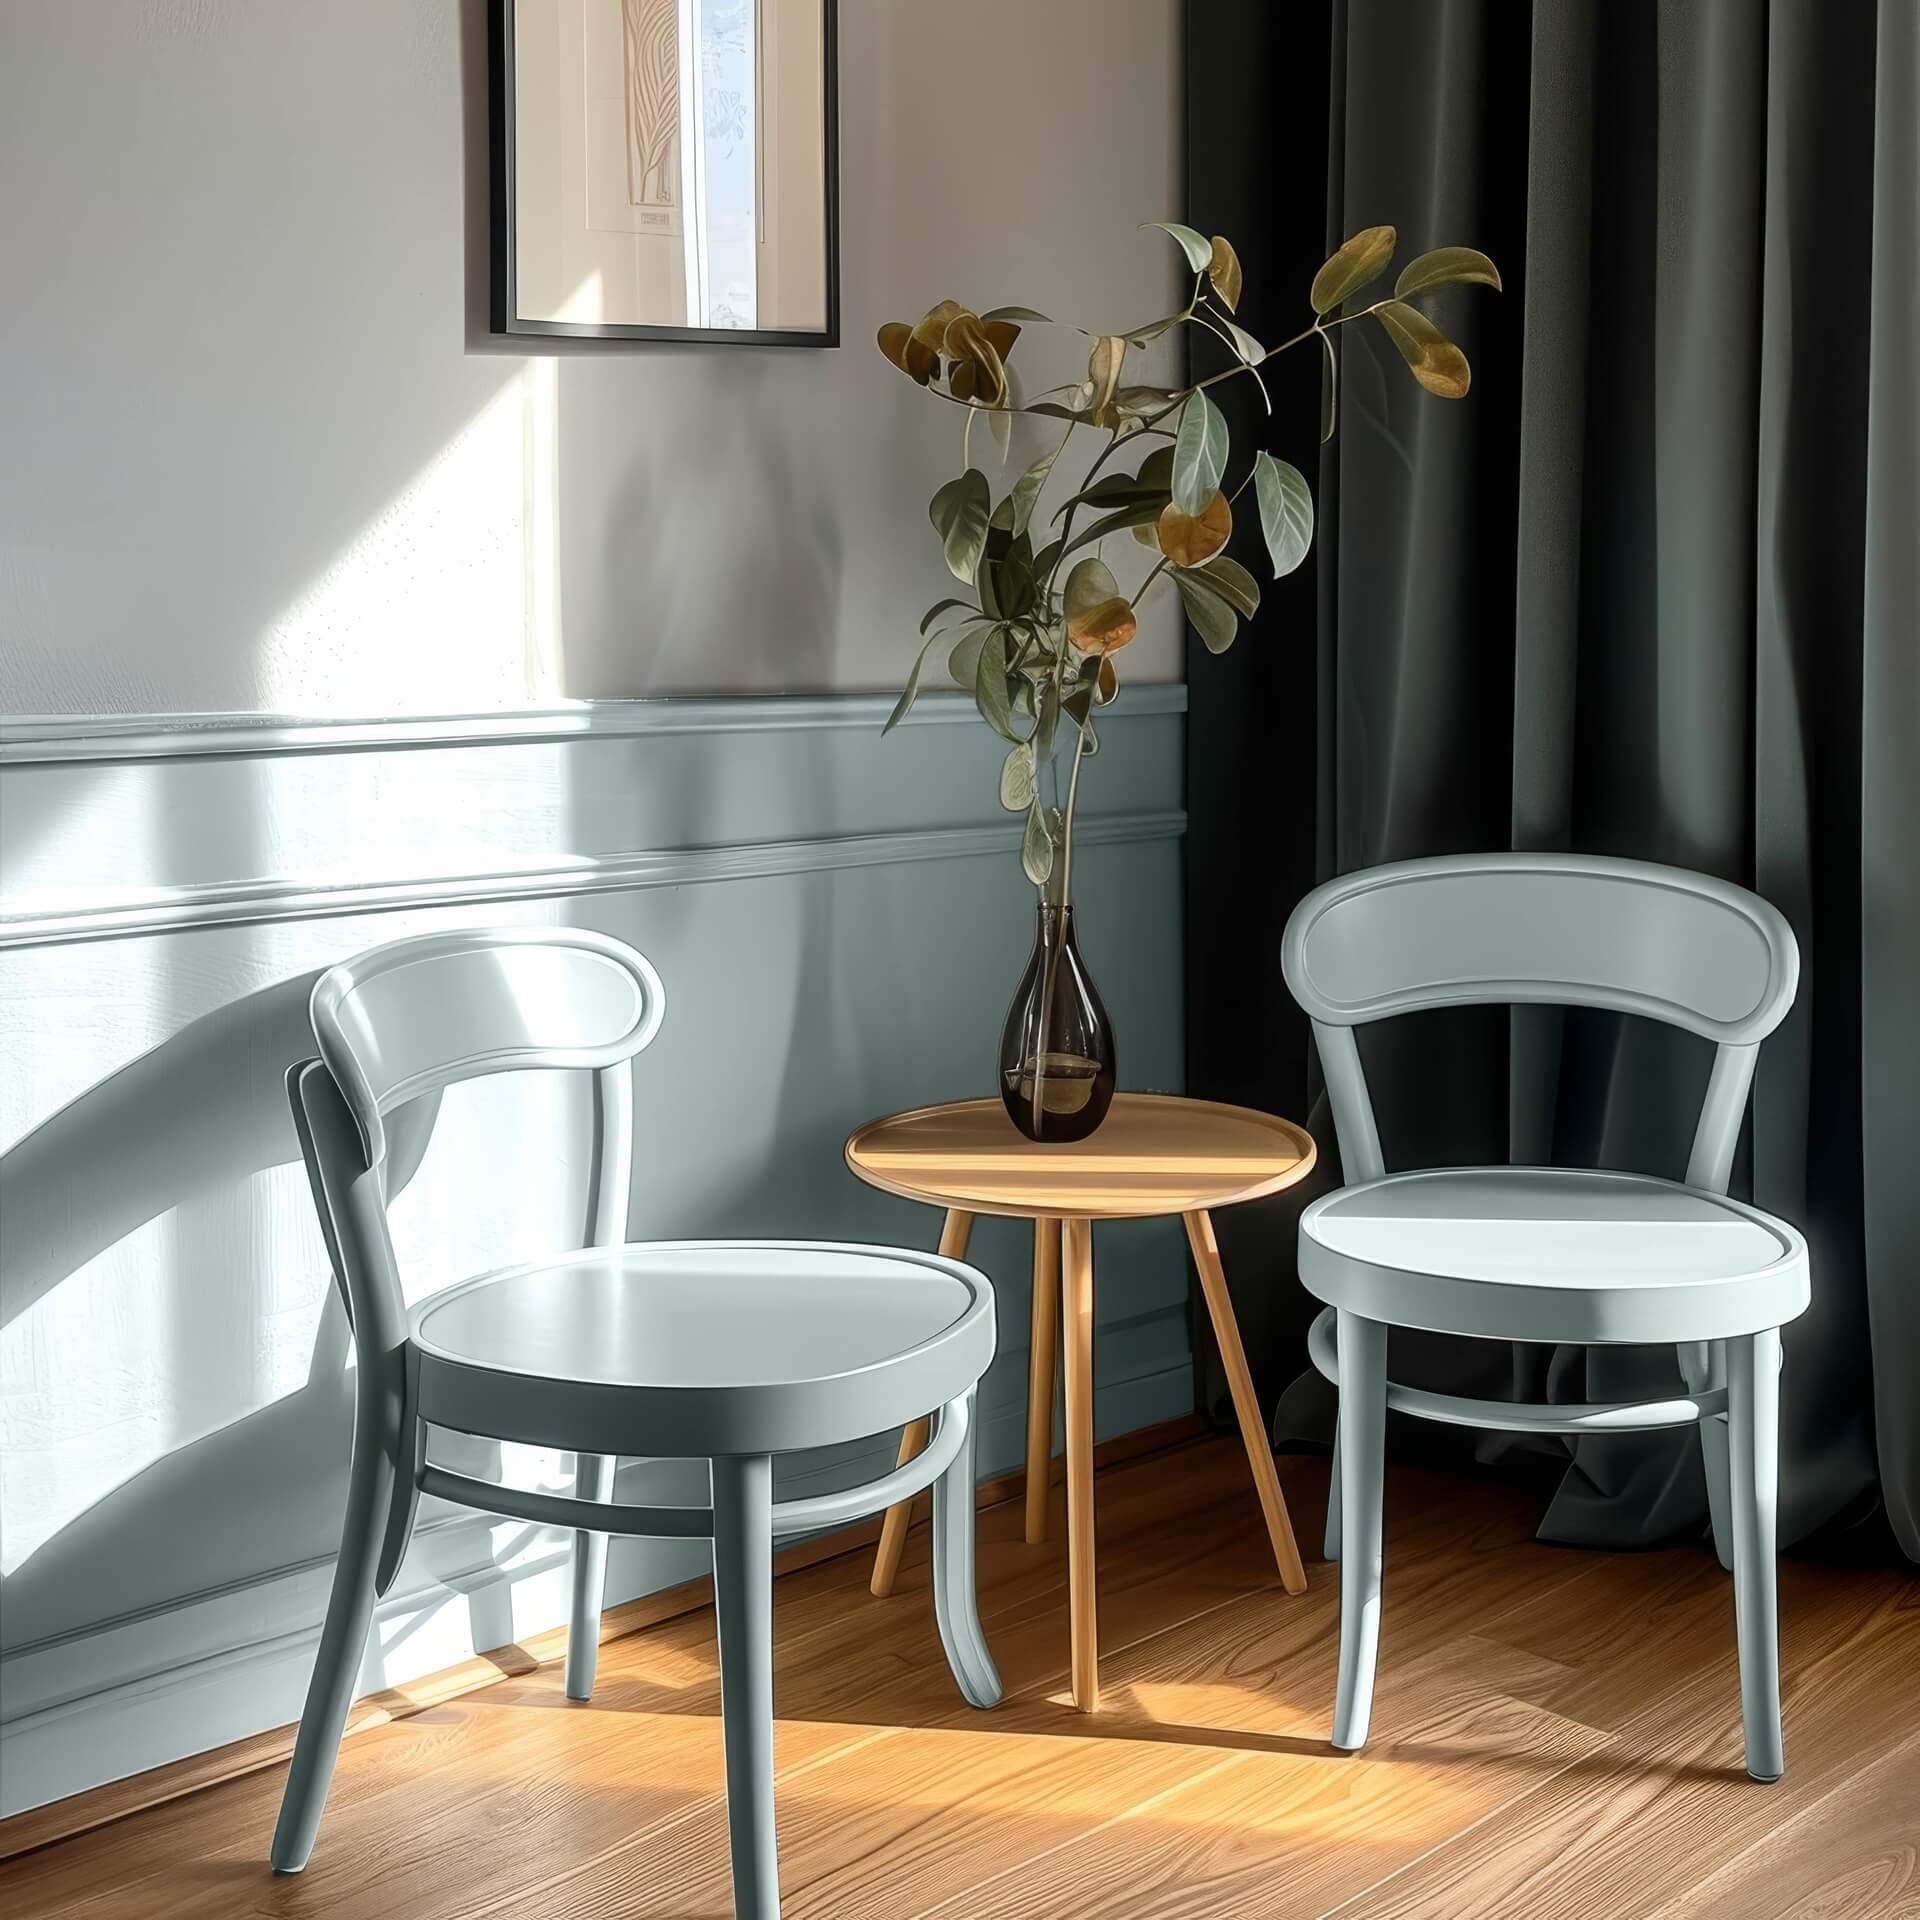
The LittlePomp chalk paints and varnishes are specially developed for children. This means that their 15 colour shades are carefully adapted to the needs of babies, toddlers and children. You can go for one of the strong colour shades from the collection, such as Blue & Noble or Grey & Mindful. If you prefer softer shades, we recommend one of the beautiful off-white shades from our collection. Light pastel shades like Rose & Unique, Purple & Tender or Apricot & Cheerful create a gentle mood and do not overwhelm the child's eye with extreme colour stimuli. All 15 shades match well and create an overall harmonious look.
Painting children's toys is a breeze with these tips
It's really easy to give old or worn toys a fresh, attractive look with LittlePomp chalk varnish. By the way, you can also decorate wooden or plastic toys with a MissPompadour Stencil. You will find a whole range of stencils with delightful children's motifs in our shop to give your playhouse or doll's kitchen the finishing touch.

Questions ?
We're here to help
We'll help you anytime, via Phone (Mo-Fr 09-18, Sa until 16 Uhr), via WhatsApp or directly via our Contact Form.