


IKEA-BILLY shelf hack: upcycling & DIY instructions
4 min reading time
It can be found in countless flats and houses around the world: the indestructible IKEA BILLY shelf. With its perfect depth, it is simply the ideal bookshelf. As with most IKEA furniture, however, the choice of colours is unfortunately limited - we therefore provide you with a BILLY shelf upcycling hack: Just paint and turn your IKEA BILLY into your personal DIY favourite!
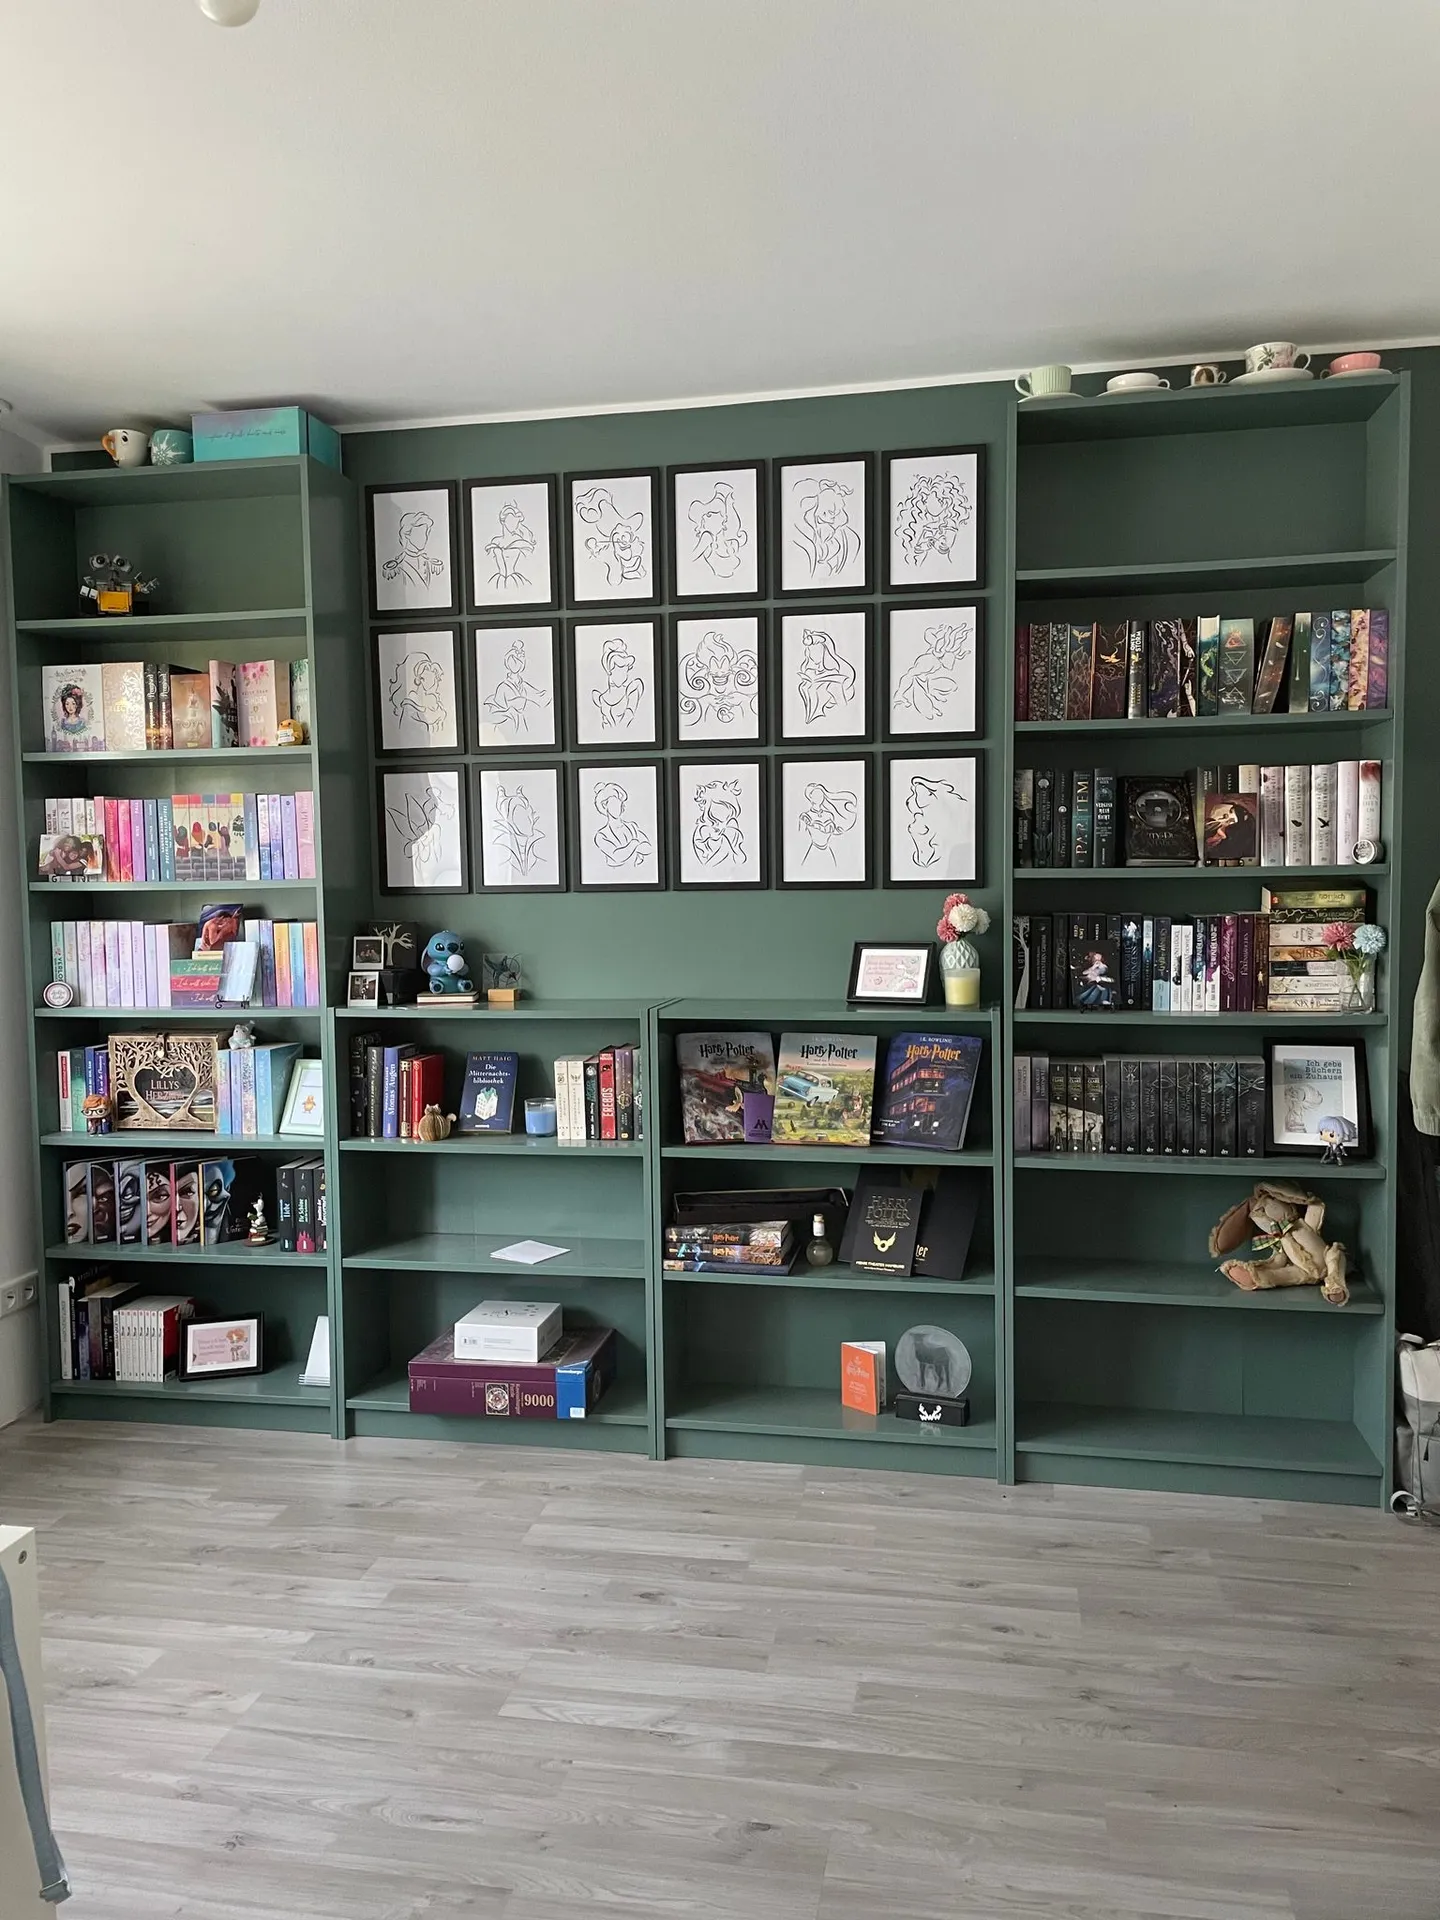
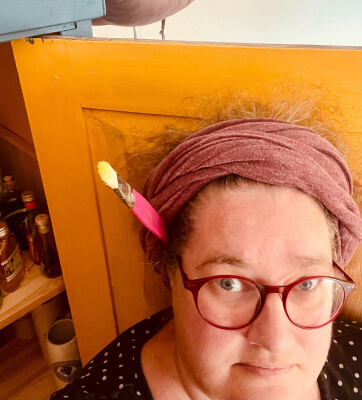
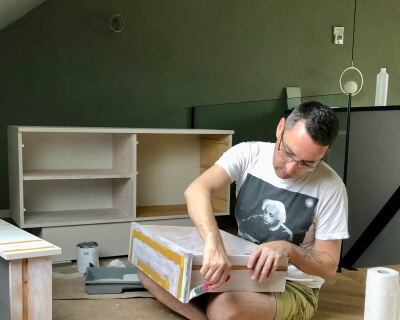
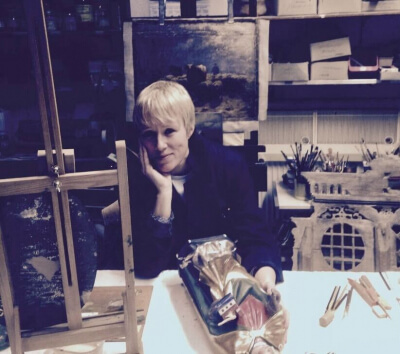
How our customers have painted their BILLY shelves
Be inspired by the ideas and successful realisations from our community!
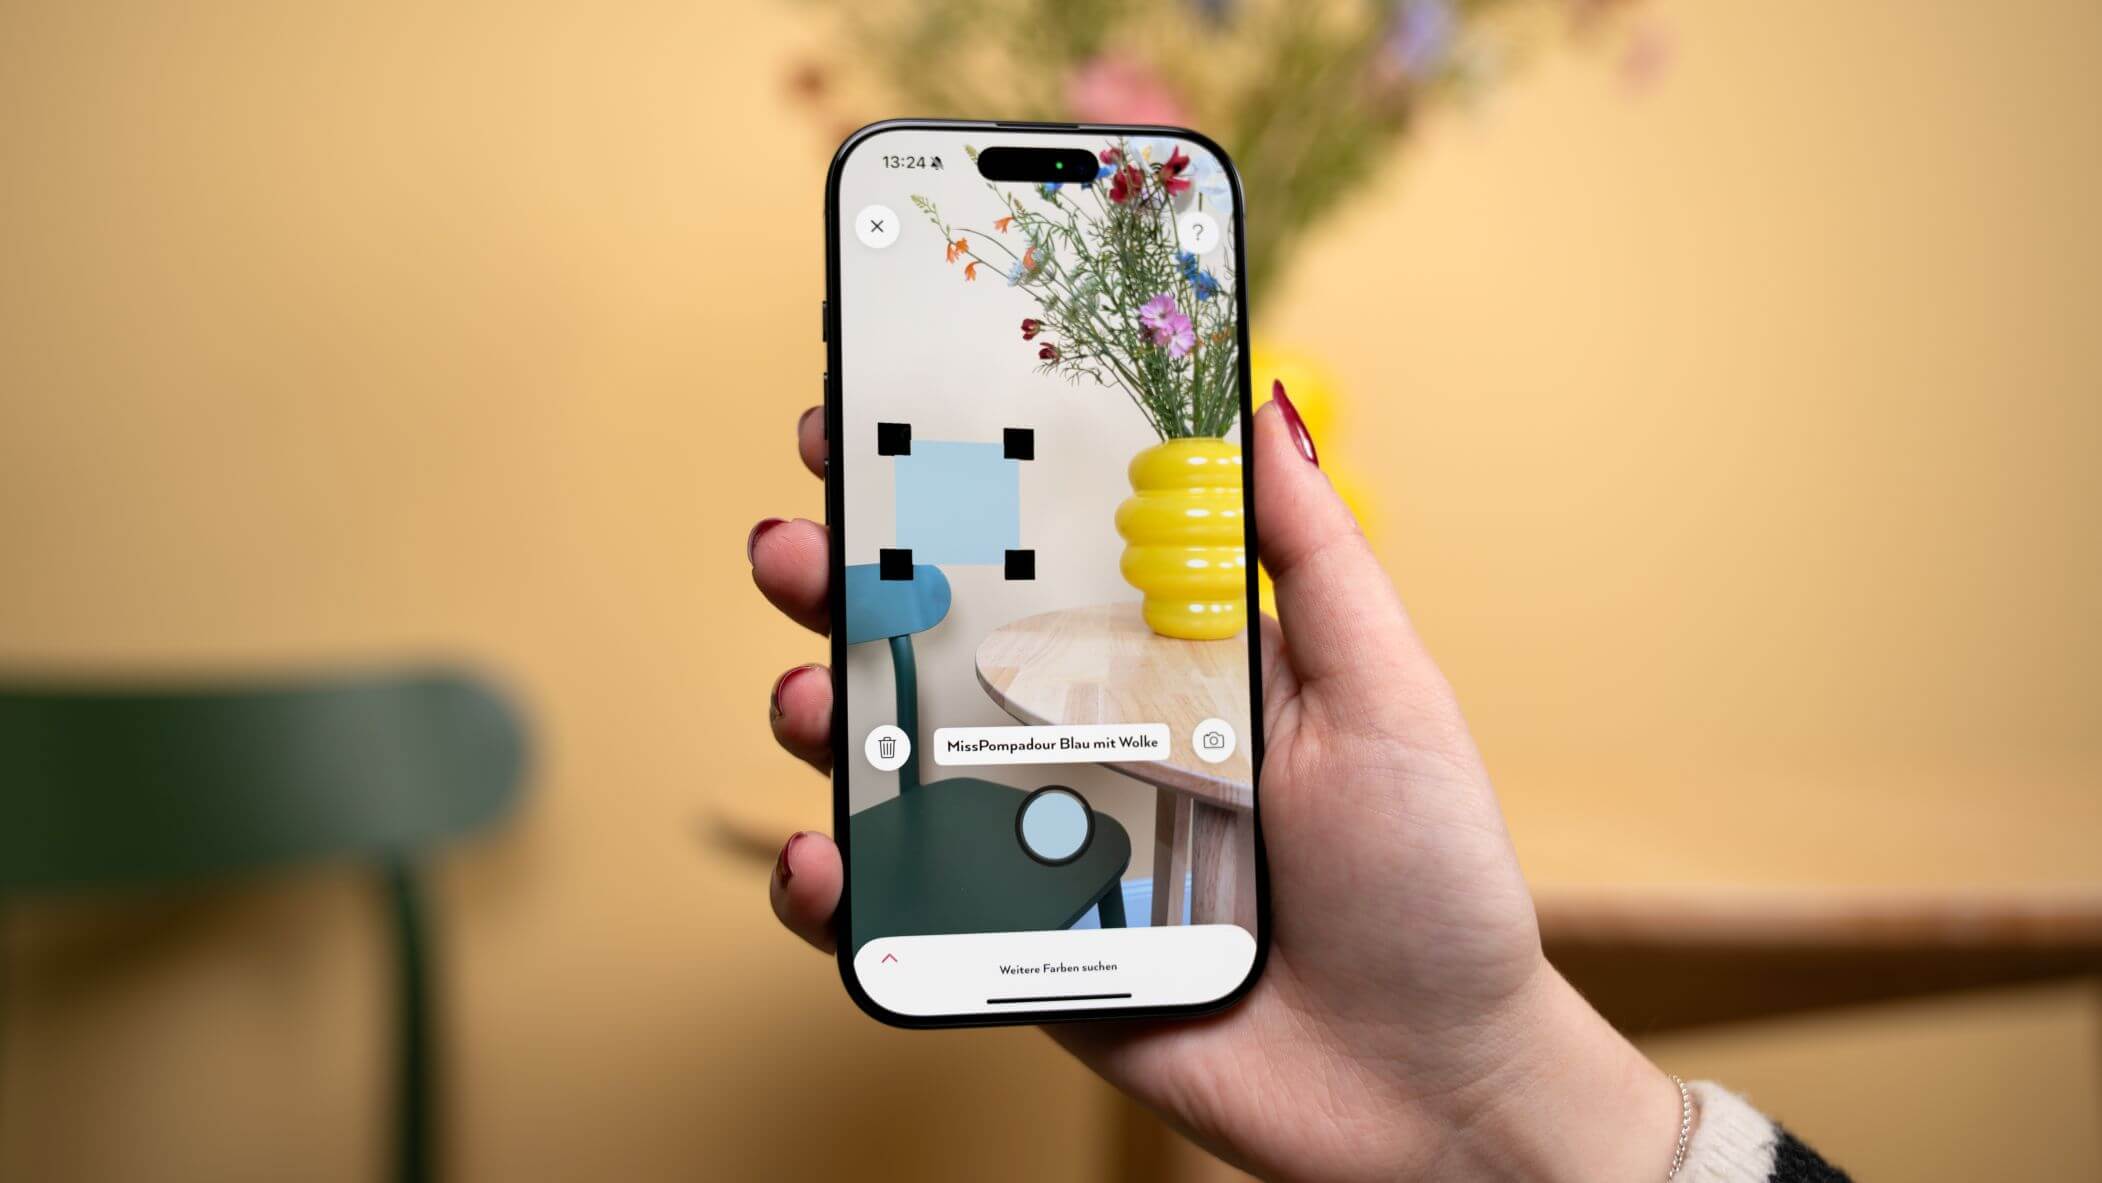
Which paints are best for painting a BILLY bookcase?
The BILLY bookcase is incredibly versatile – it provides essential storage in children's rooms or kitchens and is, for many, the ultimate bookcase. By adding doors, you can easily transform it into a simple cupboard.
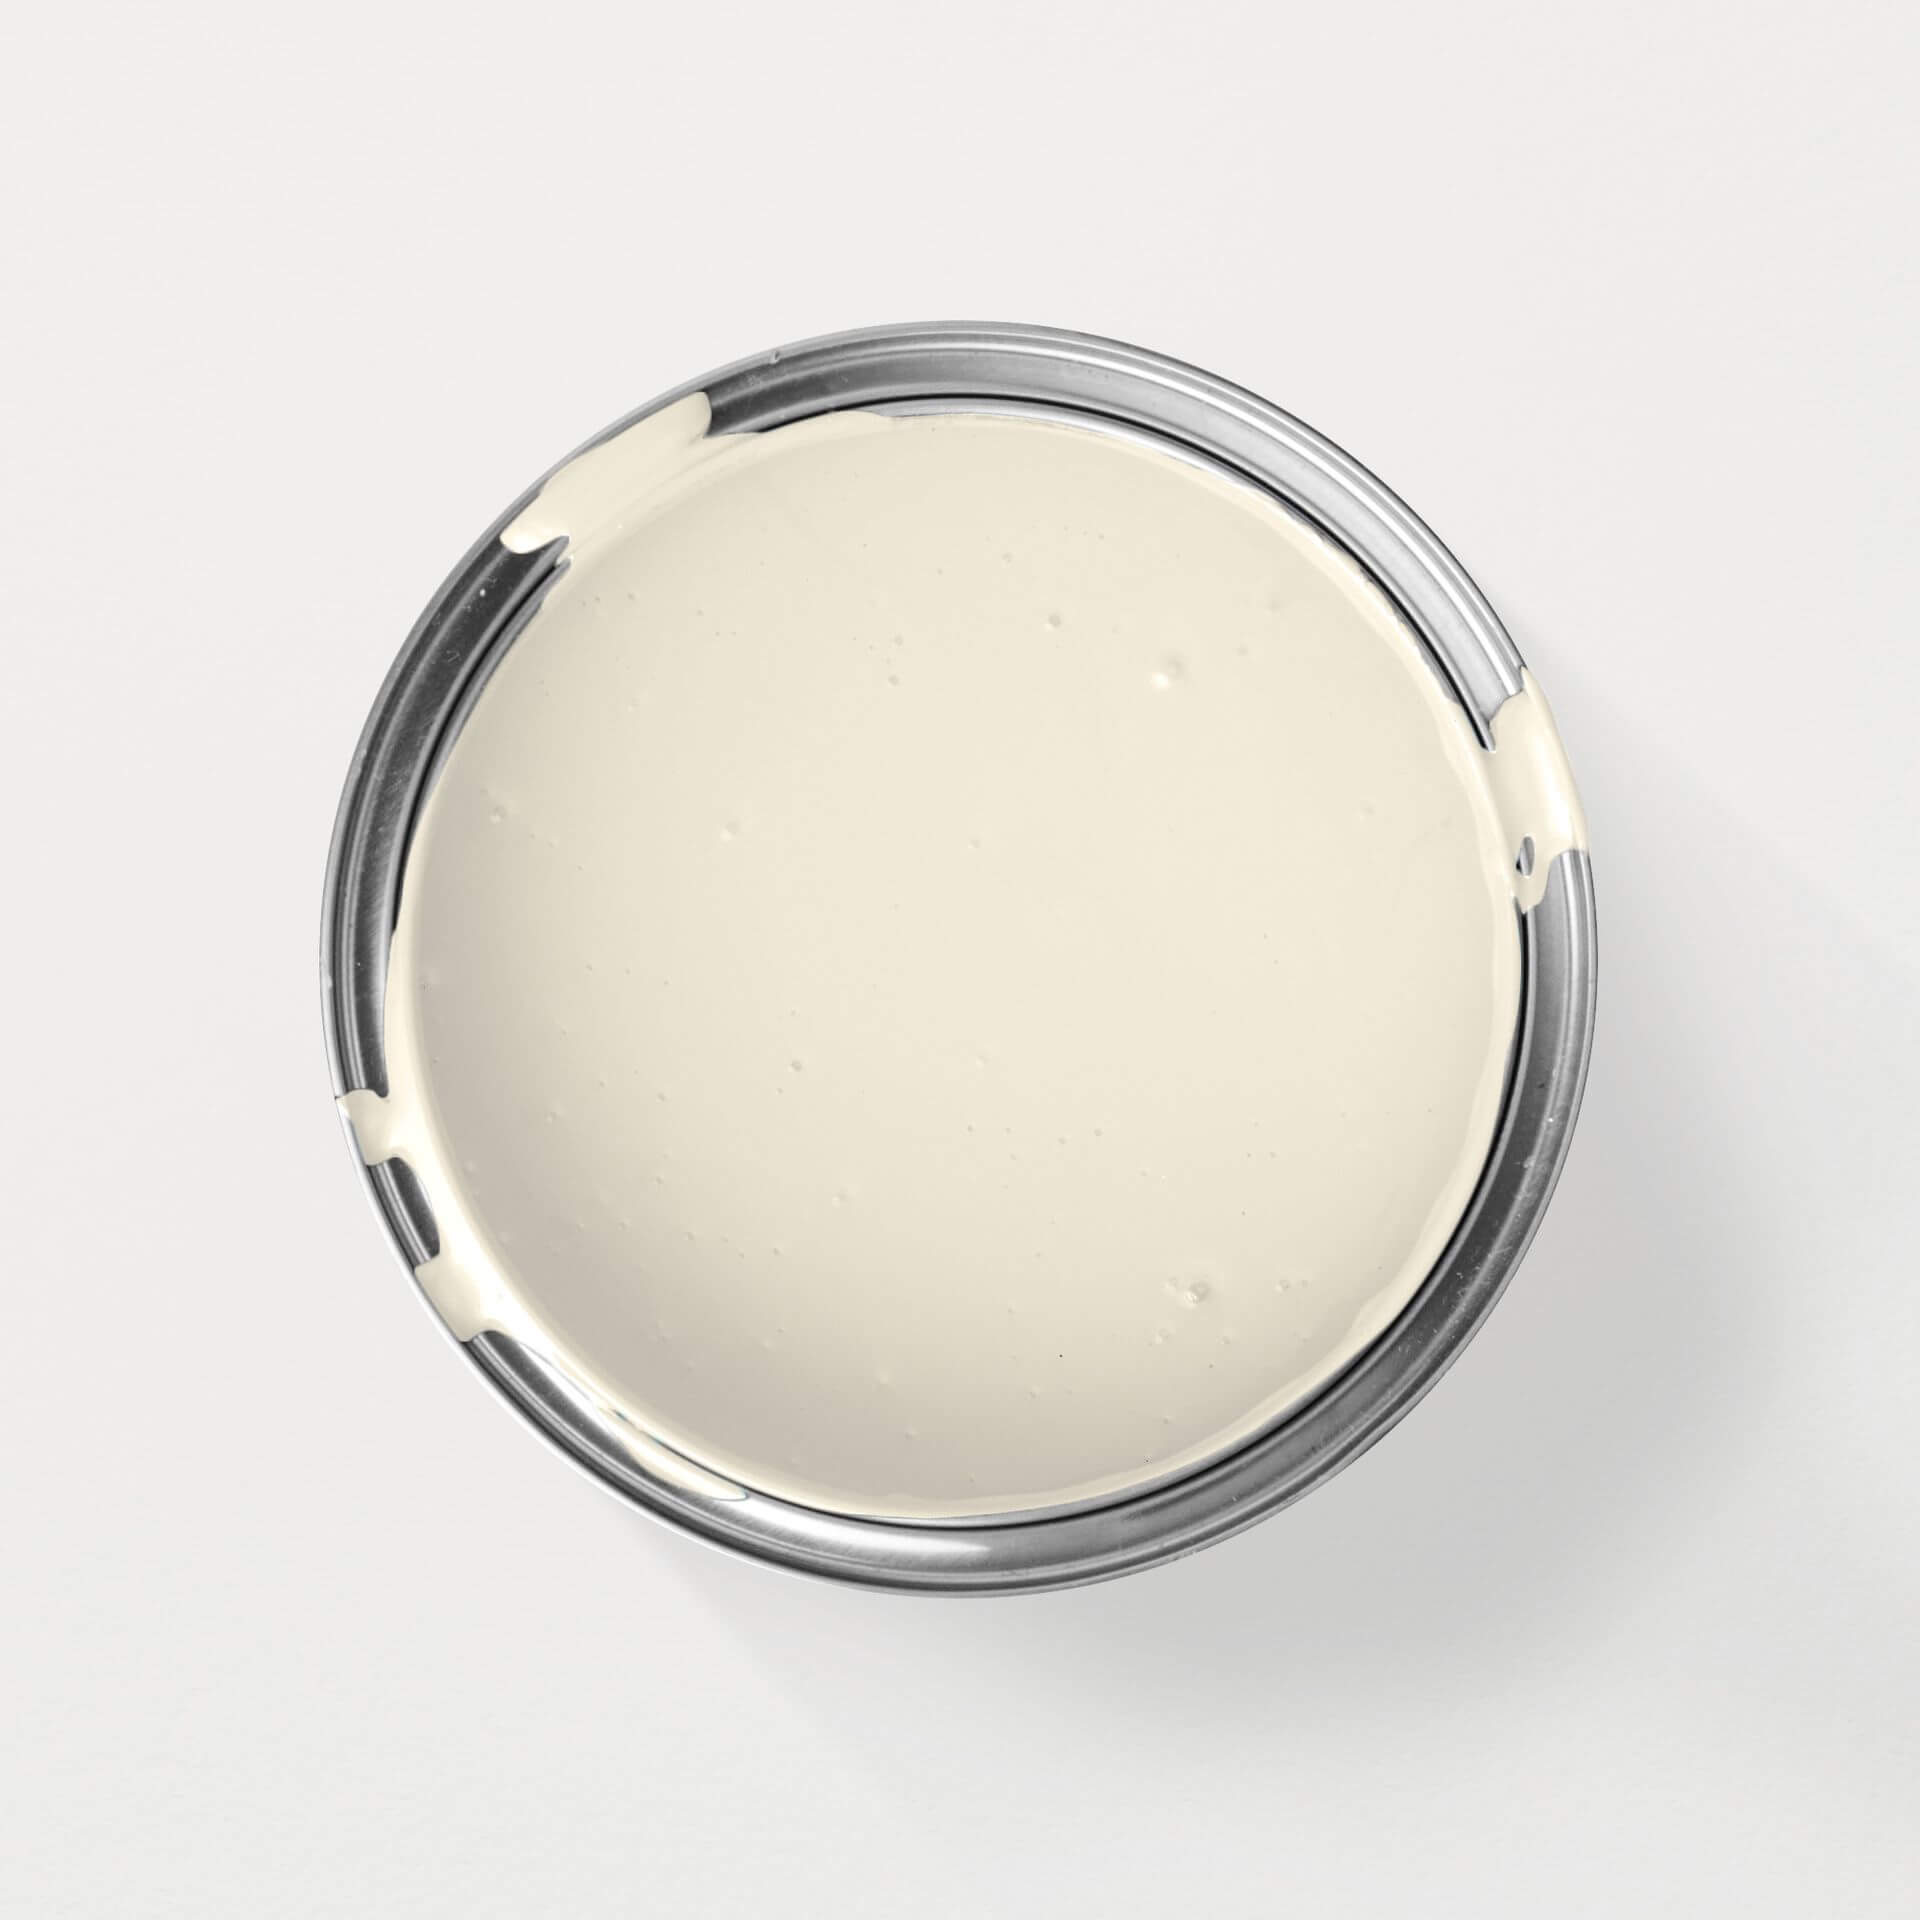
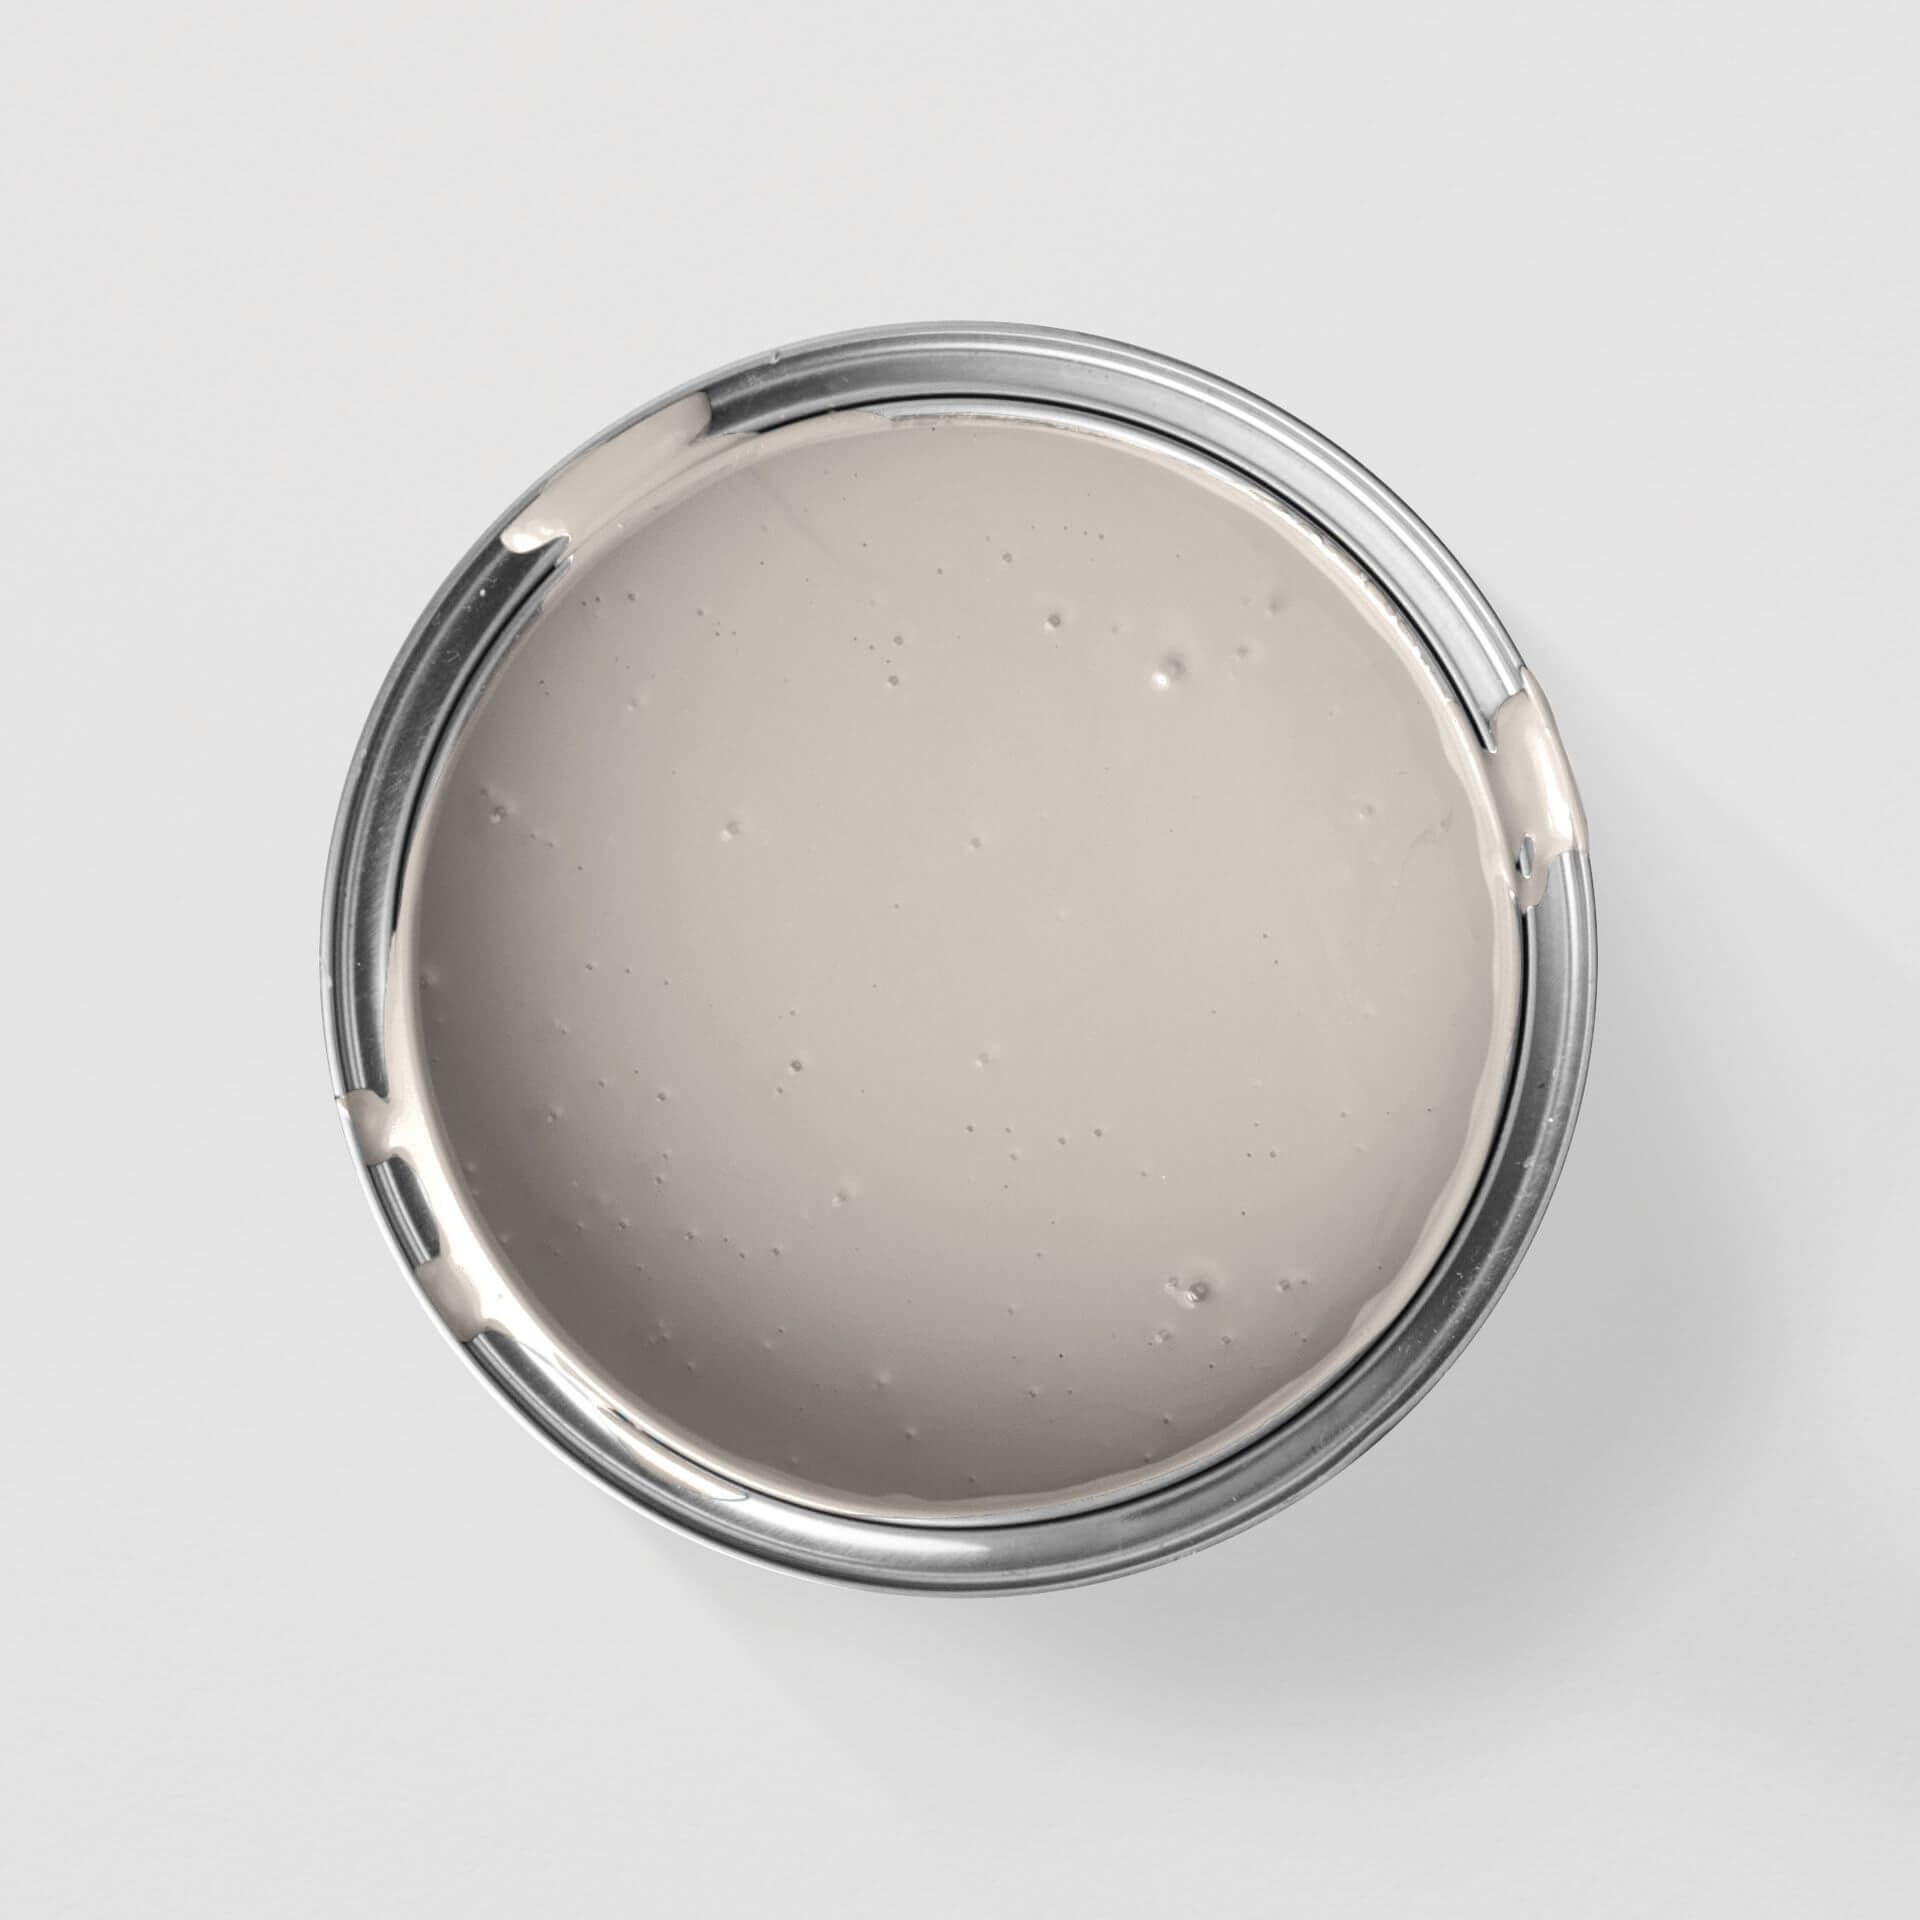
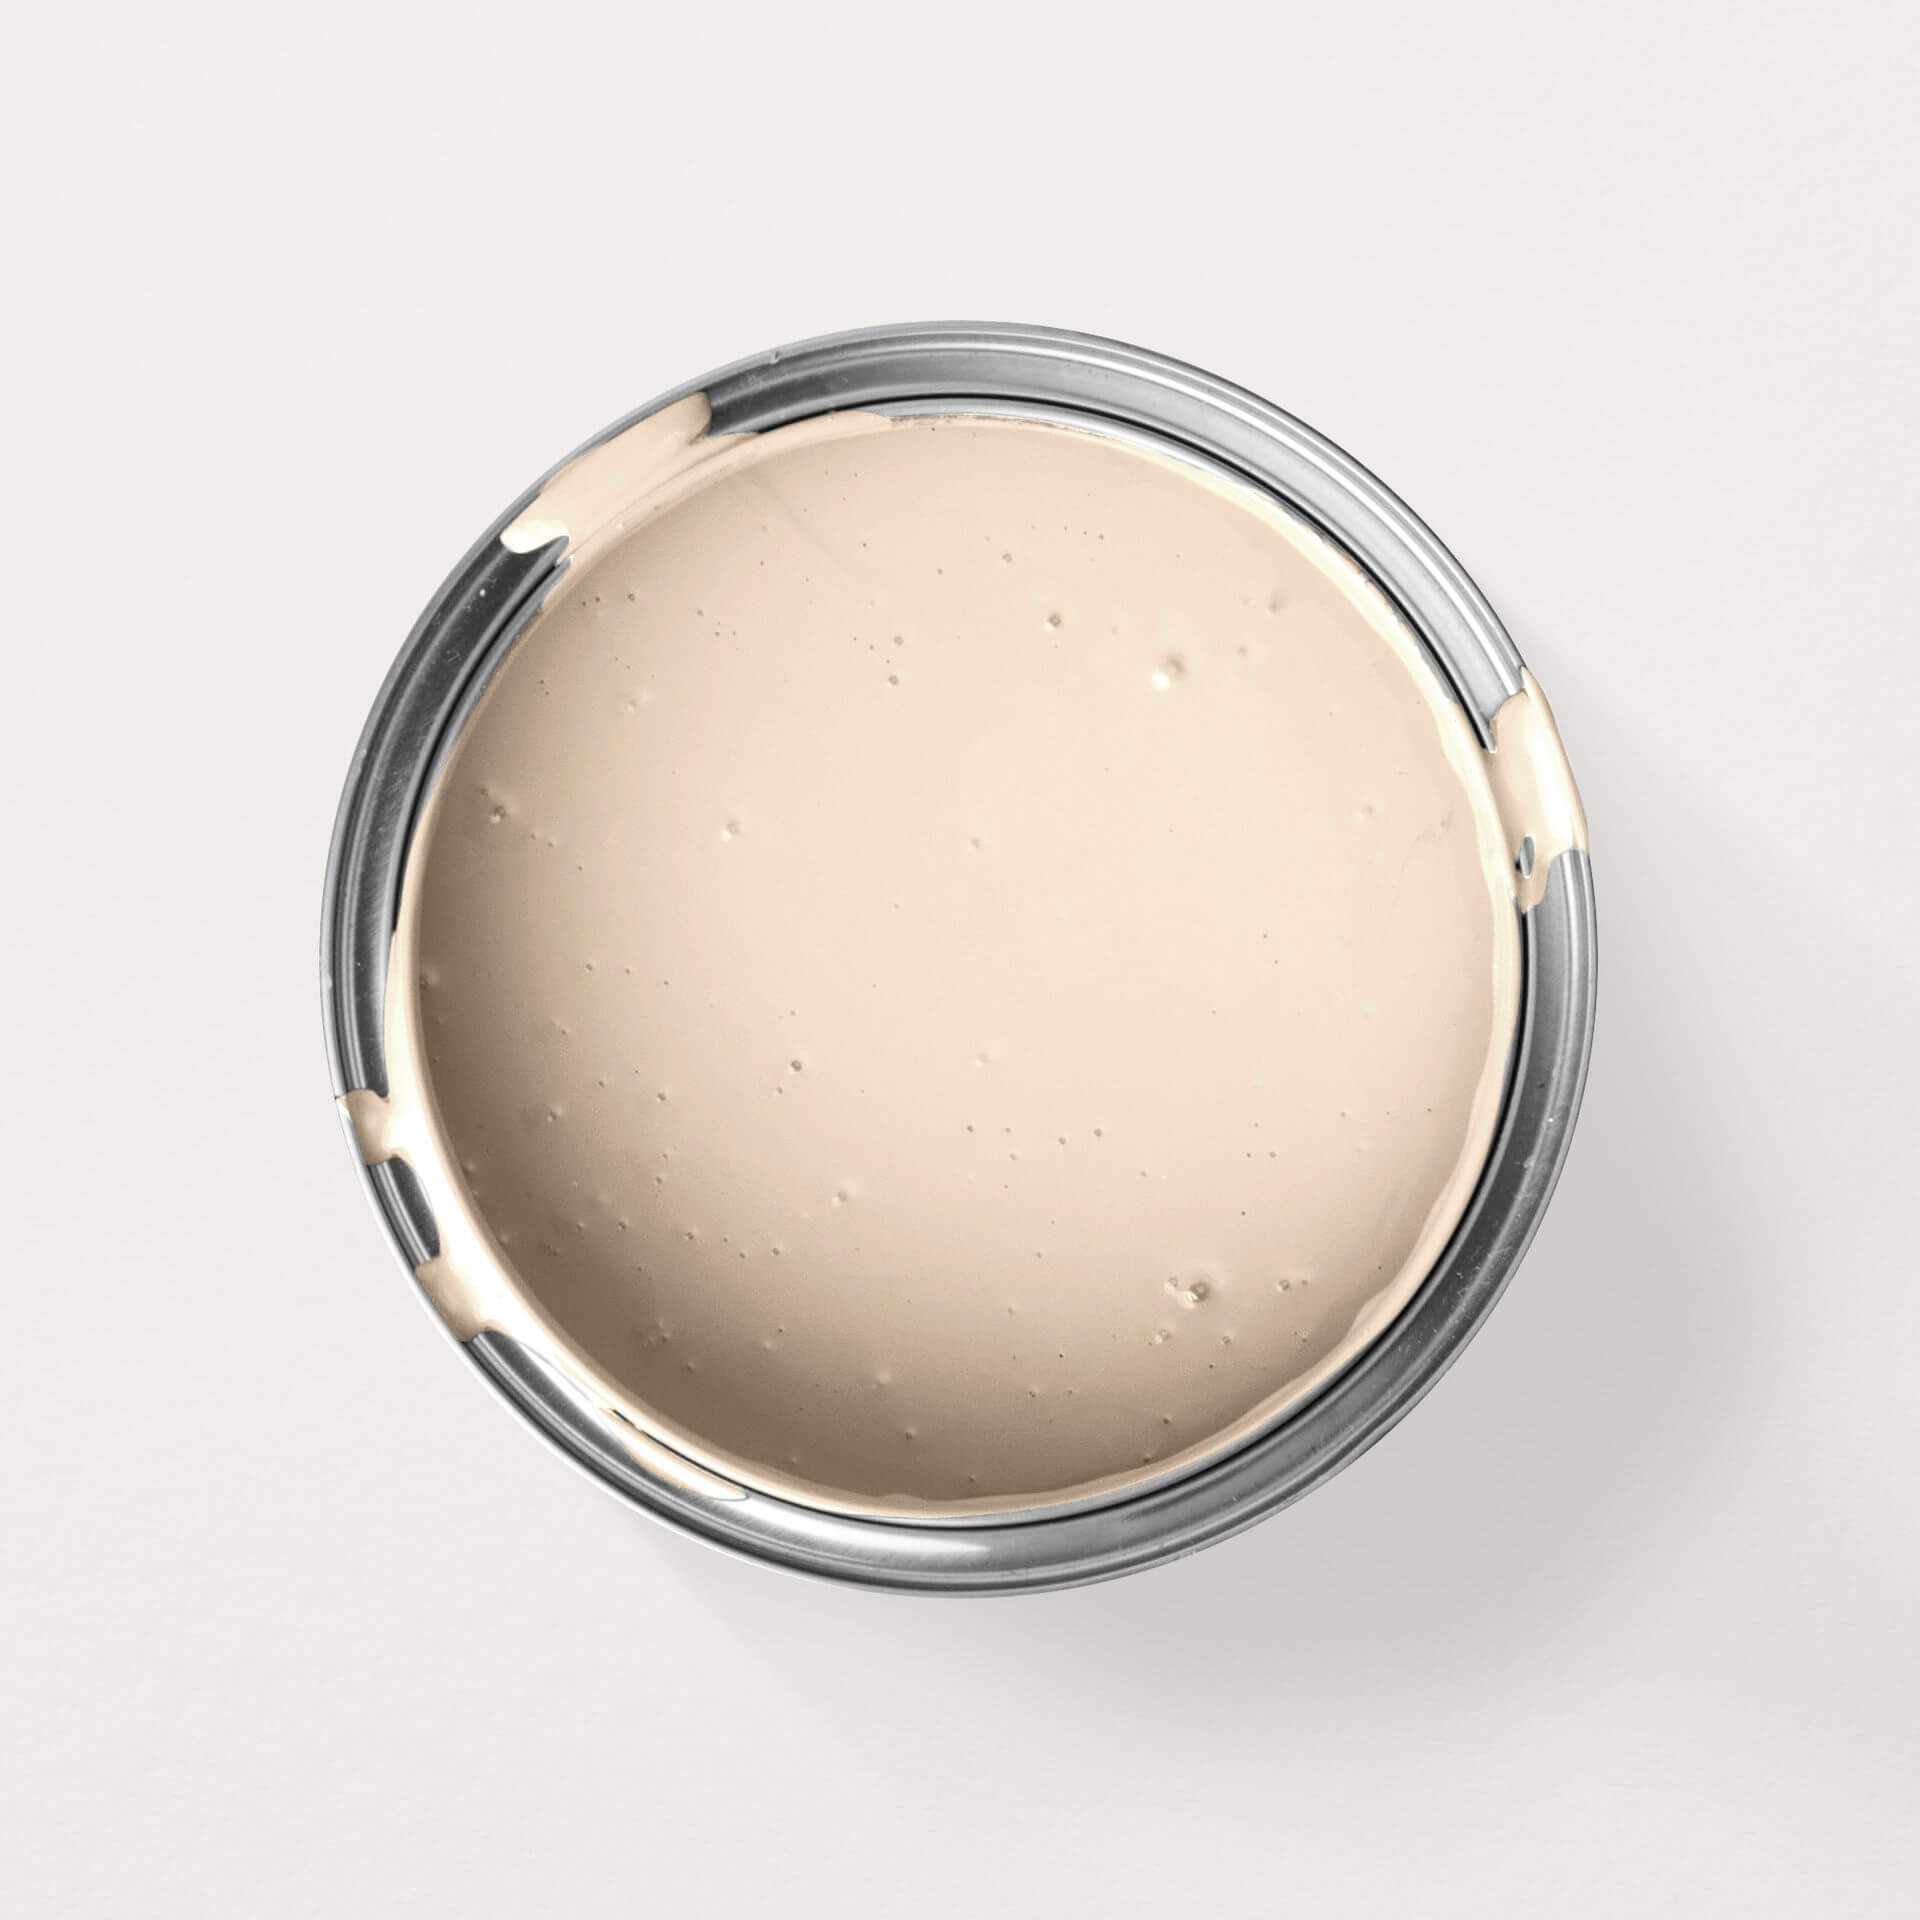
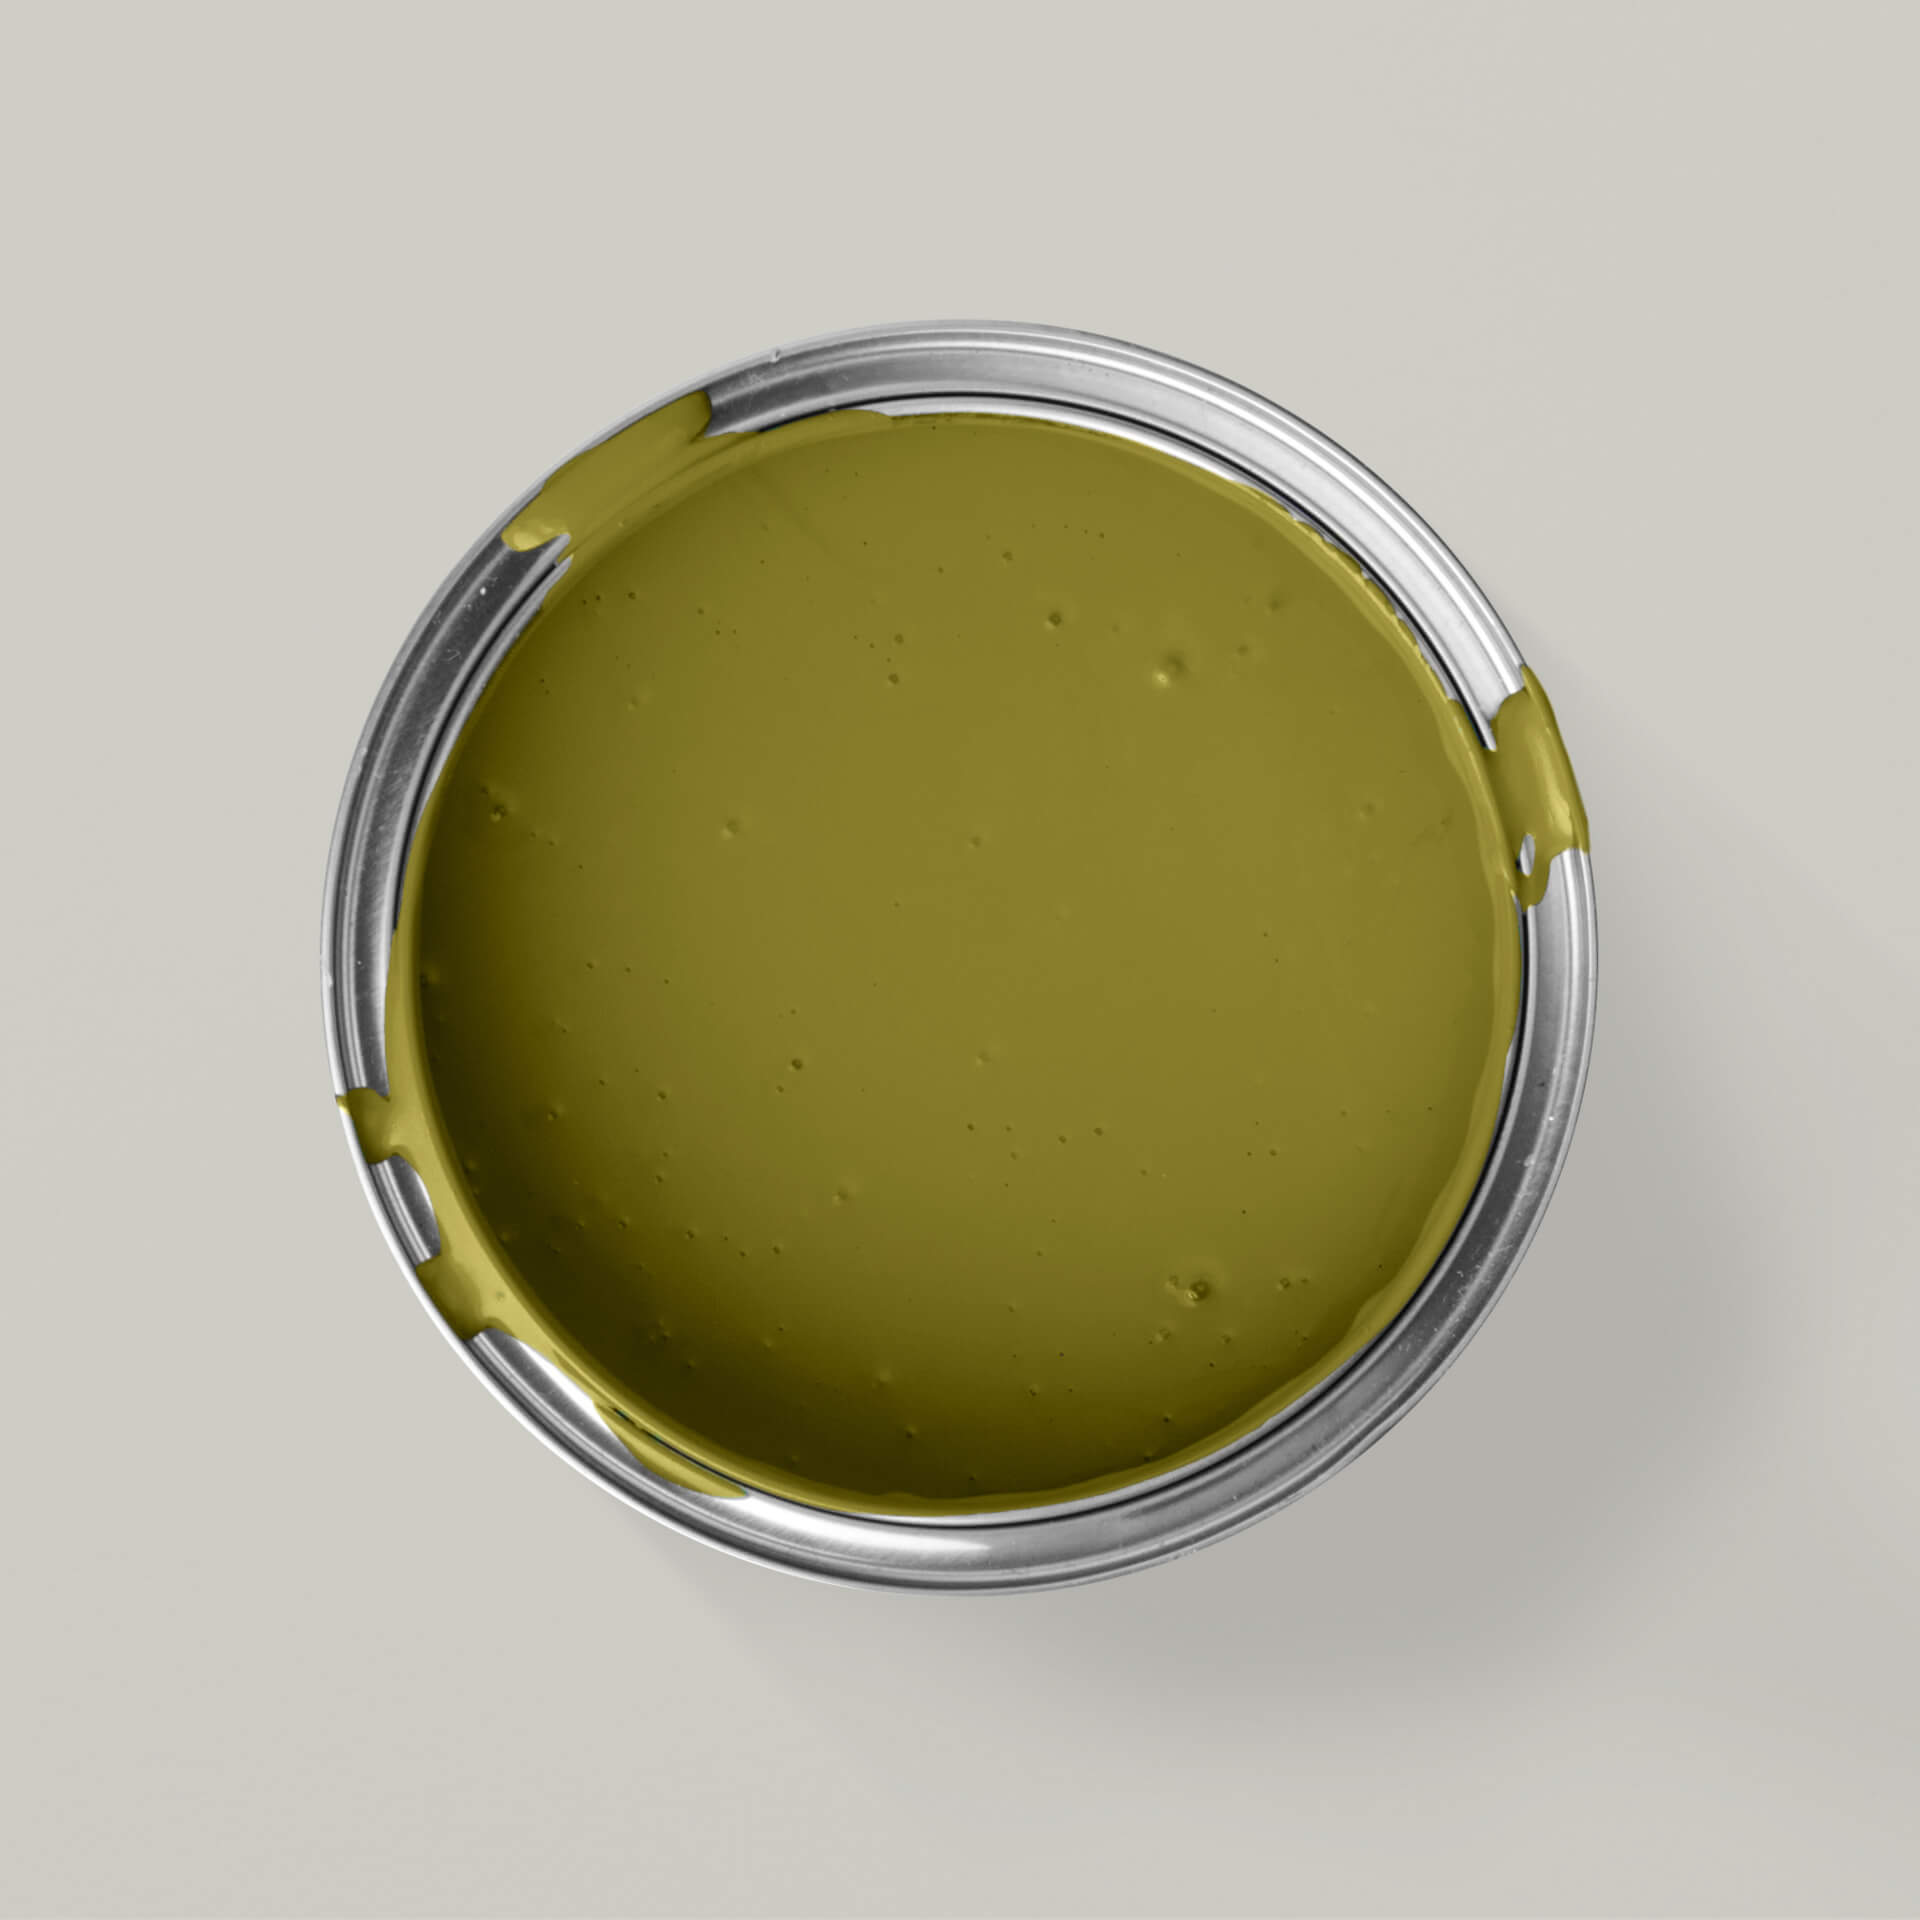
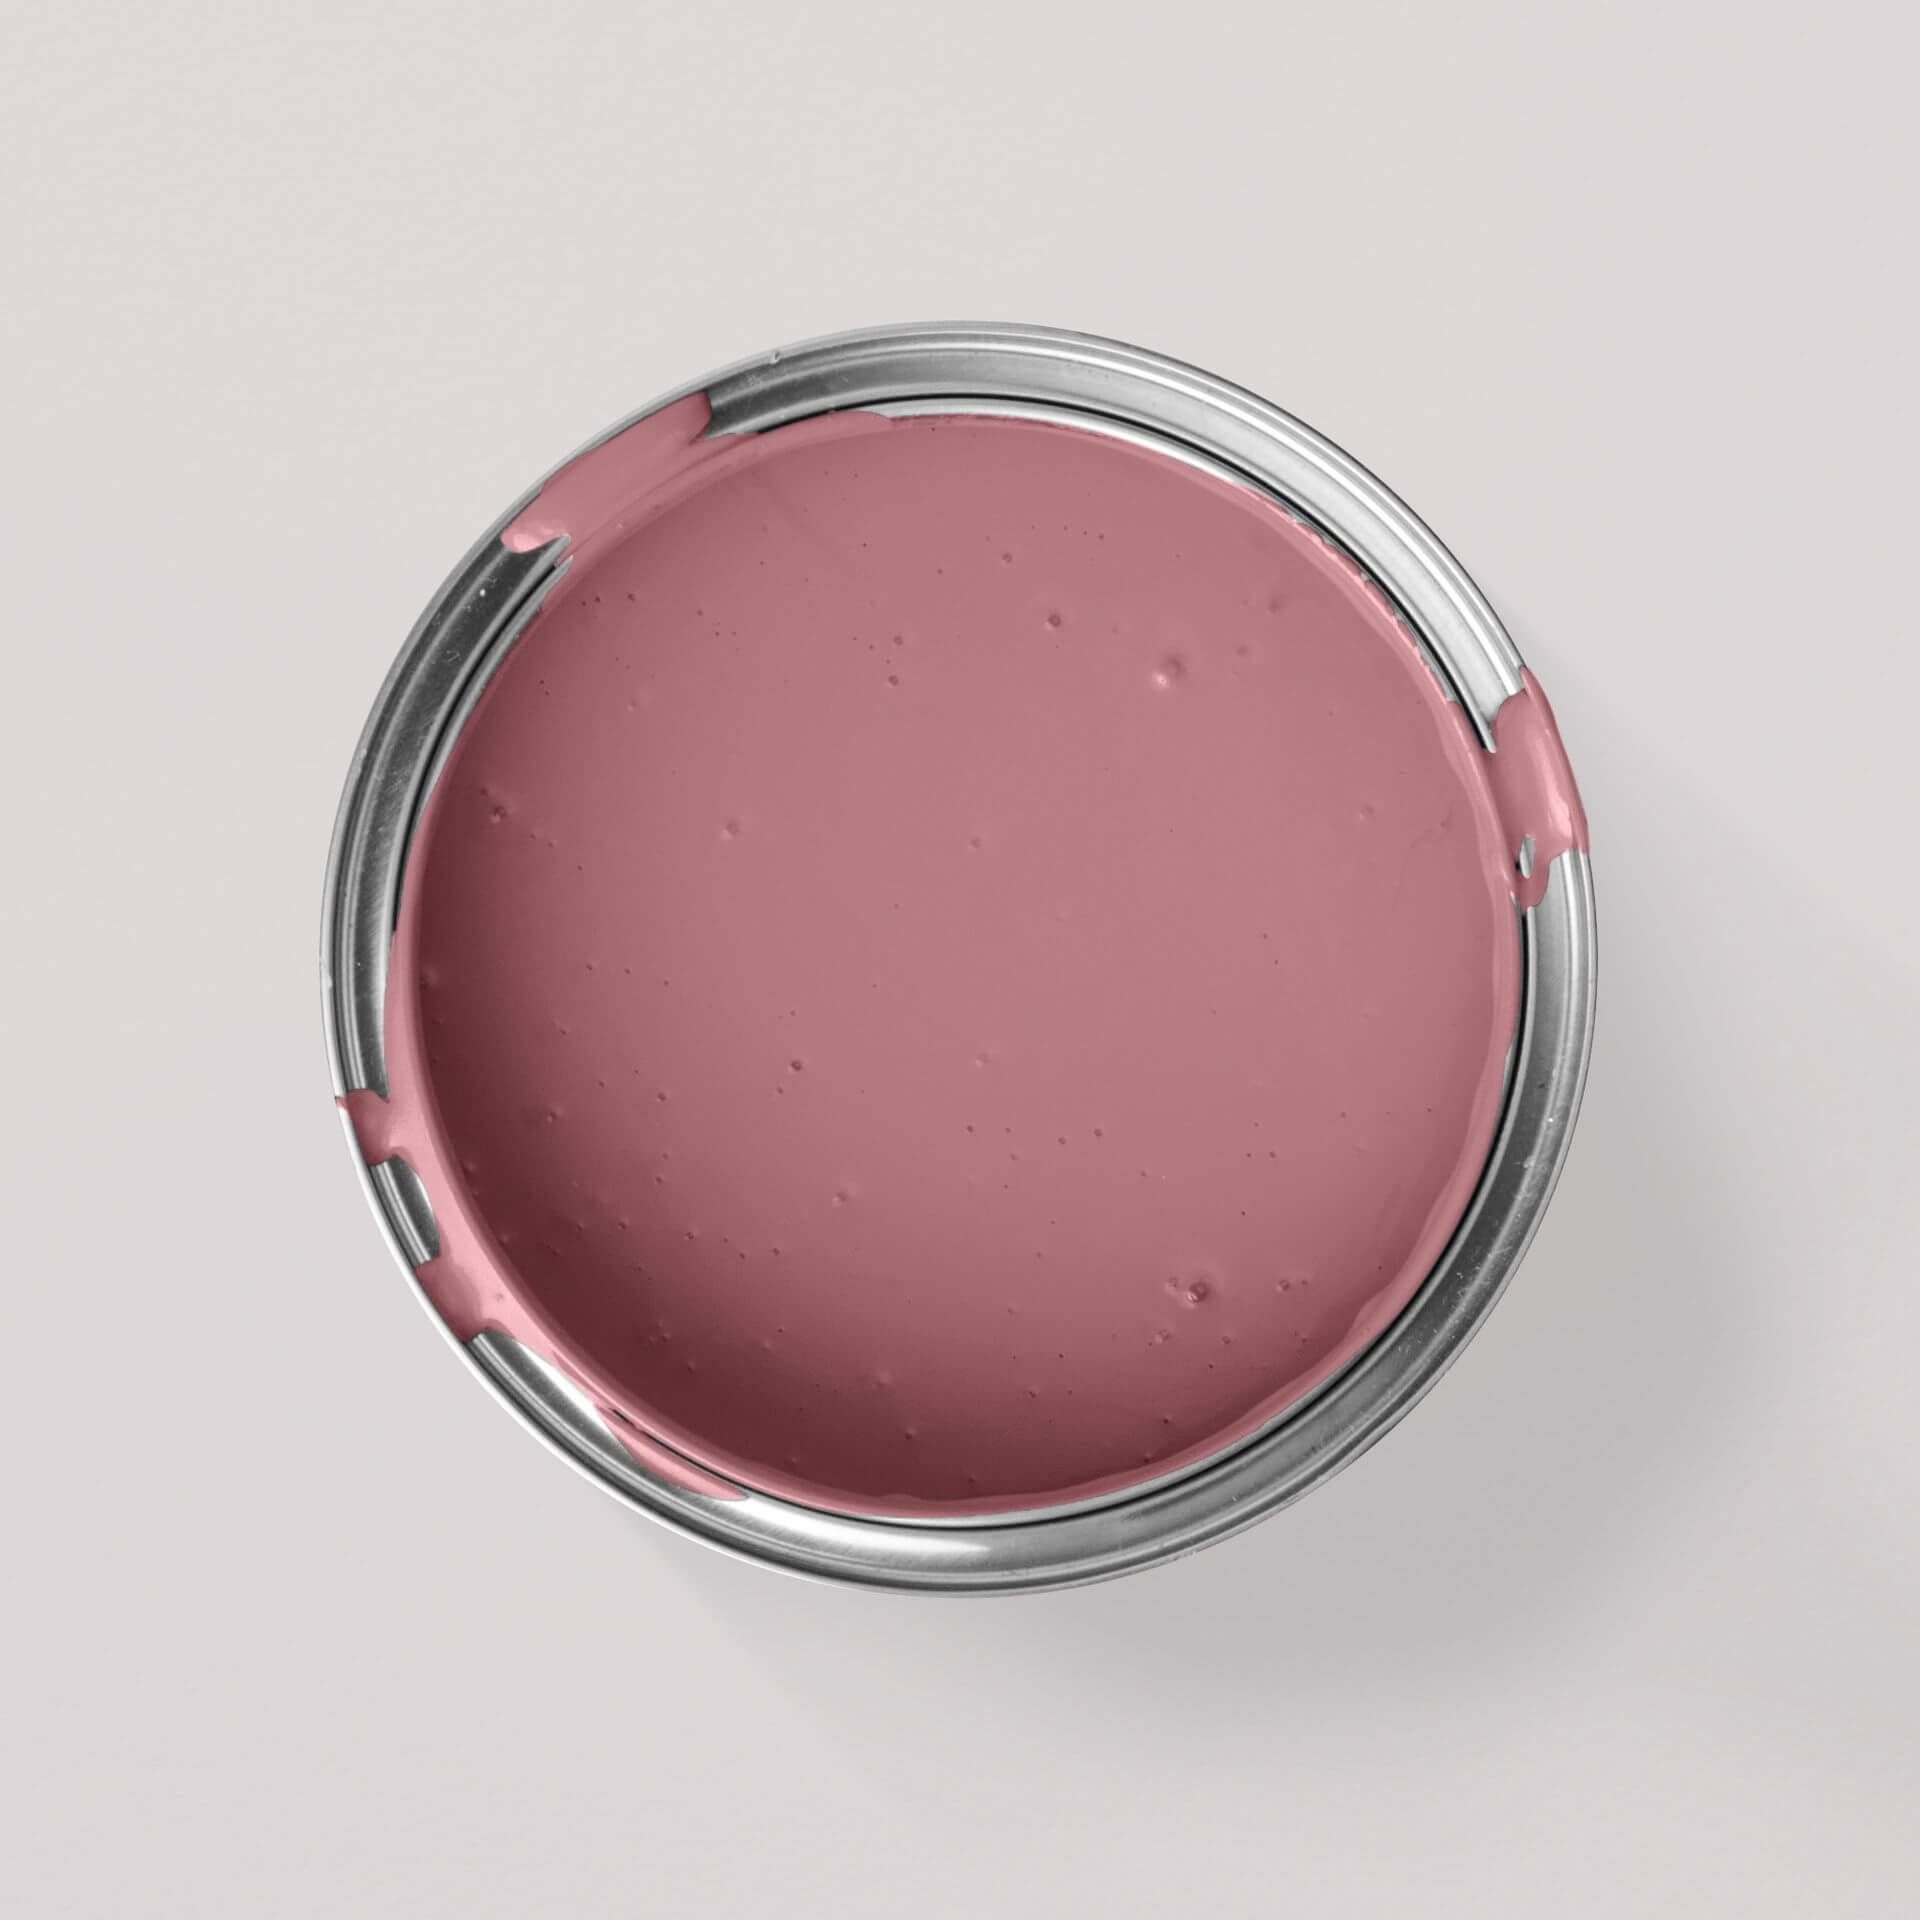
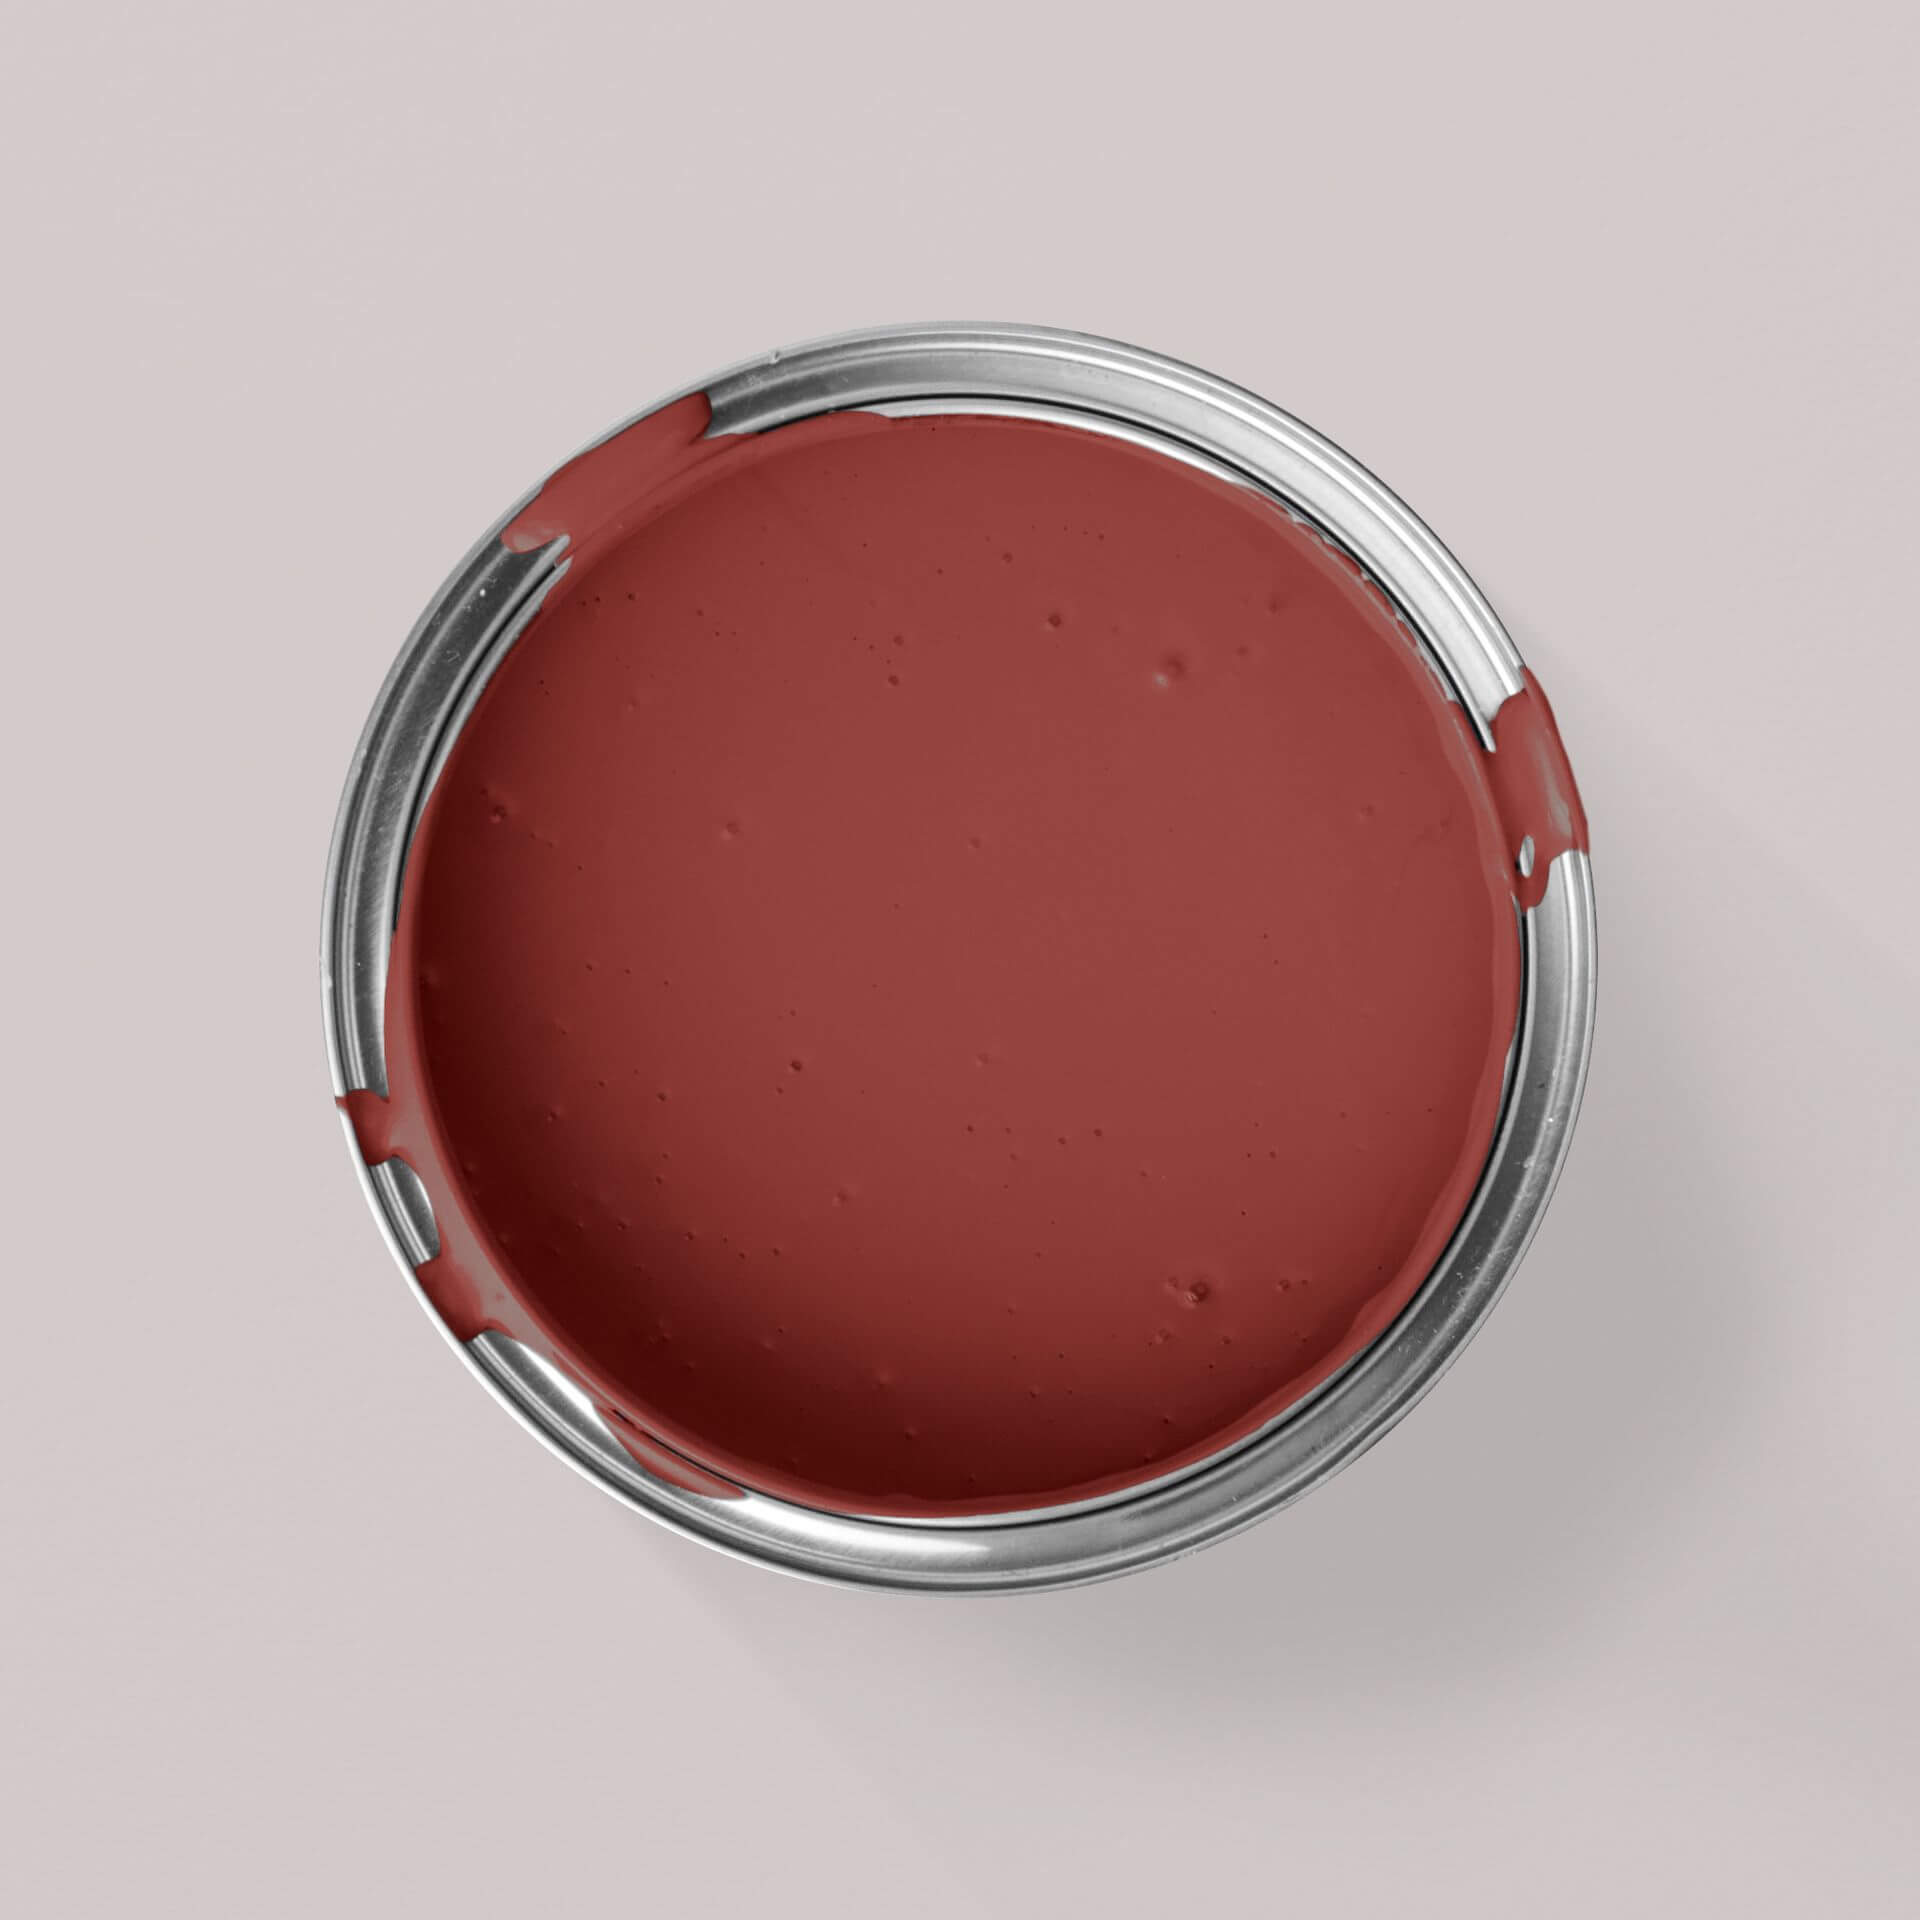
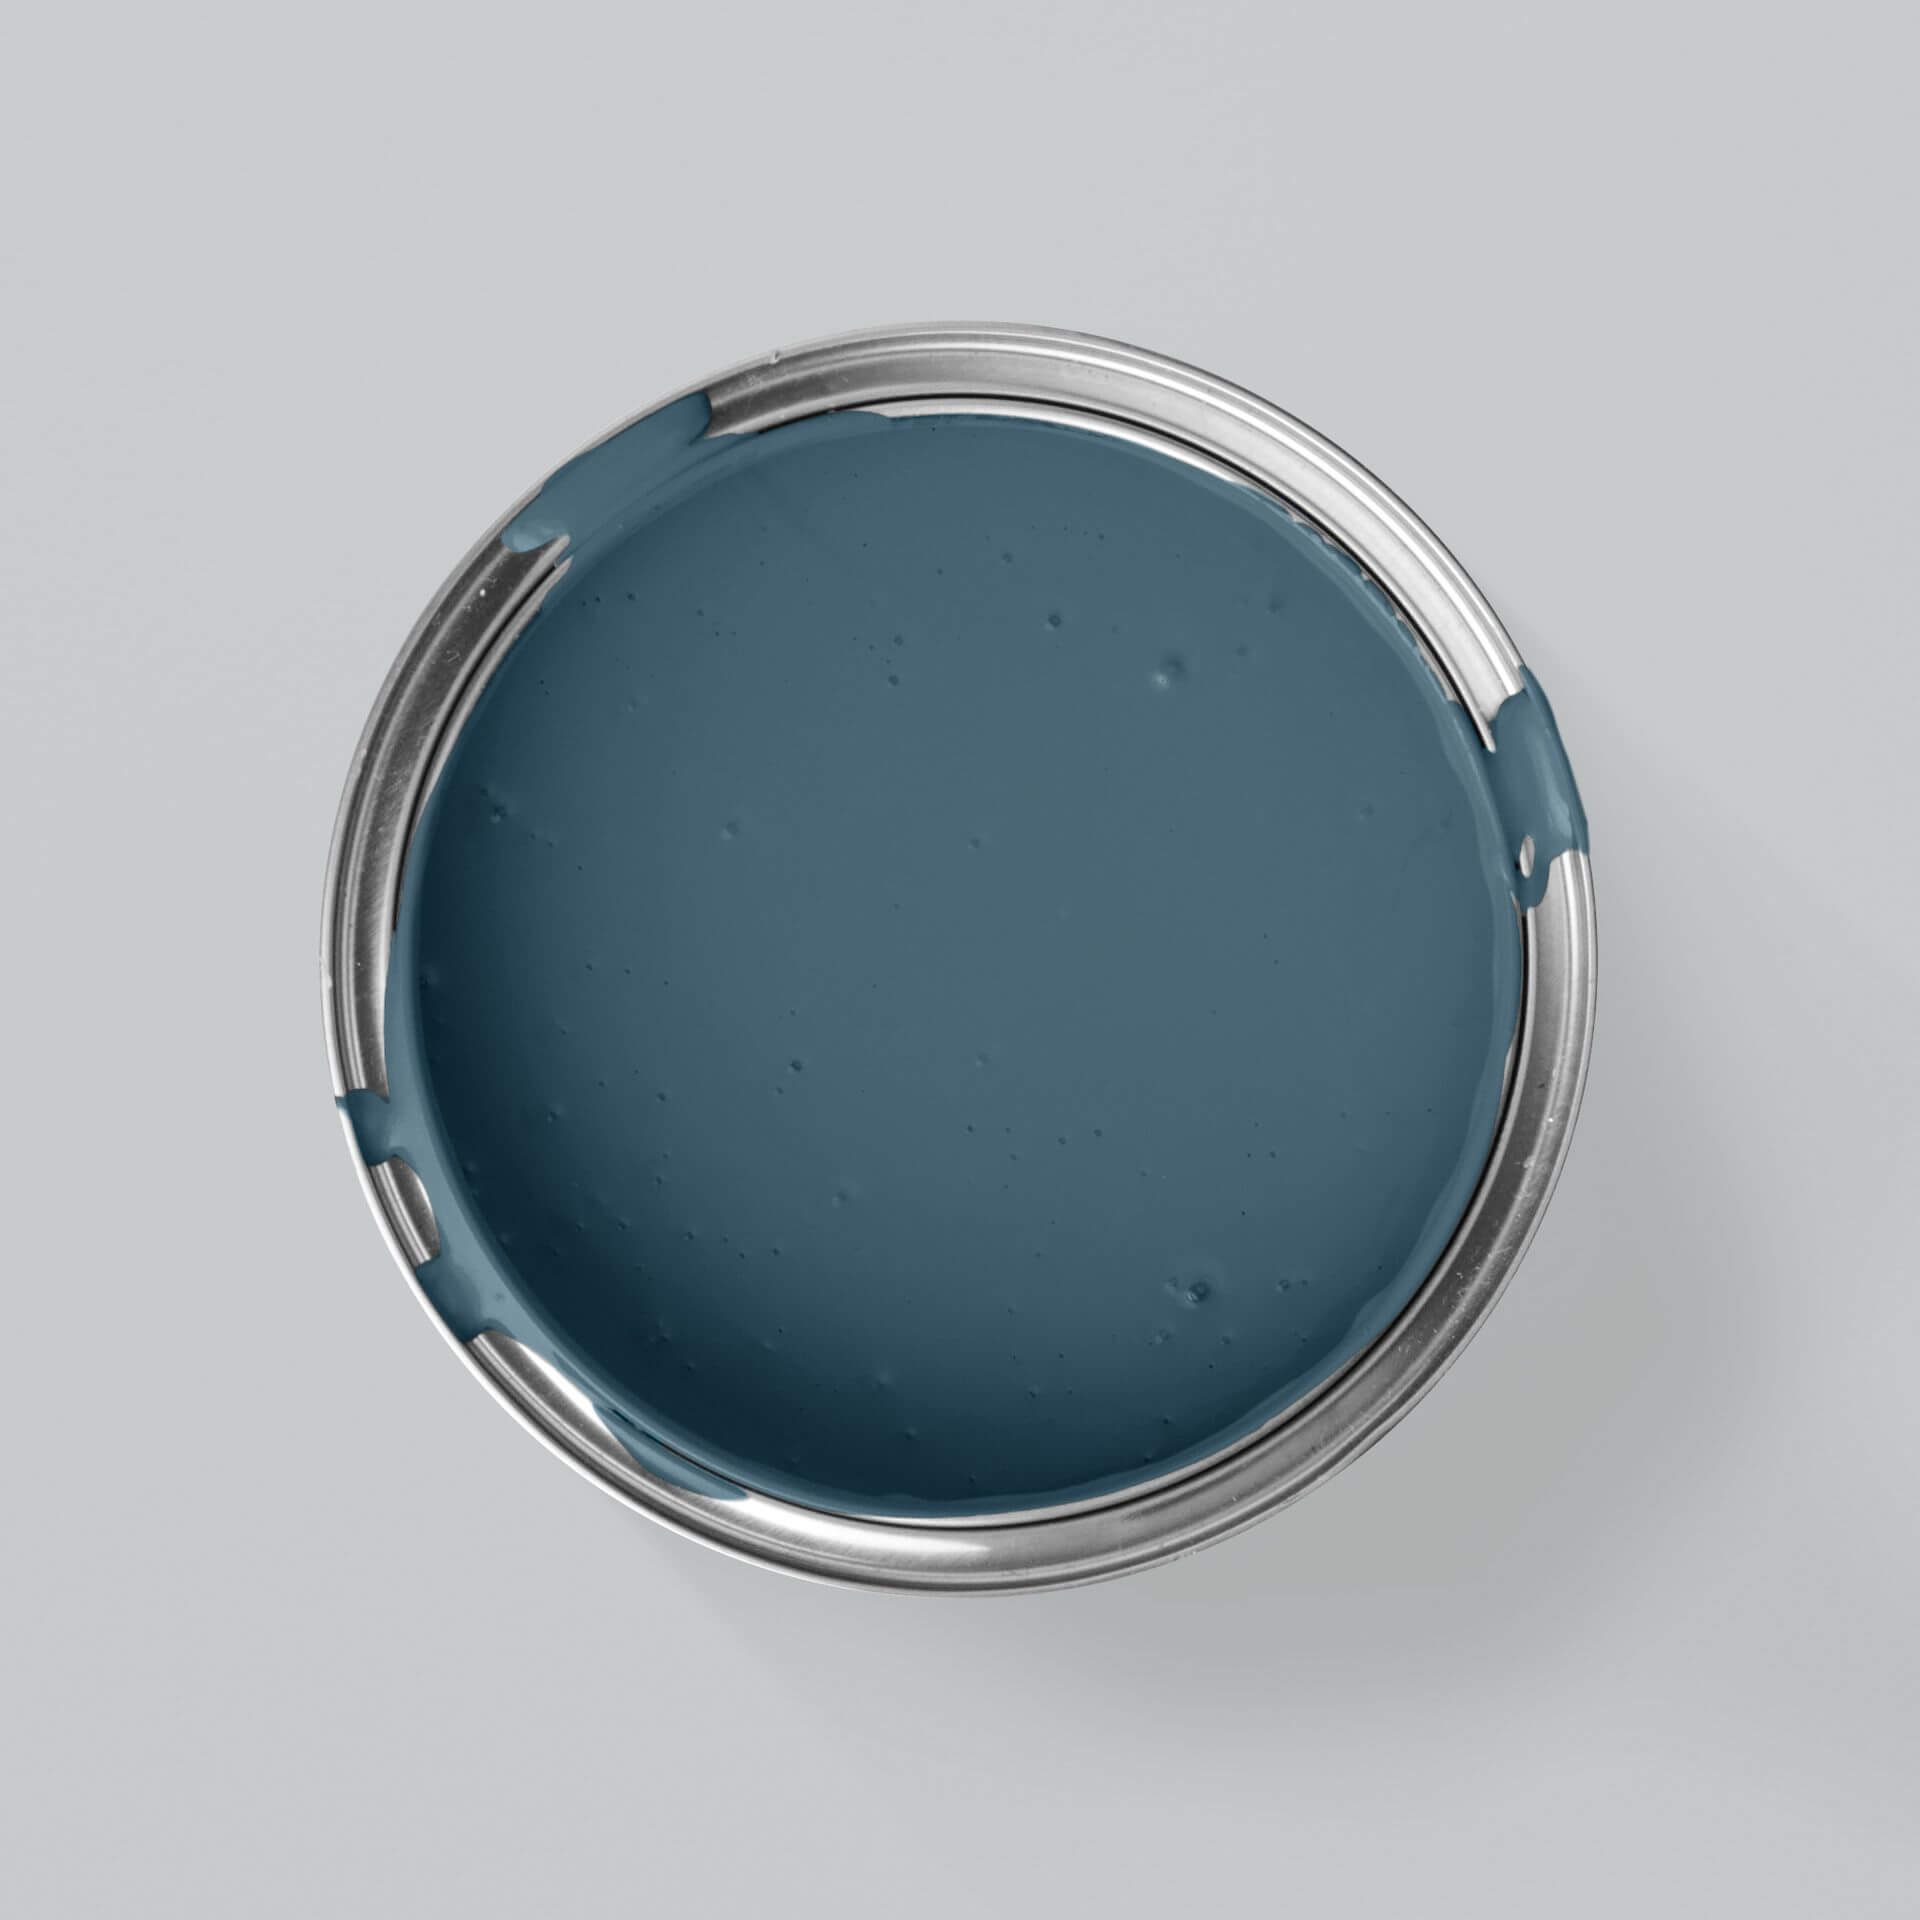
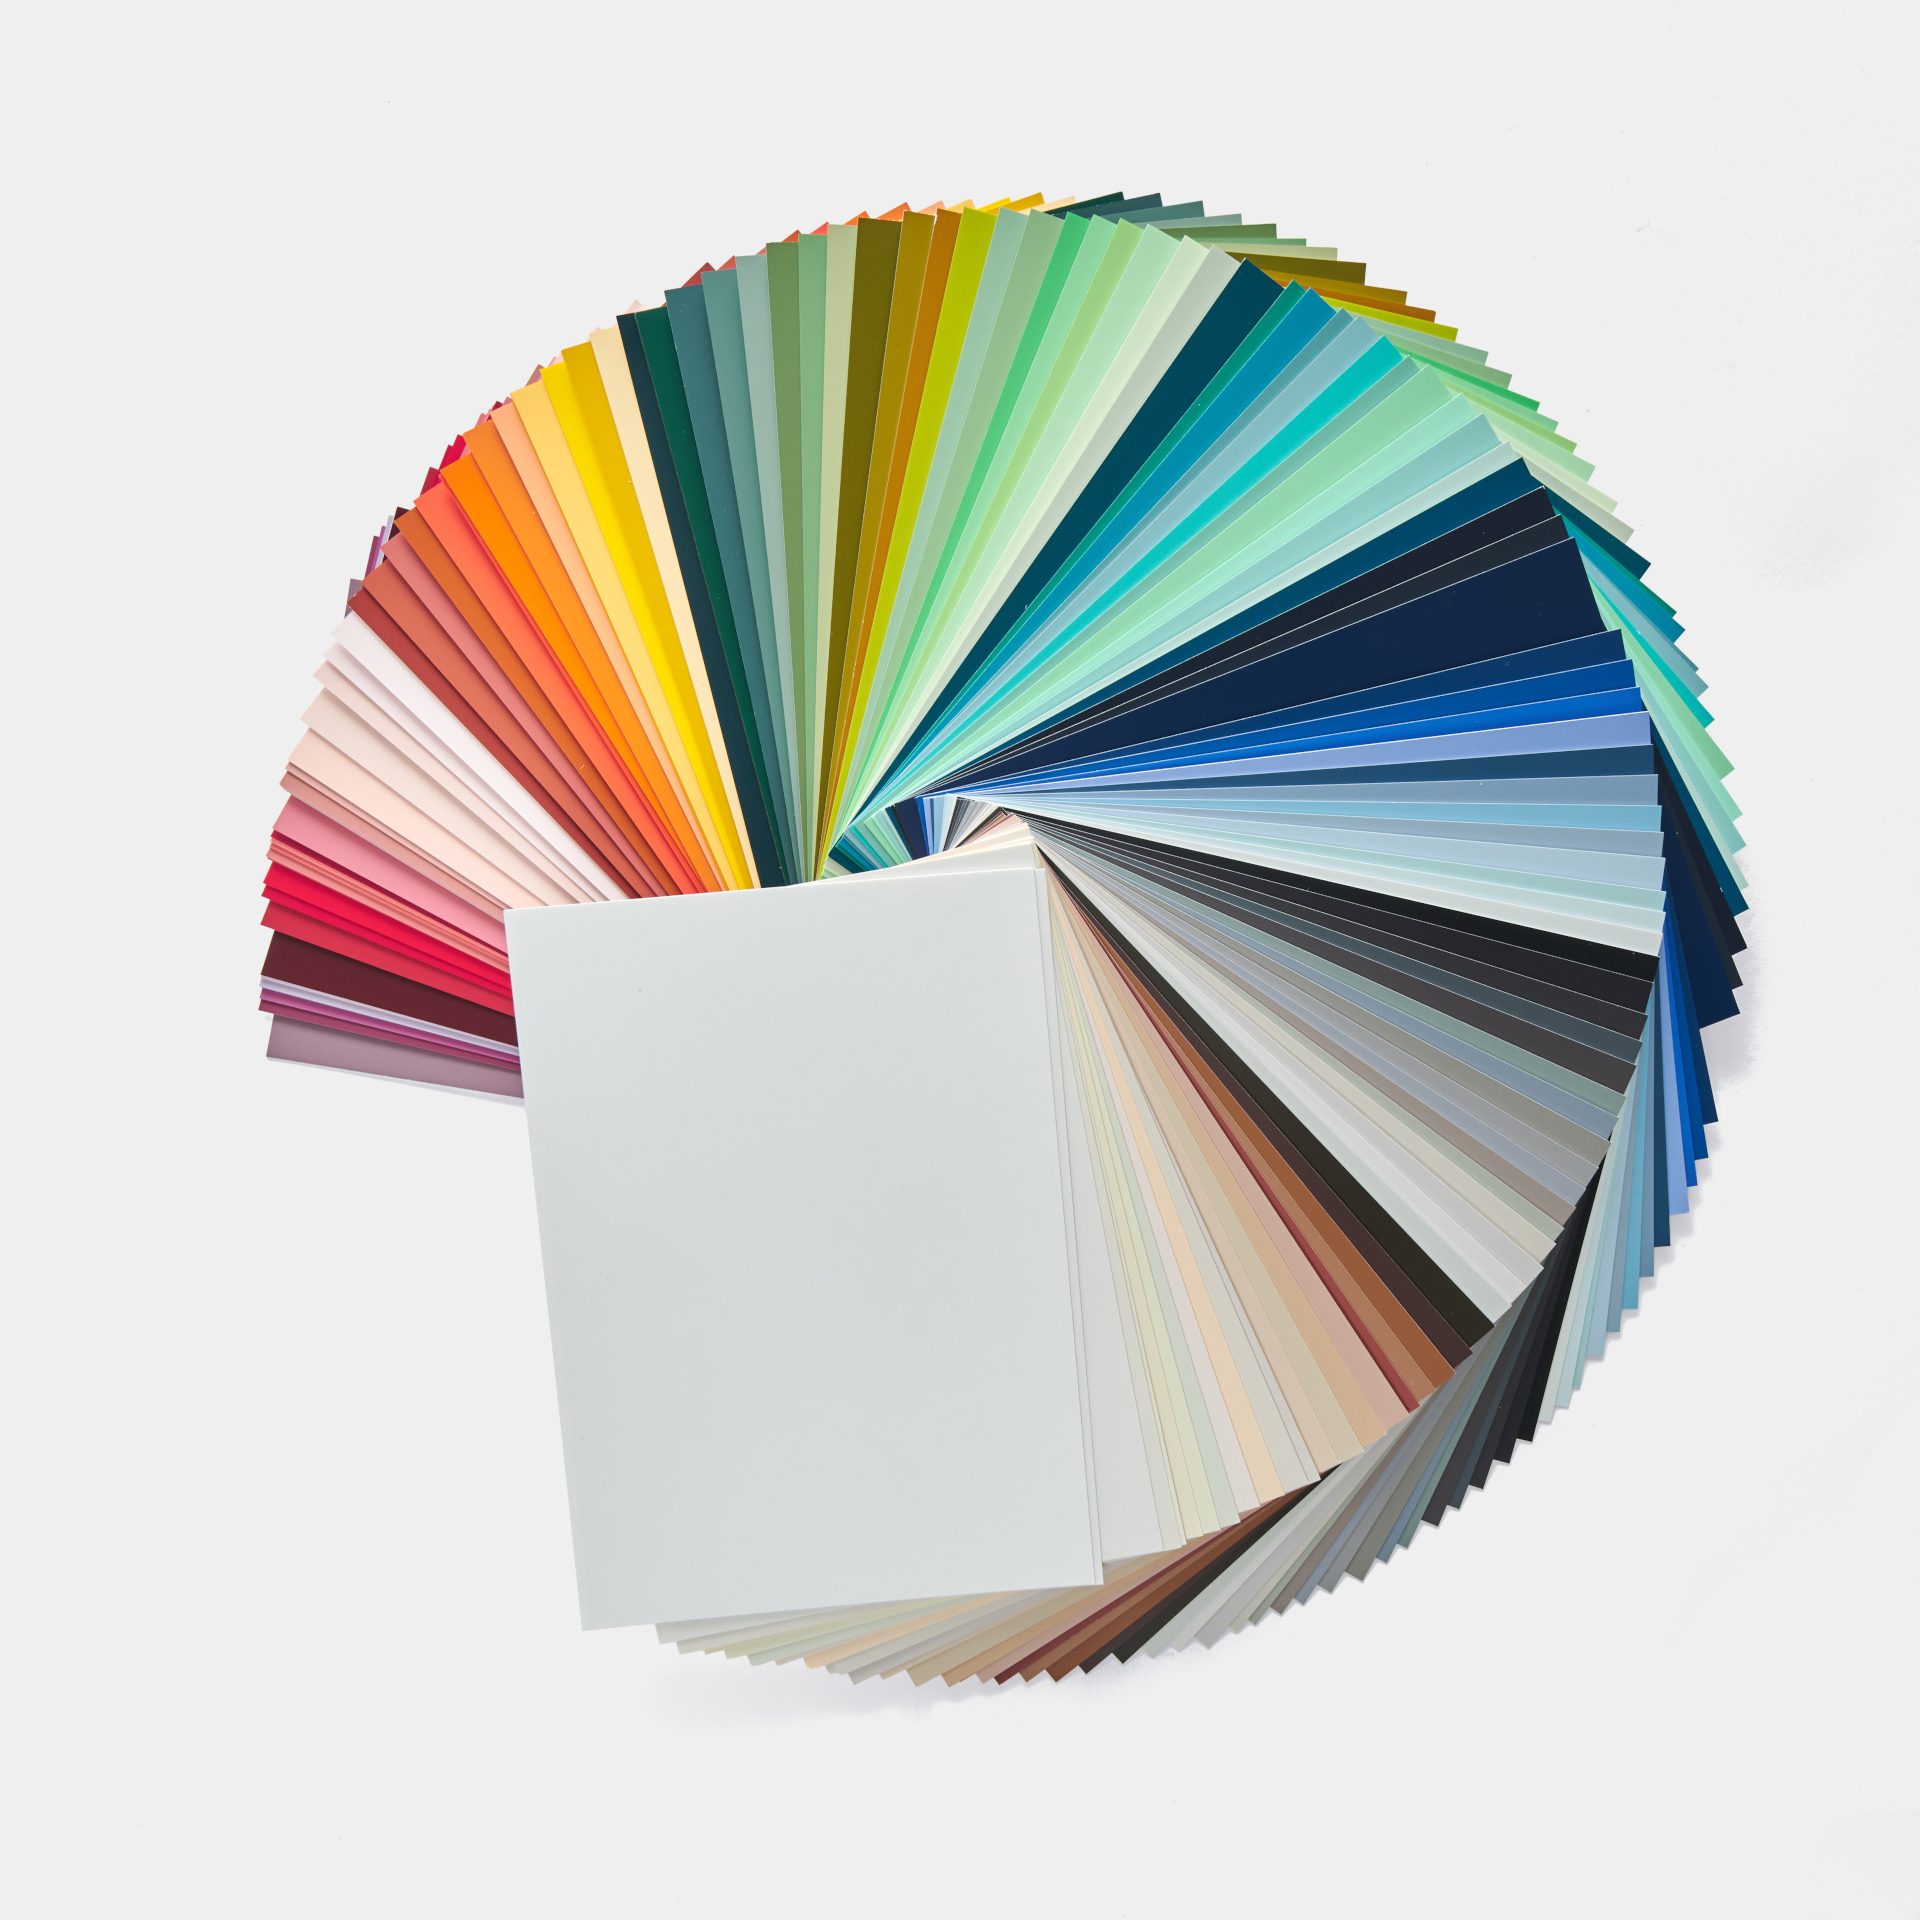
To showcase your IKEA BILLY bookcase perfectly, we recommend applying a primer first, followed by paint. Our Easy Eggshell! is a smooth, satin-finish, durable paint that is available in a wide range of gorgeous colours. Whether you prefer a delicate pastel shade like MissPompadour Beige with Peach, or a vibrant colour like MissPompadour Orange with Tangerine is your absolute favourite.
Your painted furniture will be touch-dry after a few hours and will reach its full durability during the curing time of around 10–14 days – giving you a robust, everyday surface that you'll love for years to come! If your furniture is subject to heavier wear and tear, we recommend sealing the finished coat with chalk varnish as a final step.
BILLY shelf hack: step-by-step instructions from MissPompadour
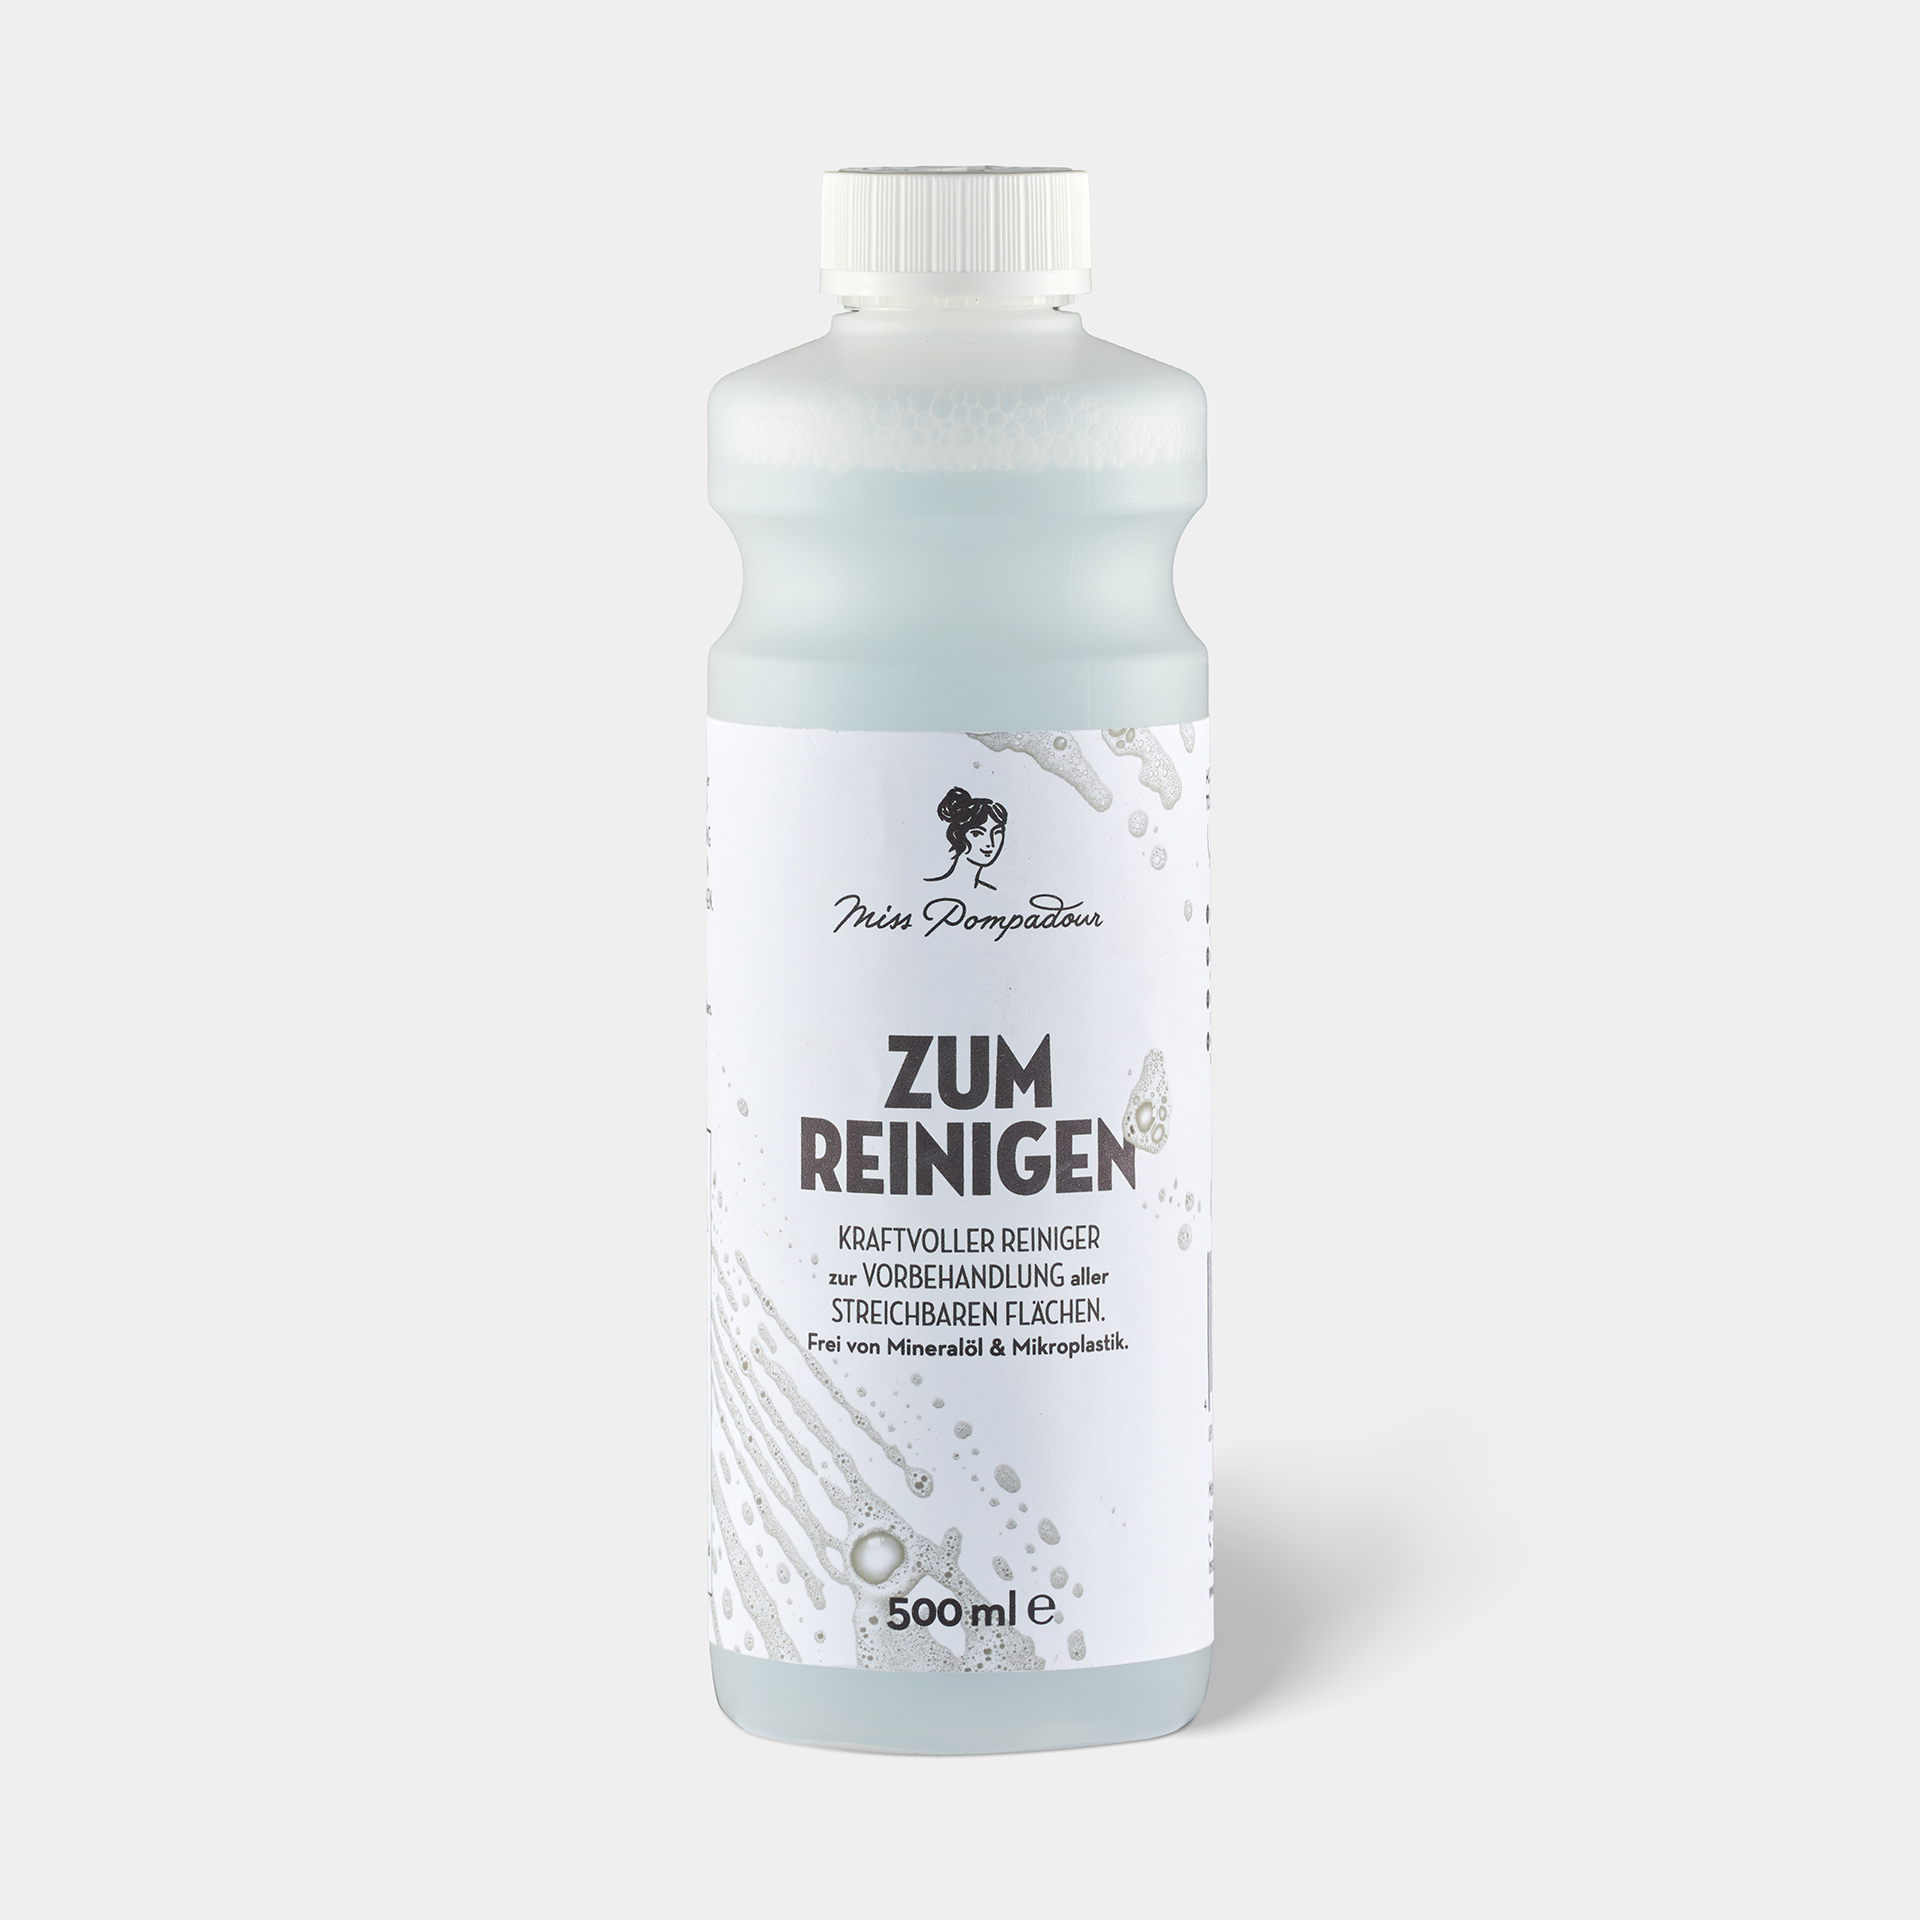
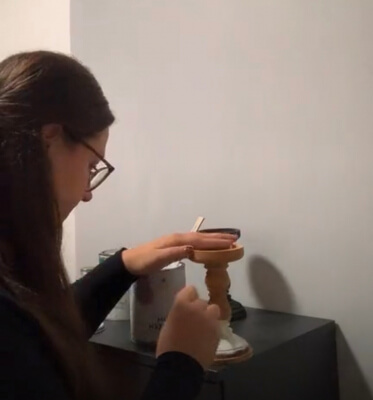
Step 1: Cleaning
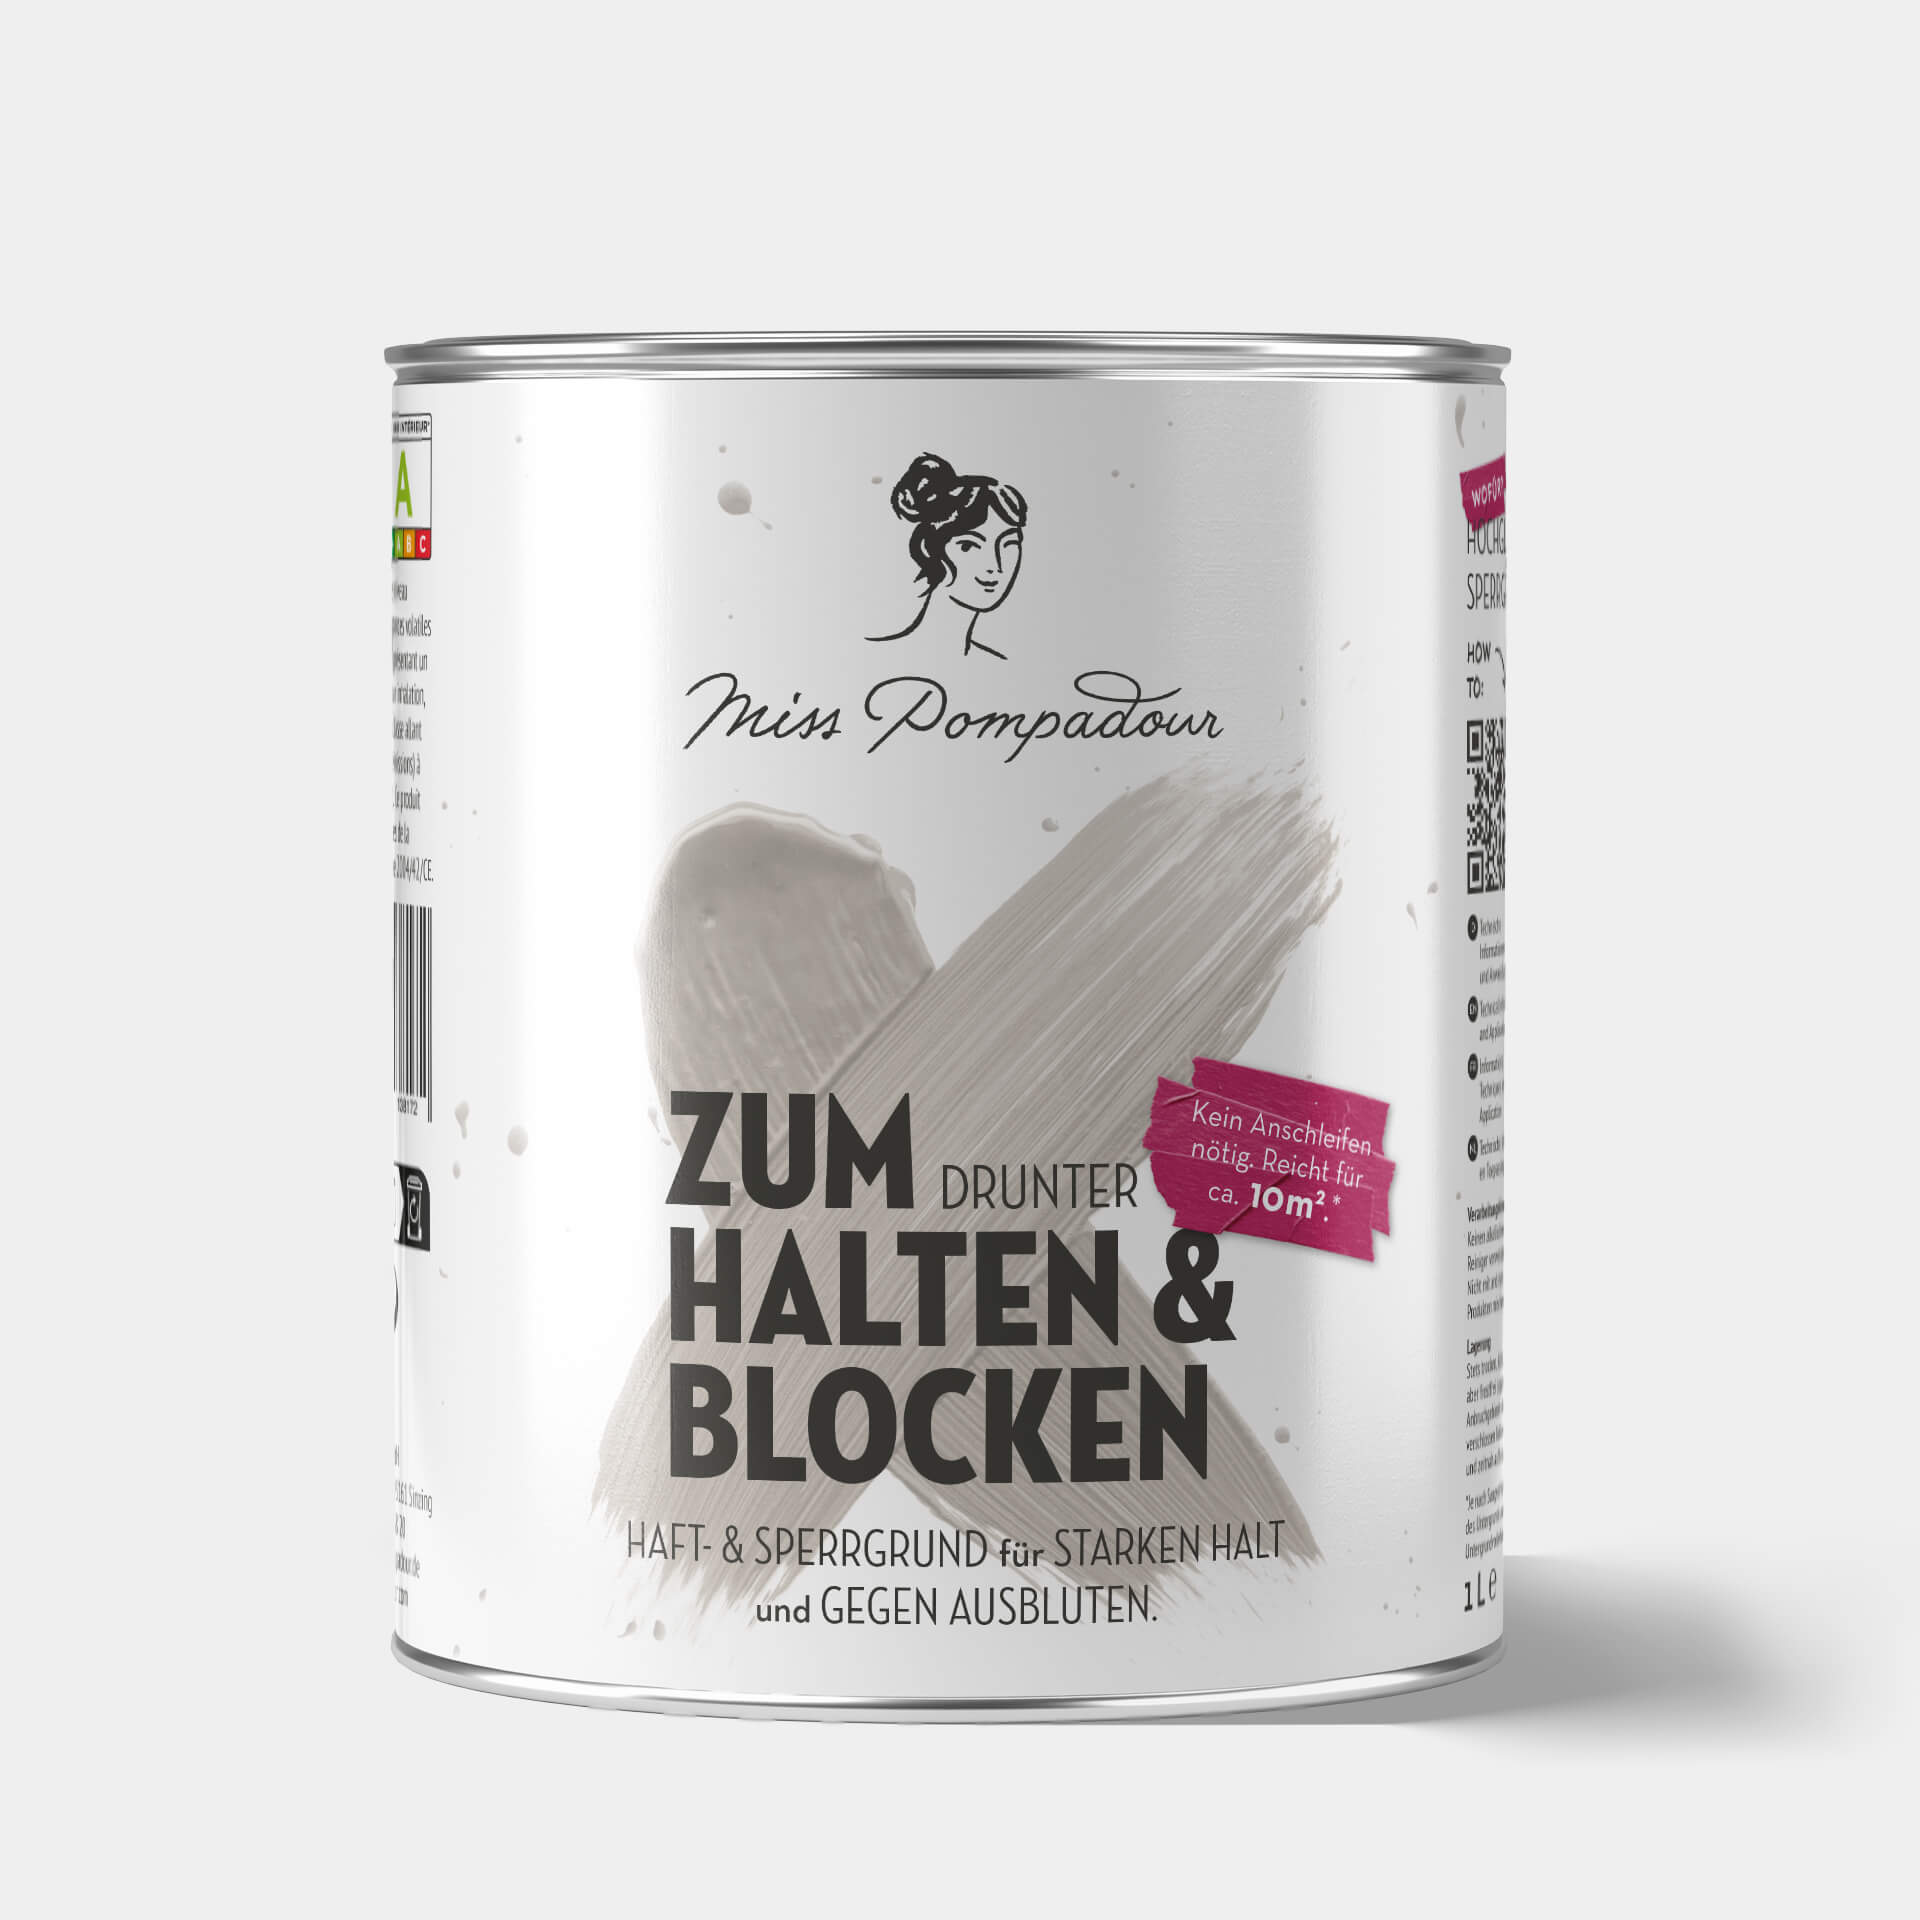
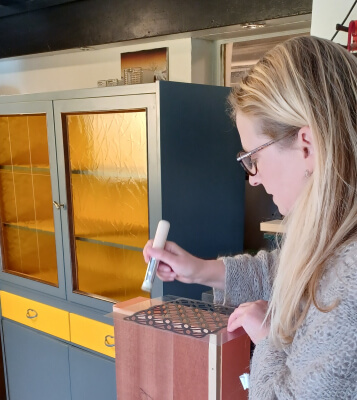
Step 2: Priming
Step 3: Painting
Step 4: Leave to dry
Tip: If you use your BILLY shelf as a shoe rack, for example, or if it is subject to heavy use in other ways, we recommend applying an additional layer of MissPompadour To Seal, at least on the shelves. This will make your coating even more impact- and scratch-resistant and longer-lasting!
FAQ about the IKEA BILLY shelf hack
So it doesn't work completely without work and that's why you probably have some questions about upcycling IKEA BILLY shelves.
How can I make my BILLY bookshelf look expensive?
Giving your IKEA BILLY bookcase a makeover is incredibly simple, and a fresh coat of paint will completely transform it. Choose a bold contrast to your wall paint, or paint it tone-on-tone to blend seamlessly with the wall behind it. Another great option is to make the bookcase multi-coloured. Paint all the front-facing edges in a different shade to the shelves and side panels, or simply add a pop of vibrant colour to the back panel. It's a quick and easy way to turn your IKEA BILLY bookcase into a real designer piece for your living room!
Painting BILLY shelves: Which colour lasts?
All paints from MissPompadour are perfect for upcycling your IKEA BILLY bookcase. An additional undercoat with MissPompadour To Bond & Block guarantees that the paint adheres perfectly to the smooth plastic veneer. Once your paint has fully cured for 14 days, the finish will be incredibly durable and hard-wearing.
The tools you need to paint an IKEA BILLY bookcase
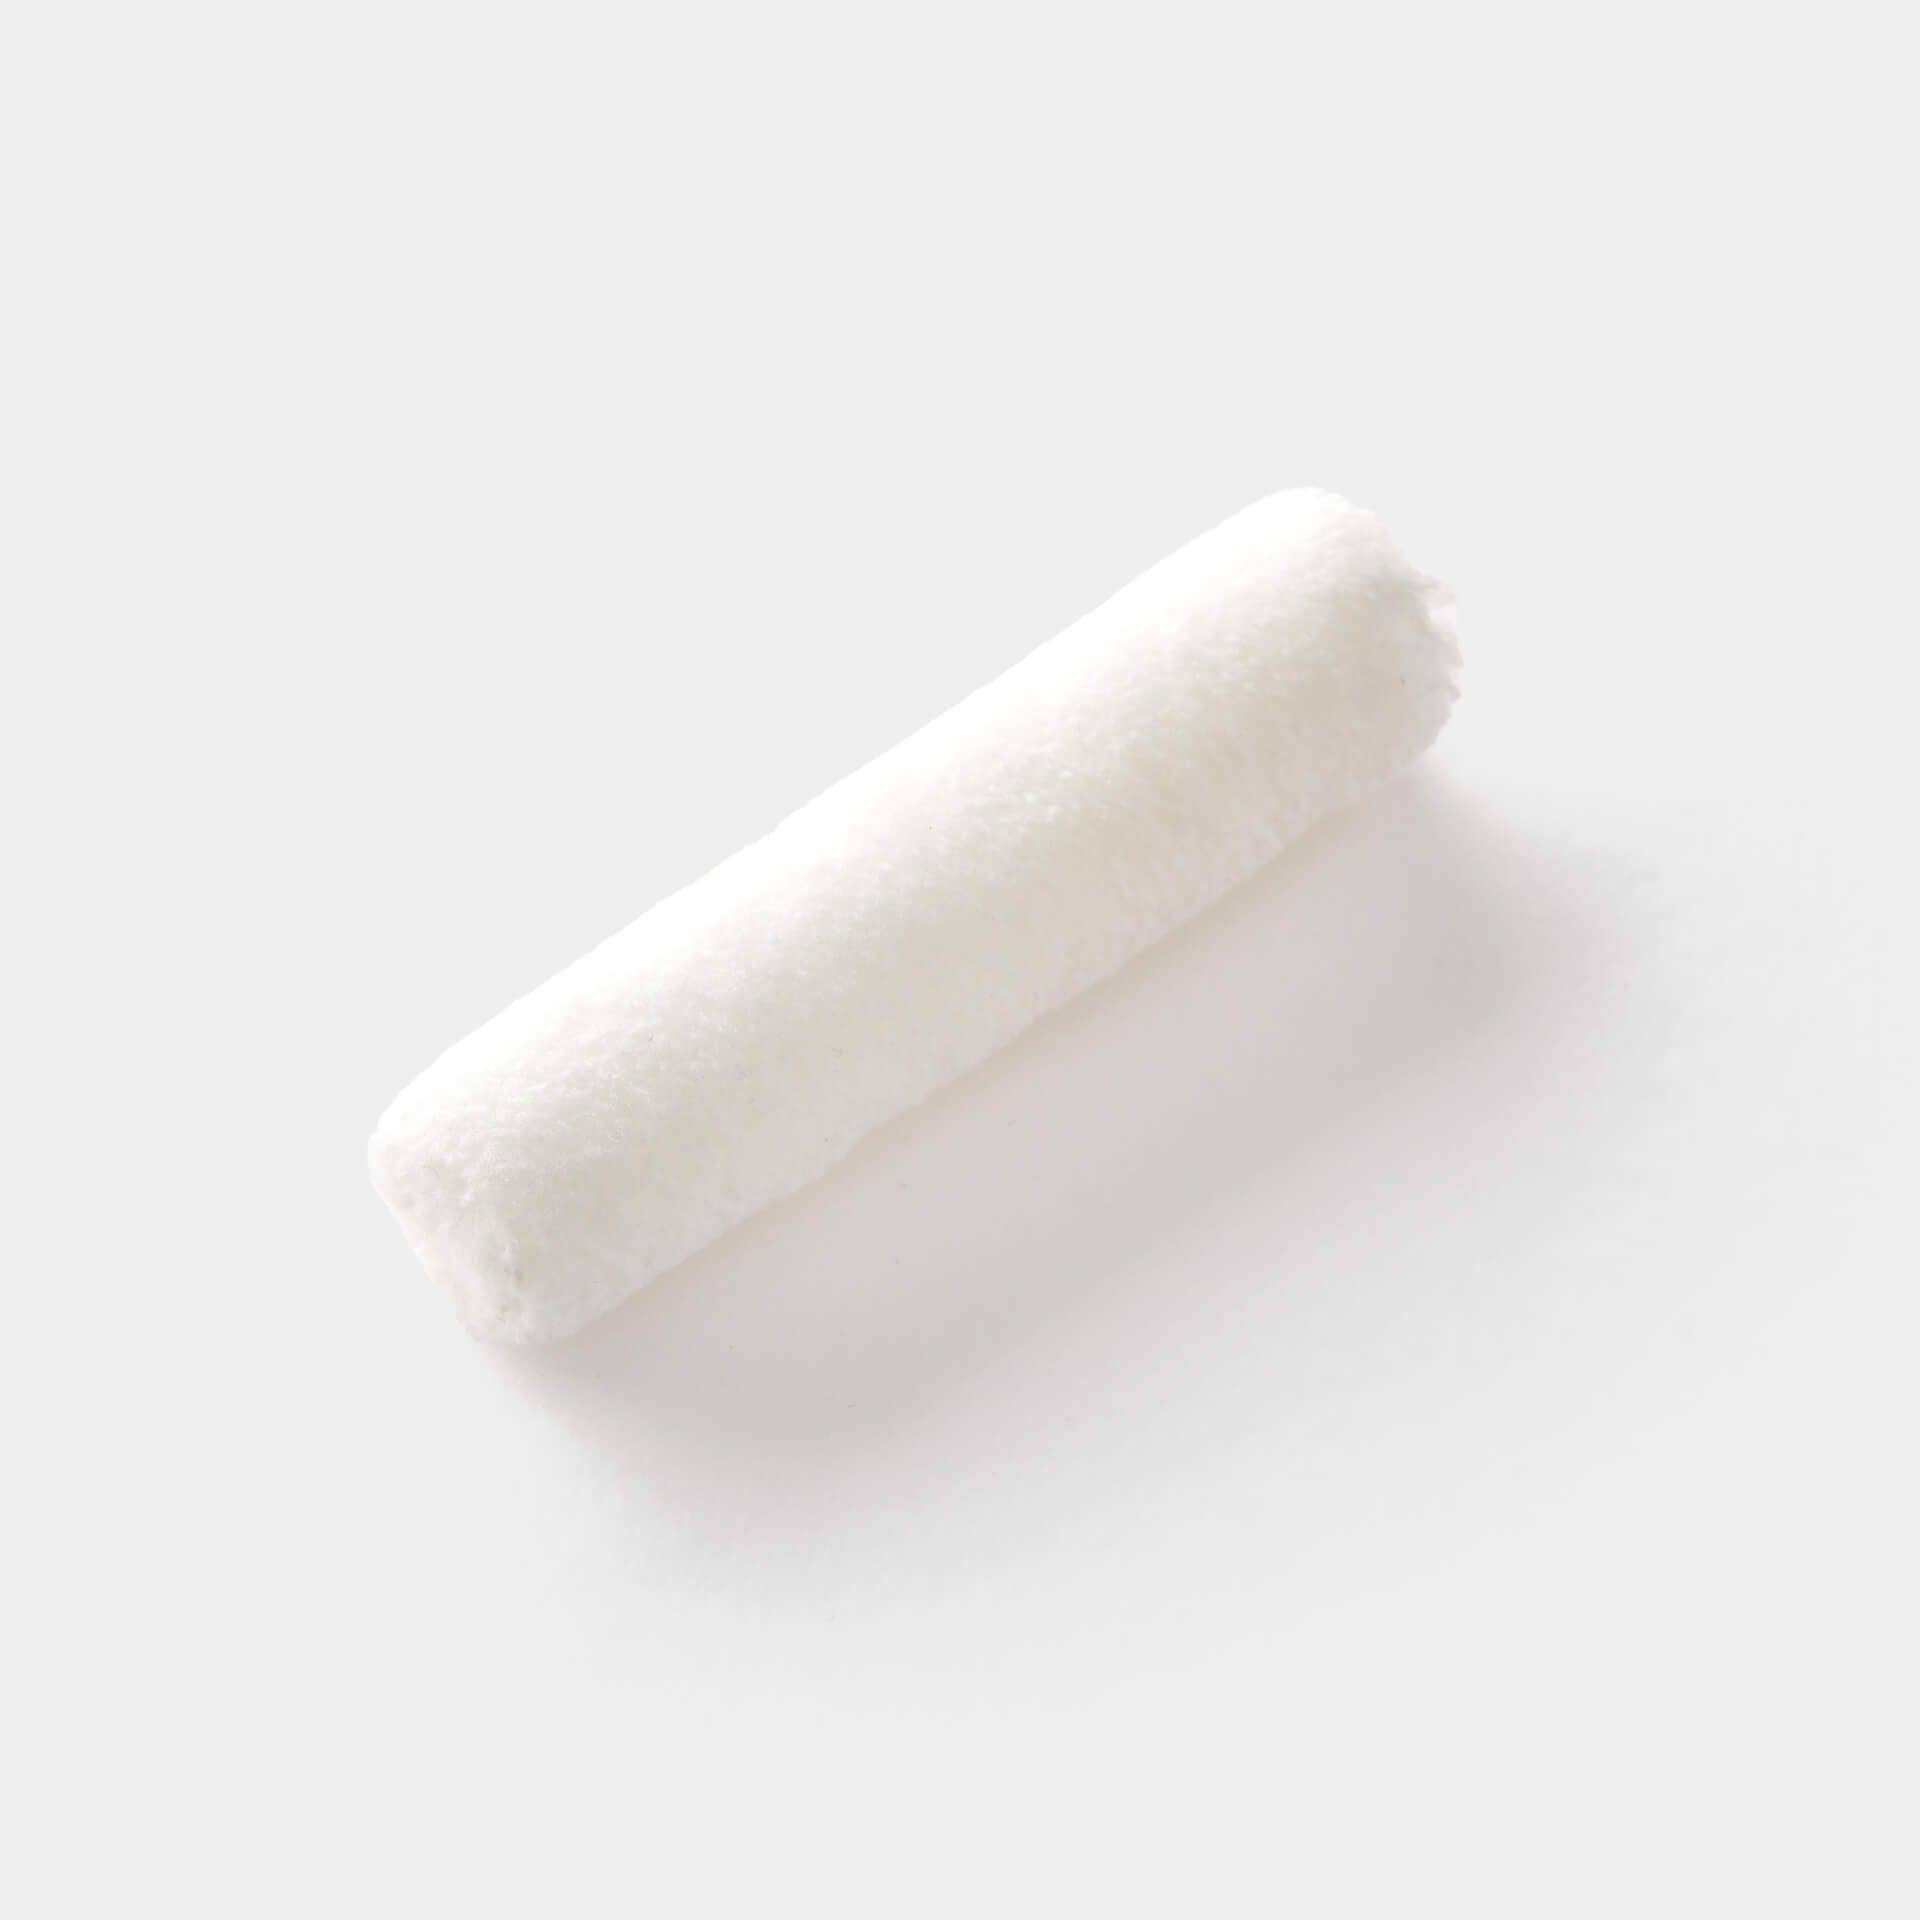
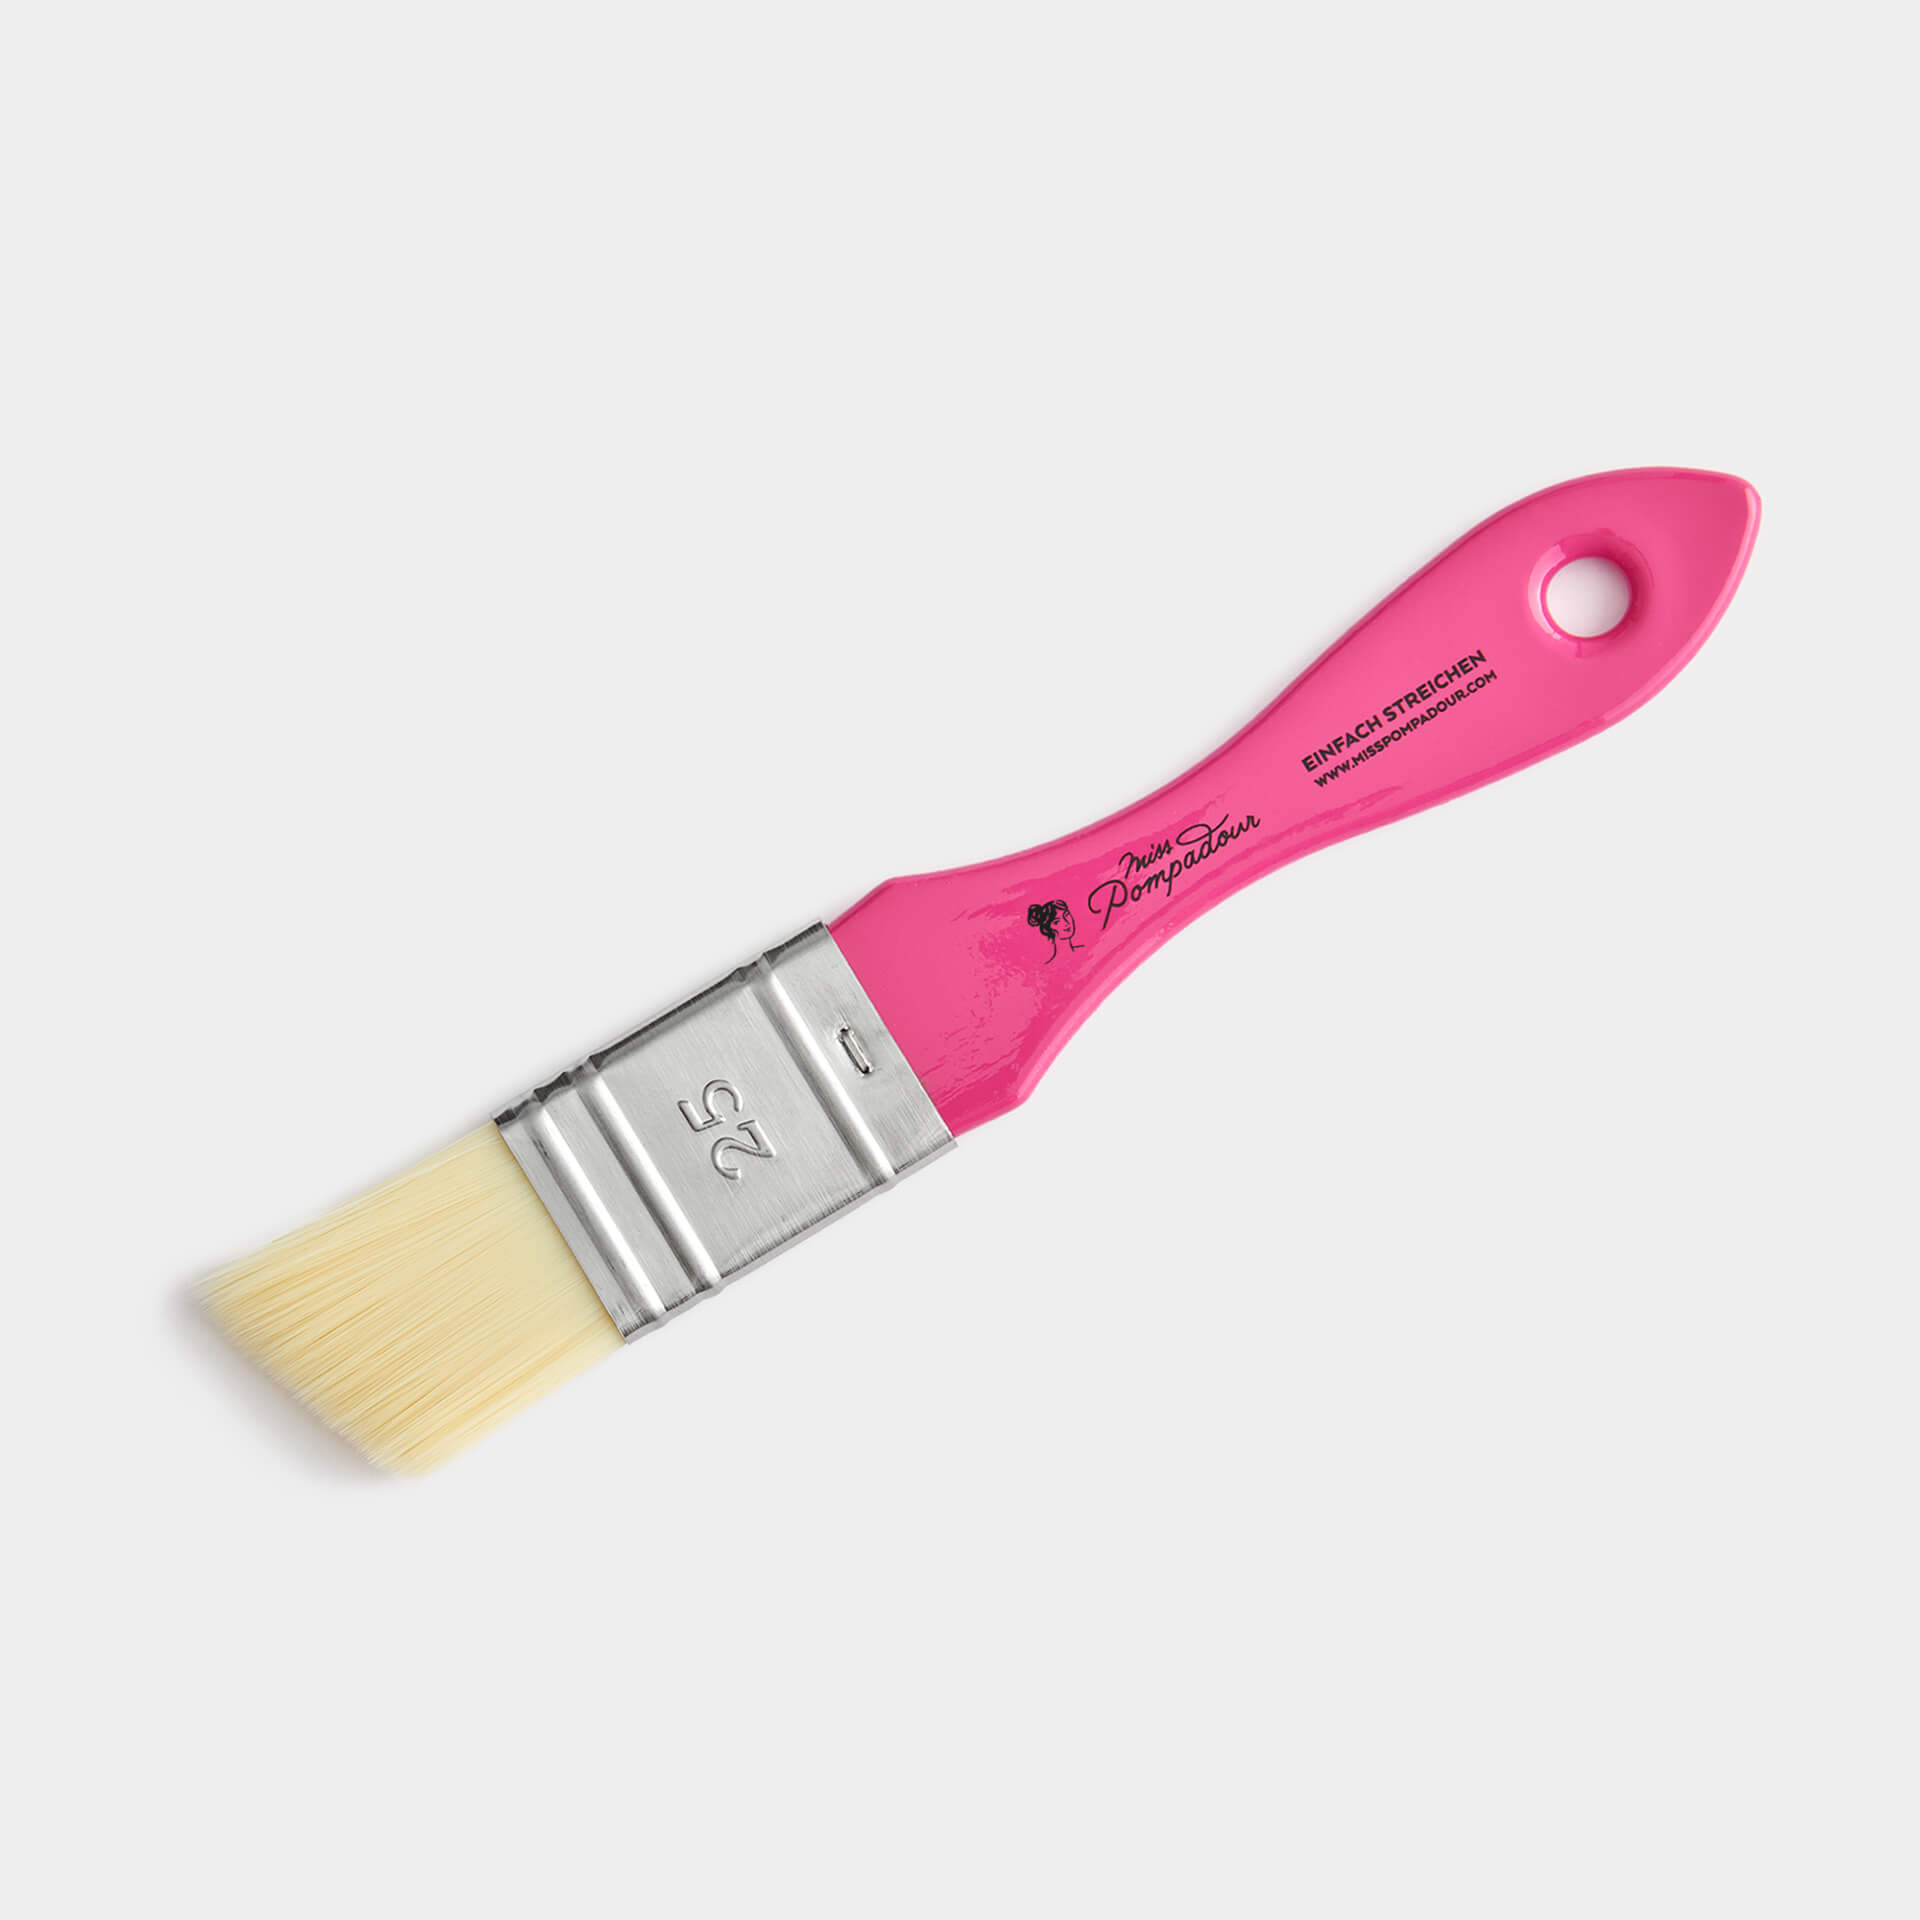
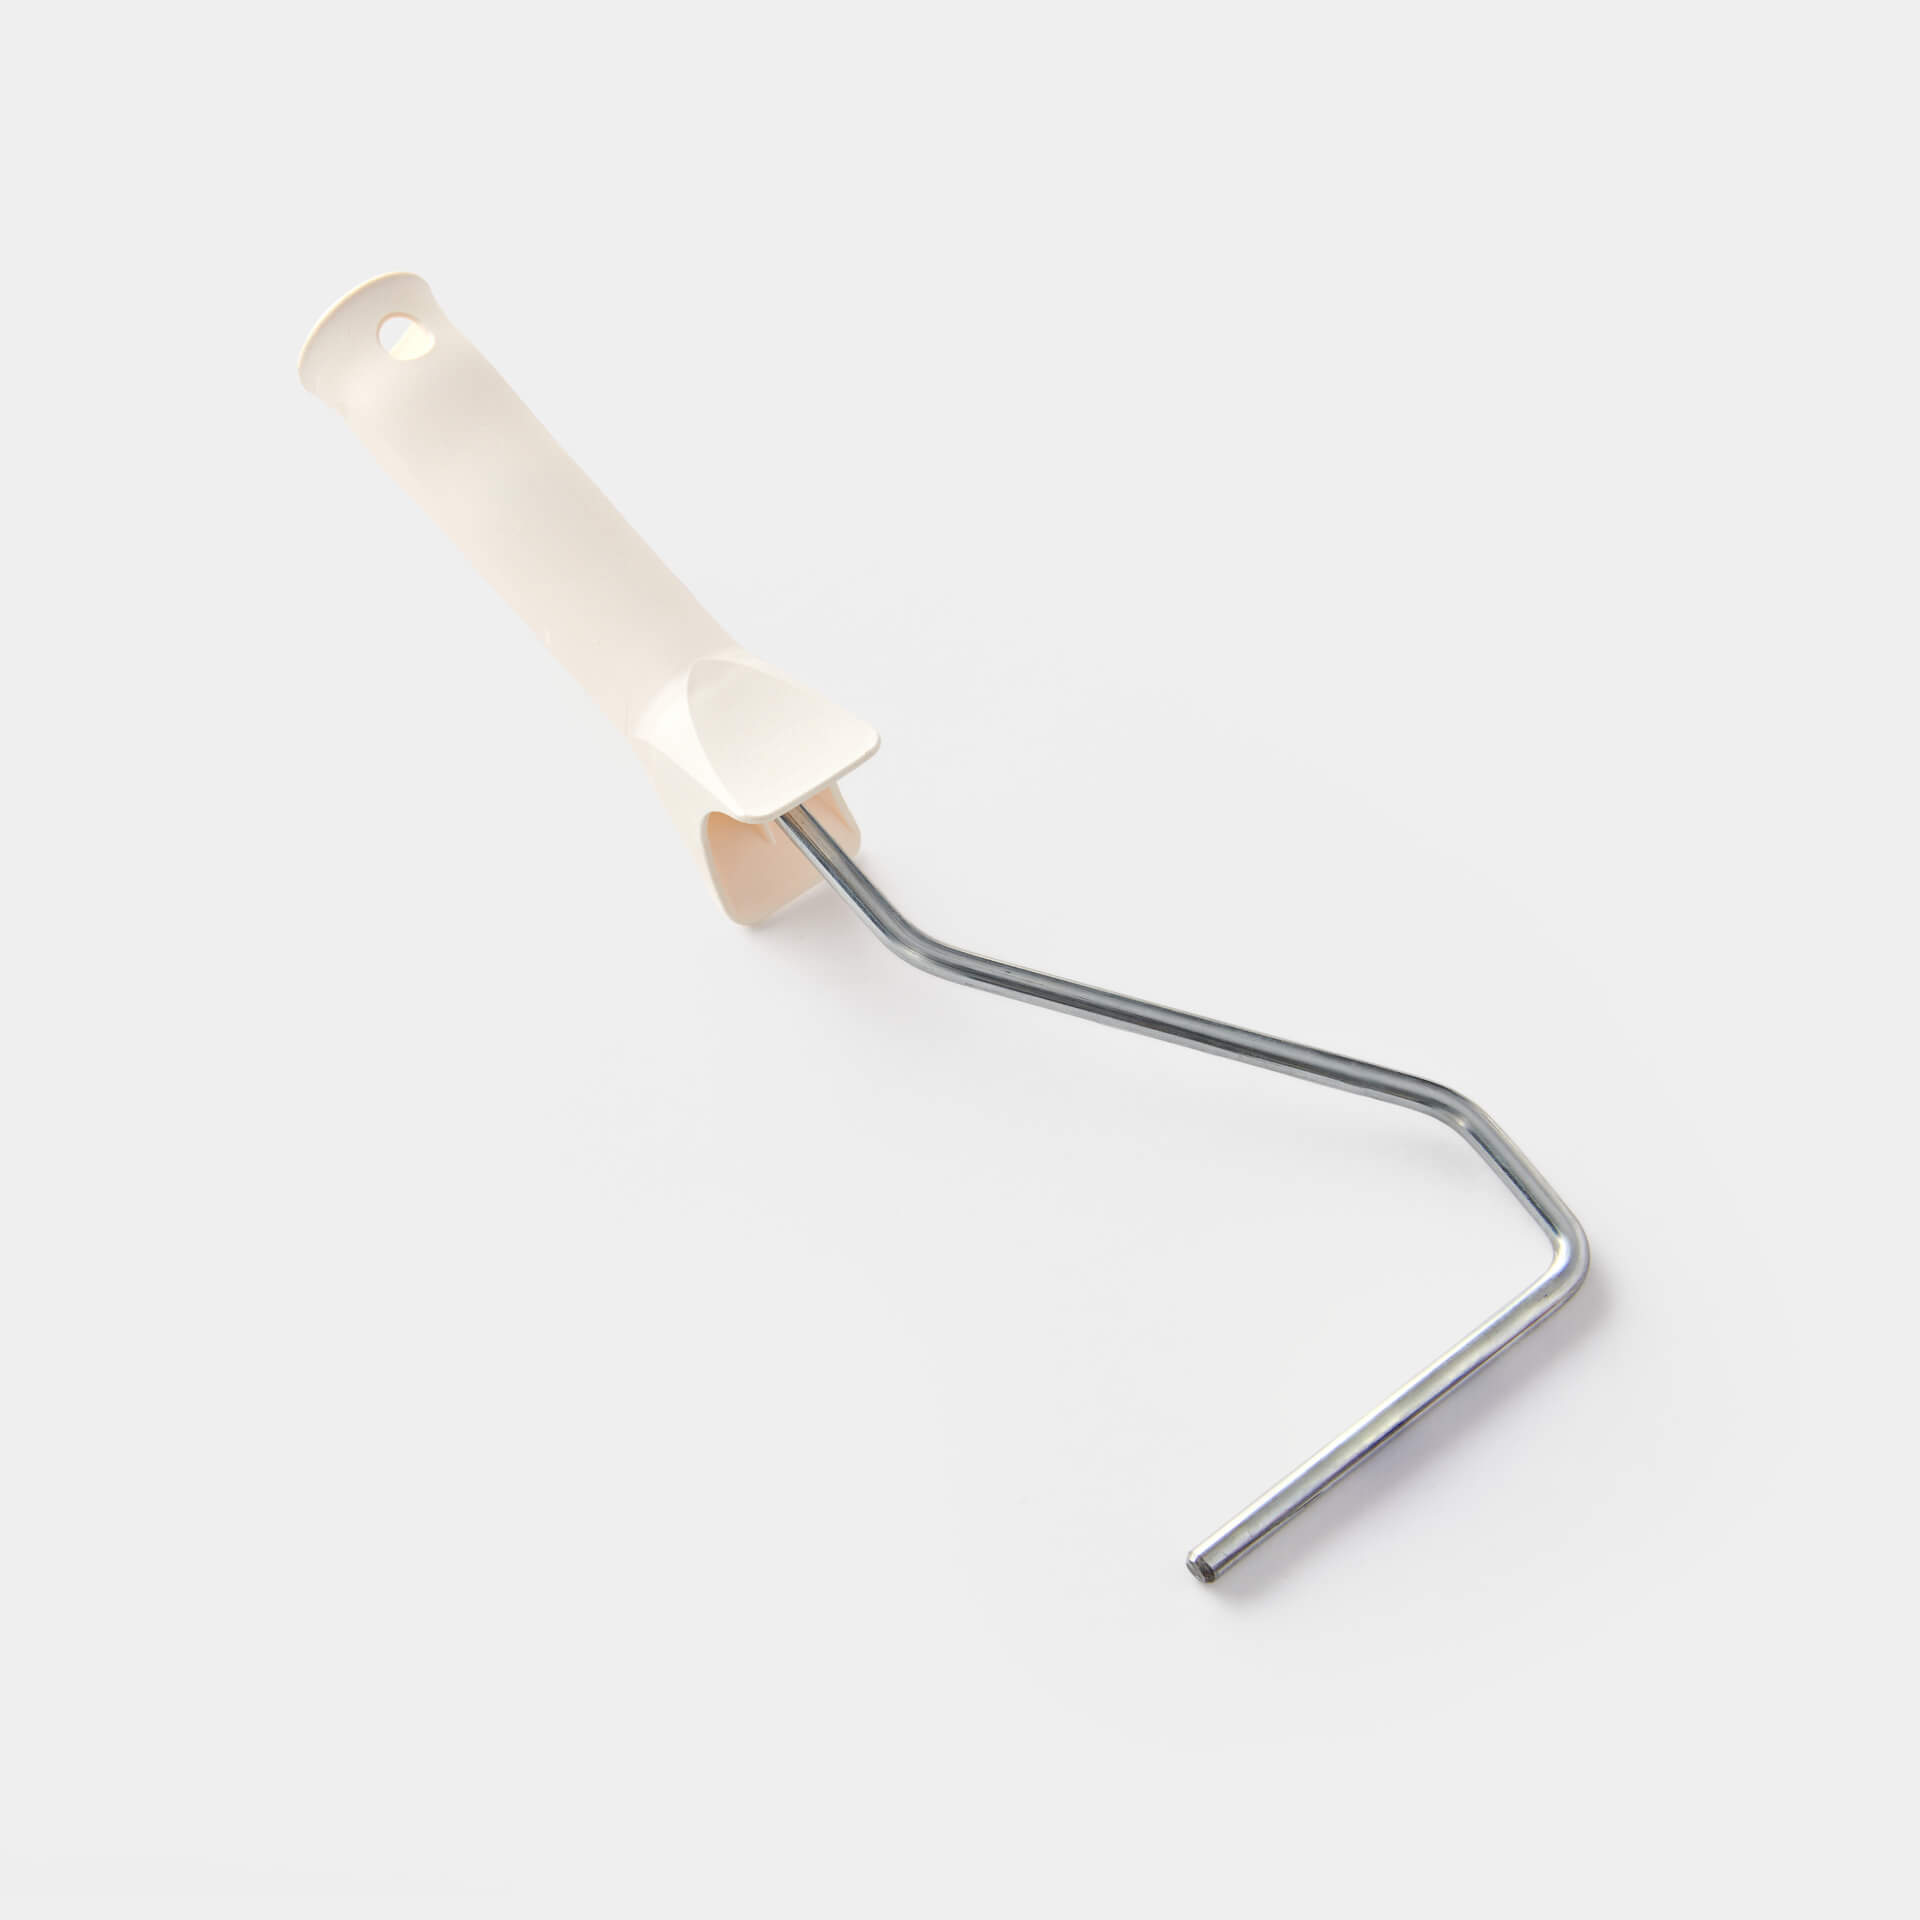
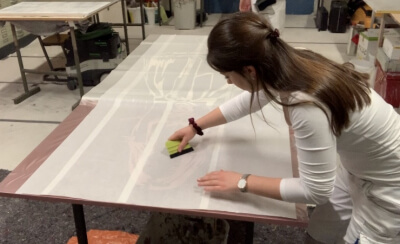
First, make sure to protect the floor under your workspace. You can find a dust sheet in the MissPompadour shop. It is also really handy to have one or two trestles, as they make it much easier to paint the shelves. Since a bookcase consists of large, flat surfaces, we recommend using a paint roller. You'll also need a matching paint tray. This makes it easier to load the roller and protects the wood paint in the original tin from dirt. The narrow edges of the IKEA BILLY bookcase are best finished with our fine MissPompadour brush.
Colour selection
Material & Tools

Questions ?
We're here to help
We'll help you anytime, via Phone (Mo-Fr 09-18, Sa until 16 Uhr), via WhatsApp or directly via our Contact Form.