
Correct masking and covering when painting
3 min reading time
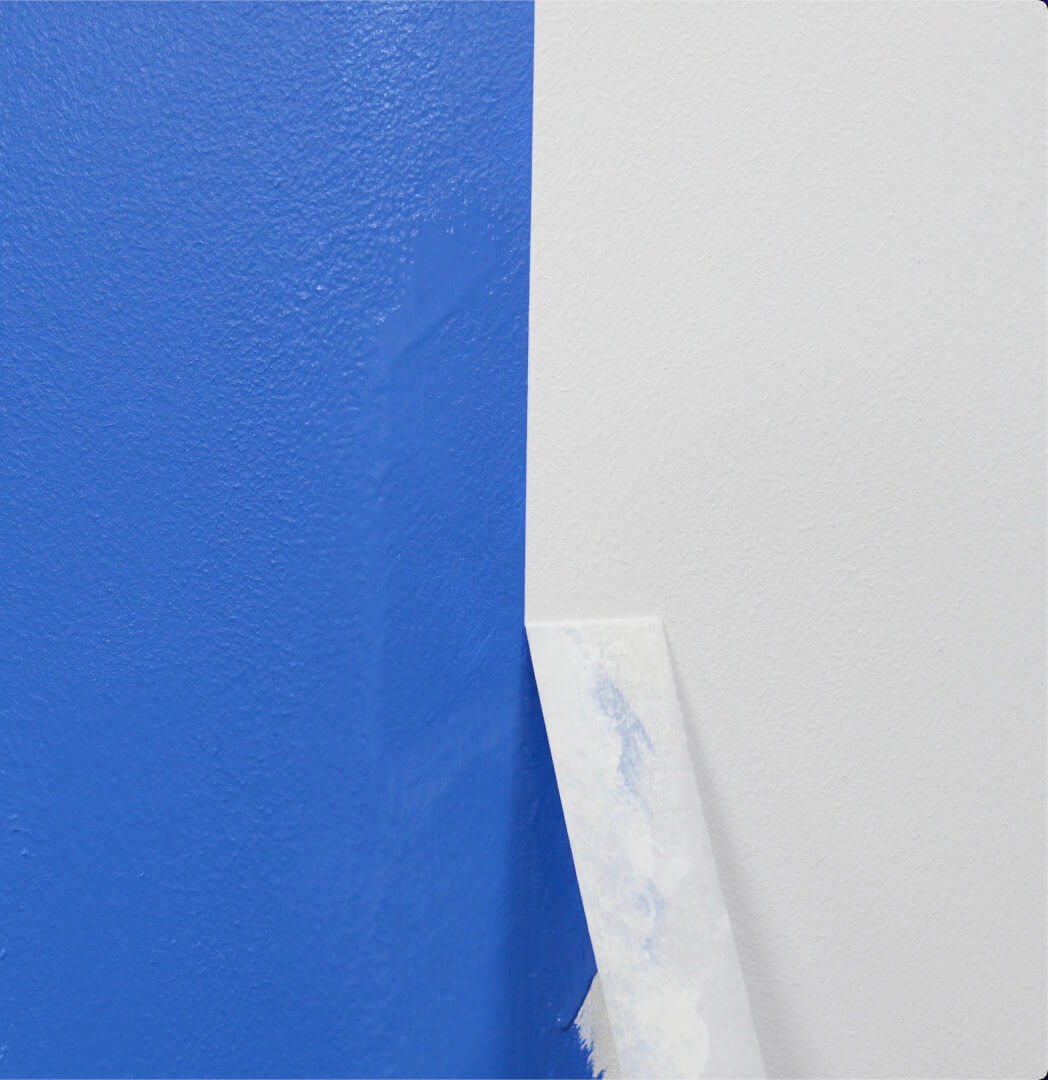
Walls, furniture, tiles, metal, glass – whatever you're painting, there is always a bit of prep work to do before you can get started. Once you've chosen your perfect shade, there are a few other steps to tick off before the actual painting can begin.
You can't get a perfect finish without proper preparation
Carefully covering everything with dust sheets and taping up properly beforehand can take a bit of time and effort, but it is absolutely worth it for a flawless result.
Videos & pictures on how to mask correctly
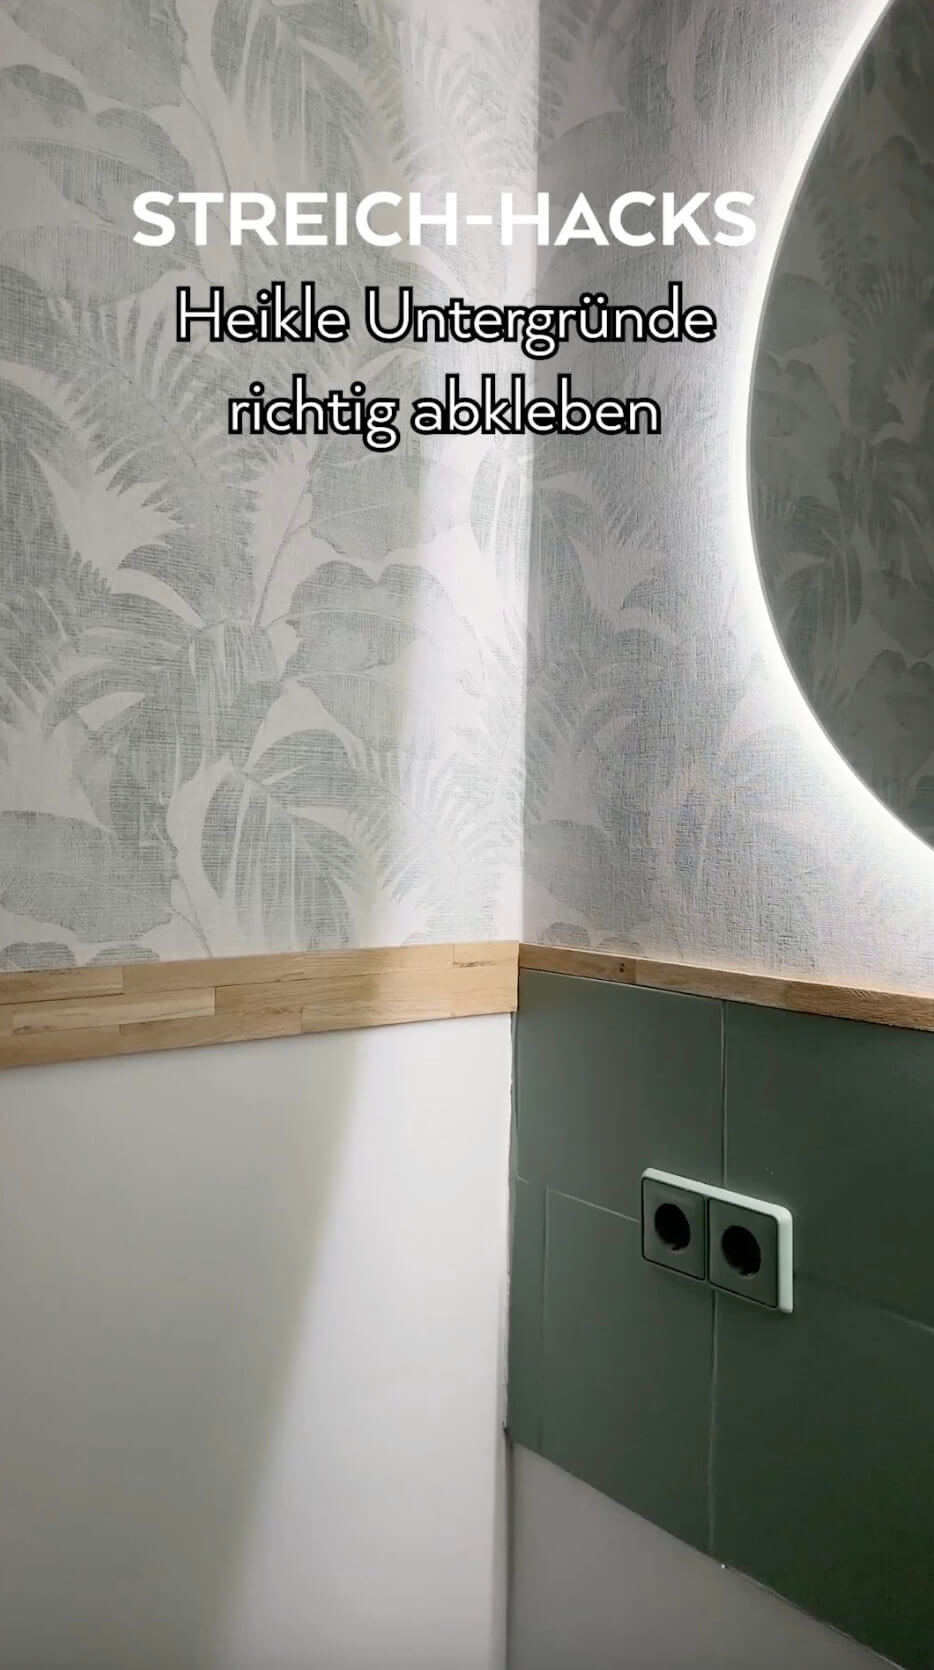
Our painting hacks show you how to paint clear edges - even on difficult surfaces
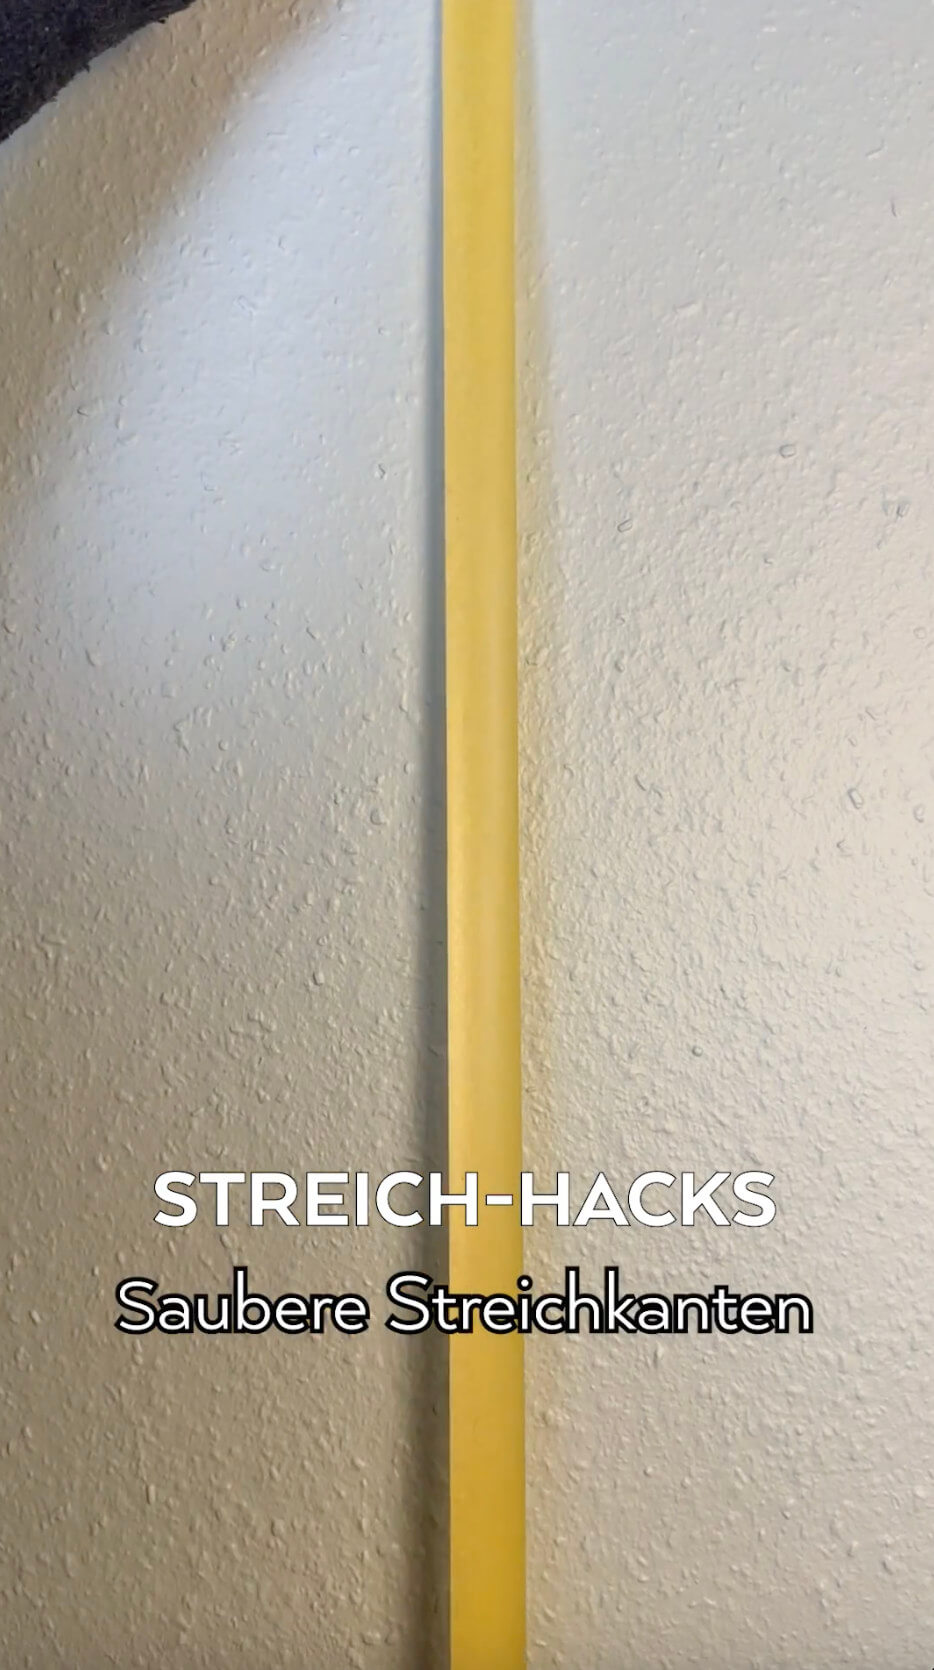
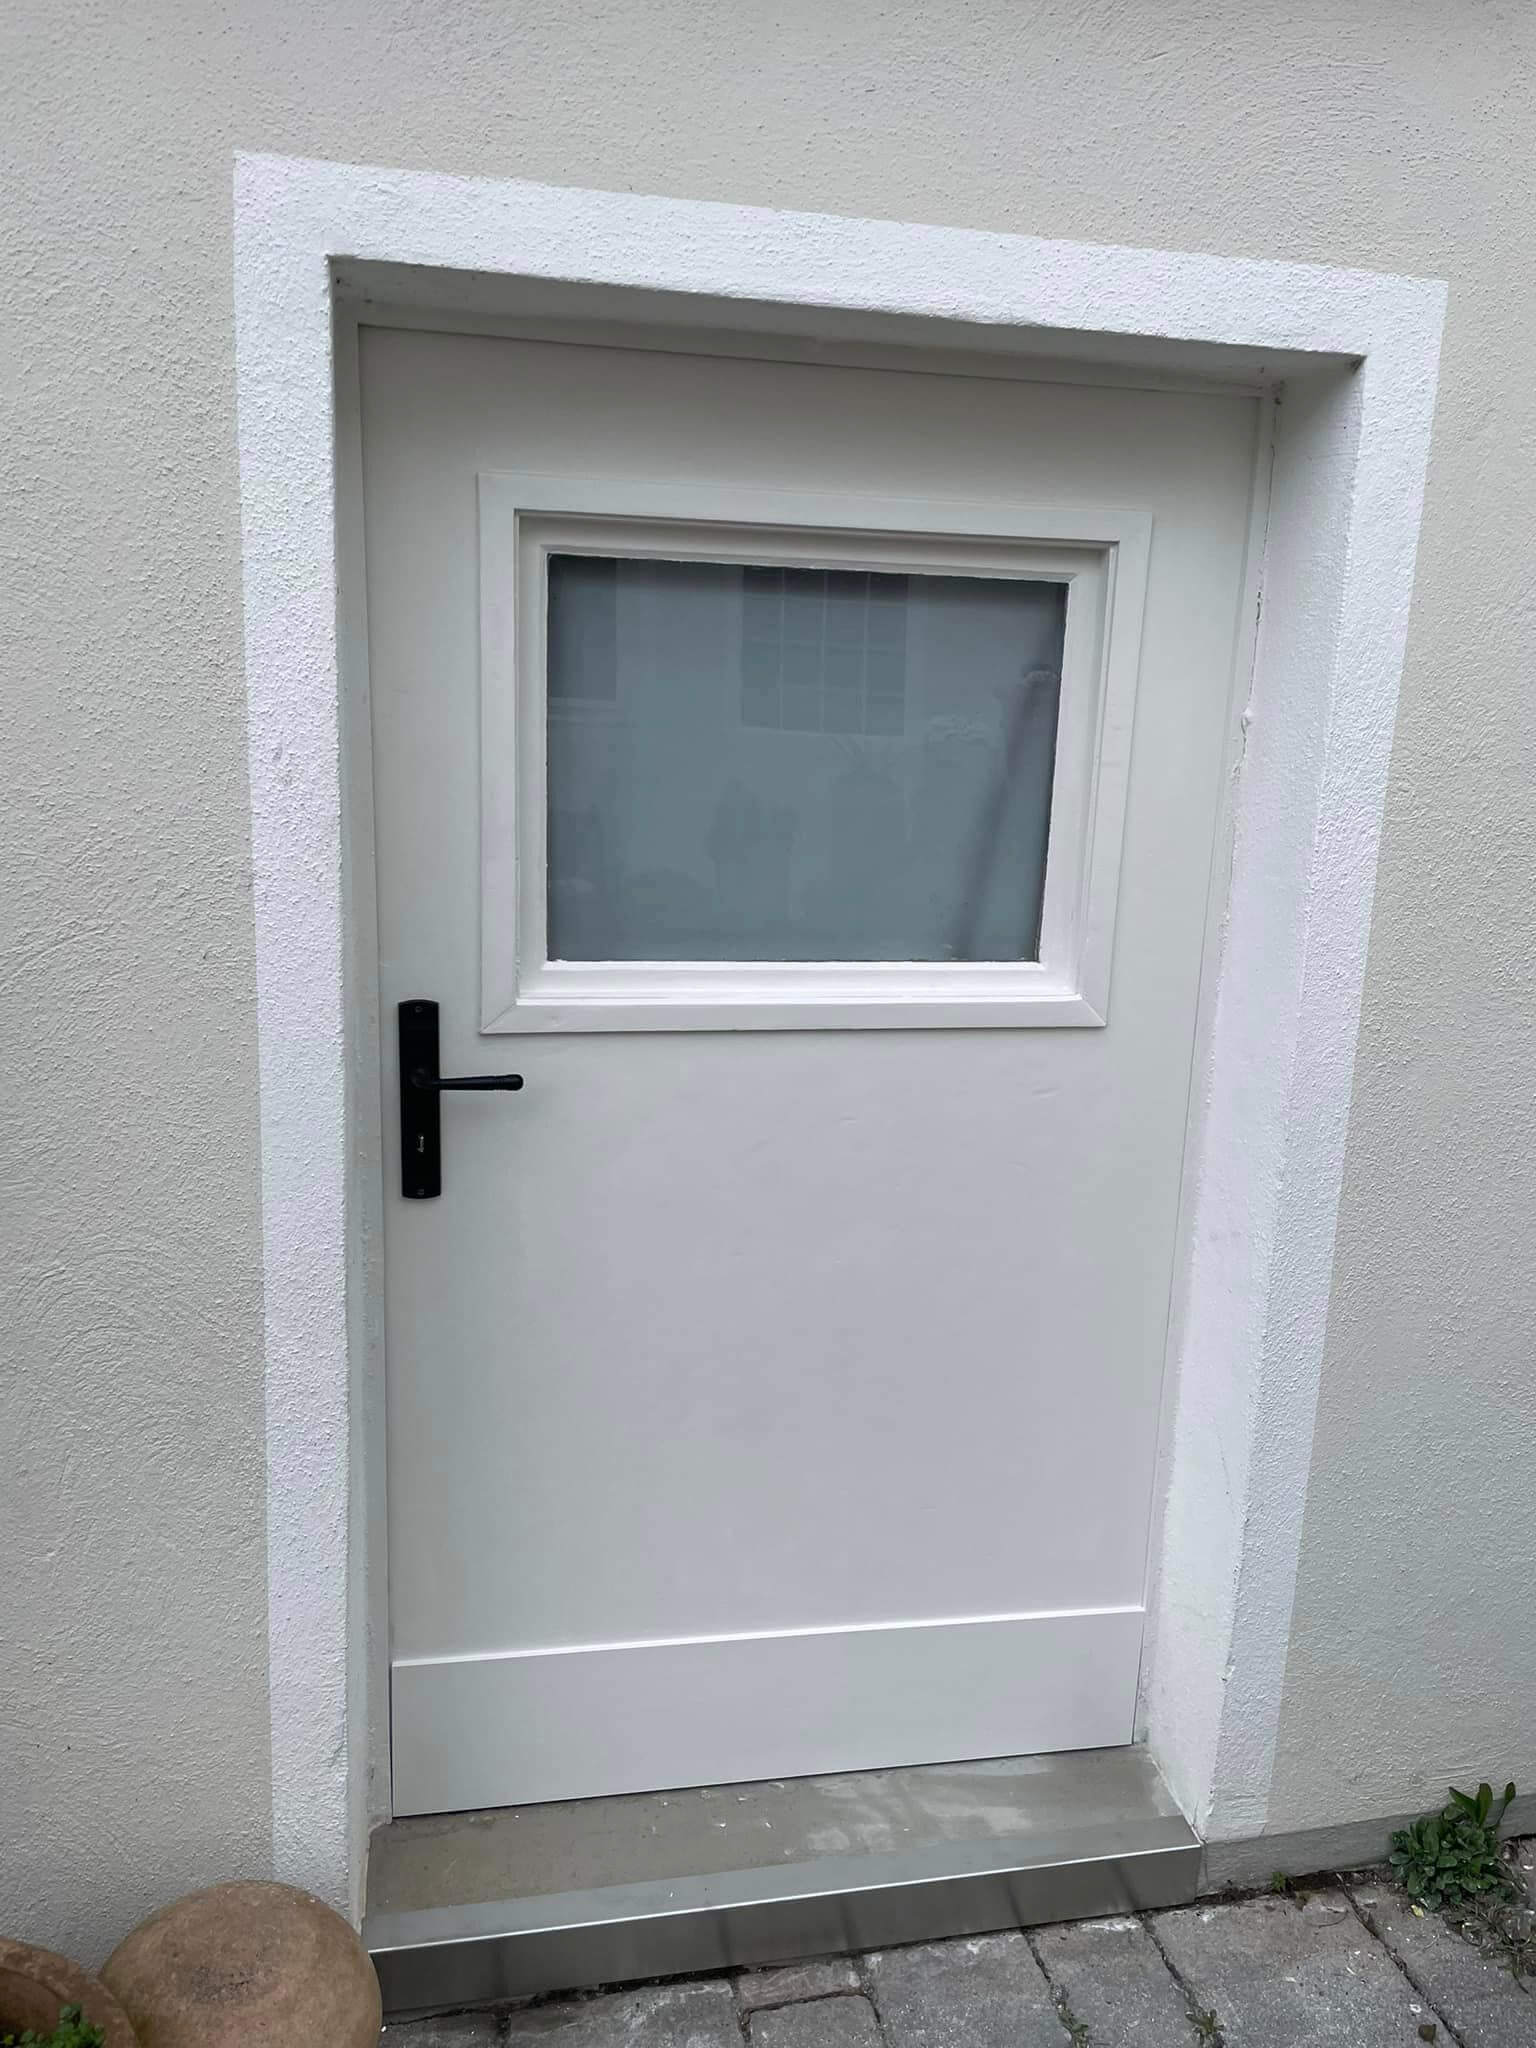
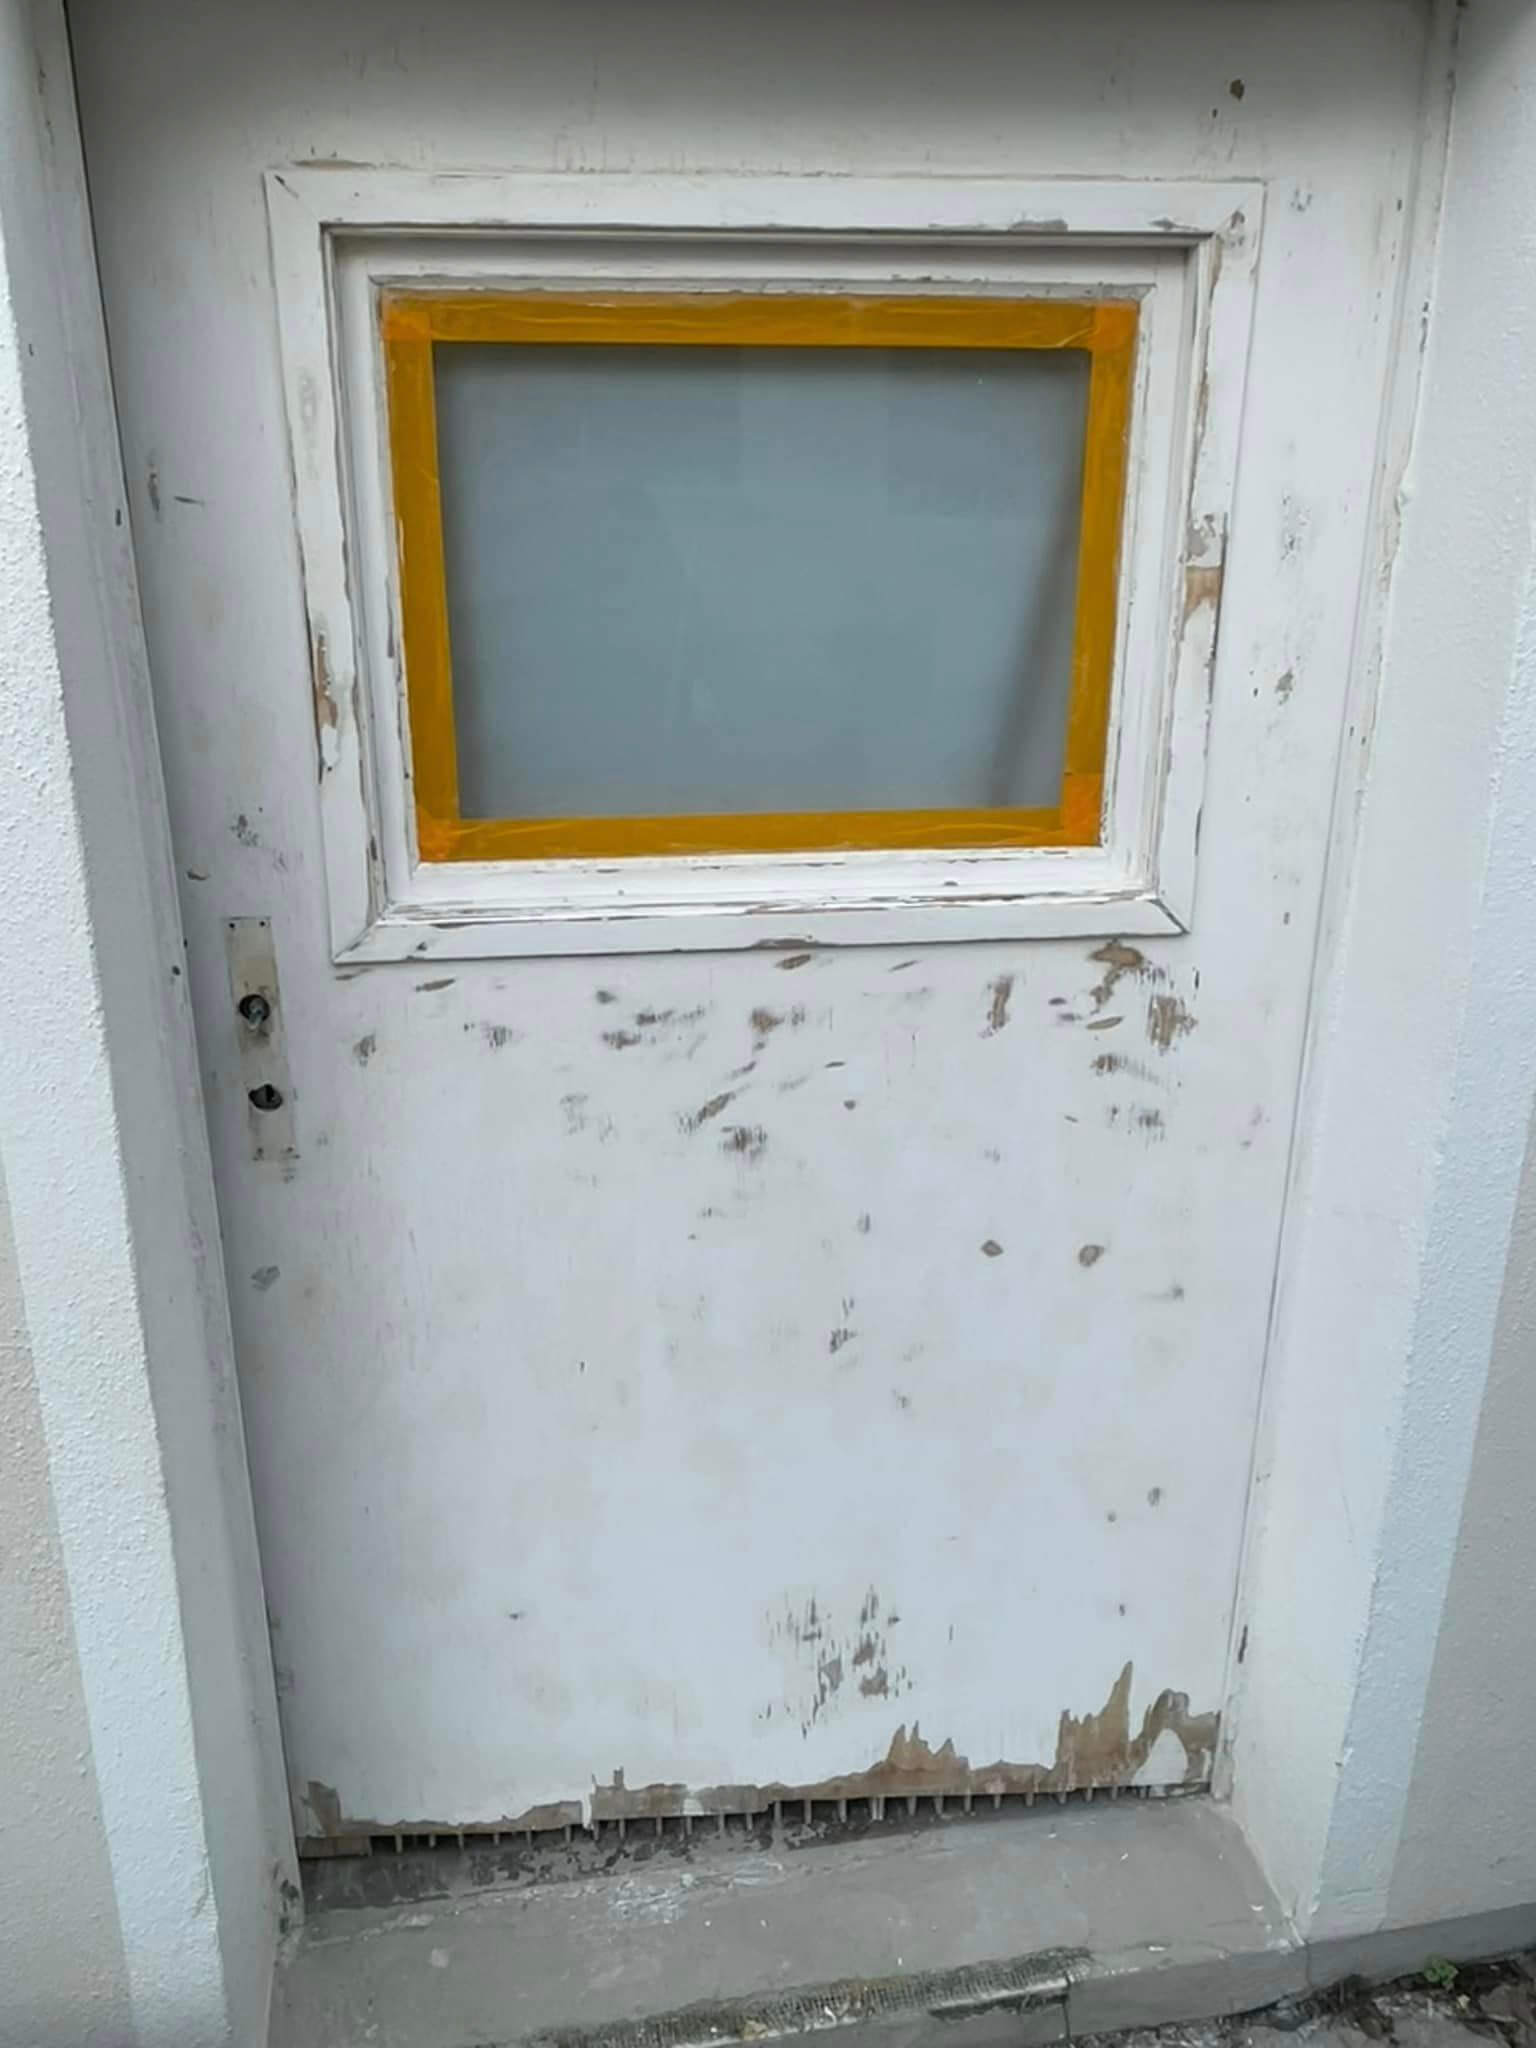
To Mask
- You should mask glass in particular with special care.
Creative
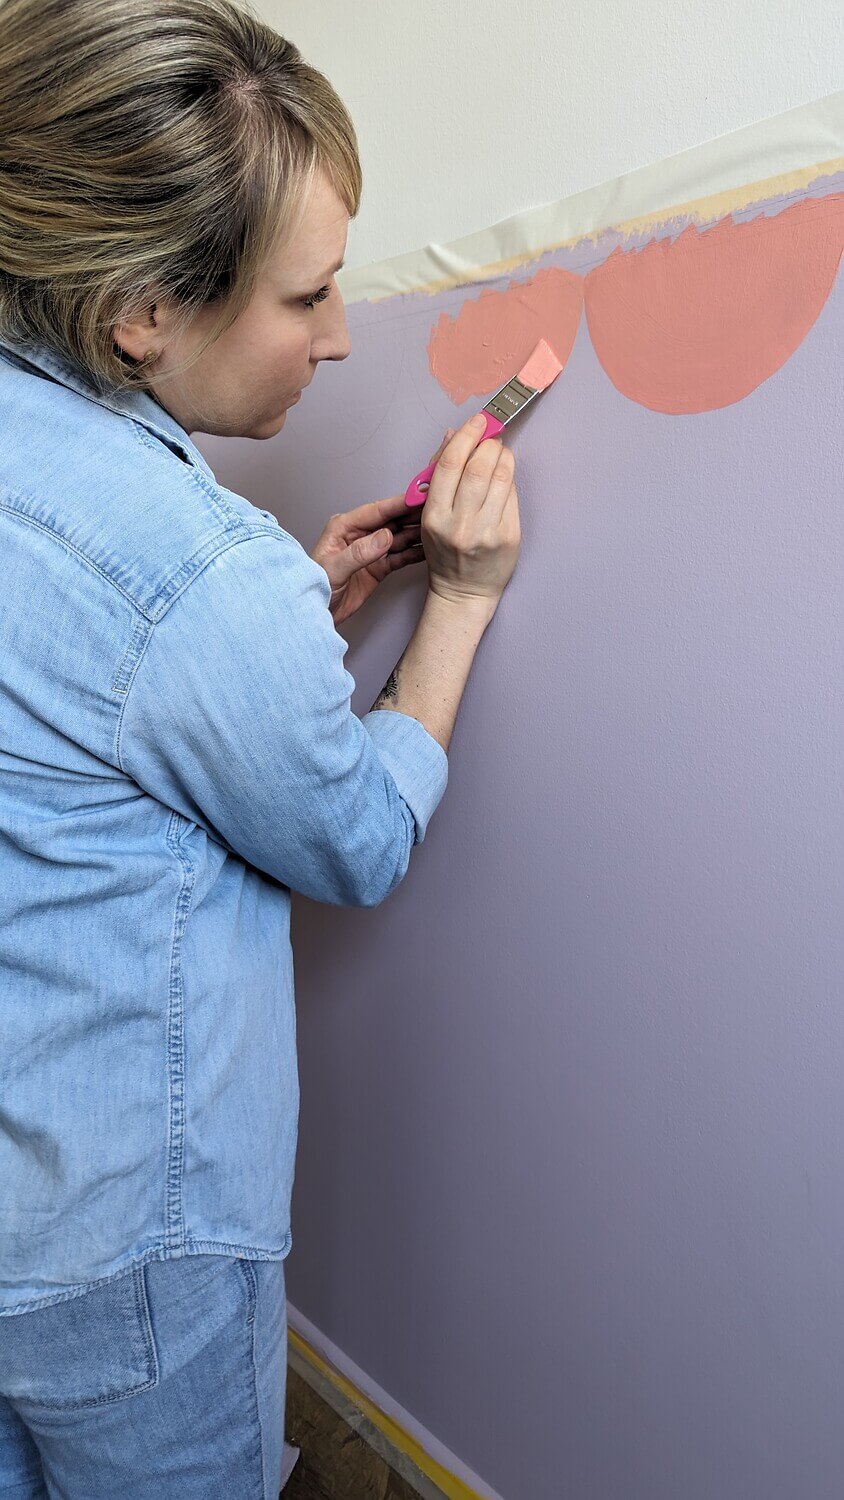
- Careful masking makes it easier for you to design your walls.
Multicoloured
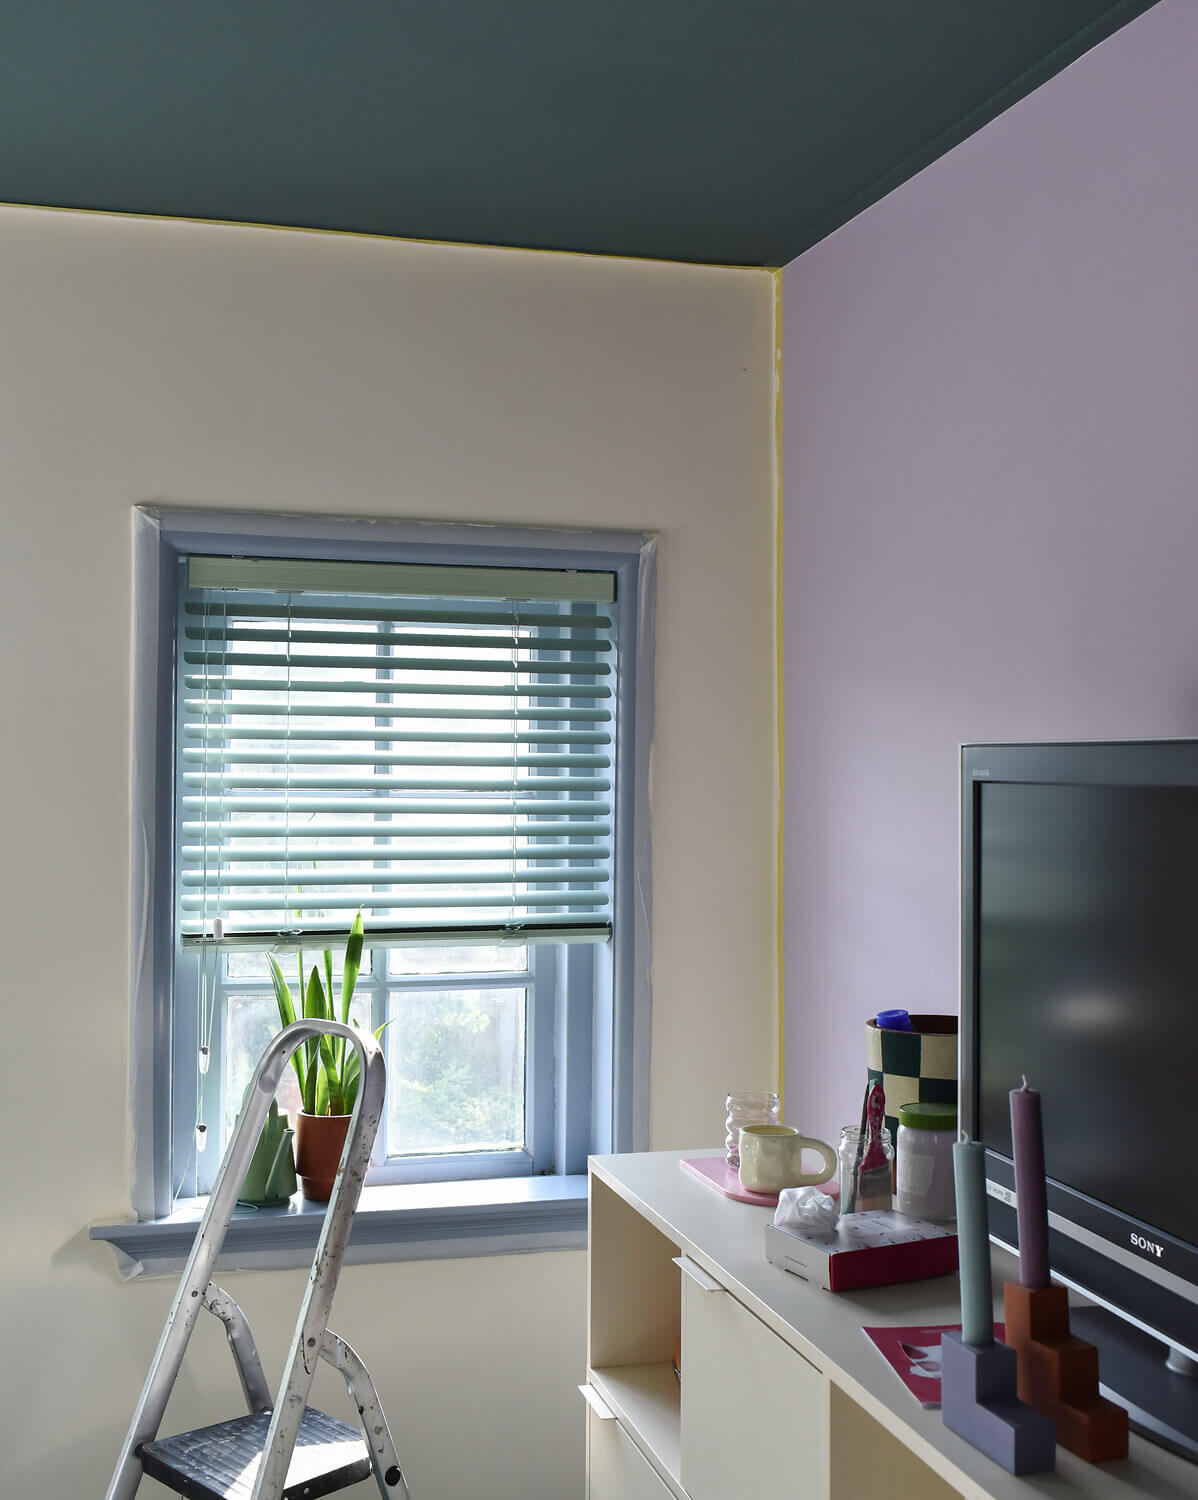
- Careful masking is particularly important when painting in several colours.
Preparation for painting interior walls
Firstly, prepare the surface thoroughly so that the tape can adhere well. The walls must be dry, dust-free and free of other contaminants before they come into contact with the tape or paint. Oils, grease and release agents prevent reliable adhesion and must be removed in advance. You can find out how to clean your walls properly in this blog: Painting walls: The right preparation & cleaning
Your walls must be as clean and damage-free as possible. All nails should be removed and all holes and cracks filled so that you have an even surface for your paint. Before you start painting, it is important that the filler is completely dry. You can find a detailed explanation of this in our blog.
It is then very important to protect everything that should not come into contact with the paint. Use adhesive tape and plastic drop cloth for this
What do you need to mask and cover?
You need time, tape and masking material. Careful masking and covering is not really fun, but it's worth it. After all, it saves you a lot of time-consuming cleaning work and ensures perfect results. The choice of masking material and adhesive tapes is very important for a satisfactory result of your painting work.
Clear out furniture and protect floors
Wall paint from MissPompadour is drip-free and easy to apply, but better safe than sorry - and in any case, the walls must be freely accessible. Move any furniture that you don't want to remove to the centre of the room and protect it with transparent plastic drop cloth. You can find the transparent film in our MissPompadour online shop.
To protect the floor, you can work well with painter's fleece. Spread a piece of fleece along the wall you are painting. However, if you want to paint the ceiling, it is definitely advisable to cover the entire floor with painter's fleece or plastic drop cloth.
The right masking tape
Then it's time to mask. In the online shop you will find excellent masking tape for walls that adheres well with natural rubber as an adhesive and - and this is particularly important - is also easy to remove. MissPompadour wall masking tape is available in various widths
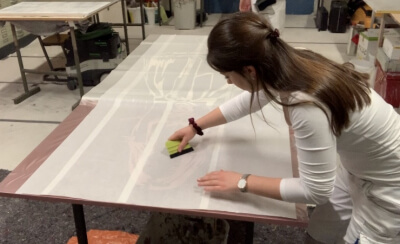
This tape seals perfectly at the edges so that no paint can run underneath. This gives you a clean colour edge. To achieve these sharp edges, however, it is important that you press the tape down firmly
MissPompadour Paint tape is also perfect if you want to design a wall in two colours or create vertical stripes in different colours.
If you are planning a varnish project, then our washi tape is the perfect adhesive tape for you. Washi tape is particularly thin and adheres evenly, but not too strongly. If you don't stick it in exactly the right place on the first attempt, you can simply move it.
Surface protection
Protect light switches, sockets, windows, radiators and doors
Window frames, window sills, radiators, door frames and doors must also be protected from unwanted paint during painting. When masking windows, make sure that the windows can still be tilted so that the room is well ventilated during painting. All skirting boards should be carefully masked with painter's tape before painting
Mask corners and edges
The correct order is also here: Clean everything first, then mask properly with masking tape. This is because painter's tape tends to have low adhesion, which is of course an advantage when removing it
Before you start taping walls and corners, make sure that the surface is dry. It must be free of grease and dust. It is best to clean the surfaces of the walls with a hoover. This will reach every nook and cranny
Once you have masked everything well, you can start painting! You can find detailed instructions in our blog Painting walls.
After masking
Removing the masking tape in good time
Once you've finished painting, you should peel the masking tape off straight away while the paint is still wet. Pull the tape away steadily at an obtuse angle to minimise stress on the surface underneath and prevent the fresh paint from tearing. This stops the paint from chipping, leaving you with beautifully clean, sharp edges.
Tip: If the masking tape is being stubborn, you can gently warm it up with a hairdryer. The adhesive is much easier to remove when it's warm and soft.
Tip: Any stubborn, baked-on tape or uneven edges where paint has bled underneath can be carefully tidied up with a craft knife if needed.
How to mask up properly when painting furniture
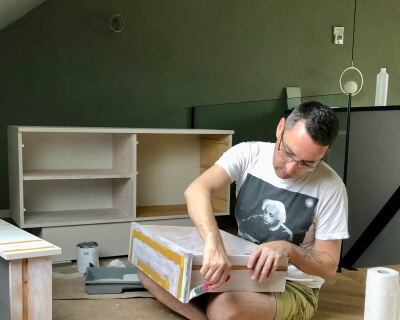
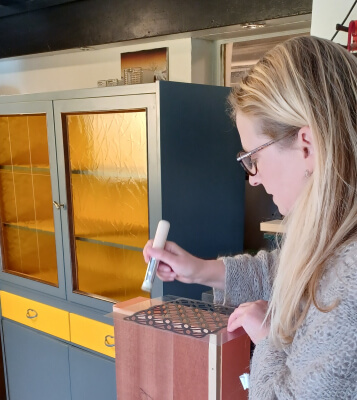
Even when painting furniture, you sometimes need to use masking tape. For example, if you want to use two different colours or incorporate wallpaper, it's a good idea to tape off any areas that will be painted in a different shade.
By the way, we have a blog post specifically dedicated to painting two-tone furniture.
And what about painting tiles?
The same rule applies here: peel off the tape while the paint is still wet – otherwise, you might pull some of the paint off with it. Often, the paint is already dry on the surface, but still wet underneath.
What happens if I only remove the masking tape once the paint is dry?
Please don't do this! If you wait a few days to peel off the masking tape, the paint might look dry, but it actually isn't. Only the outer layer of paint is dry; underneath, it's still wet and hasn't fully bonded with your painted surface yet. If you pull the tape off at this point, you risk peeling the paint right off with it.
If you've forgotten to remove the tape in time, simply take a utility knife and carefully score the paint along the edge of the tape. Then, gently peel it away.
Questions ?
We're here to help
We'll help you anytime, via Phone (Mo-Fr 09-18, Sa until 16 Uhr), via WhatsApp or directly via our Contact Form.