


Proper Cleaning Before Painting
4 min reading time
Are you planning to paint your walls? As with all handicraft work, it is important to prepare well before the actual work. With the right preparation and cleaning, painting the walls will be easy and the result will be impressive!
Table of contents
1. Don't give dirt, dust and grease a chance: optimal preparation for a clean result
2. The right cleaning agent
3. Stains are individual, so is your cleaning: Use the right tools!
4. The right primer in preparation for painting
5. What else needs to be prepared for painting?
6. Conclusion: These 5 points you must consider when cleaning your walls!
Don't give dirt, dust and grease a chance: the optimum preparation for a clean result
The right preparation when painting walls ensures that the new wall paint adheres well. Any old stains on the wall must not show through. The floor, ceiling, light switches, sockets, window and door frames in the room should be spared paint. Last but not least, your clothes. First of all, it depends on what the surface of your wall is like:
- If you are painting on plaster or intact wallpaper, it is usually sufficient to clean the wall surface dry with a soft broom or feather duster. This removes dust deposits and cobwebs and ensures that the wall paint adheres well.
- If your wall is covered with wood, clean the surface with a mild detergent. Then rinse with clean water and let everything dry thoroughly. The same applies to metal wall cladding or plastic panels.
- If you want to paint tiles, be sure to clean the wall with a grease-dissolving cleaner, especially in the kitchen, before applying primer or paint. Again, it is important to wash the surface thoroughly with water and allow everything to dry thoroughly.
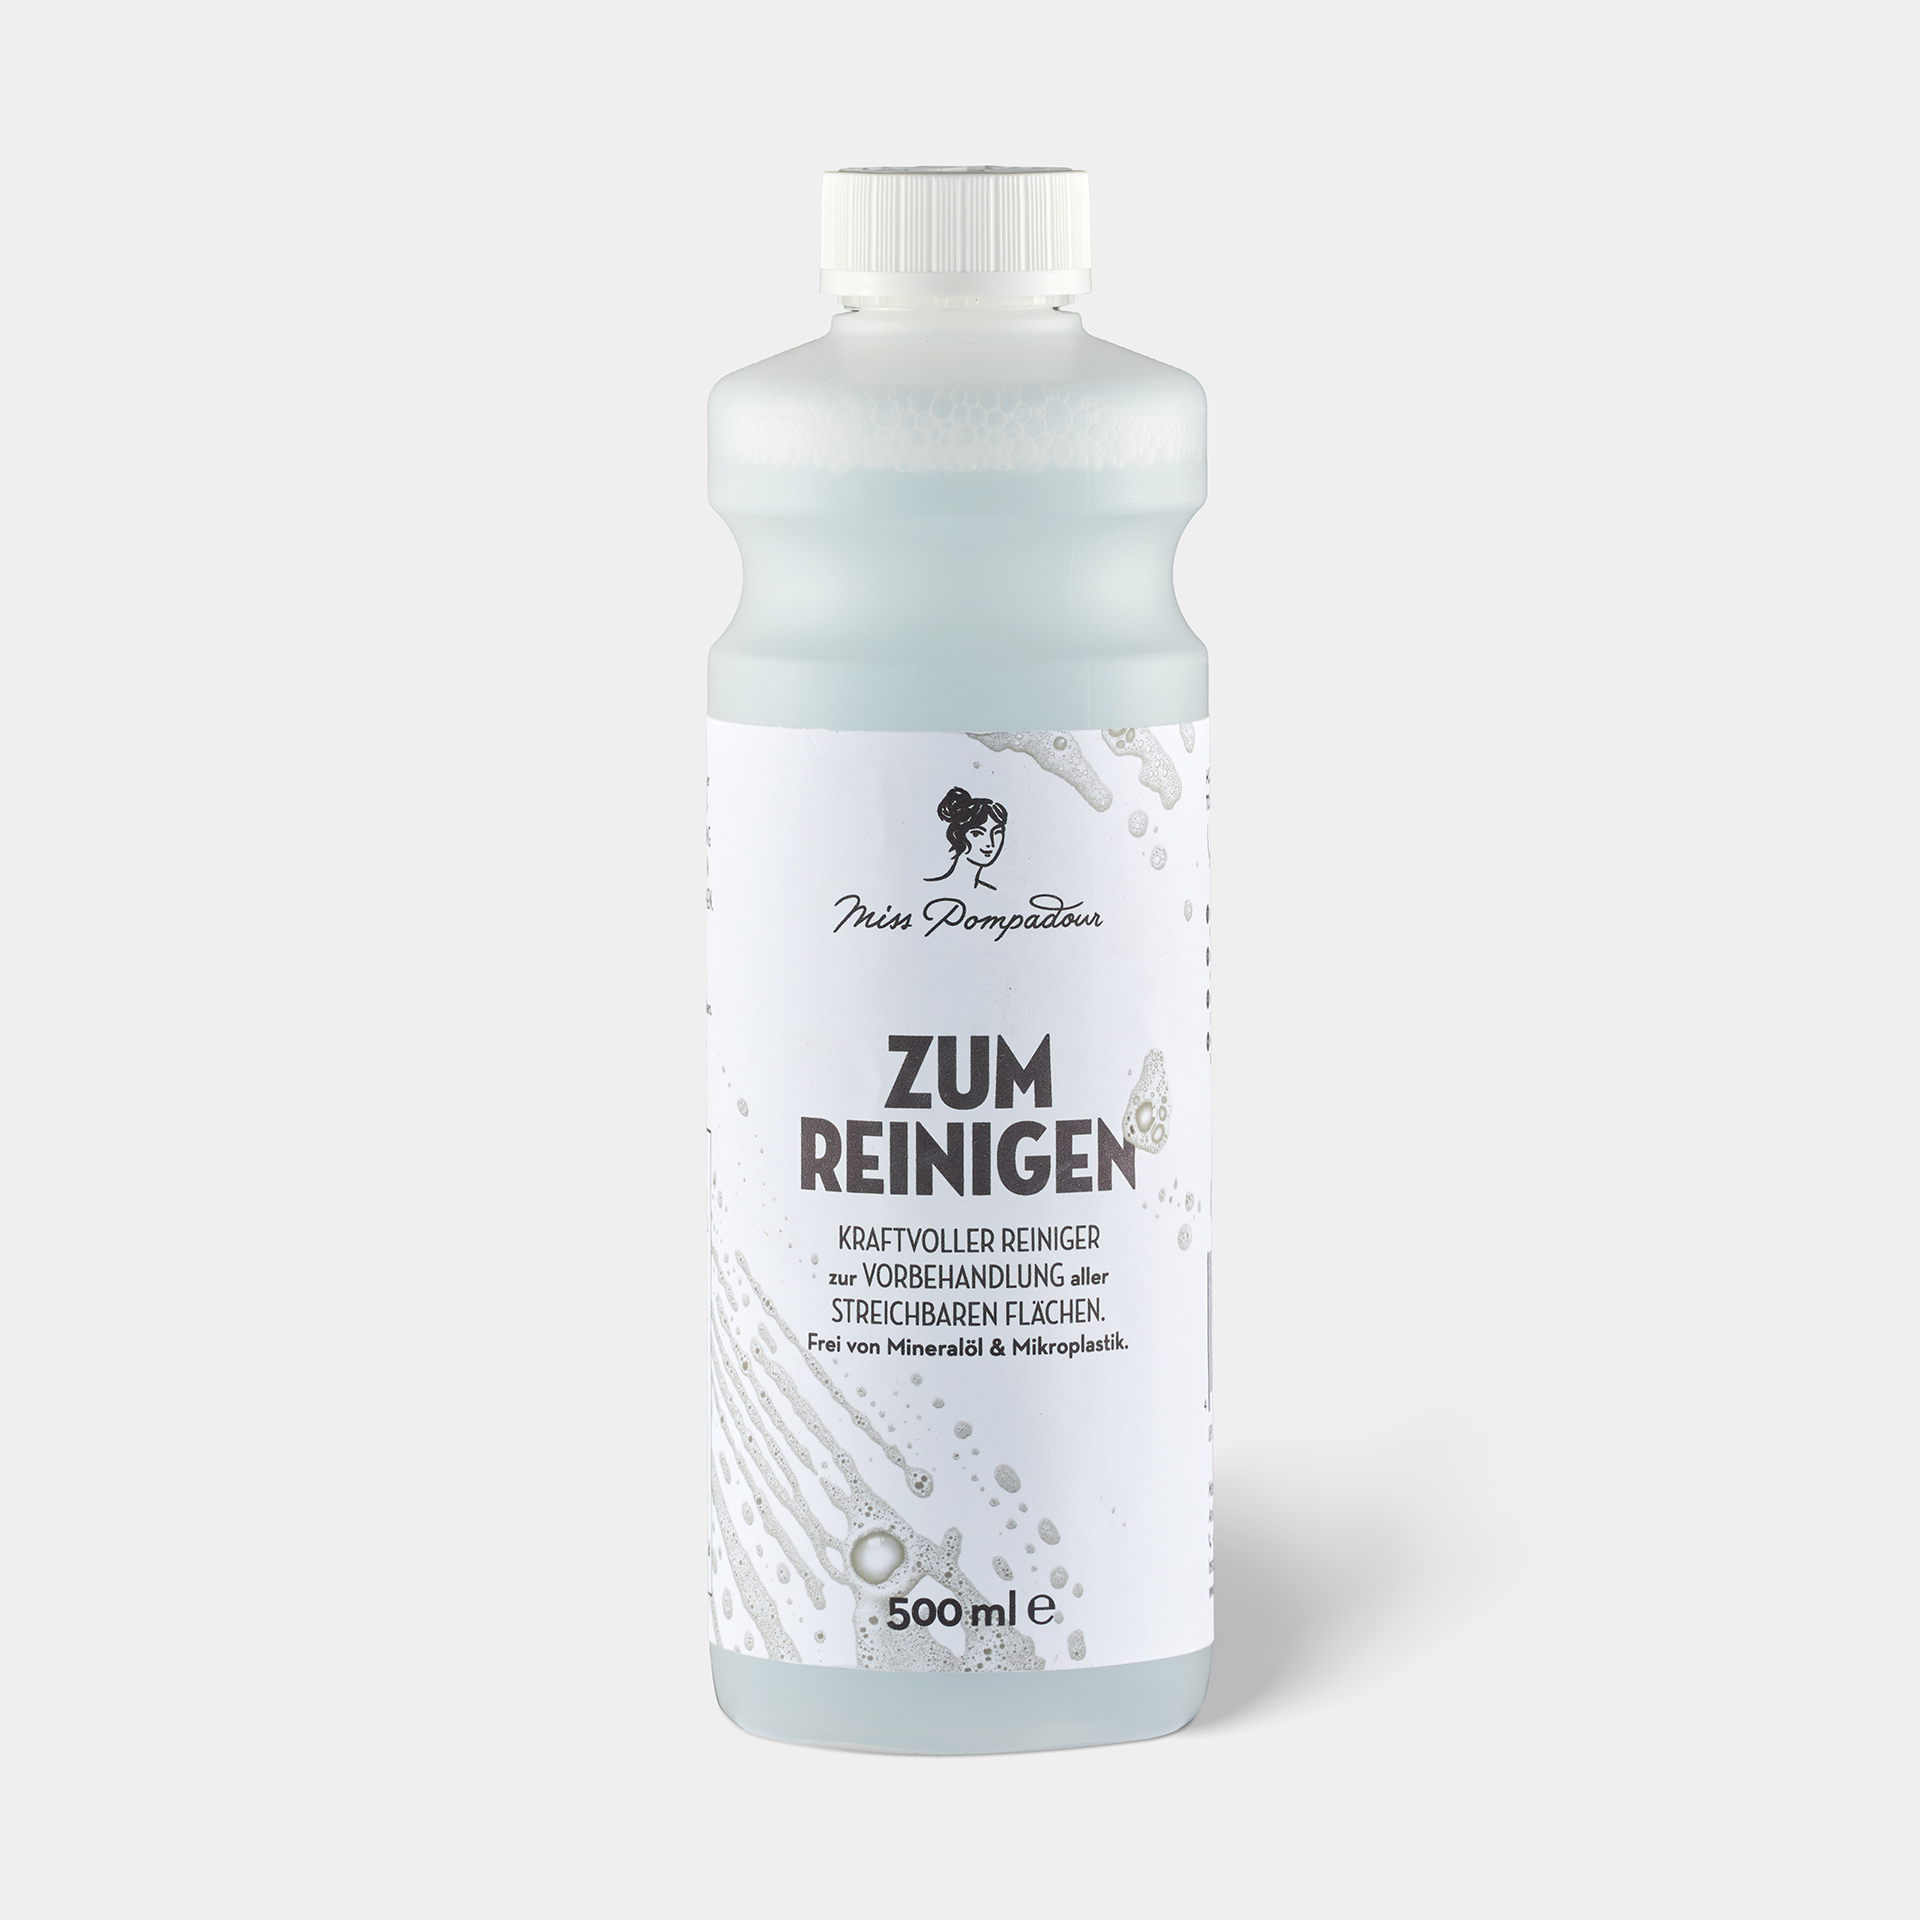
The right cleaning agent
It is important to use a grease-dissolving and at the same time non-corrosive cleaner to clean the surfaces. It is not a good idea to use an aggressive chemical before painting and then use environmentally friendly paints. Refrain from using harsh cleaners such as caustic and chlorinated cleaners or solvents such as acetone or petroleum ether. These can build up and prevent your varnish from curing properly or the paint from adhering well.
To Clean, environmentally friendly , grease-dissolving cleaners are absolutely sufficient. We recommend MissPompadour Cleaner because it reliably dissolves dirt and old grease without harming your skin or the environment. Degreasing is particularly important for wood or metal before varnishing, as the greasy film prevents paints and even primers from lasting properly.
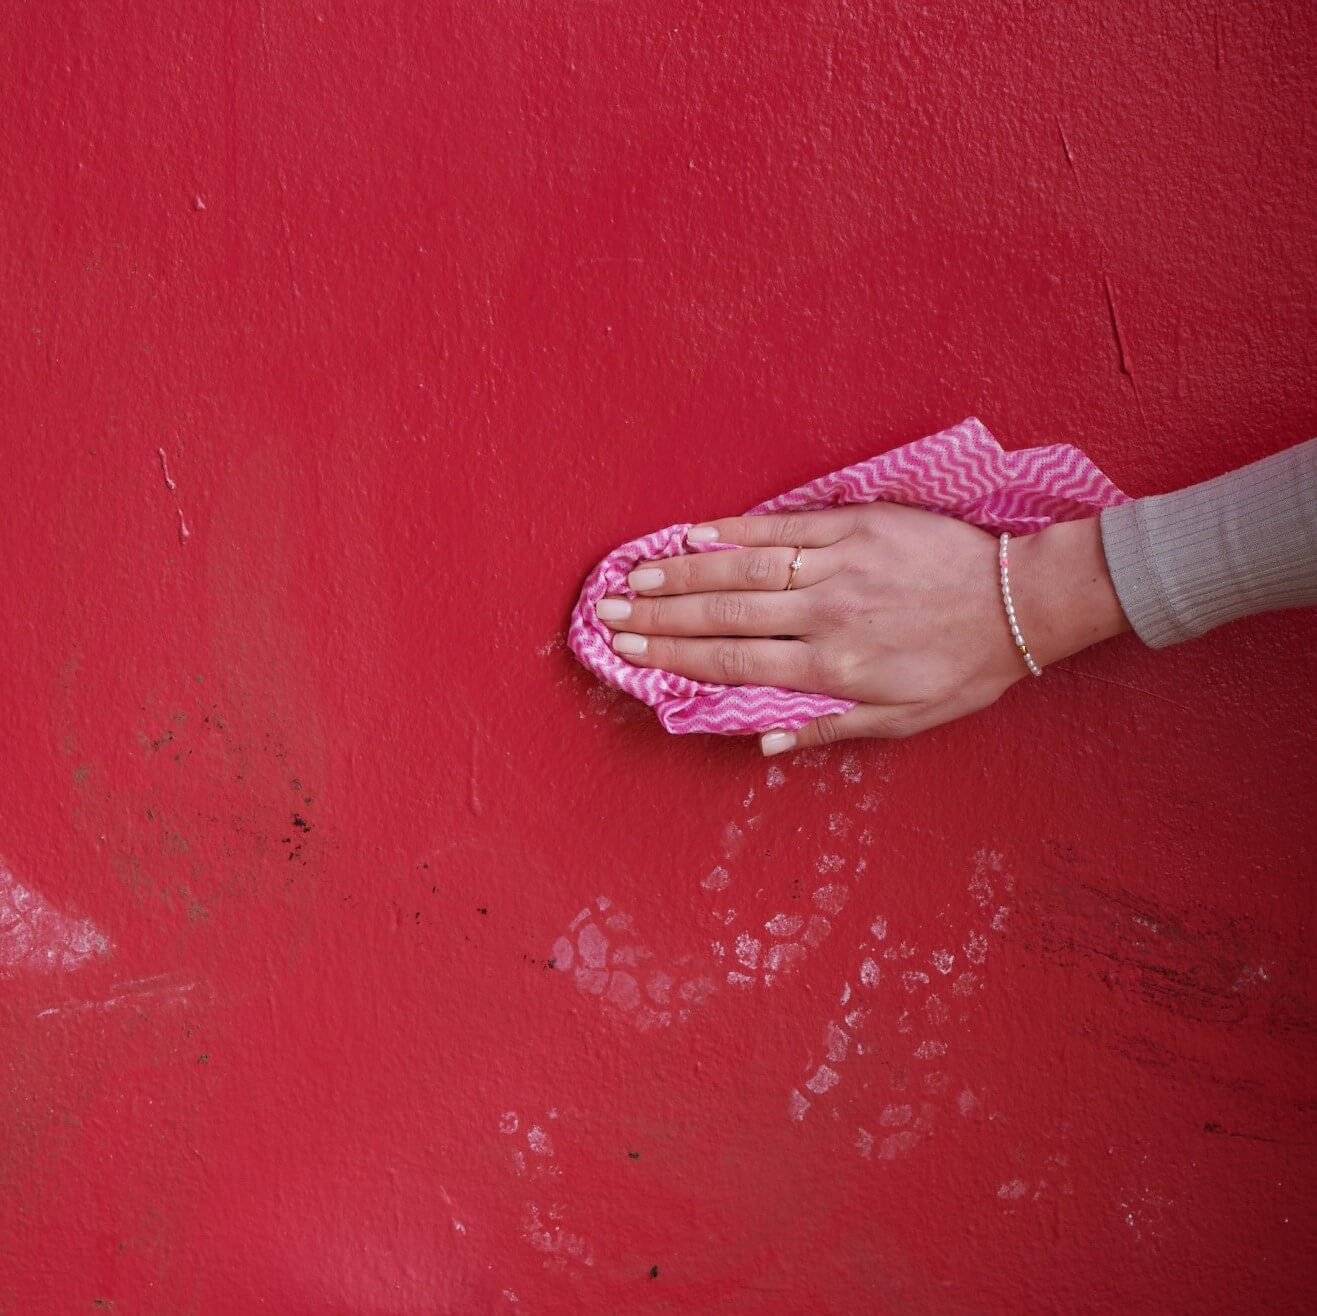
Stains are individual, so is your cleaning: Use the right tools!
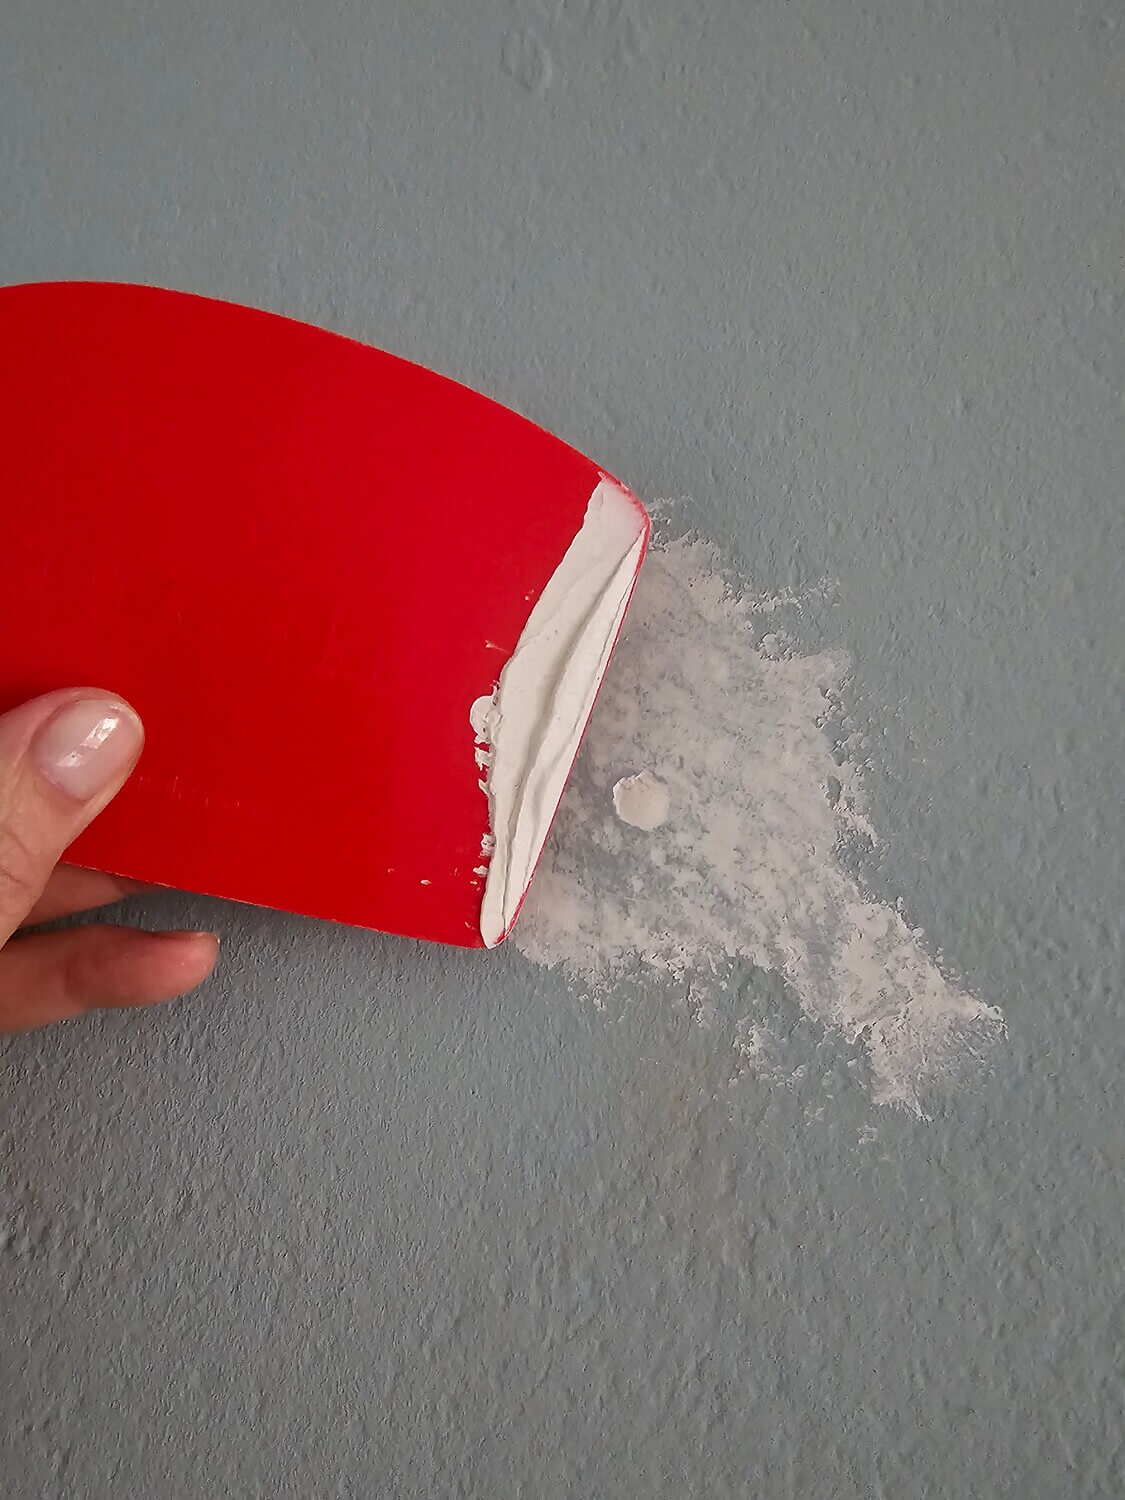
Especially in old buildings, old stains can often be found on the wall, hidden under wallpaper. It could be soot from an old stove, old paint or splashed ink. Sometimes, however, the stains on the wall are greasy in nature or completely indefinable. Since these stains have soaked into the plaster, they can no longer be removed with cleaning agents. The only thing that helps here is a primer to prepare the wall ideally before painting. This prevents the old stains from reappearing later in the new wall paint.
Stains on a wooden wall can be washed off if they are on the surface. However, it may be that the stain has already soaked into the wood surface. Even then, only priming before painting will help.
Tiles are usually easy to wash off, so you can clean them easily. Use a cloth or sponge. For stubborn stains, a brush will help.
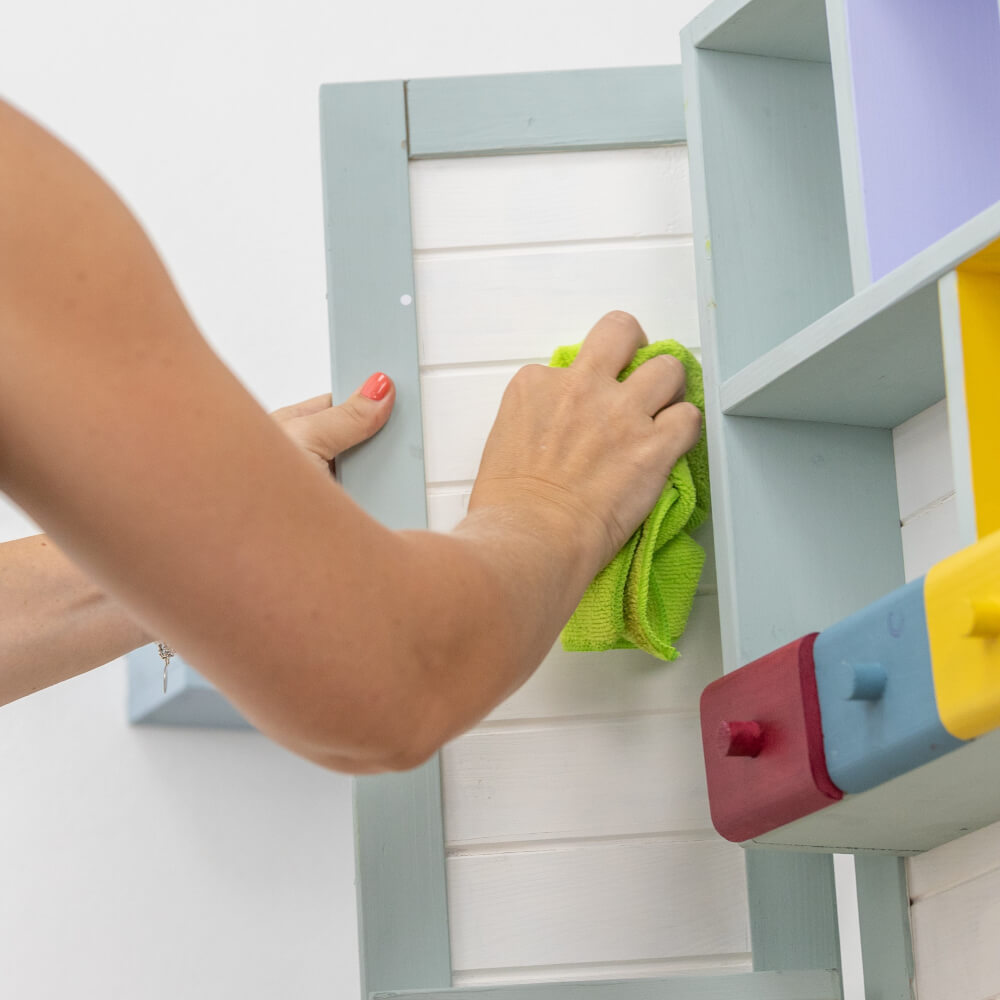
Cleaning with a brush, sponge or broom
If it is possible to dry-clean and remove dust from the wall or wallpaper, use a feather duster or soft broom. If you want to wash the walls before painting, we recommend using a sponge, a sponge cloth or, if they are very dirty, a brush. Corners and corners are best cleaned with a damp brush.
Wood, tiles or plaster - surface-specific cleaning
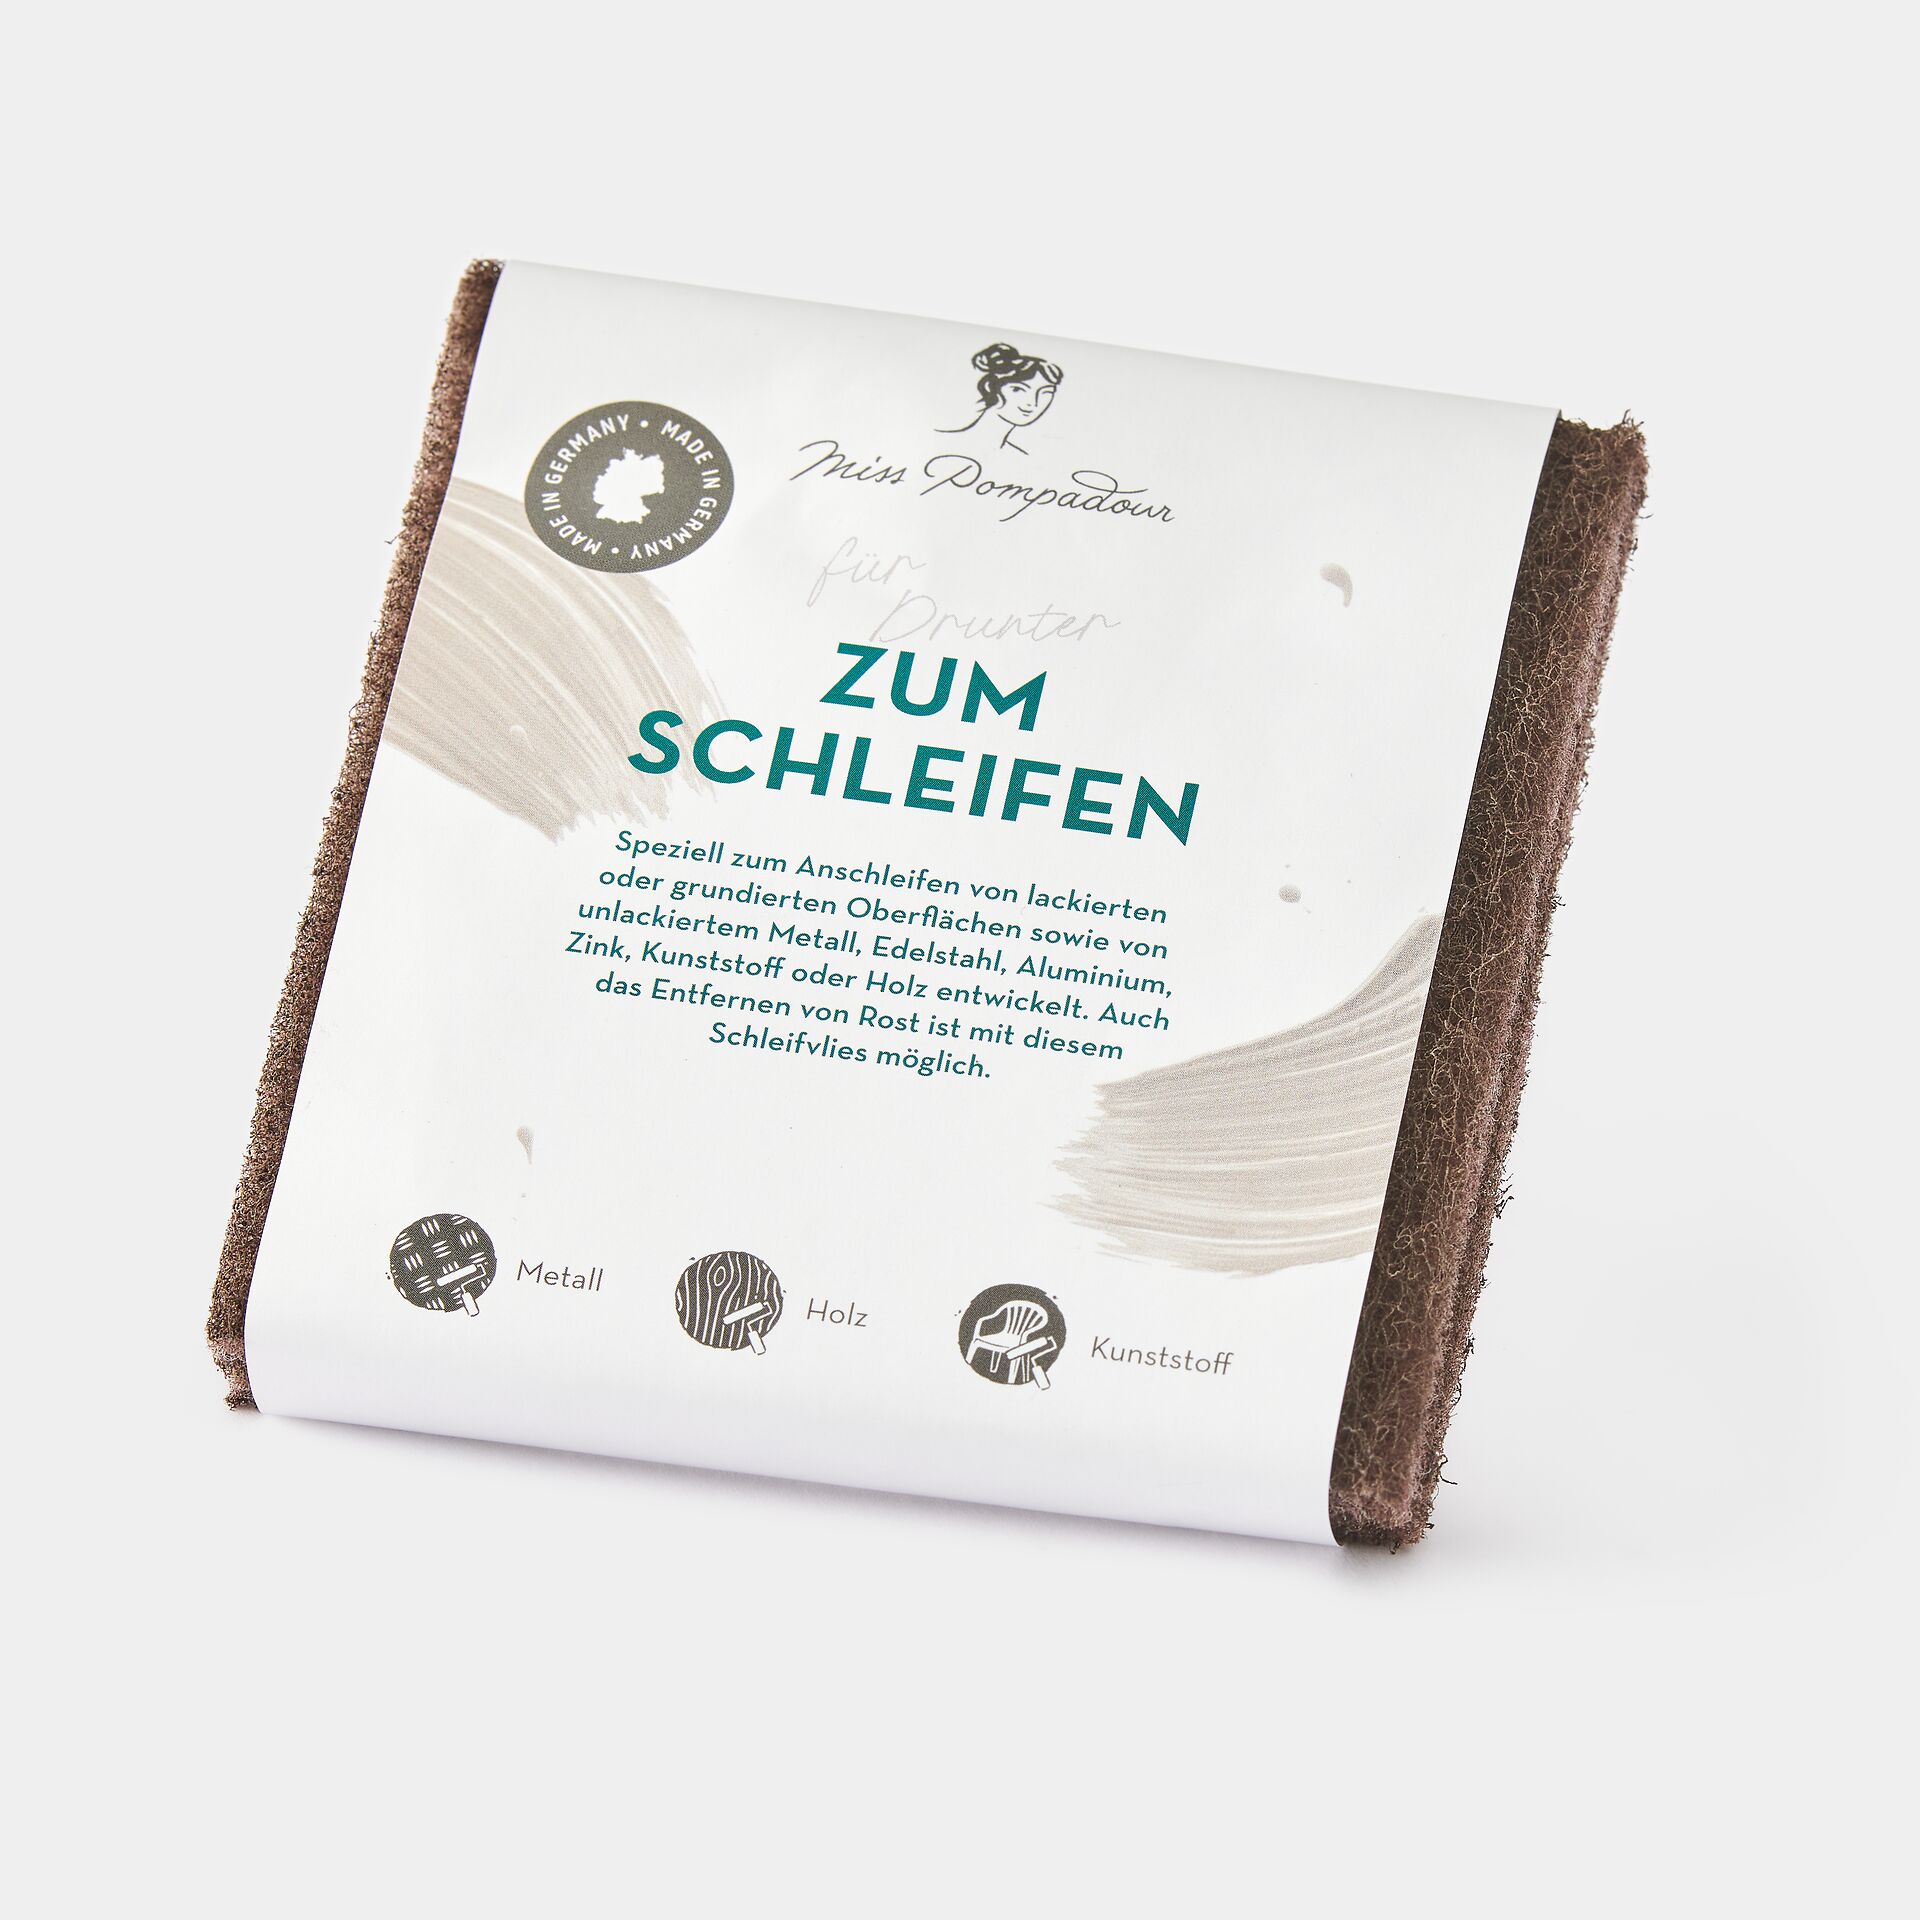
- If wood is unfinished, you can clean it with a damp cloth. However, let it dry thoroughly before working on it further. You may also be able to sand off any stains. However, this only applies if they are close to the surface. If knotholes bother you, you can first fill them with our MissPompadour Filler and then prime them after they have dried.
- wood that has been varnished or otherwise surface-treated can be cleaned wet. Under certain circumstances, a primer may be advisable here as well.
- Tiles, plastic or metal are washed wet with detergent. The surface is then rinsed with clean water. It must also be completely dry before further treatment.
- Metal should be rubbed dry immediately to prevent rust from forming.
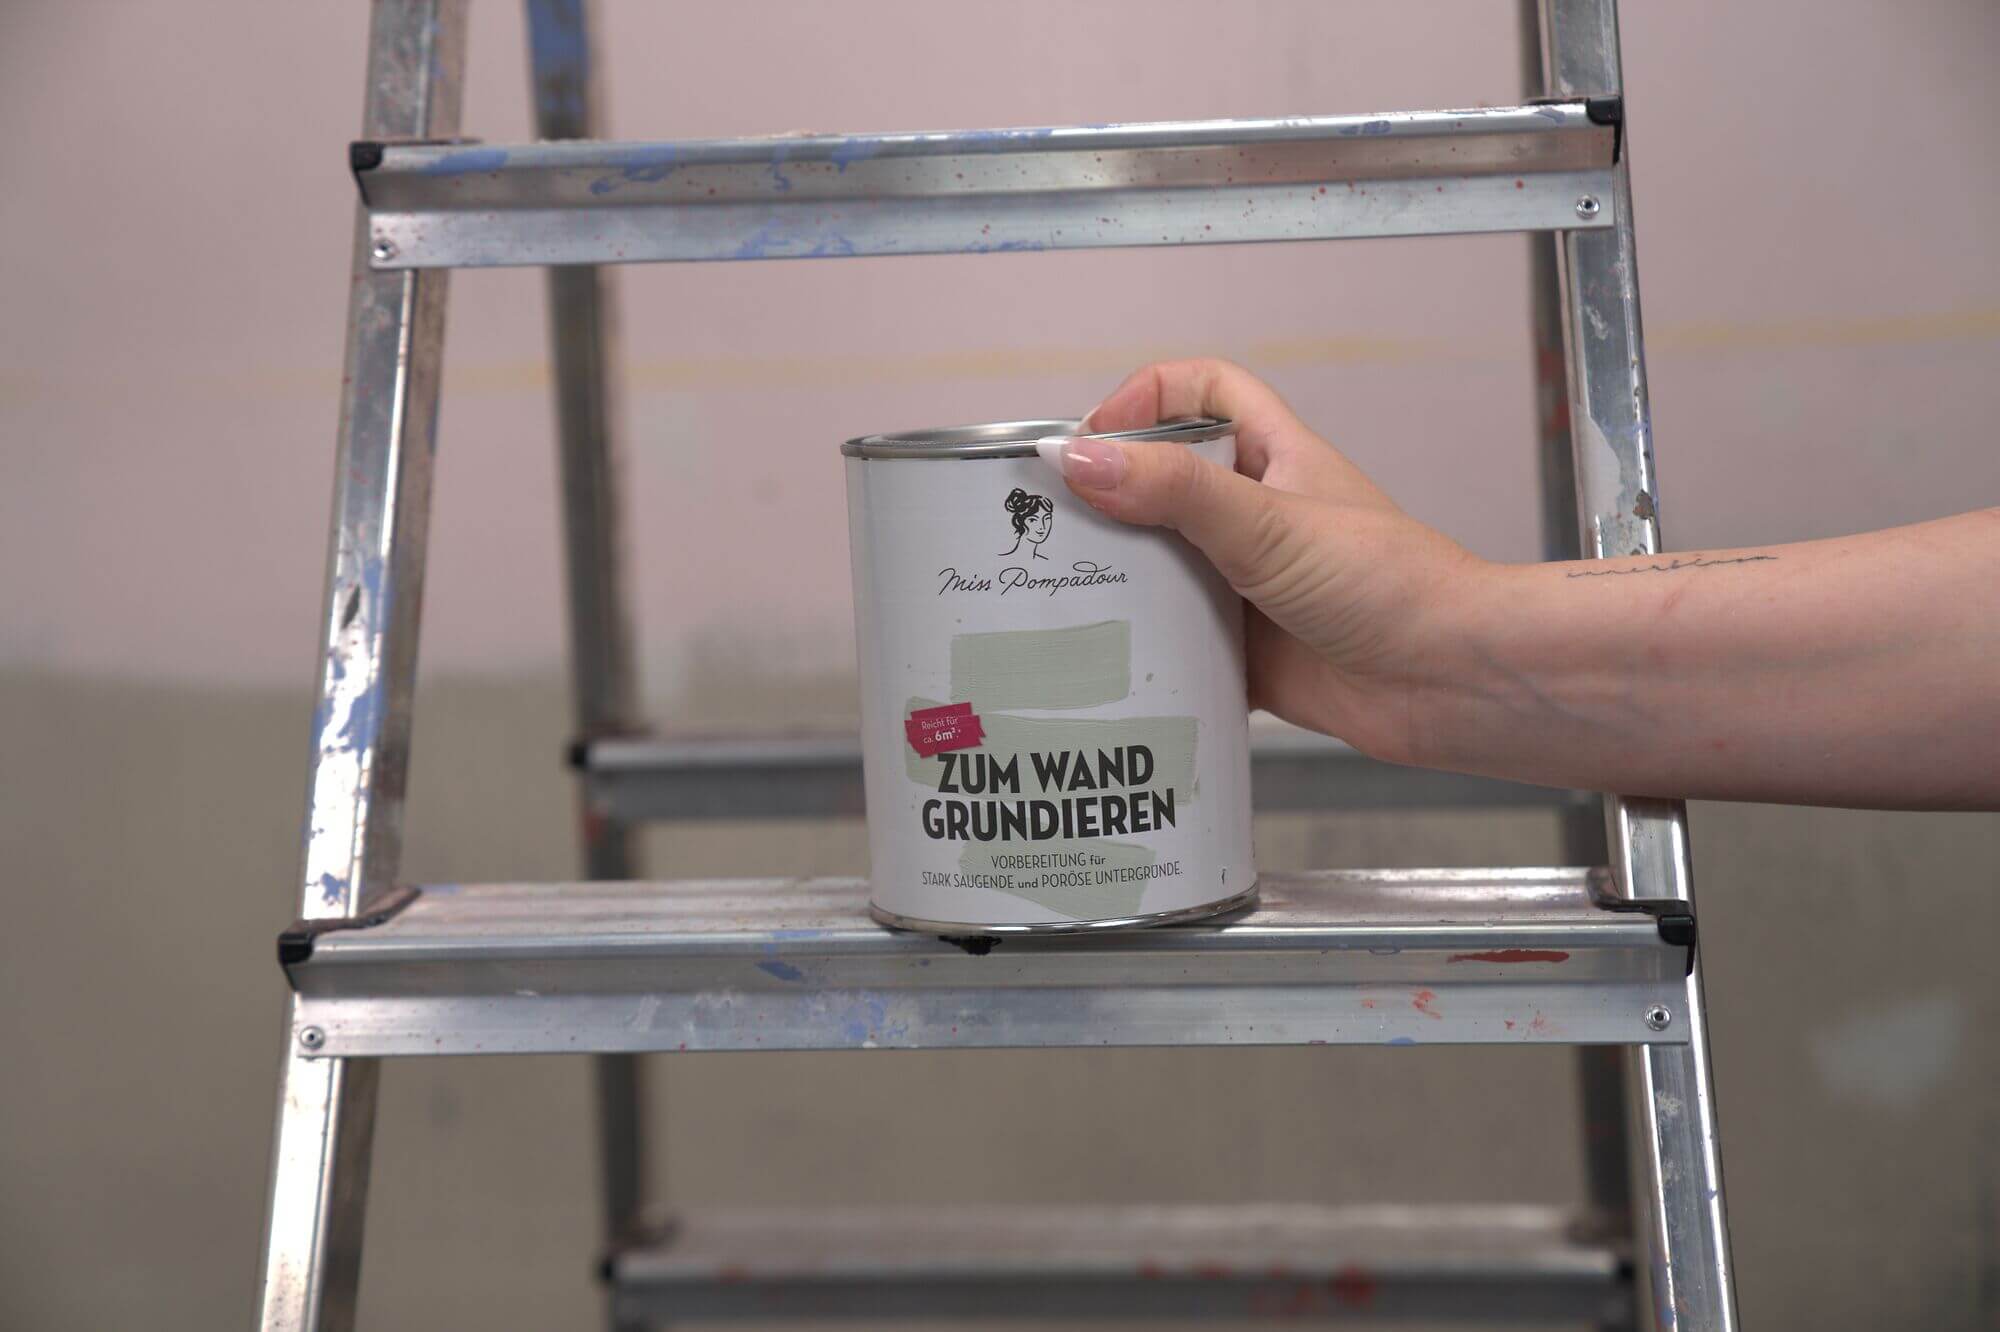
The right primer in preparation for painting
A primer often prepares your painting properly and ensures that the new paint adheres well and forms an even surface.
When is priming necessary?
Natural wood must be primed if
- there is a risk of bleeding (e.g. oak),
- it is stained,
- or you are bothered by knotholes.
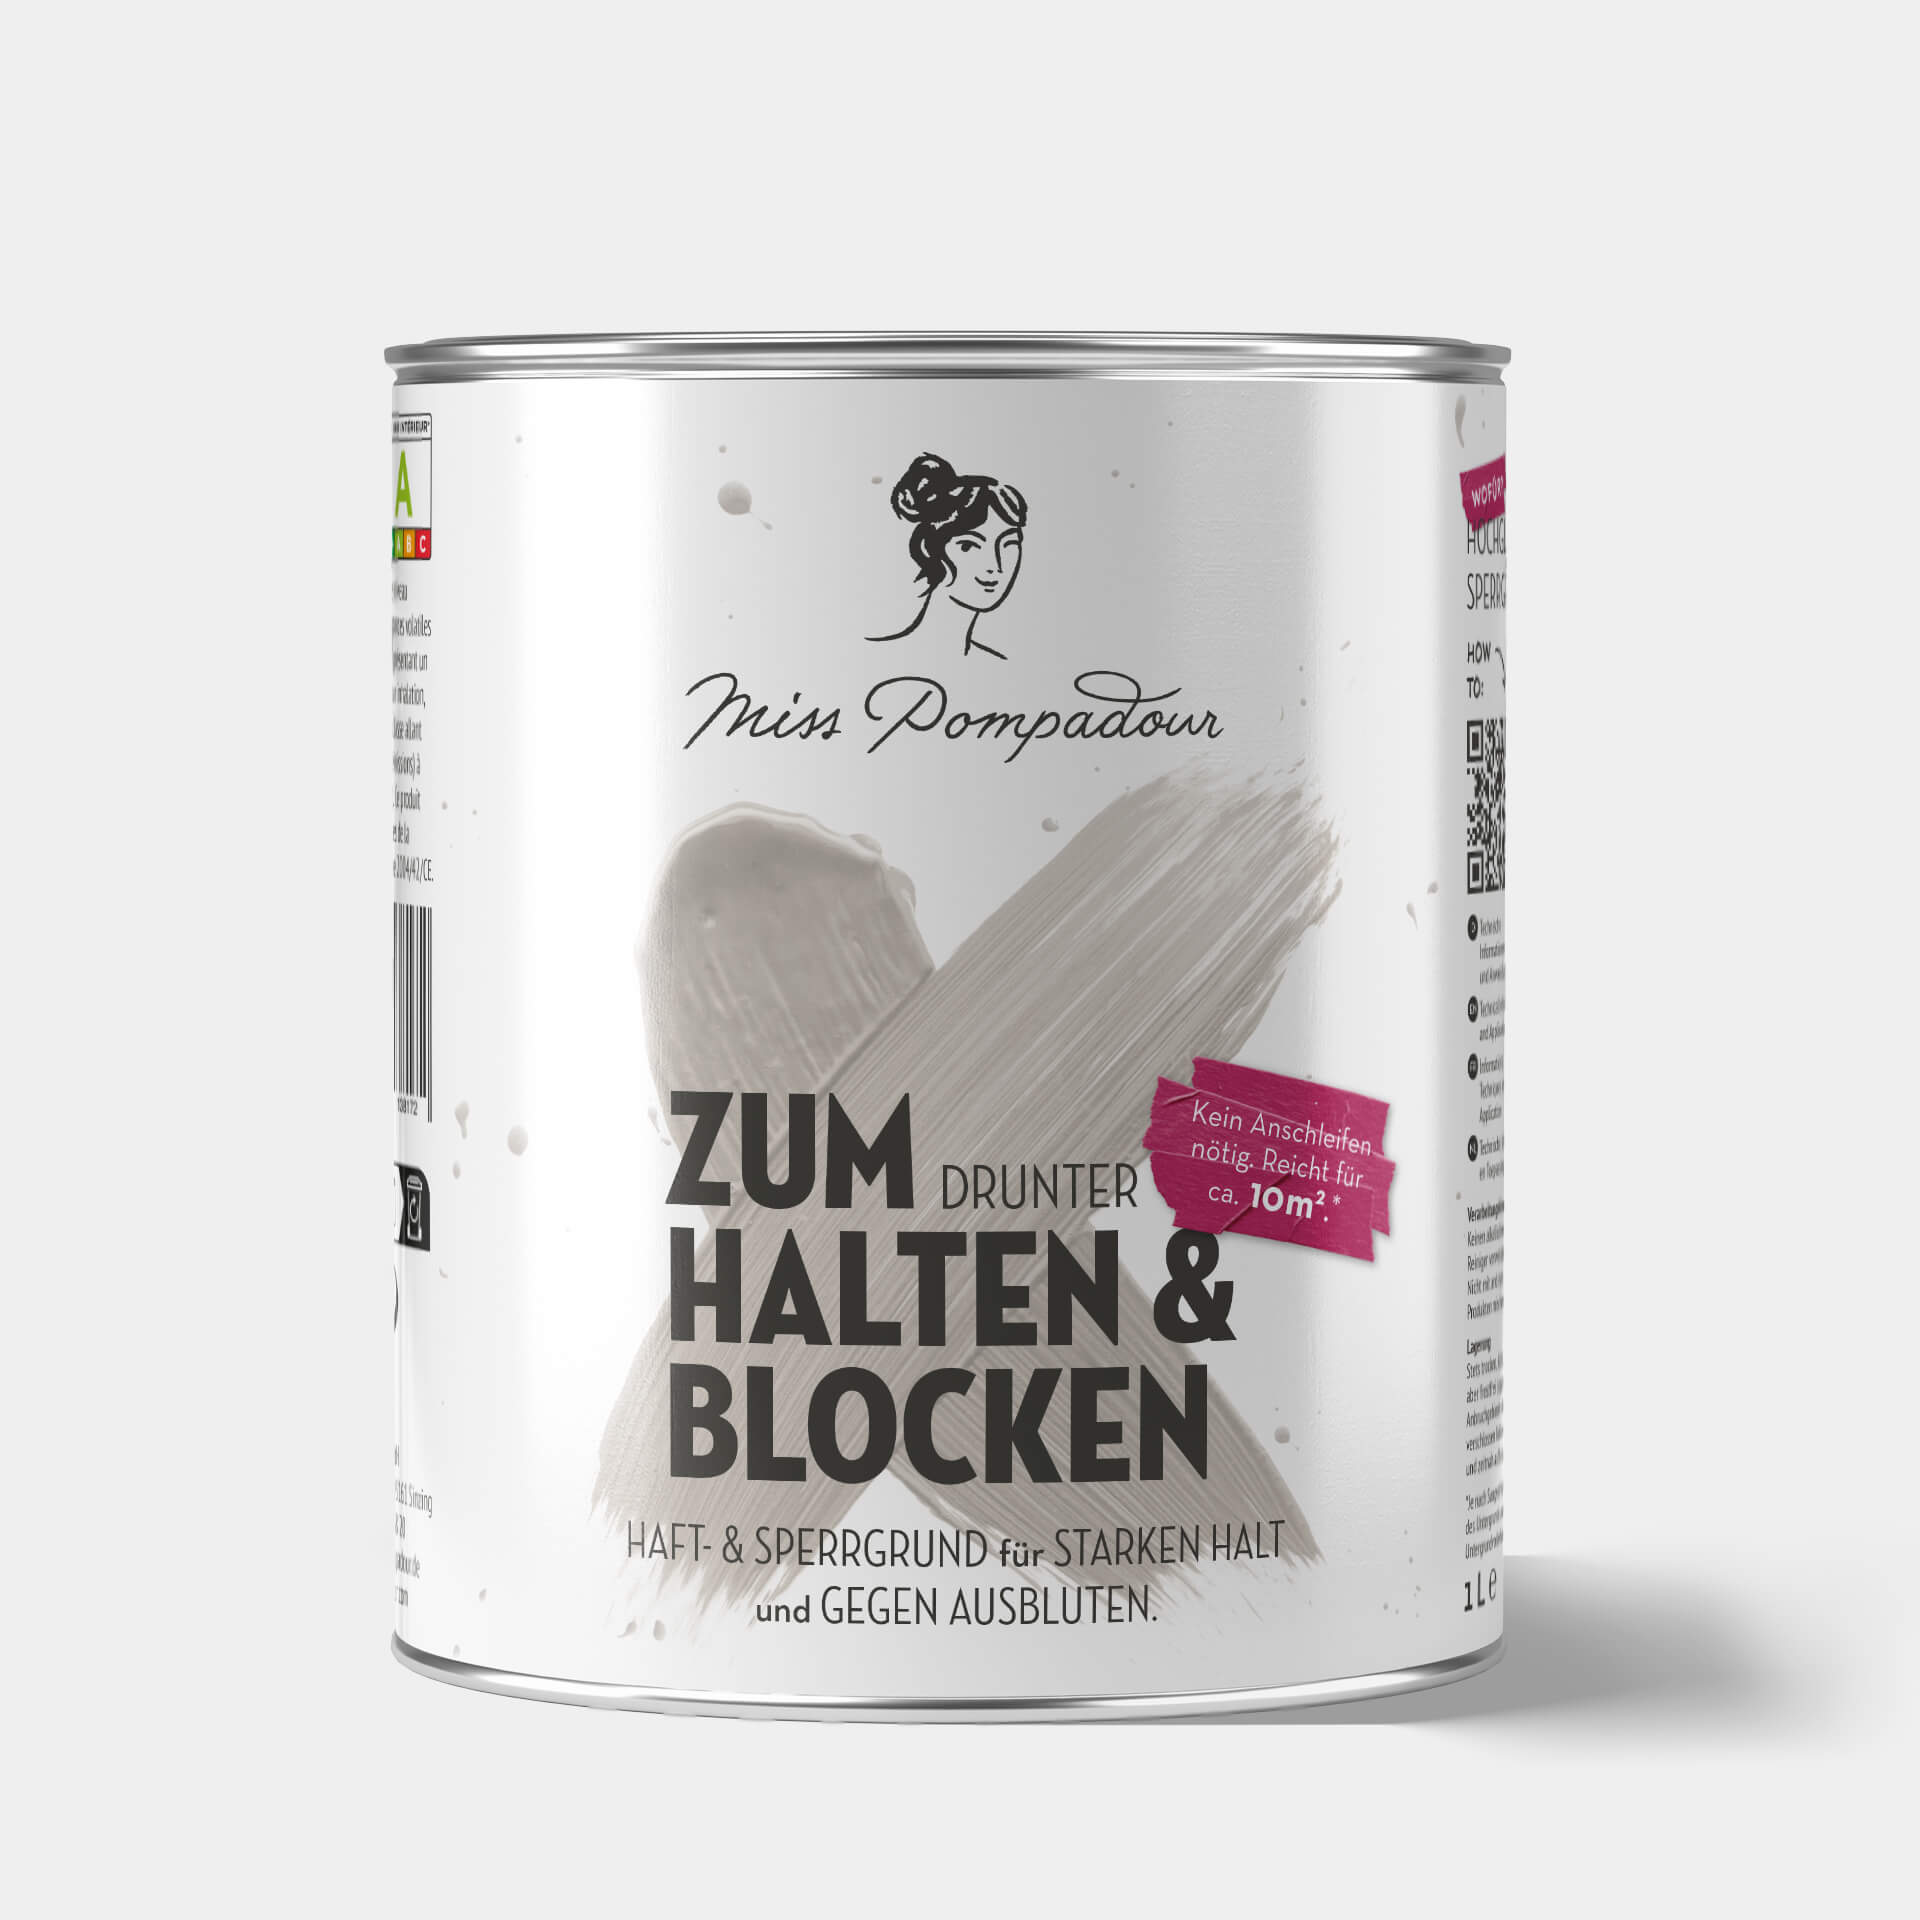
To do this, apply a thick coat of To Bond & Block - MissPompadour Primer.
Treated and varnished wood must be primed if it is
- it is stained or varnished,
- or partially sanded off flaking old varnish.
Start with a good covering coat of To Bond & Block from MissPompadour. If there are uneven or defective areas in the wood, use filler from MissPompadour to make the surface flat.
Plaster must be primed if
- it is very fresh old stains are on the wall,
- the plaster is sandy or crumbly,
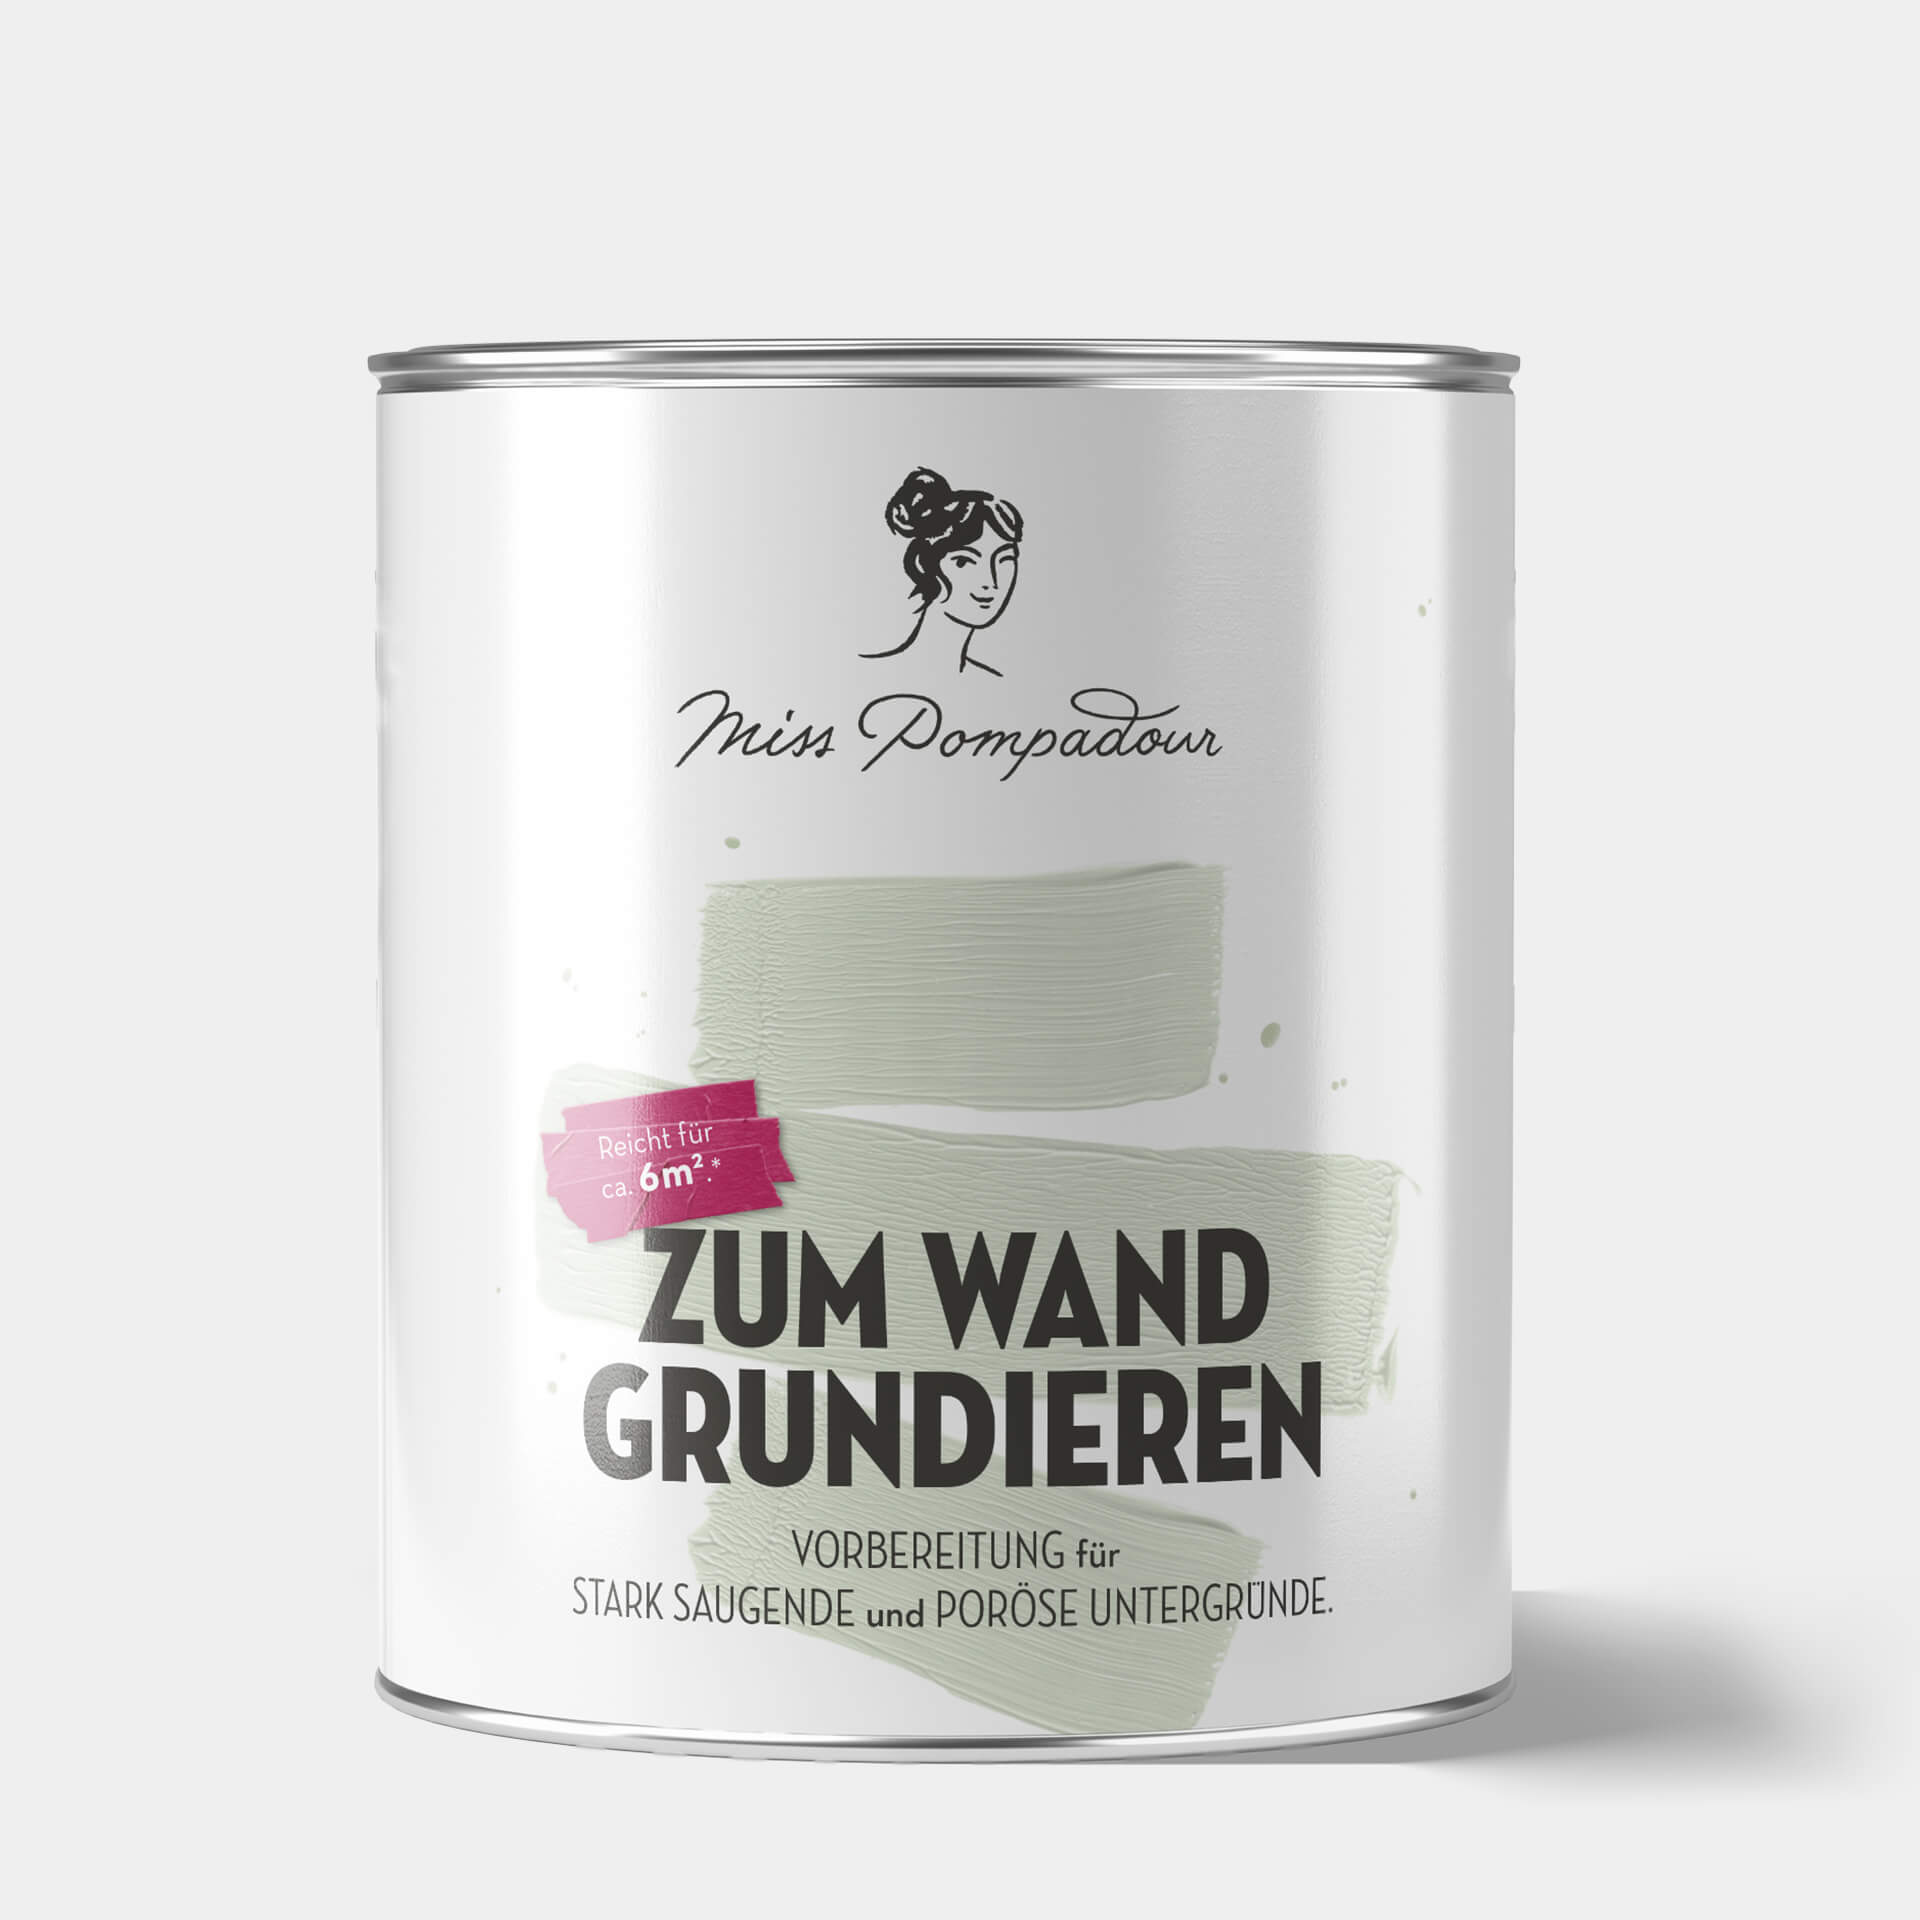
- the paint is applied to a highly absorbent surface such as plasterboard
- or there are holes or cracks in the wall.
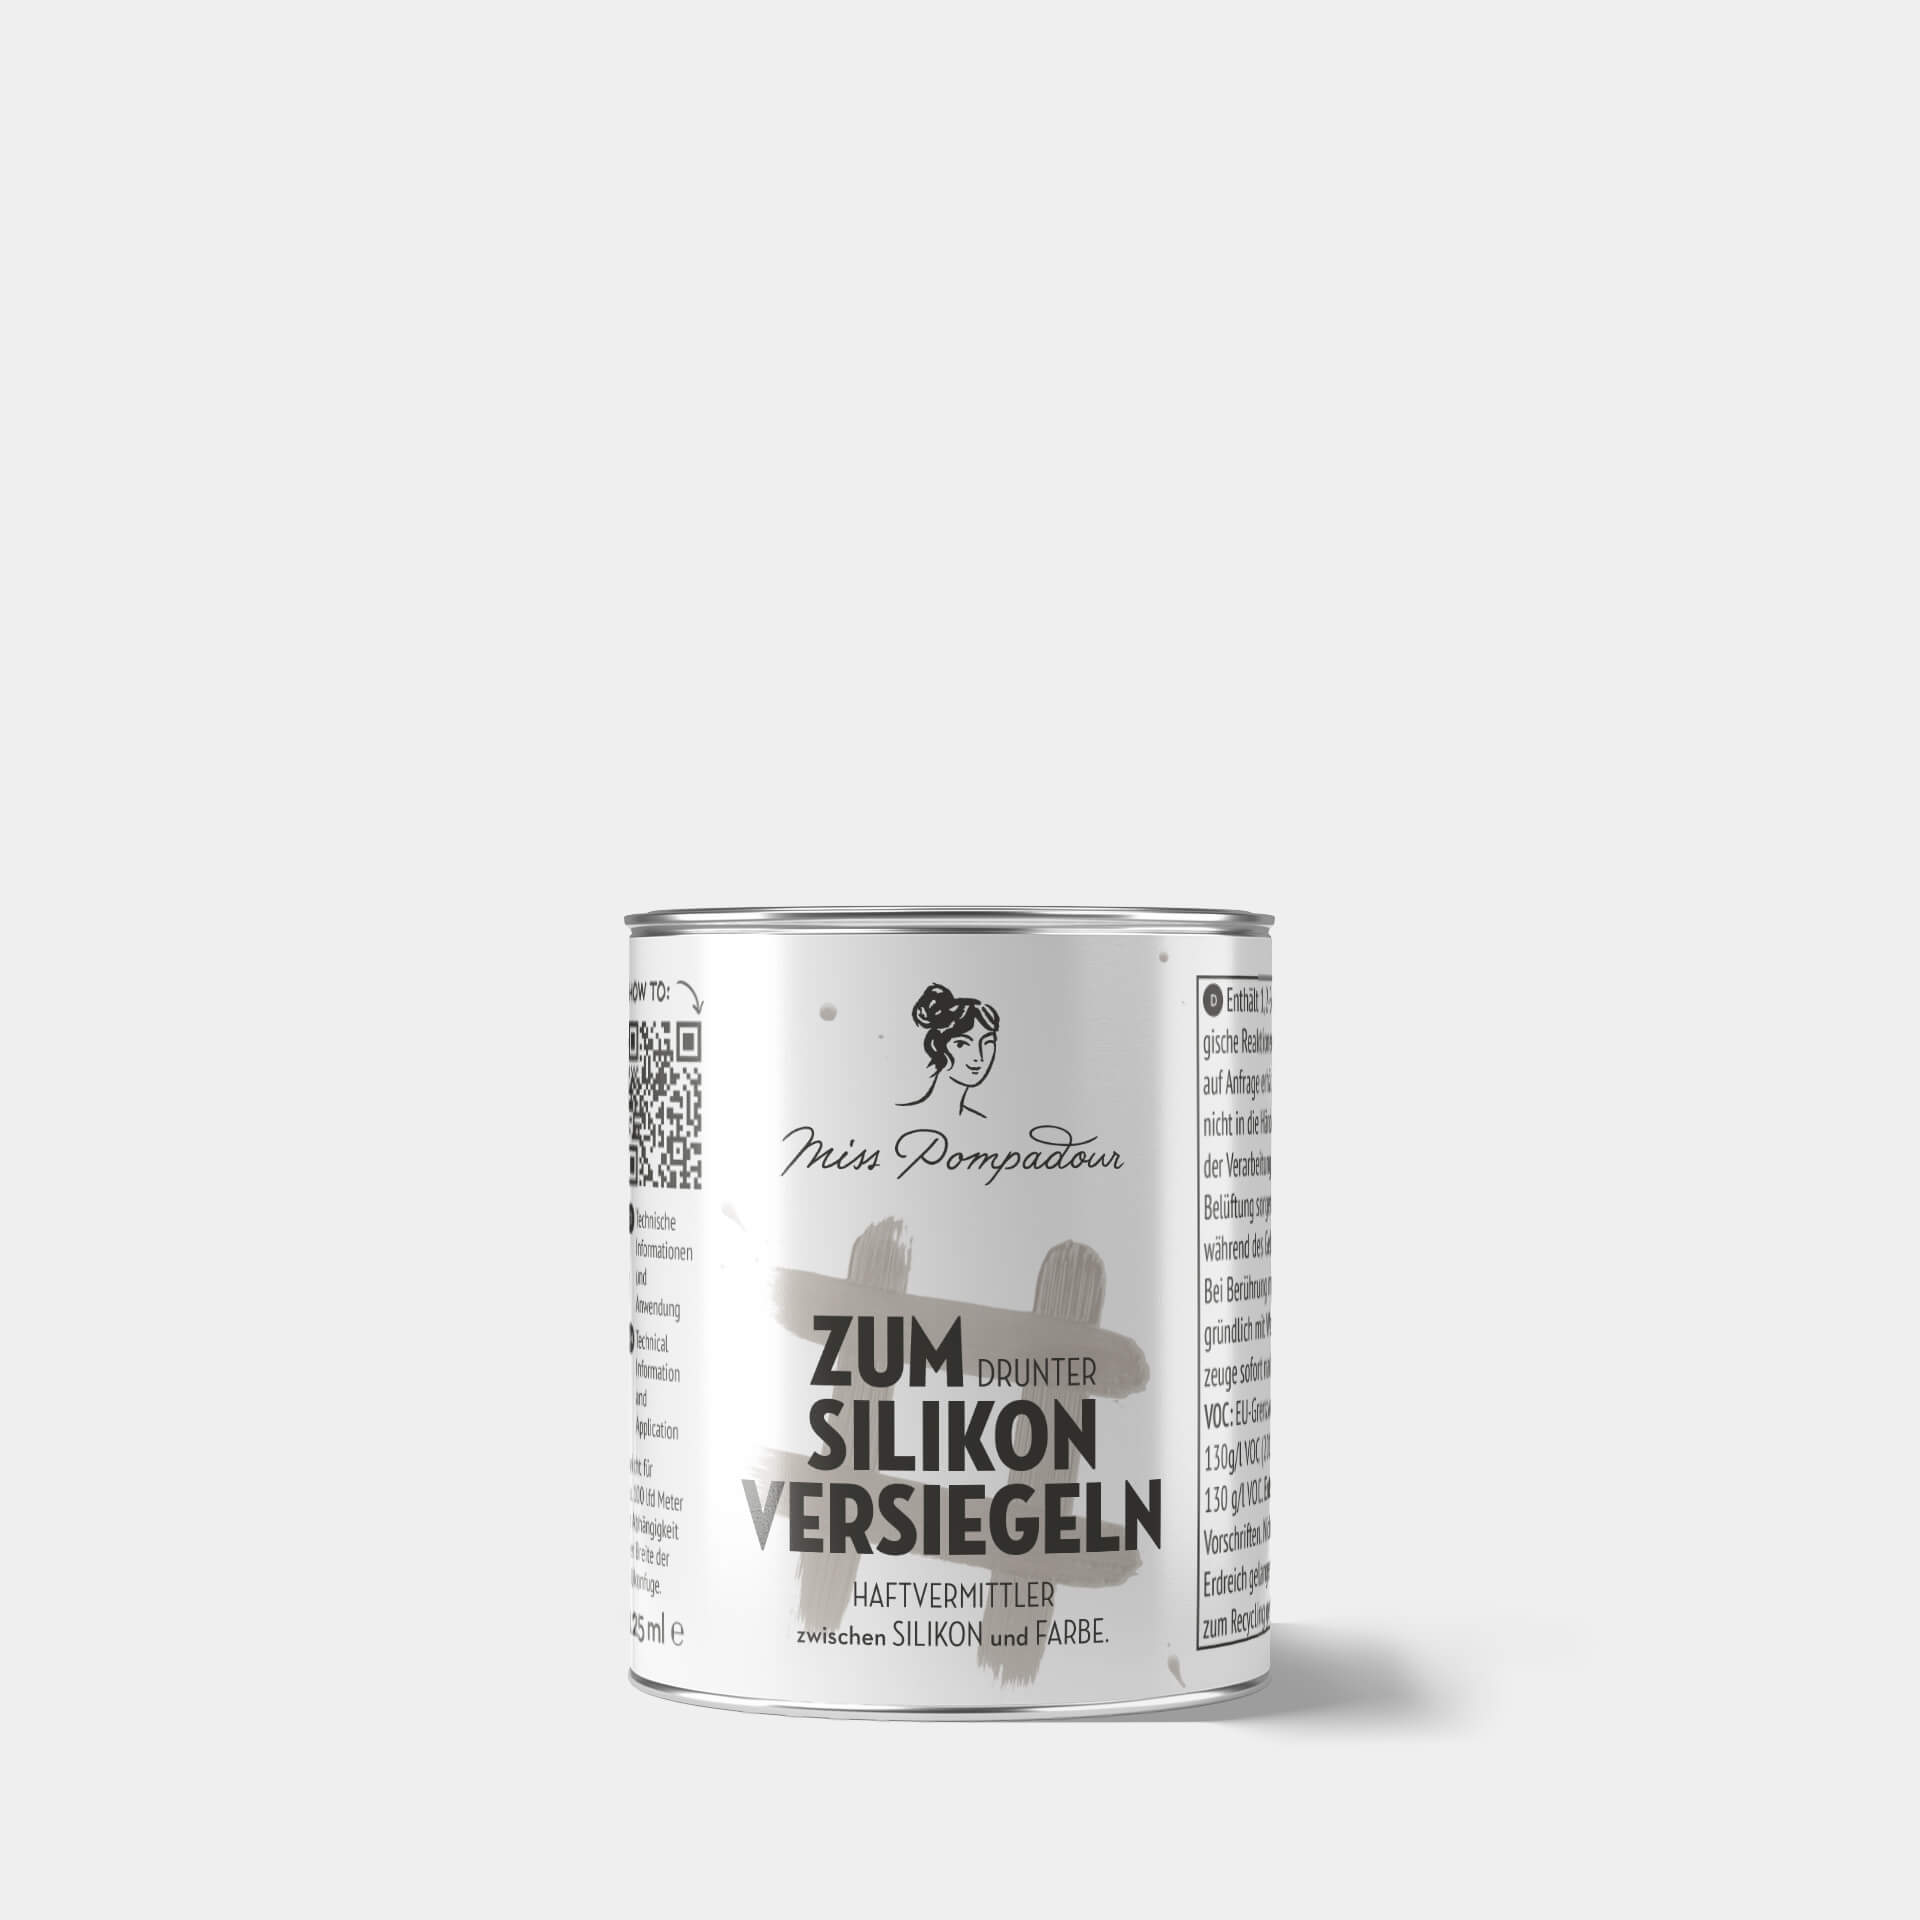
Tiles and plastic surfaces must be primed if they have a very smooth surface to which the paint cannot adhere. A well-covering coat of To Bond & Block creates the perfect base for your paint. Any existing silicone joints can be painted if you first prime them with MissPompadour Silicone Sealer.
Metal must be primed to prepare the very smooth surface for painting. Use To Bond & Block for this. If it is raw iron or rusty metal, it must first be treated with a rust protection primer . Rust spots must be removed before painting.
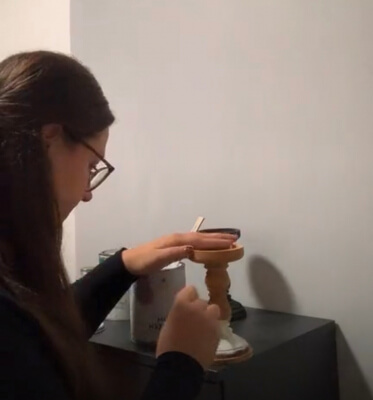
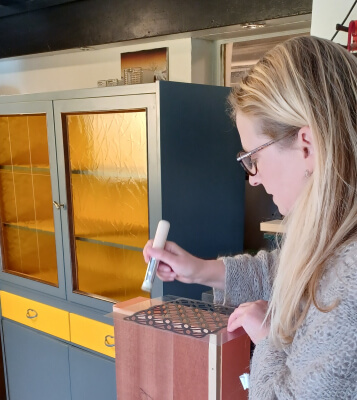
How do I apply the primer?
- After masking, apply MissPompadour To Bond & Block with a roller or brush. Proceed in the same way with MissPompadour To Prime Walls.
- It is particularly important to apply To Bond & Block with full coverage.
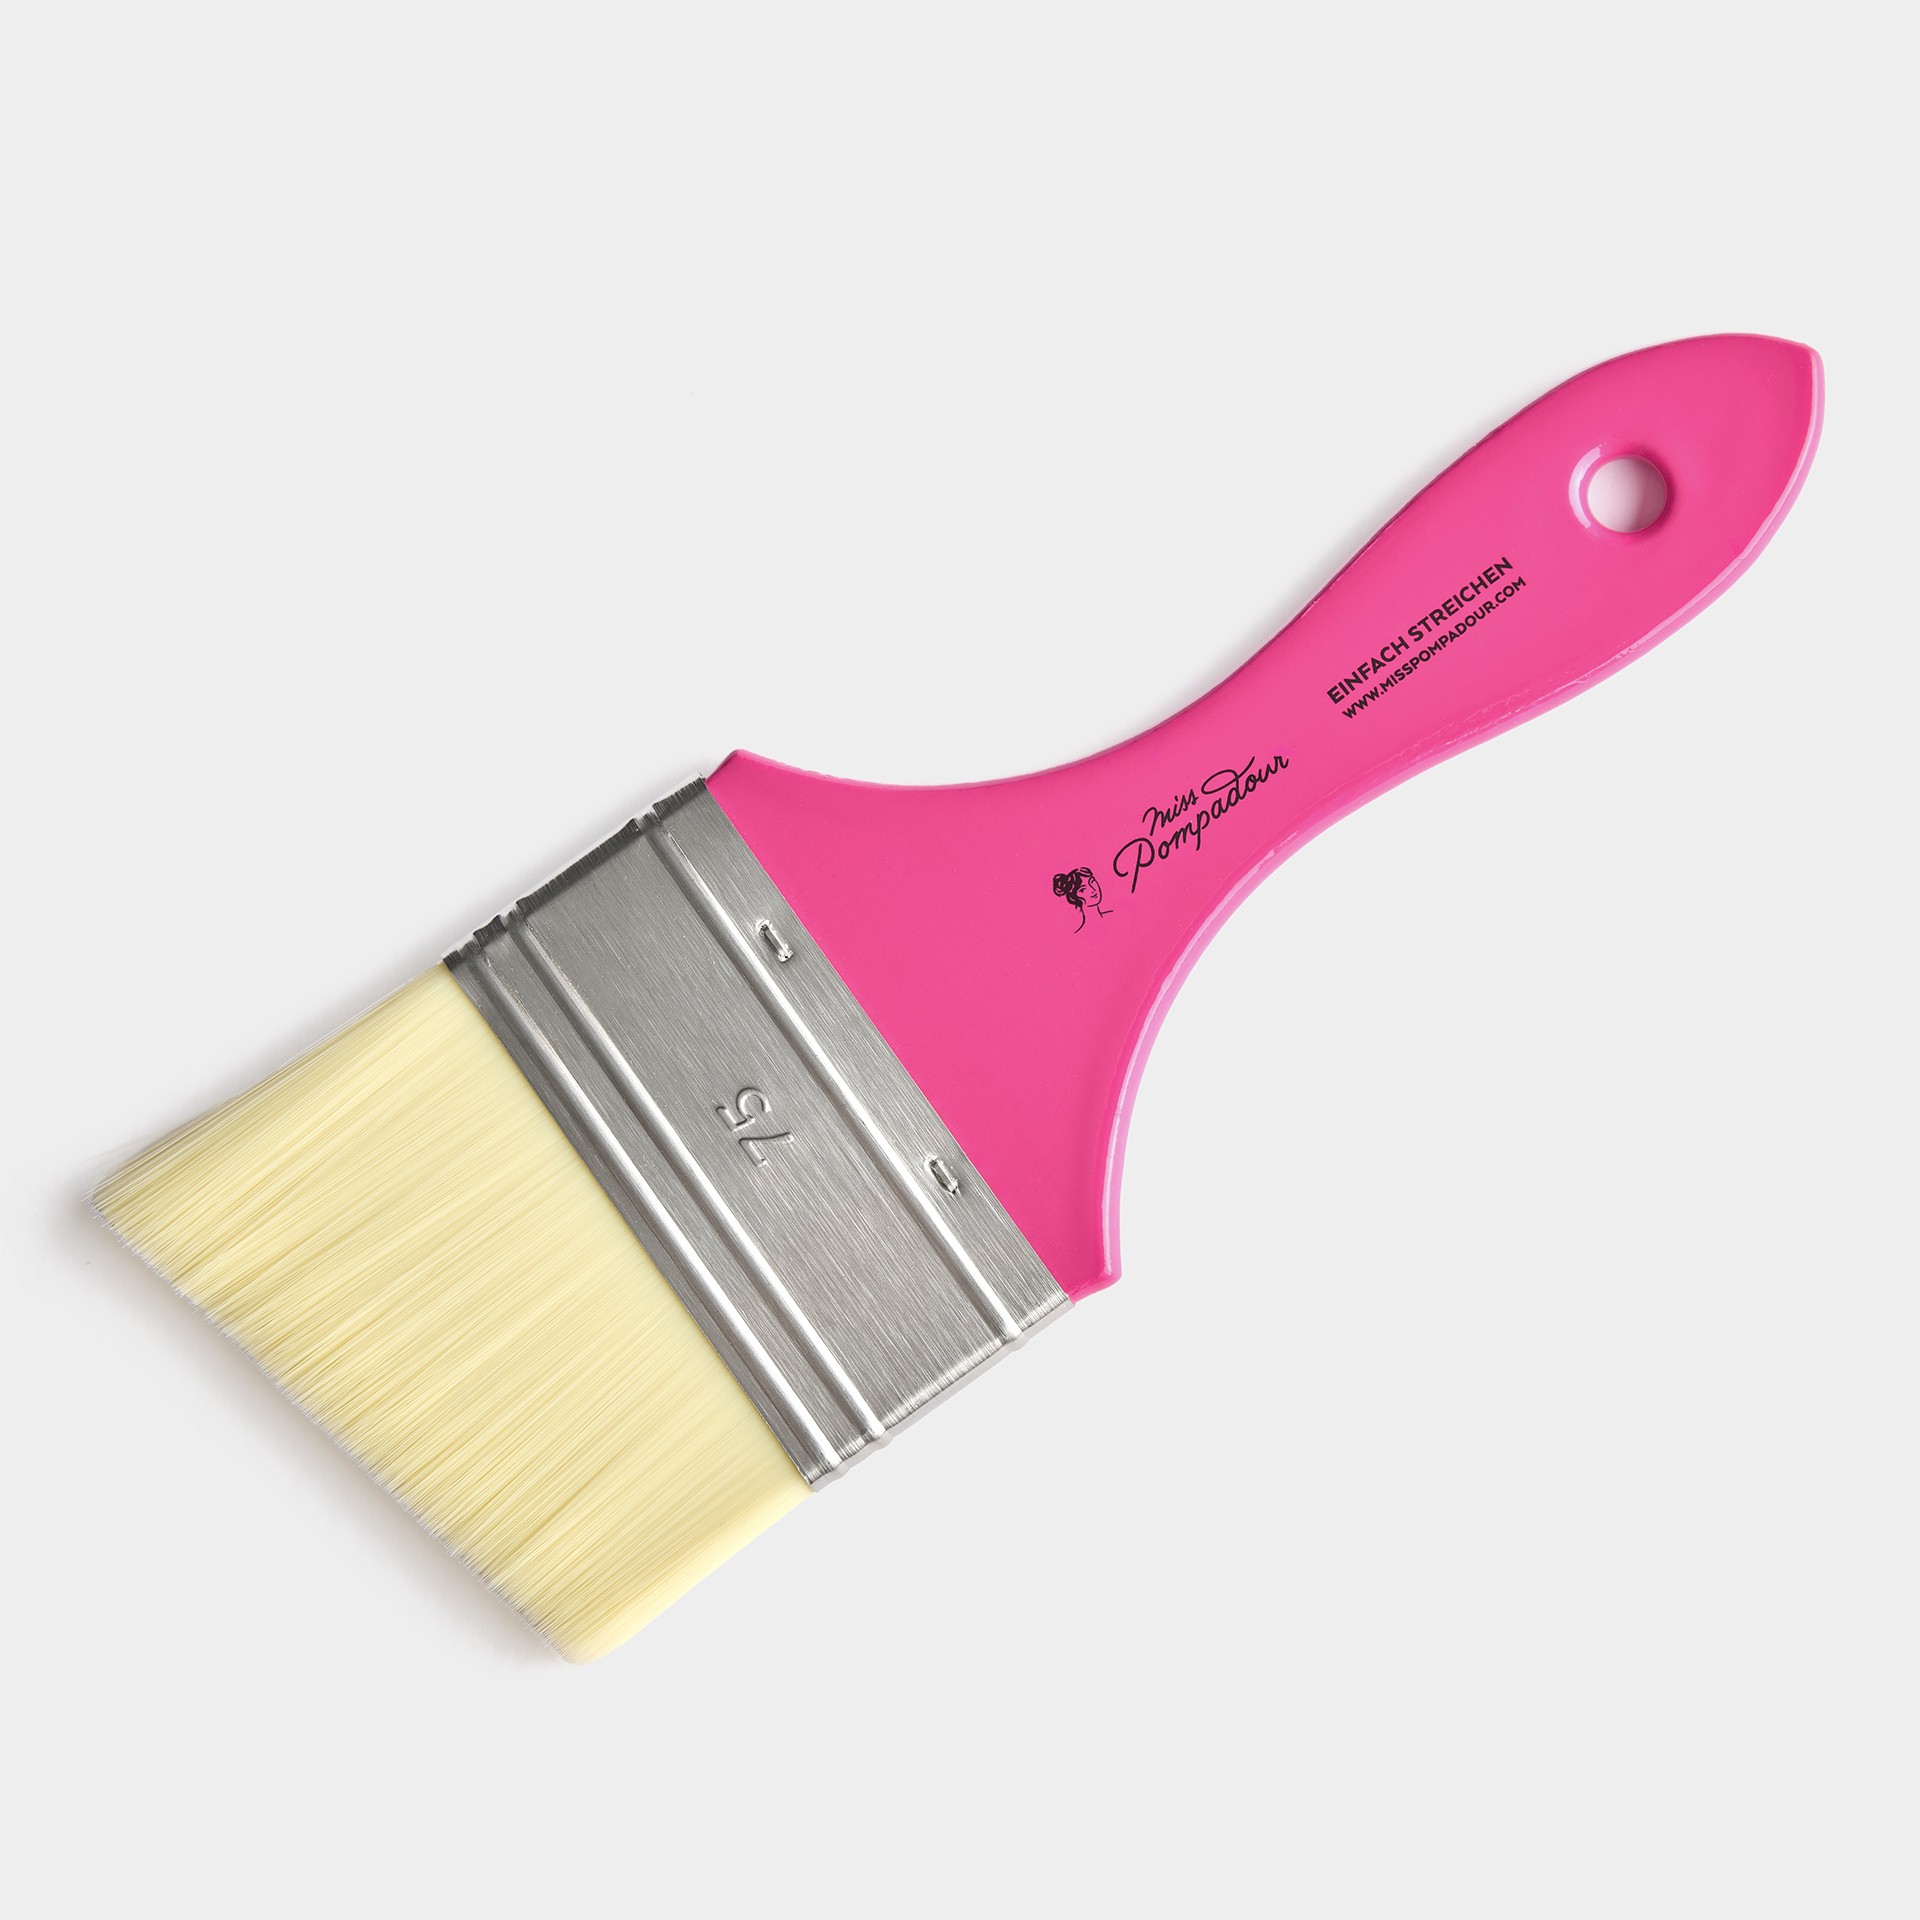
- The fine MissPompadour brush is recommended for smaller areas, corners, edges and angles.
- Apply the MissPompadour filler with a stainless steel fine trowel.
What else needs to be prepared when painting?
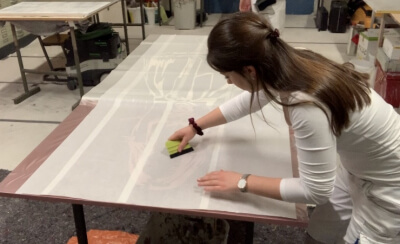
- It is important to protect the floor of the room. You want to avoid plastic? Newspaper and cardboard boxes will do the trick.
- Unscrew all sockets from the wall and tape everything that is not to be painted. Proper masking with masking tape saves time-consuming cleaning work later.
- Last but not least, how about the practical dungarees from MissPompadour, which reliably protect you from primer and paint and still give you every freedom of movement.
- Get your paint tray, a brush and a paint roller ready. And then just get started!
Conclusion: These are the 5 points you need to bear in mind when cleaning your walls!
Here we have summarised the most important points for you to prepare your walls perfectly for painting:
- The surface must be thoroughly cleaned of dust and grease.
- Peeling paint or varnish must be removed.
- Highly absorbent surfaces should be primed with a deep primer.
- Woods that bleed, stained substrates or those that smell strongly (nicotine) also require a primer.
- Very smooth substrates should be prepared for painting with a primer.
Have you finished reading?


Questions ?
We're here to help
We'll help you anytime, via Phone (Mo-Fr 09-18, Sa until 16 Uhr), via WhatsApp or directly via our Contact Form.