


Painting over silicone with MissPompadour
6 min reading time
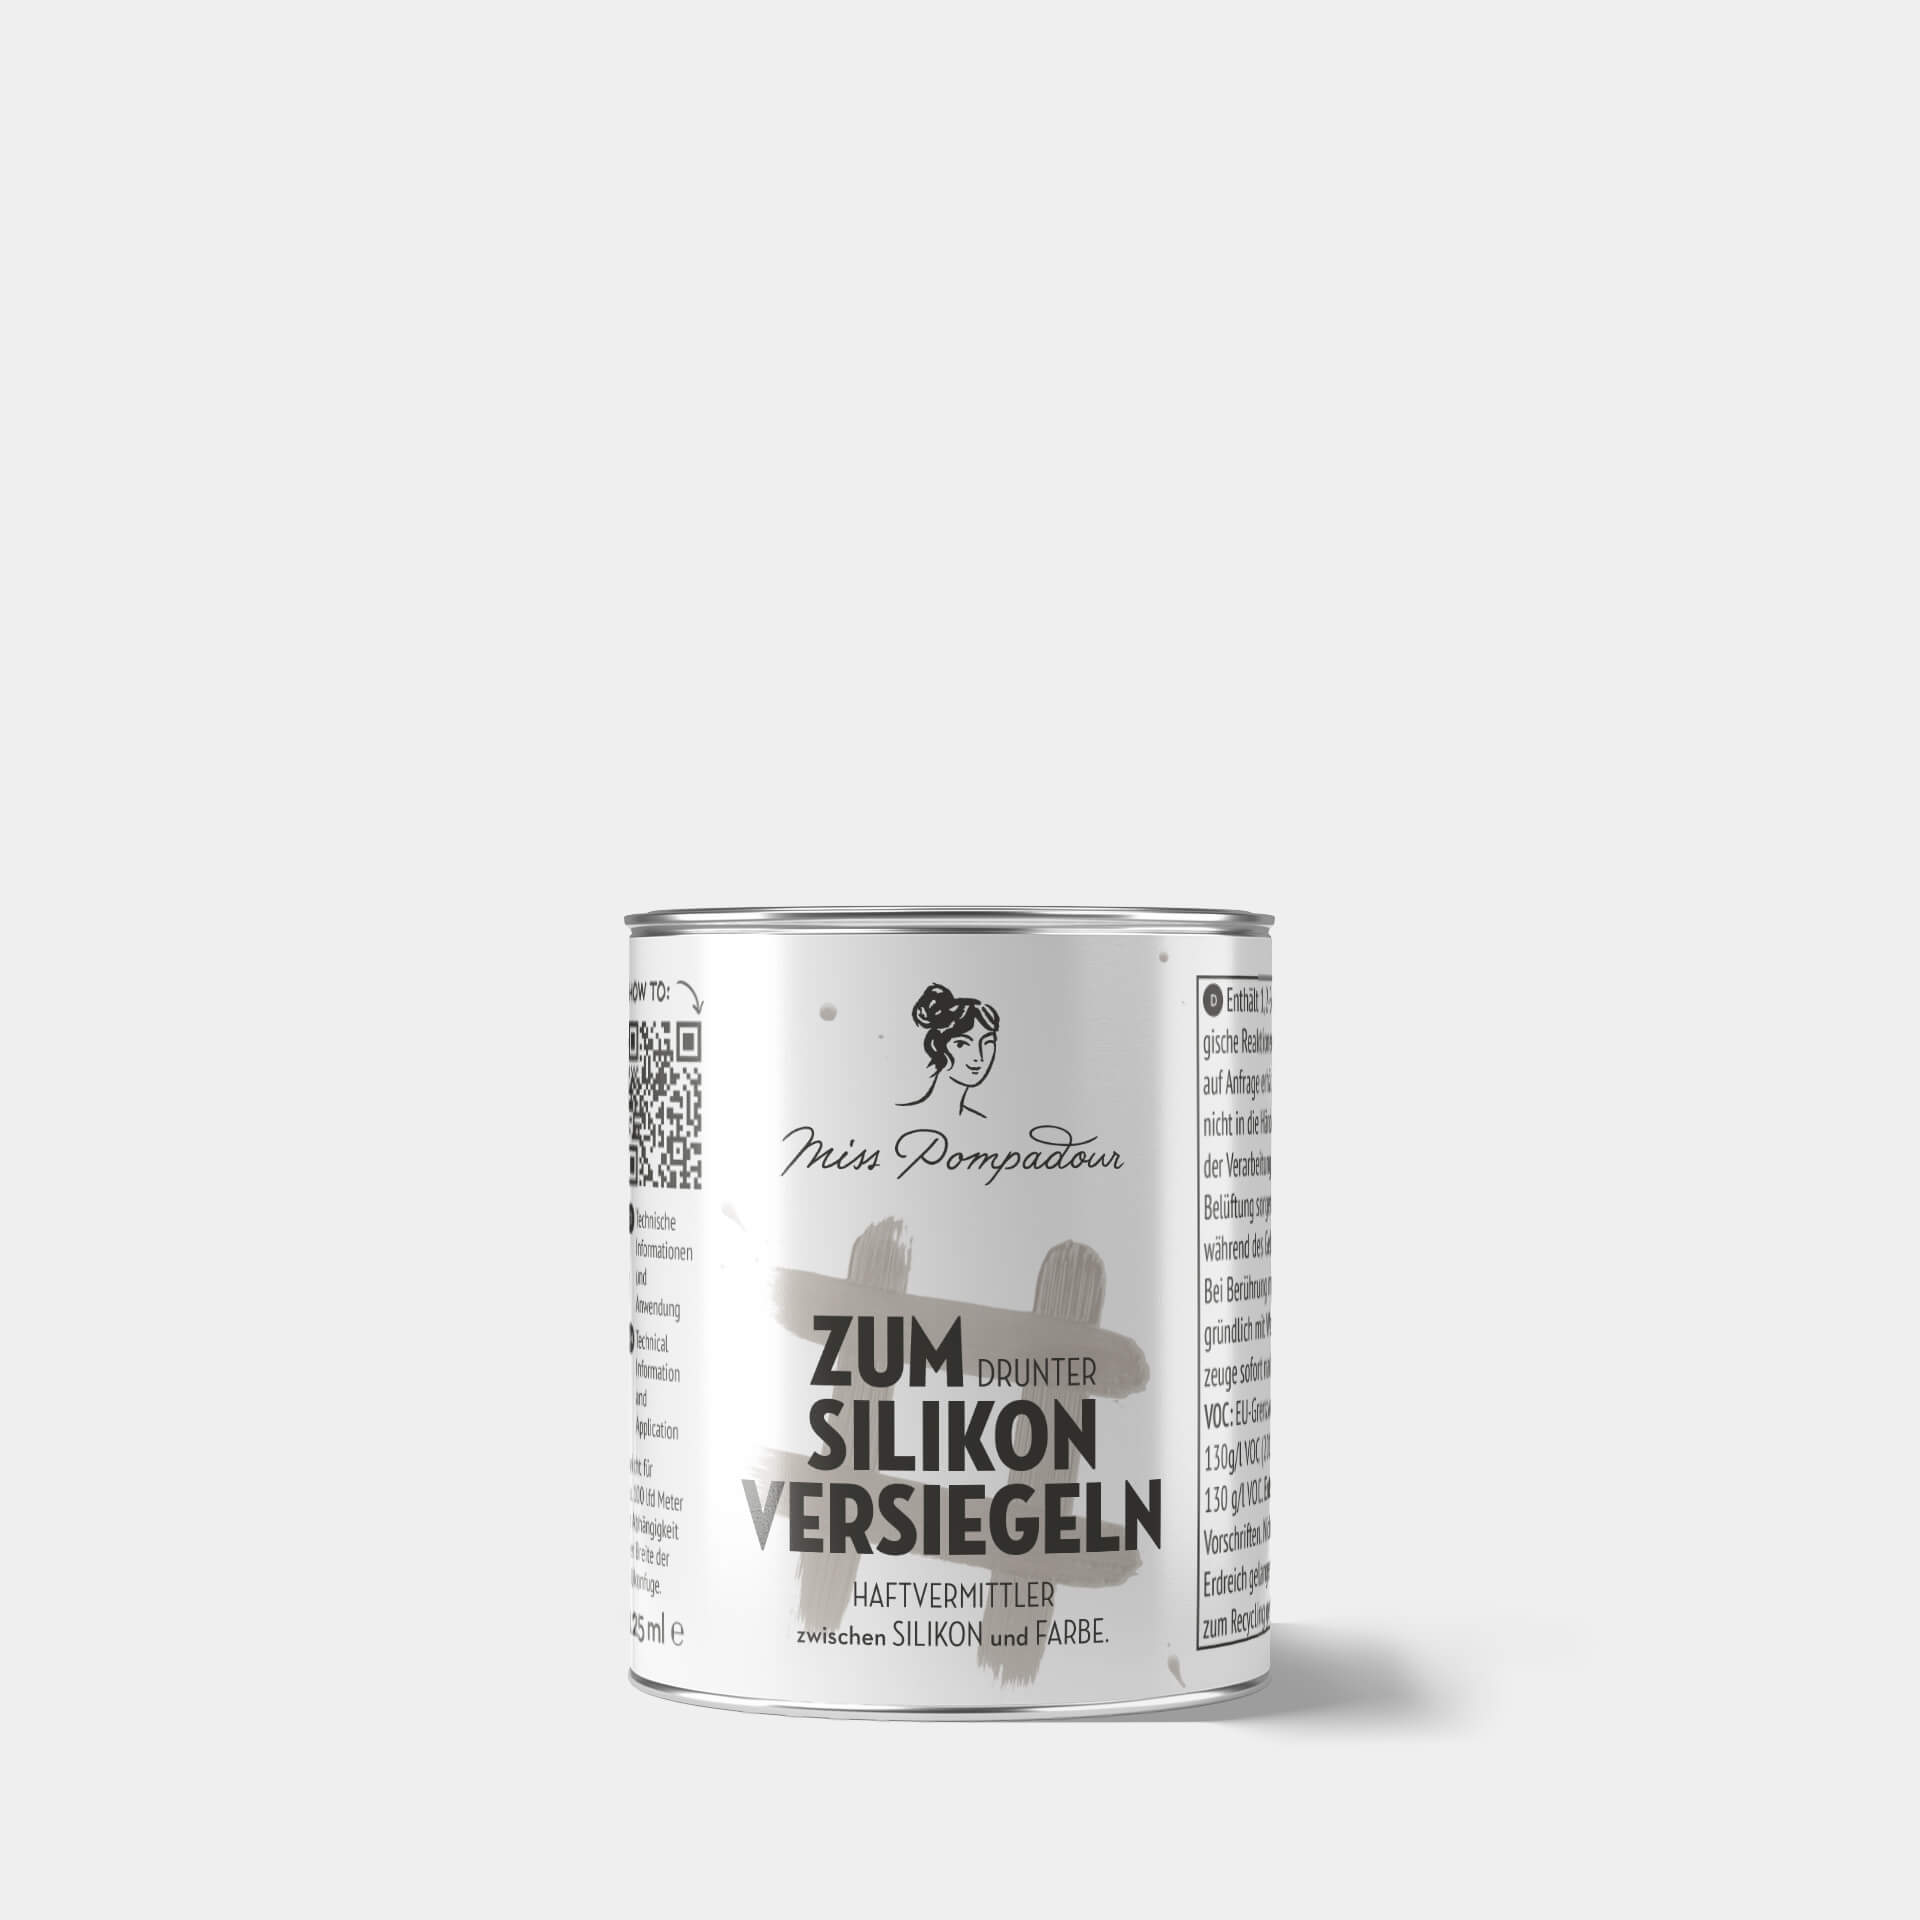
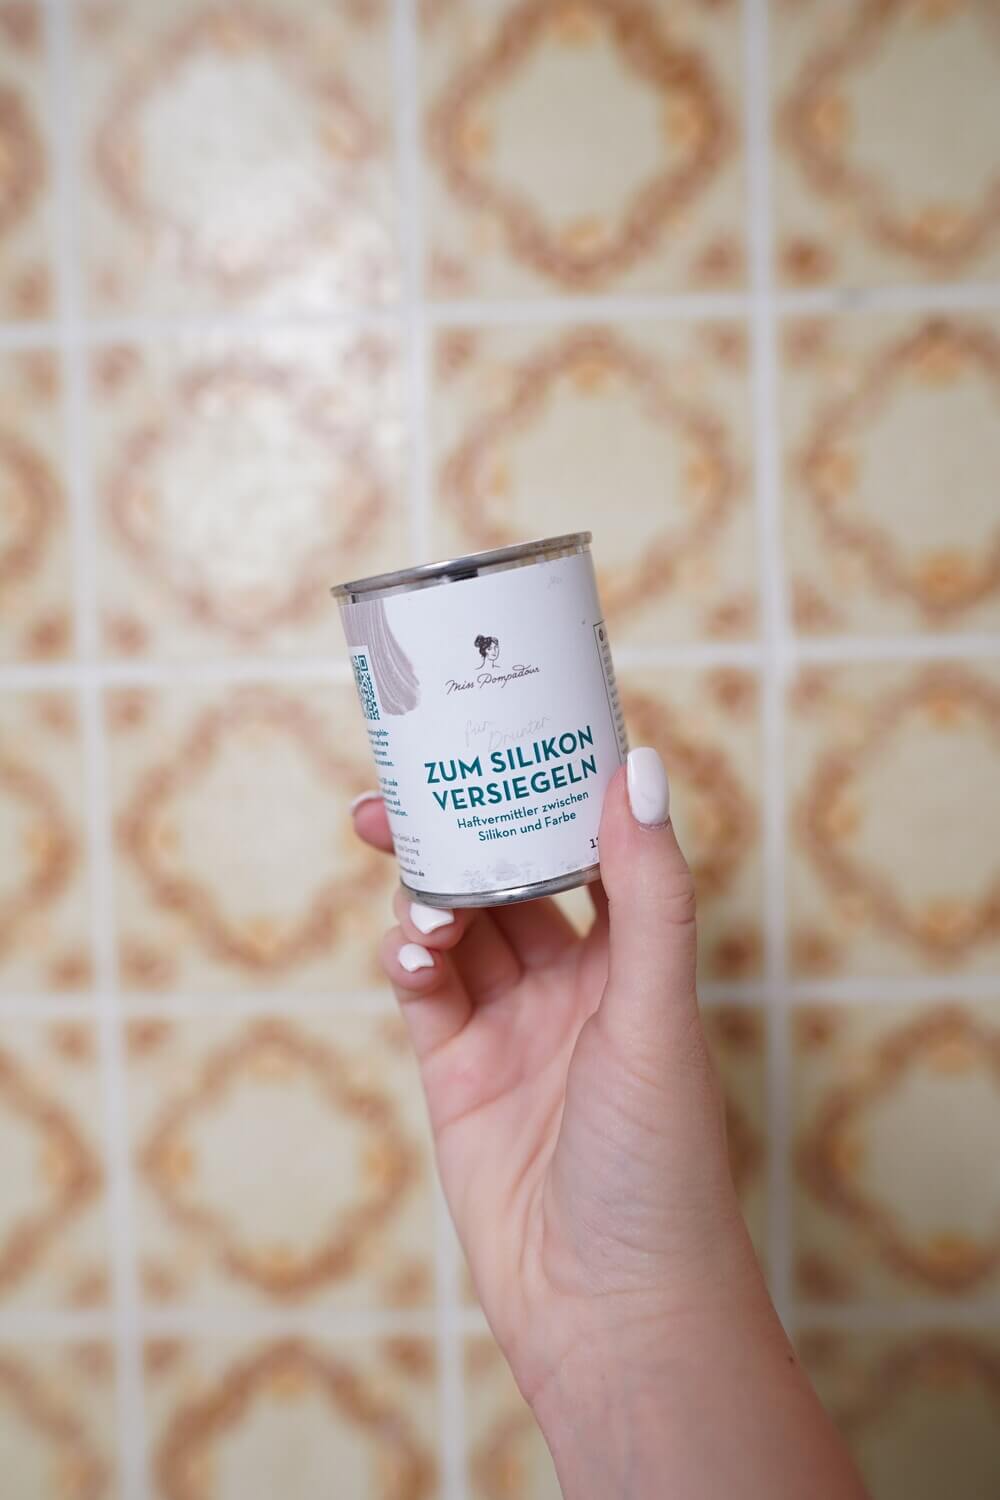
If you want to redesign your bathroom with paint, you can simply paint over the tiles on the walls and floor. If only it weren't for the annoying silicone joints! Because paint simply won't bond to silicone. But MissPompadour has the perfect solution for this problem: To Seal Silicone.

BEFORE
- Completely tiled and with silicone joints - a hopeless case?
AFTER
- With To Seal Silicone and new paint, this bathroom became a gem!
Can you paint over silicone joints?
Yes, this works if you apply a generous layer of MissPompadour To Seal Silicone before you paint. This acts as an adhesion promoter, creating a bond between the silicone and your paint. Once dry, you can apply your chosen colour without any issues; a special silicone paint is no longer needed.
Both MissPompadour wall paints and lacquers are suitable for use over the primer. You can also use To Seal Silicone for silicone stains on tiles or walls. It's also suitable for outdoor applications.
Important: Whether To Seal Silicone successfully makes your joints paintable depends heavily on the cleaning agents previously used on them. Some window cleaners can affect the durability. Therefore, we cannot guarantee that the sealant will adhere perfectly to glass rebate seals on windows.
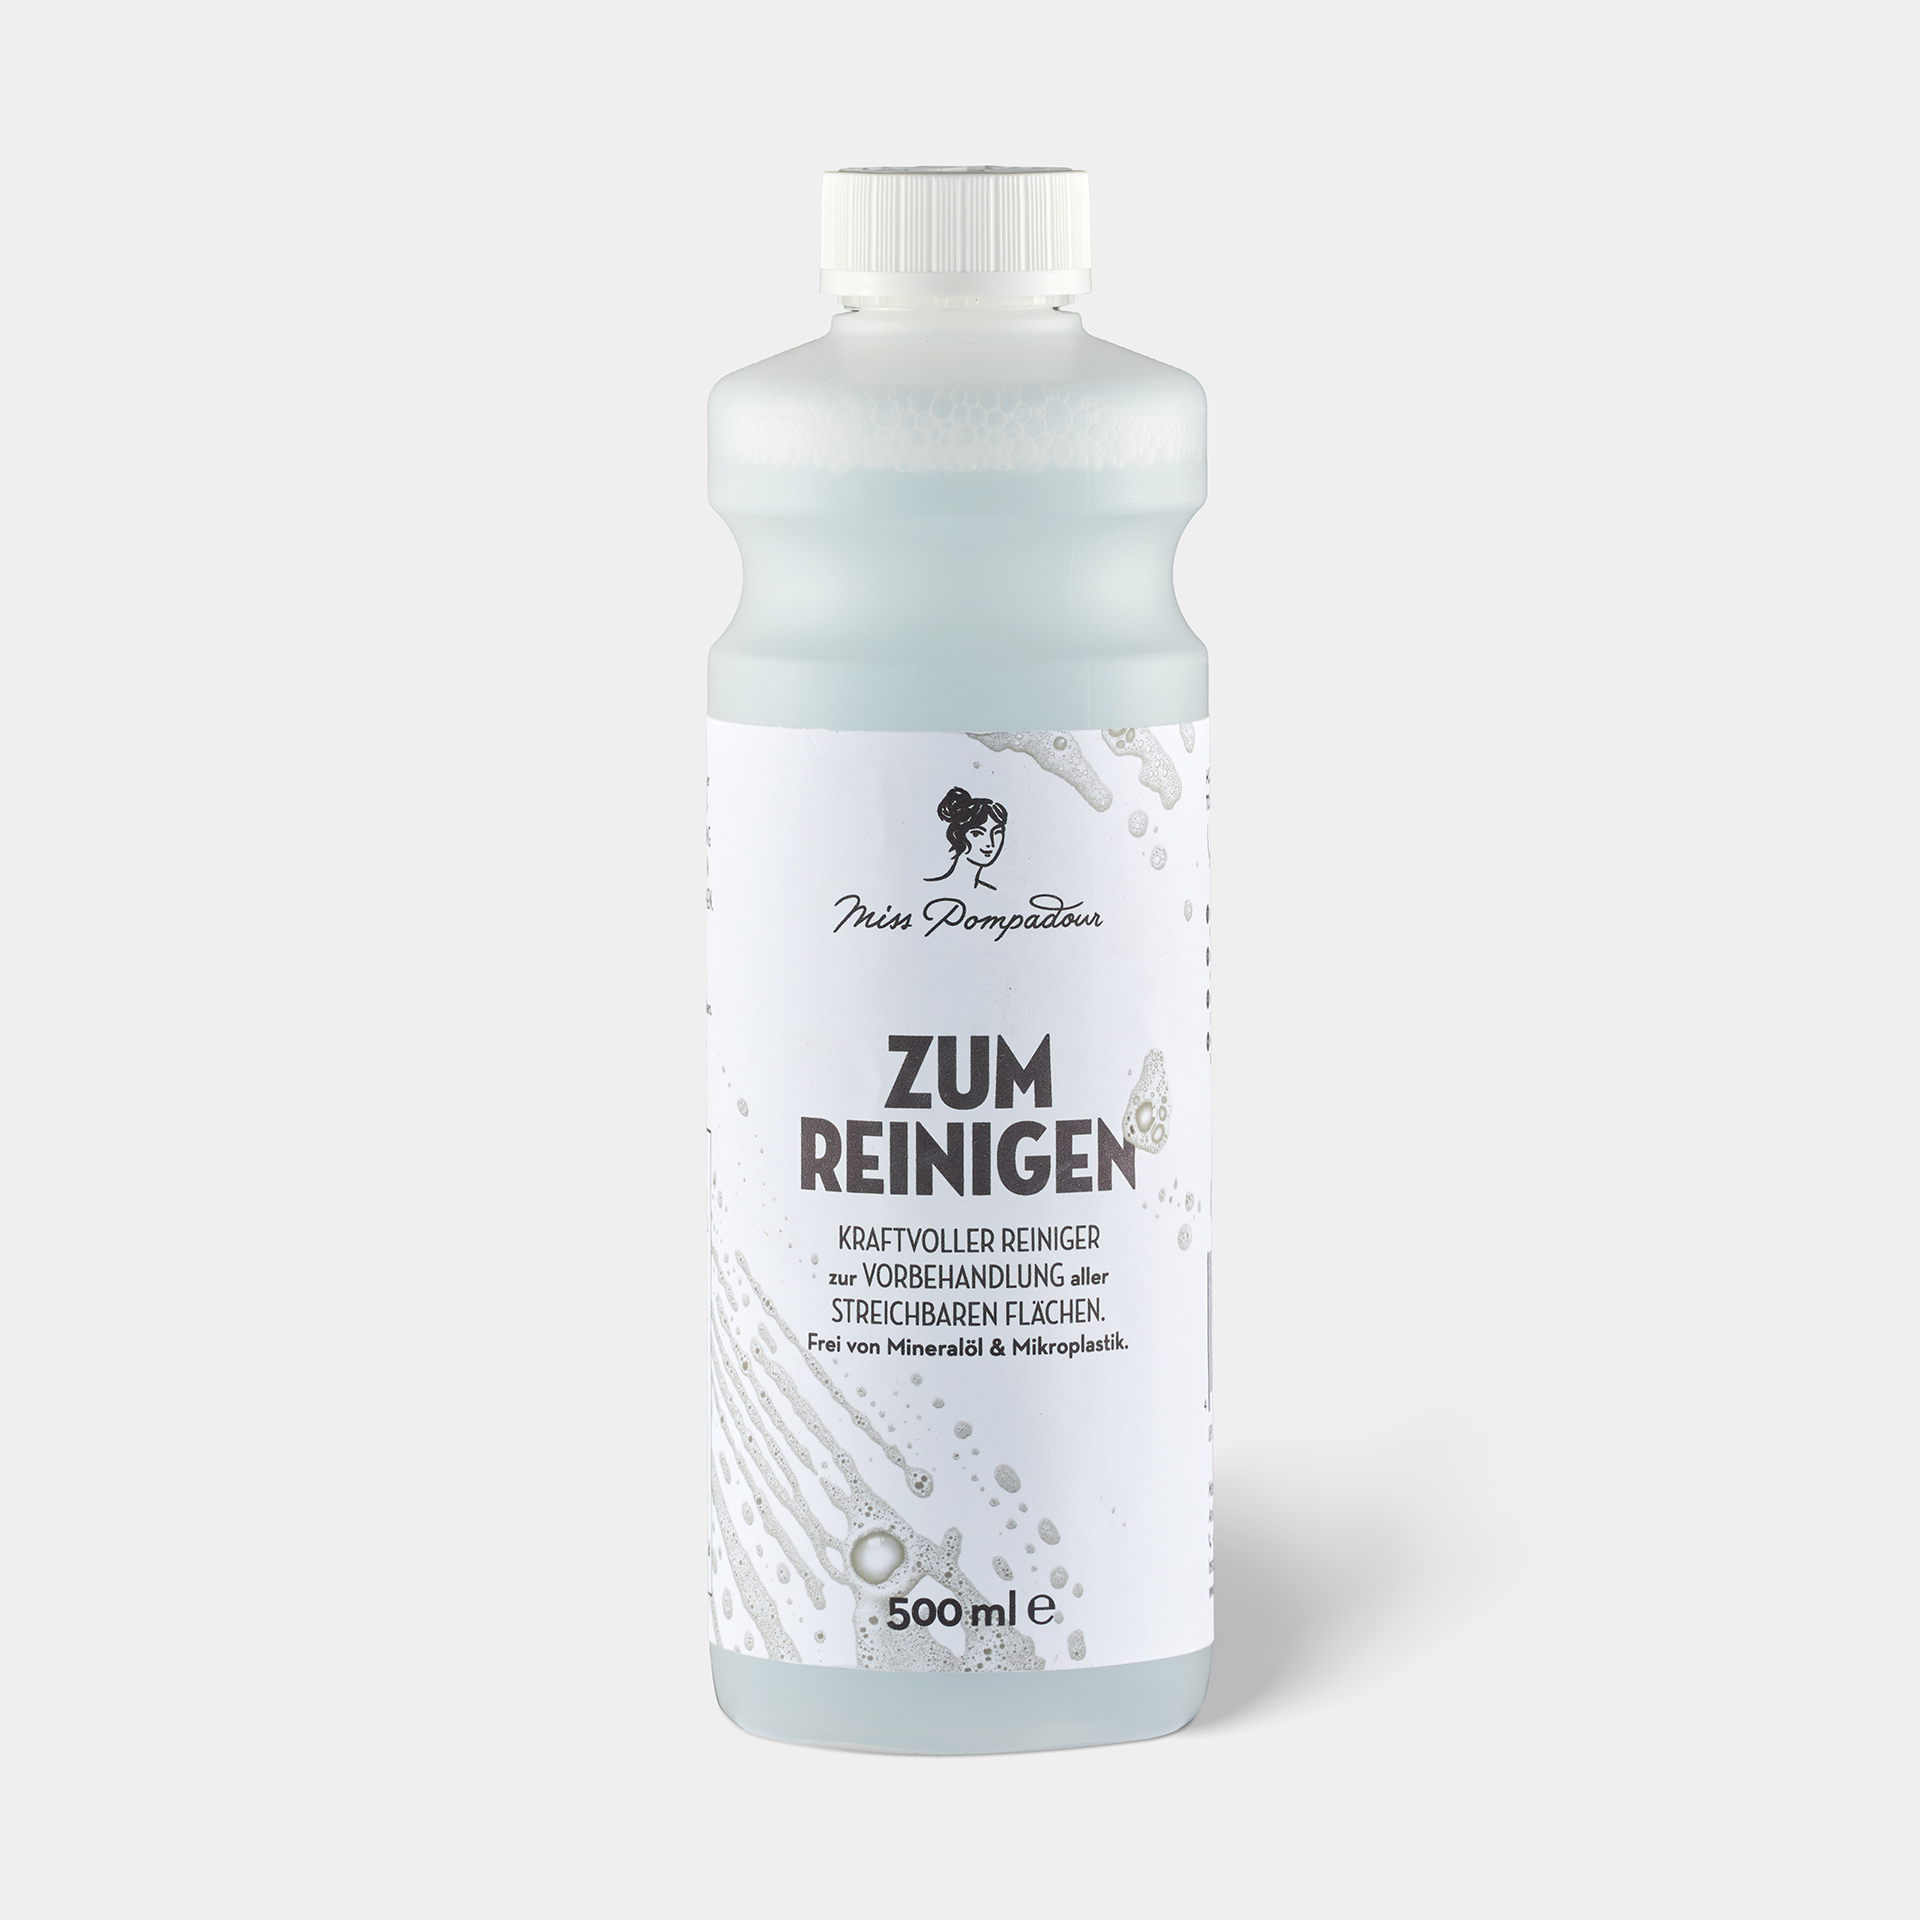
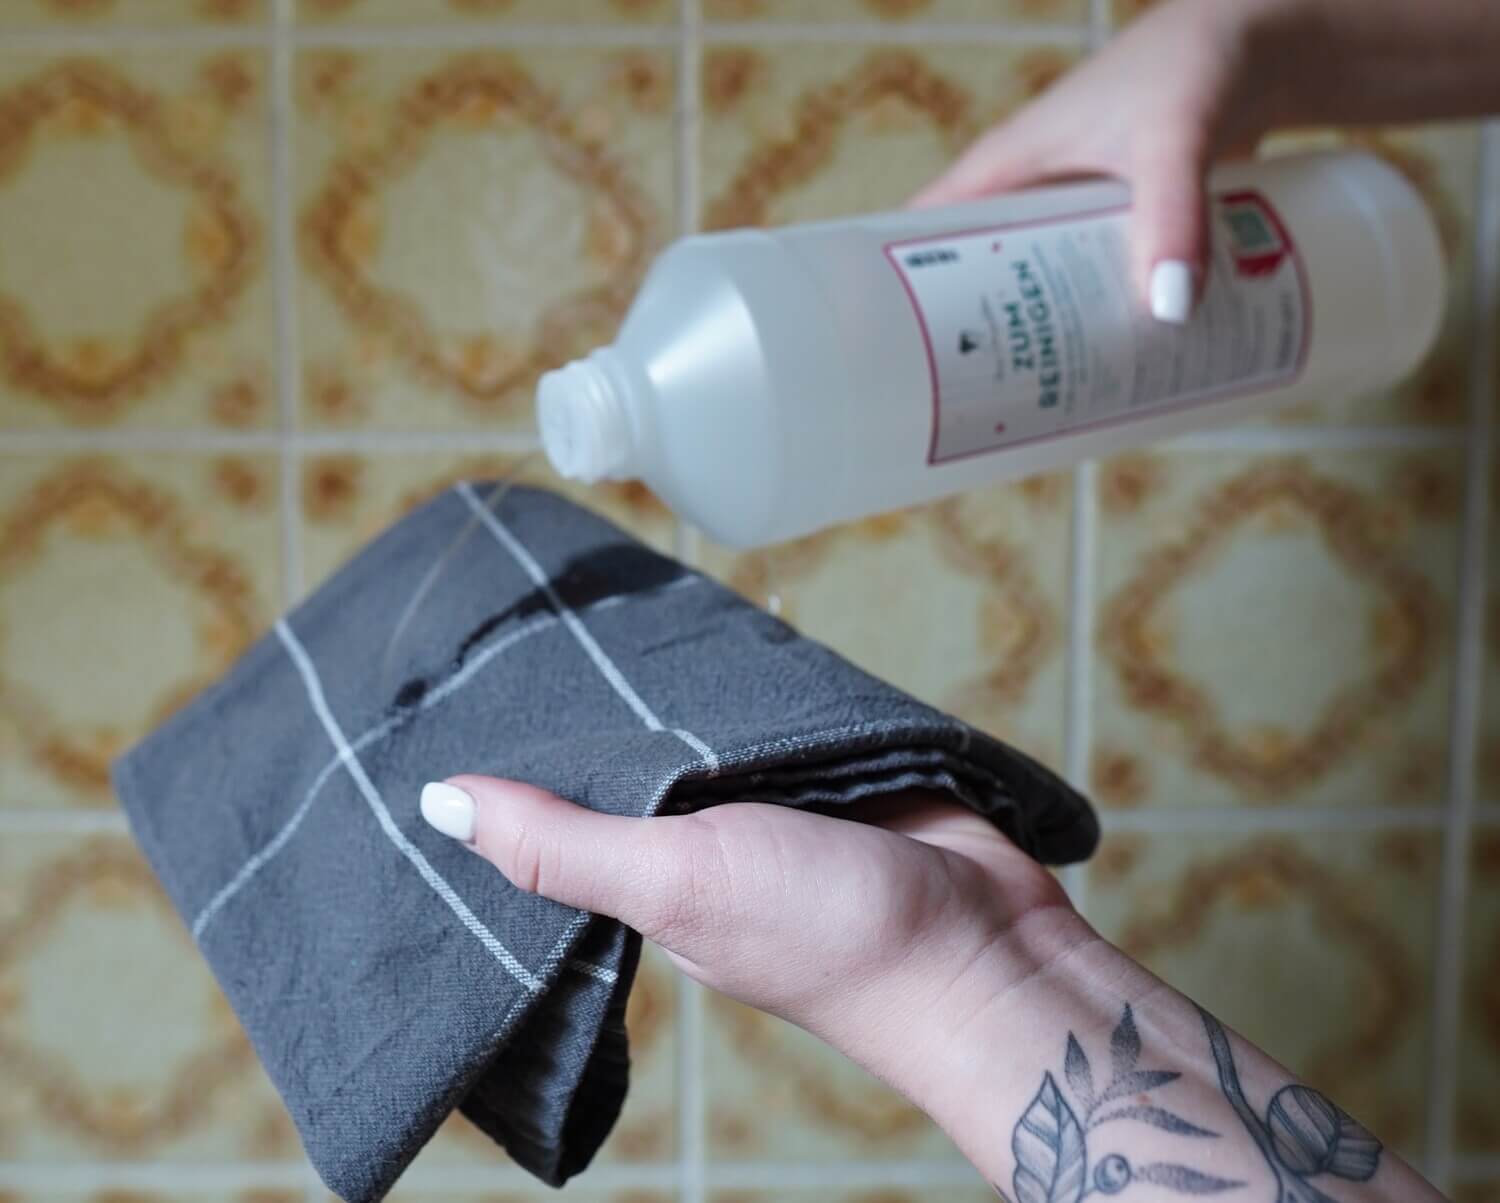
Tips for To-Clean Silicone Joints before Painting
The sealant must be dry and free of grease and dust before painting. Do not use soaps, washing-up liquid or other alkaline cleaners for cleaning, otherwise To Seal Silicone cannot form a perfect bonding bridge. MissPompadour To Clean is good for cleaning the silicone surface, giving you a well-prepared surface for your painting. Simply apply the cleaner to the silicone joint and then wipe thoroughly with clean water. It is best to use a lint-free cotton or microfibre cloth.
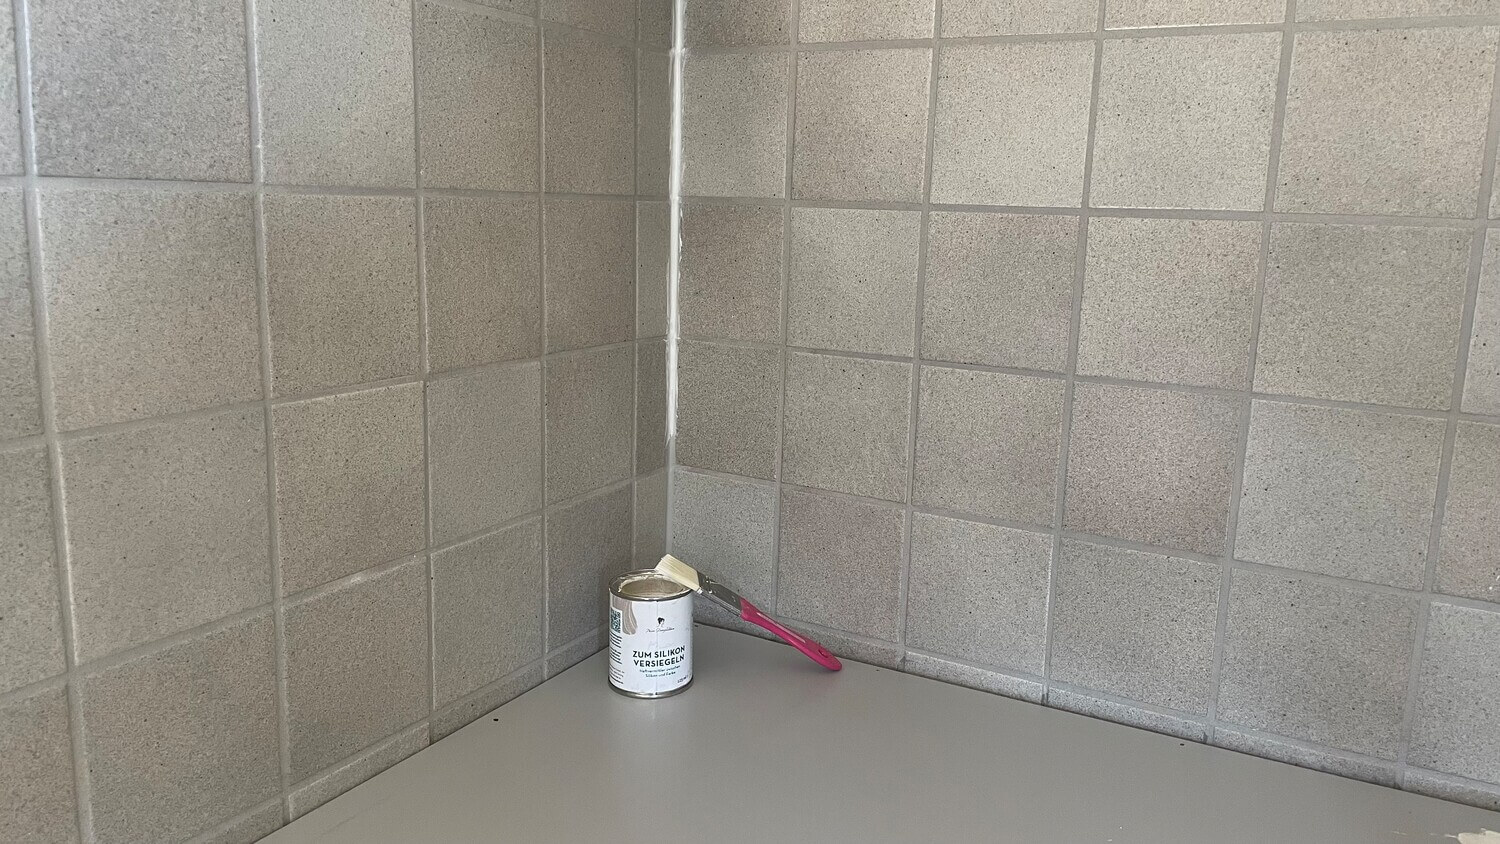
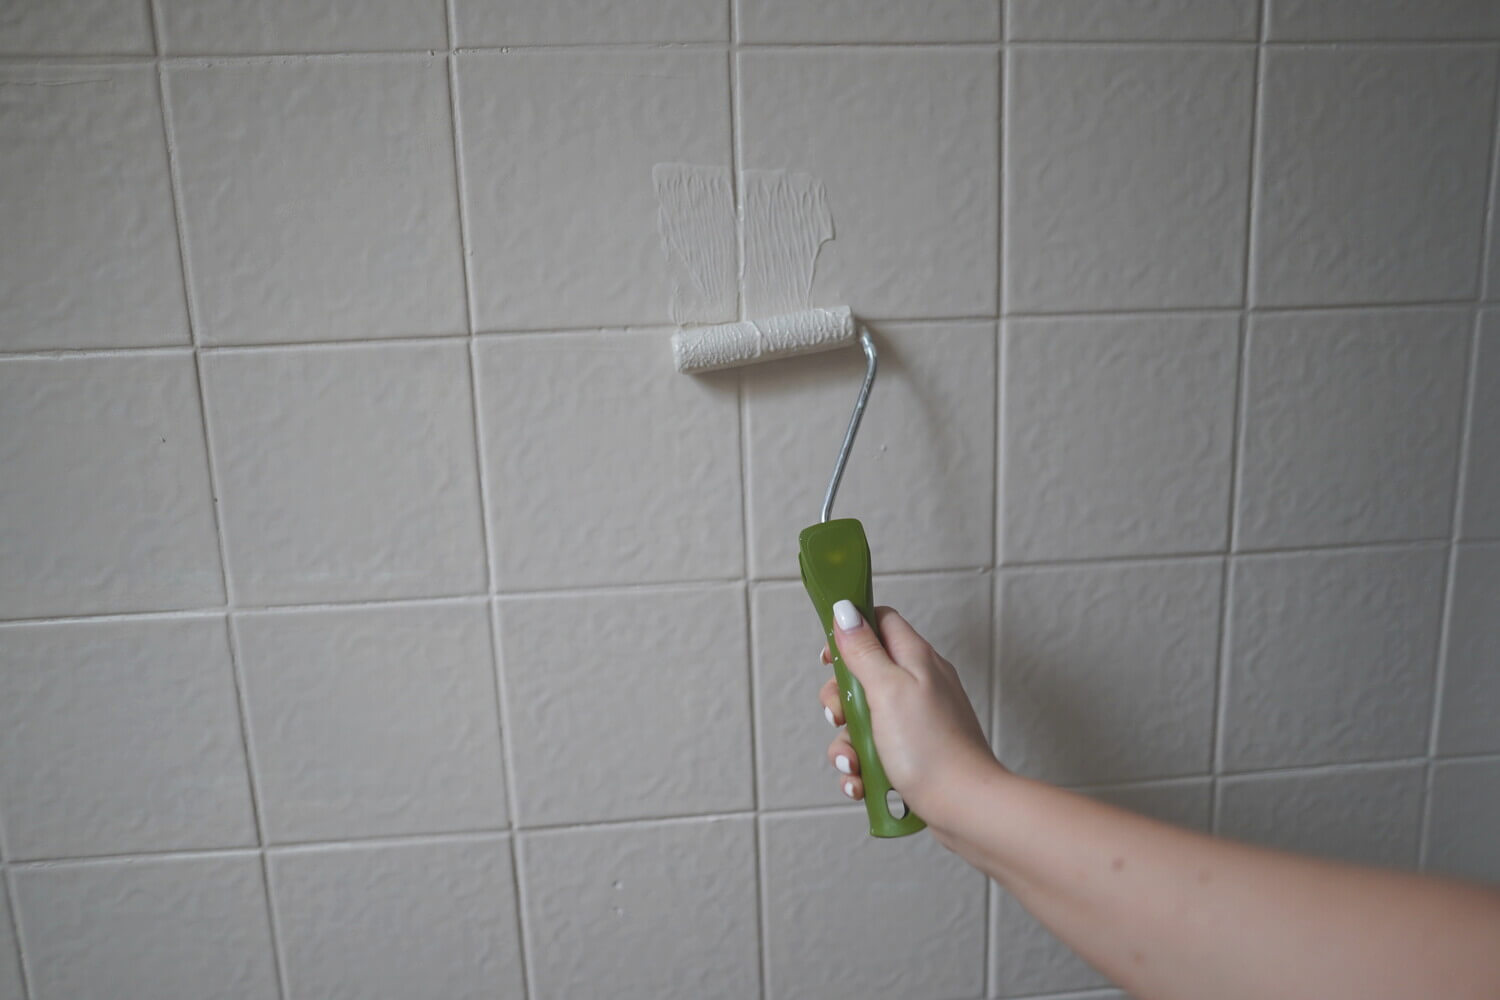
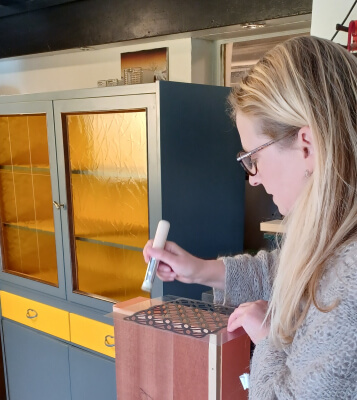
Step-by-Step: To Seal Silicone
Step 1:
Clean the silicone grout with the mild, non-alkaline MissPompadour Cleaner To Clean. Wipe with water and a lint-free cloth and allow the joints to dry thoroughly.
Step 2:
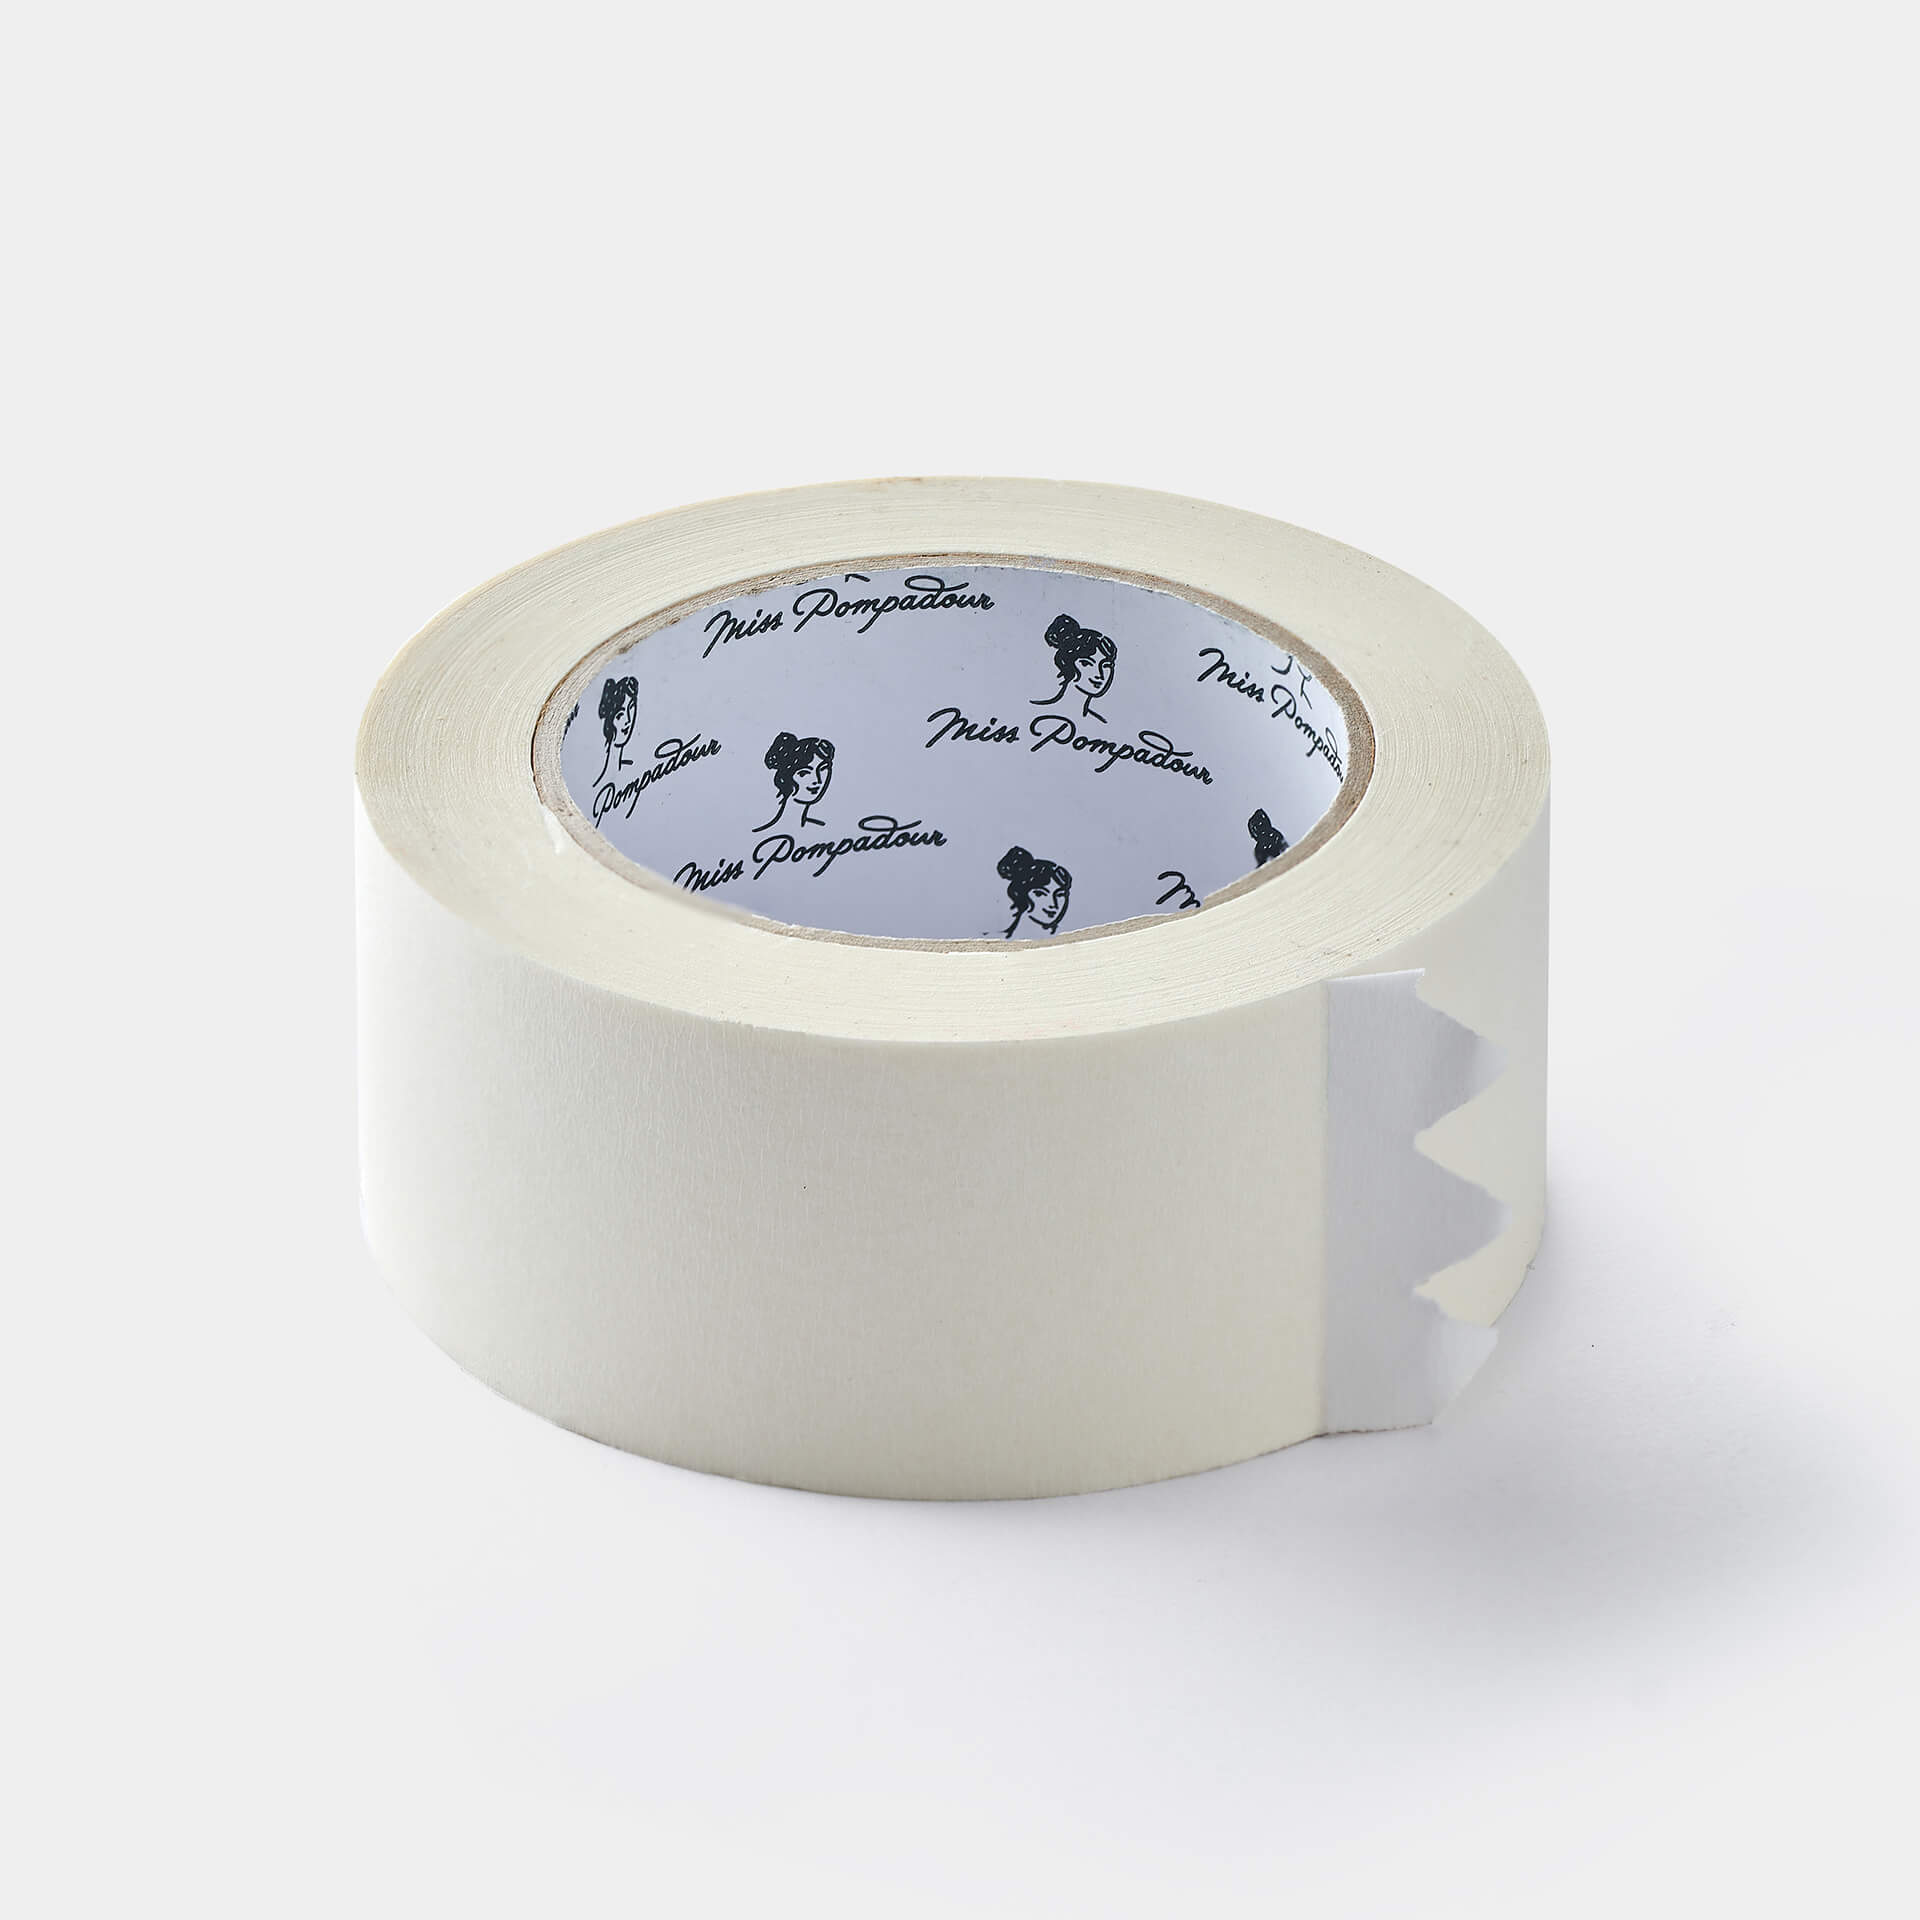
If necessary, tape the edges with To Mask 30mm- MissPompadour washi tape. Stir To Seal Silicone well.
Step 3:
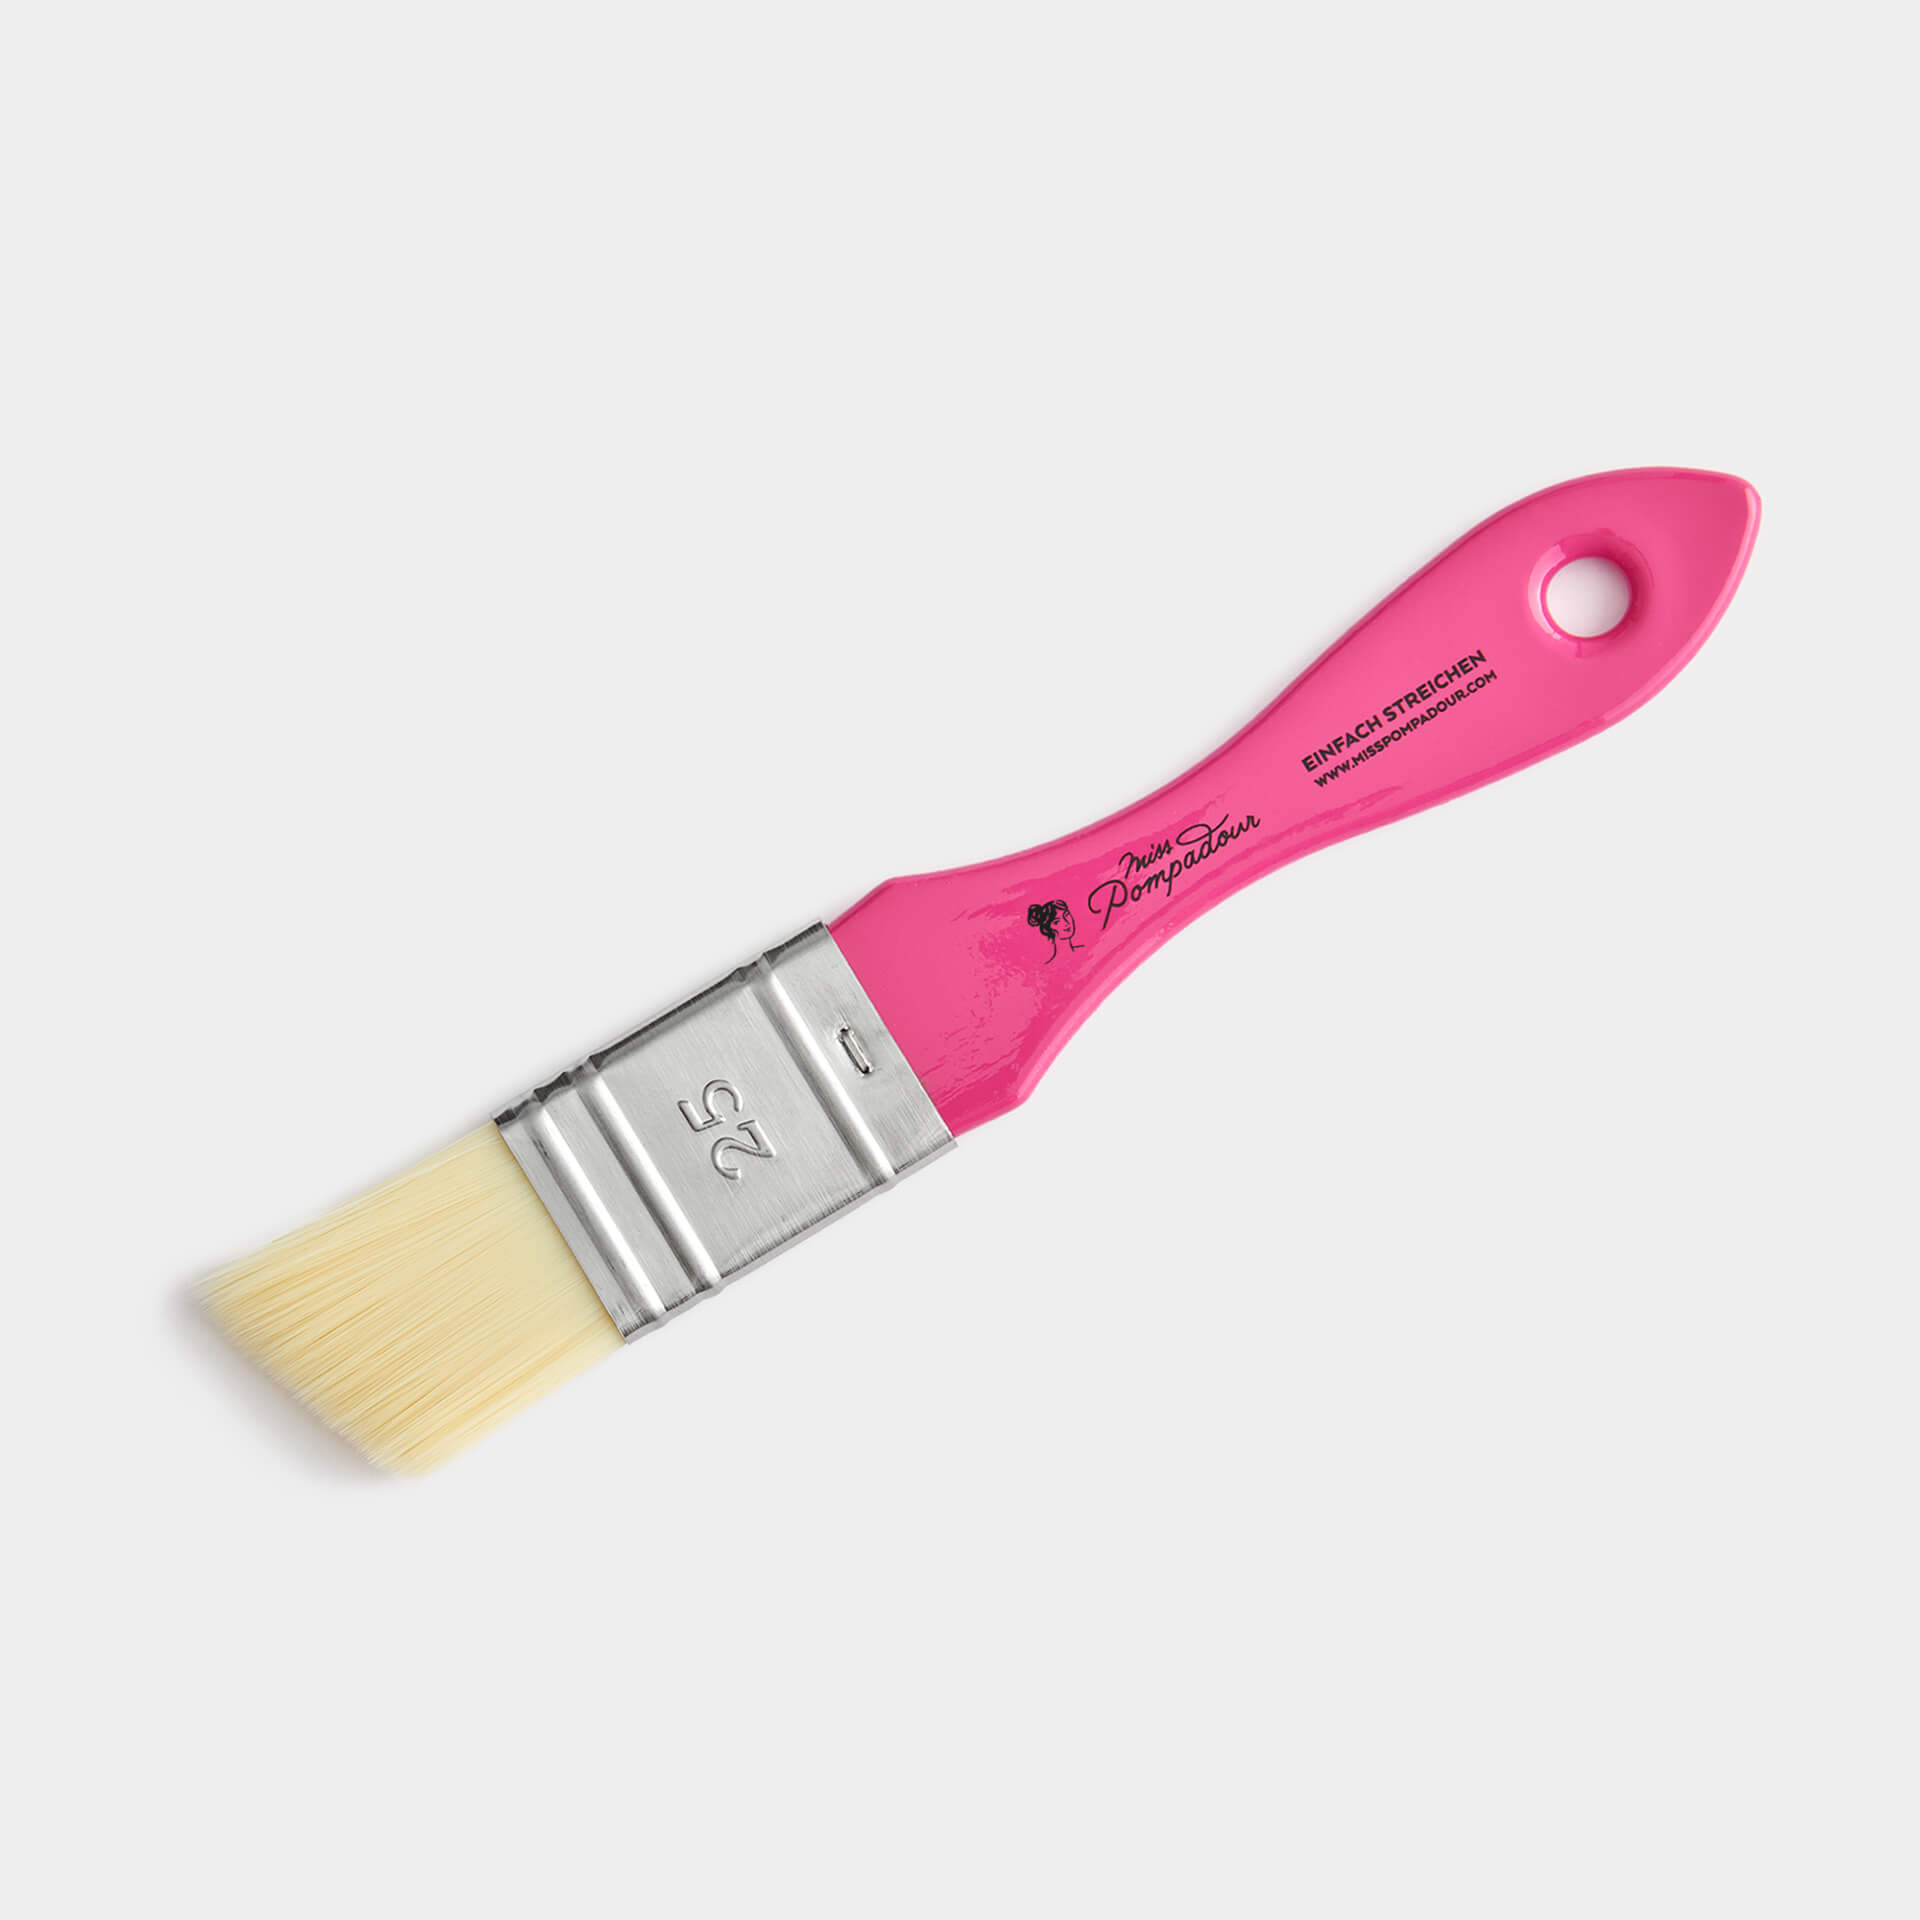
Apply a thin layer of bonding agent to the joints using To Paint - Fine Brush. Leave the silicone joints to dry for 5 to 6 hours.
Step 4:
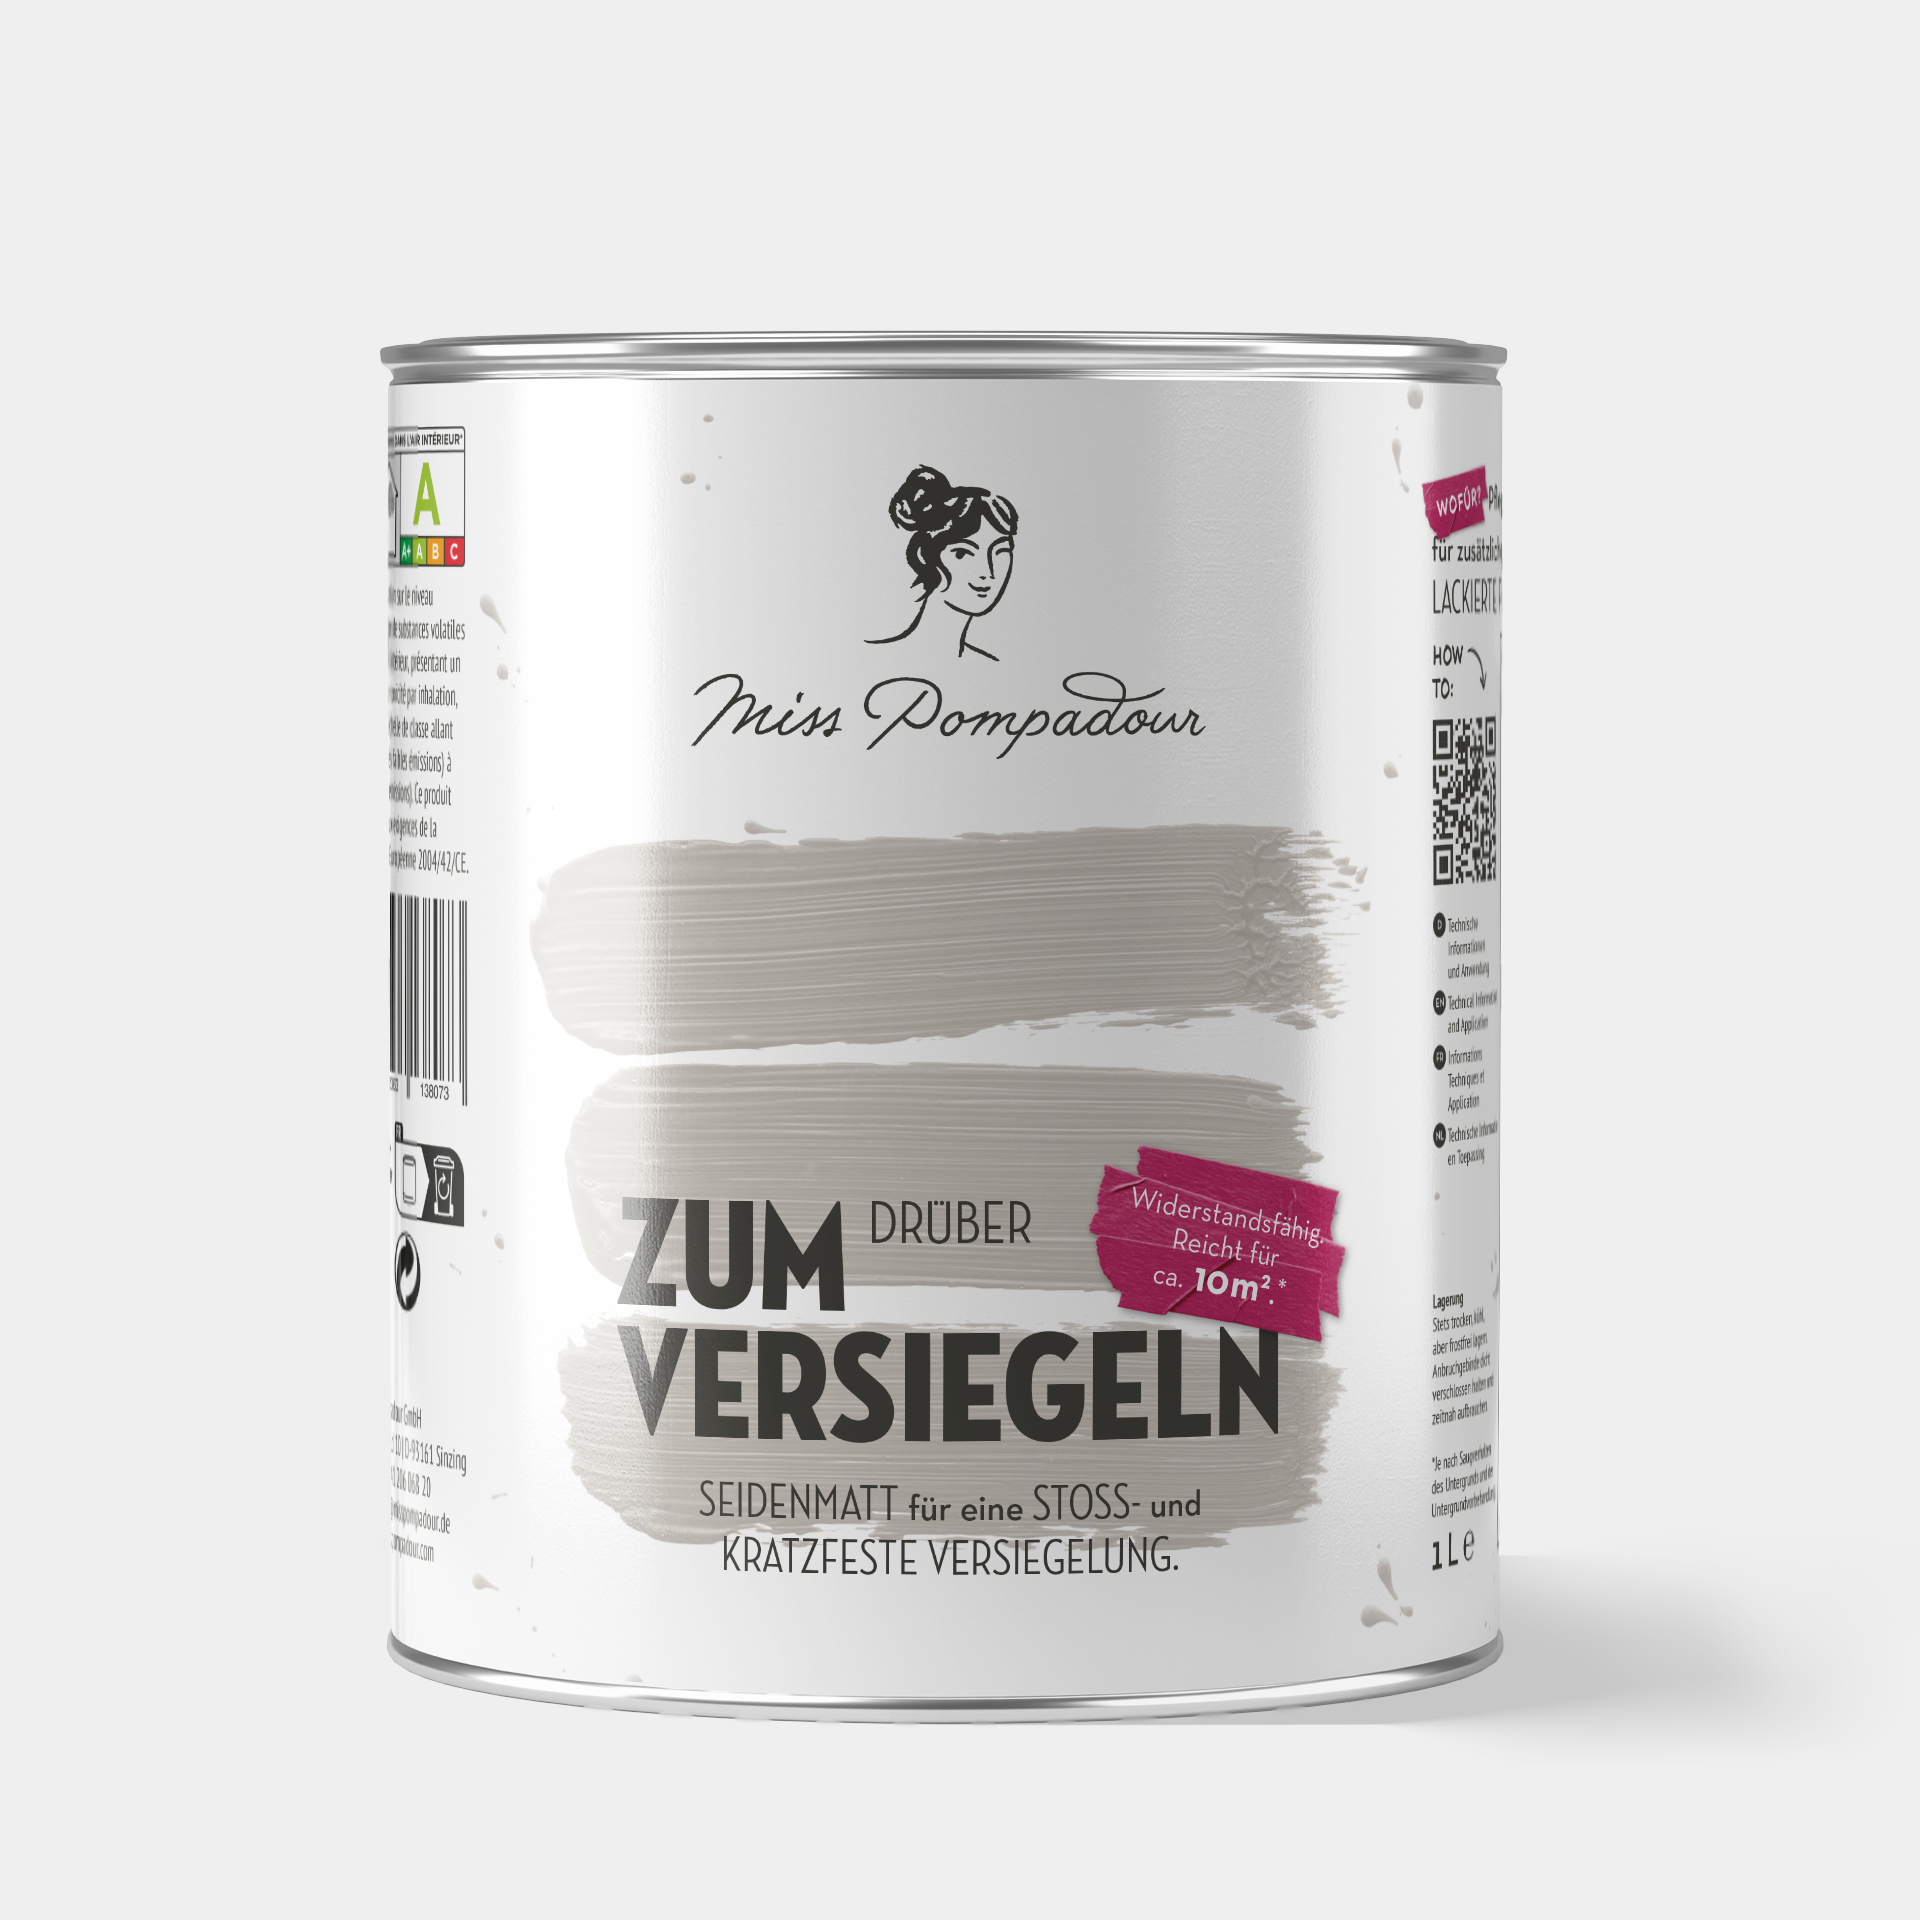
Once To Seal Silicone is dry, start painting.
Depending on the project, you may need a primer for your substrate, for example when painting tiles. Sometimes it is also useful to seal the paint
Remove silicone and grout anew
If there are already severe mould stains on the silicone surface, the joints should be completely removed and replaced with new sealant. You can loosen the silicone with a pointed object at one point of the joint; it can then usually be removed in one piece. Simply use a cutter knife or a razor blade. After completely removing the old silicone joint and silicone residue, you can grout the area again. Allow the new silicone joints to dry very well before painting them with To Seal Silicone.
You can now also use acrylic as a sealant for some projects. This is easy to paint over and saves you a step in future projects. In the next section we will show you what you need to consider.


Questions ?
We're here to help
We'll help you anytime, via Phone (Mo-Fr 09-18, Sa until 16 Uhr), via WhatsApp or directly via our Contact Form.
The paintable alternative to silicone: acrylic
Acrylic joints have the advantage over silicone joints that they can be painted over. Acrylic is also easy to process and versatile. It is not only suitable as a joint sealant, but also for sealing cracks and as a repair filler, as acrylic can be easily painted over.
One disadvantage of acrylic, however, is that it can easily become porous and lose its impermeability if it gets wet or exposed to increased humidity, such as in a bathtub or shower. Therefore, you should only work with silicone in the bathroom and kitchen. If you want to use acrylic as a sealant, it is important to let the joints dry thoroughly before painting over them. Otherwise the paint could crack as the acrylic dries.
Recognising the difference between silicone and acrylic
If you find joints that have already been drawn, you must carefully examine which material has been used. When you pull the grout out of the joint, silicone usually stays in one piece like a rubber band, while acrylictears quite quickly. The difference between the two materials can also be seen in their consistency: Silicone is more reminiscent of rubber, it is clearly shinier and stickier compared to joint putty. Acrylic, on the other hand, bears a resemblance to putty and has a matt, dull surface.
Which yellows faster: silicone or acrylic?
Since silicone nowadays has substances added to it that prevent both moulding and yellowing, colour change is no longer an issue. Acrylic does not change colour at all when exposed to light.