


Painting Over Acrylic: Here's How
4 min reading time
Have you ever had the problem that when painting walls or window frames you come across spots that are not so easy to paint over? Well, this could be a joint made of acrylic or silicone. We show you how to work with acrylic yourself and how to paint over the acrylic later.
Table of contents
1. Possible uses of acrylic
2. Acrylic or silicone? How to recognise acrylic
3. Painting over acrylic: This is what you have to bear in mind!
4. Correct acrylic joint: 5 steps to the perfect result
5. FAQ: Frequently asked questions about acrylic painting
6. These are the accessories you need for drawing & painting acrylics
Possible uses of acrylic
Acrylic is a plastic that is mostly known as Plexiglas. Many pieces of furniture, but also bathtubs, are made of acrylic. However, since acrylic is also an expandable sealant, it is also used, similar to silicone, as a joint for movable parts such as door or window frames or as a compound for repairing cracks and holes in walls
Floor joints are also occasionally made with acrylic. However, since the material attracts lint and dust particularly well due to its coarse-pored surface, this increases the amount of plastering required.
Acrylic or silicone? How to recognise acrylic
Acrylic and silicone are very similar at first glance. Both substances are pasty when wet and then harden into a rubbery consistency. It is sometimes difficult even for a professional to distinguish between them when dry.
However, we have two tips for you on how you can clearly recognise acrylic:
- When wet: Acrylic can be formed into rolls, while silicone will stick to your fingers.
- When dry: Cut a piece out of the joint. If the piece does not stretch like a rubber snake but tears after a short time, it is almost certainly acrylic.
Painting over acrylic: What you need to bear in mind!
Compared to silicone, acrylic has the great advantage that it can be painted over relatively easily. However, there are a few things you should bear in mind to ensure that you are really satisfied with the result later on.
Observe drying time
Acrylic joints must dry thoroughly before they can be fully loaded and painted over. As a rule of thumb: 24 hours for 1 mm acrylic thickness. However, the drying time may vary depending on the manufacturer. To be on the safe side, you should wait 28 days before painting over the acrylic joint.
Do not use in wet areas
Acrylic is not suitable for joints in the bathroom or kitchen, as it becomes permeable to water in the event of increased moisture. As a result, water can get behind the joint, penetrate the masonry and lead to mould growth. In addition, the acrylic joint cannot withstand frequent thorough cleaning with cleaning agents, such as those used in kitchens and bathrooms, in the long run and cracks more quickly. You should therefore always use silicone in wet areas.
The right colour for acrylic
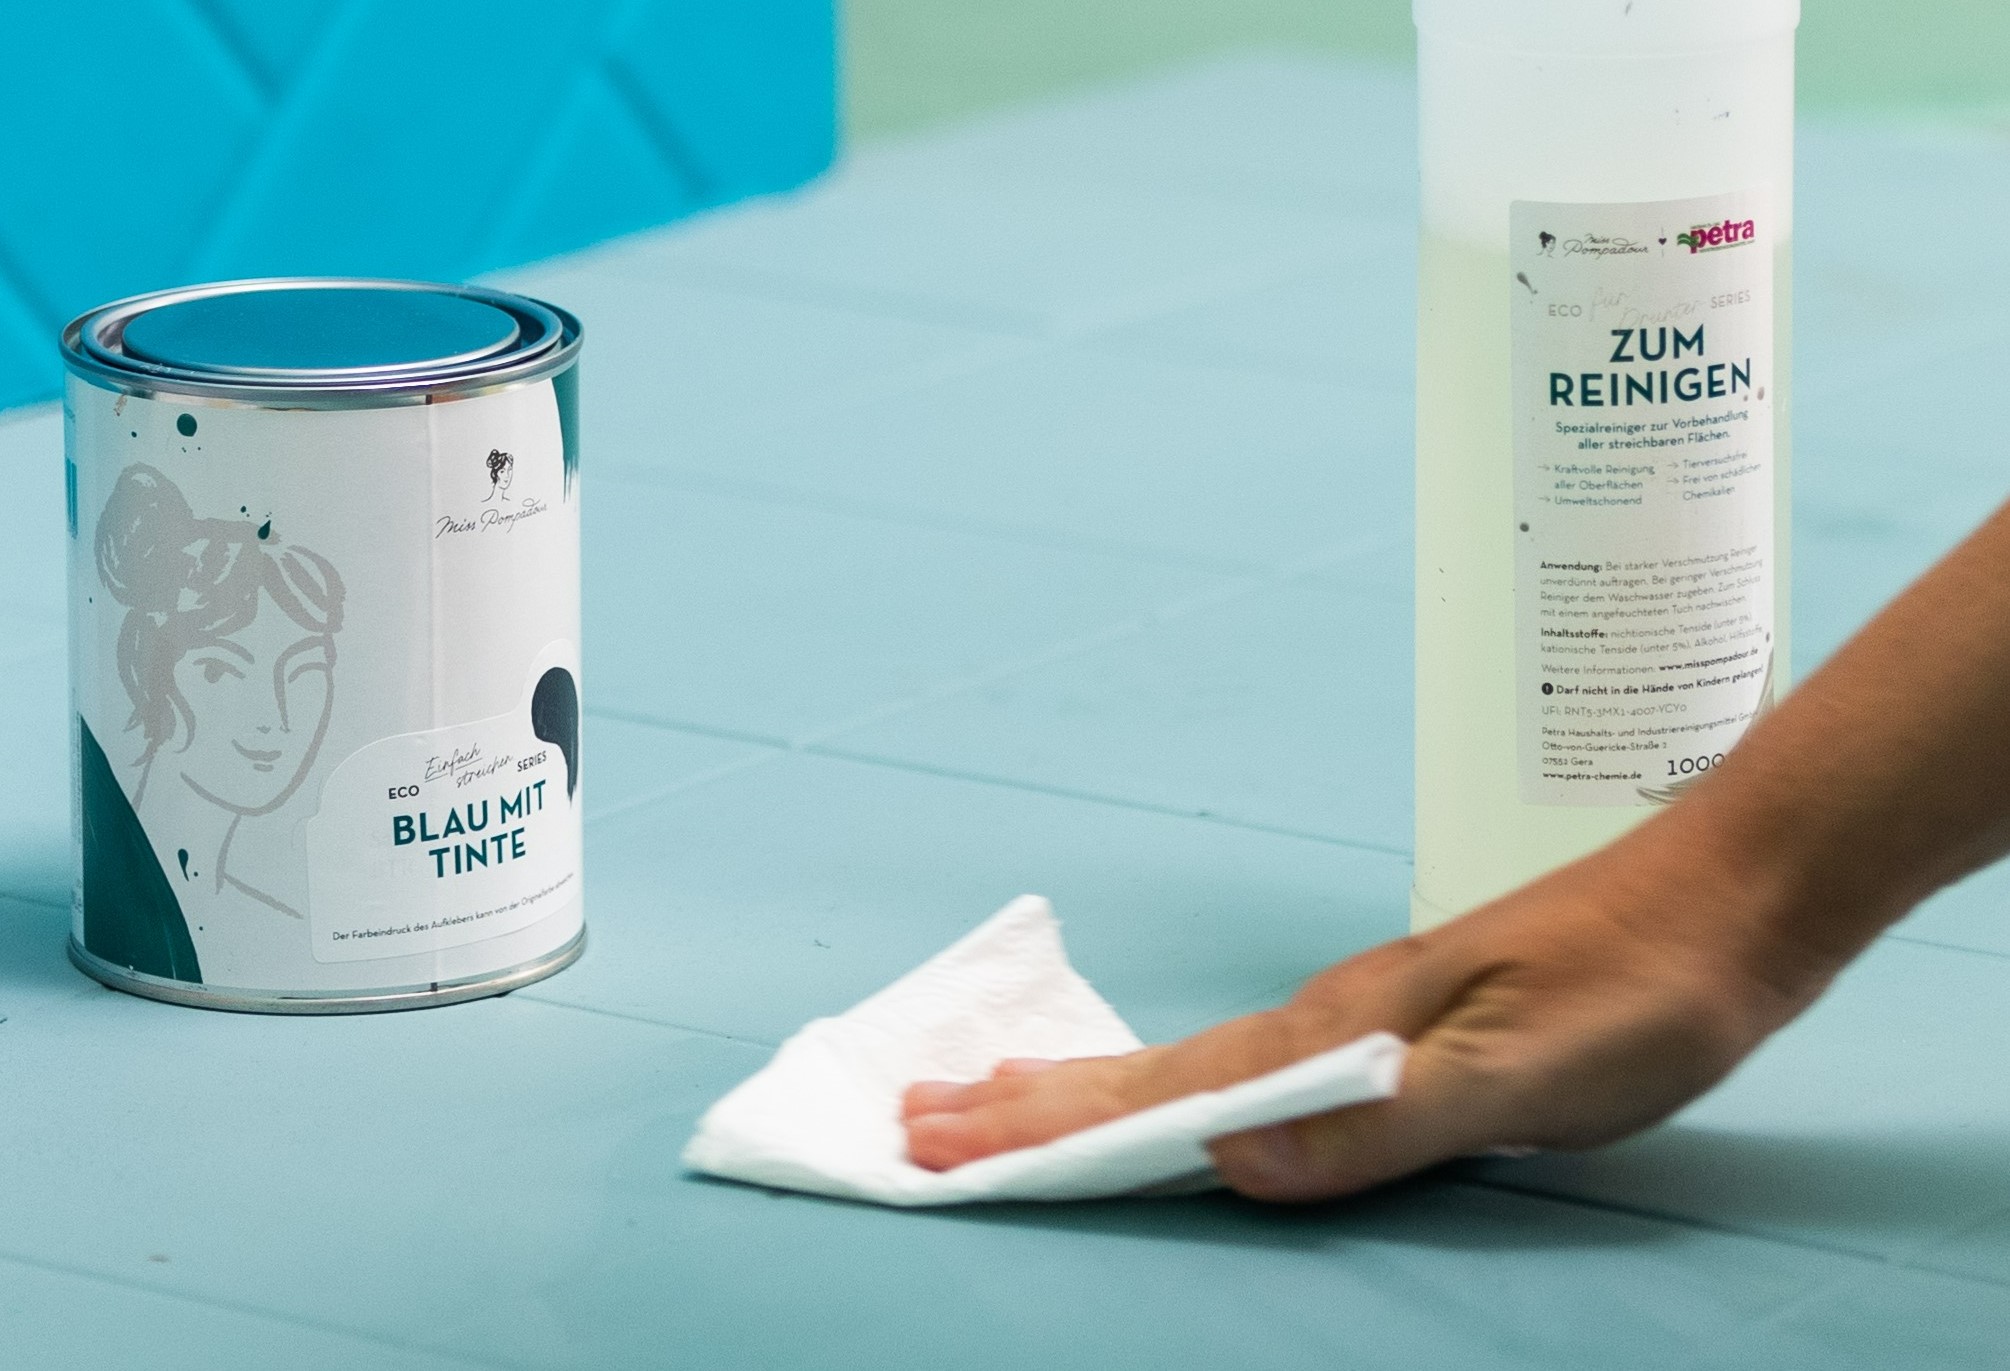
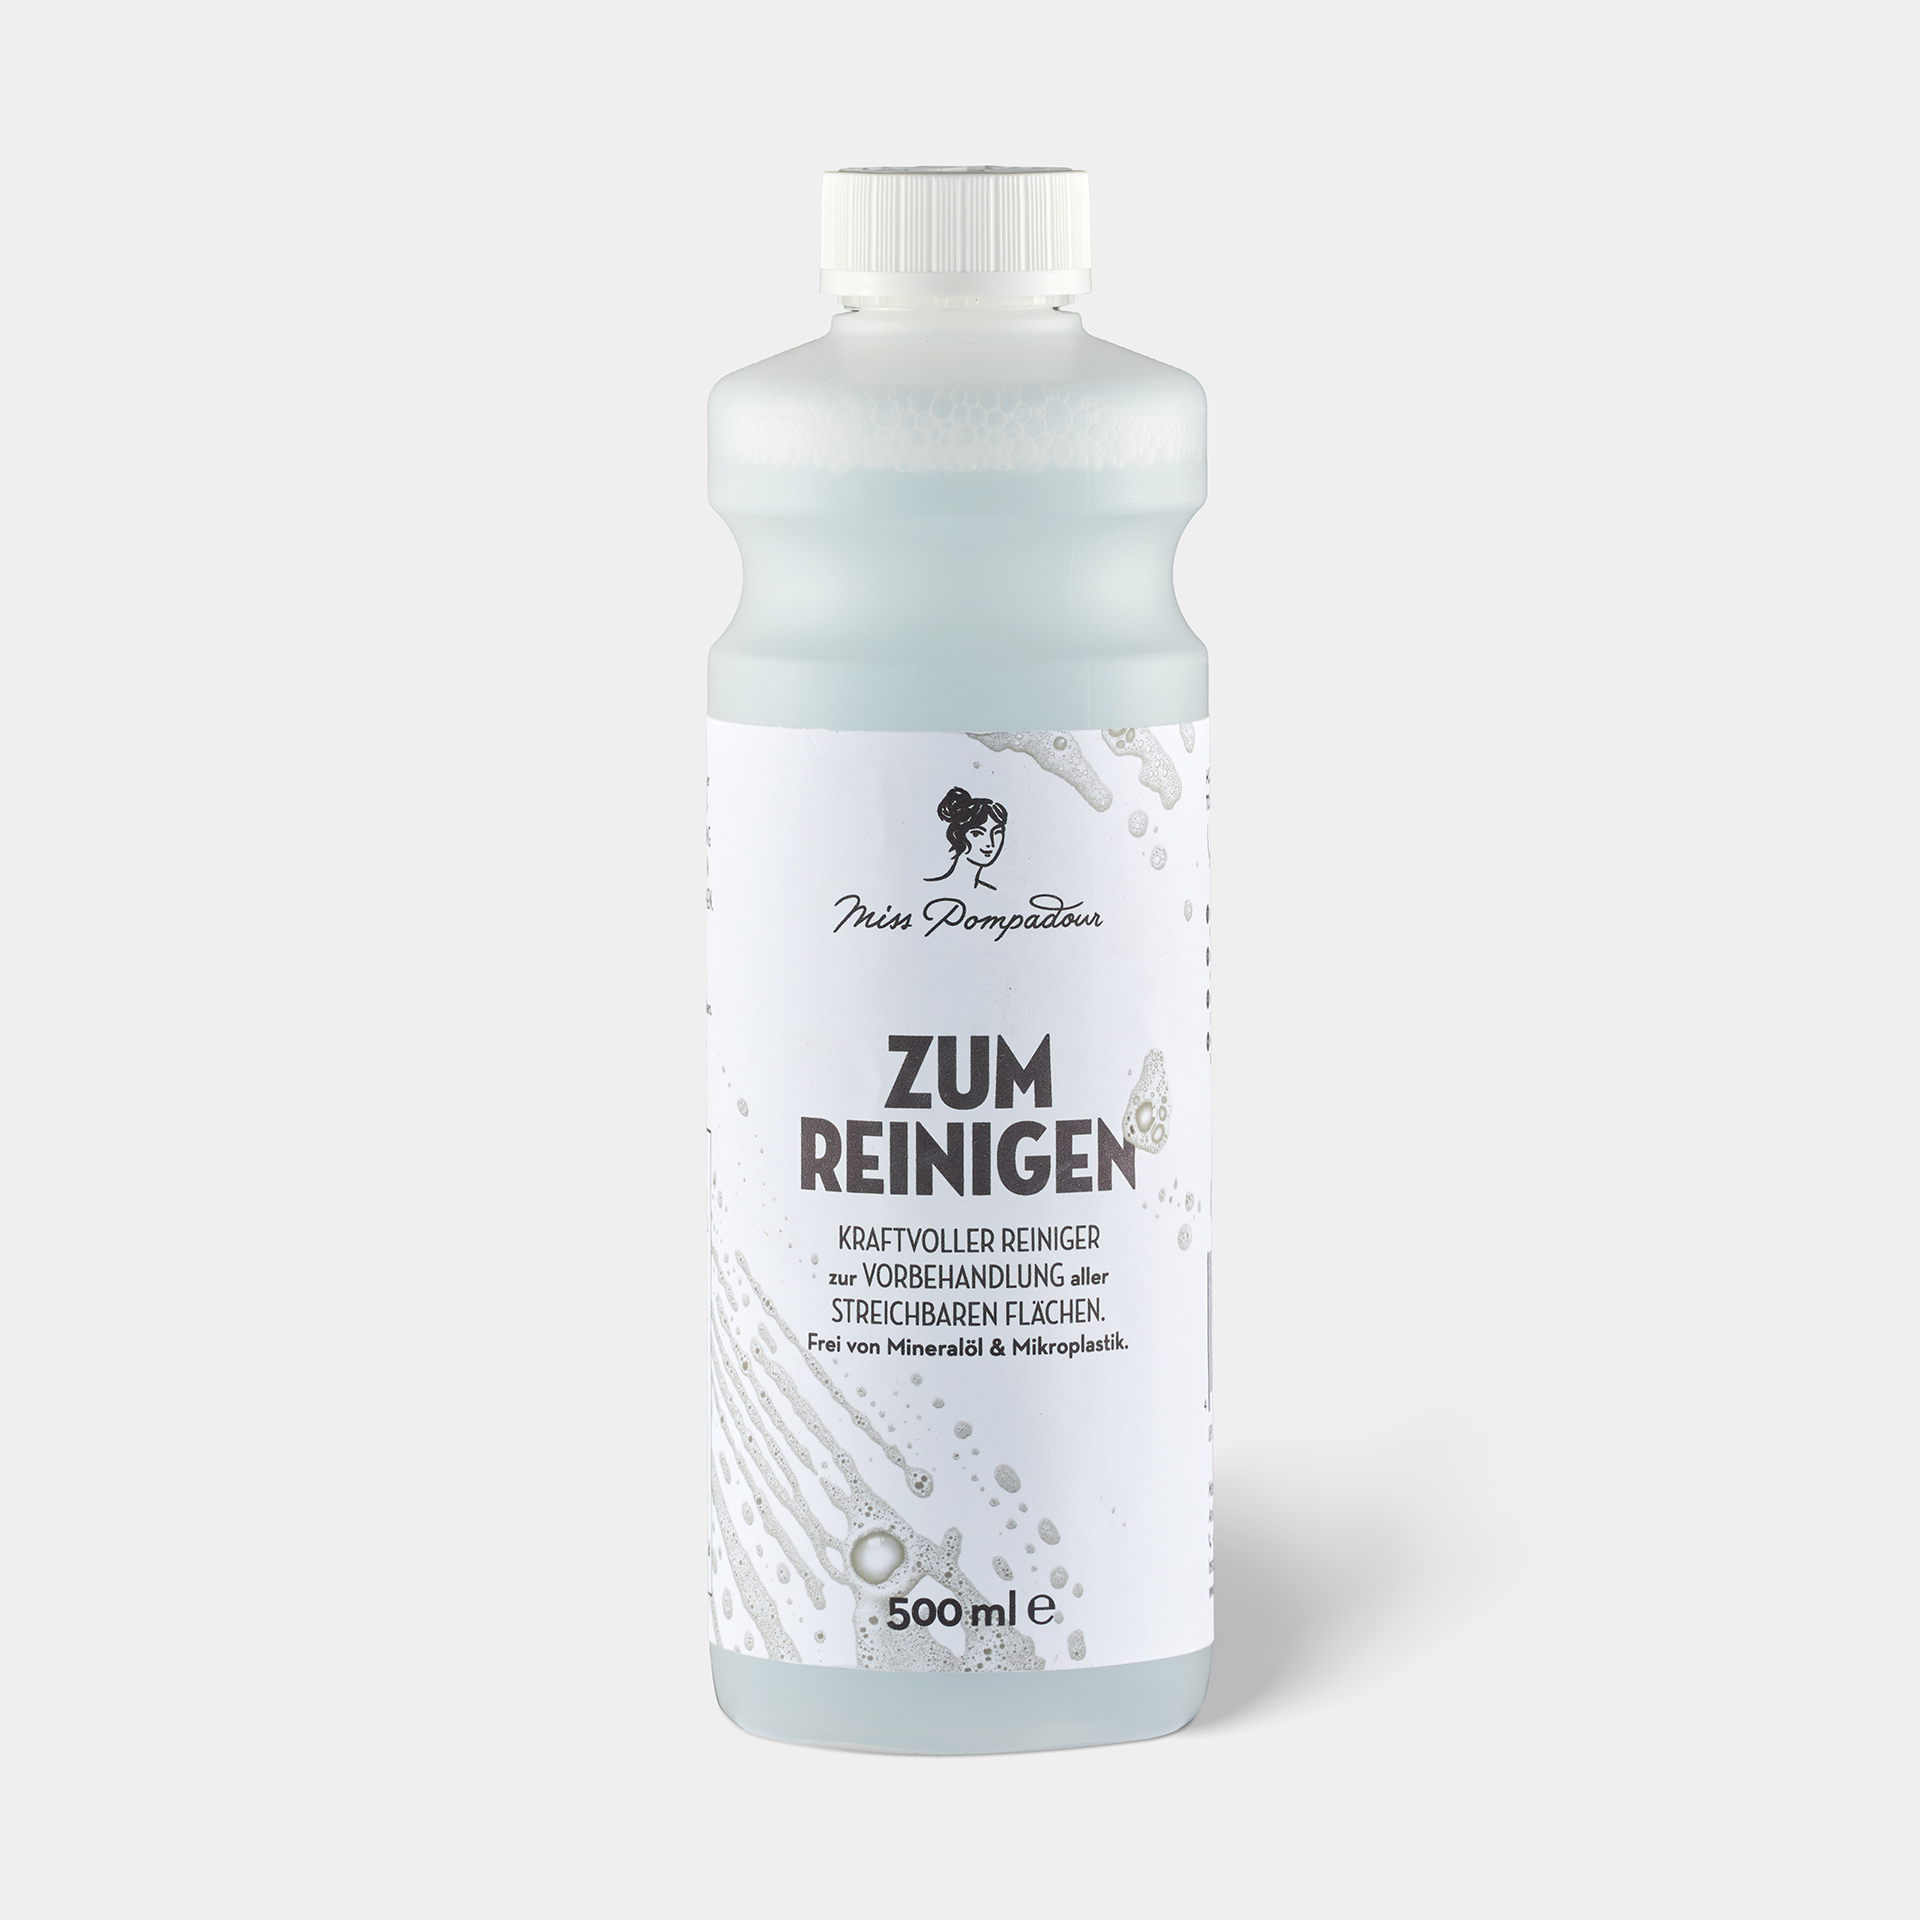
As acrylic tends to attract dust, careful grease and dust removal is particularly important. The best way to do this is to use our environmentally friendly To Clean - MissPompadour Cleaner.
Now you can get started, whether you want to paint a wall or window frames. All our varnishes and wall paints adhere to the acrylic joint. Depending on the colour shade, however, the joint may still show through after the first coat. After the second coat of acrylic, however, there should be no visible difference in colour.
Of course, you can also paint acrylic furniture. The same applies here as for the joint: clean the surface thoroughly beforehand to ensure that it is free of dust and grease and that the paint adheres really well. If the surface is very smooth, you can prime it with MissPompadour To Bond & Block. As far as colours are concerned, the particularly hard-wearing Easy Eggshell! is highly recommended.
Pulling the acrylic joint correctly: 5 steps to the perfect result
Step 1: Cleaning
Remove any dust, cobwebs or other fluff that may have accumulated between the frame and the wall with a damp cloth.
Step 2: Tape off properly
To ensure that your joint forms a nice, straight line and you get clean edges, tape the frame. Make sure that you leave about 5 mm of the frame free towards the wall.
Step 3: Draw joint
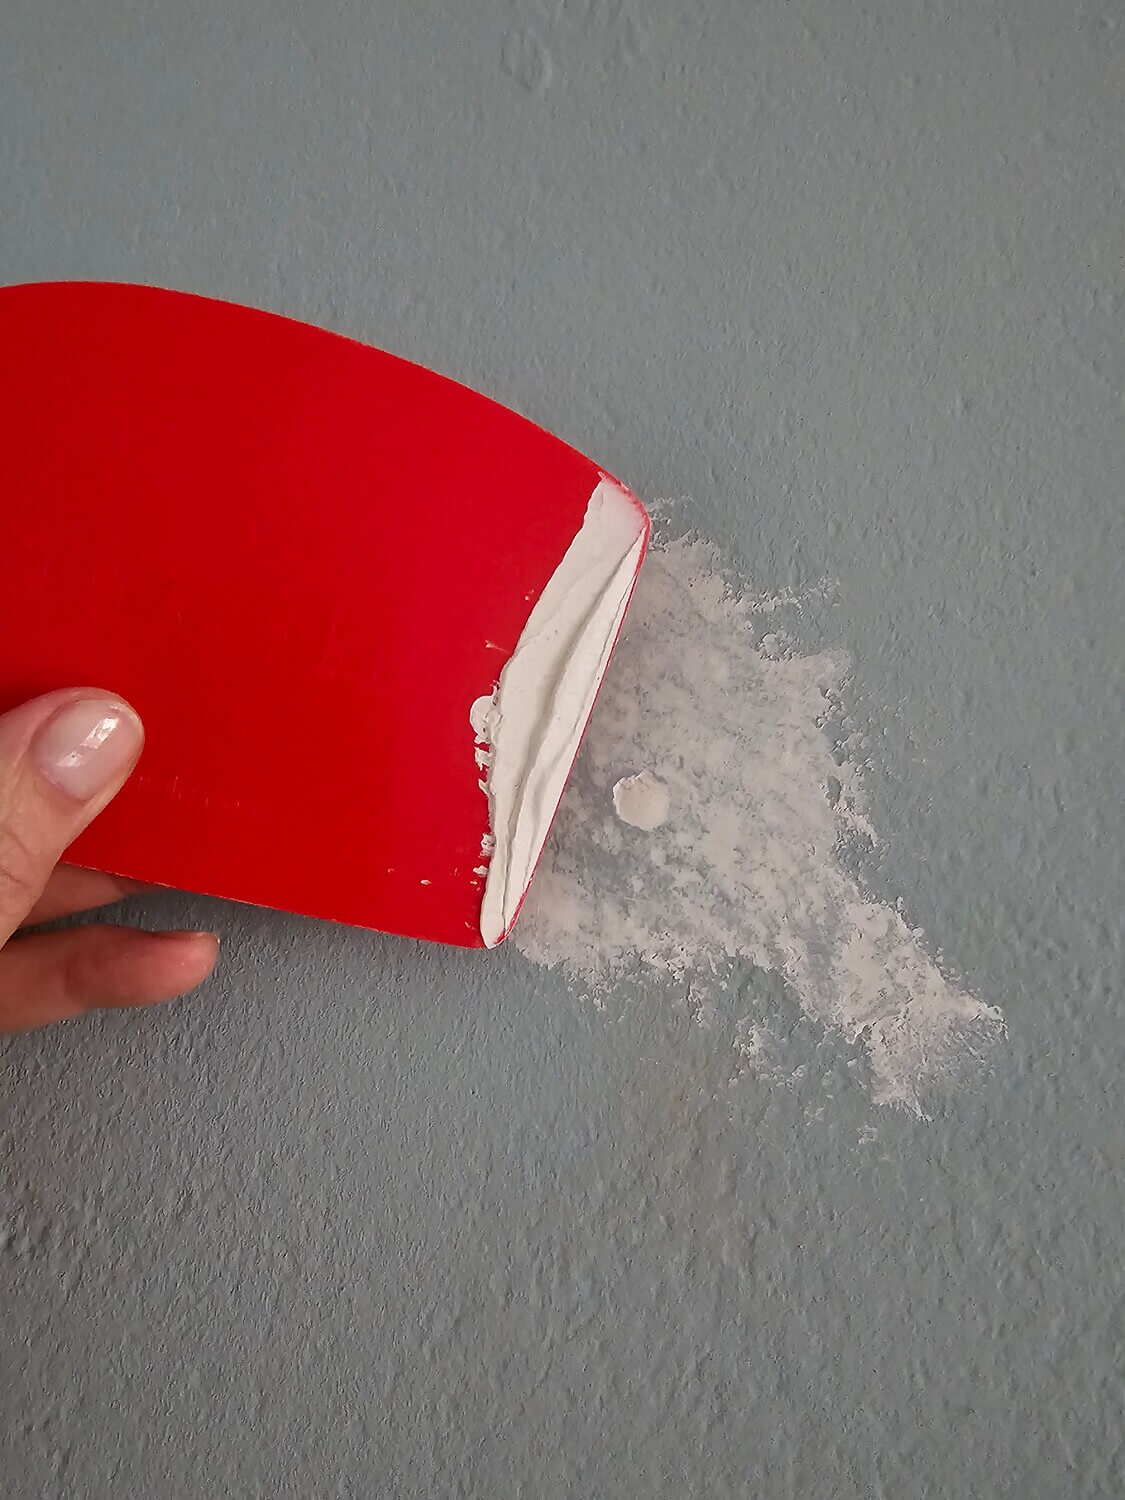
Cut a small, bevelled spray hole from the acrylic cartridge and place the cartridge on the upper edge of the frame. Now - as with silicone - draw a straight acrylic joint from top to bottom, at about a 45° angle, without settling.
Step 4: Smoothing the joint
Now you will notice that acrylic is easier to work with than silicone, because all you need to smooth the joint is your finger, kitchen roll and a damp cloth. With your finger and light pressure, run your finger along the joint from top to bottom and remove excess material with kitchen roll. Then put your finger in the damp, lint-free cloth and wipe again
Step 5: Peel off the tape and let it dry
Finally, remove the tape and allow the joint to dry thoroughly.
FAQ: Frequently asked questions about painting acrylic
We have compiled the most important questions about painting acrylic for you here:
How long must acrylic dry before painting?
Acrylic takes quite a long time to dry properly. As a rule of thumb, you can remember that 1 mm of acrylic dries in a full day. Therefore, if you have a joint that may fill a small cavity, expect it to take a long time for the acrylic to dry completely. Drying times also vary depending on the manufacturer, but we recommend waiting 28 days.
Can I still use expired acrylic?
Theoretically, acrylic cannot expire, so you can still use it after the expiry date. However, you should take care to store the cartridge correctly, i. e. upright and frost-free. Once the cartridge has been opened, it must be sealed tightly to protect the acrylic from drying out. It is best to insert a screw or a suitable nail firmly into the syringe tip.
Use acrylic before or after painting?
You should always apply acrylicbefore painting. After all, you want to achieve either a nice, elastic transition between the window or door frame, or to fill cracks. If there is a layer of paint under the joint, the acrylic cannot form a bond between the wall and the material of the window or door frame.
Why does acrylic crack after painting?
Acrylic usually only cracks after painting if you have not allowed it to dry out properly beforehand. Therefore, it is better to wait a day longer than to be annoyed later.
Can I paint over silicone?
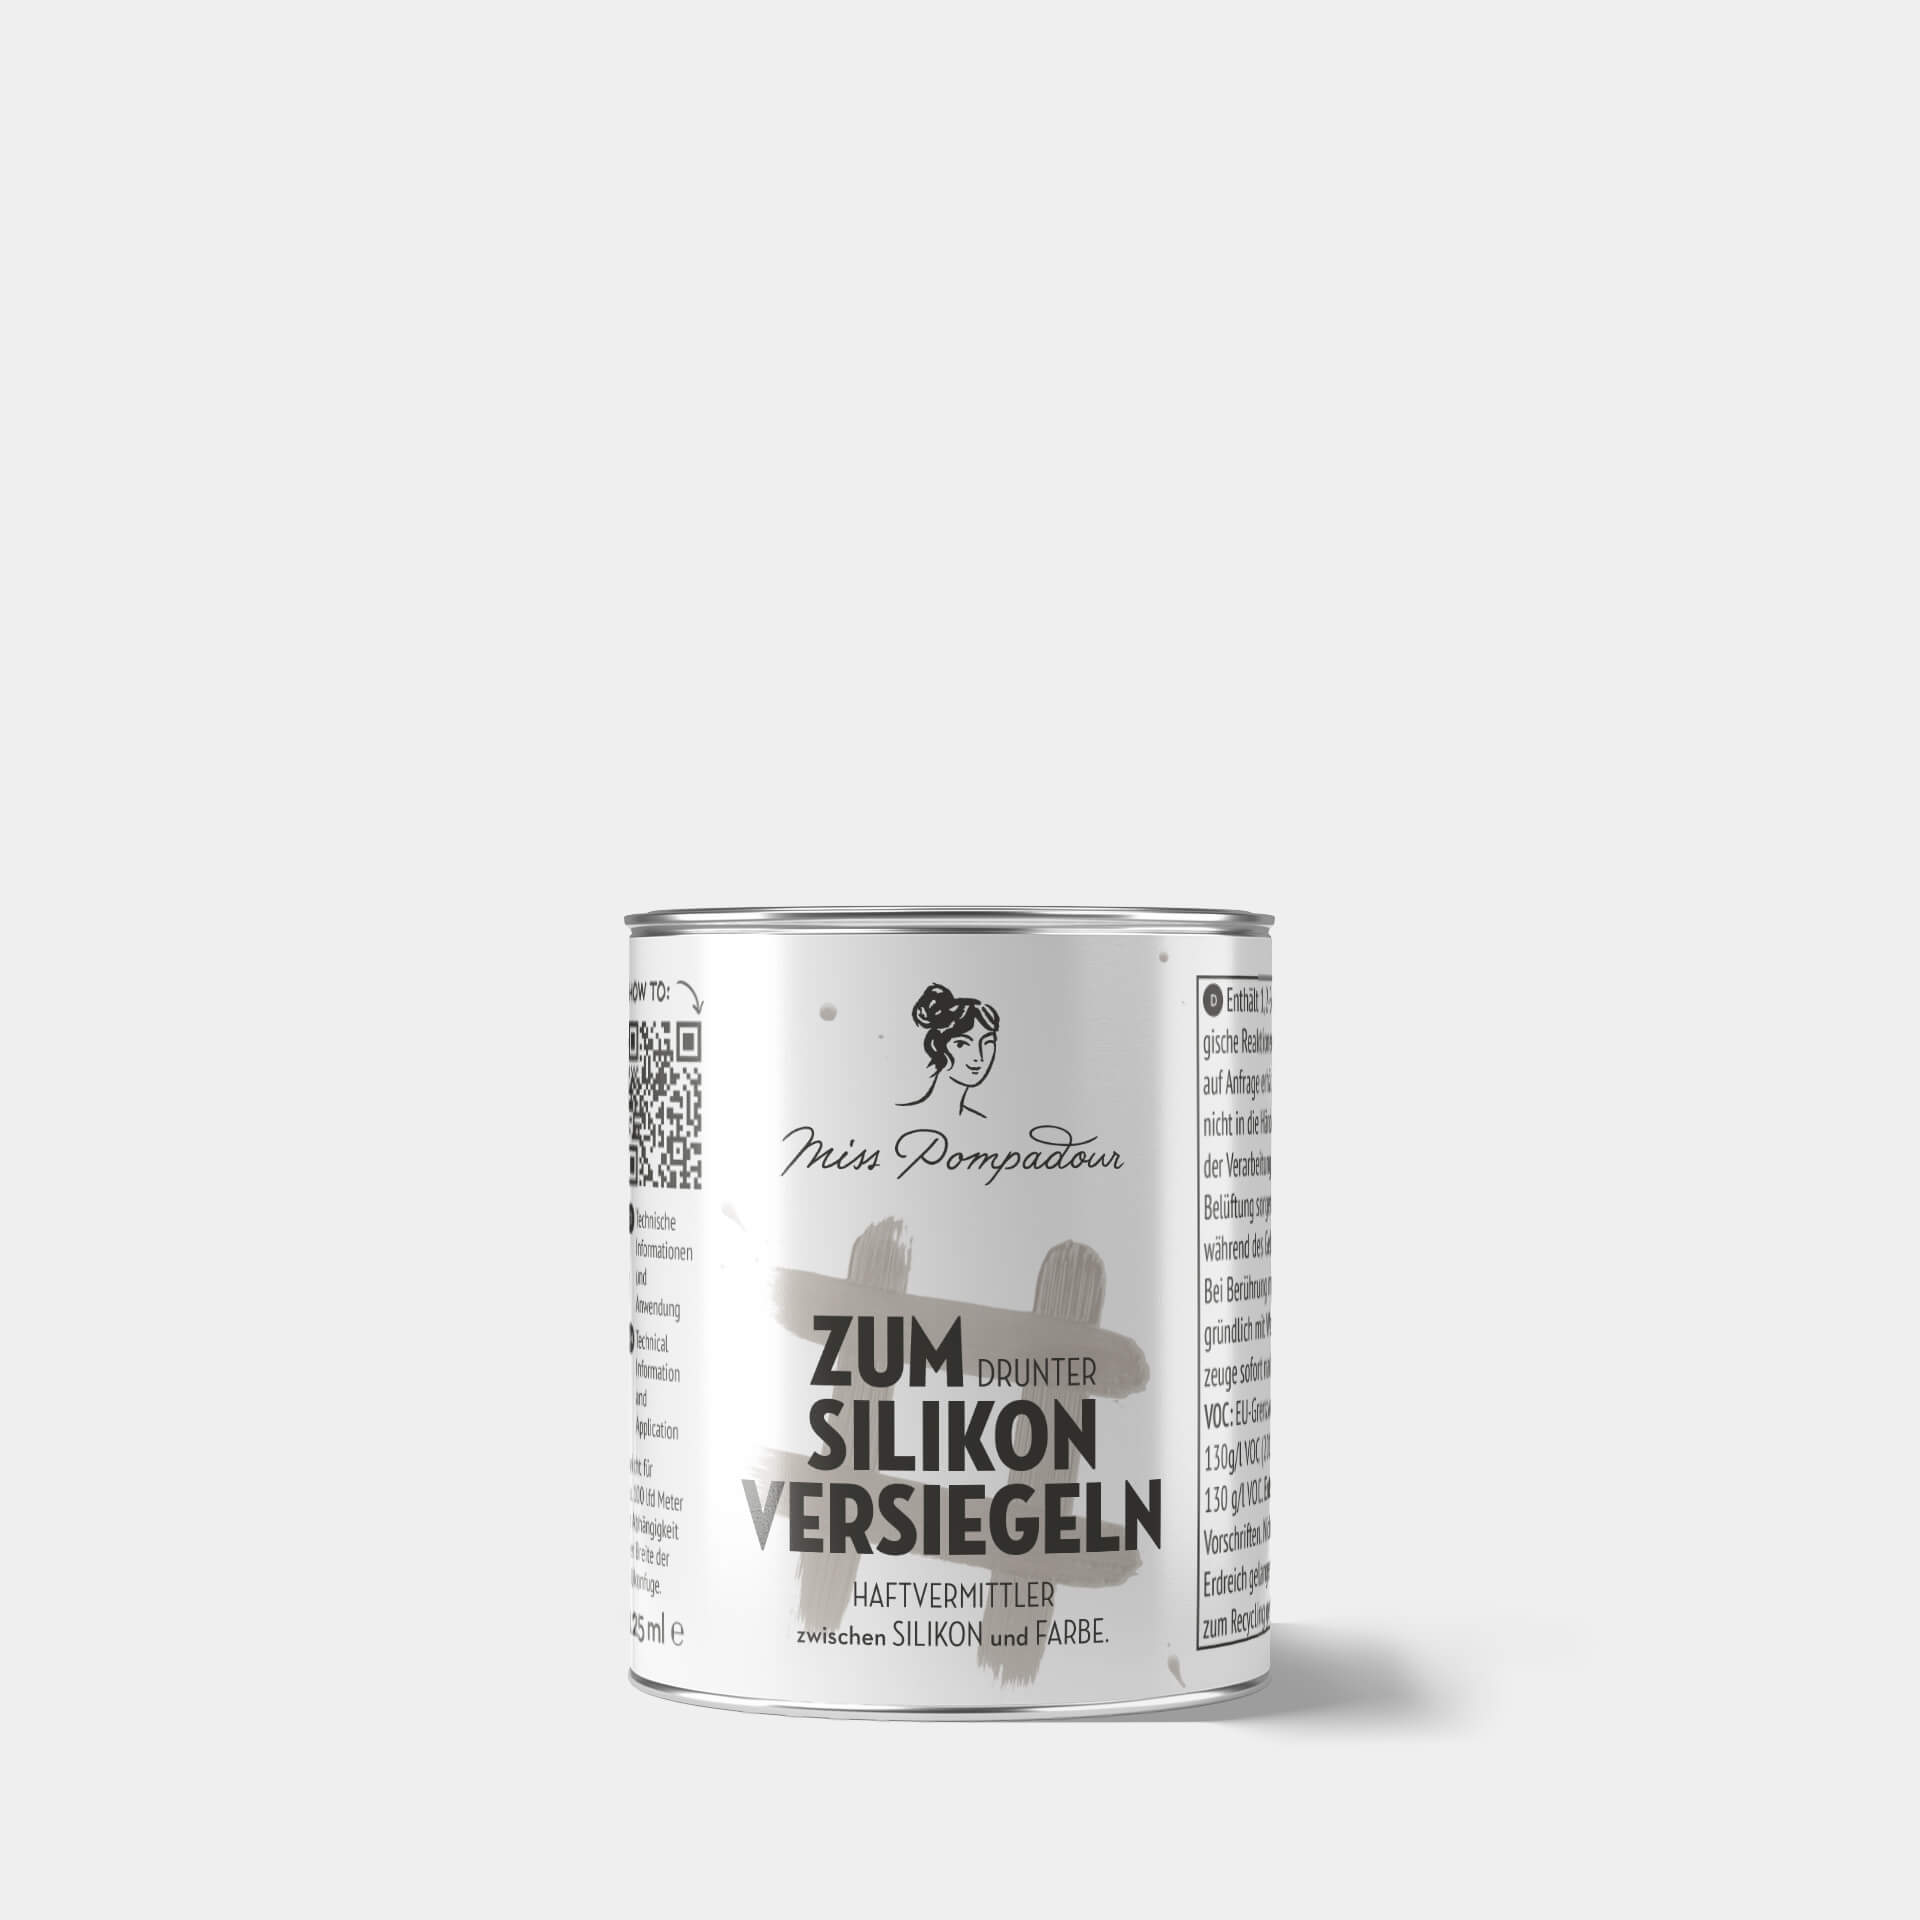
Neither varnish nor paint adheres to silicone. If you still want to paint a silicone joint, we recommend our MissPompadour - To Seal Silicone. It can also be used to cover silicone joints effectively and you can then paint over them with any colour.
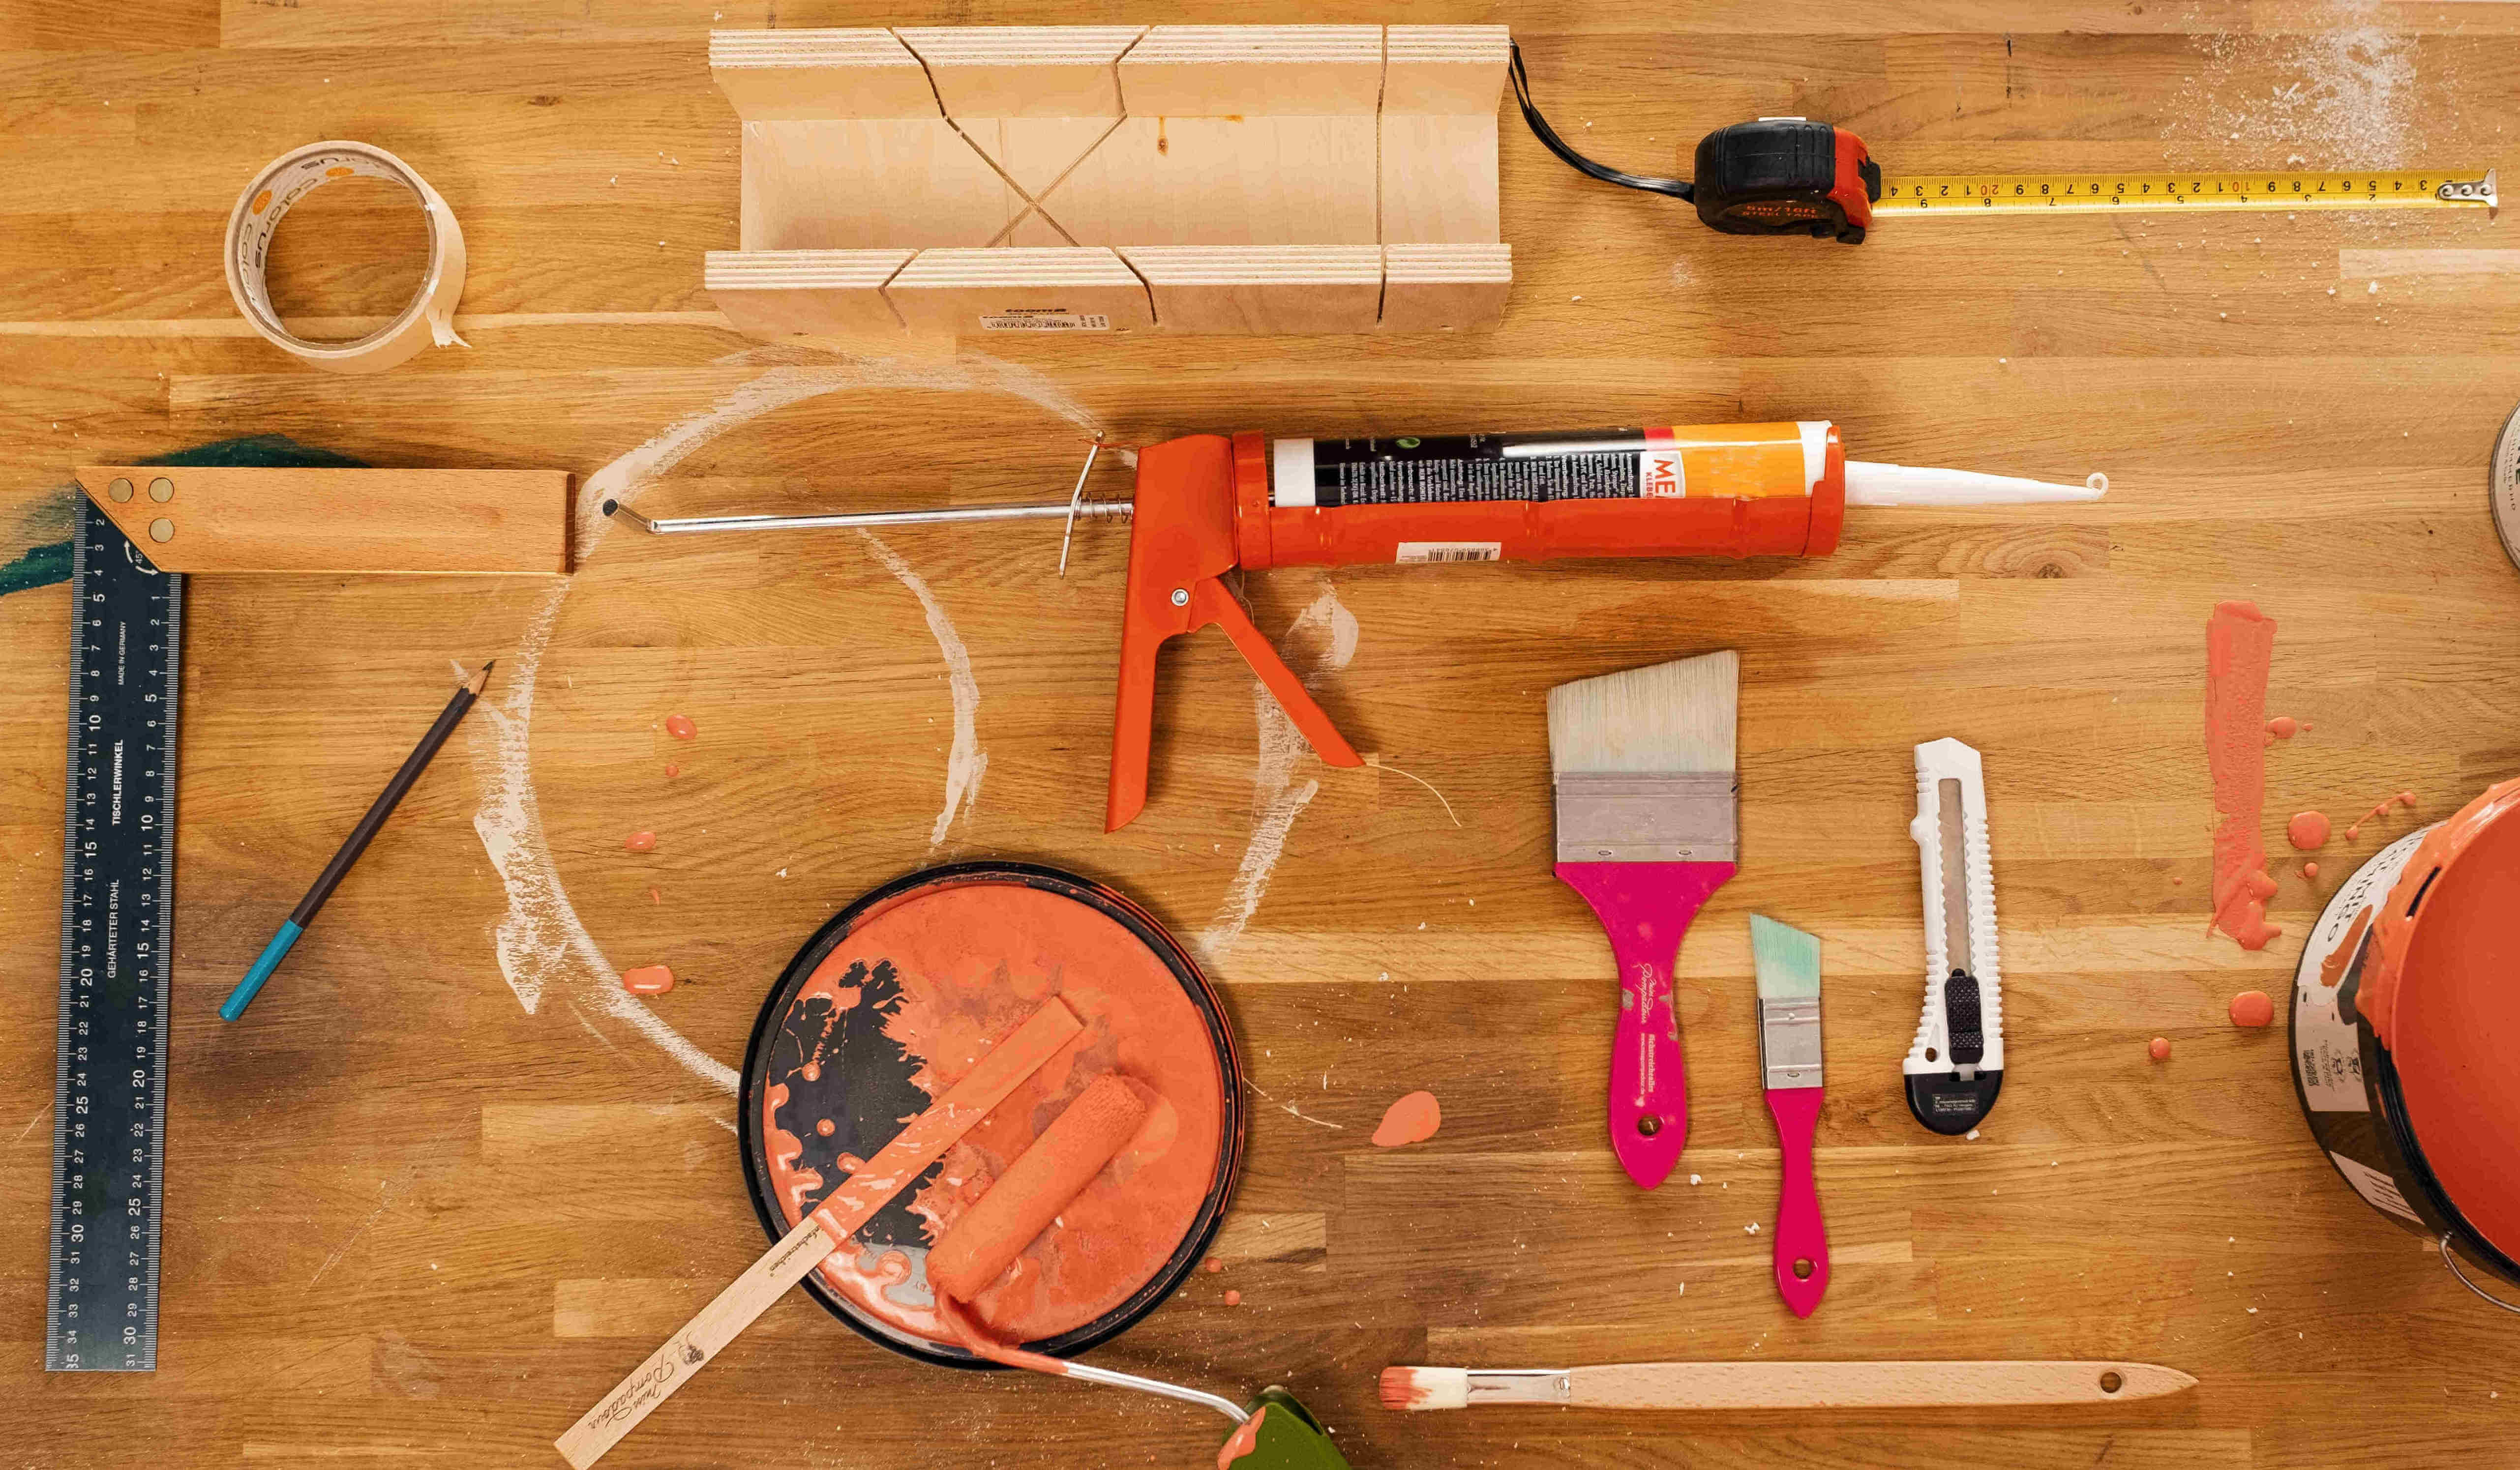
You need these tools to pull & paint acrylic
For pulling an acrylic joint:
- Adhesive tape: To mask the window or door frame and to help make the joint straight. Our residue-free compostable To Mask Varnishes - MissPompadour Adhesive Tape is very suitable for this.
- Cloth and kitchen roll: To Clean the area where the joint is to be drawn and to clean the finger that is drawn over the acrylic. A smoother, as used for silicone joints, can be helpful, but is not absolutely necessary for acrylic.
To Paint acrylic:
- Cloth and cleaning agent: To Clean the acrylic joint or acrylic surface. Our To Clean - MissPompadour Cleaner is environmentally friendly, cruelty-free and free from harmful chemicals
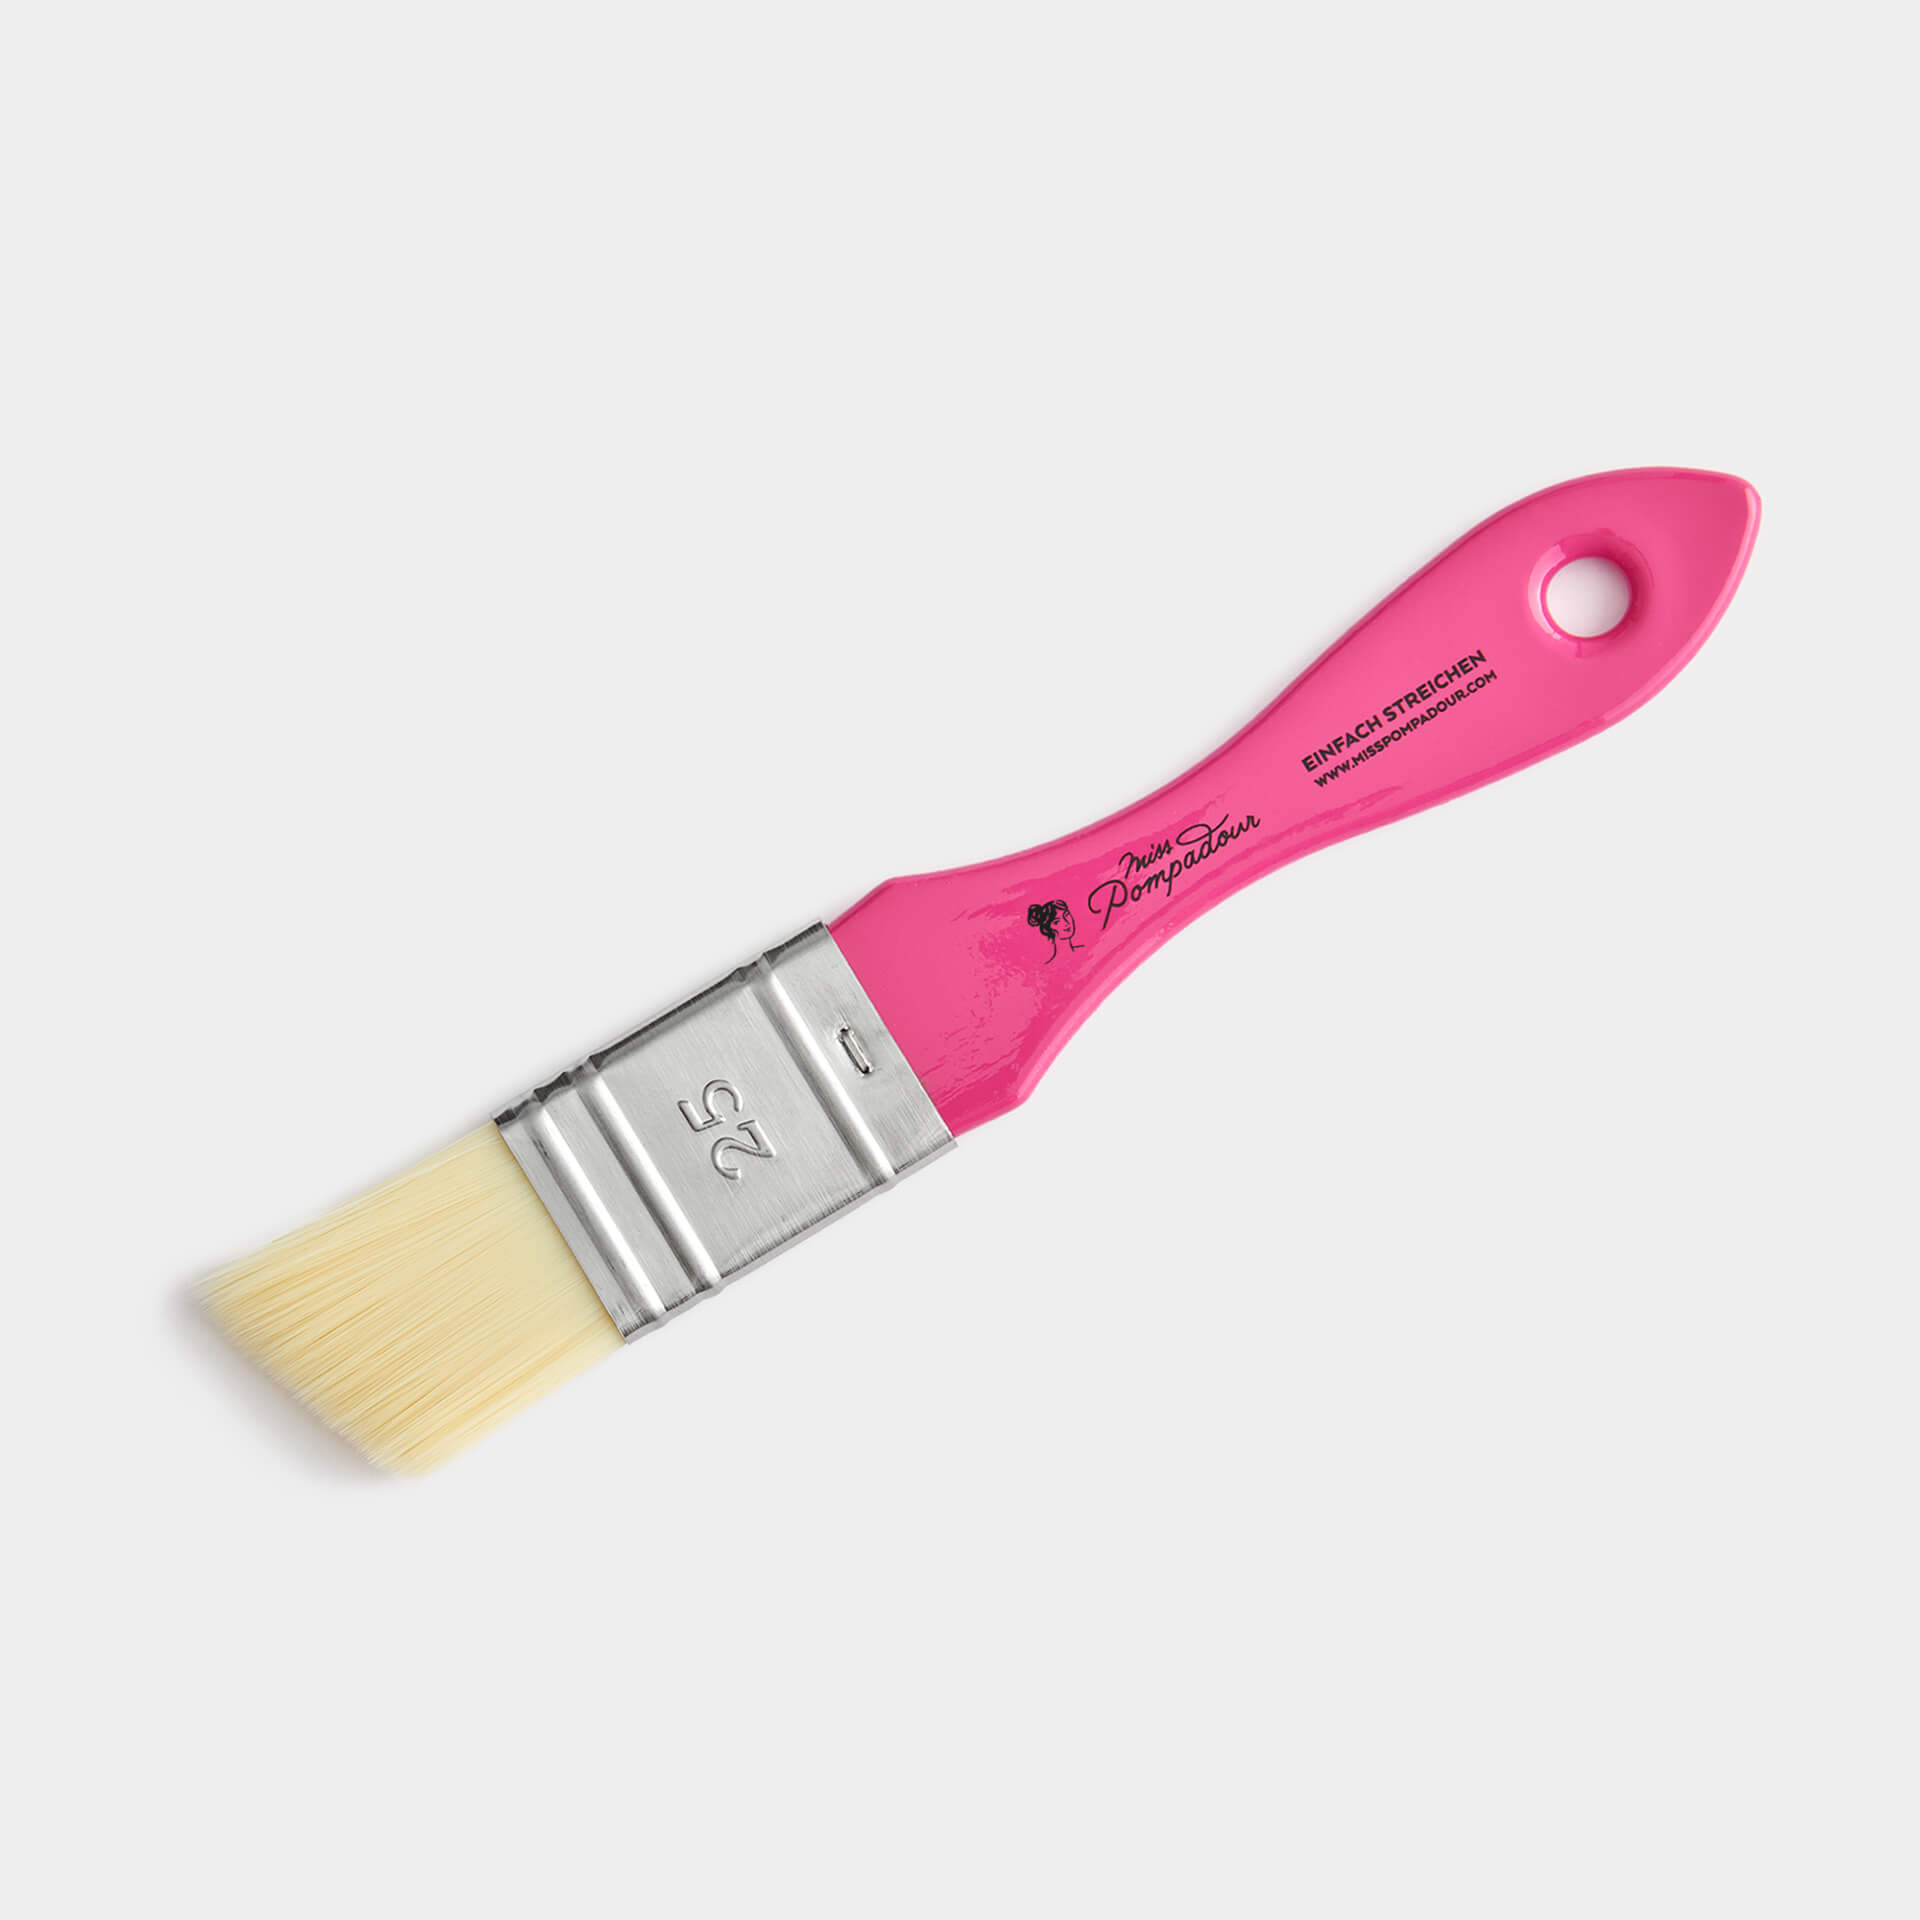
- Narrow brush: For painting over the acrylic joint. The narrow, tapered To Paint - MissPompadour angled brush is ideal for this.