


Colouring joints: a small trend with a big effect
5 min reading time
Sometimes less is more - and narrow, colourful lines are enough for a wow effect. Colouring joints is on trend. The effect is impressive! We'll show you how to create this fantastic effect yourself.
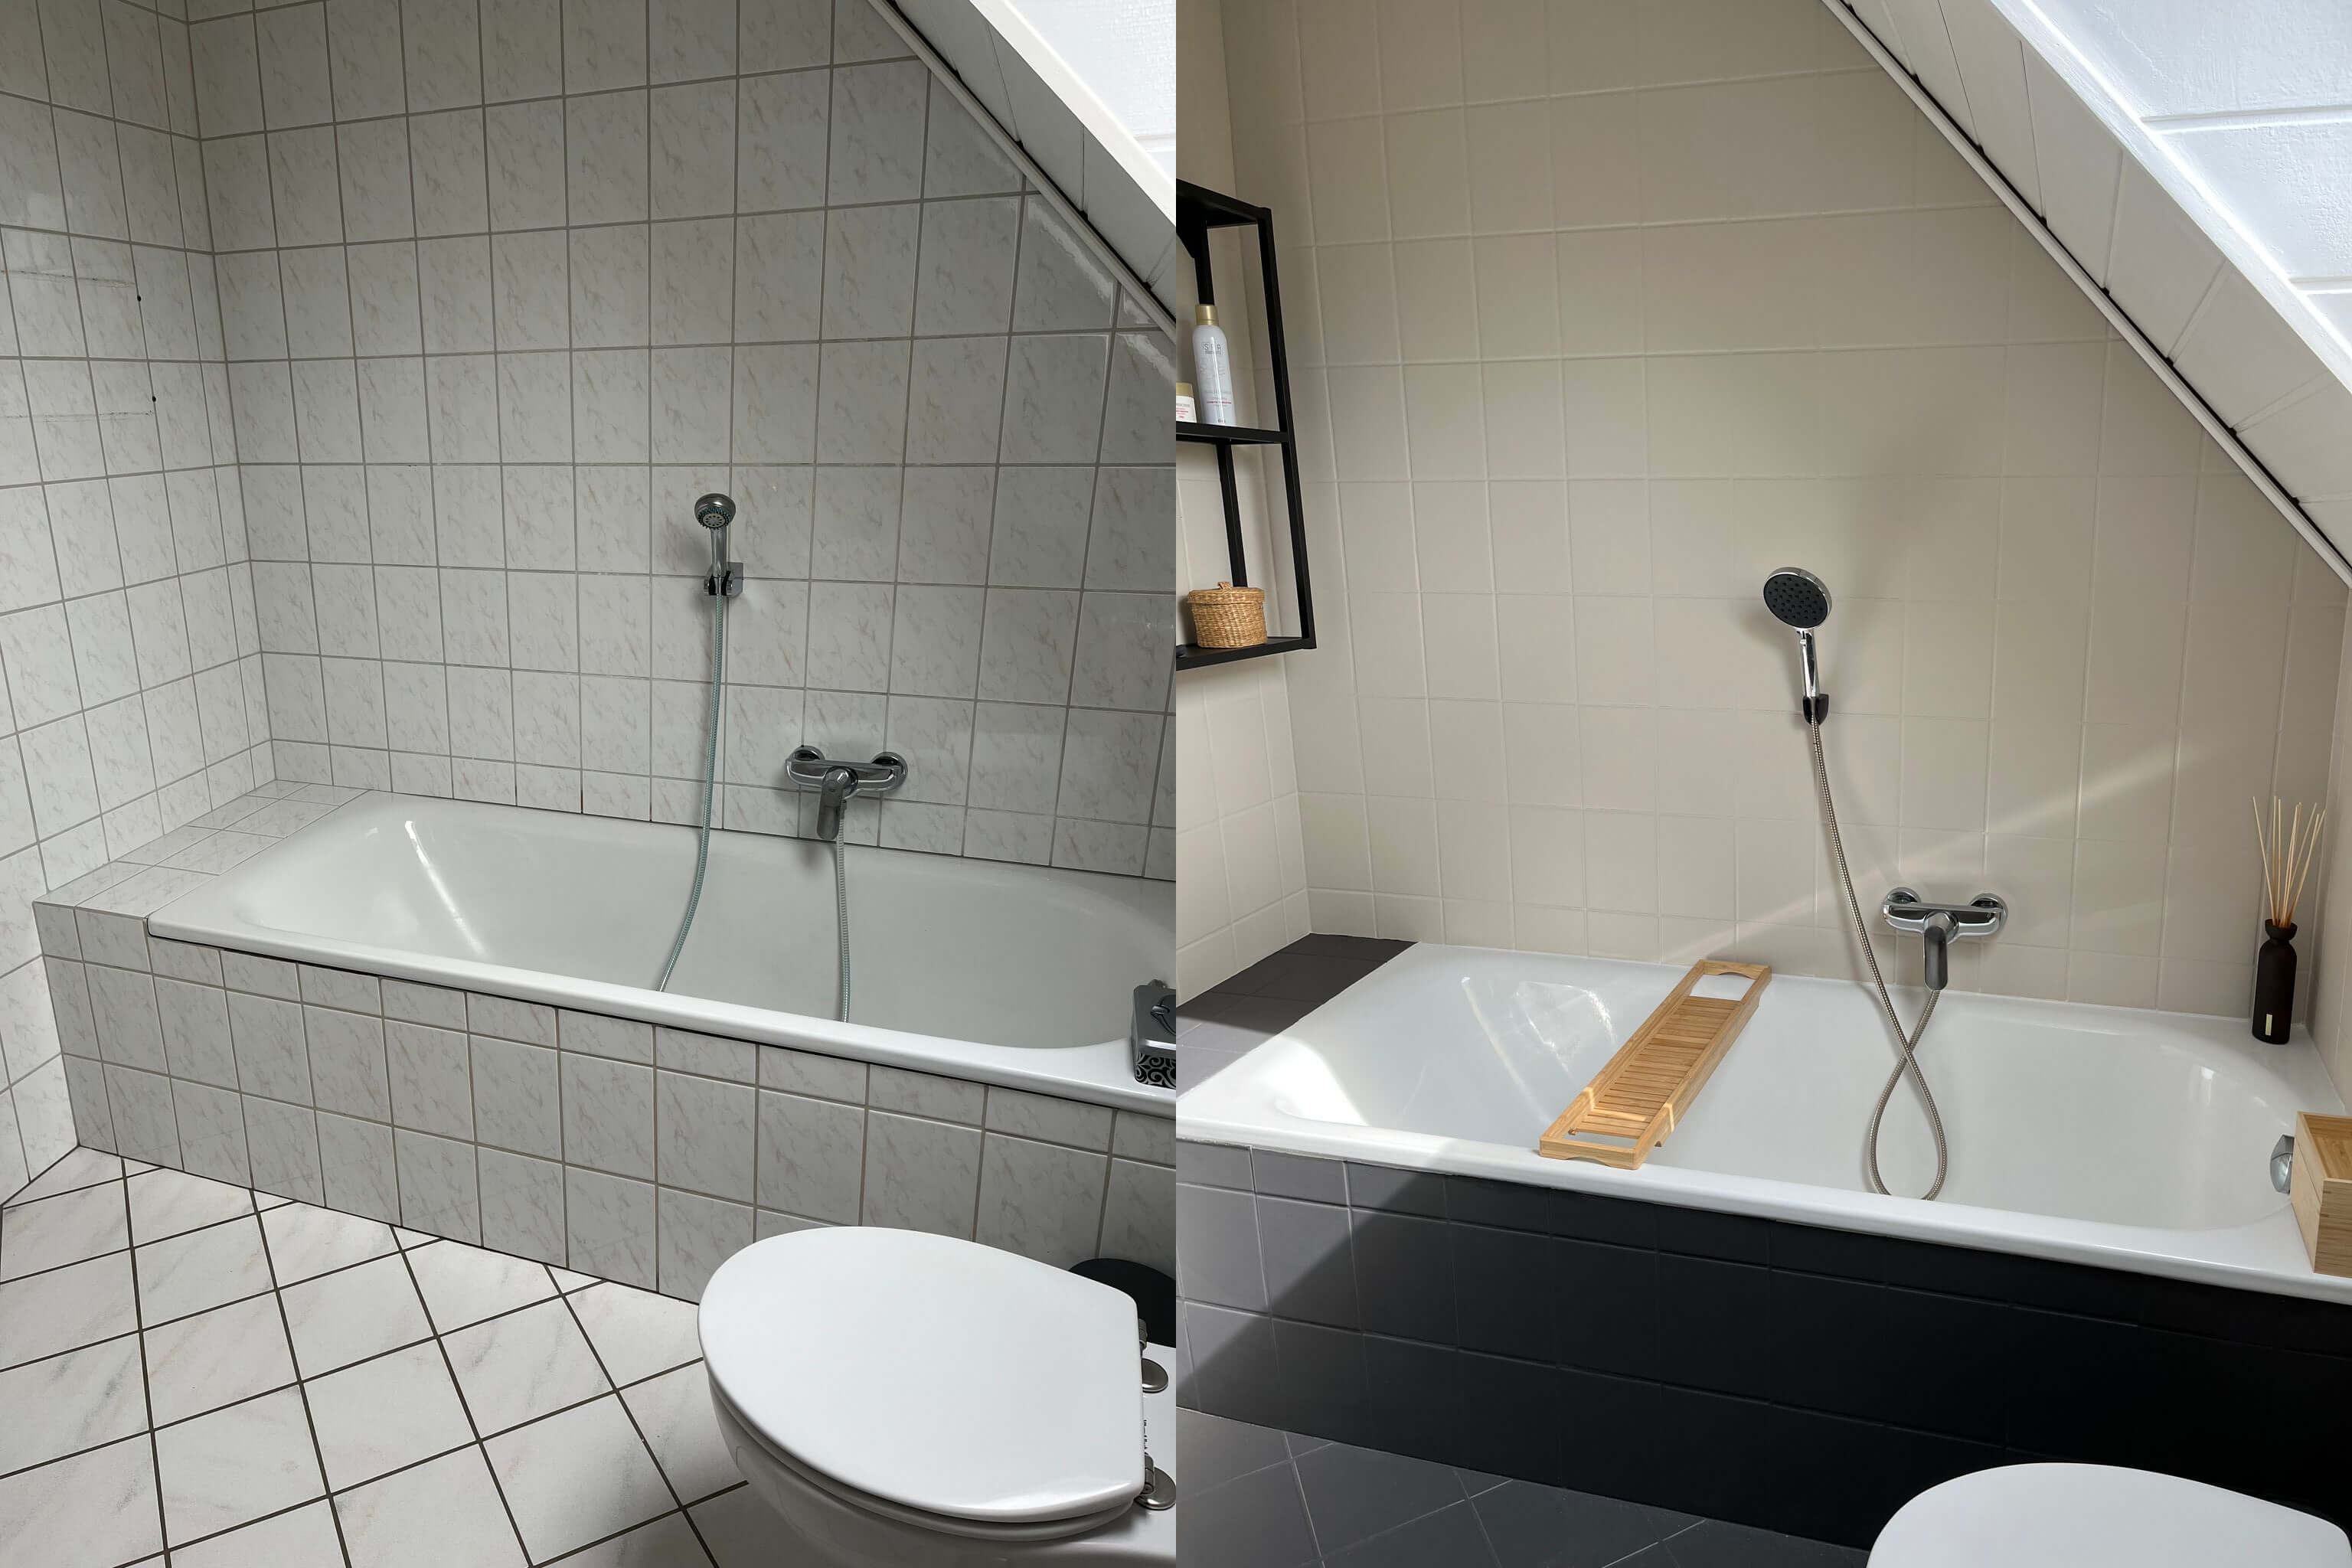
Interior trend for every home: painting joints
If you really want to change the look of the tiles in your kitchen or bathroom, there are two options when it comes to painting: You can simply paint over the tiles and joints. This will make them recede visually and give you a uniform, calm colour surface on the tiled wall
Or you can pick up on a completely new trend and only emphasise the joints by painting them in a bold colour. This has a great effect, especially with light, white, light beige or light grey tiles. Colouring joints creates a great effect with minimal resources!
Colouring joints: Which colours for which effect?
Blue grouting: If the tiles in your bathroom are white, for example, then paint the grouting in a strong blue like MissPompadour Blue with Violet or go for Blue with Cloud. You'll see that your bathroom suddenly takes on a real maritime style. The effect is particularly great when this blue colour shade reappears on a piece of furniture, such as the washbasin
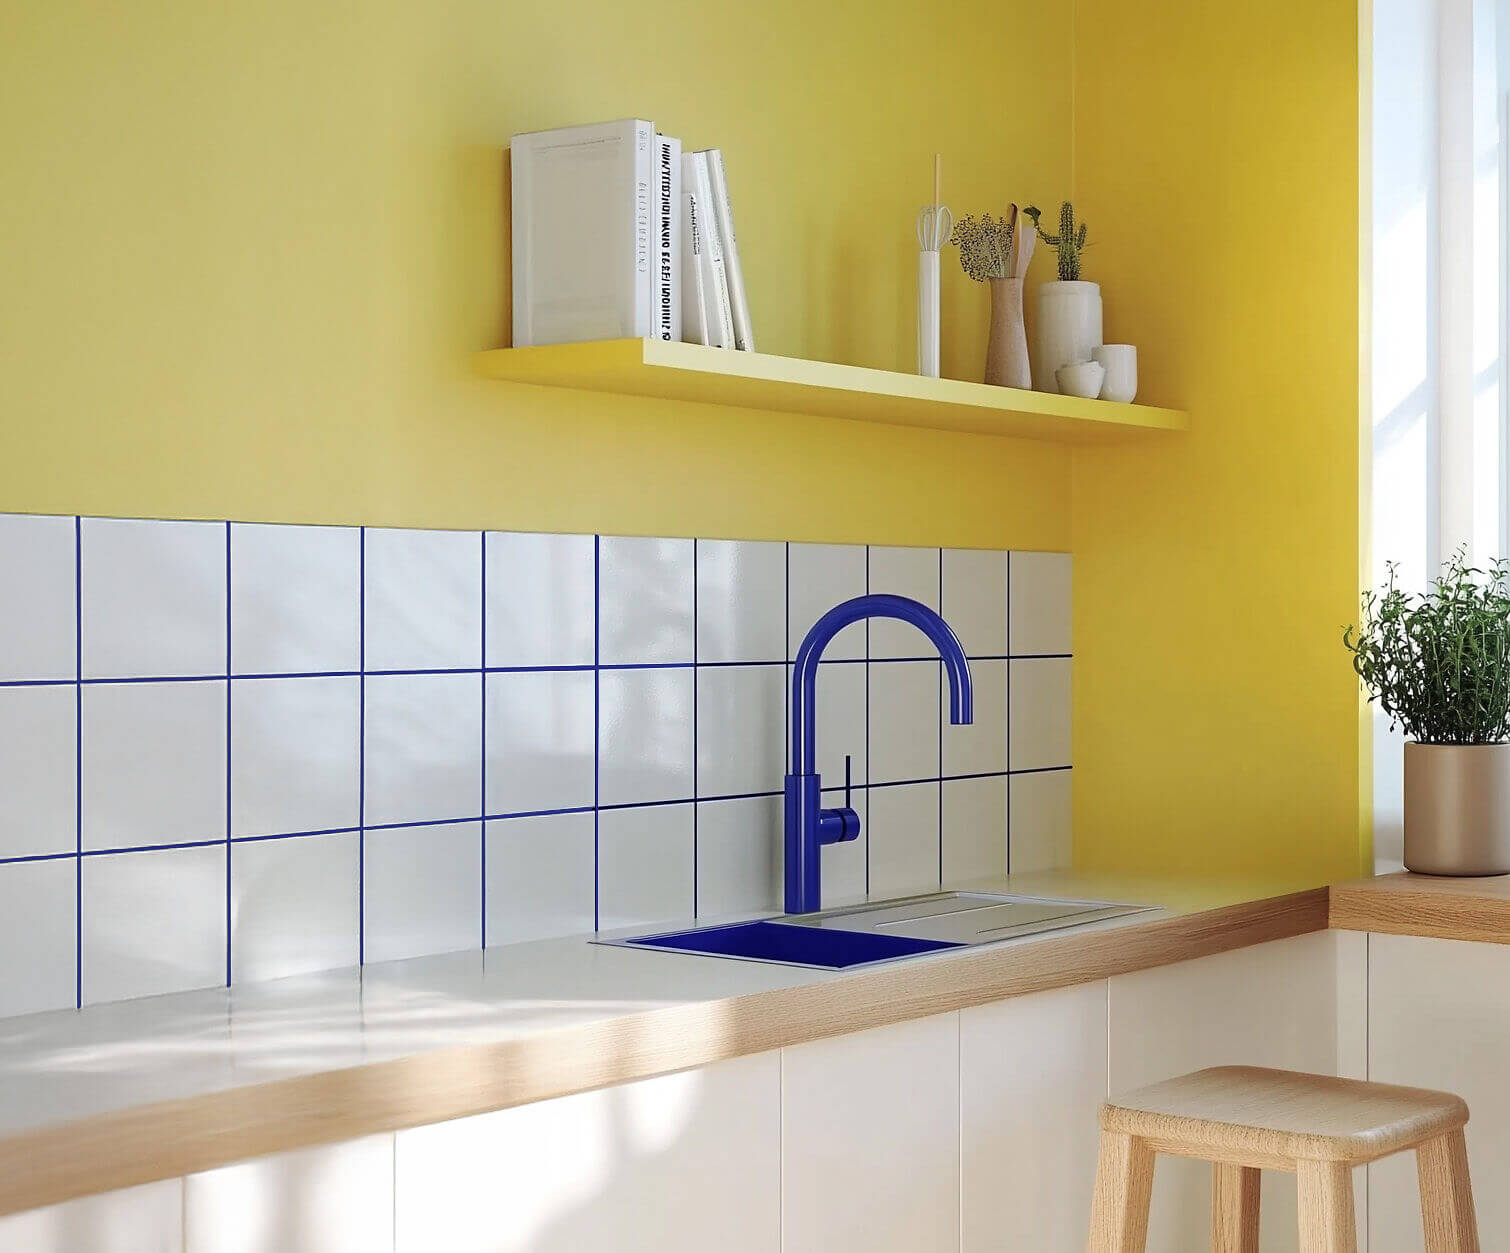
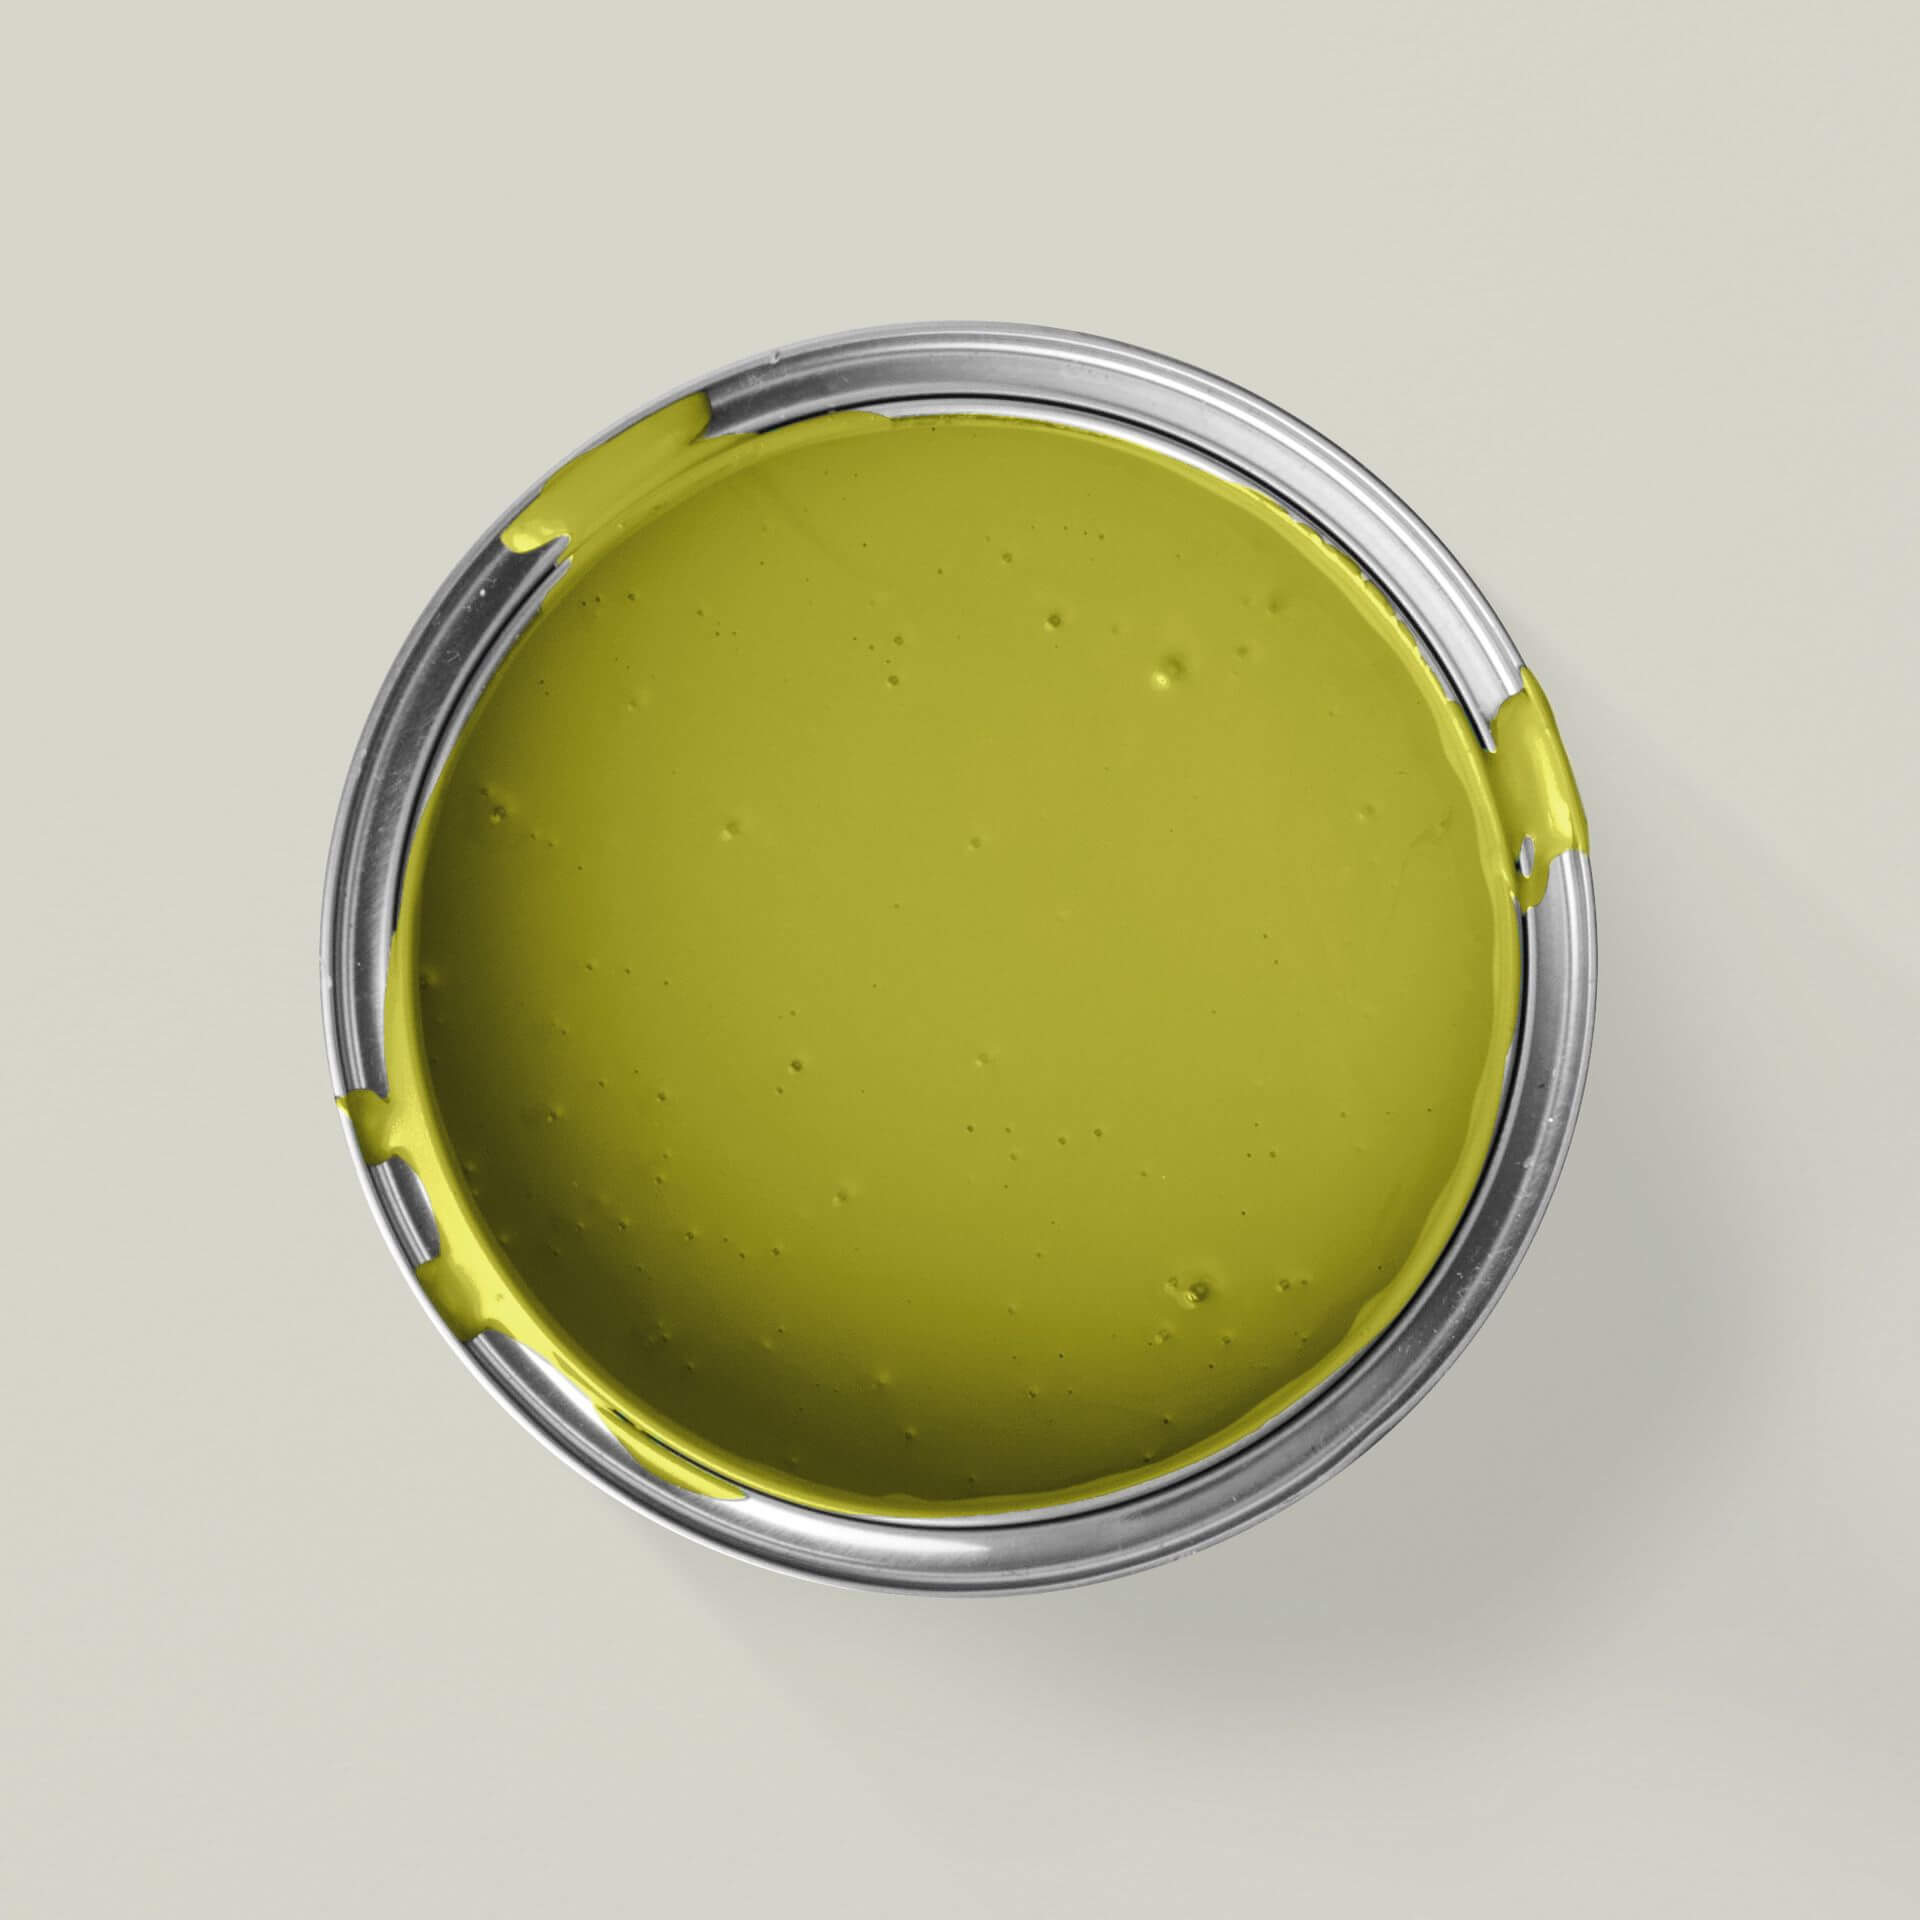
Green grout: If you like bold colours, such as those found in the current Dopamine Decor Still, a fresh green such as Green with Grass or Green with Frog is also a good choice of colour. In a kitchen in particular, you can colour the grouting and transform the tiled splashback into a fresh eye-catcher that simply puts you in a good mood
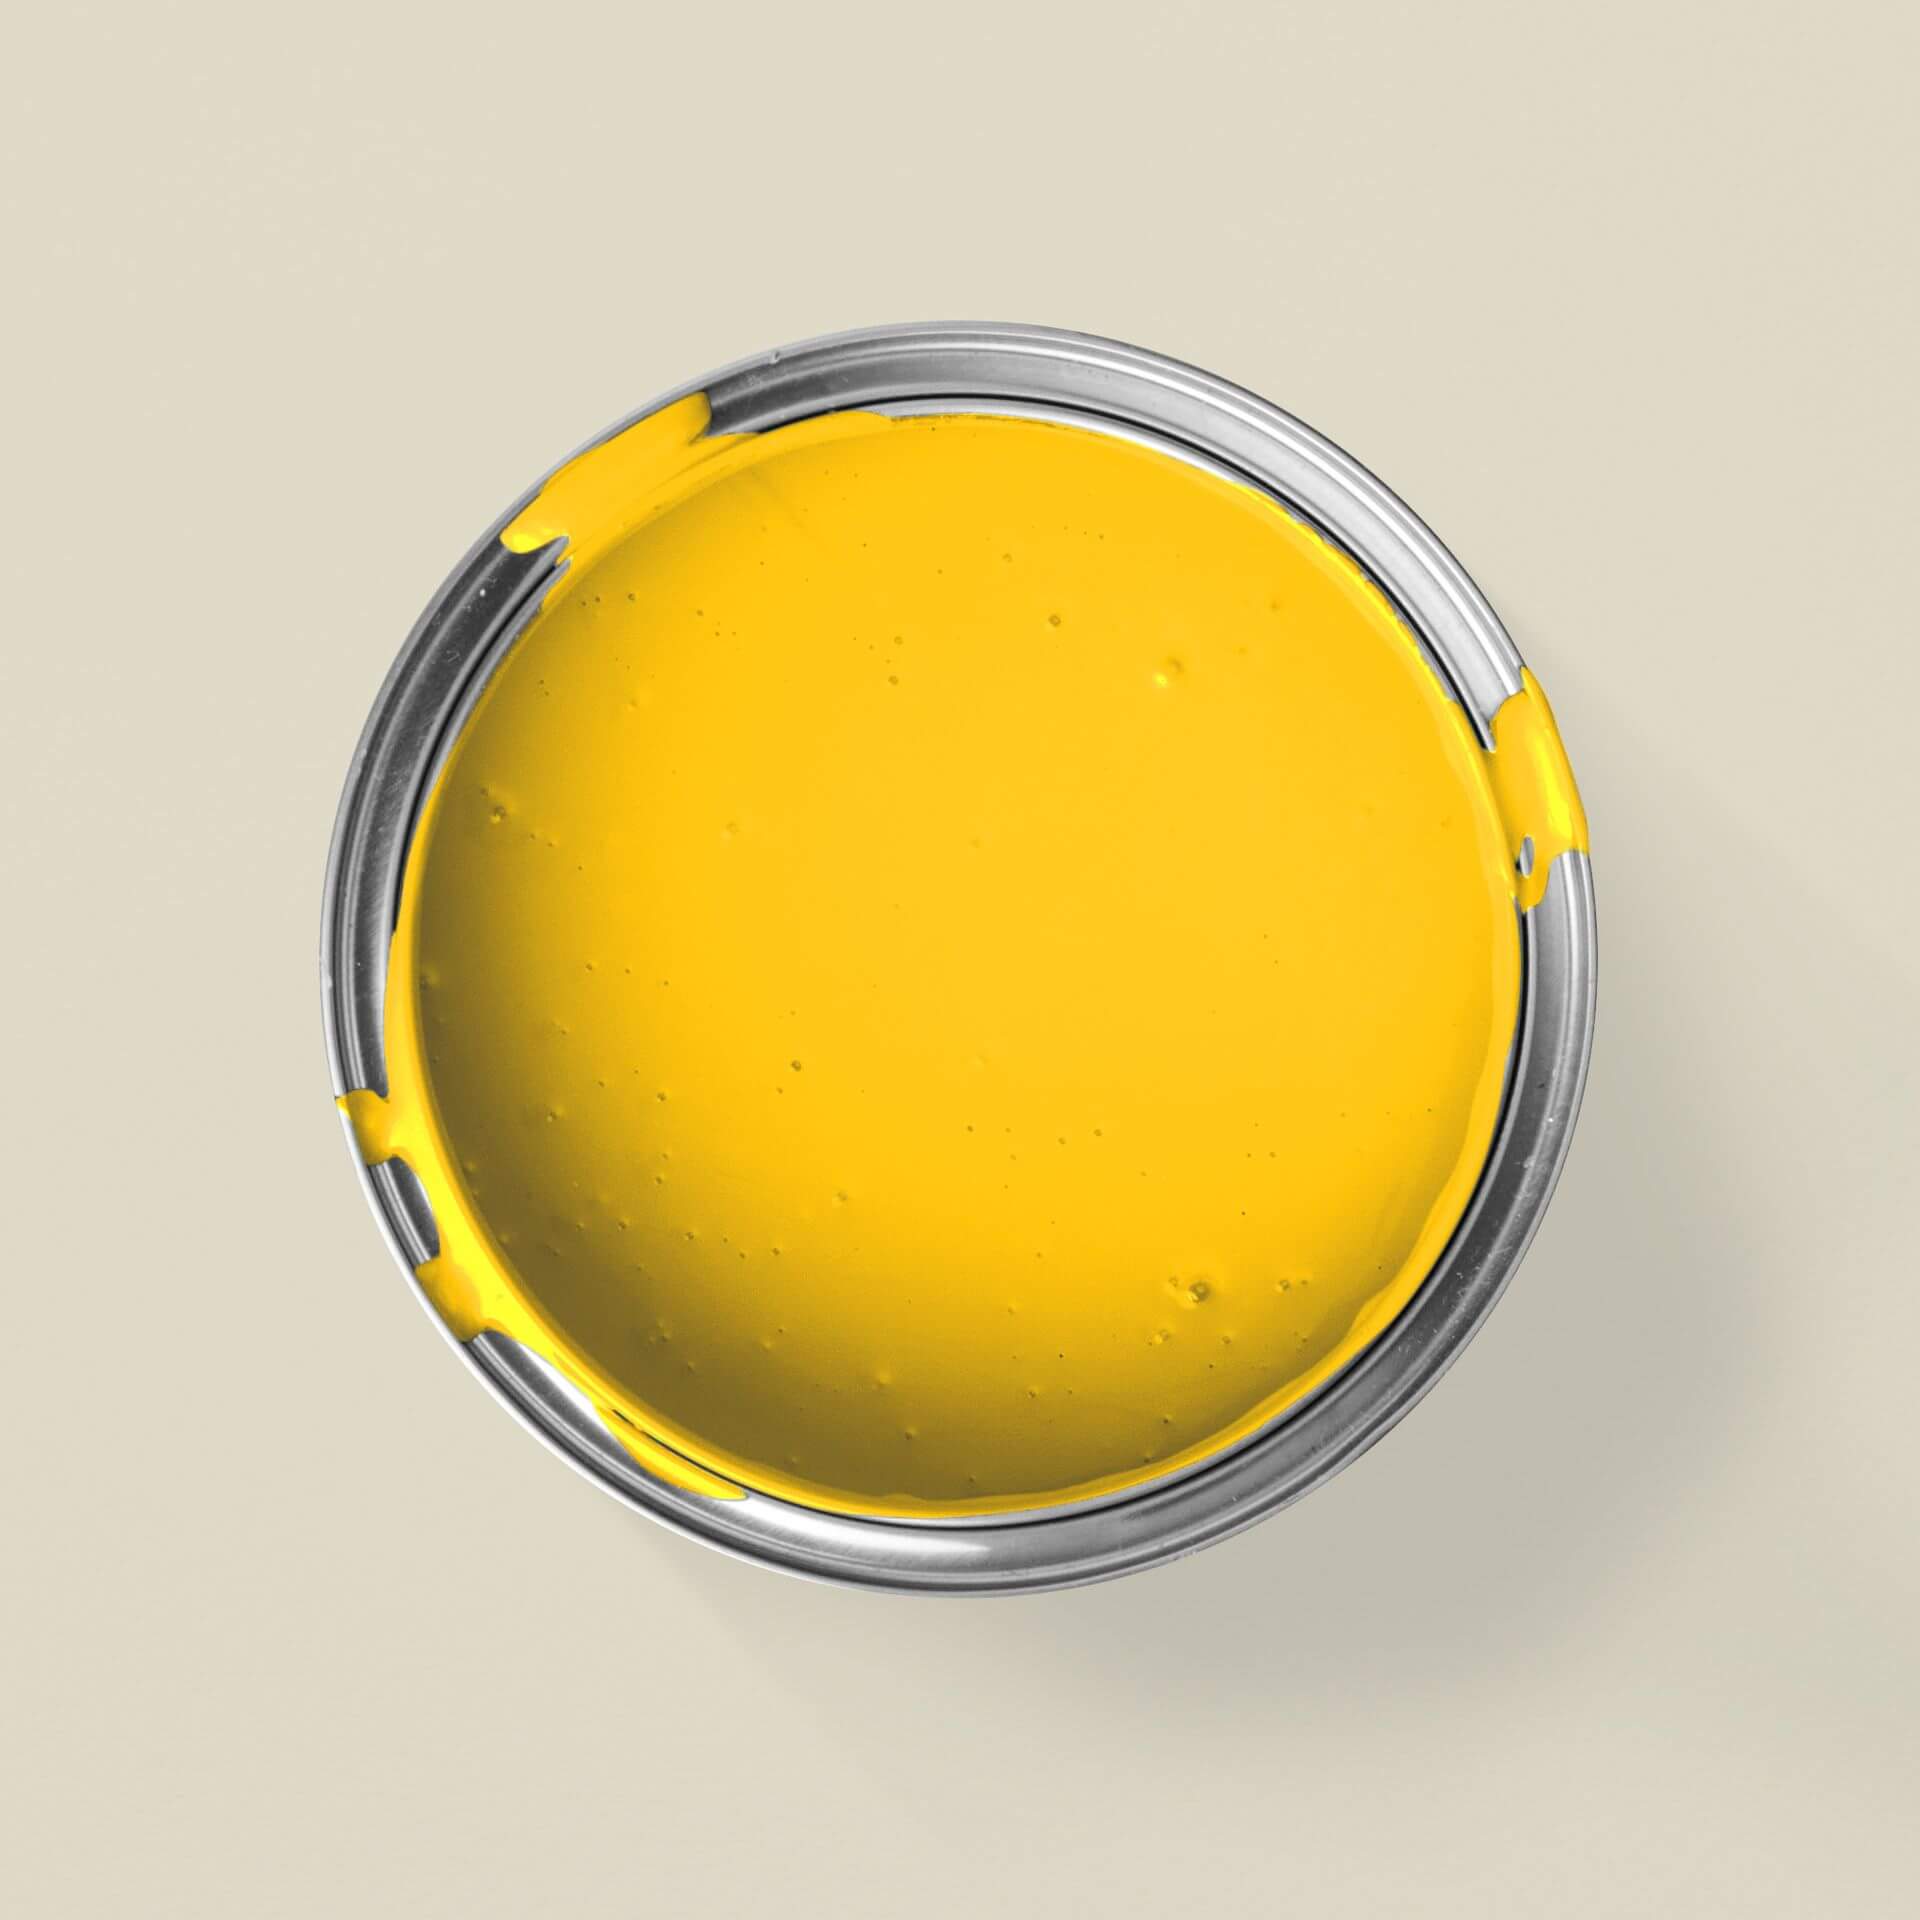
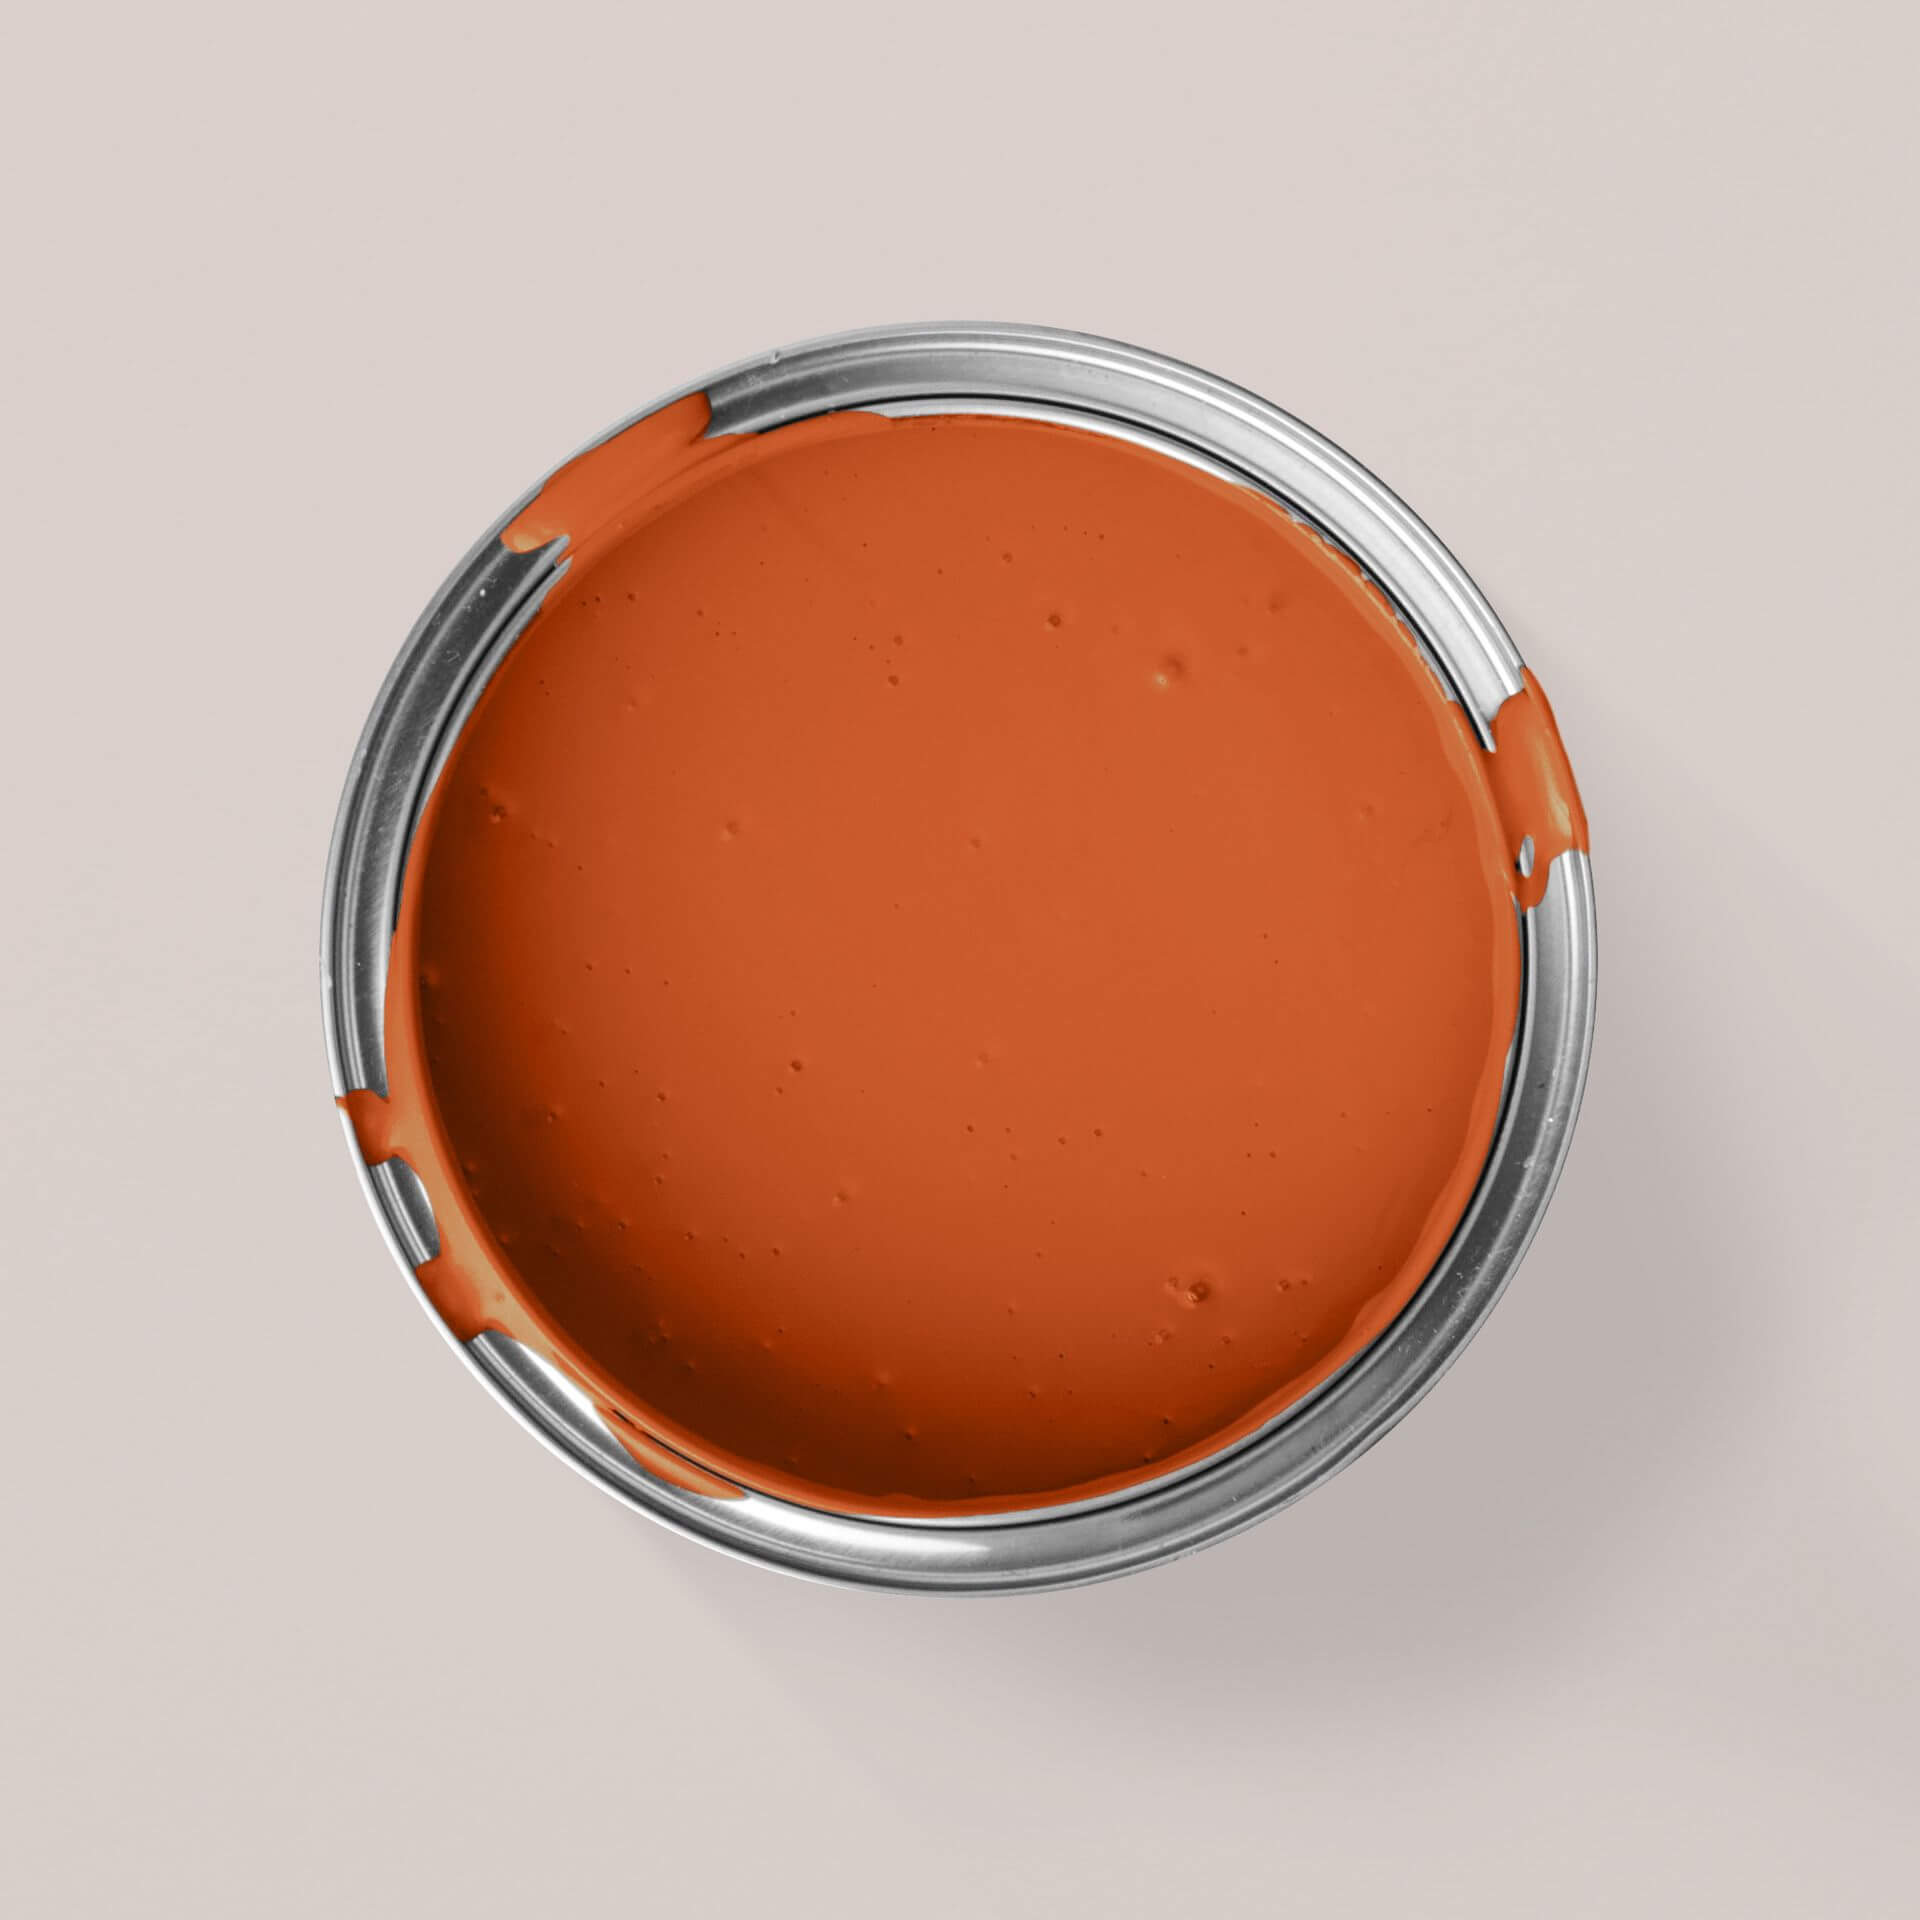
Orange grouting:Orange with Goldfish or Orange with Tangerine are also colour shades that you can use to transform the grouting of your tiles and create a vibrant look. As these colours are very intense, grouting can be a good compromise - this way you can bring the power of colour into your room without it being overwhelming.
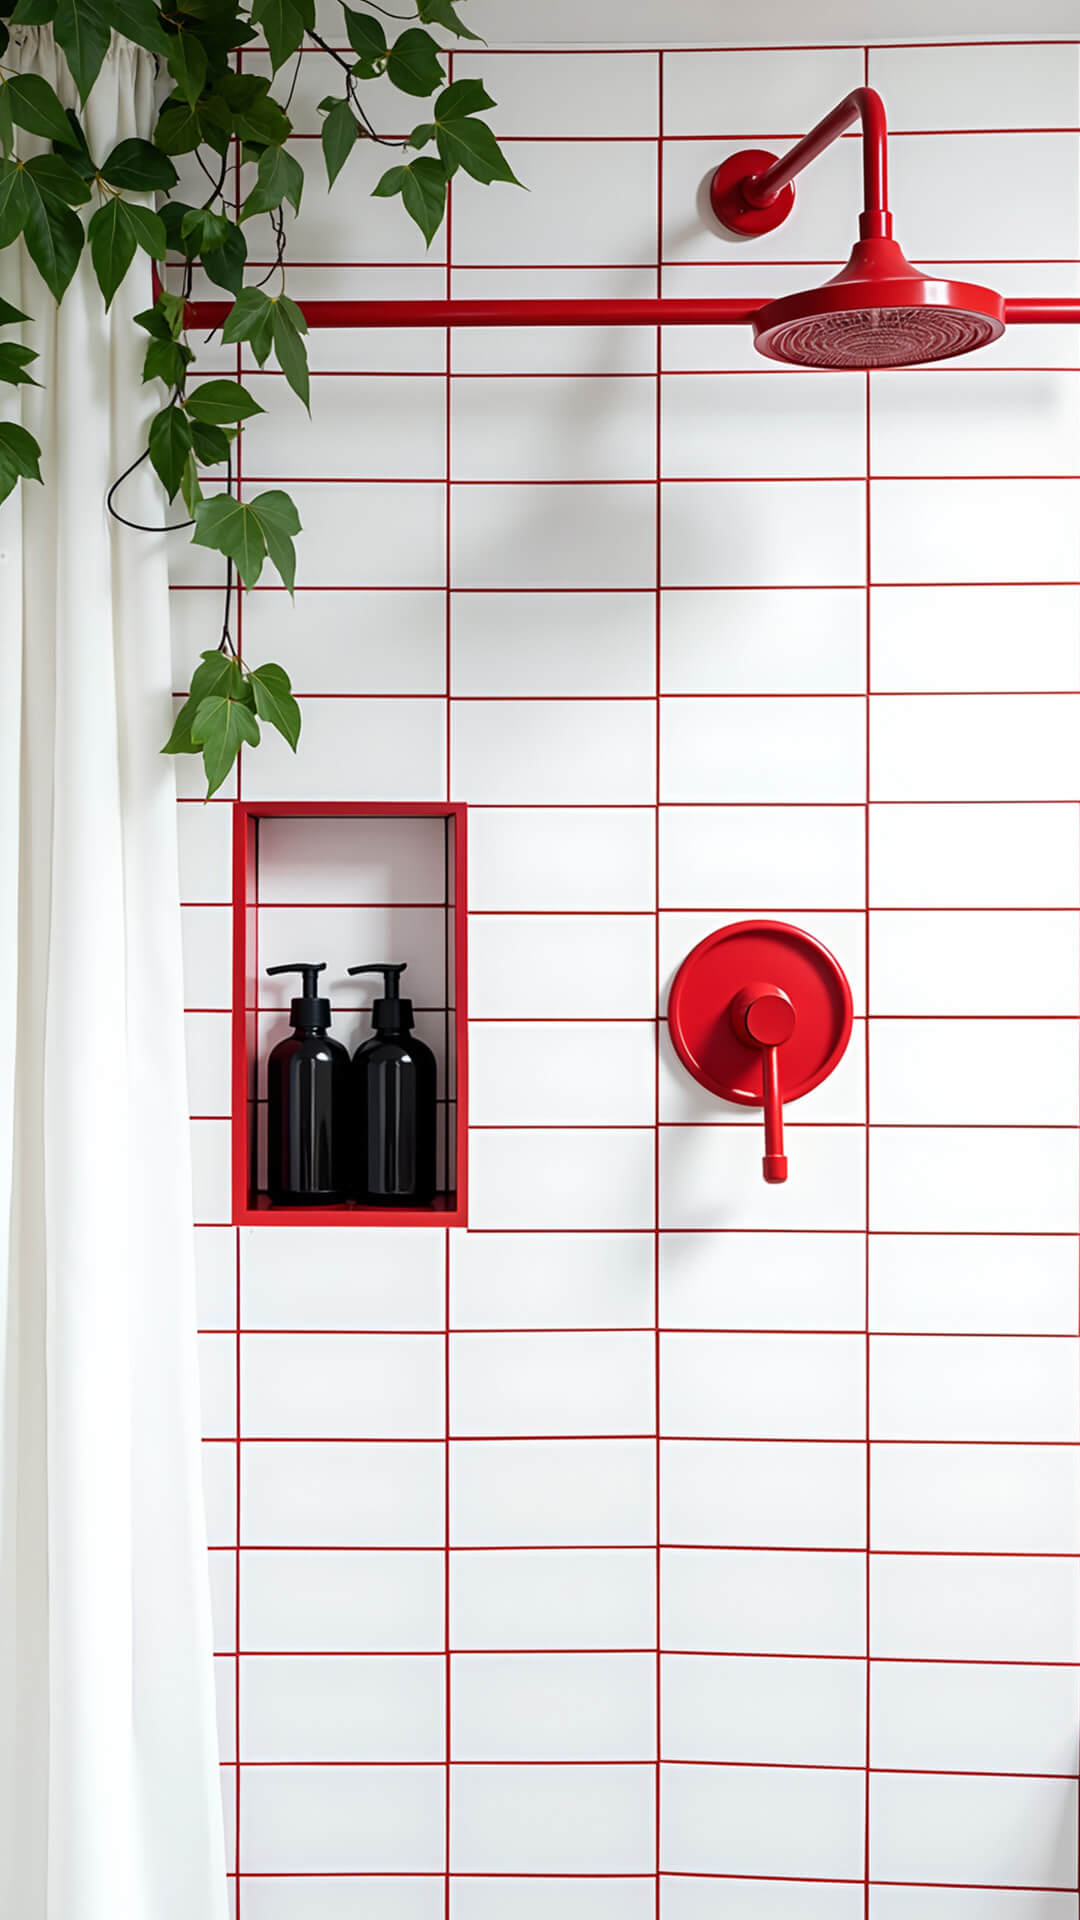
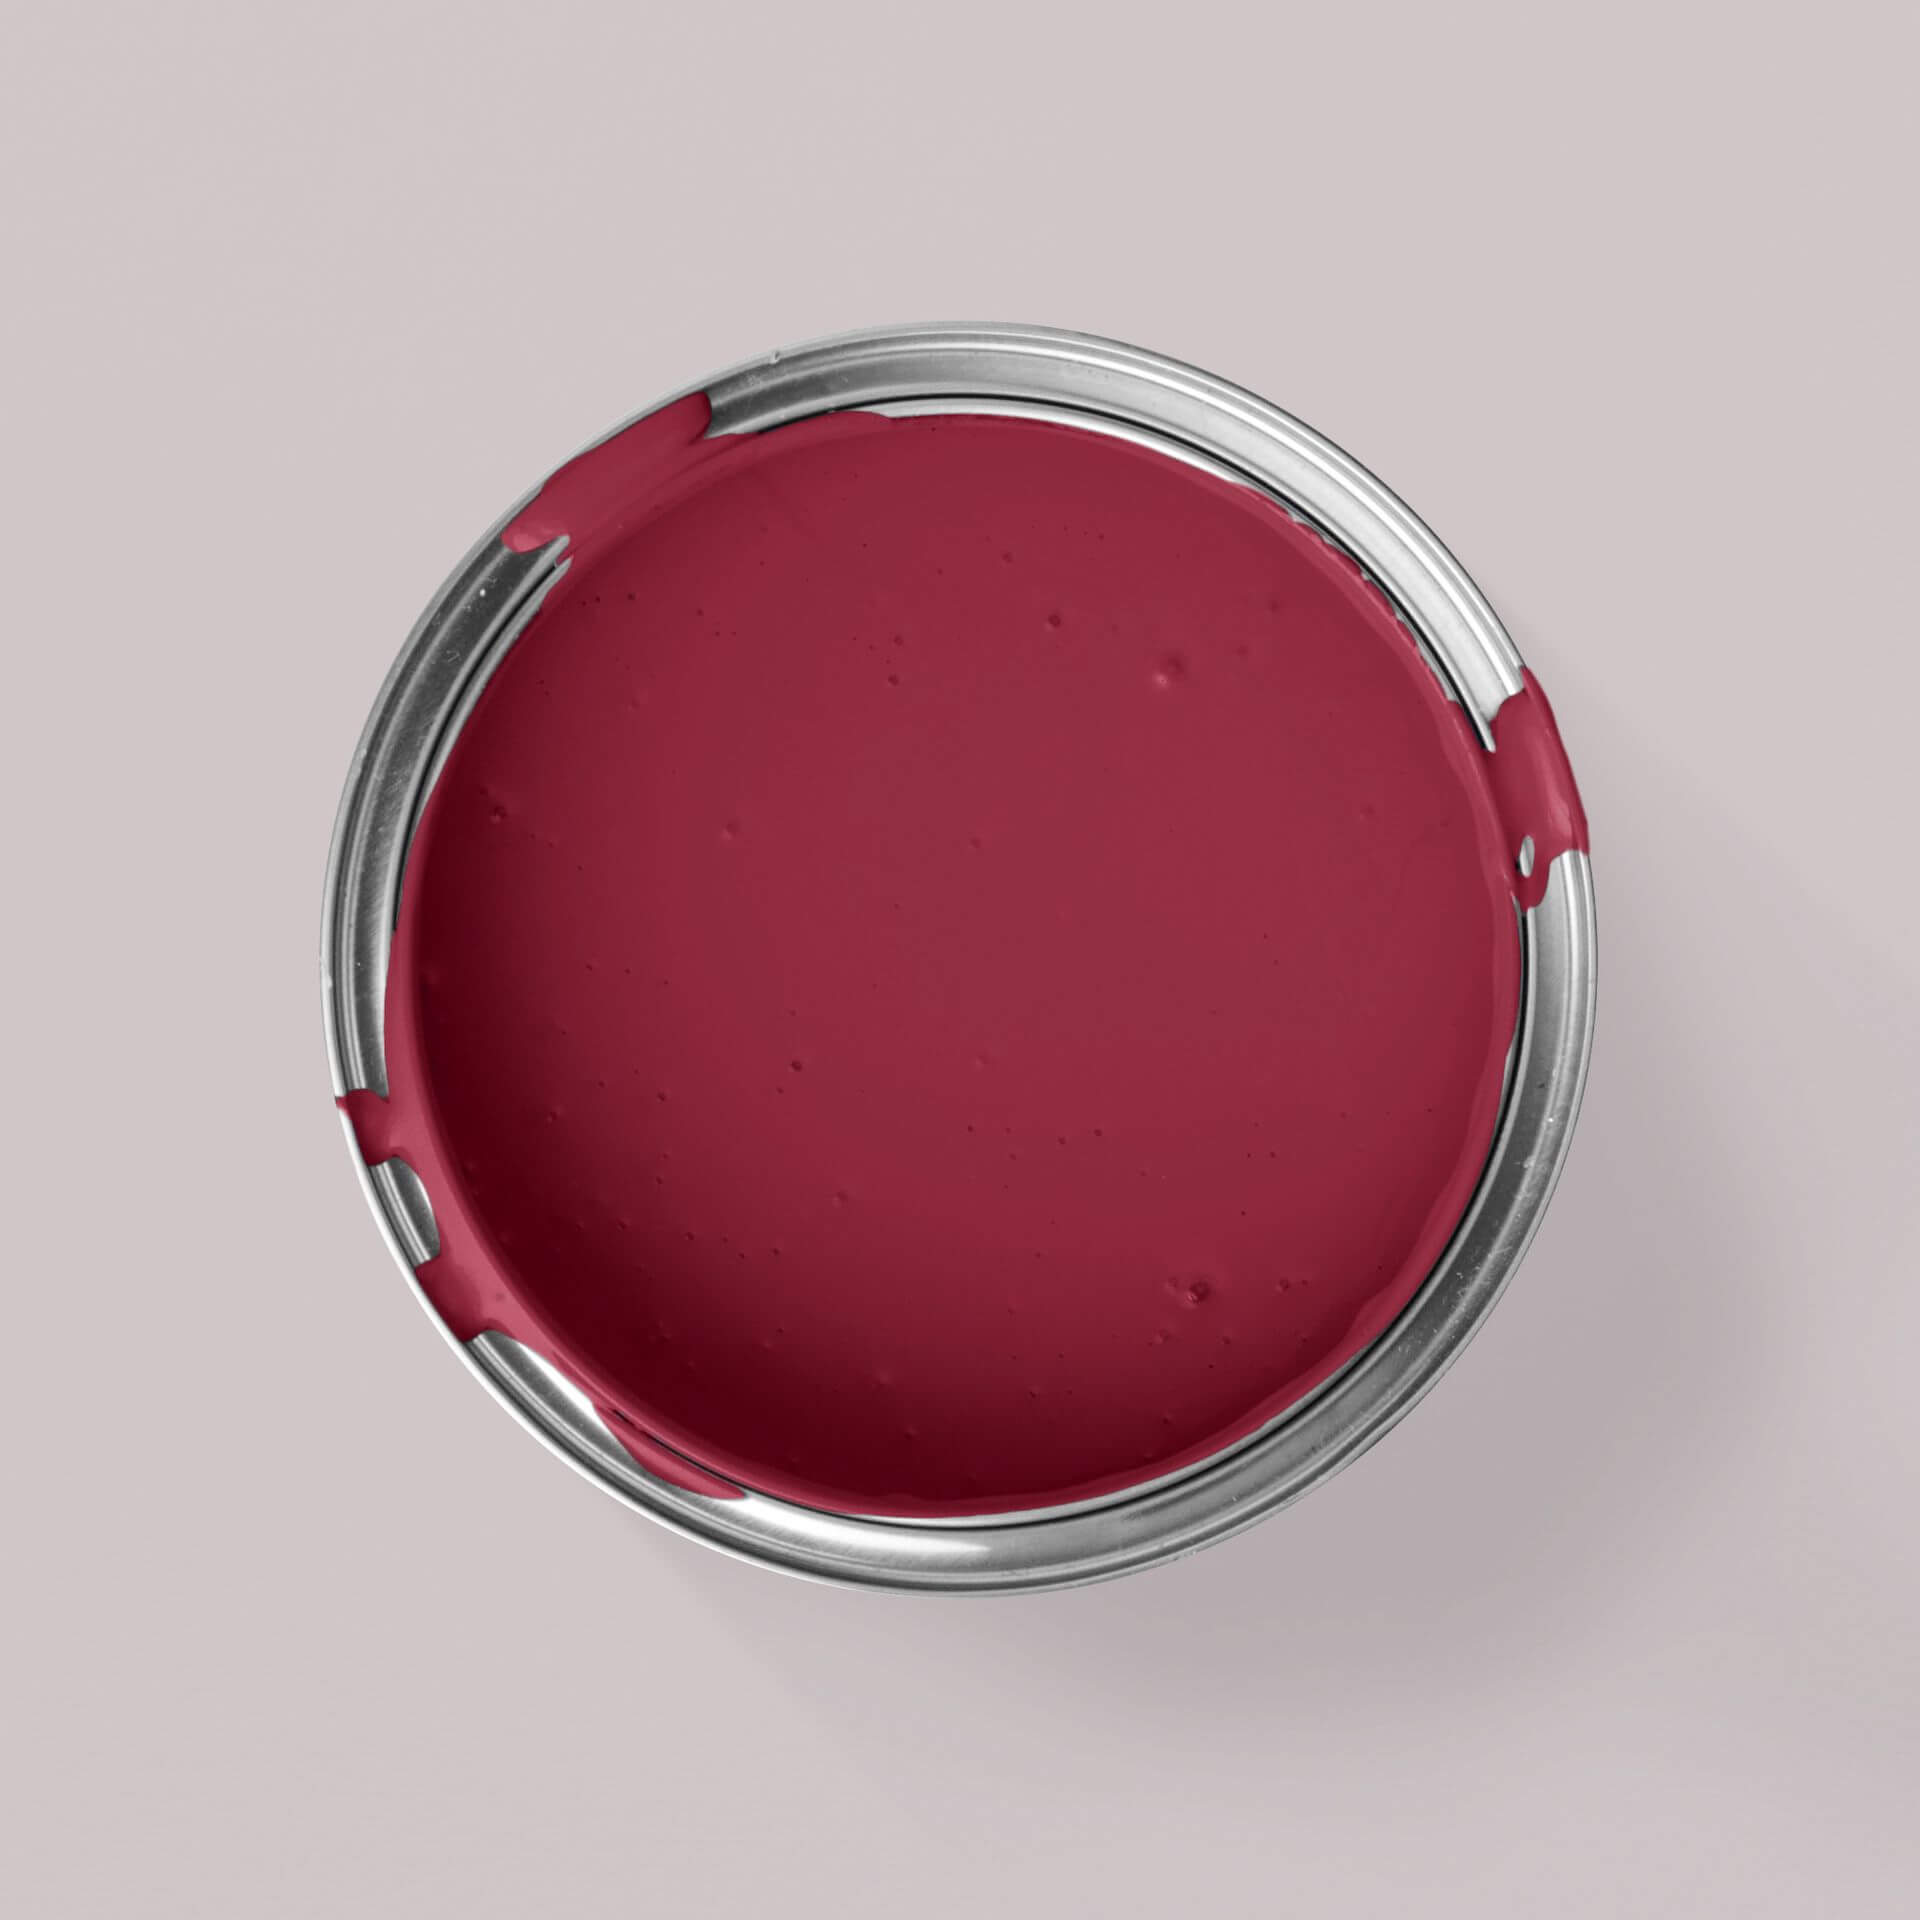
Red grout: In the bathroom, red grout in combination with neutral tiles will cheer you up! But you can also spice up kitchens or entrance areas in this way.
Grouting in neutral colours: Perhaps you just want to give grey or boring anthracite tile grouting on the floor a refresh without completely painting it over. For example, you can give a light beige tile colour a completely new and neat look with grouting in Brown with Dark Chocolate
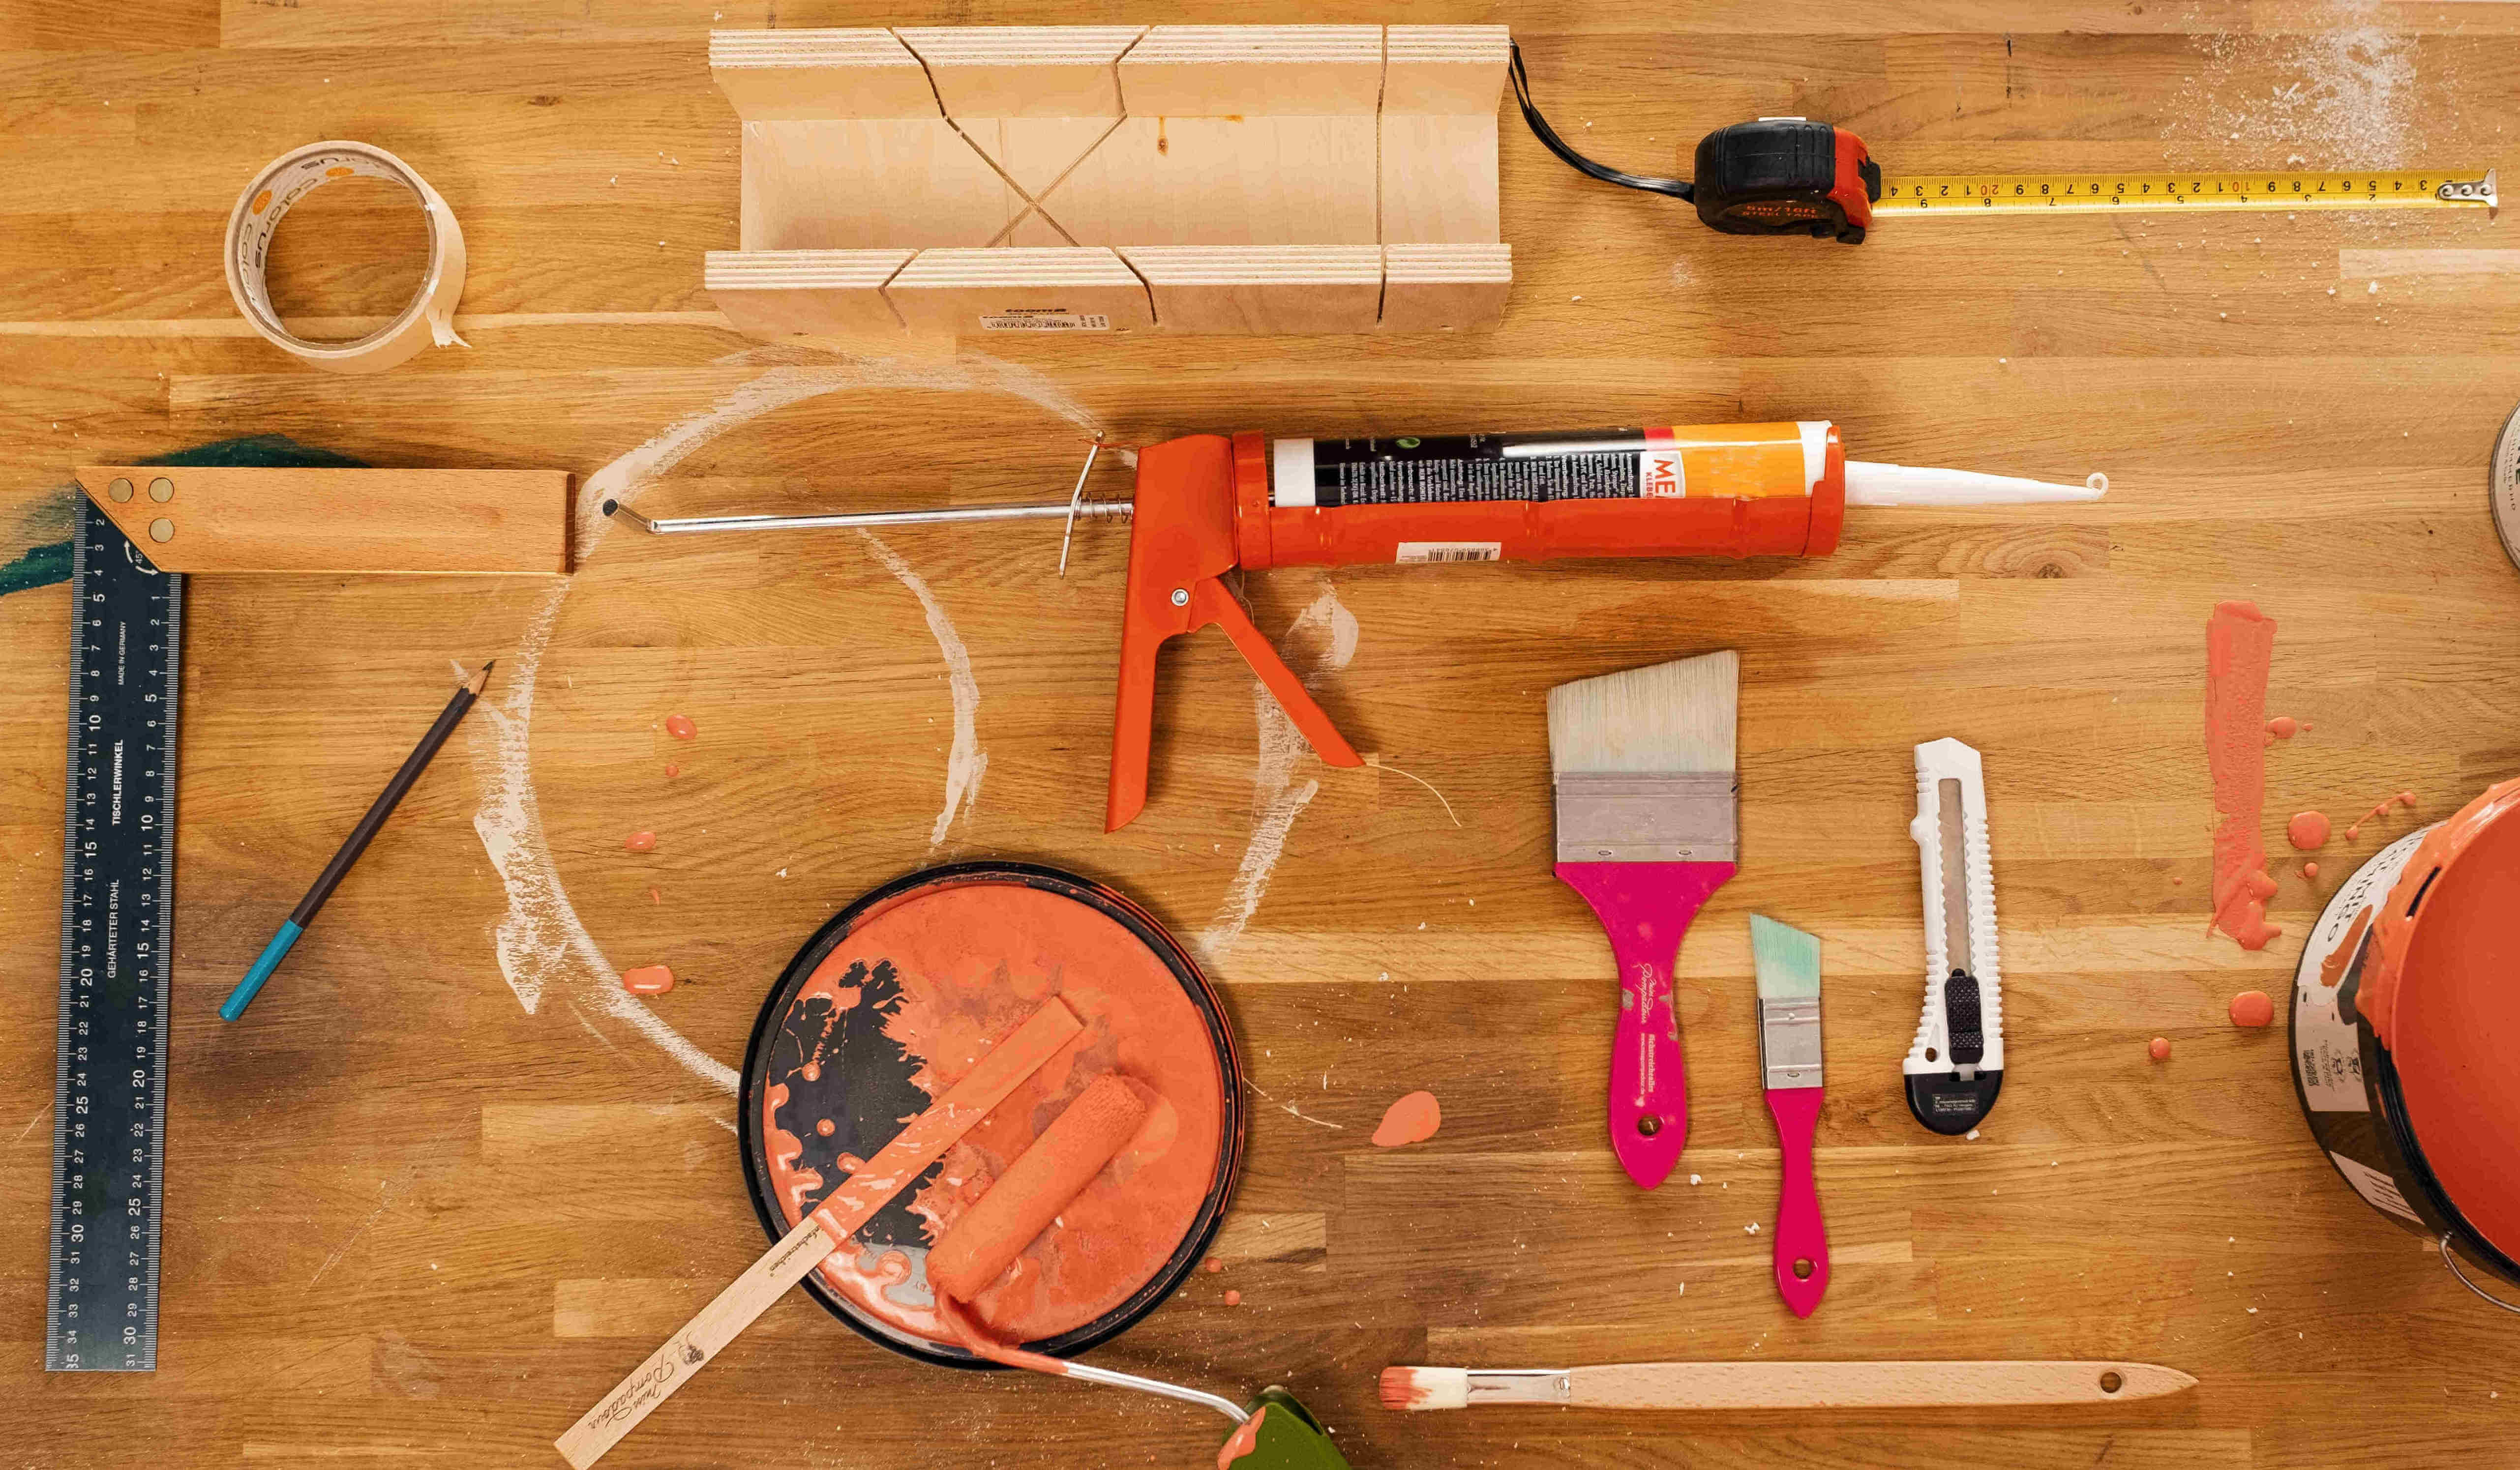
What you need: Joint colour and material
You will need the following material to colour the grout
- A good and efficient cleaning agent such as MissPompadour To Clean. This will remove dust, dirt, limescale residue and grease from the grout joints to prepare them for painting.
- Are your joints made of silicone? Then pre-treat them with MissPompadour To Seal Silicone before grouting. This will make them paintable.
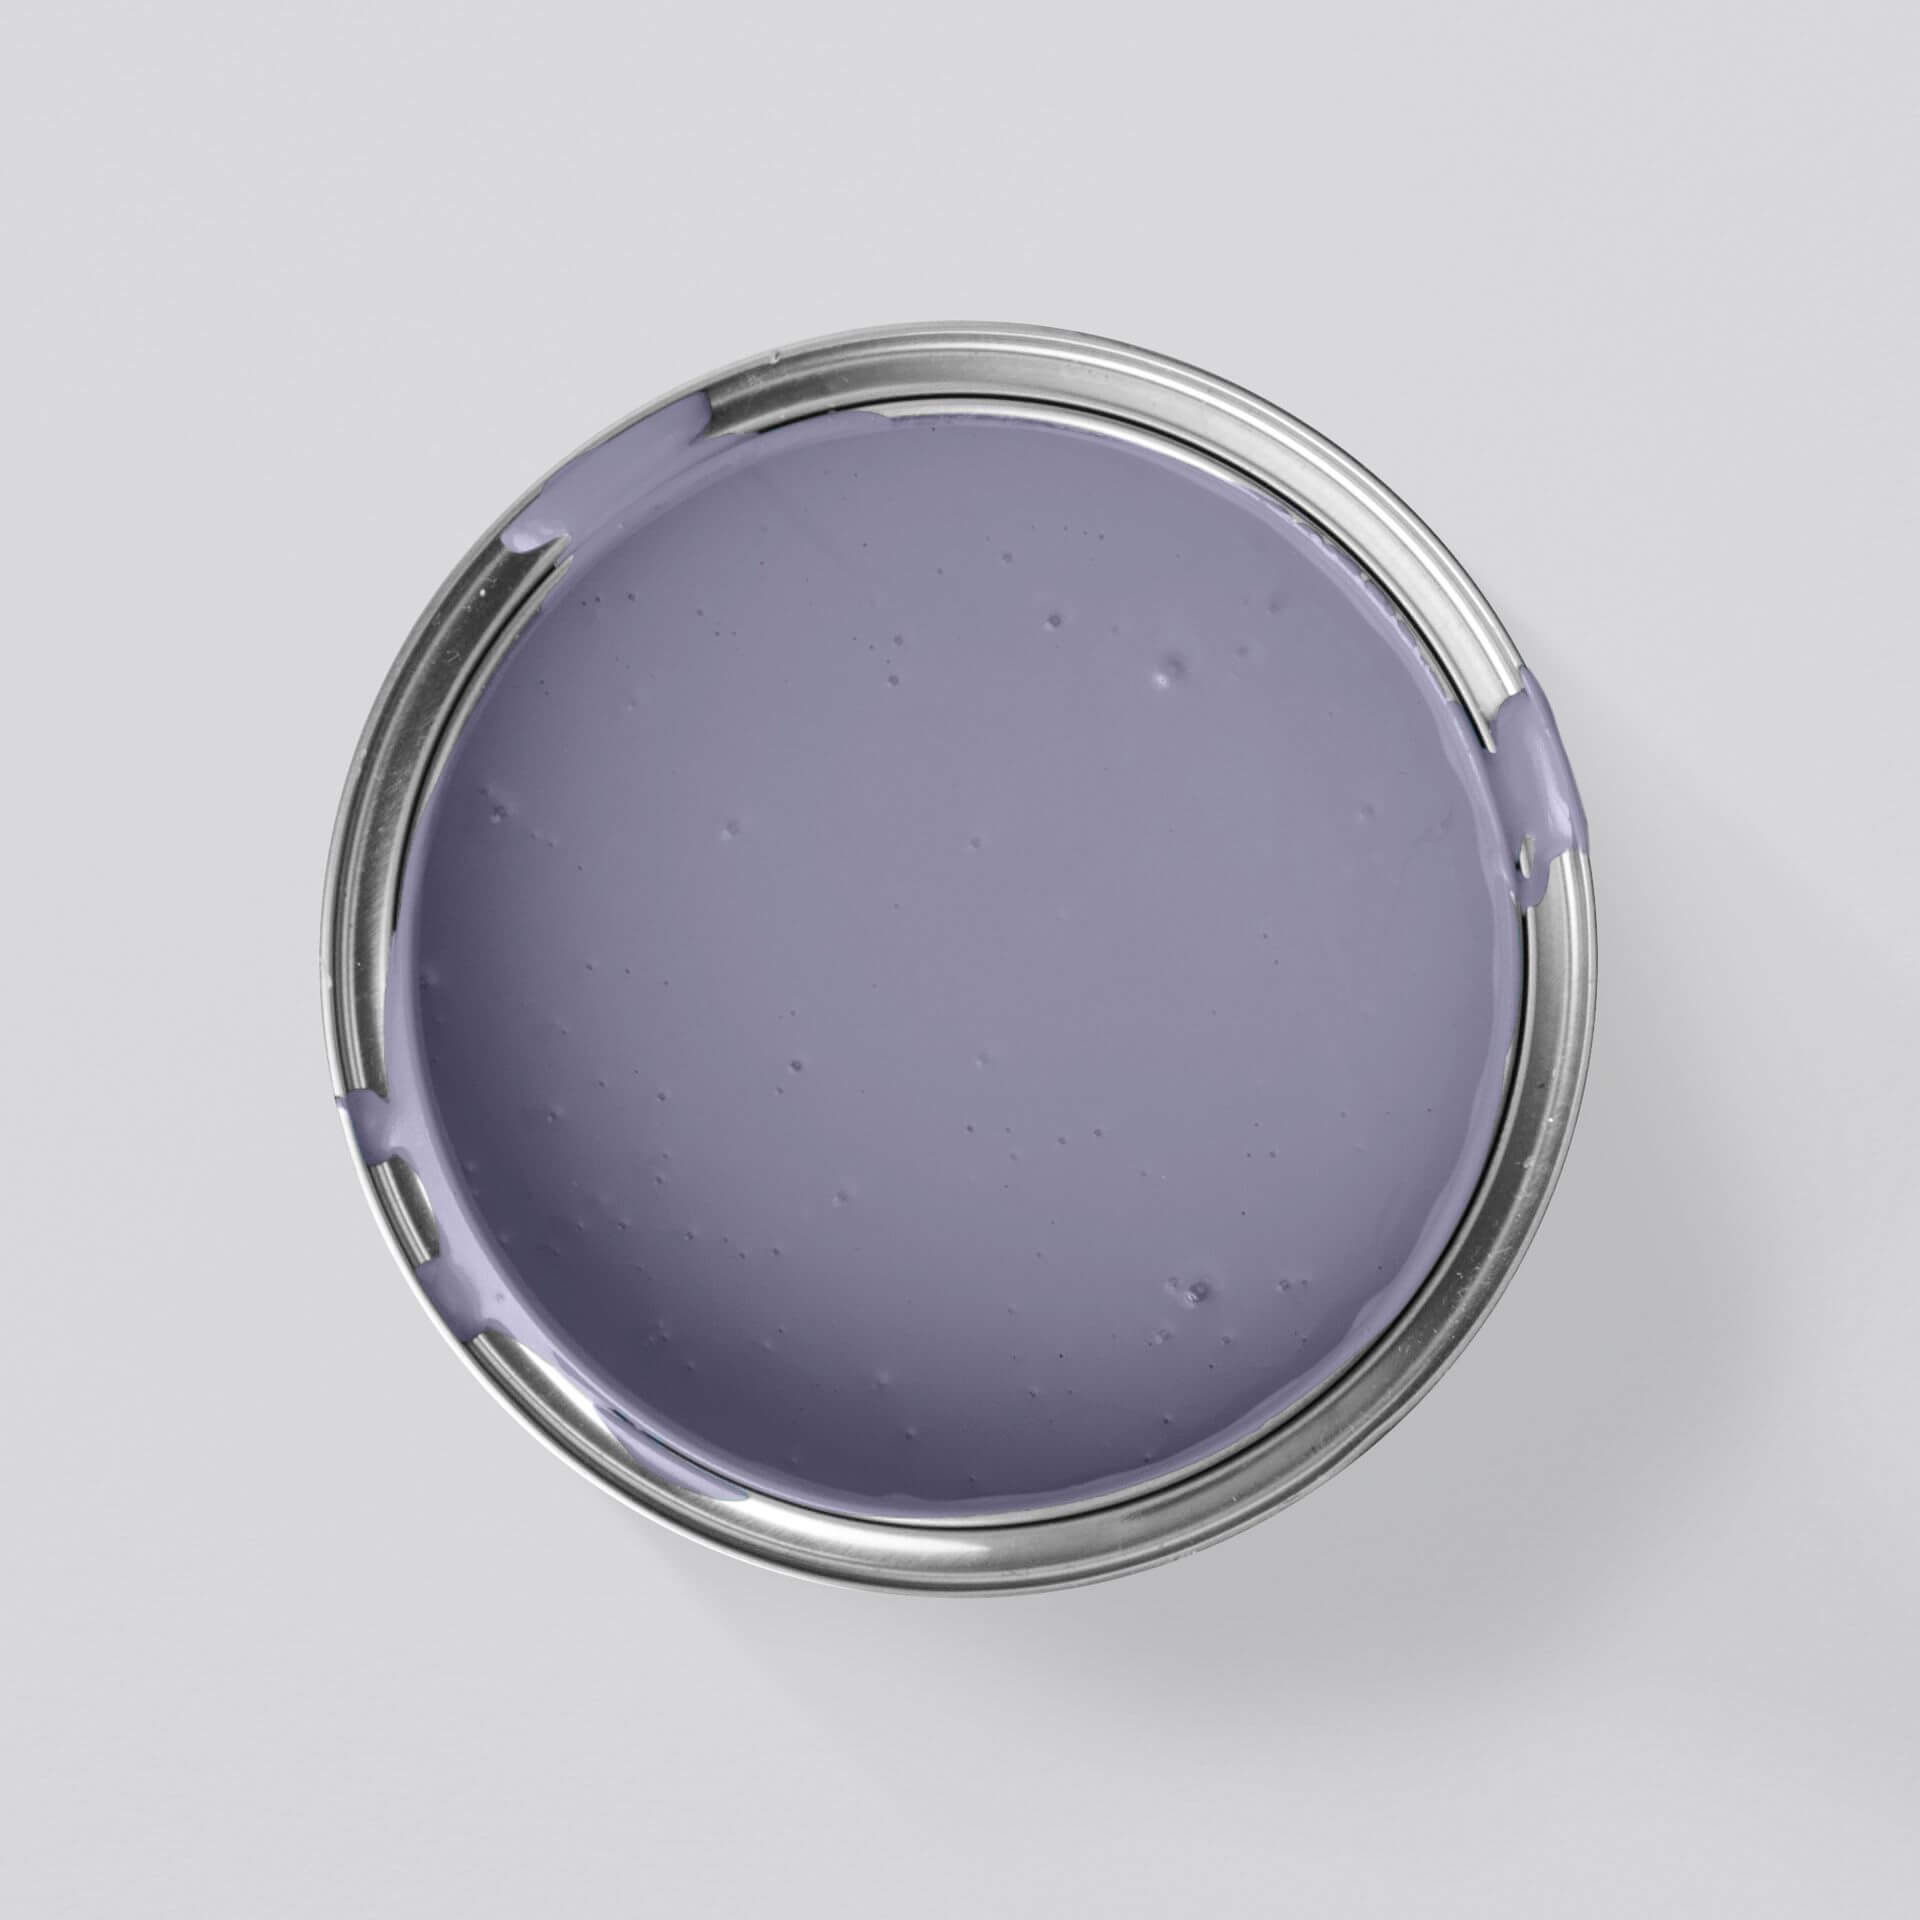
- Our Easy Eggshell is perfect for grout colouring! This extremely hard-wearing tile paint is available in more than 100 colour shades. You are sure to find the right shade for you in this selection.
- The MissPompadour line scraper is ideal for safely painting the fine joints. With its bevelled bristles, this narrow brush is ideal for precisely painting joints of different widths.
- Last but not least, you will need a wet cloth when painting to remove paint splashes immediately.
Instructions: Painting joints made easy
Painting joints is not difficult. You can find all the important products in our online shop. In addition to the right grout colour and the right tools, you'll need a steady hand and a little patience
As a precaution, you should cover or mask off anything that must not come into contact with paint before painting
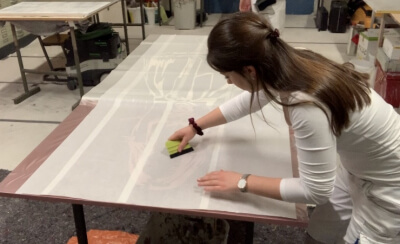
Step 1: Clean the joints thoroughly
Firstly, it is very important to clean the joints thoroughly
As the surface of the grout is usually rough, limescale and grease residues tend to build up on it, even in a household where there is no lack of maintenance. Soap residue must also be removed, especially in the bathroom. Only thorough scrubbing will help here. Only then can the colour adhere well to the grout. Do not use any strongly alkaline or chlorinated cleaners and wipe thoroughly with clean water. Then give the joints enough time to dry before you start painting
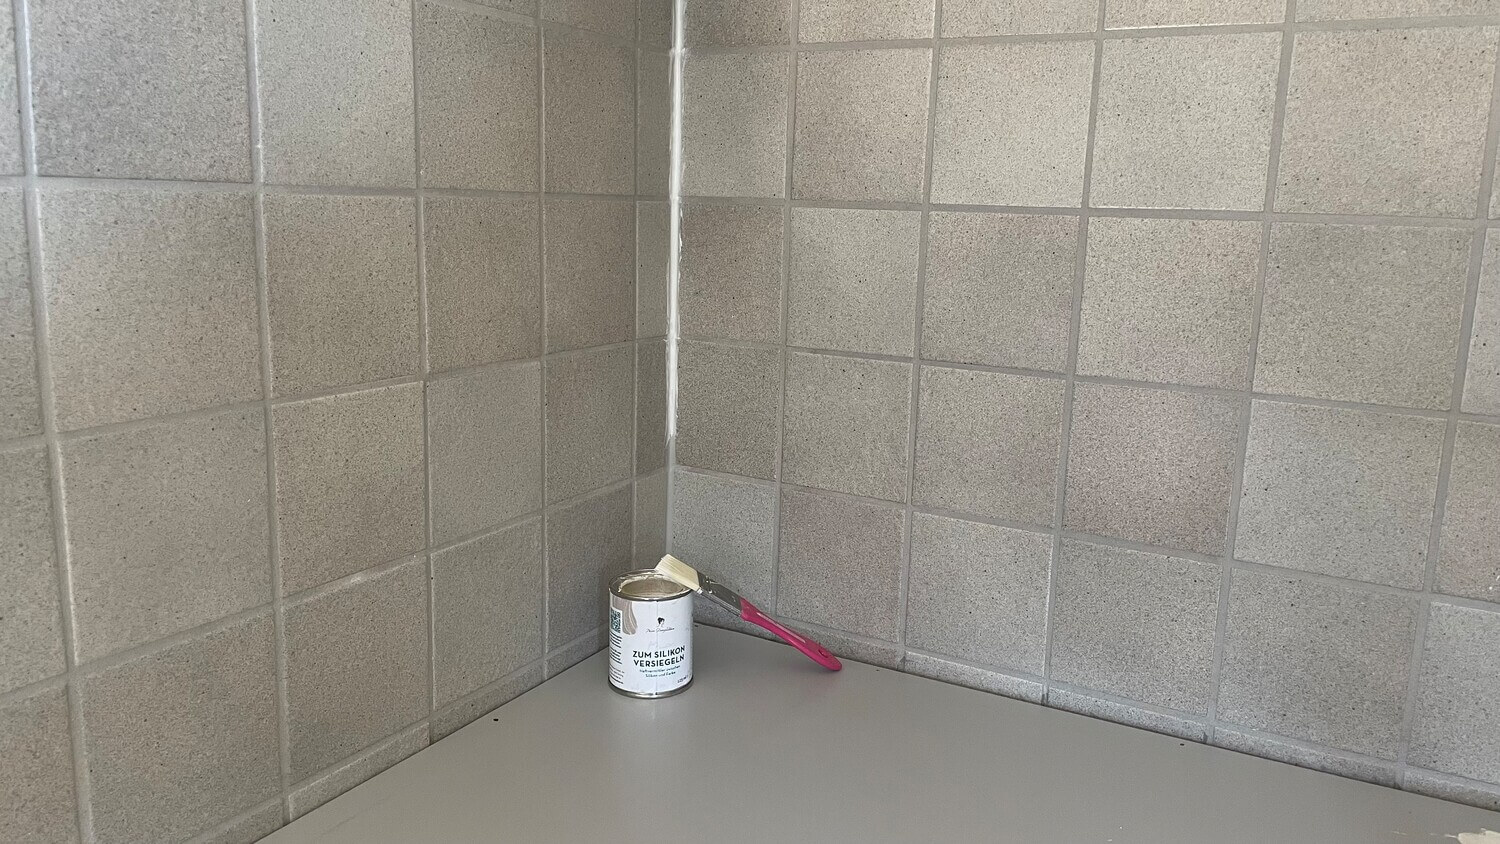
Step 2: Pre-treat silicone joints
Apply a thin layer of MissPompadour To Seal Silicone to all silicone joints and leave to dry for approx. 1 hour. The joints should then be painted over directly with varnish.
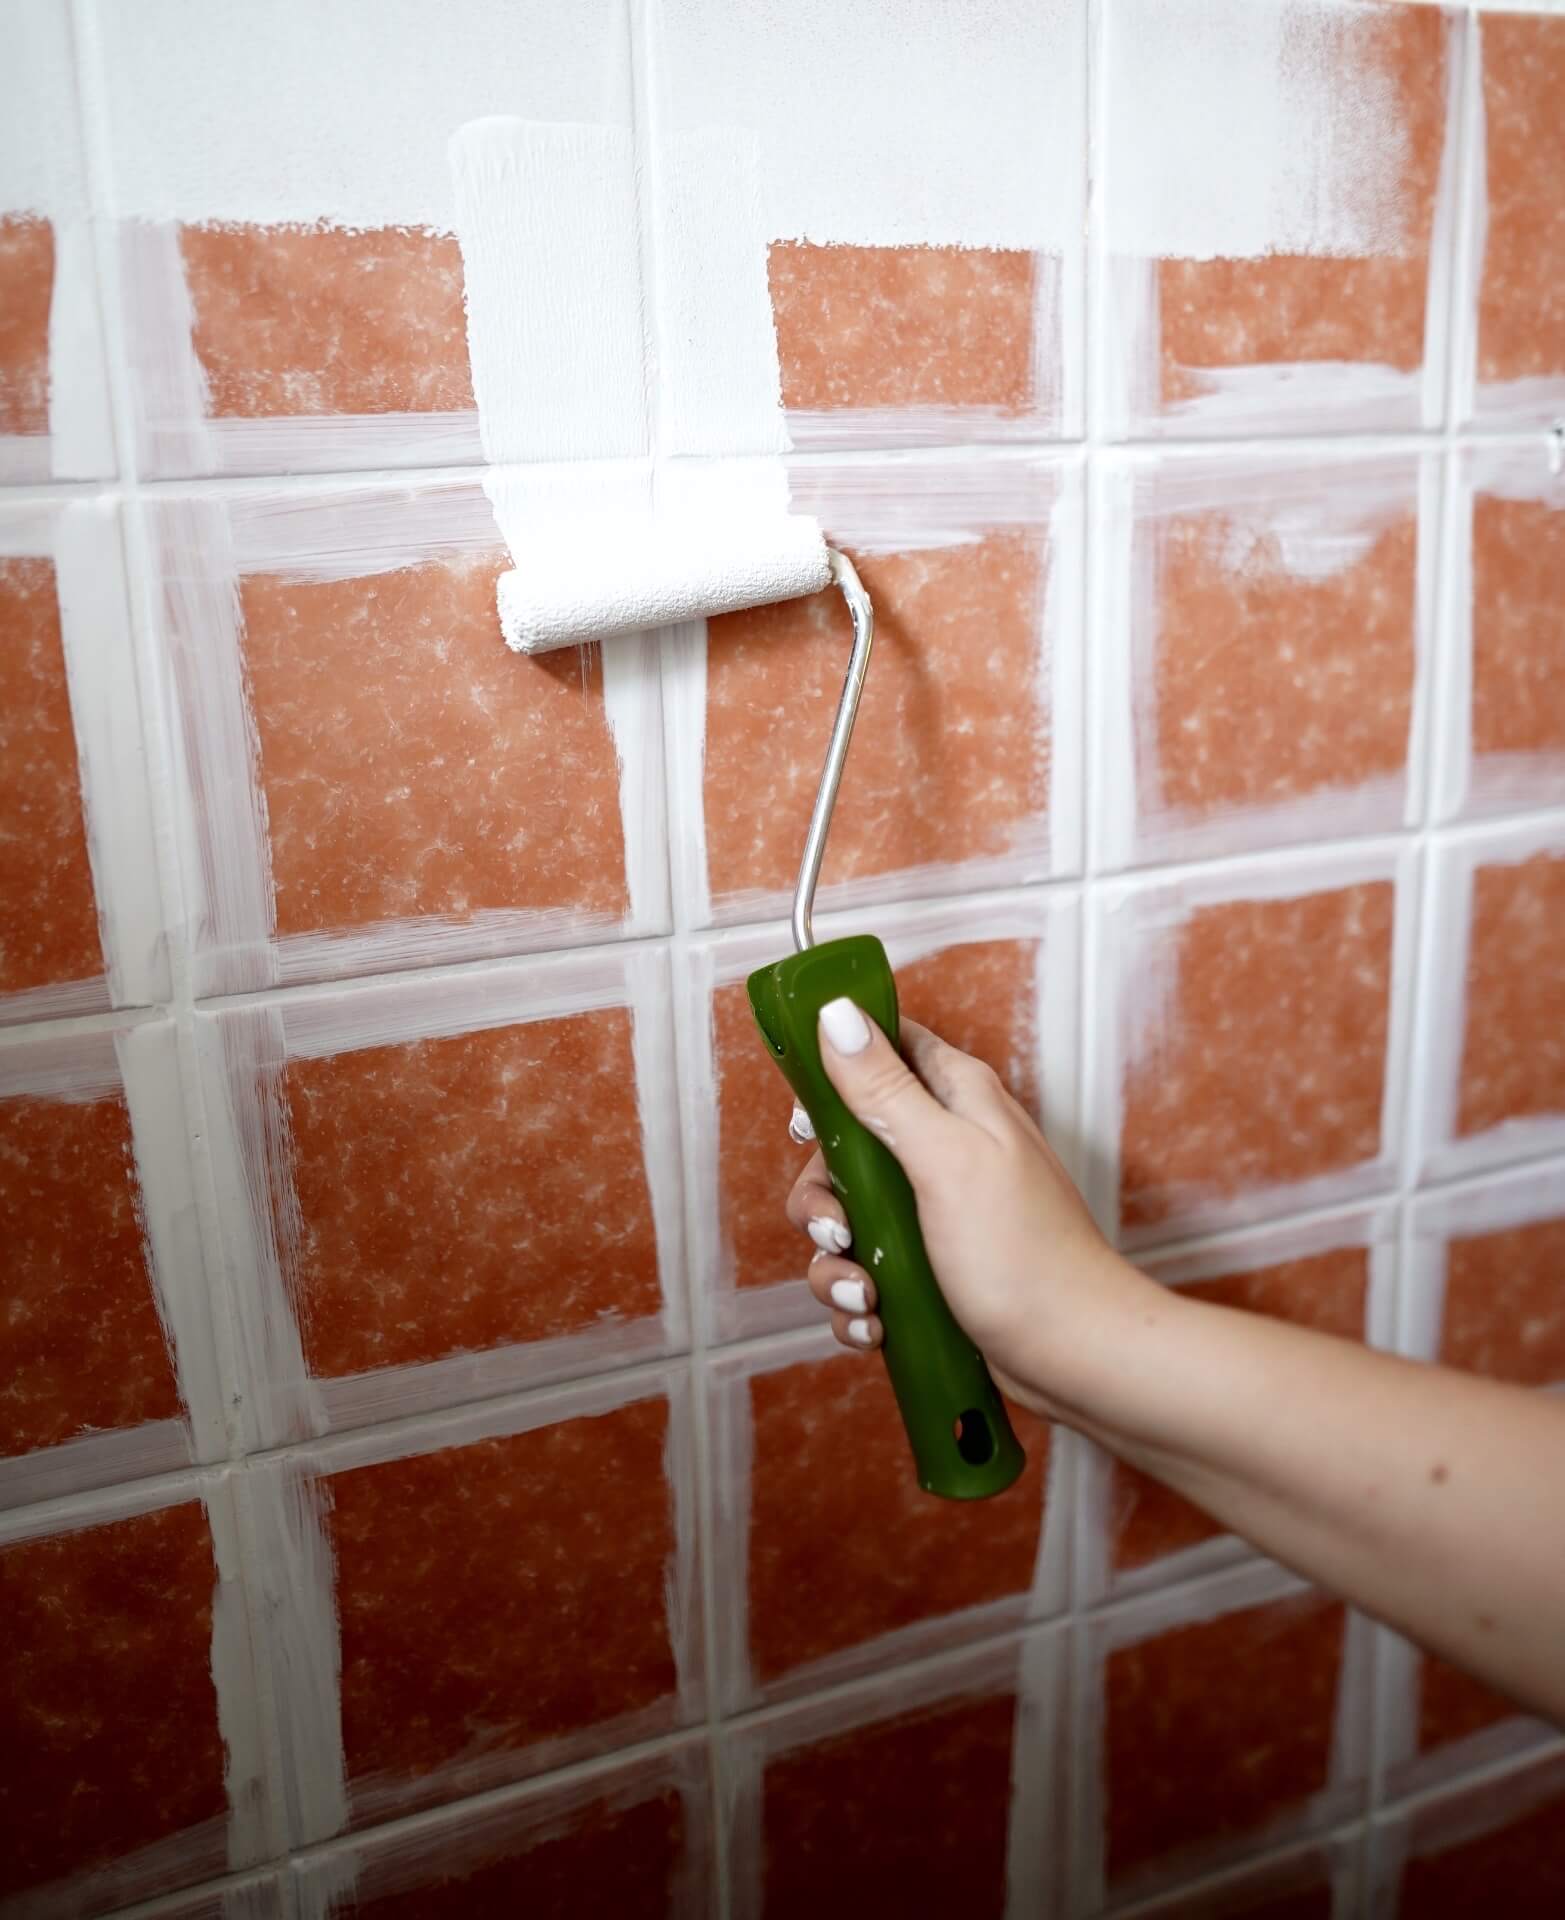
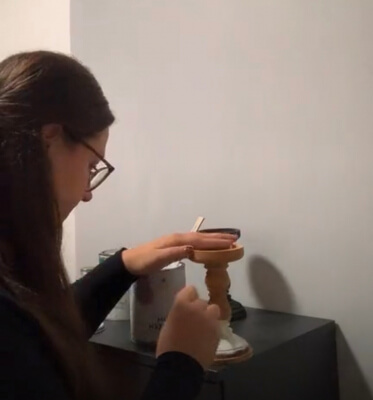
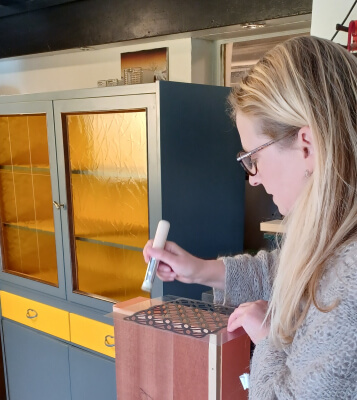
Step 3: Colouring the joints
Now paint the joints with our fine angled brush. Be careful not to use too much paint in the brush so that the grout is evenly coloured. If any paint has landed on the tile outside the grout, remove it while it is still wet with a damp sponge cloth
Step 4: Leave to dry
If you have only painted the joints, it is not necessary to seal the surface. Only apply the paint carefully to the tiles for the first few weeks. After 28 days, the paint will have completely hardened and reached its full stability
If you have not only painted the joints but also the tiles, you should always seal heavily used tiles, such as floor tiles or wall tiles in the kitchen. You can find all the information about painting tiles in our blog
Tips and tricks for colouring joints
- It always makes sense to start grout-painting in an area that is not in view first. This gives you the opportunity to gain a little experience.
- It can also be helpful if you hold a piece of sturdy cardboard or similar to the edge of the tile with your left hand (assuming you are painting with your right hand) and paint the grout colour along it.
- The most important thing is to immediately wipe off any colour that lands outside the grout on the surface of the tile with a wet sponge. As the varnish is water-soluble, this is easy to do. Once the colour has dried, it will be difficult to remove. After all, it should be durable.
- As you need a steady hand for grouting, take a break from time to time. Perhaps with the MissPompadour paint coffee blend - our delicious coffee.
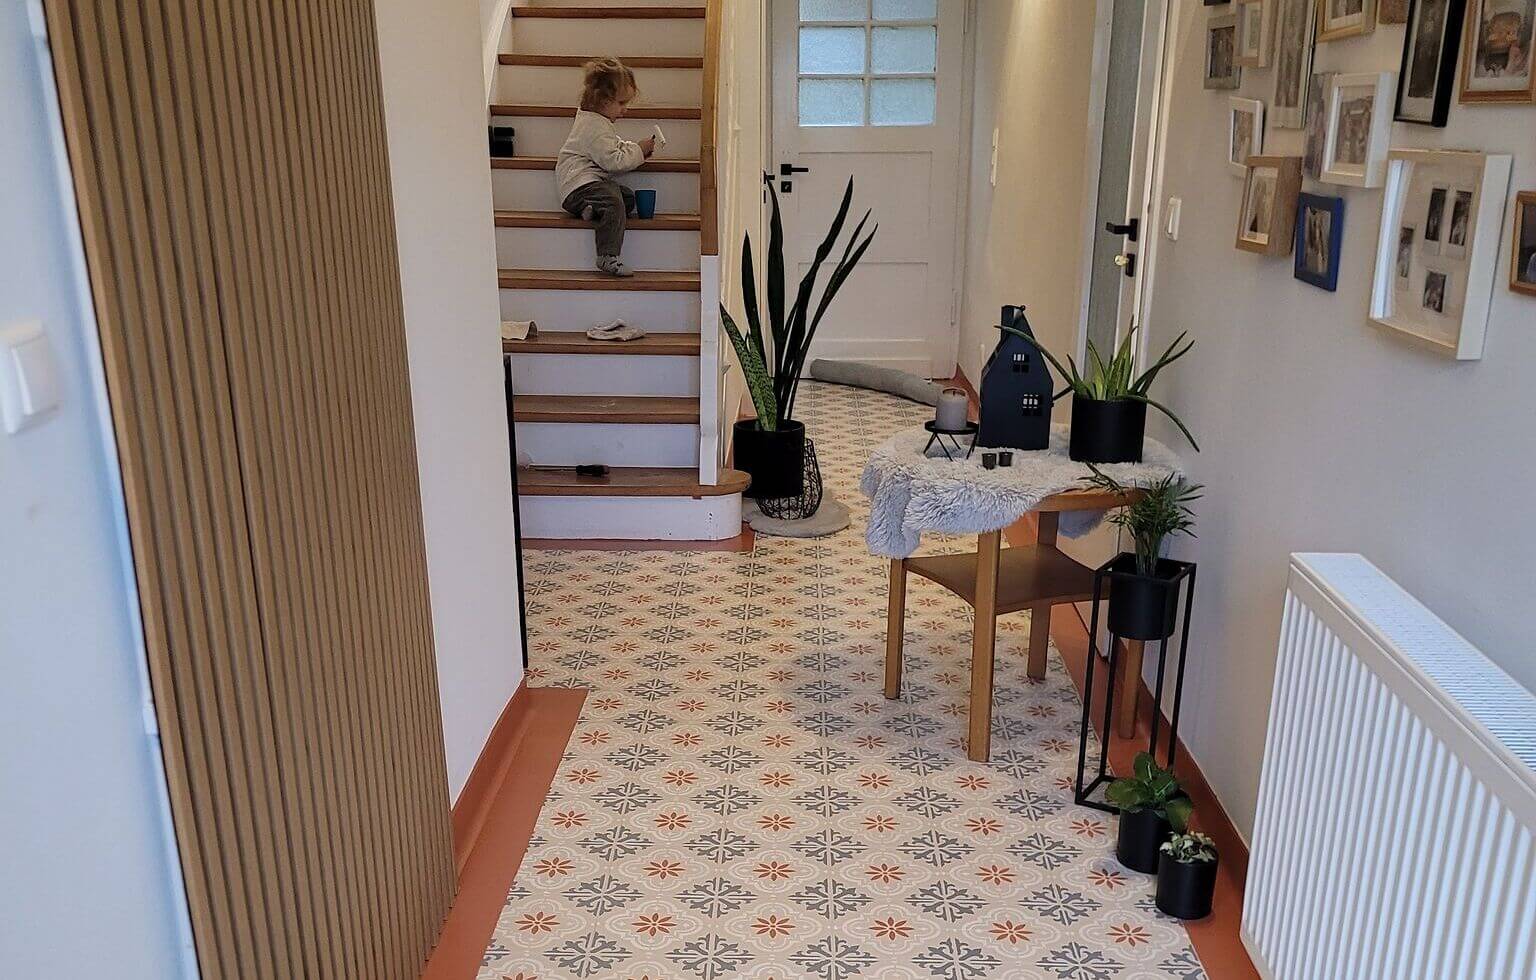
Making joints an eye-catcher: Luminous colour shades


Have you finished reading yet?

Questions ?
We're here to help
We'll help you anytime, via Phone or Live-Chat (Mo-Fr 09-18, Sa until 16 Uhr), via WhatsApp or directly via our Contact Form.