


Painting Your Garden Fence
8 min reading time
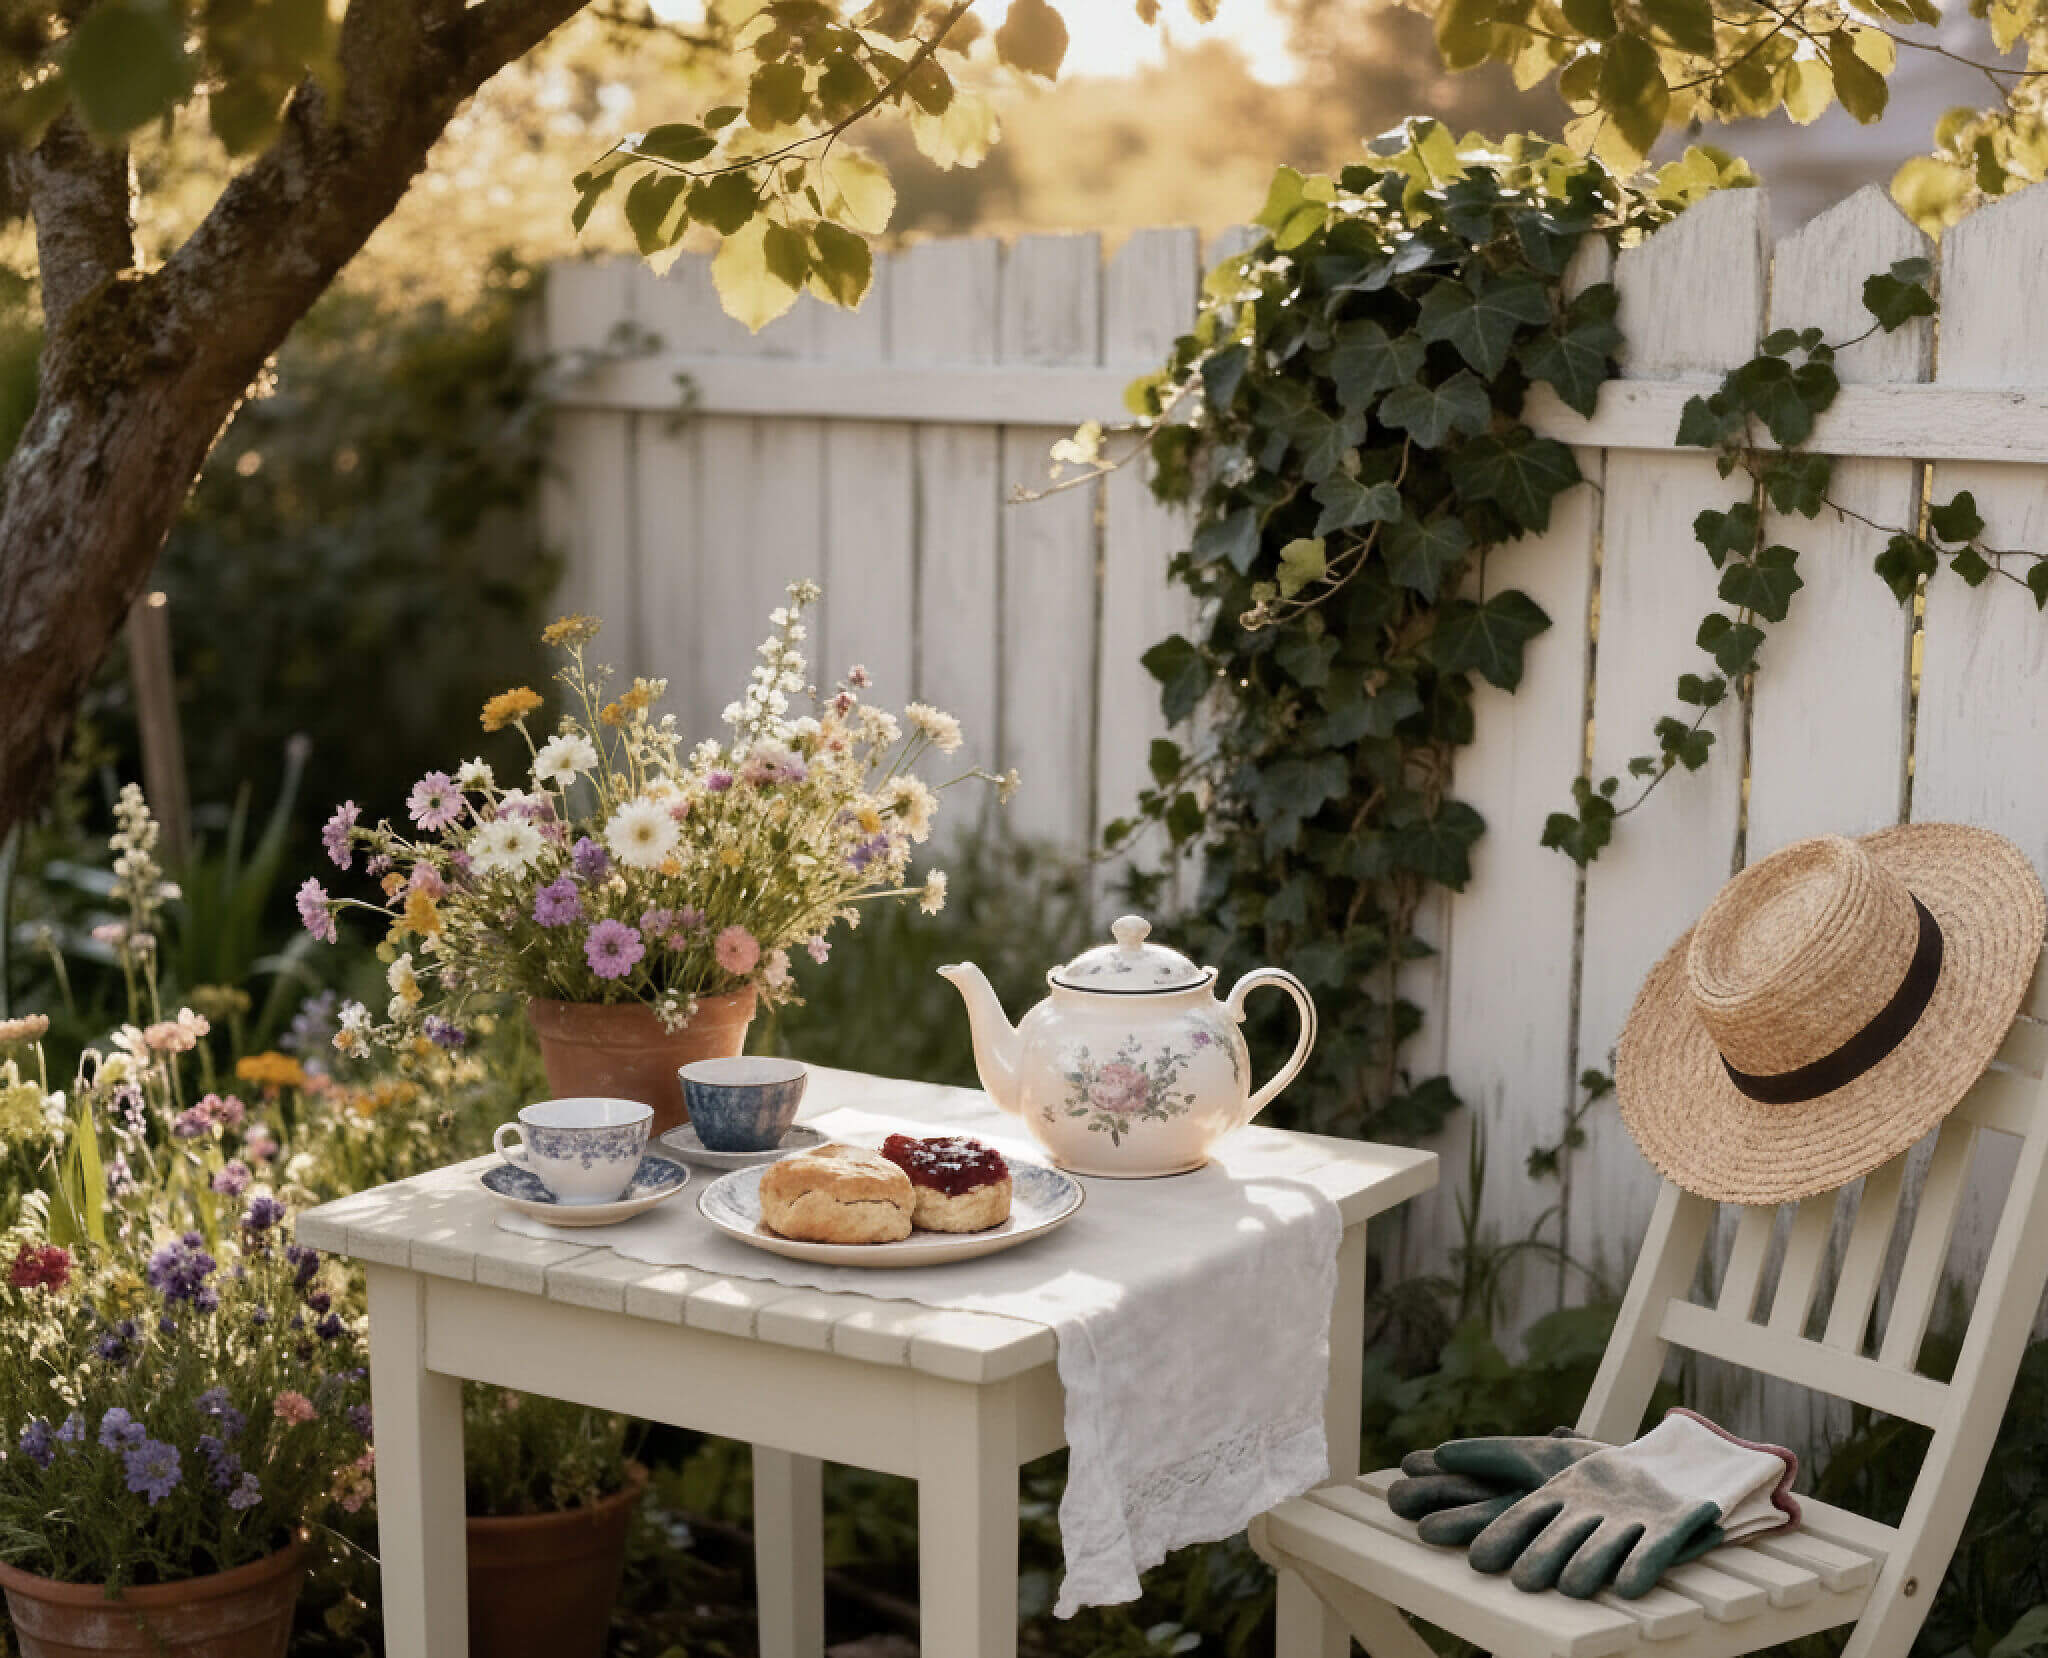
A freshly painted garden fence makes a well-kept, inviting impression and thus also visually enhances your property. In this way, you not only please yourself, but probably also your neighbours.
A new coat of paint also offers your fence protection and care. It should be renewed first and foremost when the old varnish comes off.
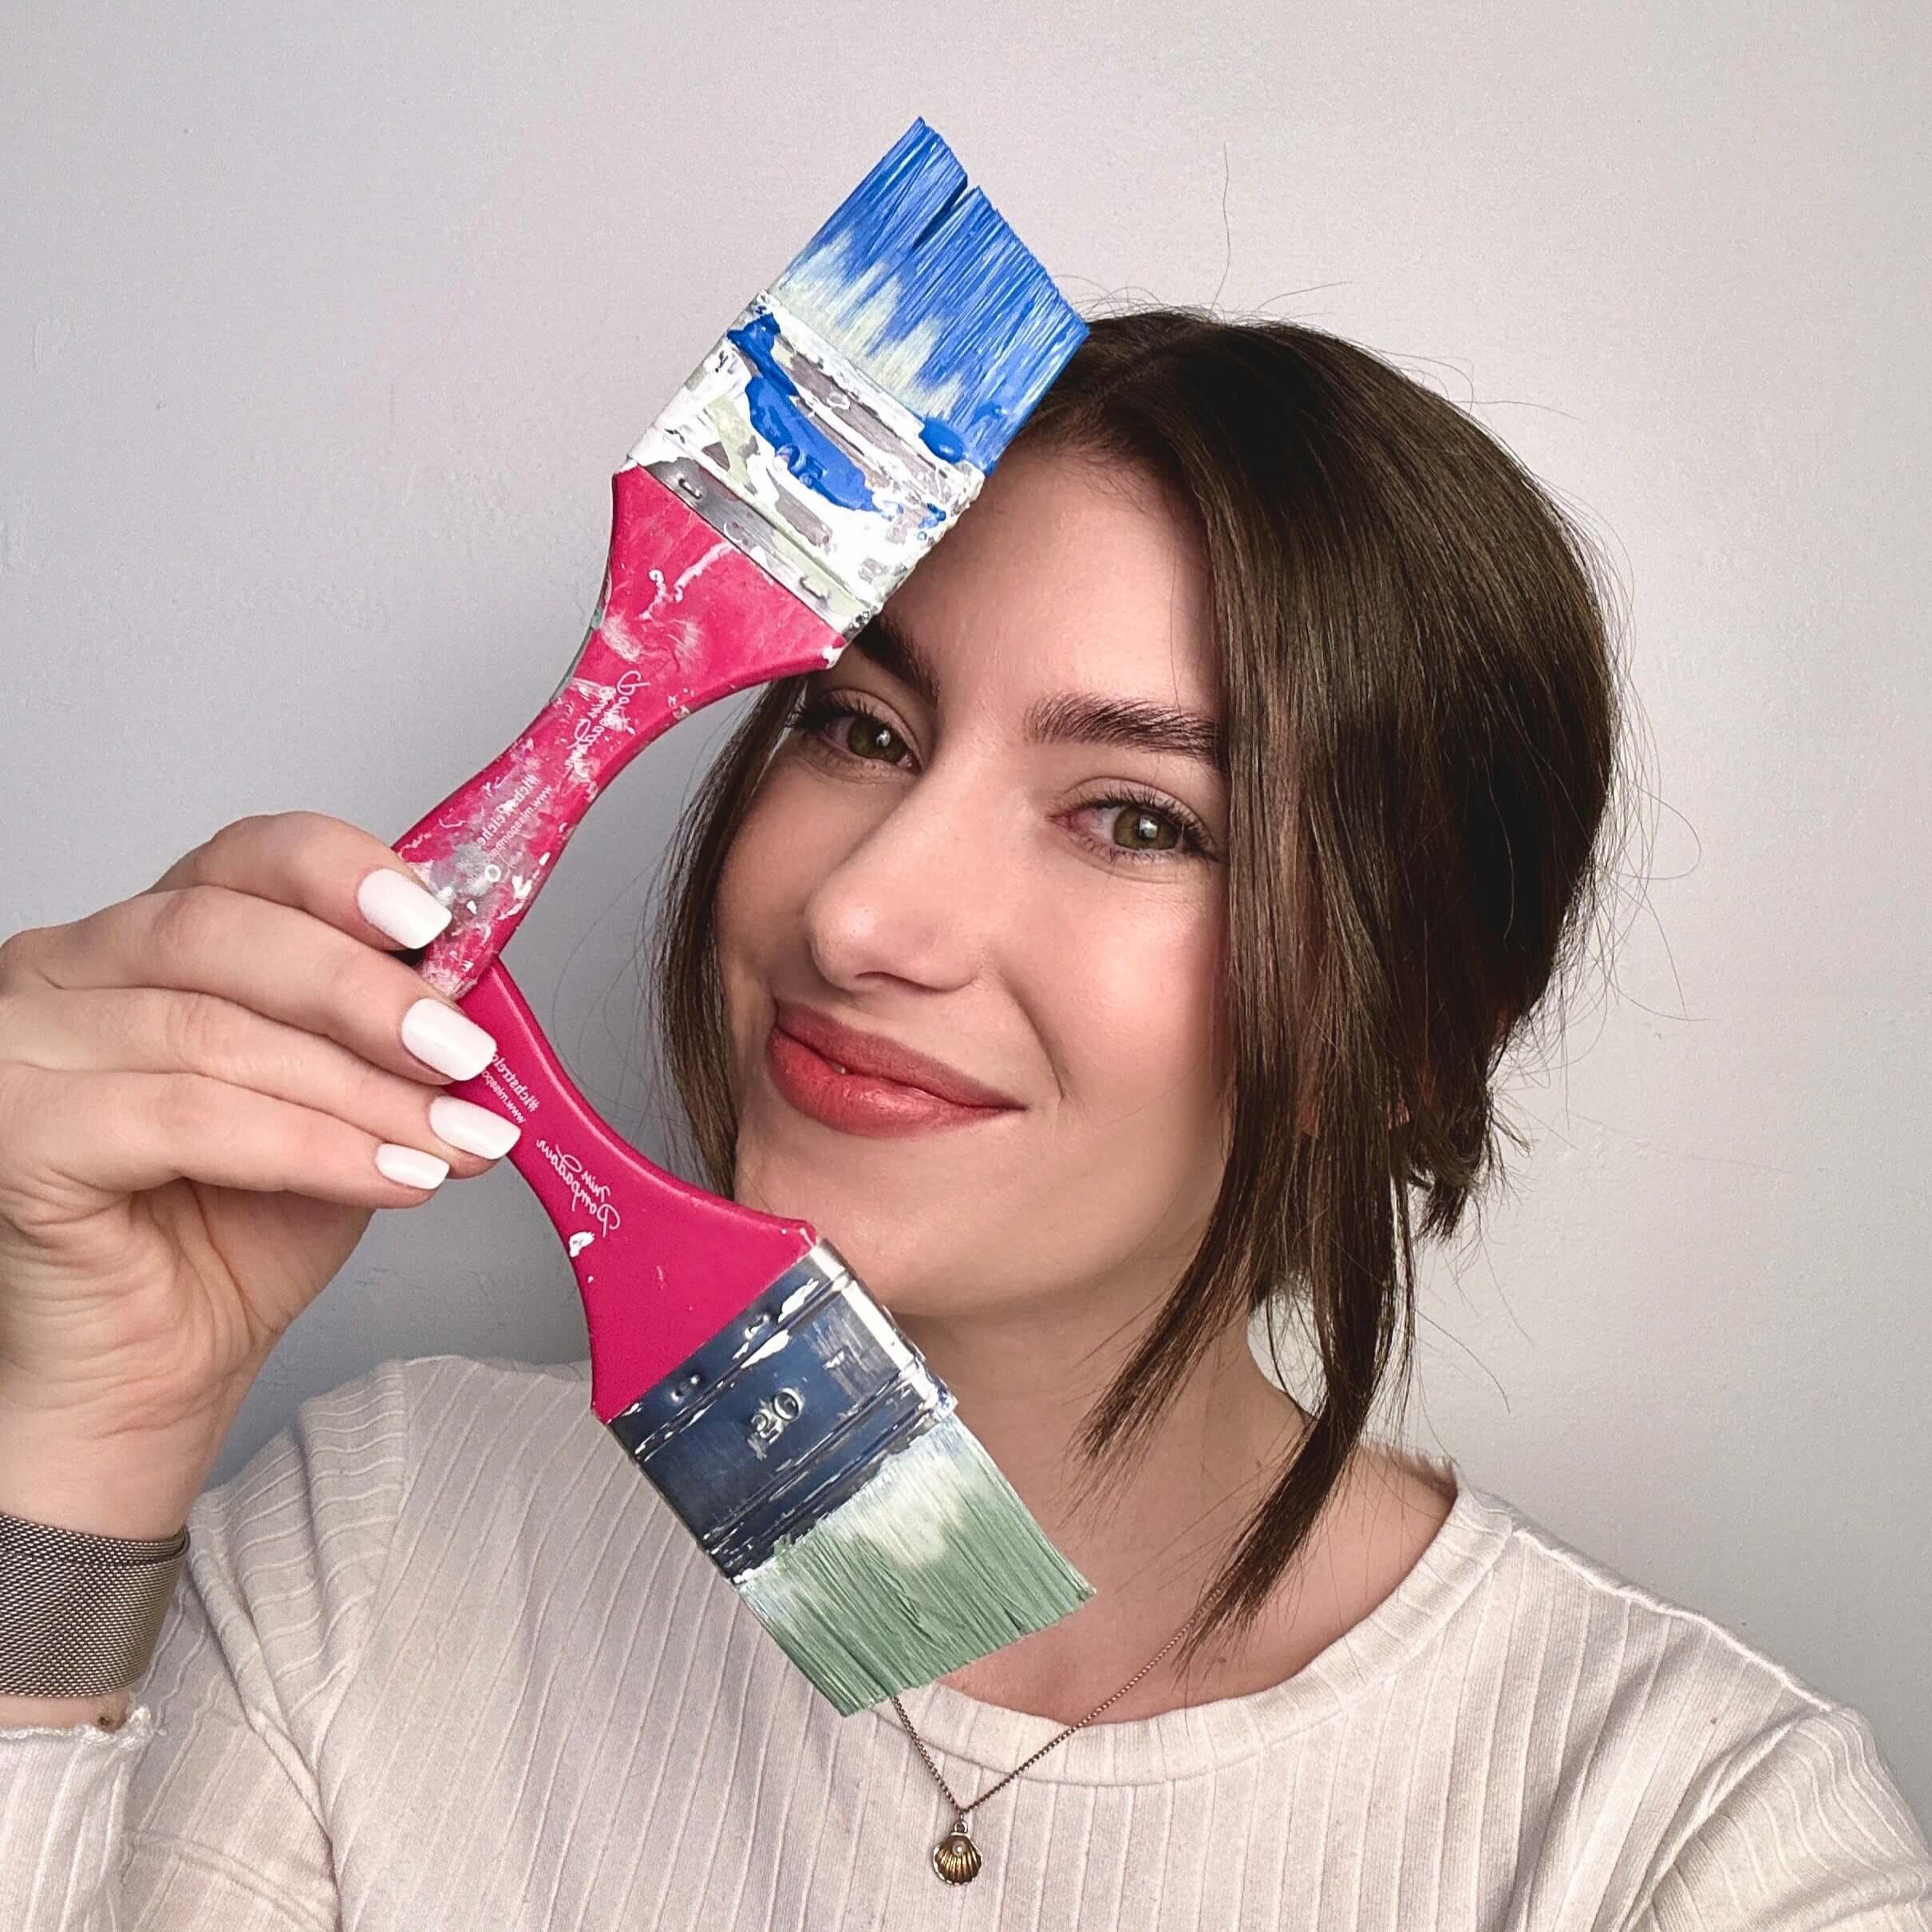
With MissPompadour, repainting is child's play. Here we have all the important information for painting your garden fence.
Table of contents
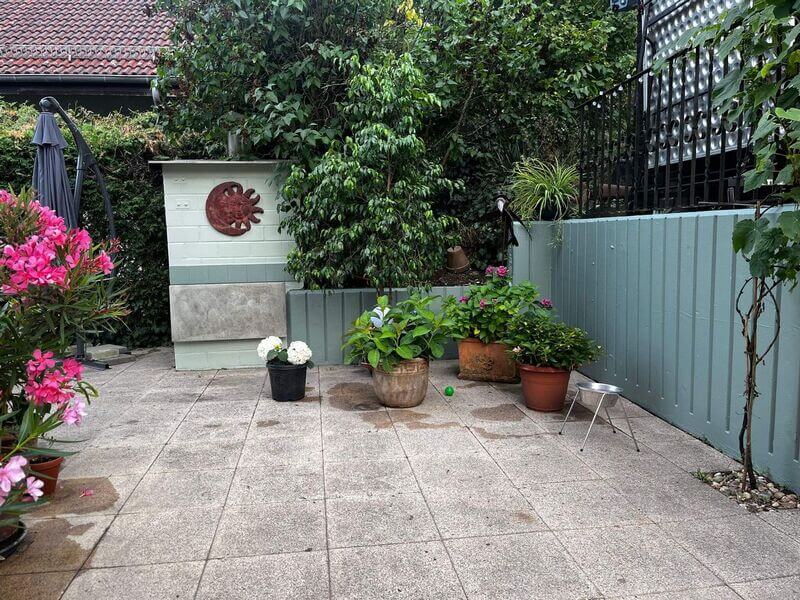
Garden Fence Painting Ideas from the MissPompadour Painting Community
Painting a garden fence is not only a beautification of your garden, but also an important maintenance. A new coat of paint provides protection against the elements. Depending on the environmental conditions, the paint should be renewed every few years. Whether you paint your garden fence in classic dark or trendy colours - there are no limits to your imagination.
In any case, we have the right colour selection for you. For inspiration and even more ideas, check out the Before-After pictures in our community.
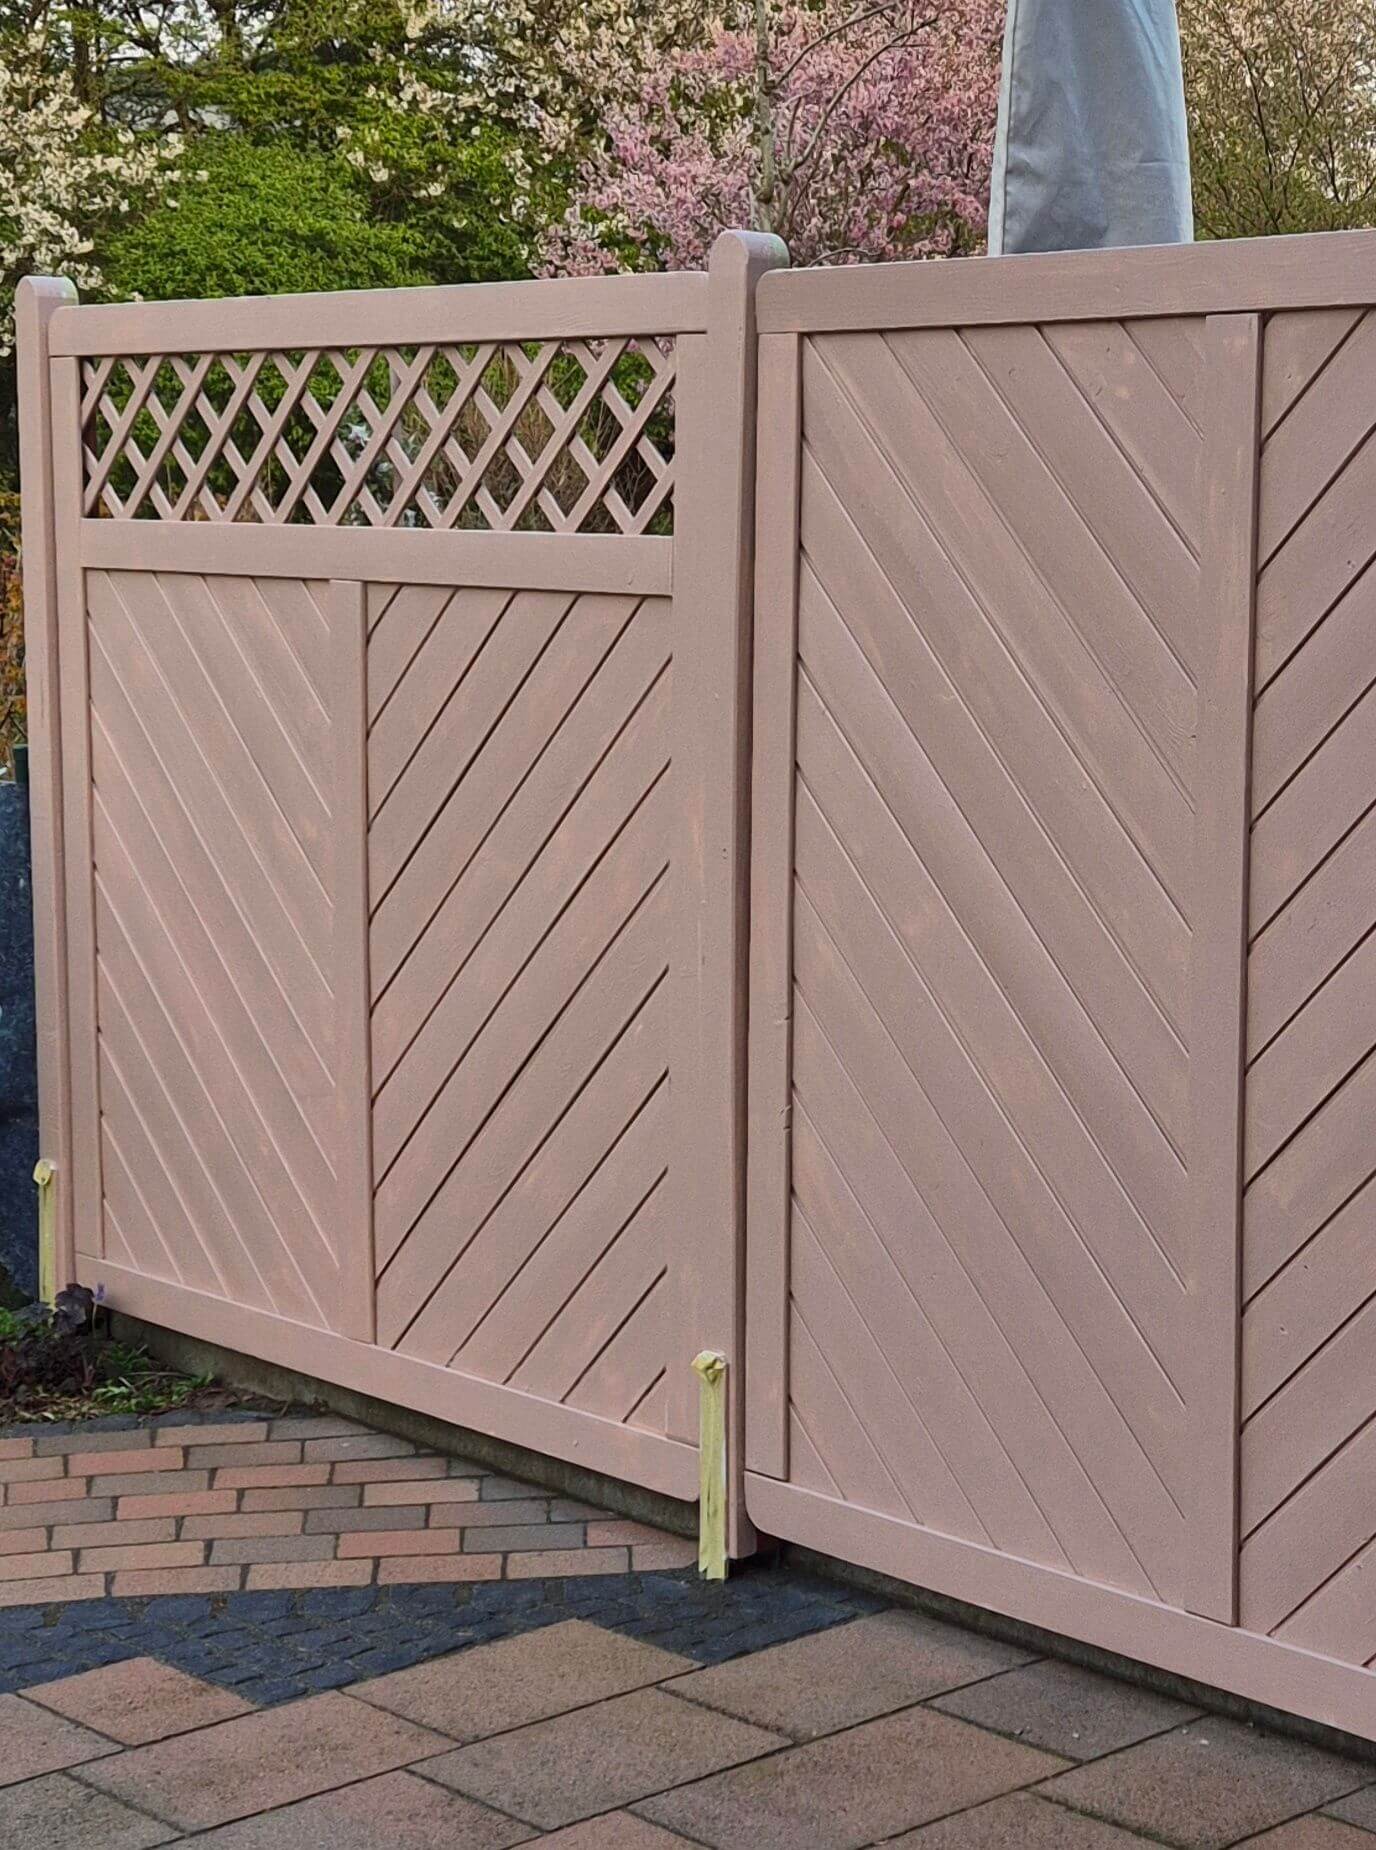
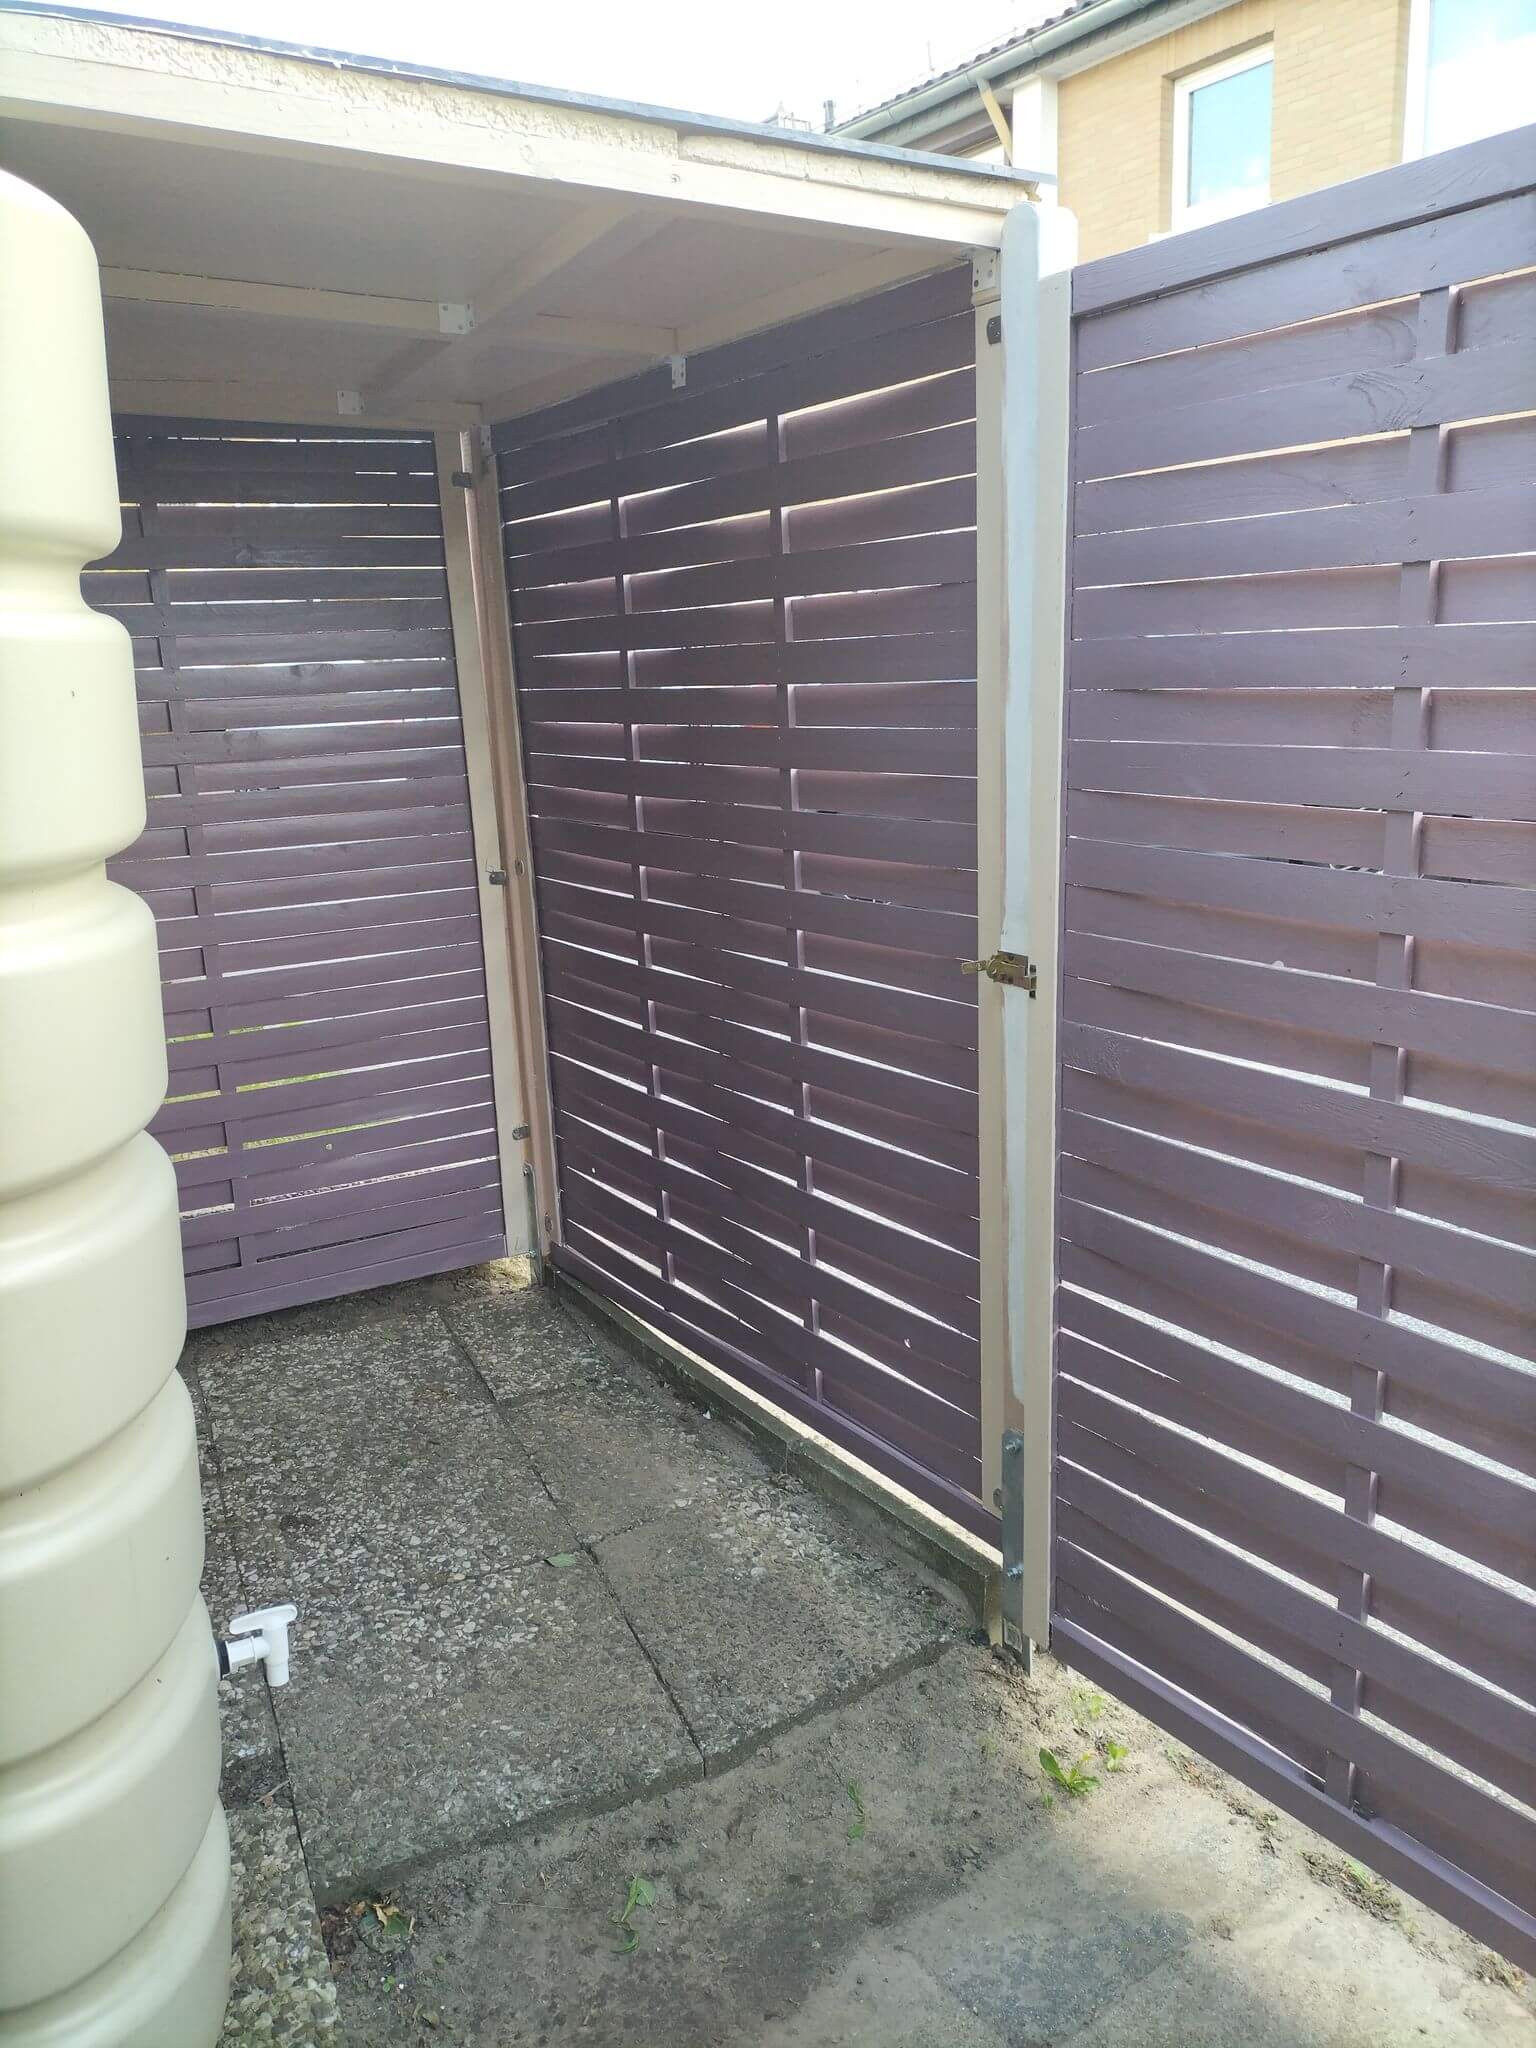
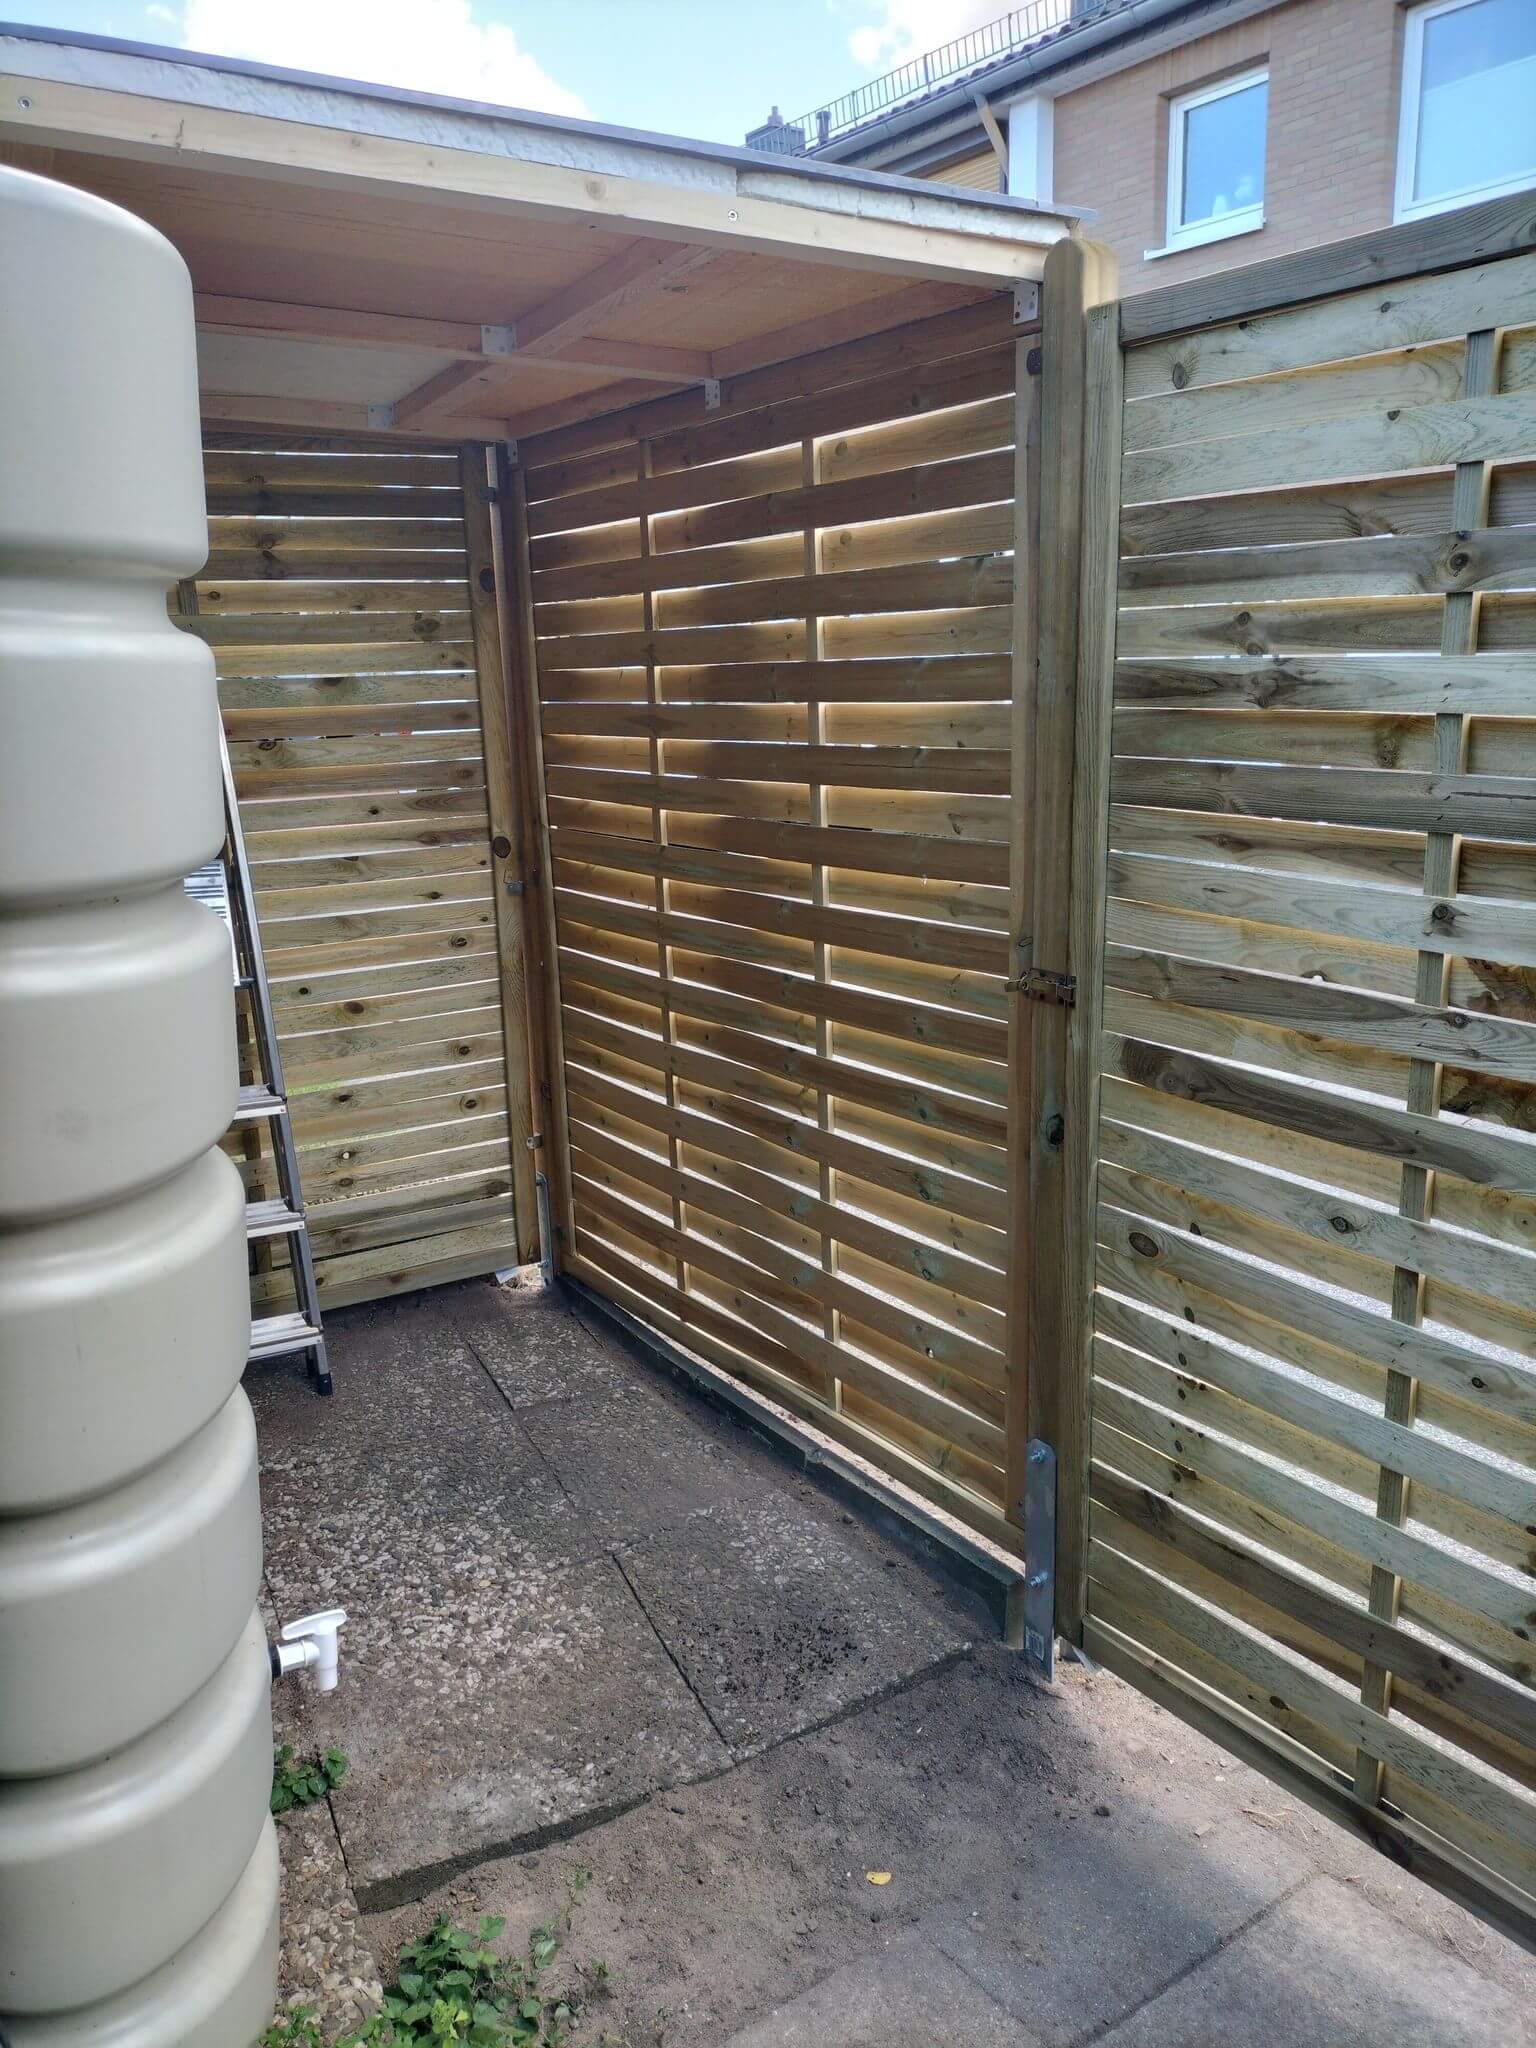
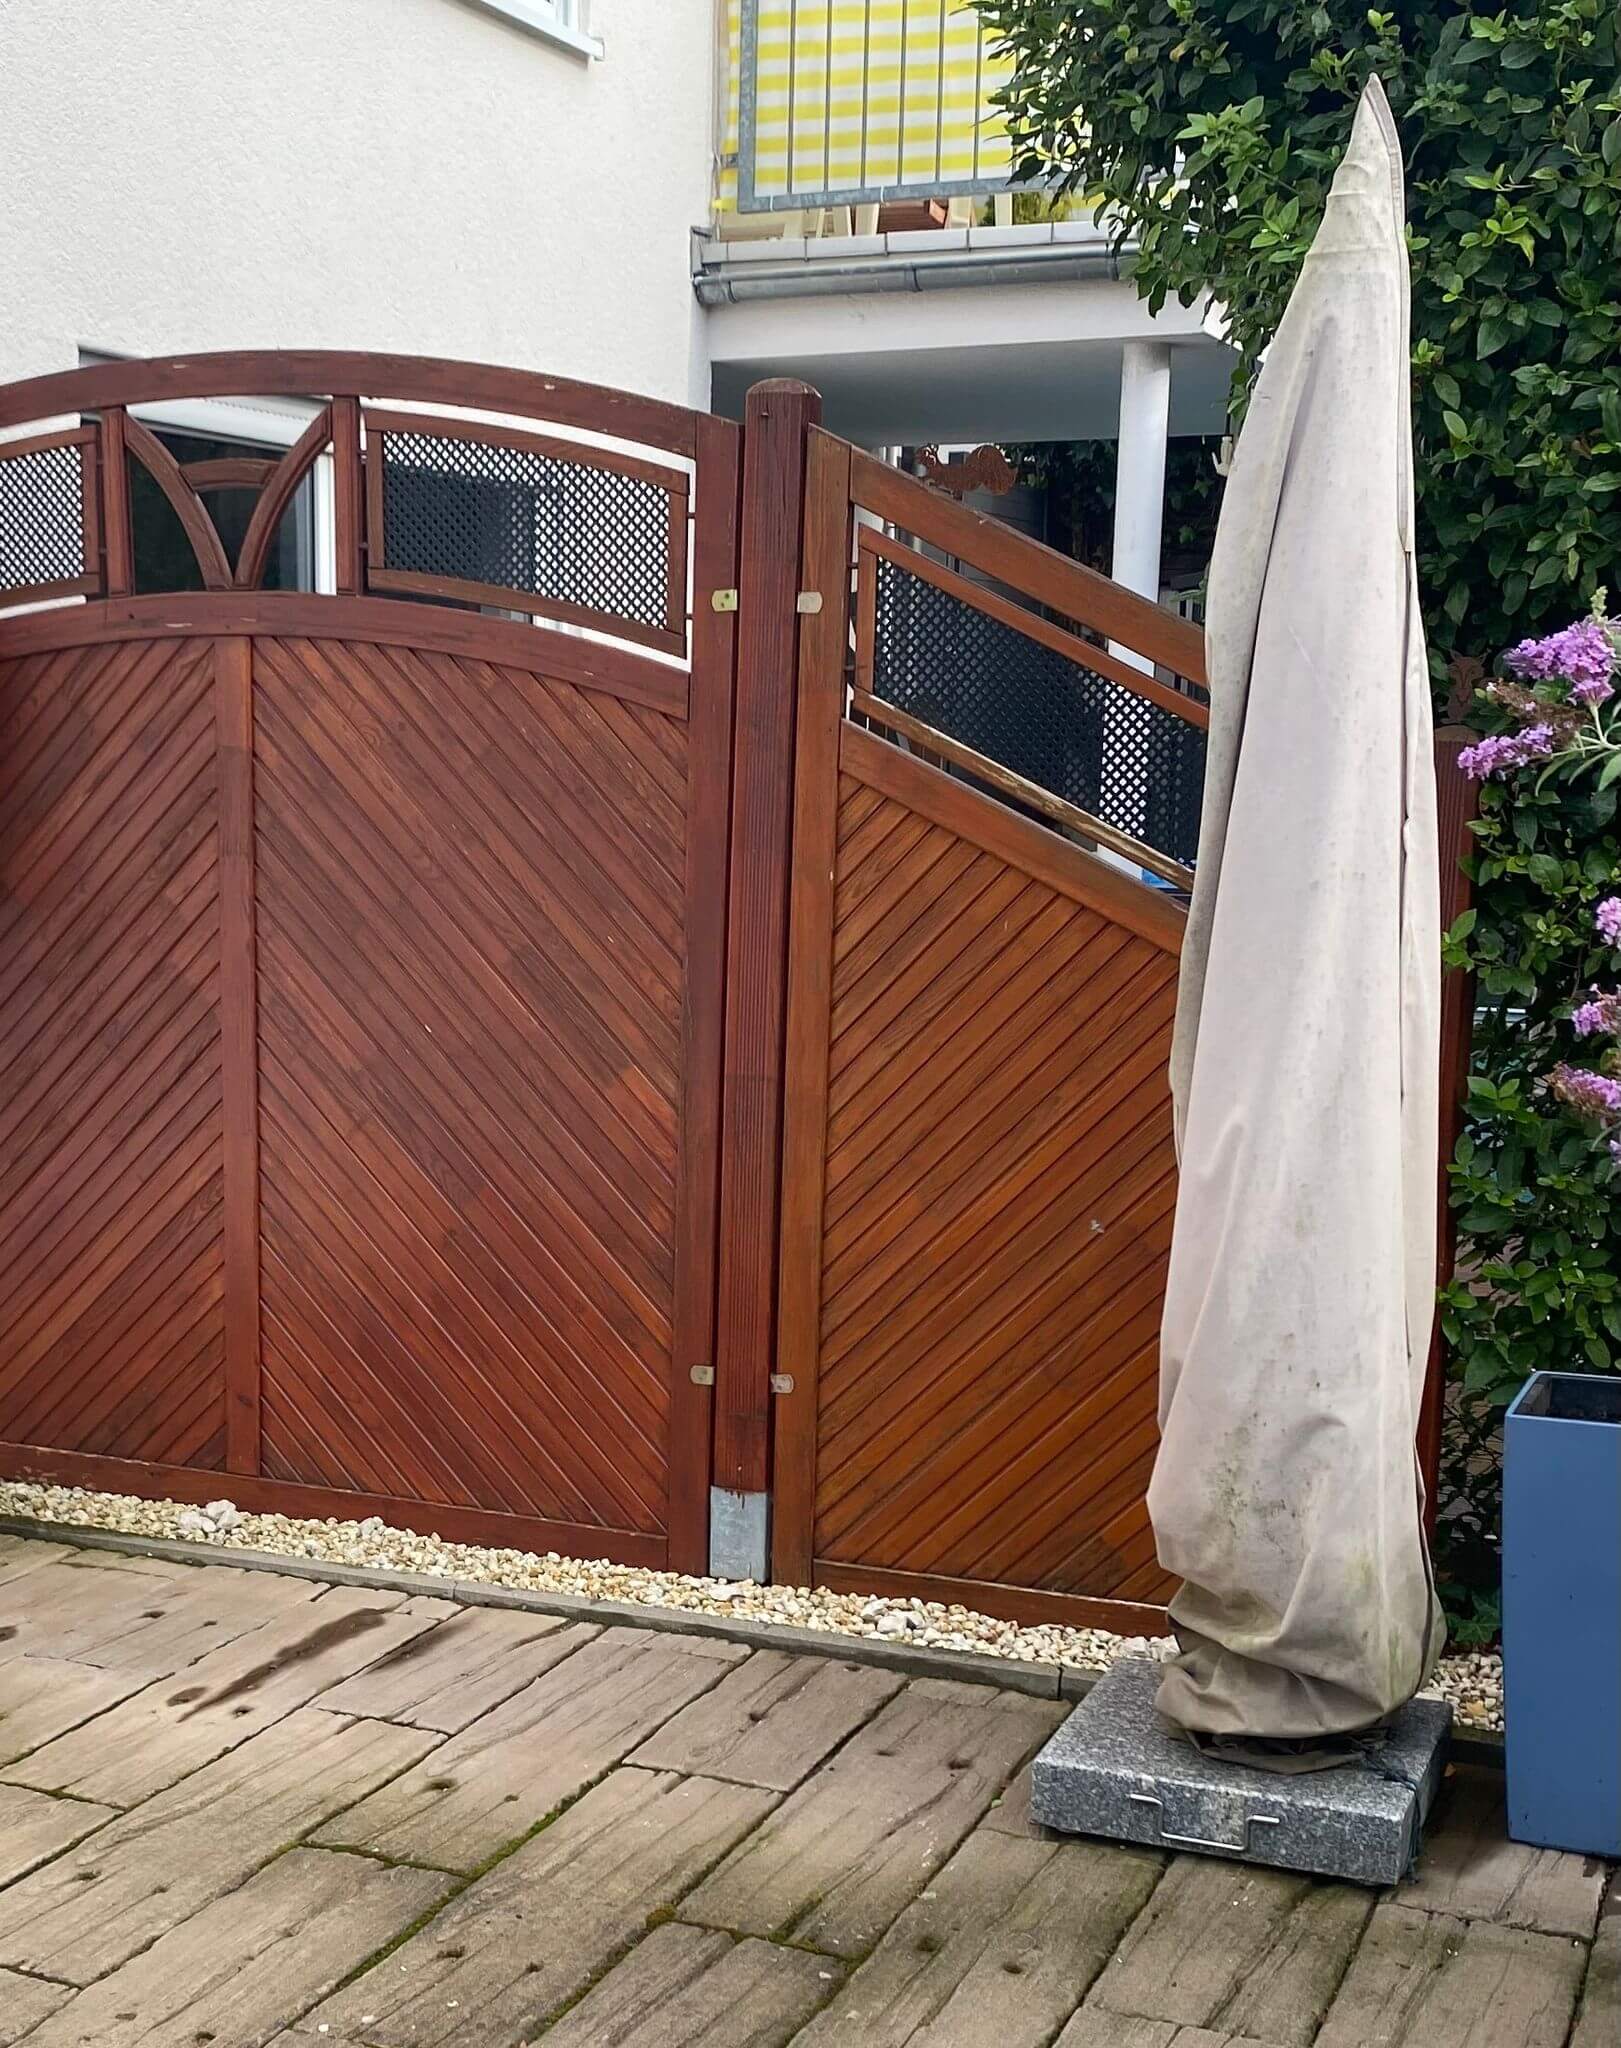
Upgraded
- Our customer wanted fresh colour.

Chic
- Thanks to the paint, the fence now has a much more modern effect.
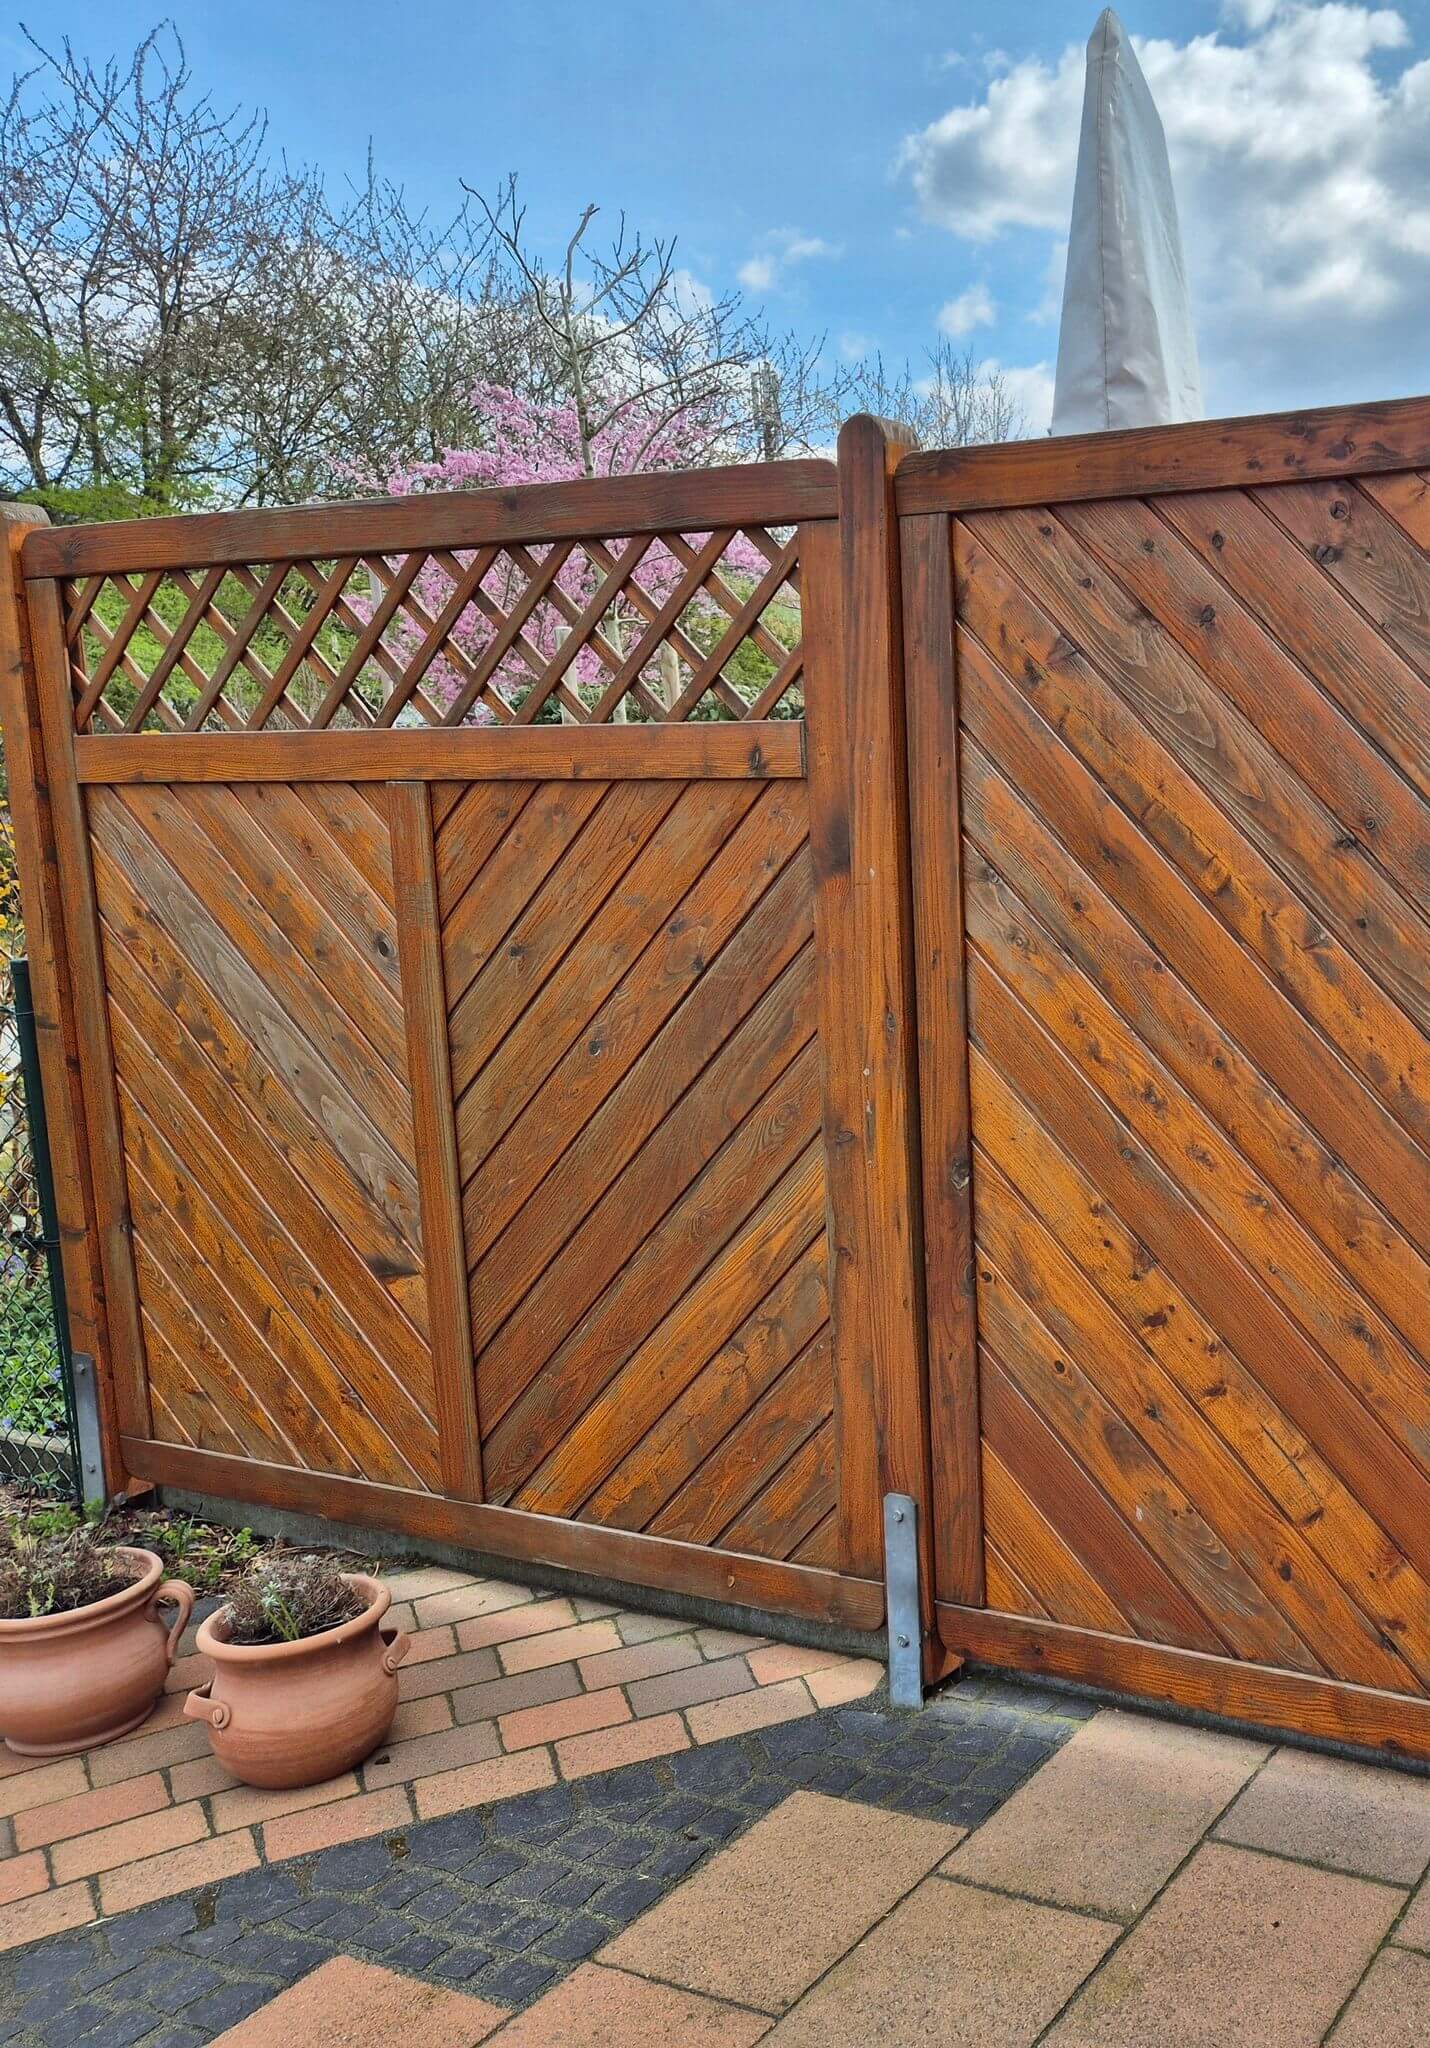
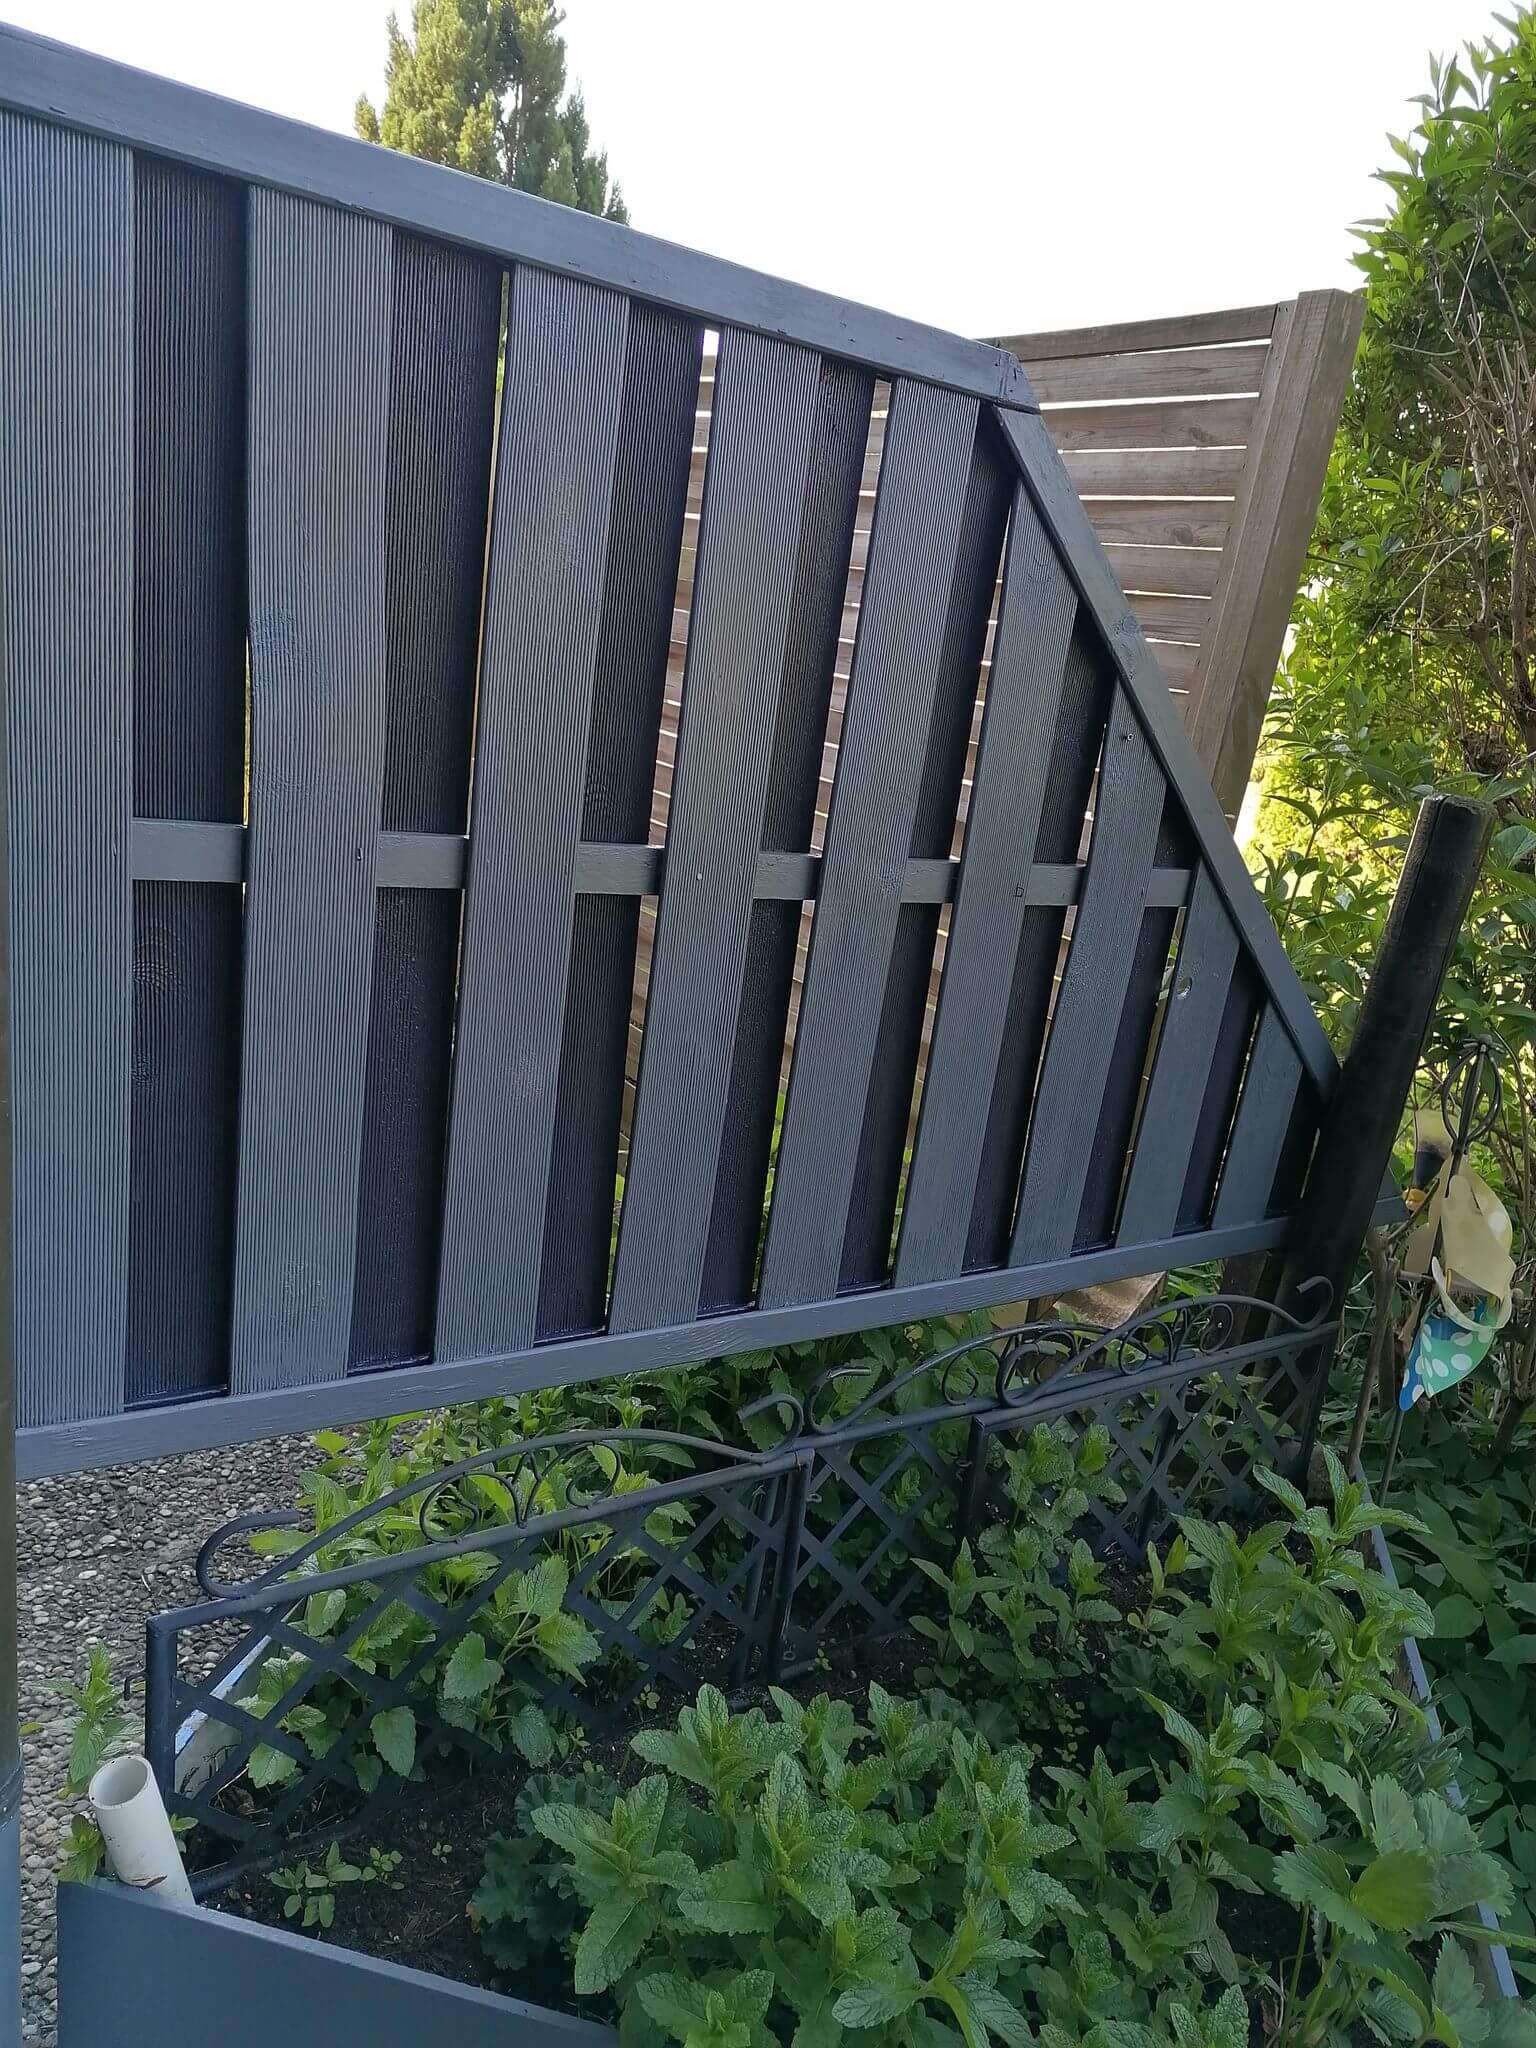
Eye-catcher
- The weather has left its mark on this fence. It was time for a refresh.
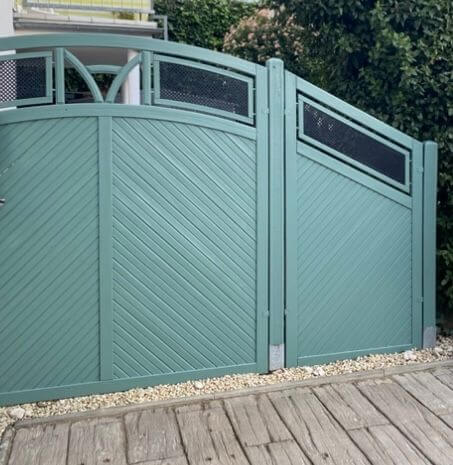
Transformation
- Green with Moss really emphasises the great shape of this fence.
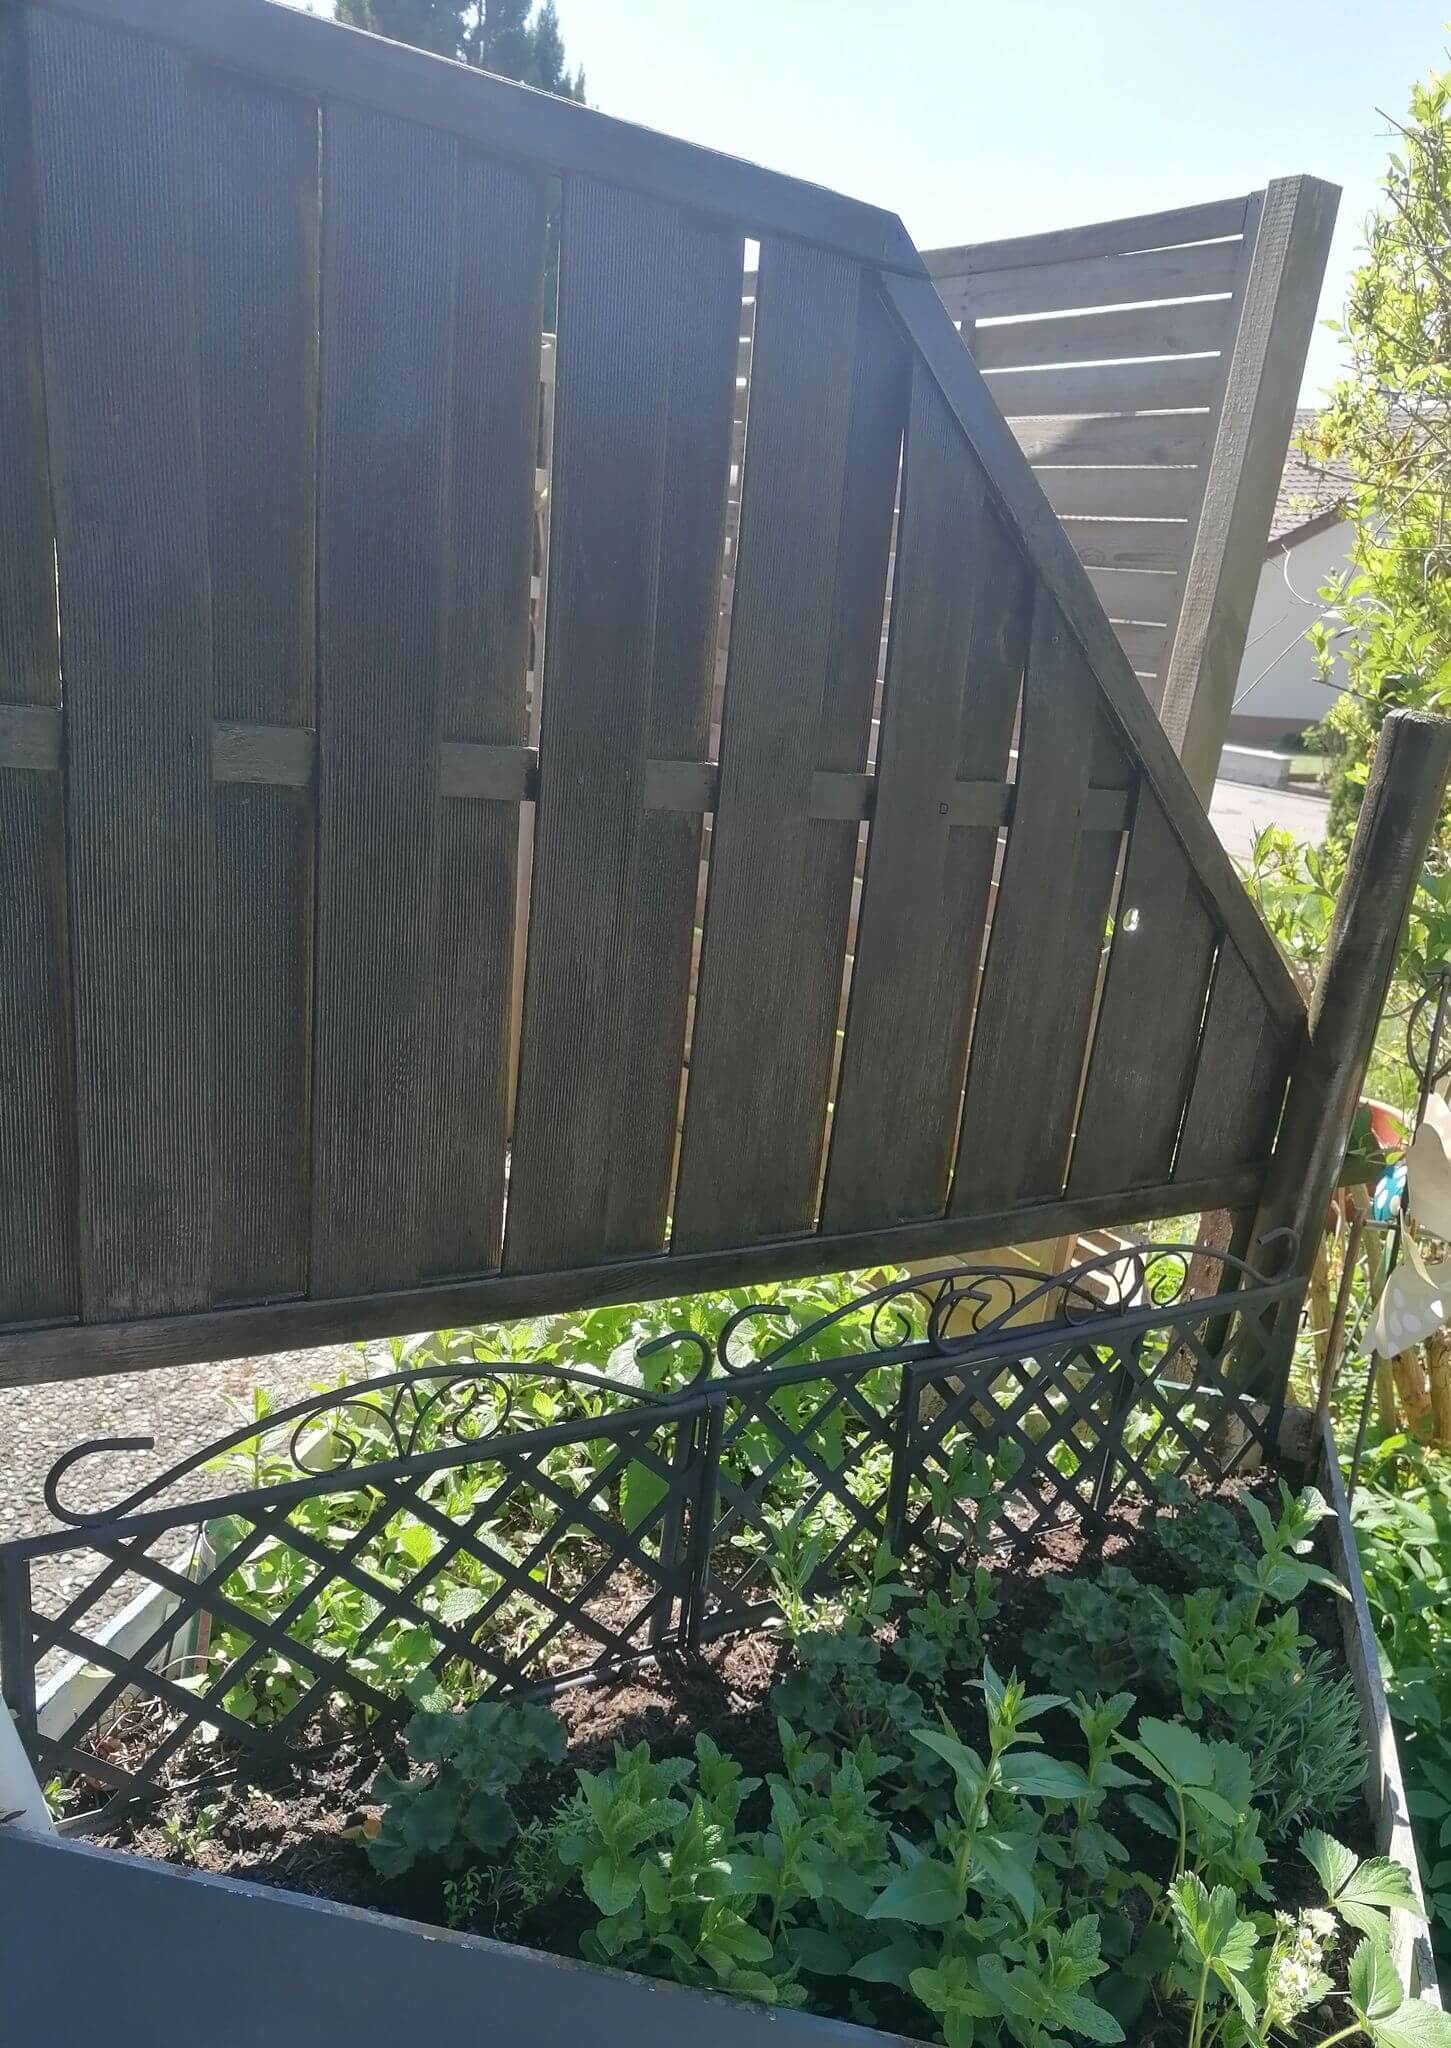
Quiet
- This fence now provides a peaceful background.
Preparation: how to choose the right colour for your garden fence
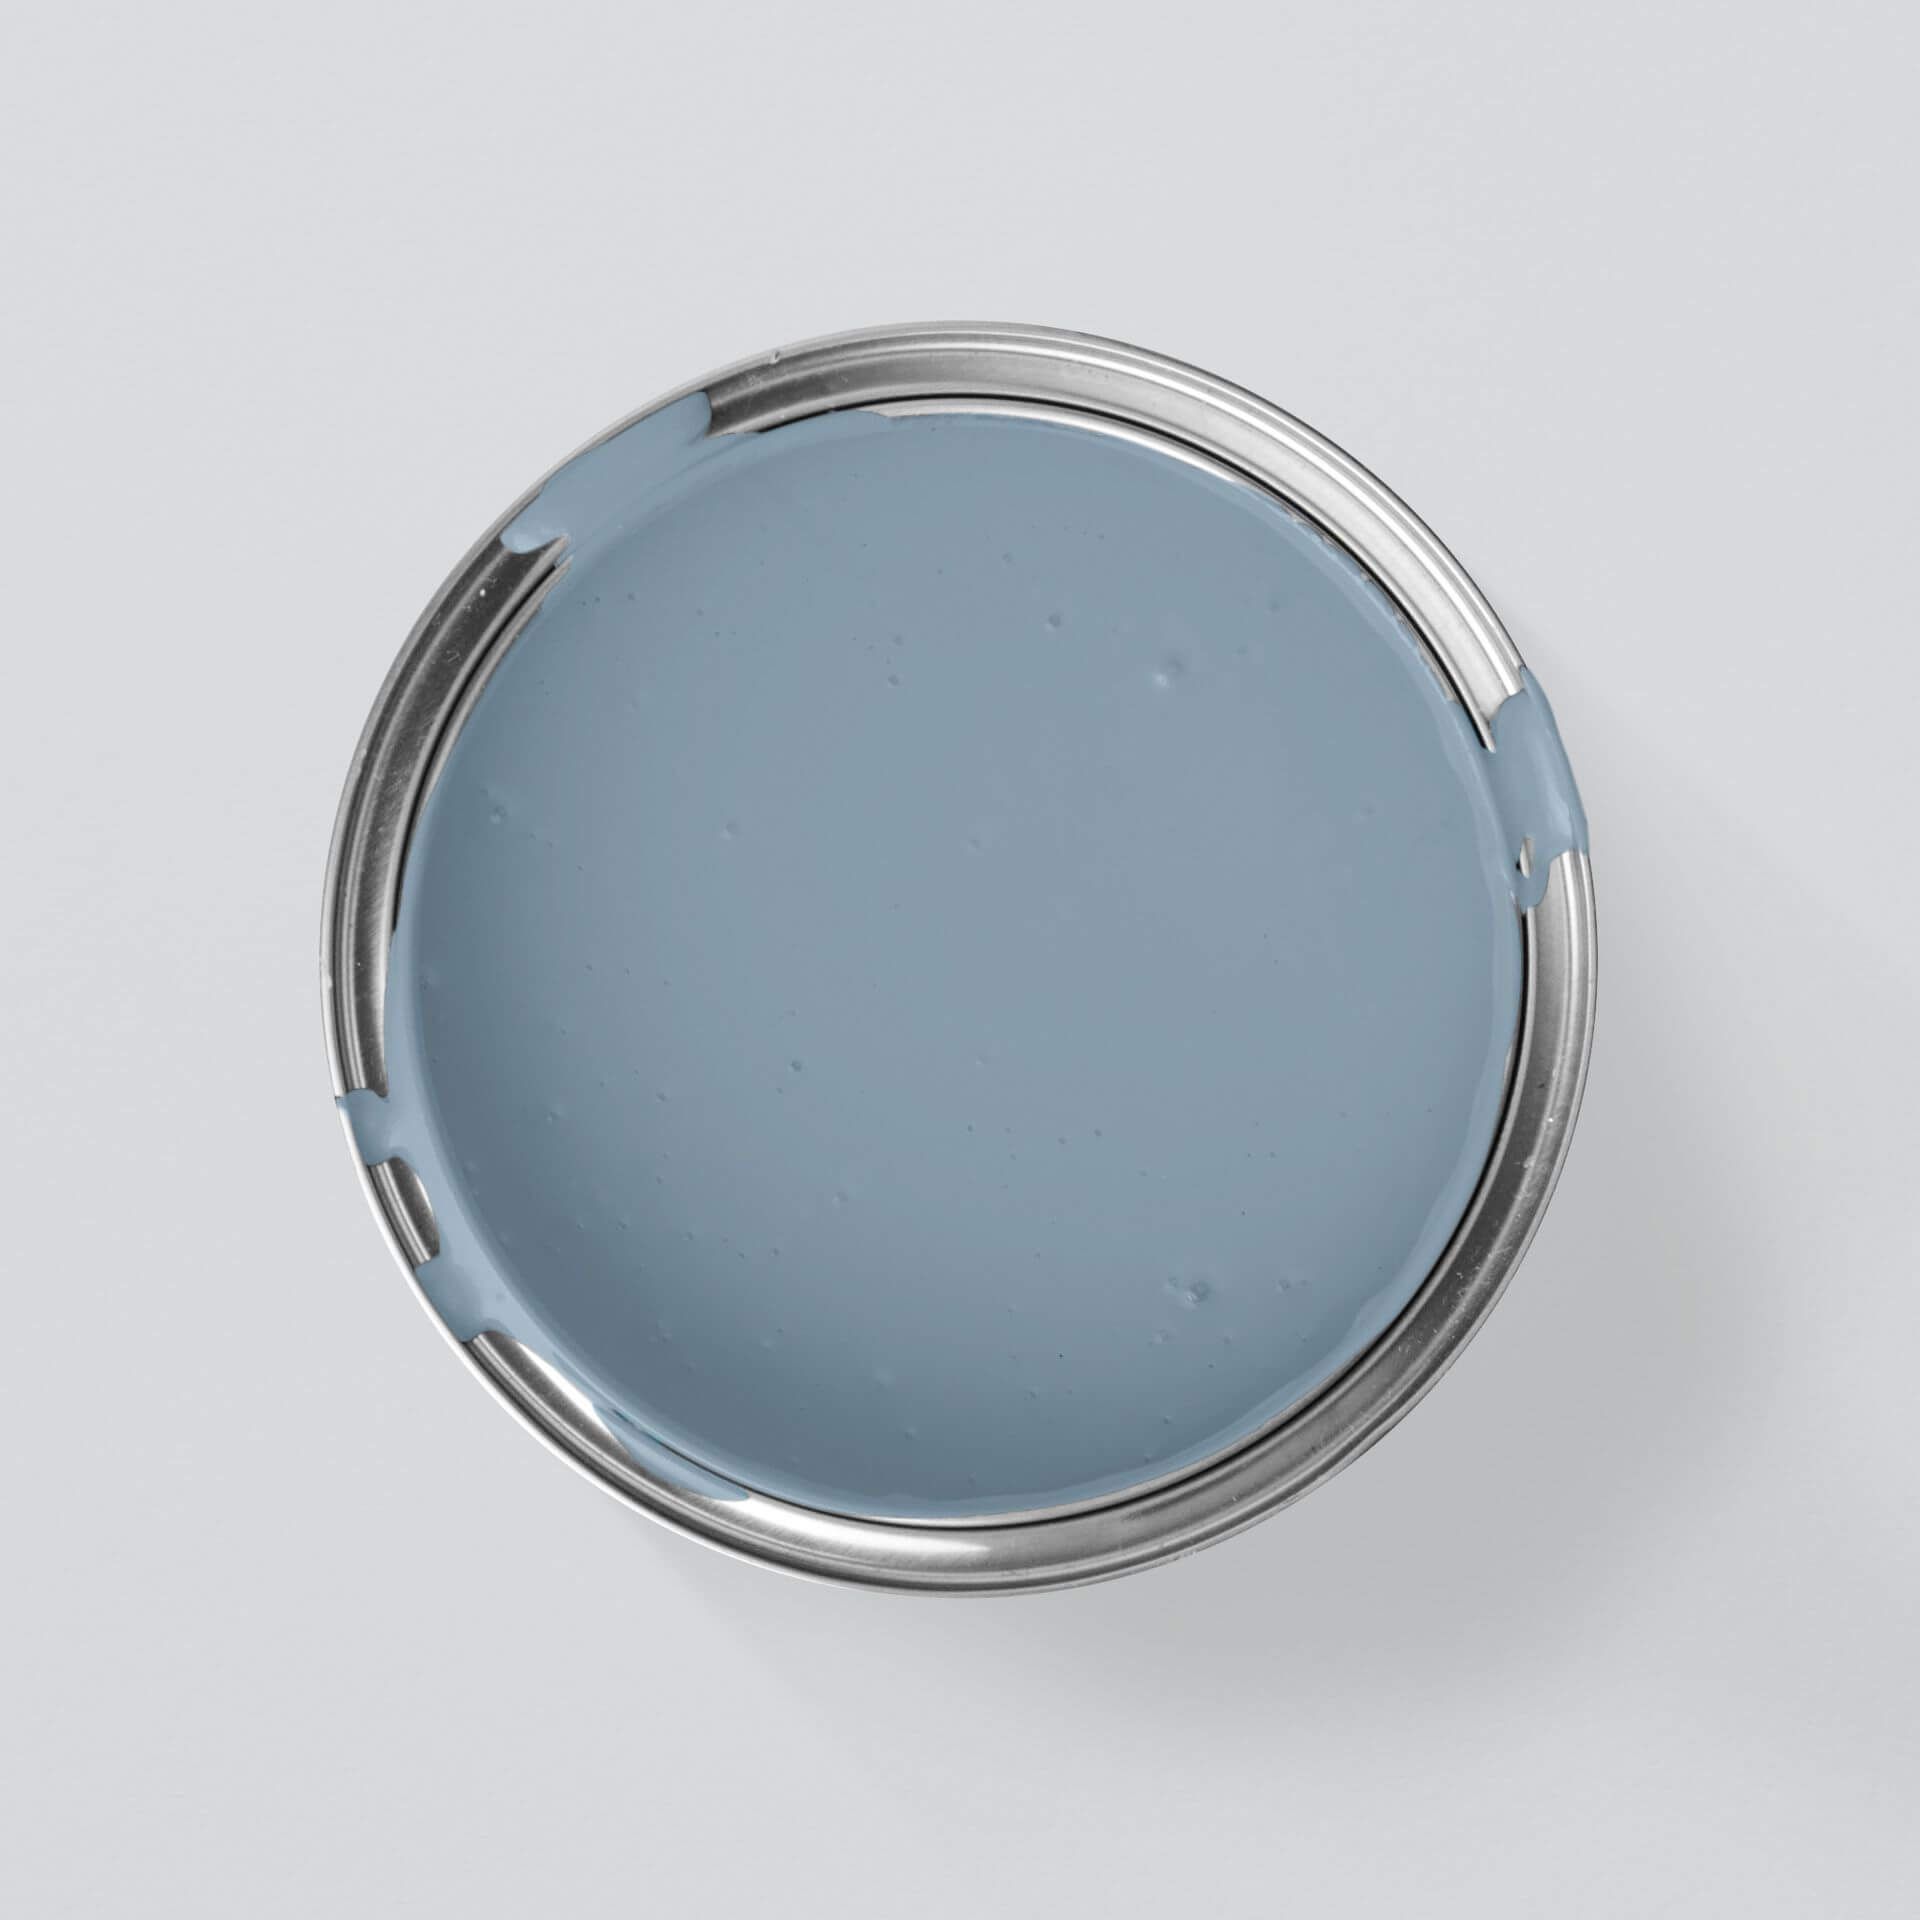
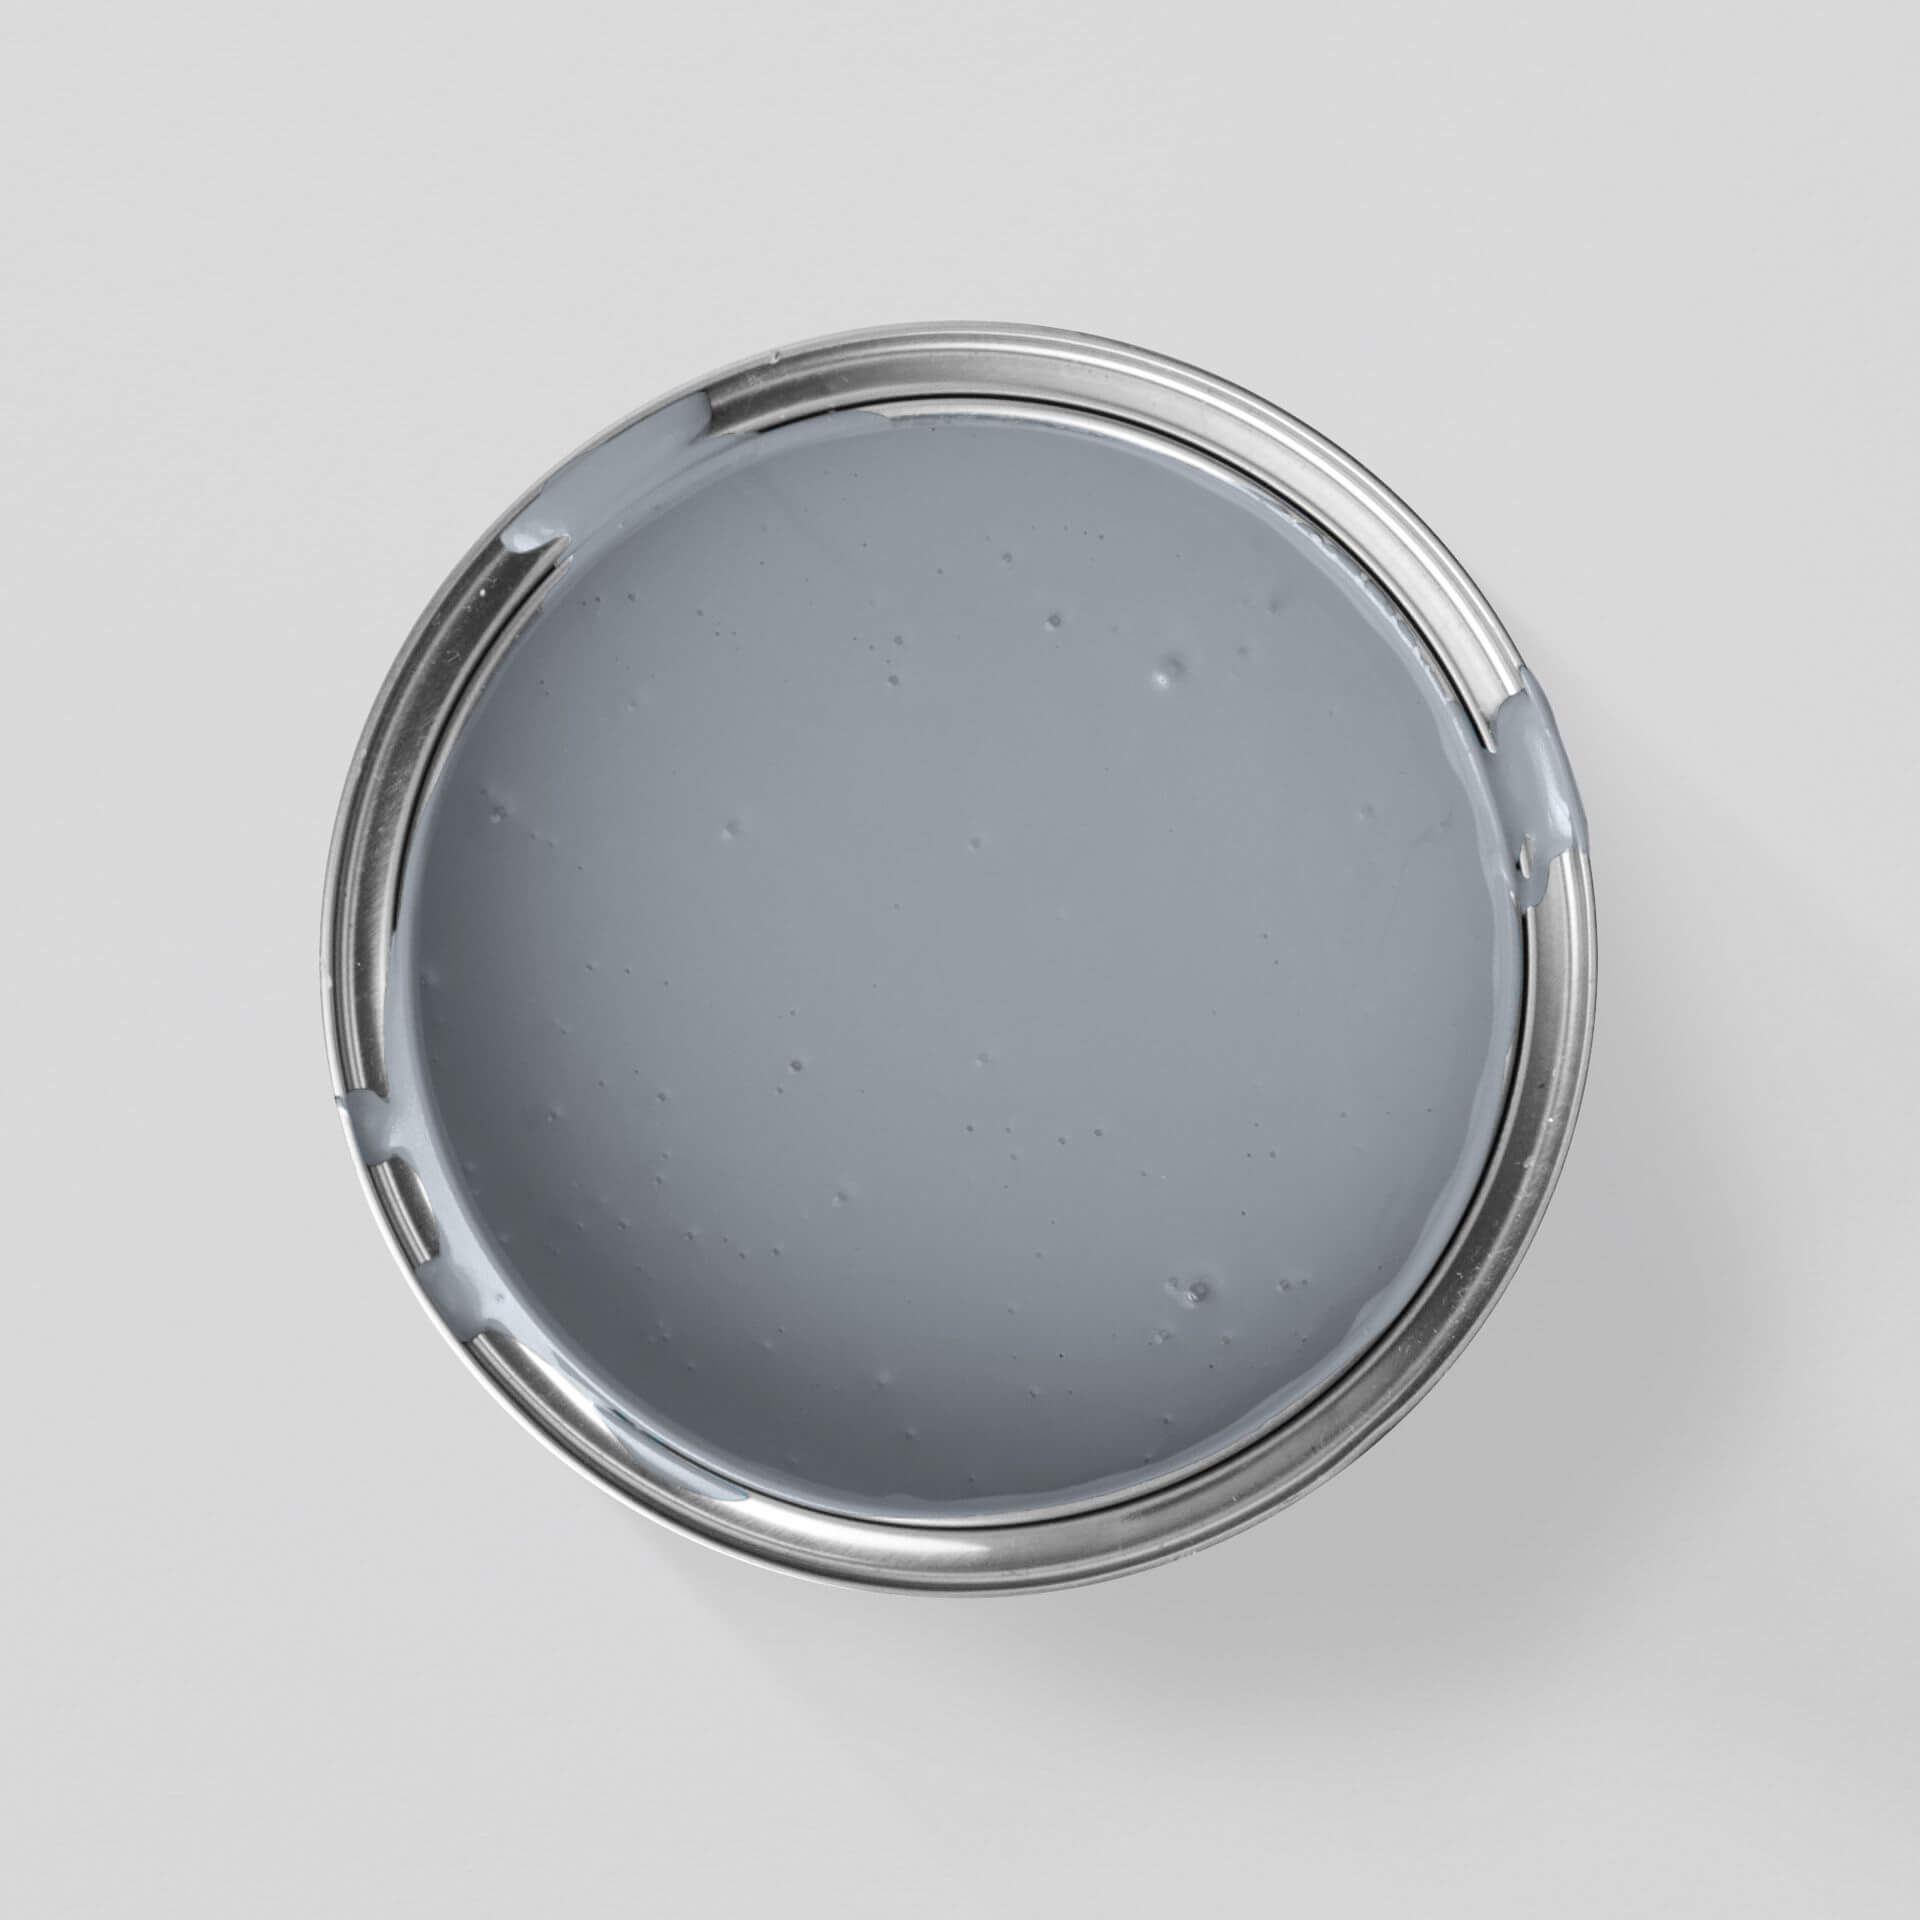
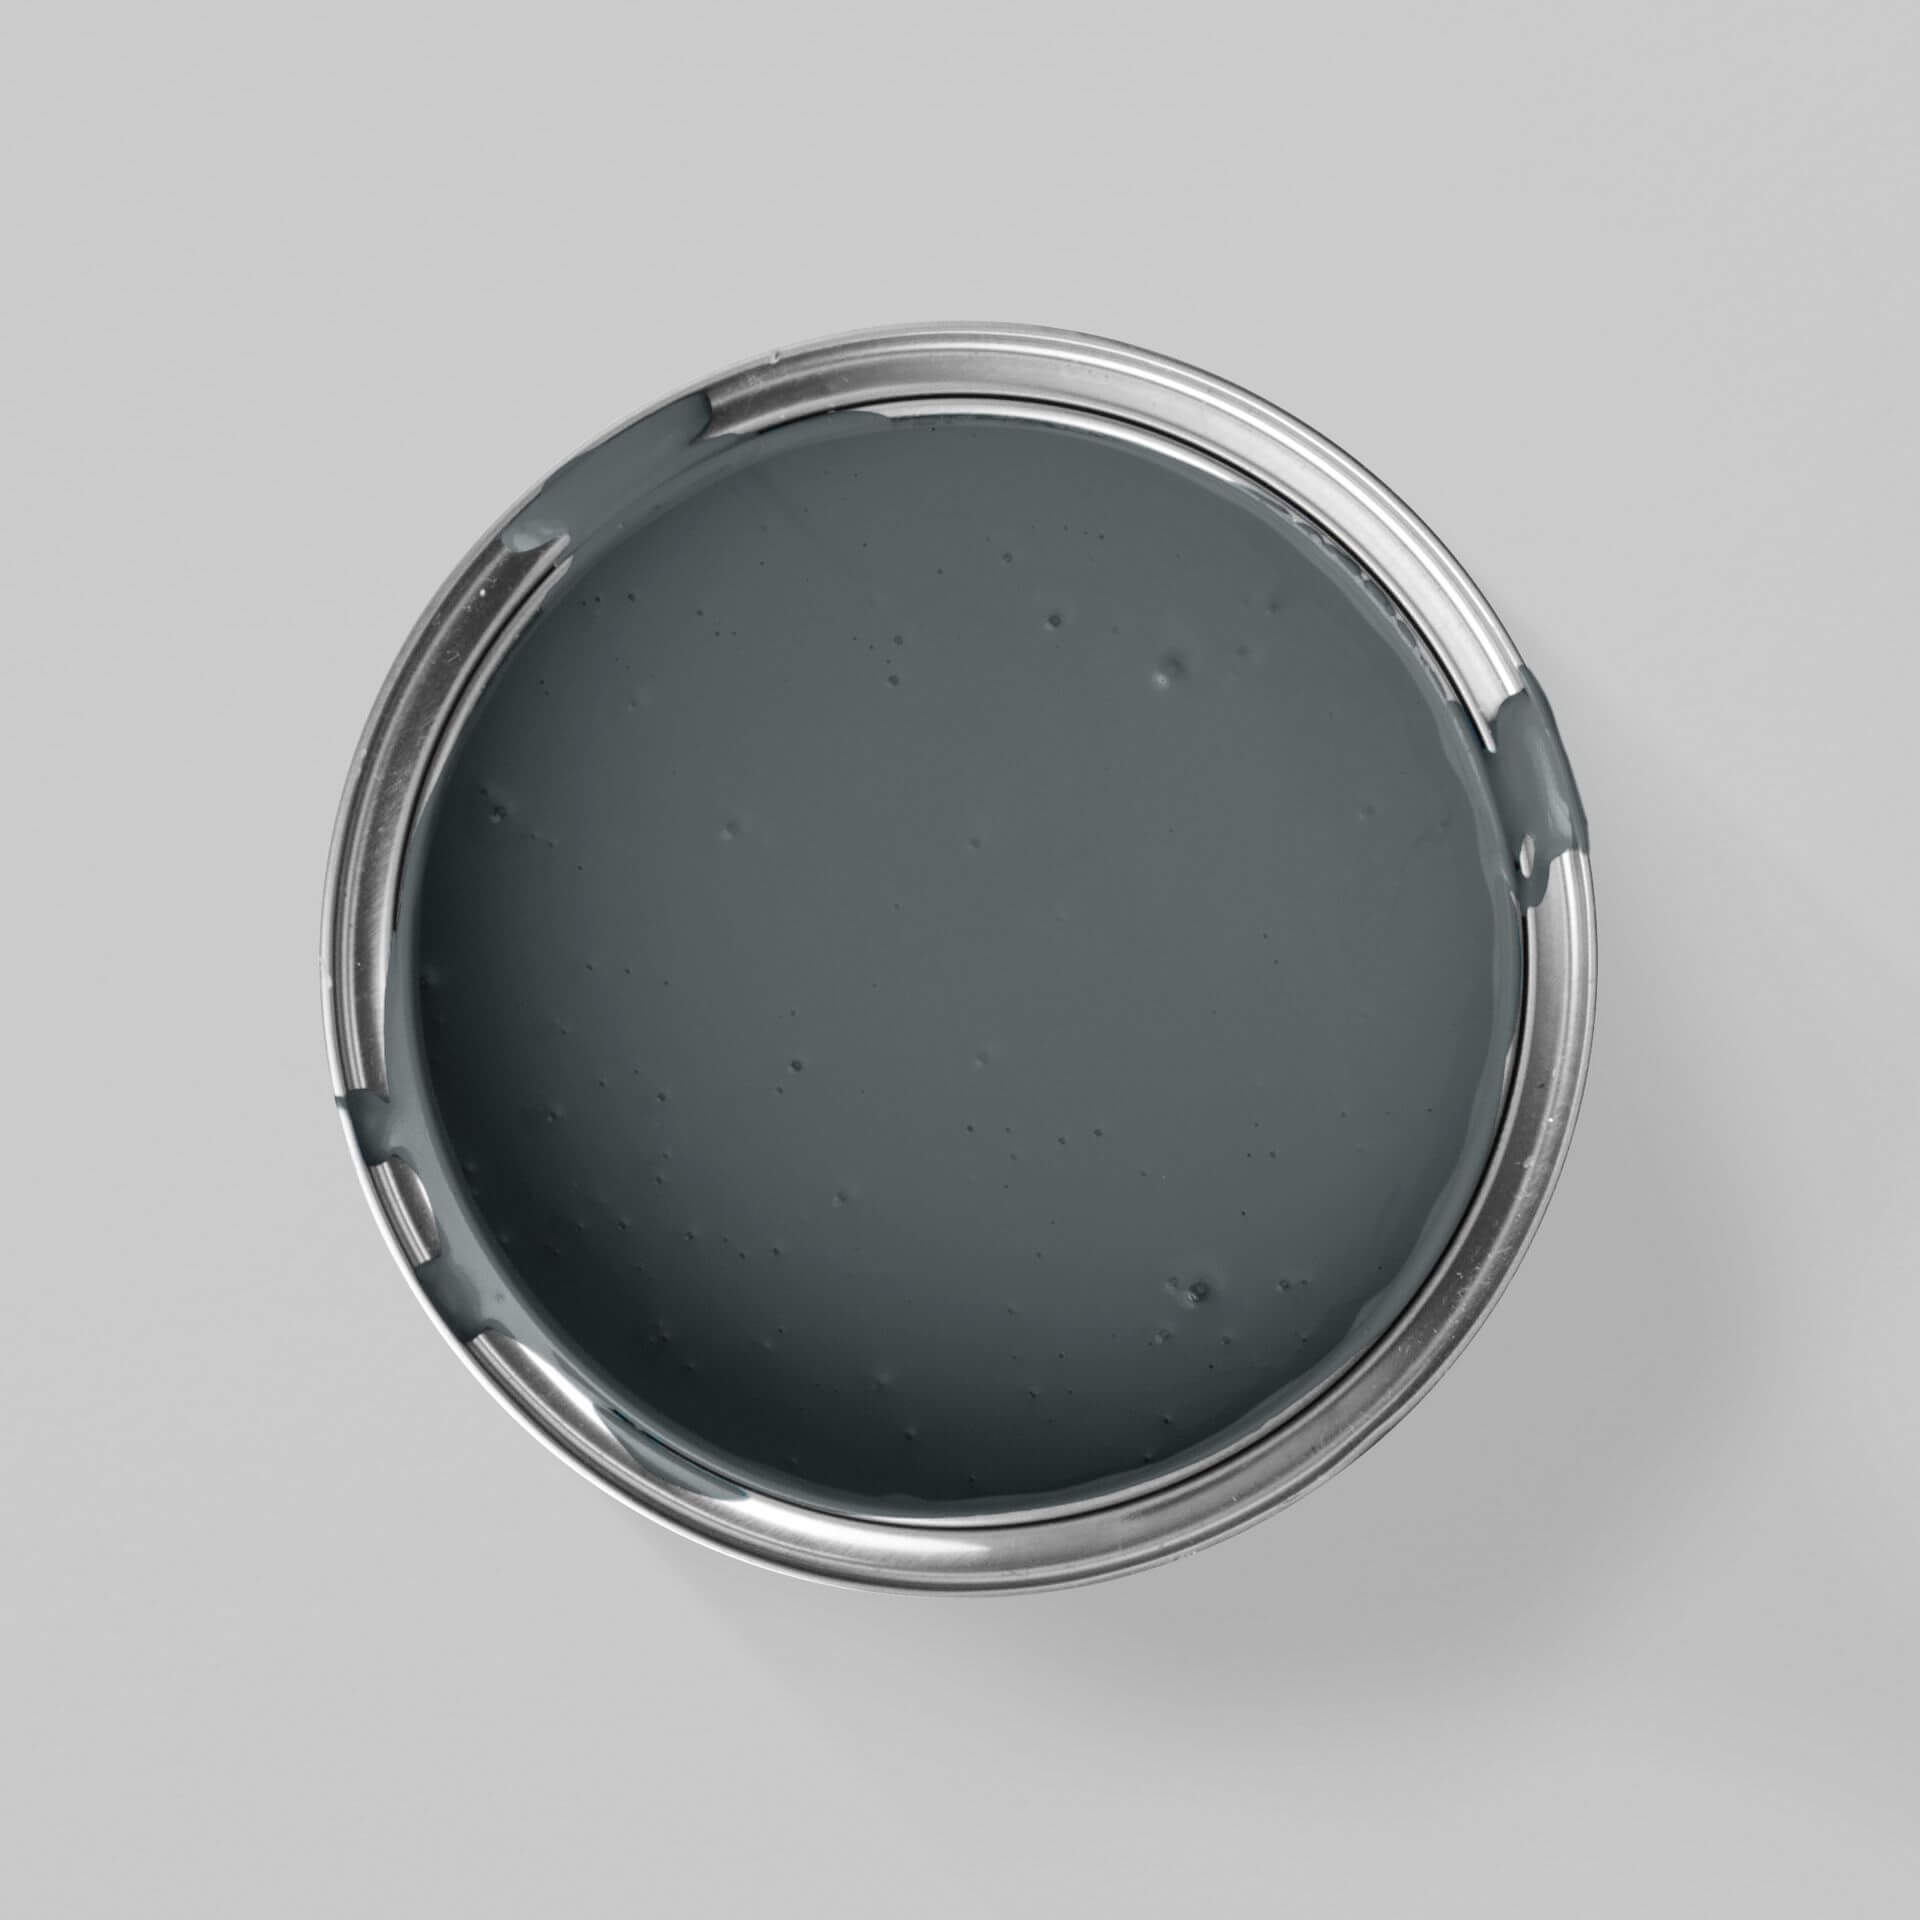
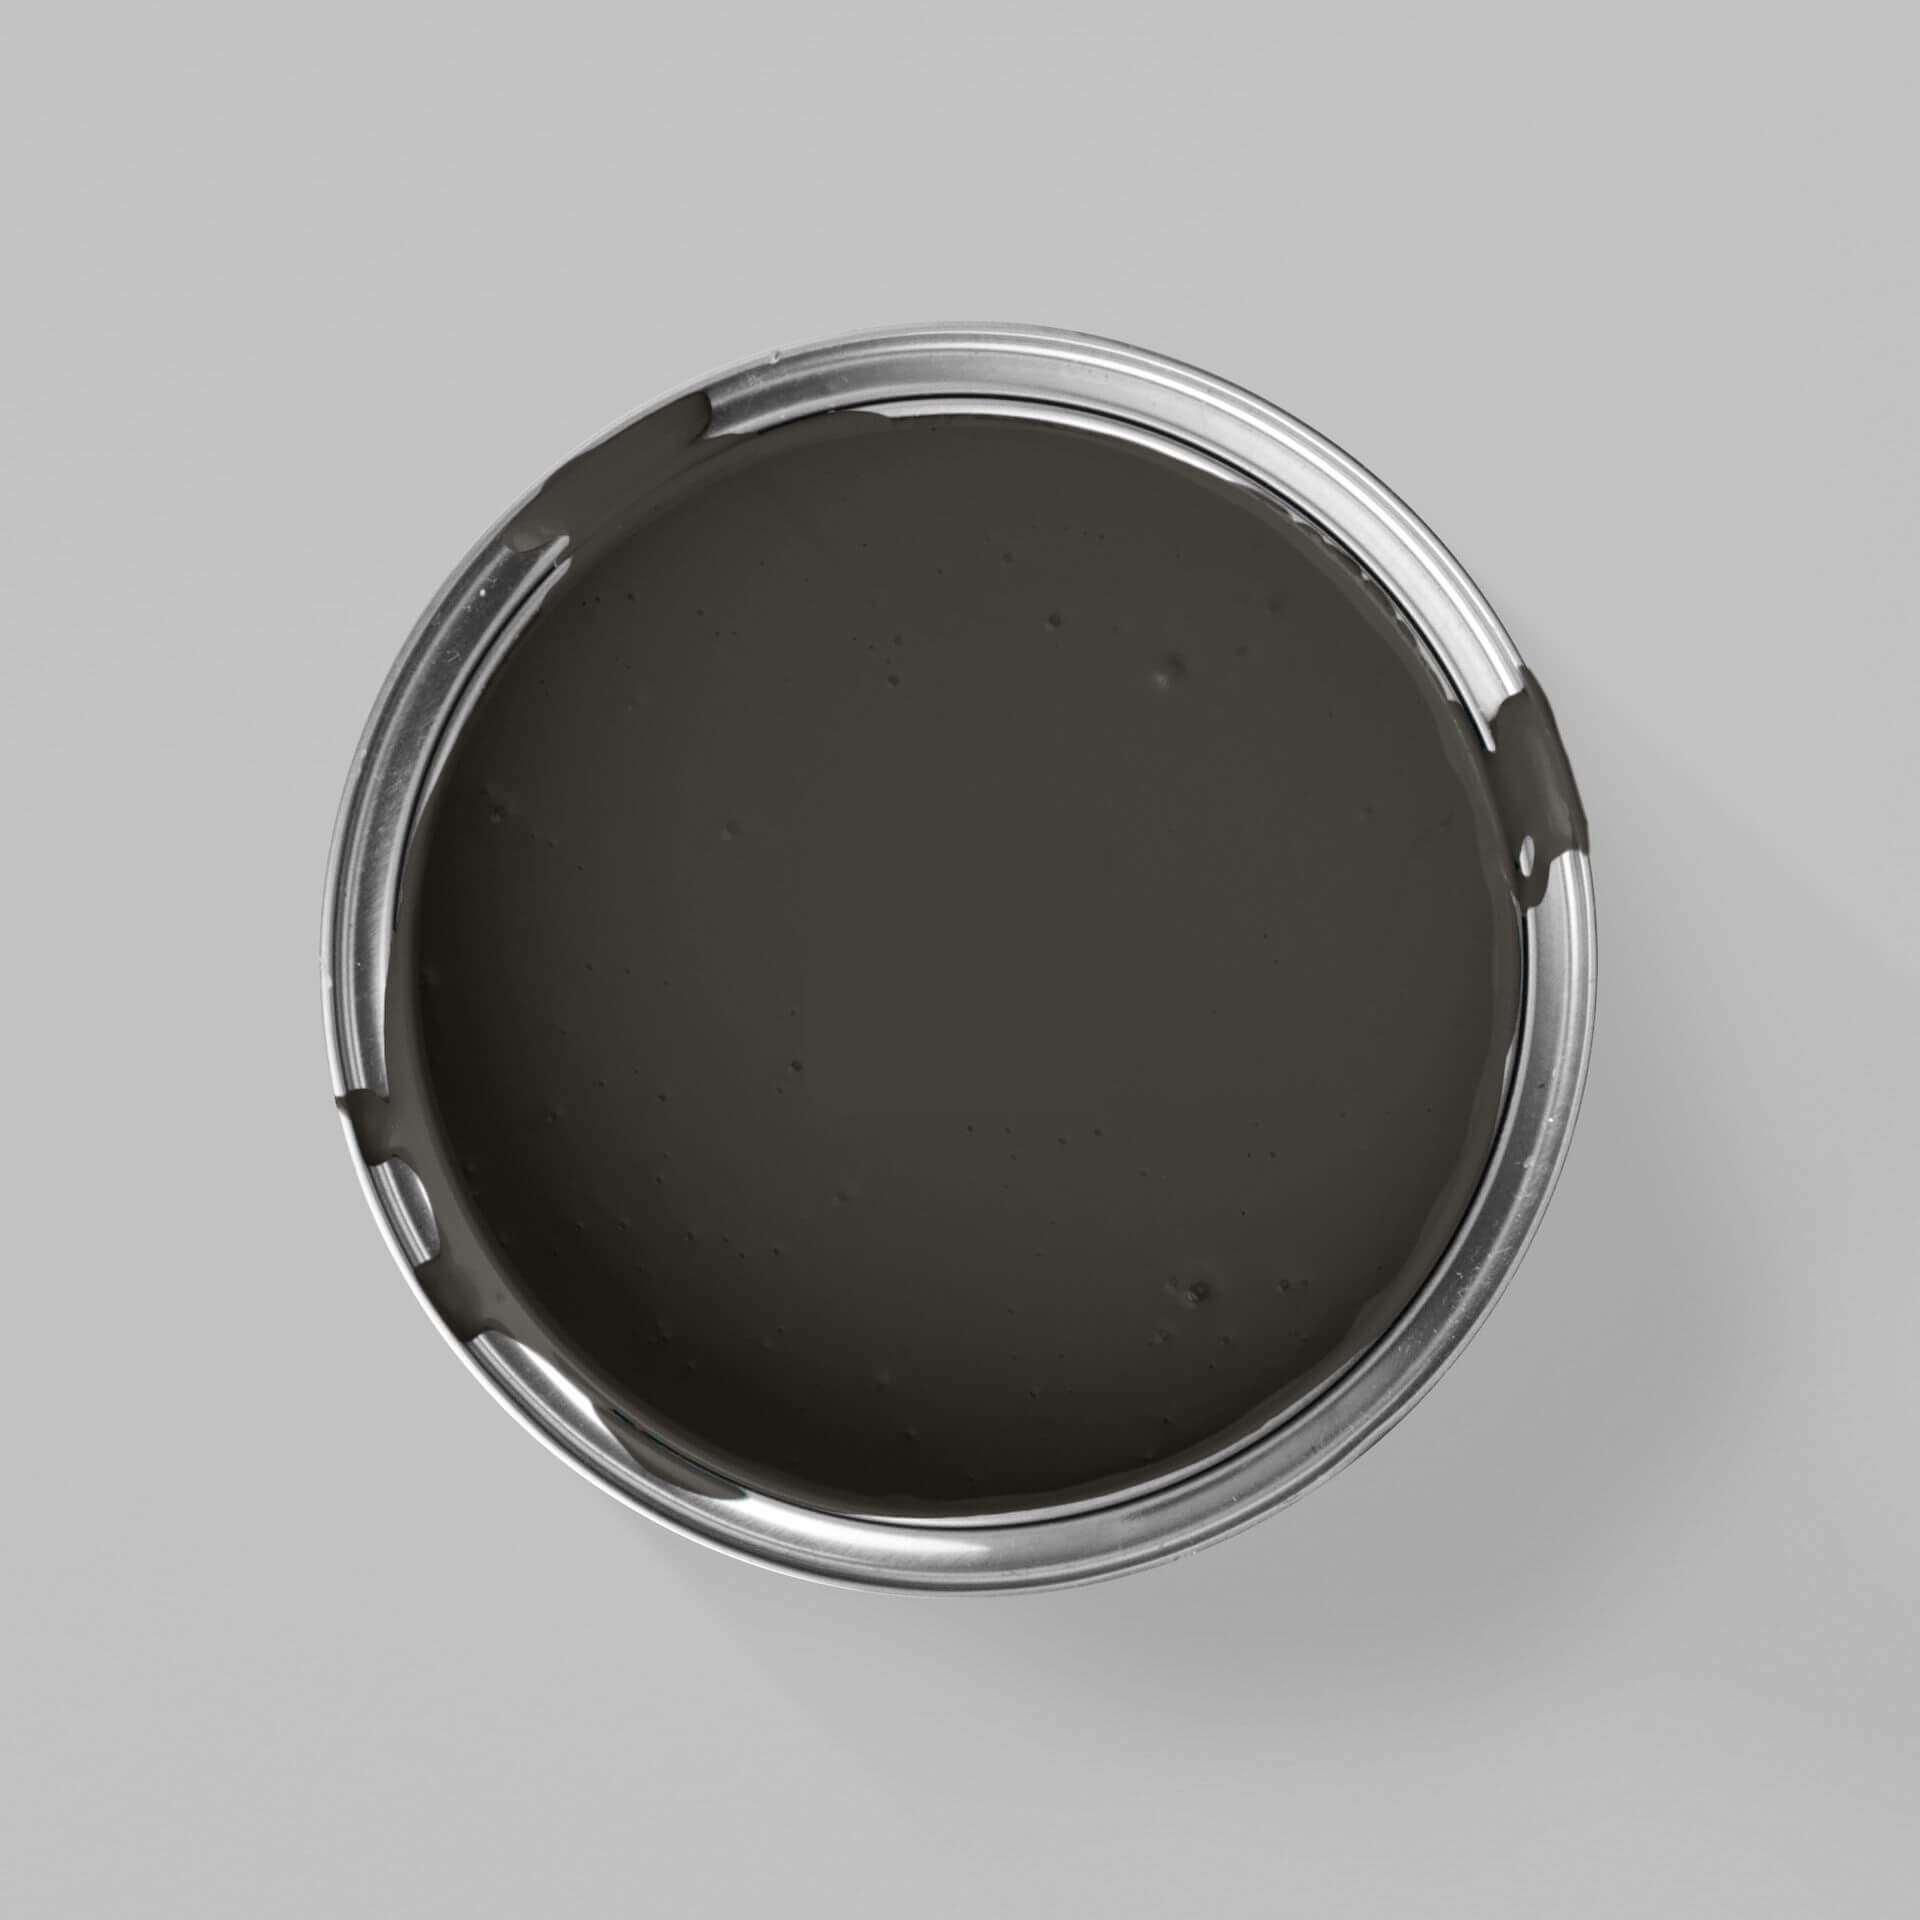
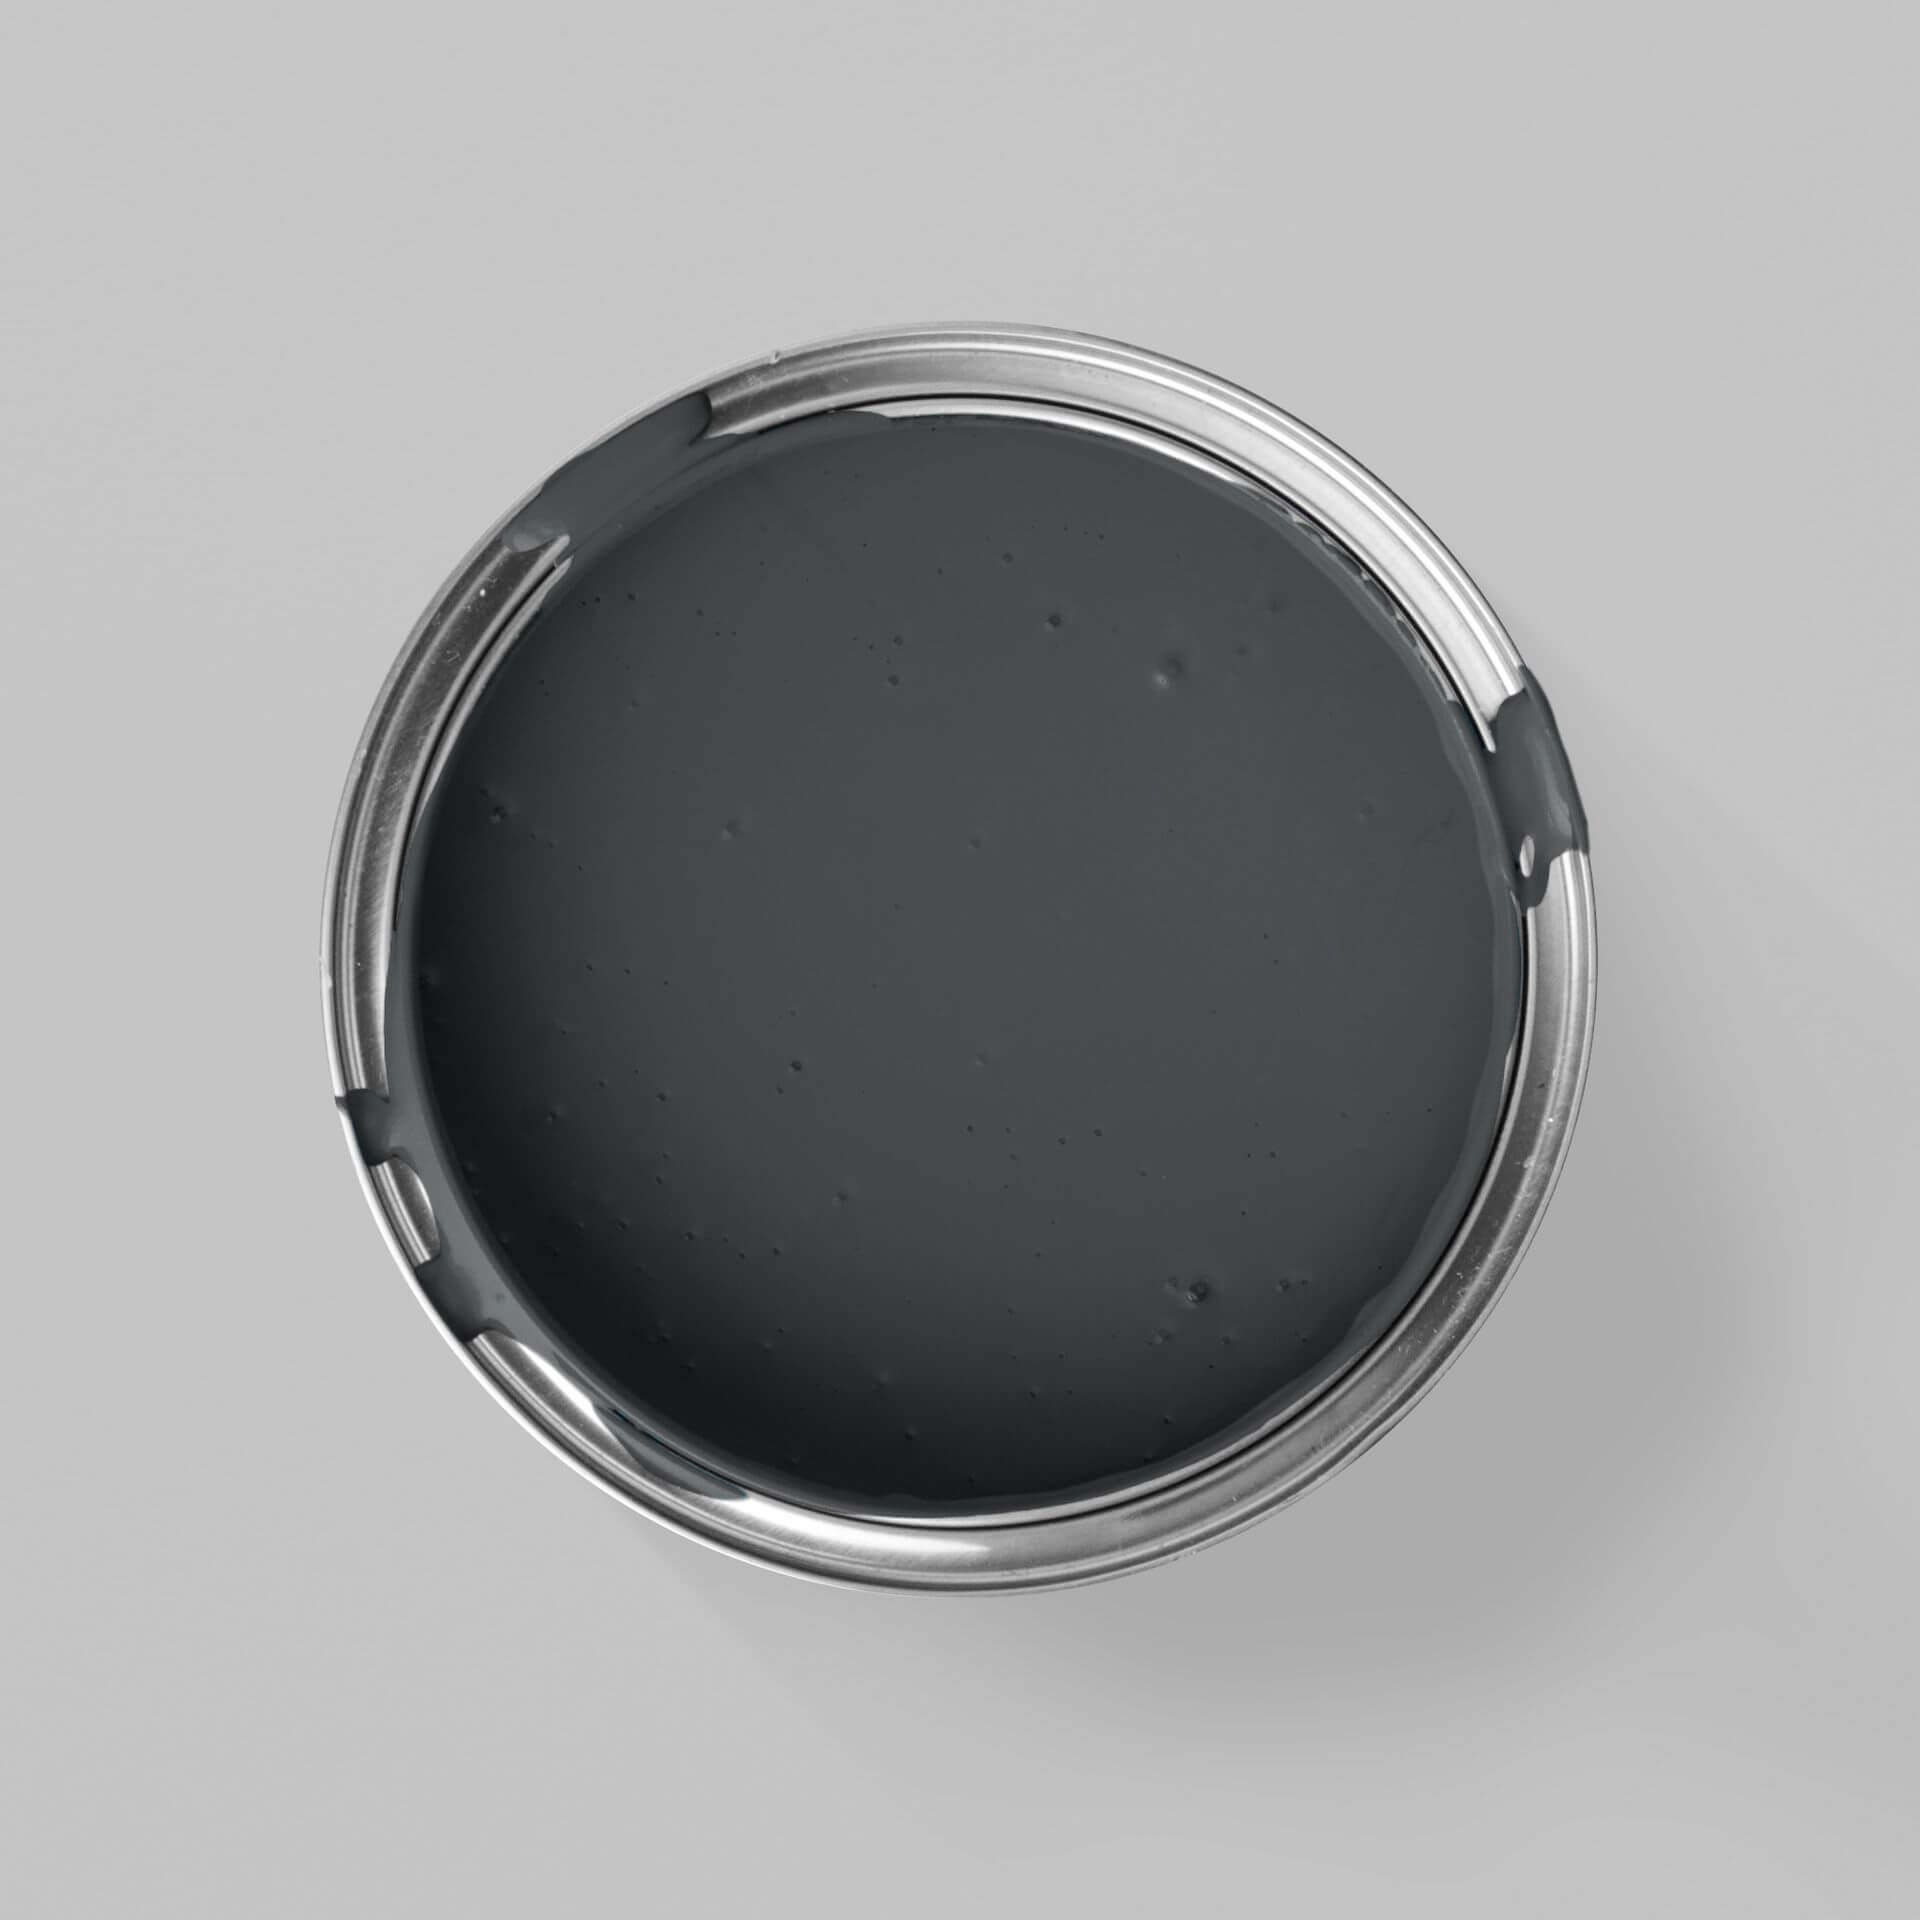
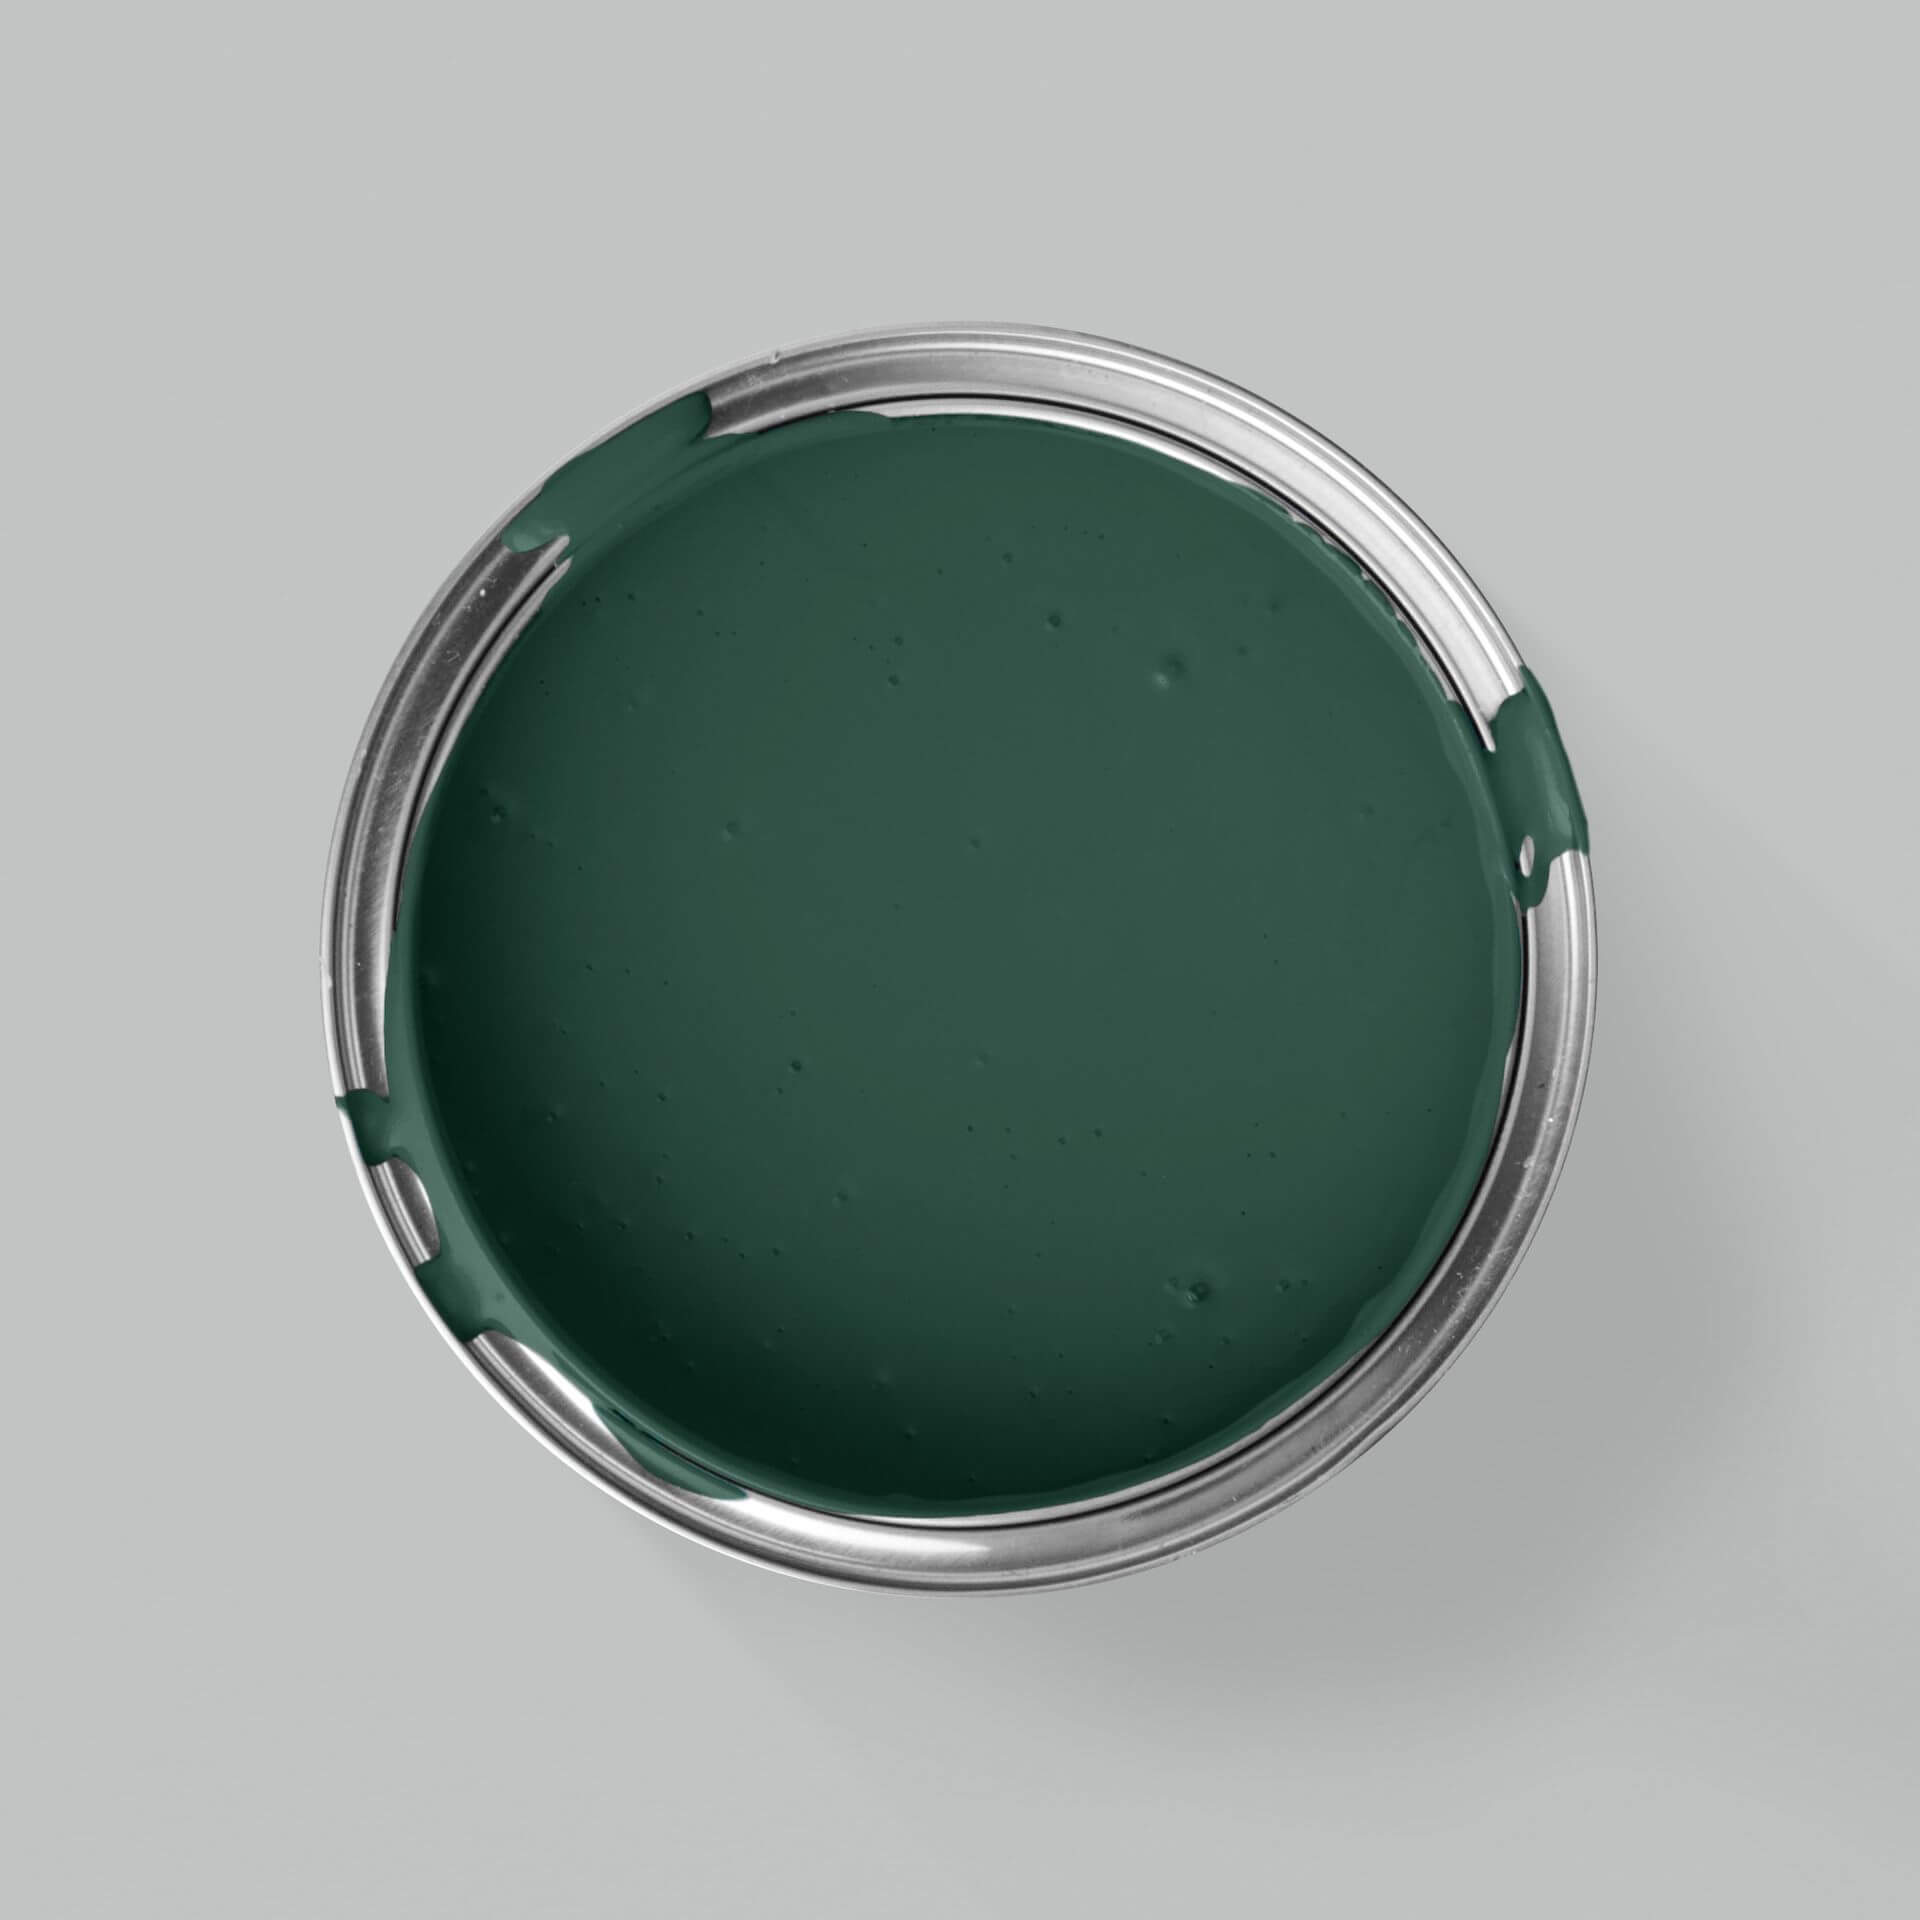
Our large colour scheme leaves no colour wish unfulfilled. For outdoor use, you should always choose varnishes (as opposed to wall paints), as they are more resistant and weatherproof. But no matter if wood or metal, with our colours your garden fence will become a jewel of your garden in no time.
What material is the garden fence made of?
MissPompadour has a wide range of different colour shades for you, whether it's a metal, wooden or plastic fence. Our Easy Eggshell! is perfect for painting outdoors. With this varnish, you have many modern to bright colour shades to choose from. The products are water-based, easy to clean and hard-wearing. They are particularly suitable for wooden, metal and plastic garden fences. The material is particularly important for the primer Roller, as this is necessary depending on the surface. Our guide tells you when you should use a primer.
Pro tip: To ensure that your fence has a long service life, you should also include the anchors in your maintenance programme. All elements that are in contact with the ground need extra care.
What gloss level do you want for your garden fence?
For outdoor use, we recommend that you use semi-gloss varnishes, as these are particularly hard-wearing and also easy to apply. You will be satisfied with the result. But of course there are no limits to your wishes and you can also paint in matt or gloss.
Painting a garden fence the right way: Instructions from MissPompadour
Step 1: The optimal weather for painting your fence
Wait for a stable weather situation with temperatures in the moderate double-digit range - also at night. Make sure it is neither too hot nor too cold.
On hot days or days with high sunlight, the paint will dry on your brush before you can apply it to the surface. If, on the other hand, it is cold and damp, it will take too long for the paint to dry or stick at all.
Of course, it is important that your fence is dry when you paint it. So after a downpour, it's better to wait another day before you start, especially with wooden fences. Also, allow enough time for your project, as it is important to wait several hours - preferably overnight - between coats before applying a second or third coat.
Professional tip: If you arevarnishing in summer when temperatures are high, set your alarm clock and start right away in the cooler morning hours.
Step 2: Preparing the garden fence
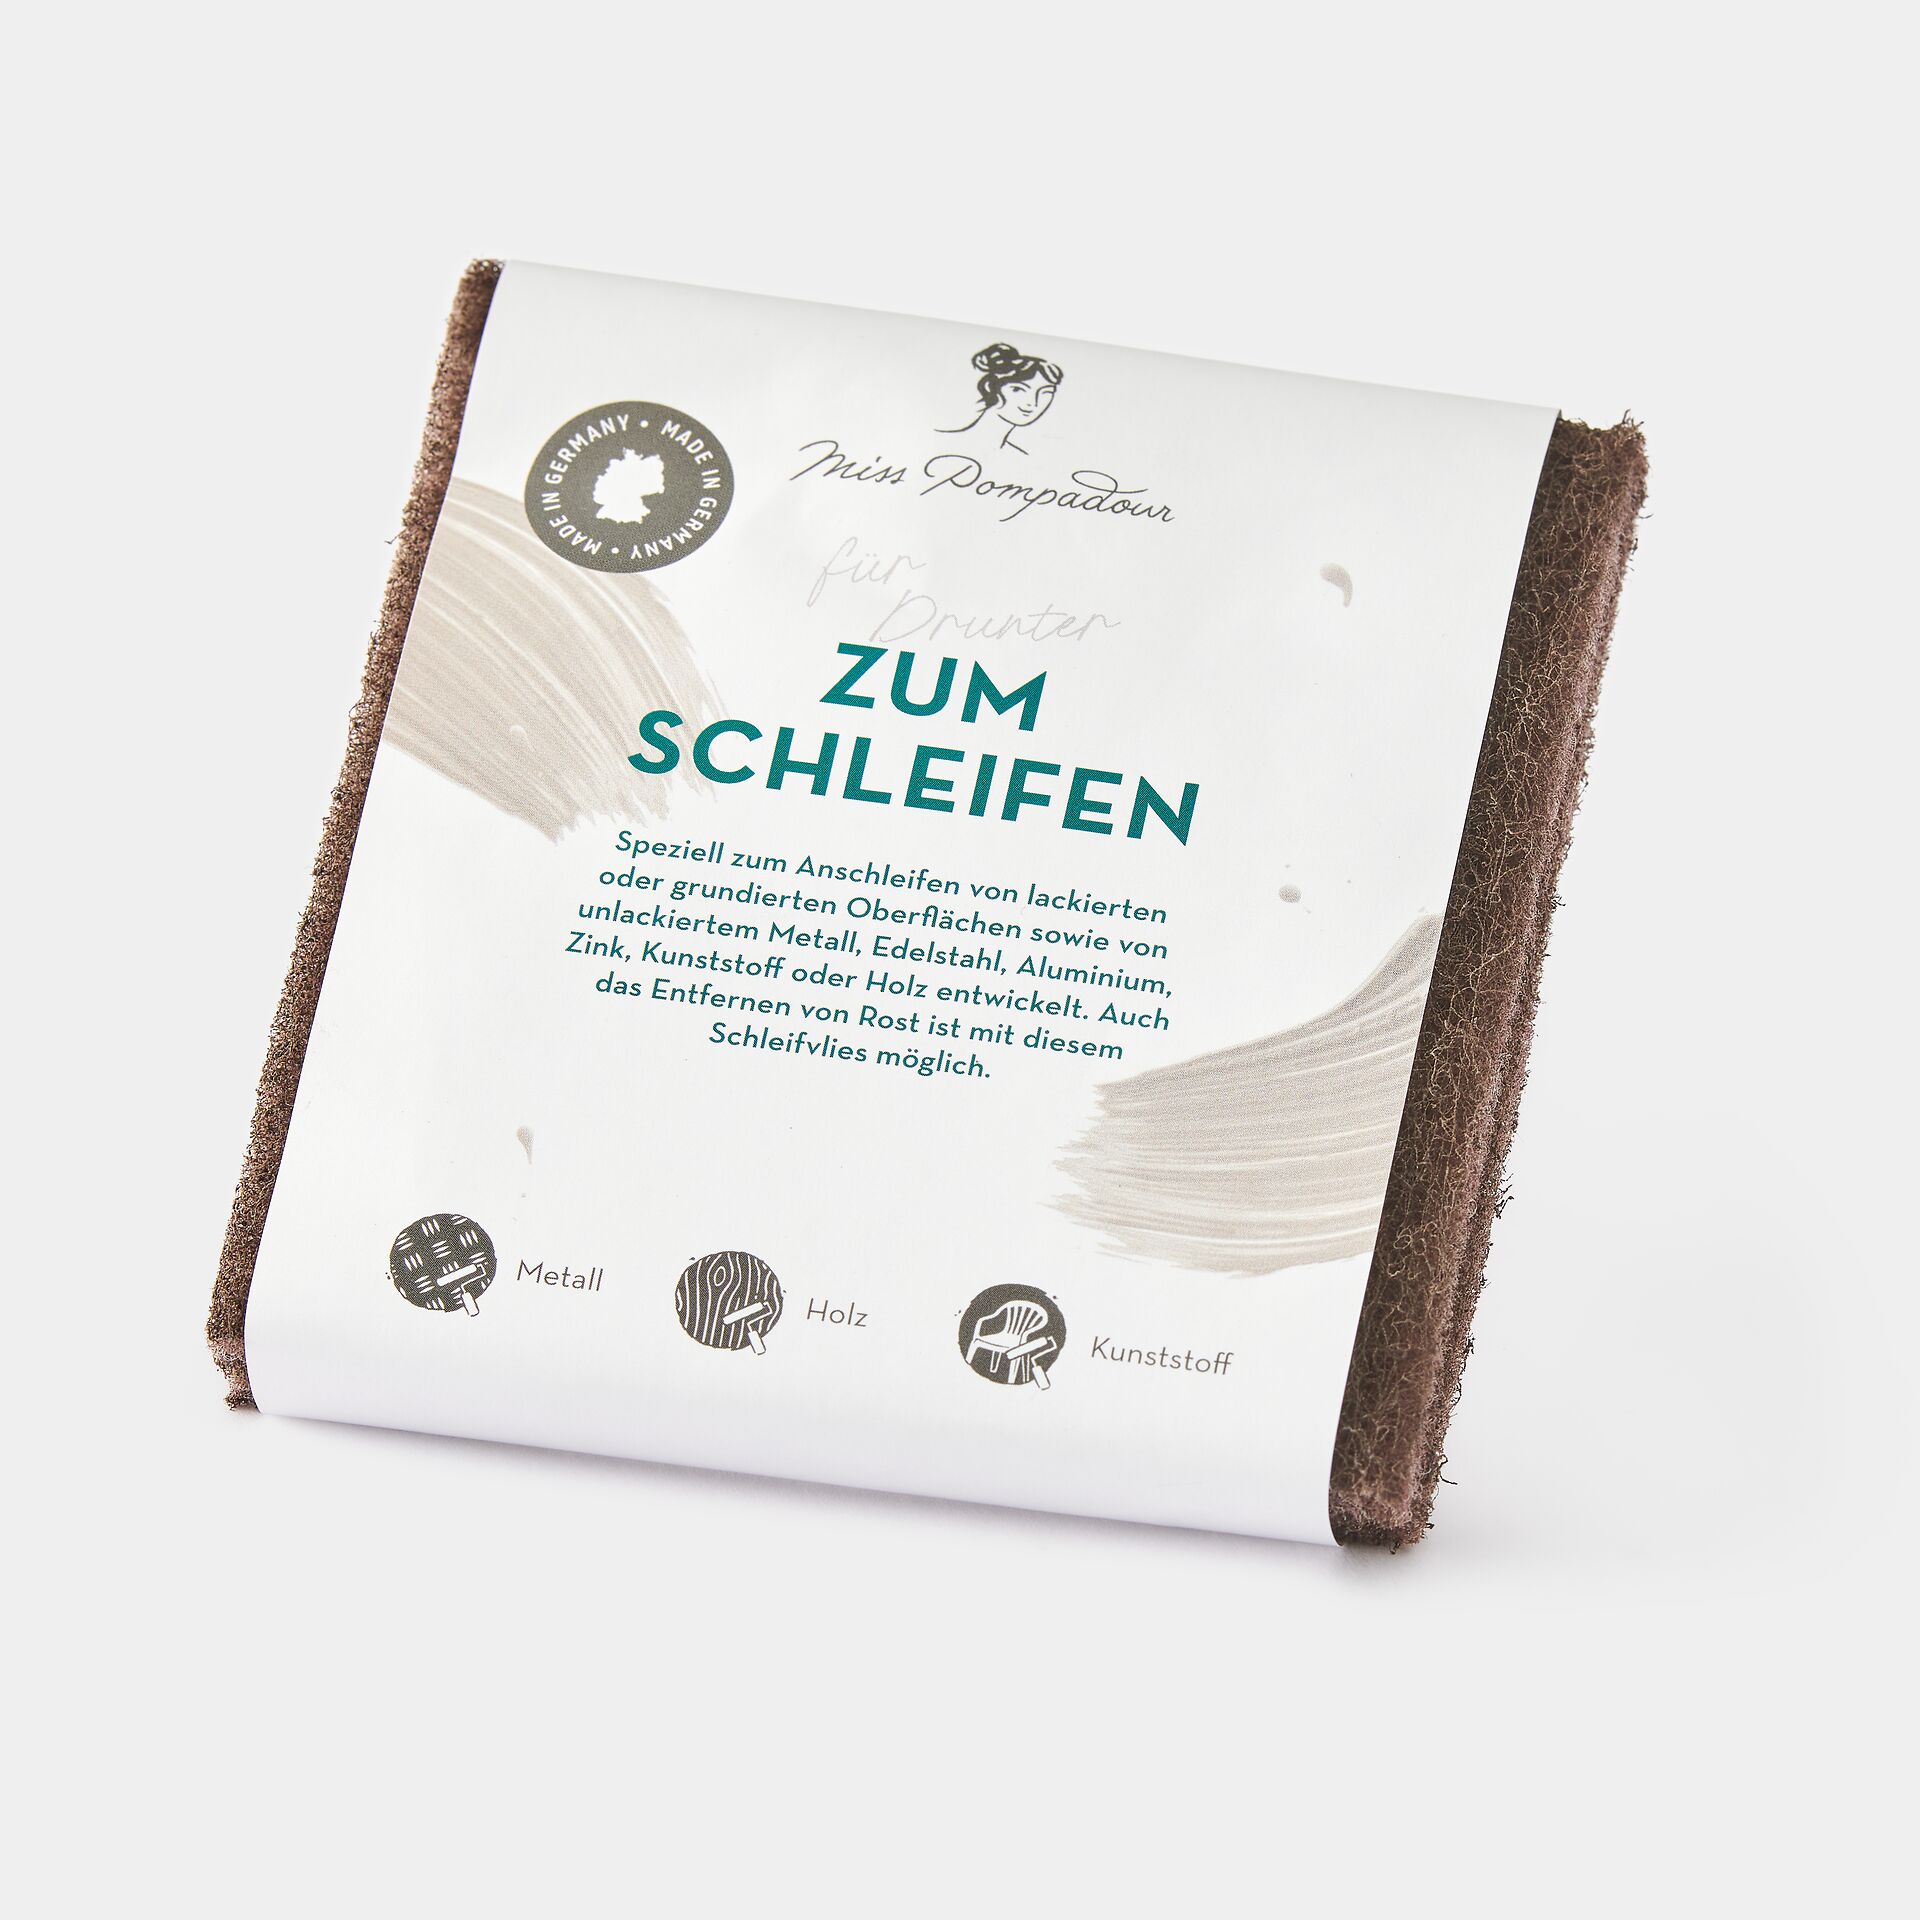
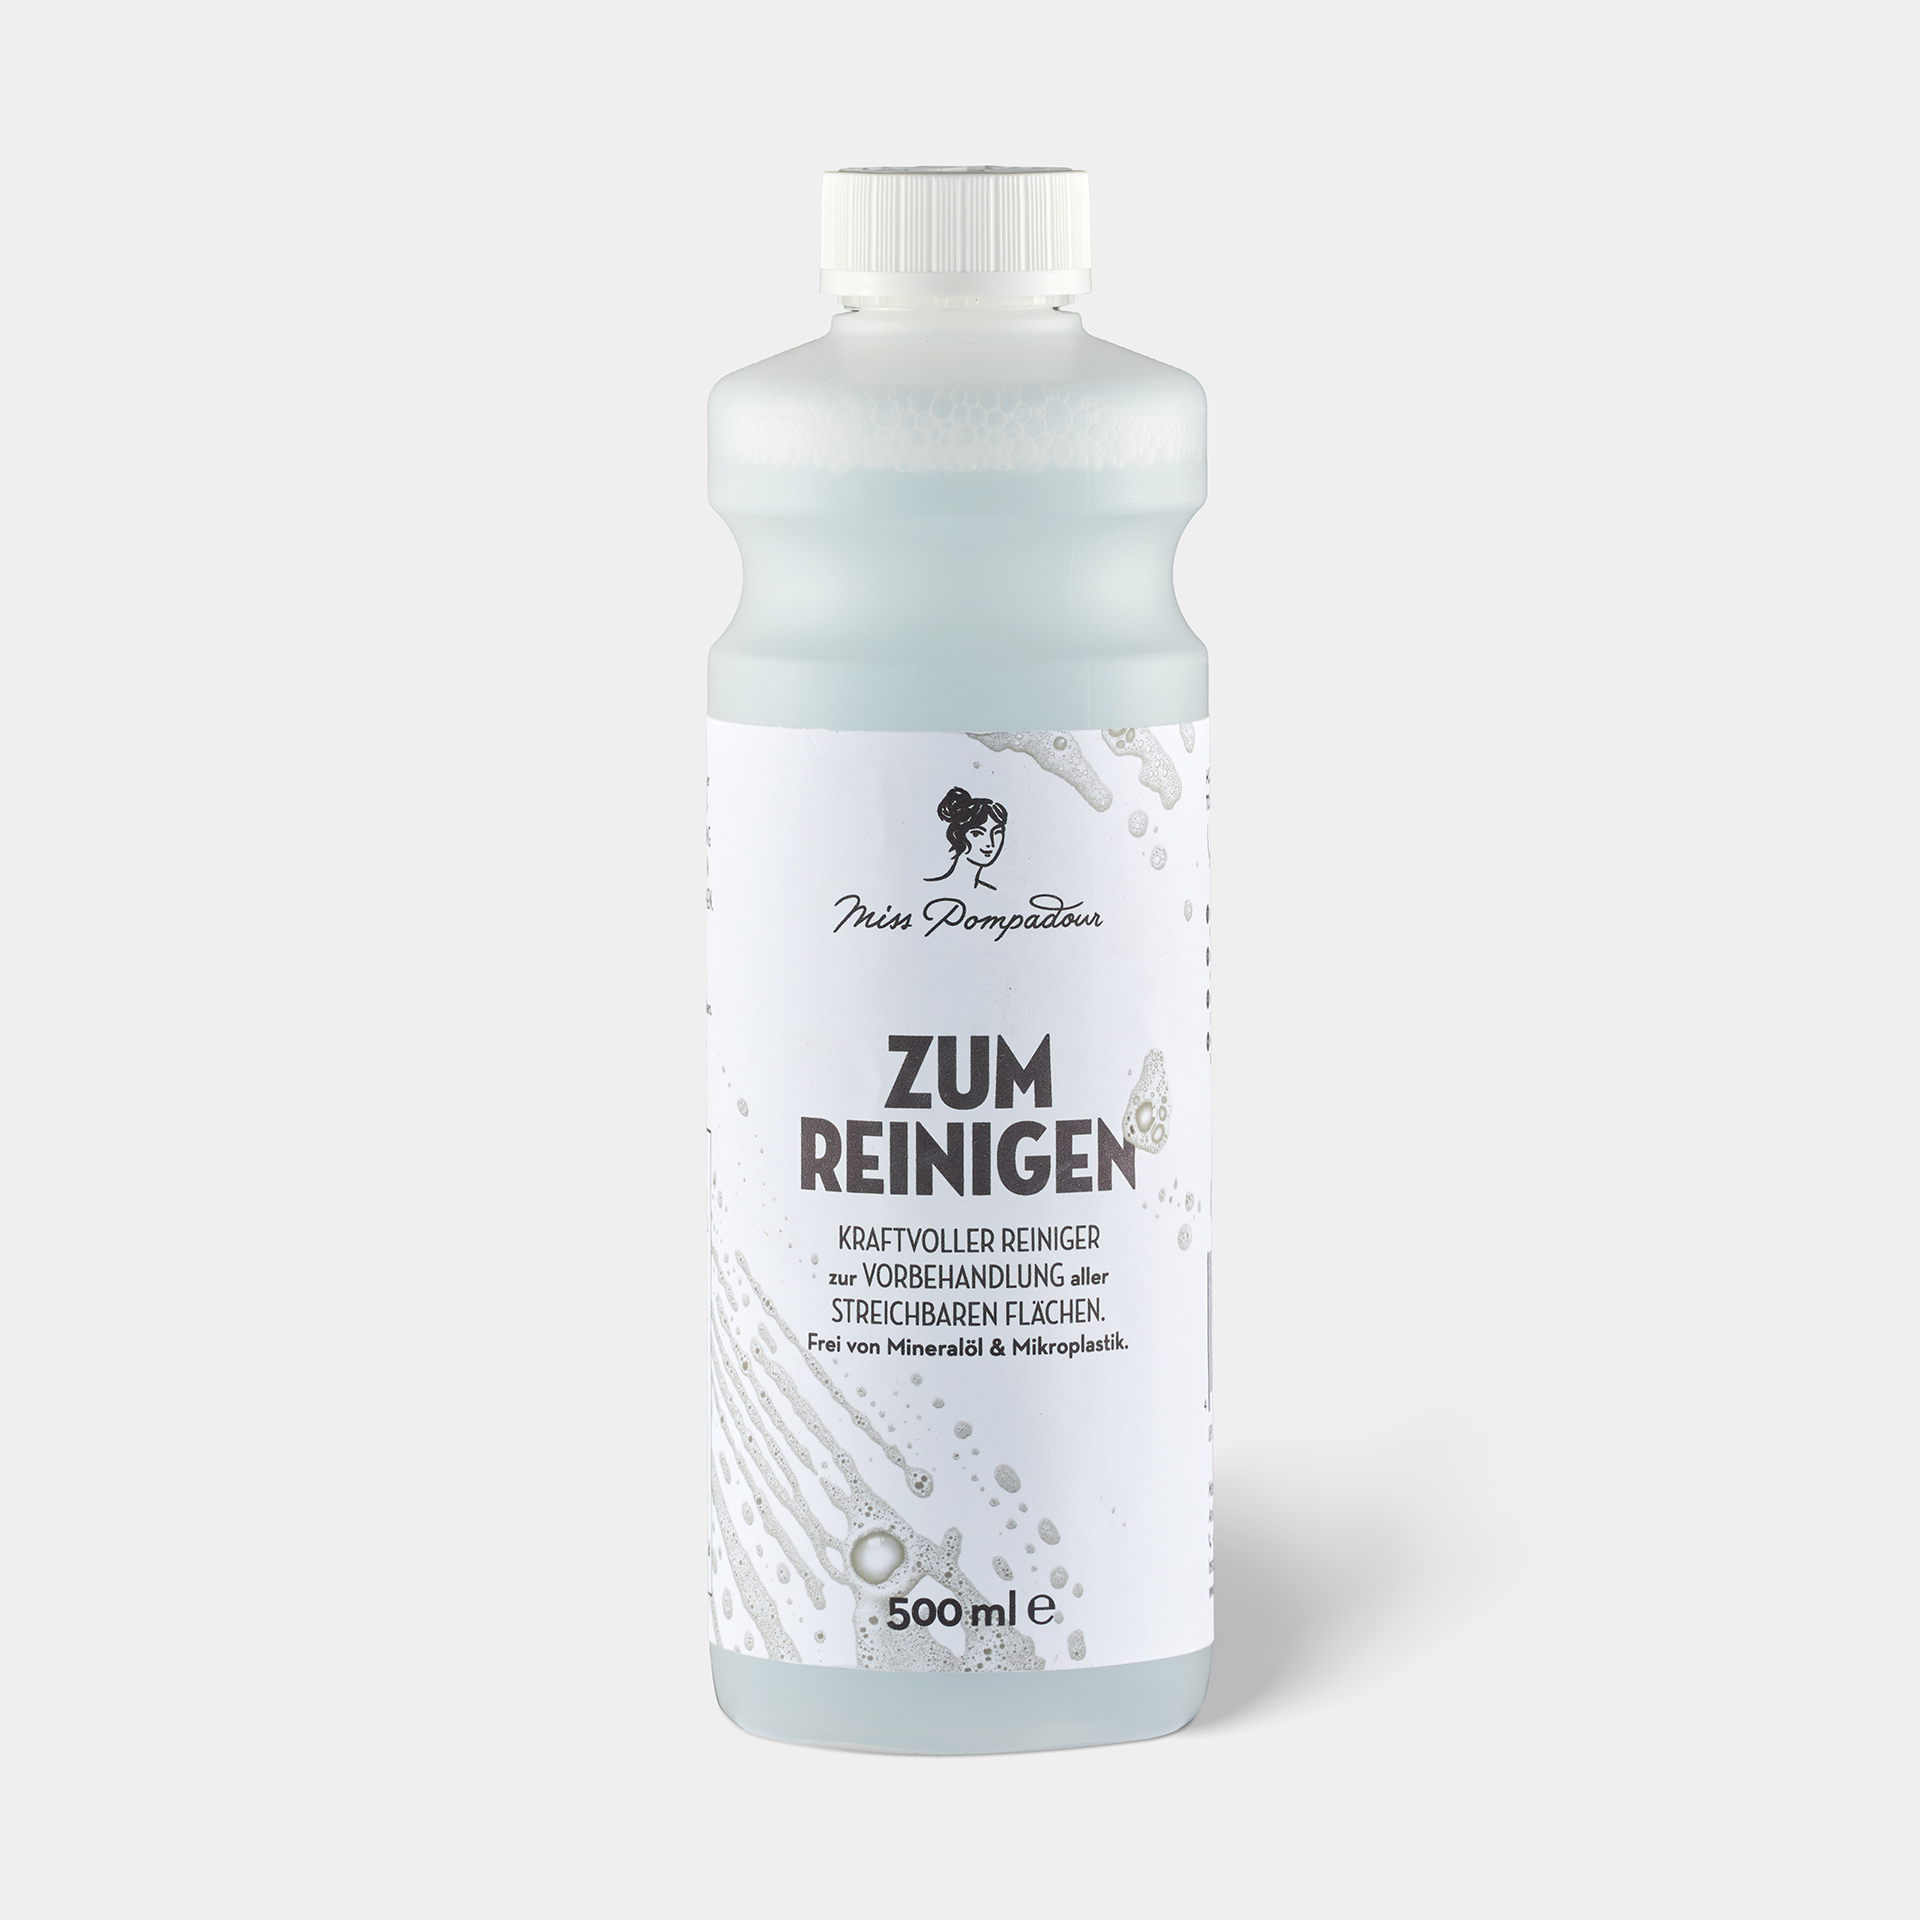
- Old varnish that is peeling off, paint residue and, in the case of metal fences, rust must be removed in any case. The same applies to moss, lichen or other plants that may have already attached themselves to the fence. For general cleaning and the removal of moss and lichen, we recommend MissPompadour - To Clean. Damage caused by corrosion (such as rust) should be sanded down and completely removed.
- Any unevenness can be repaired, sanded or filled - e.g. with To Fill - MissPompadour Filler.
- The fence should always be thoroughly cleaned with clear water before painting and then given enough time to dry.
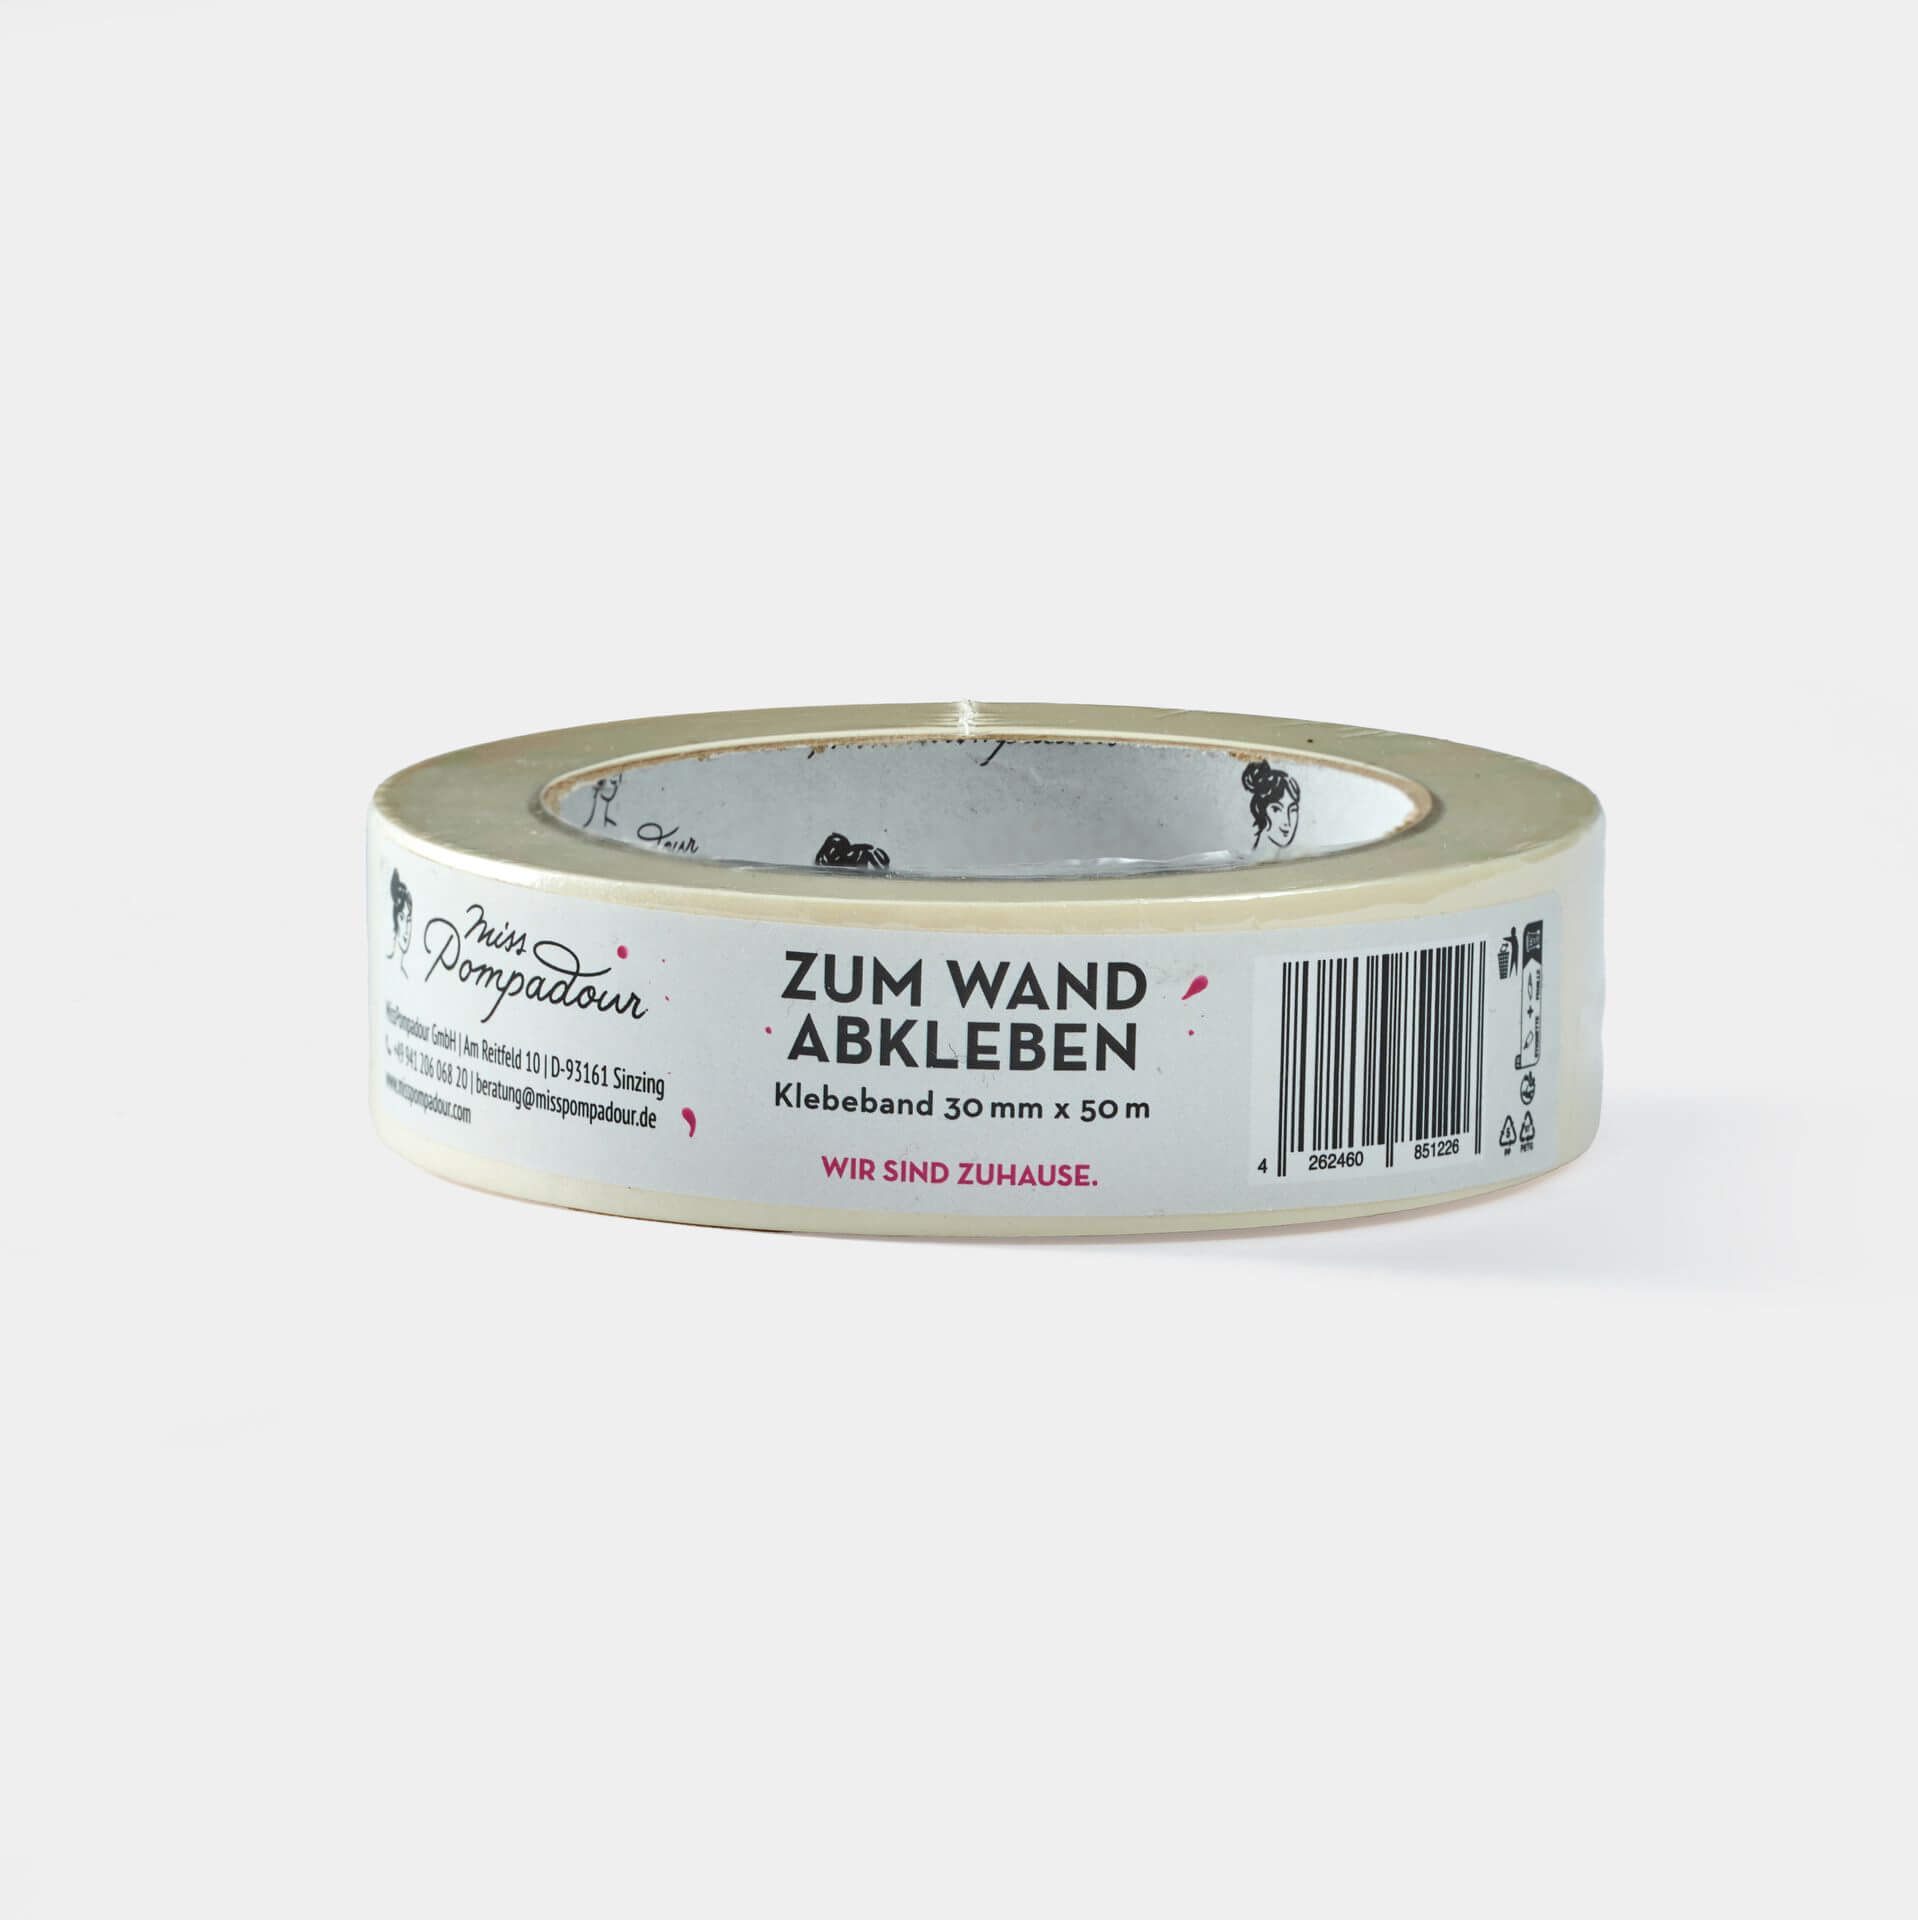
- If there are tiles or other sensitive materials under the fence, protect them with a plastic drop cloth.
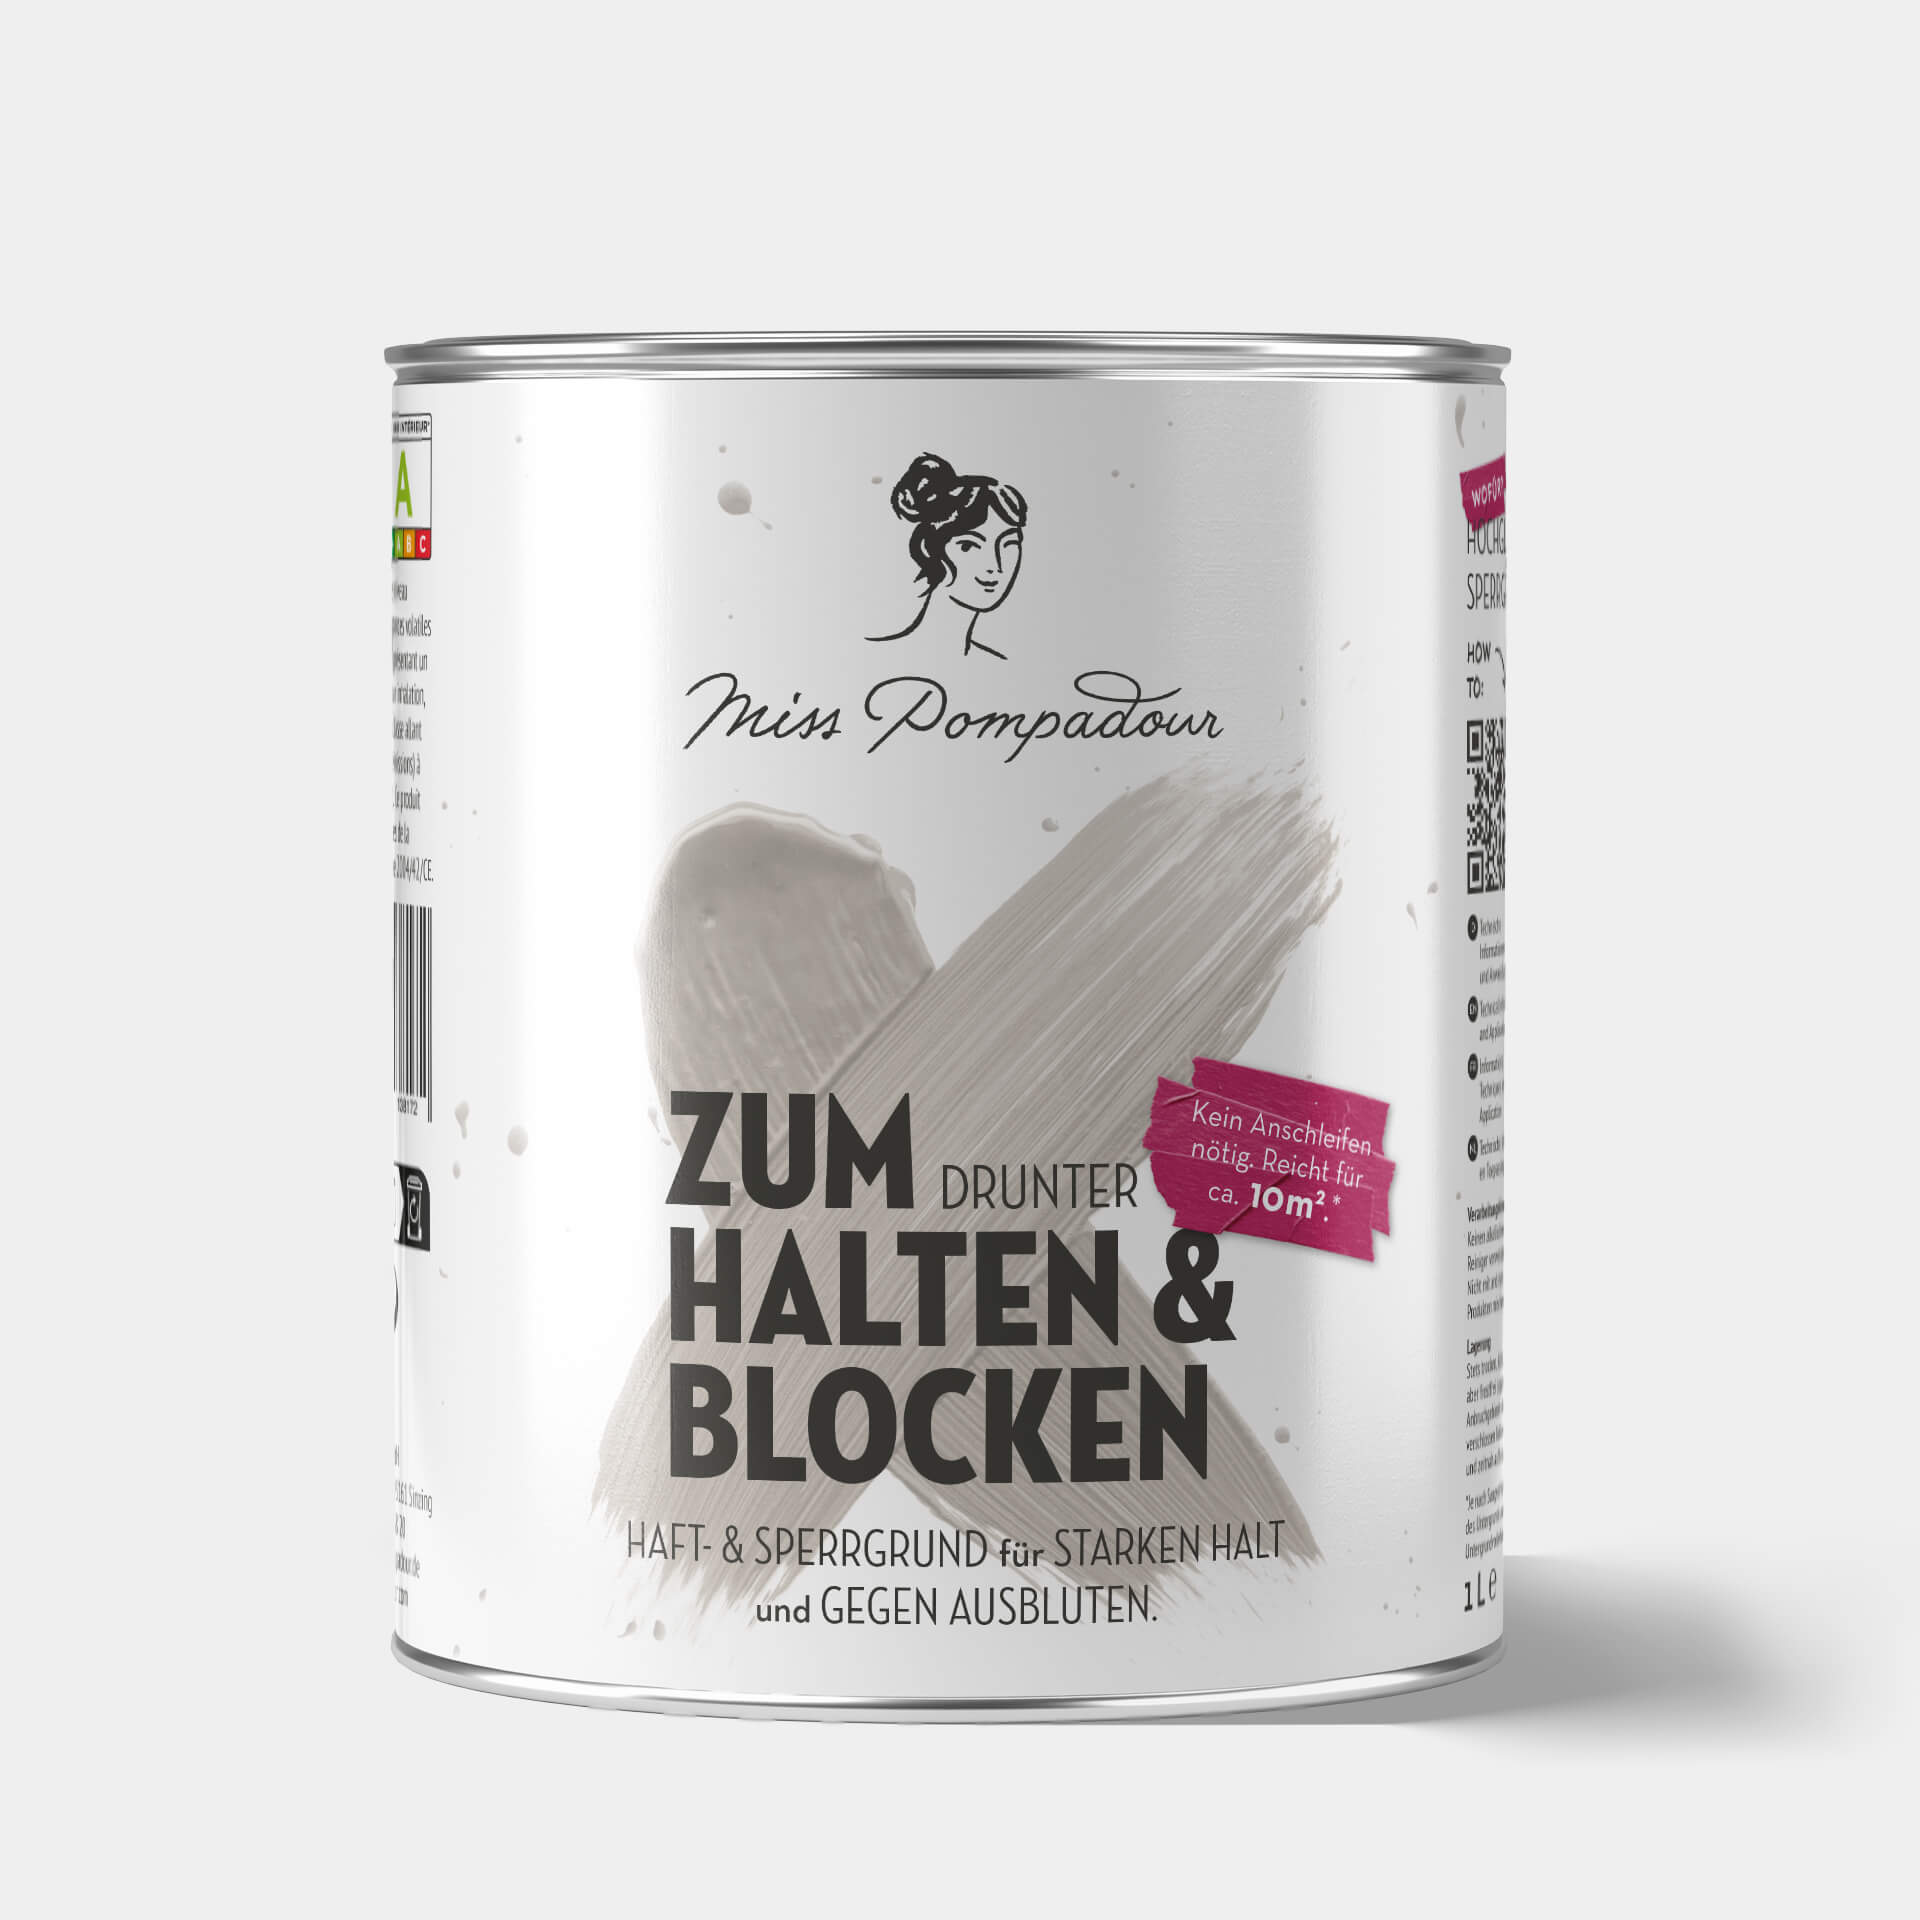
Step 3: Priming
The primer is the first thin coat of paint that is applied to the prepared surface. It has three functions:- The colour bonds better with the material, the paint becomes more even and it lasts longer.
- Especially if you want to apply light colours to a dark surface, the primer covers the dark layer and can prevent the bleeding of wooden fences.
- It also serves as corrosion protection for metal.
We recommend our To Bond & Block primer.
- For wooden fences: For real wood, play it safe with our To Bond & Block - MissPompadour Primer. The barrier layer prevents tannins in the wood from bleeding and leaving unsightly stains in the fresh colour.
- For metal fences: Priming is particularly important for metal to prevent rust from forming. For non-ferrous metals, you can use To Bond & Block from MissPompadour. For raw iron, apply rust protection primer before priming.
- For plastic fences: Also use To Bond & Block on plastic surfaces to ensure a good paintable surface. Apply this primer generously and allow it to dry thoroughly.
Step 4: Painting the garden fence
- Don't use too much paint on the brush so that there are no runs or unsightly paint drips.
- How many coats you need to apply depends on your colour preference and the material. Apply as many coats as you need until you are happy with the result.
- Allow each coat to dry very well. Four to five hours is usually enough, but it can take longer depending on the weather. You can wash out the tools with water.
FAQ: Frequently Asked Questions about Painting Garden Fences
When is the best time to paint wooden fences?
If it is too cold, the varnish will not hold well. If it is too warm or the sun is shining directly on it, the paint may dry on the brush. Temperatures should be in the mid two-digit range - even at night.
How often should I paint my fence?
How do I paint a hunter's fence?
The hunter fences are usually supplied as modules approx. 2 metres wide, which has the advantage that you can dismantle them relatively easily for painting.
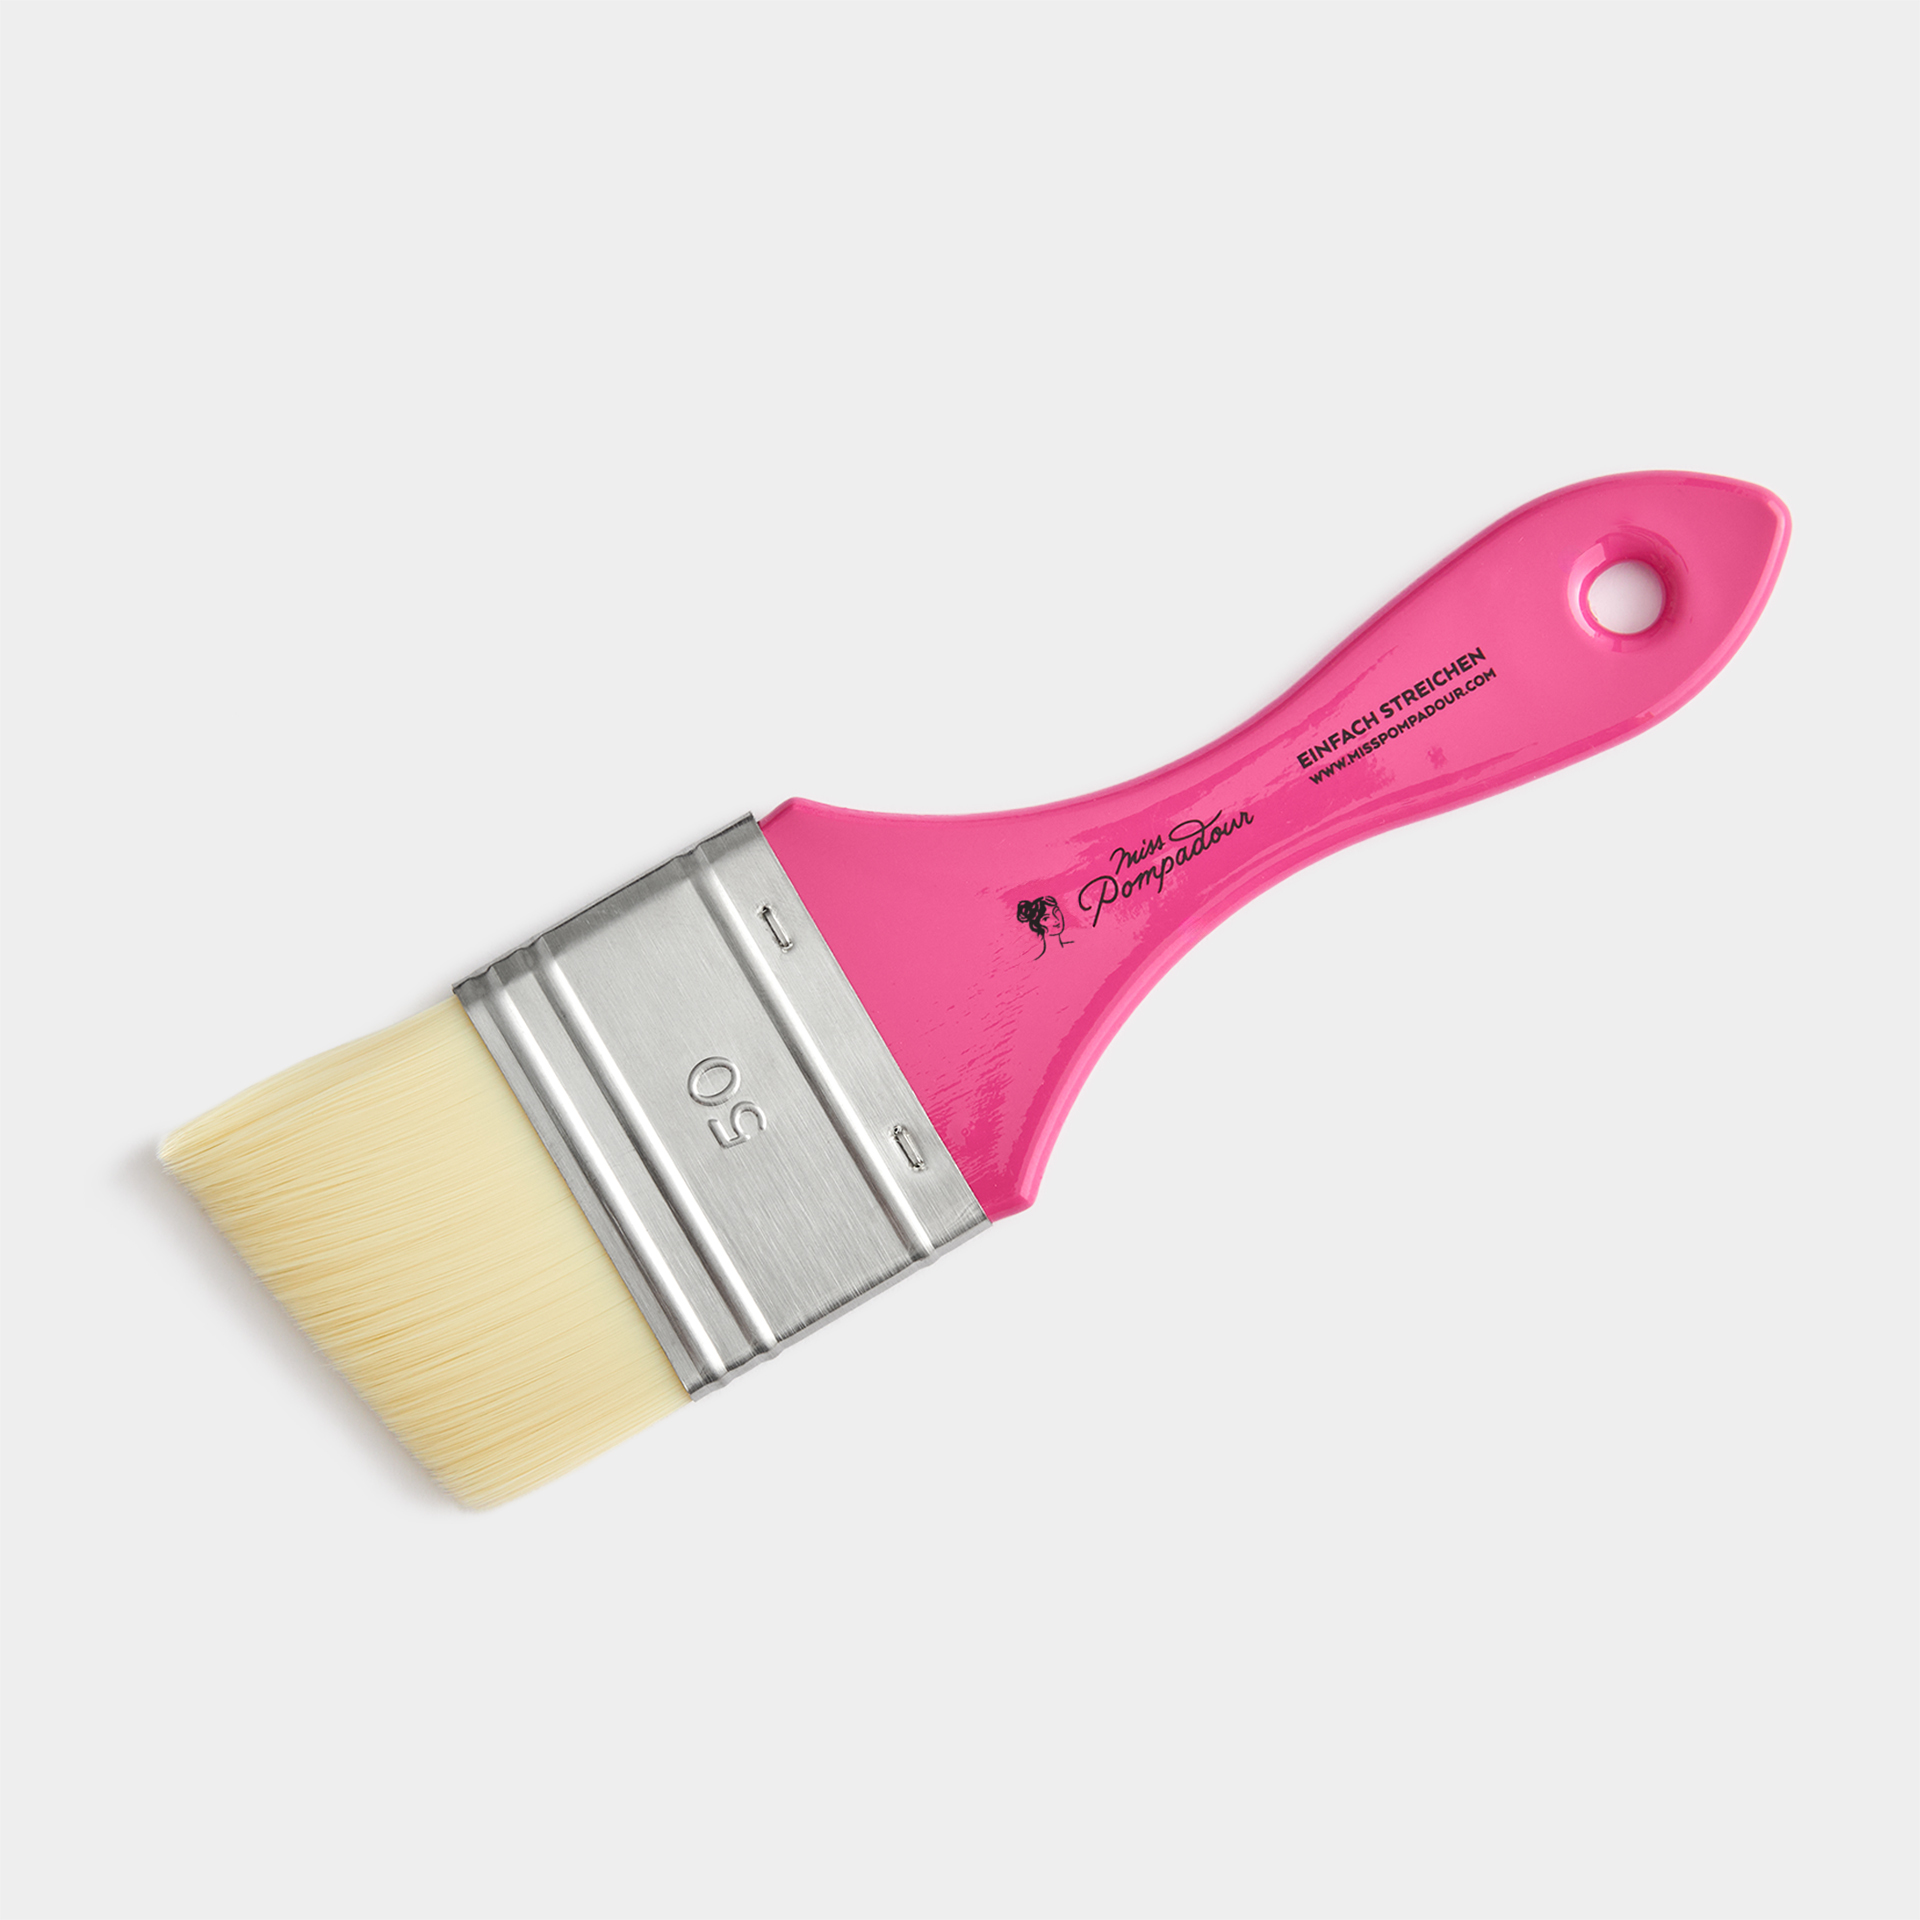
The tools you need for painting the garden fence
- Sandpaper or Sanding Pad: For any areas where old varnish has flaked off or for other superficial damage to the wooden fence that should be sanded smooth before painting, you can use our MissPompadour Sanding Pad To Sand.
- Cleaning cloth and bucket: The surface must be free of dust and grease for your paint to hold well. To thoroughly clean the garden fence first, use To Clean from MissPompadour.
- plastic drop cloth or newspaper: To protect the ground against paint splashes.
- Brush or spray system: Whether you prefer to work with a brush or a spray system depends on the type of fence. If it is an ornate metal fence, it is easier to spray.
Note, however, that you will need more paint for this, you cannot spray the primer (as only water-based paints can be sprayed) and that you must cover everything in the background well beforehand.
Colour selection

Tools and accessories


Questions ?
We're here to help
We'll help you anytime, via Phone (Mo-Fr 09-18, Sa until 16 Uhr), via WhatsApp or directly via our Contact Form.