


Priming Wall and Ceiling
5 min reading time
If you want to paint a wall or ceiling, priming beforehand can be an important part of your project. Find out when this is the case and what you need to consider.
Do I need to prime?
At MissPompadour we try to cut down on unnecessary steps. Therefore, you will often hear us say that priming is not absolutely necessary.
But again, exceptions prove the rule. For certain projects, priming makes sense, and for some it is even necessary.
When is priming necessary?
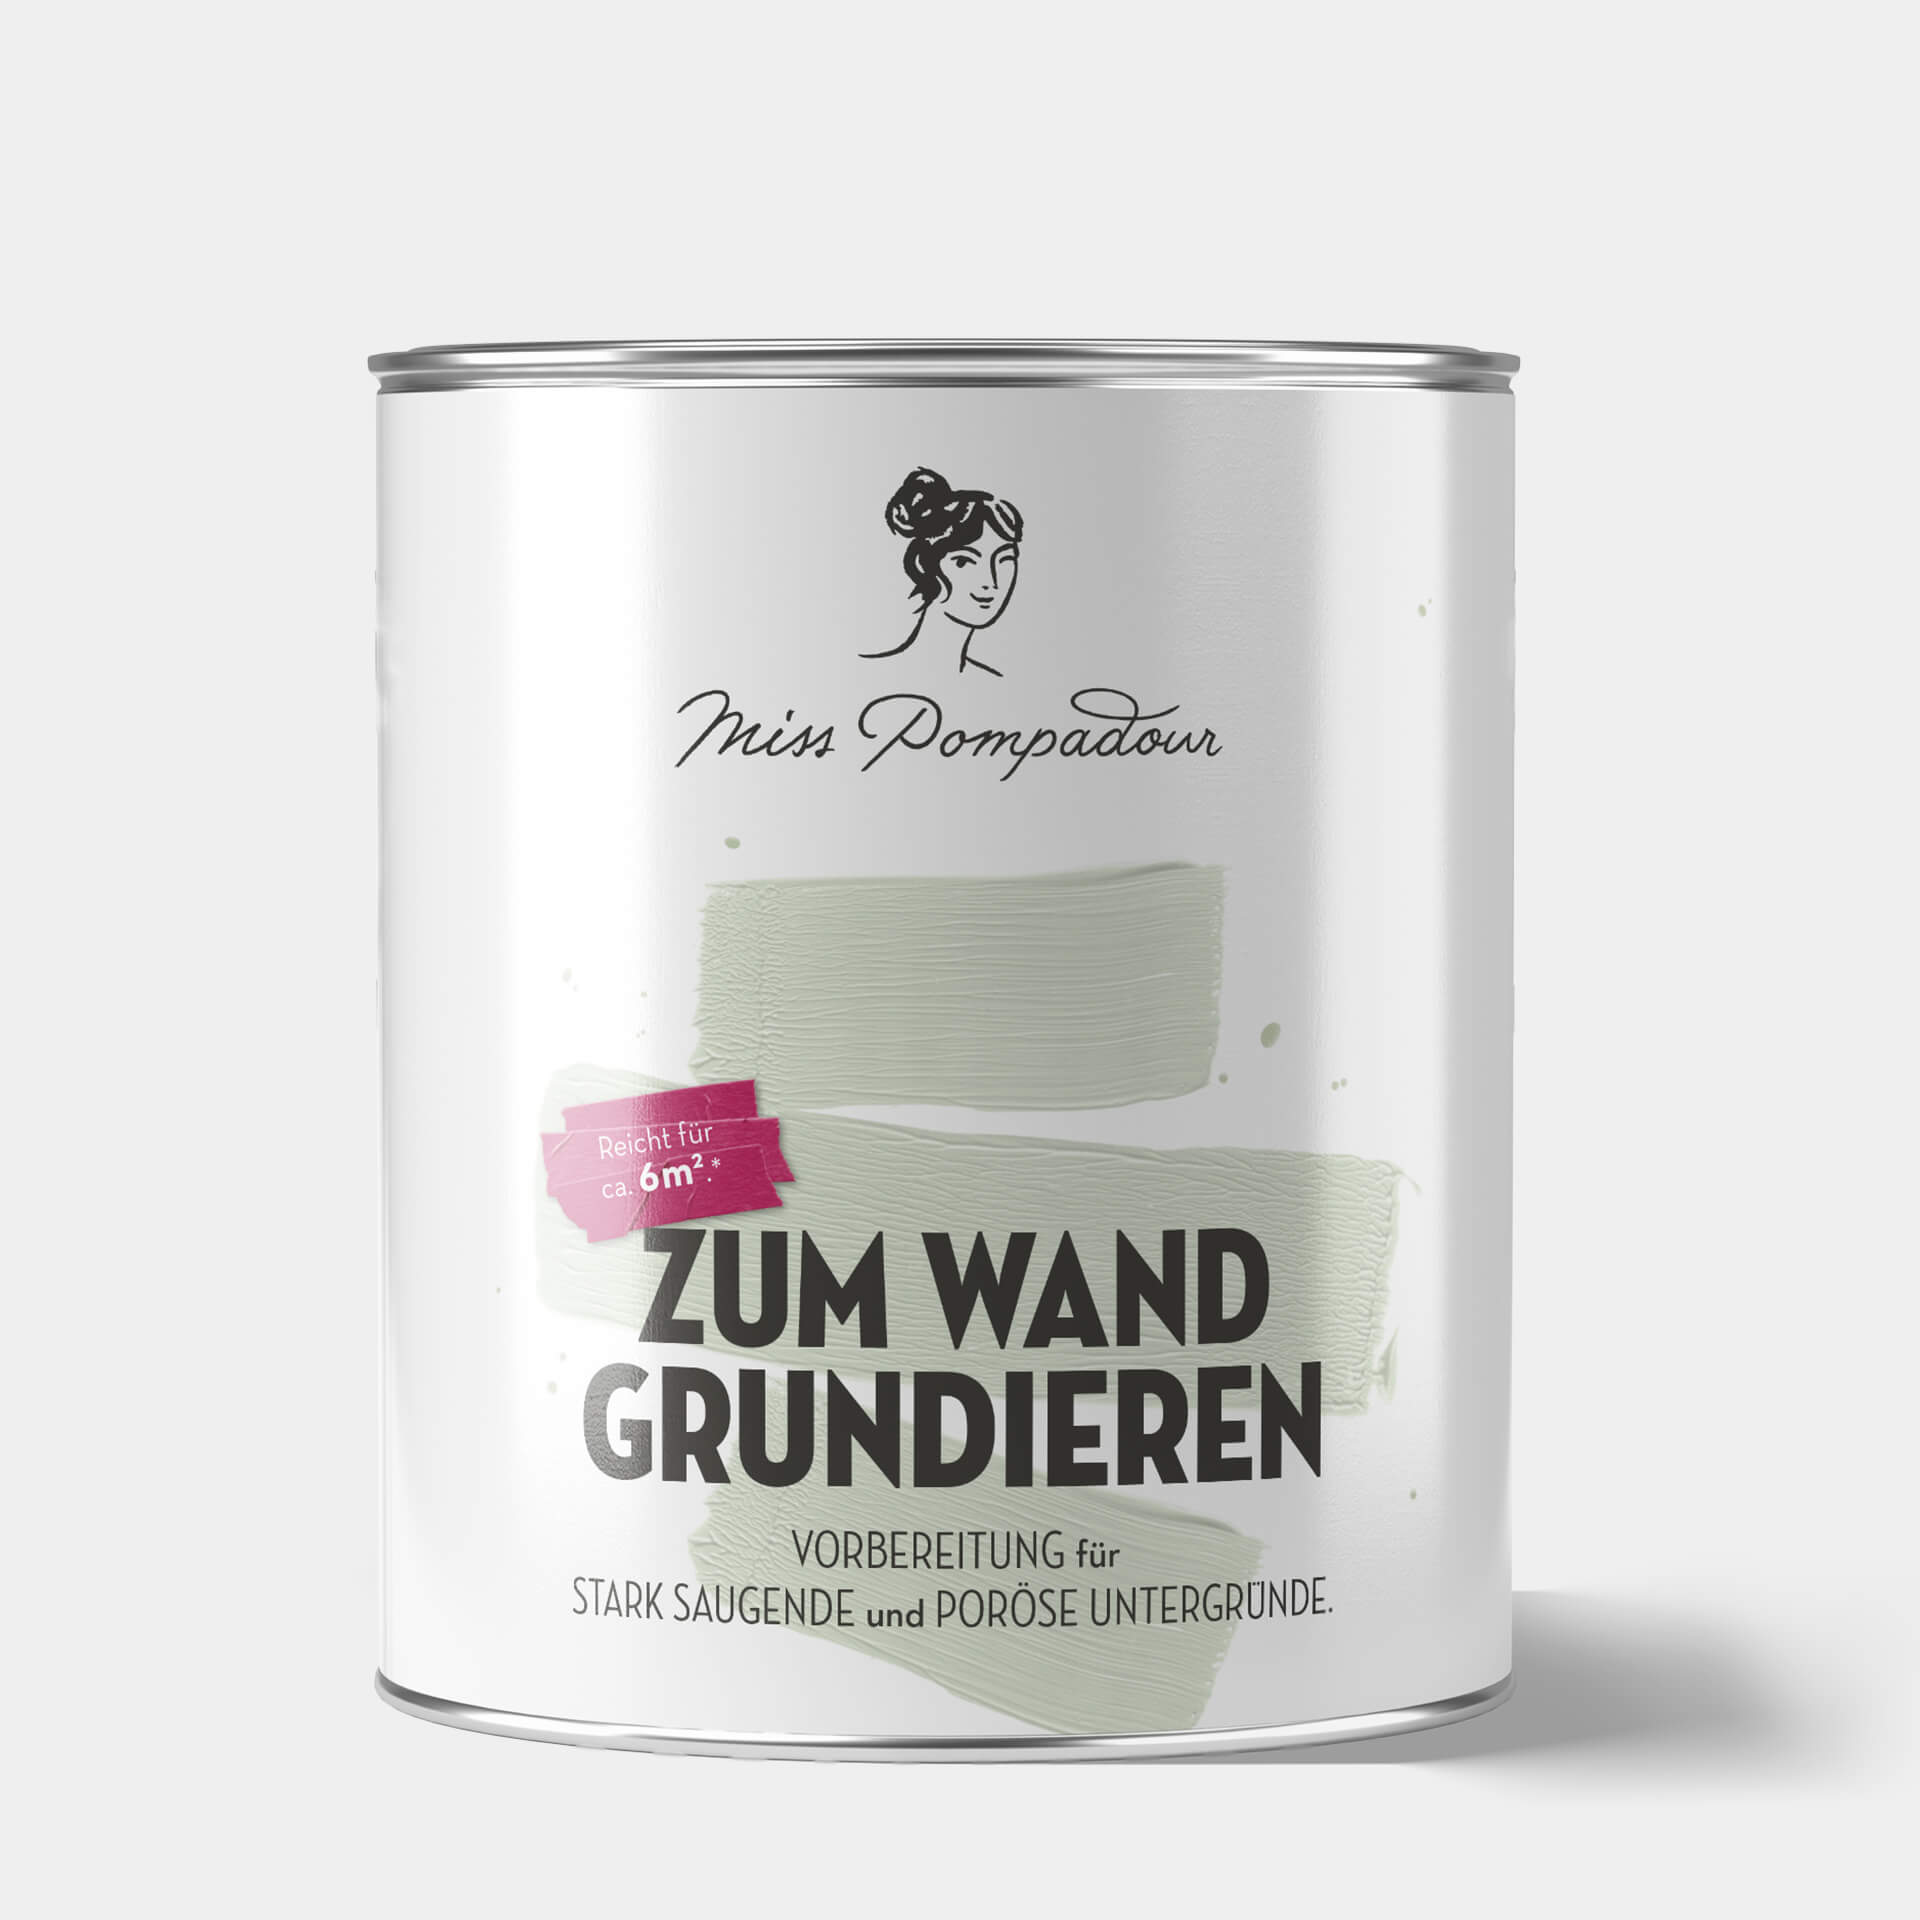
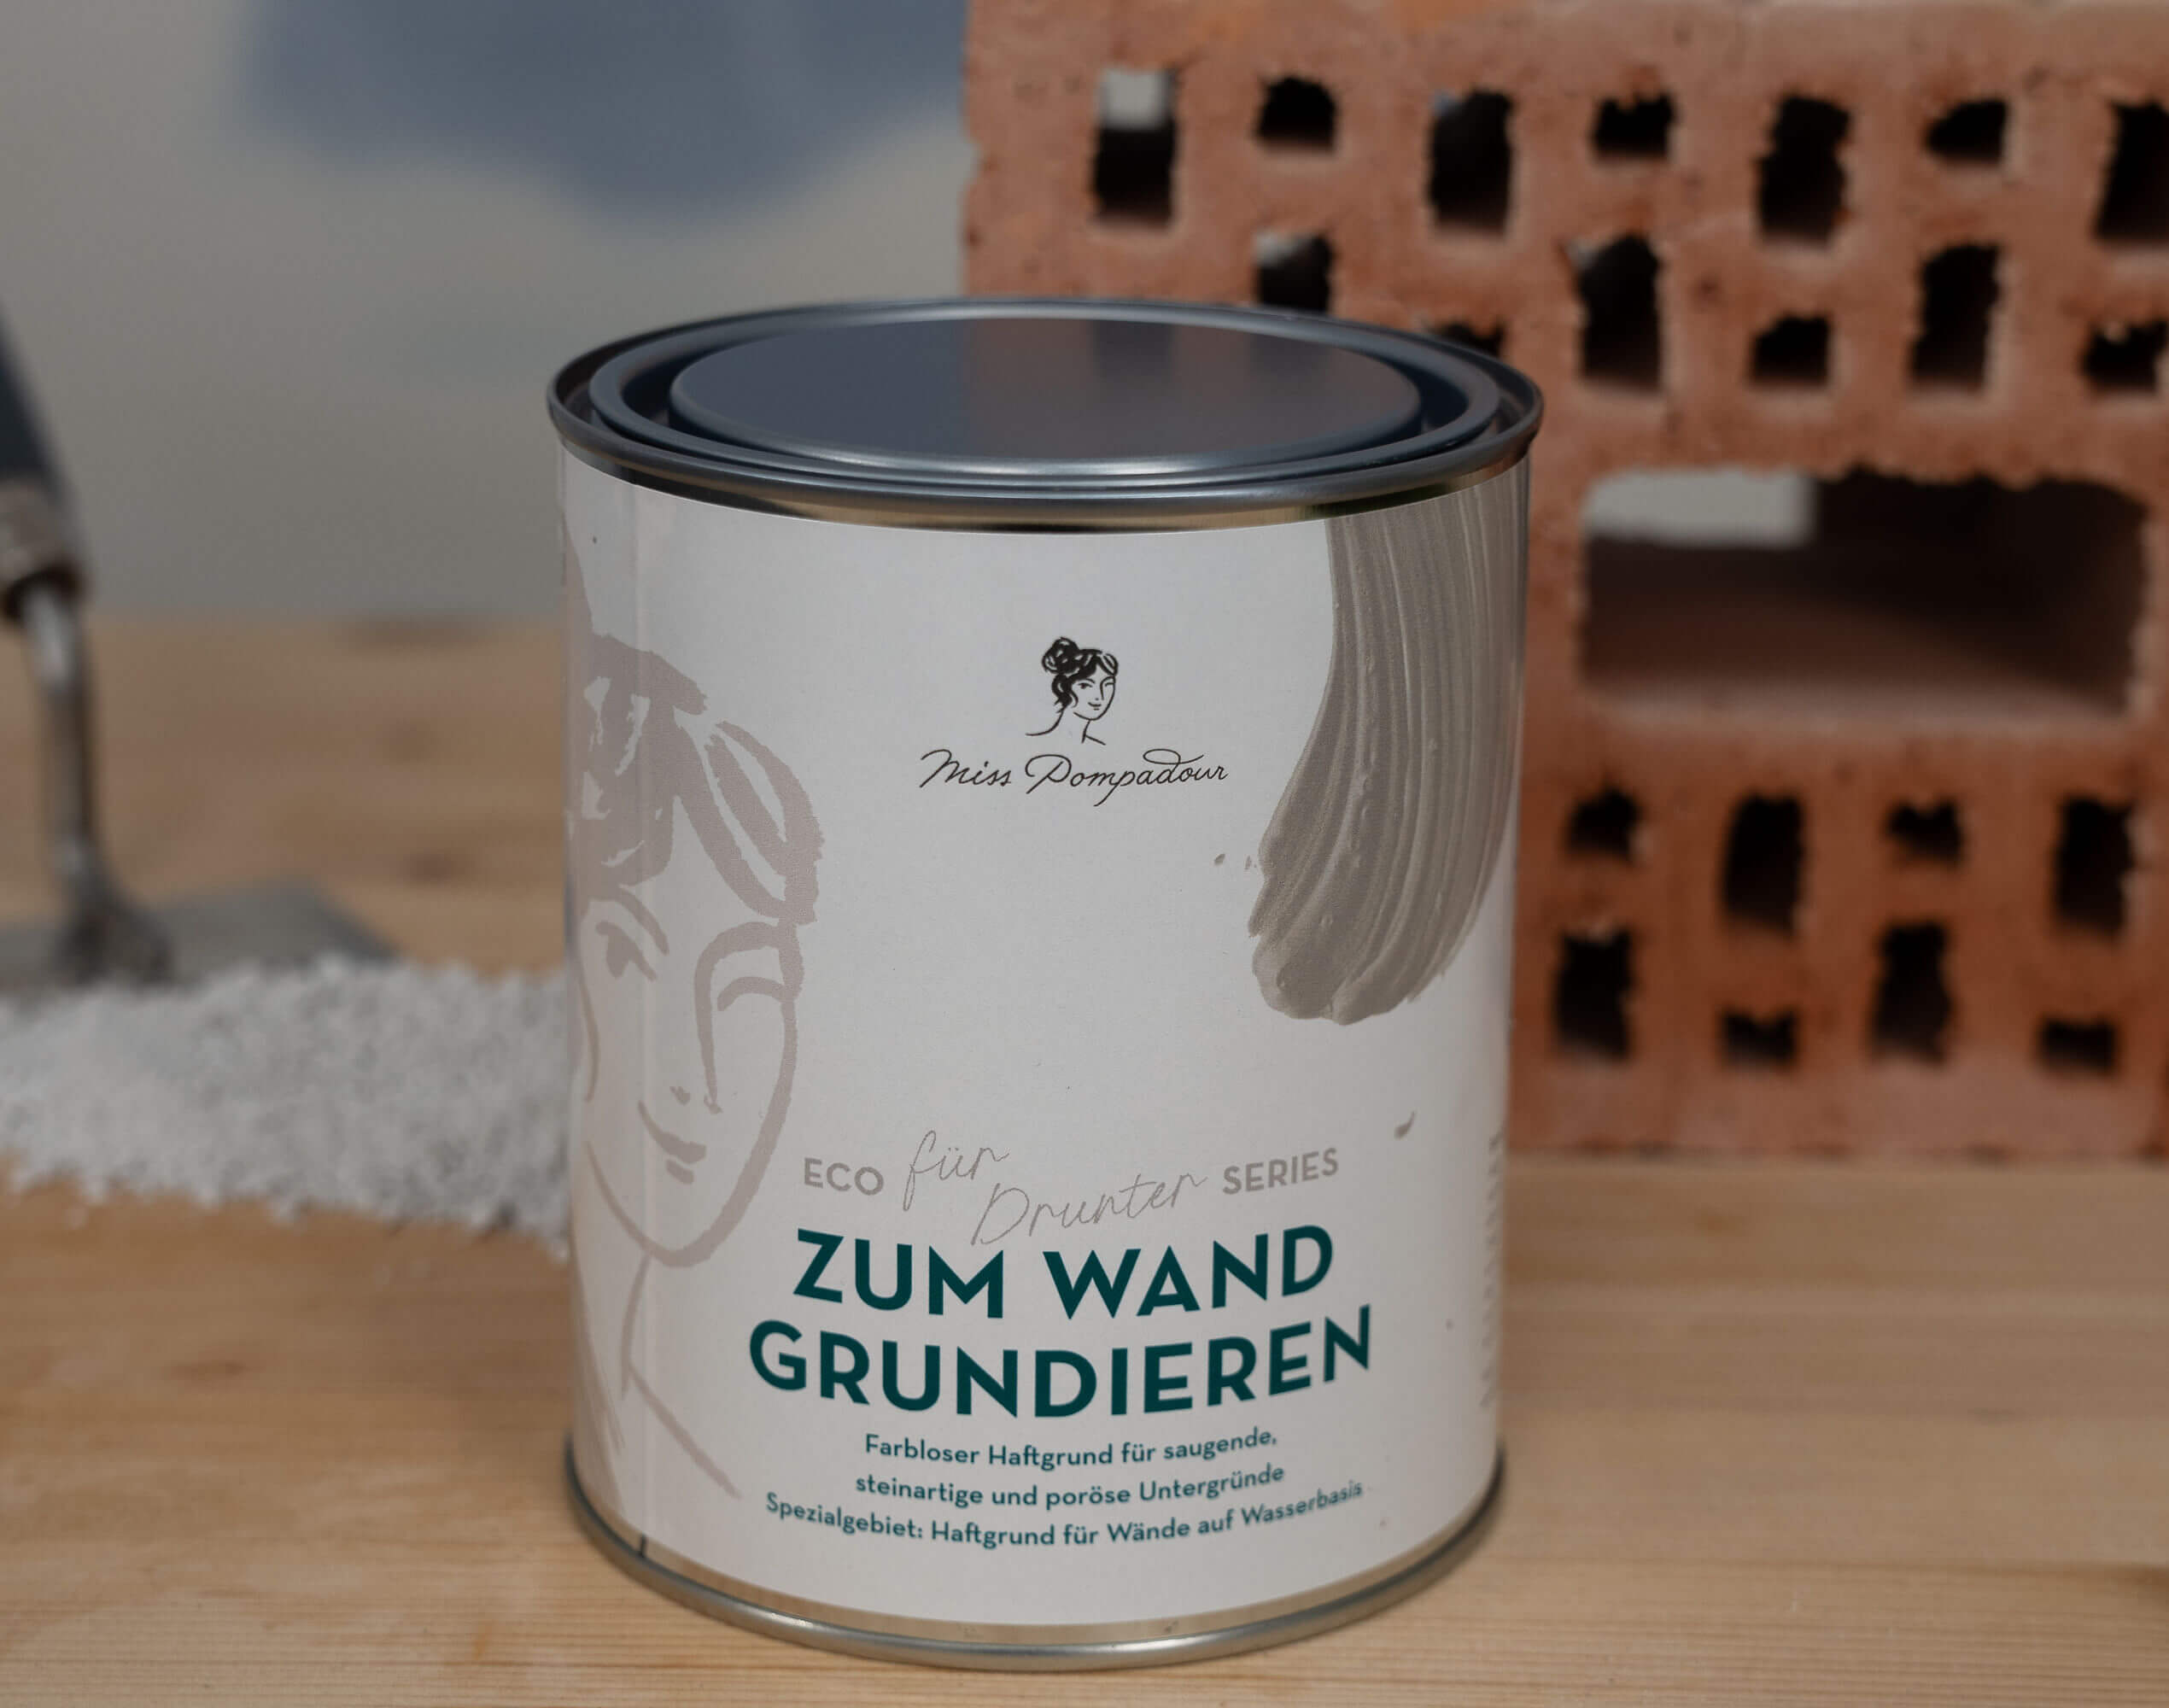
Walls or ceilings rarely need to be primed. Especially if you are simply painting over old paint, you can usually do without a primer. However, if it is a first coat, if you are painting drywall made of plasterboard or porous old walls, prime in advance with MissPompadour - To Prime Walls. Priming is also recommended for painting concrete and exposed brickwork, as the colour will then be more even.
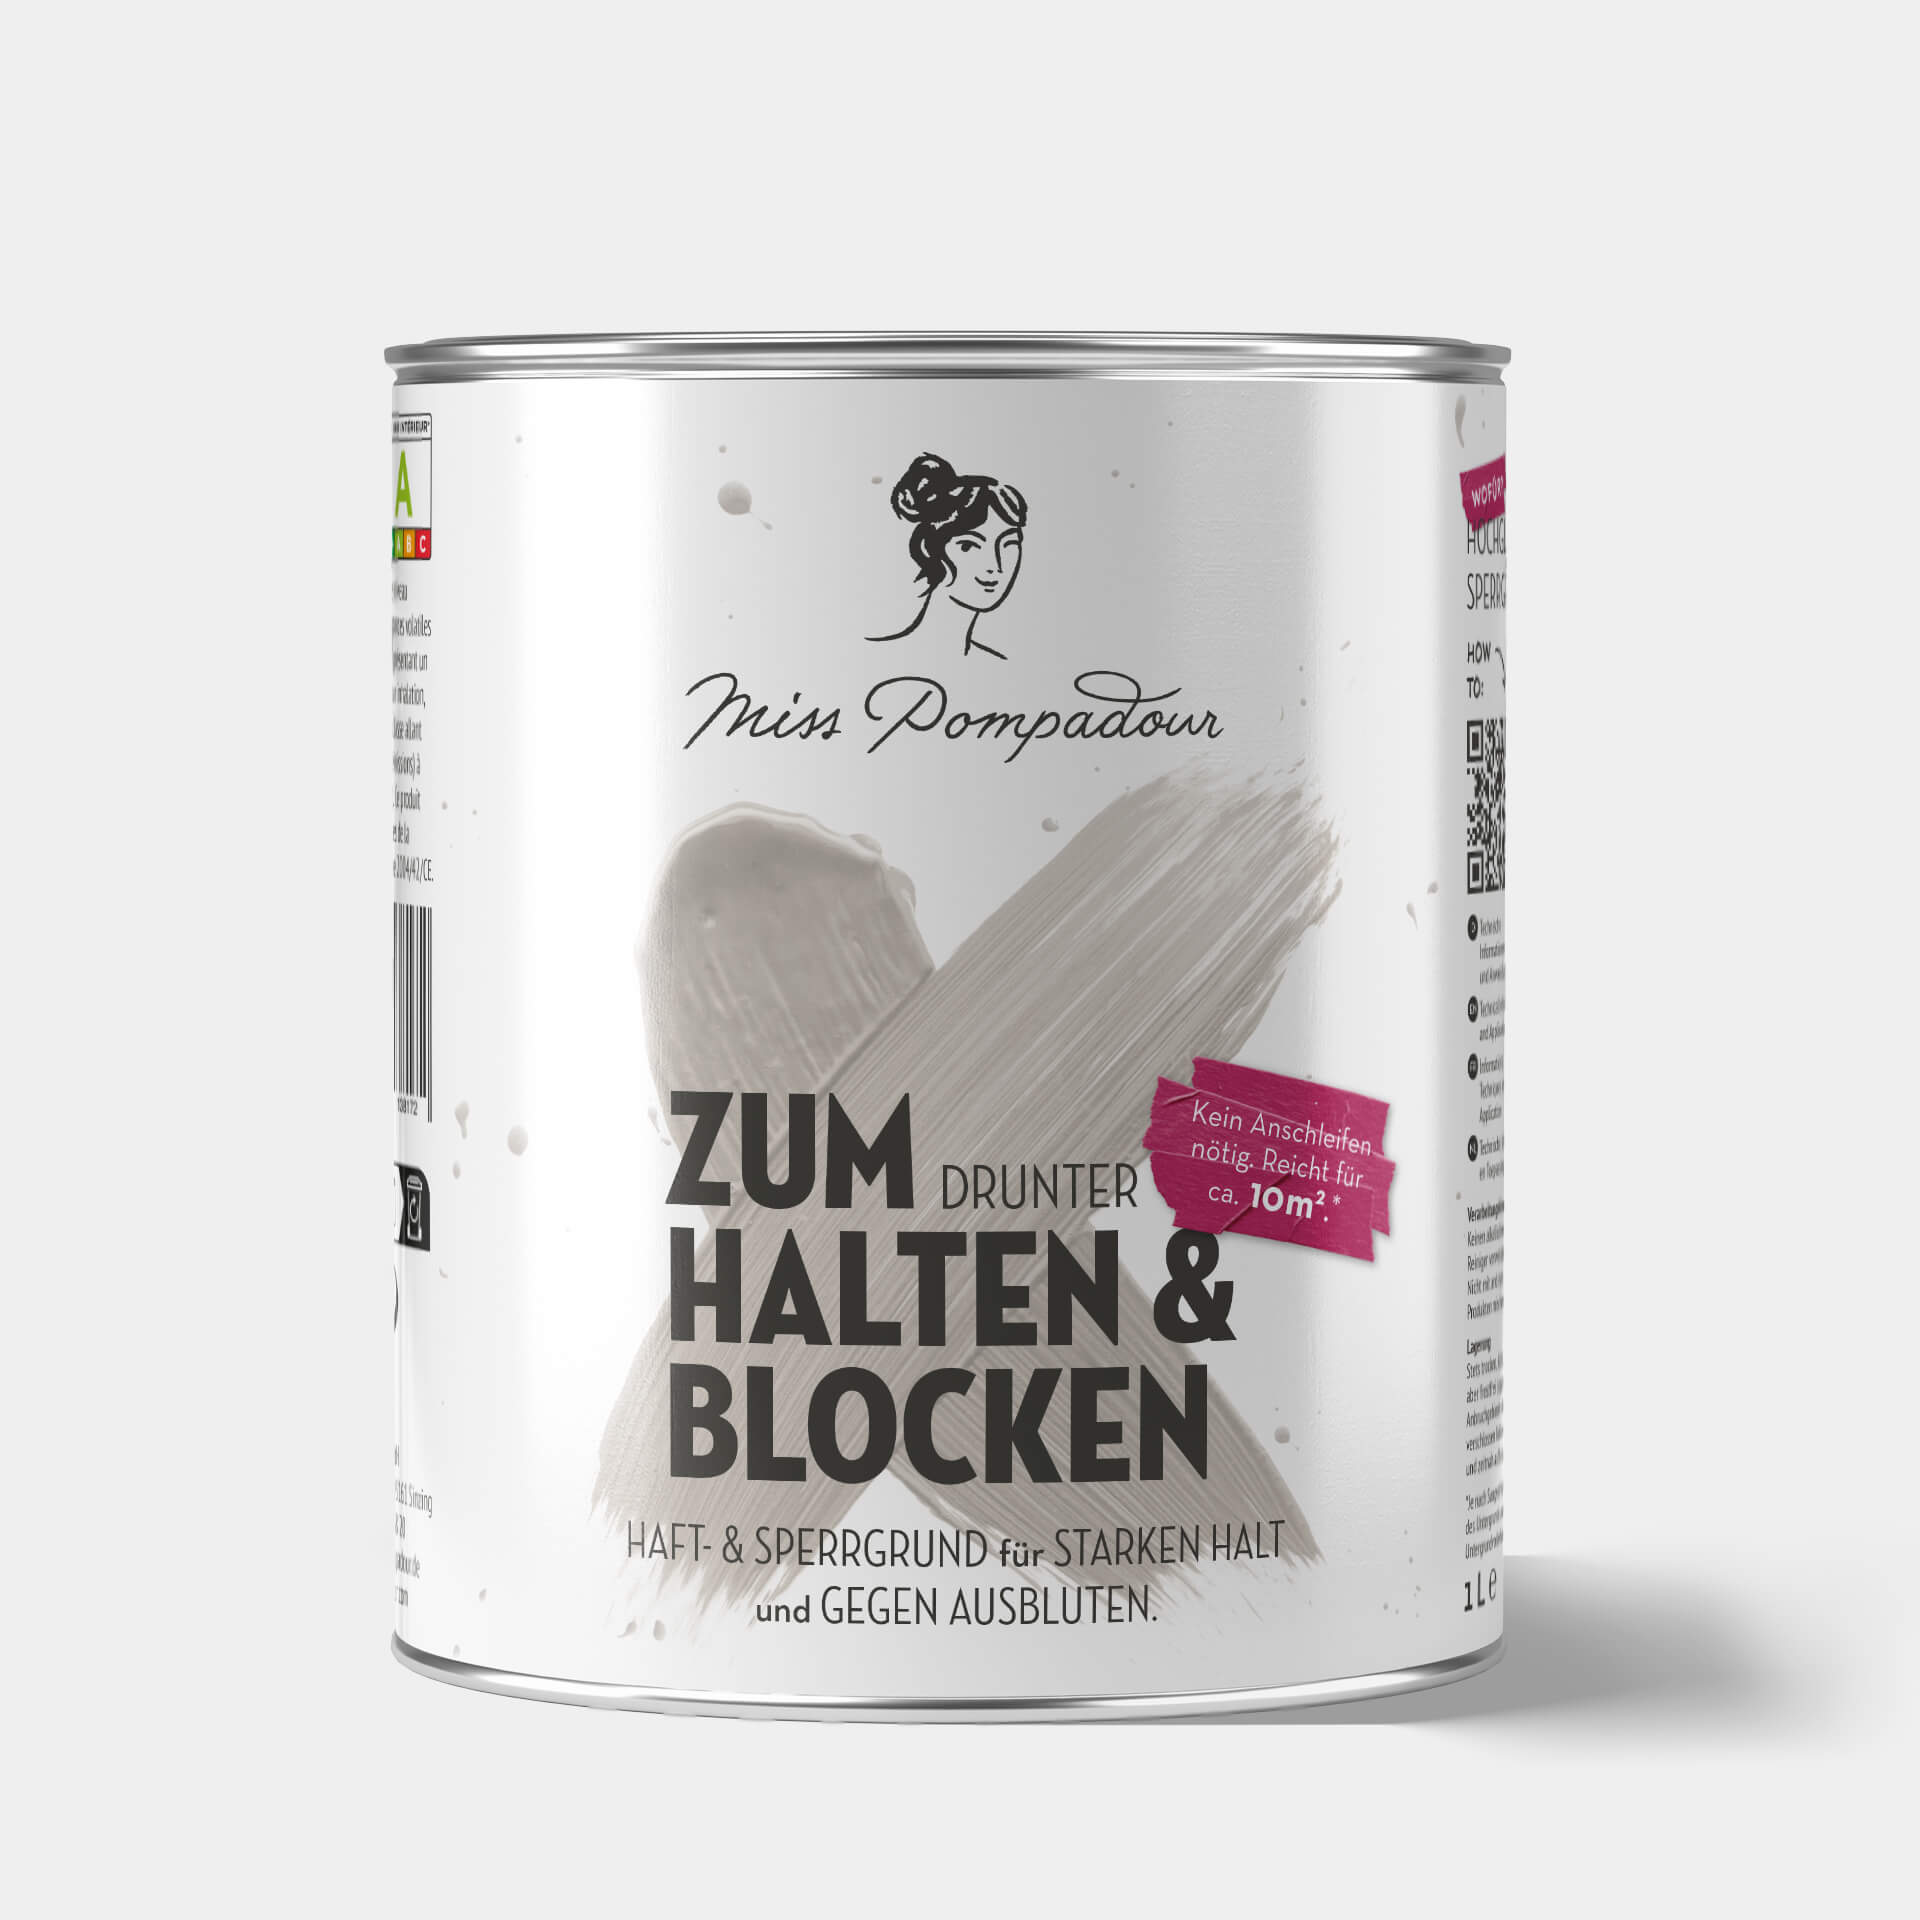
If you are painting a very smooth surface such as tiles, use MissPompadour - To Bond & Block to give the varnish perfect adhesion.
This primer is mainly used on the following surfaces:
- Glass
- Plastic
- Tiles
- high-gloss varnish
- glossy veneers
Applying primer: spray or paint primer
If you want to prime your wall, you have the same application options as with wall paint. Simply spread the primer with a paint roller or apply it with a brush.
When it comes to priming your ceiling, these methods can be quite time-consuming. So the good news first: you can easily apply our water-based primers with a paint spray system. It's just as easy to spray the primer onto the wall, as you can cover a lot of surface in a very short time.
- Use our MissPompadour - To Prime Walls primer on plaster. If you want to paint plastic panels, MissPompadour - To Bond & Blockis the right product. Our Wall Primer To Prime Walls is also perfect as a deep primer for your concrete wall, as it prevents the concrete from absorbing too much of your paint.
- If you want to prime your wooden ceiling, we recommend an insulating primer to prevent the tannins from bleeding into the paint. Use the strong To Bond & Block for this.
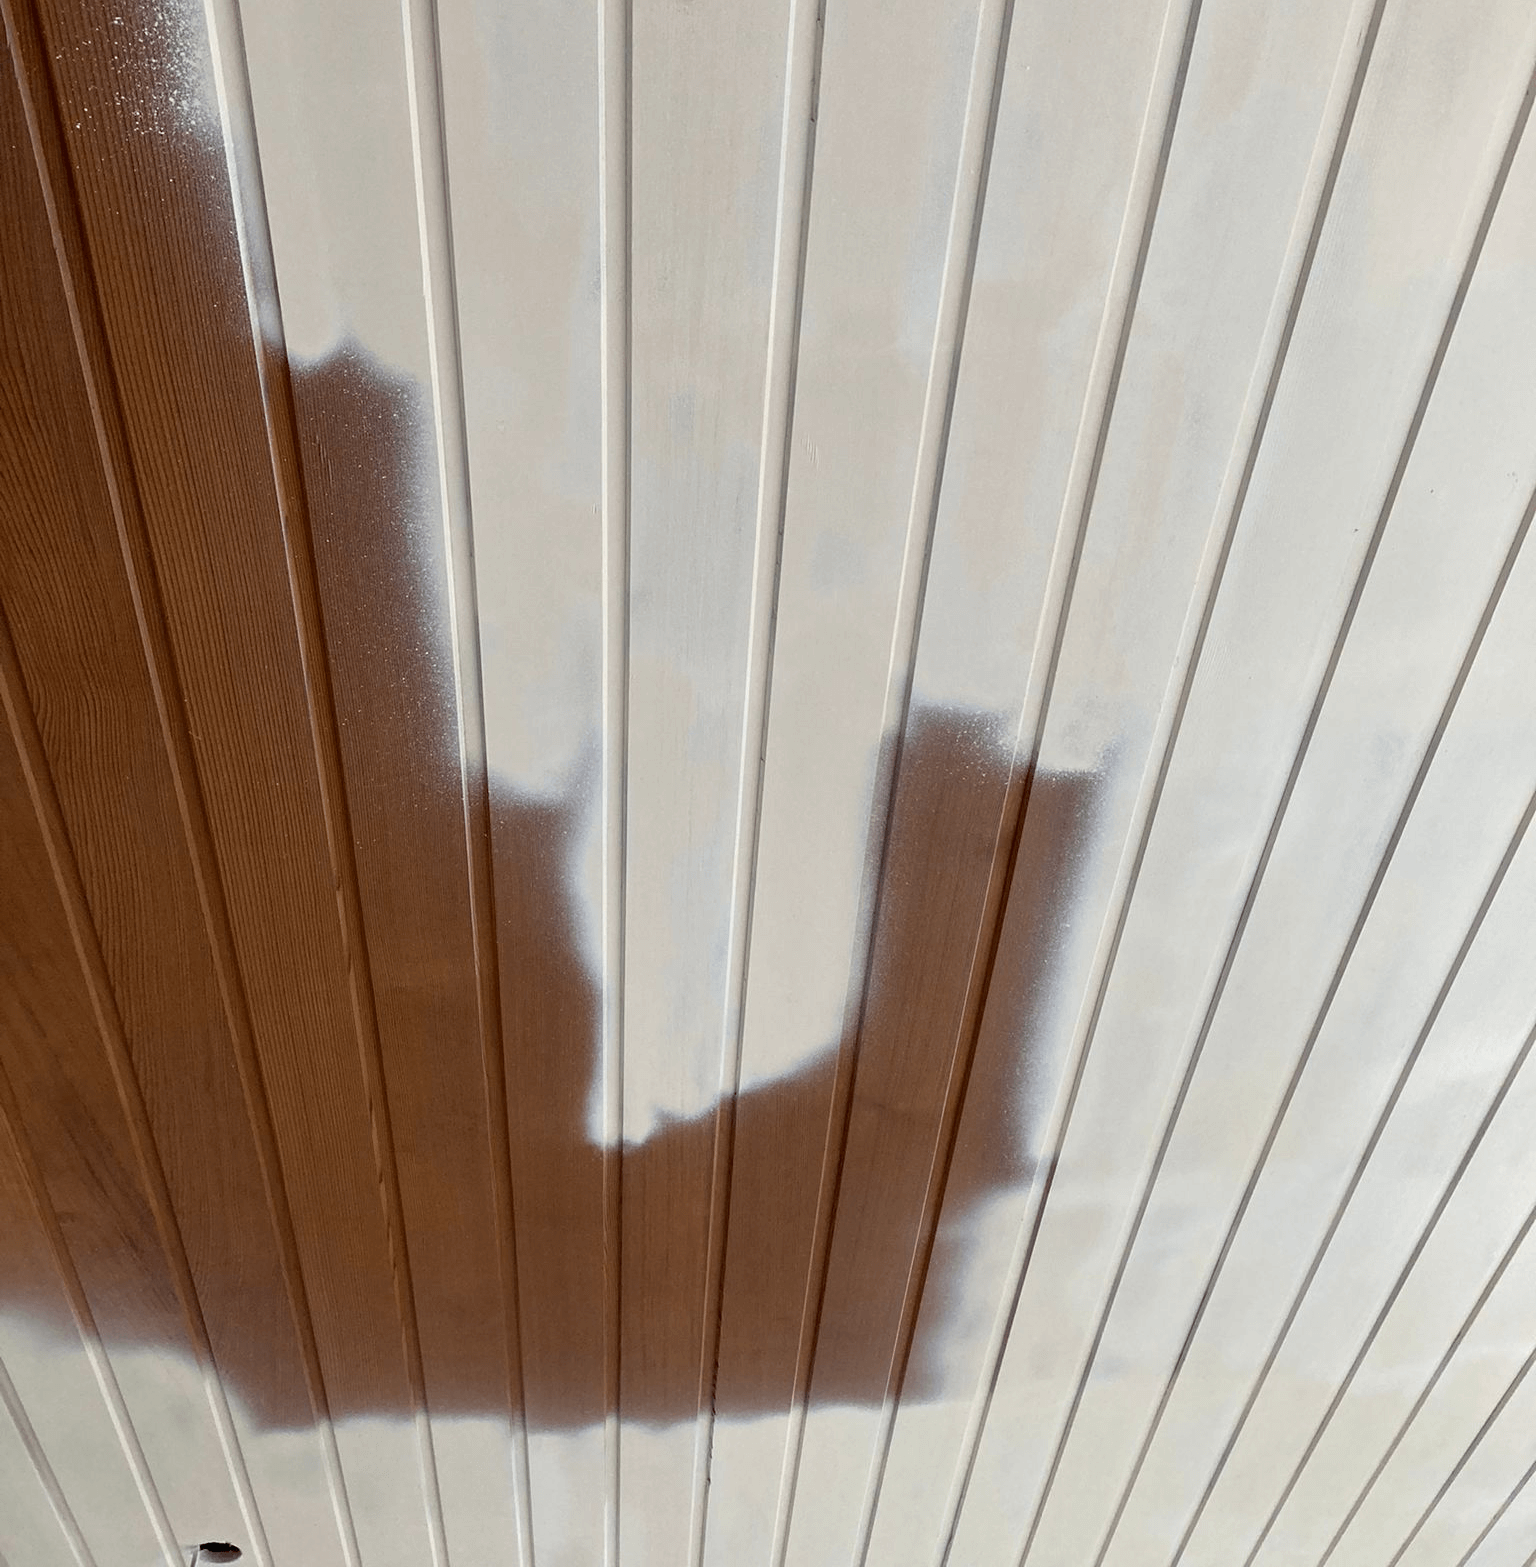
This dark wooden ceiling was painted without primer!
You can clearly see how the tannins from the wood have "bled" into the paint. A primer would have been necessary here!
Step-by-Step Guide: Priming the Wall and Ceiling
Priming your wall is easy, whether you're working inside or priming an outside wall. The same goes for ceilings - whether you want to prime your concrete ceiling or block off your wooden ceiling, we'll explain how to create a perfect base for your desired colour in a few easy steps.
Step 1: Prepare the surface
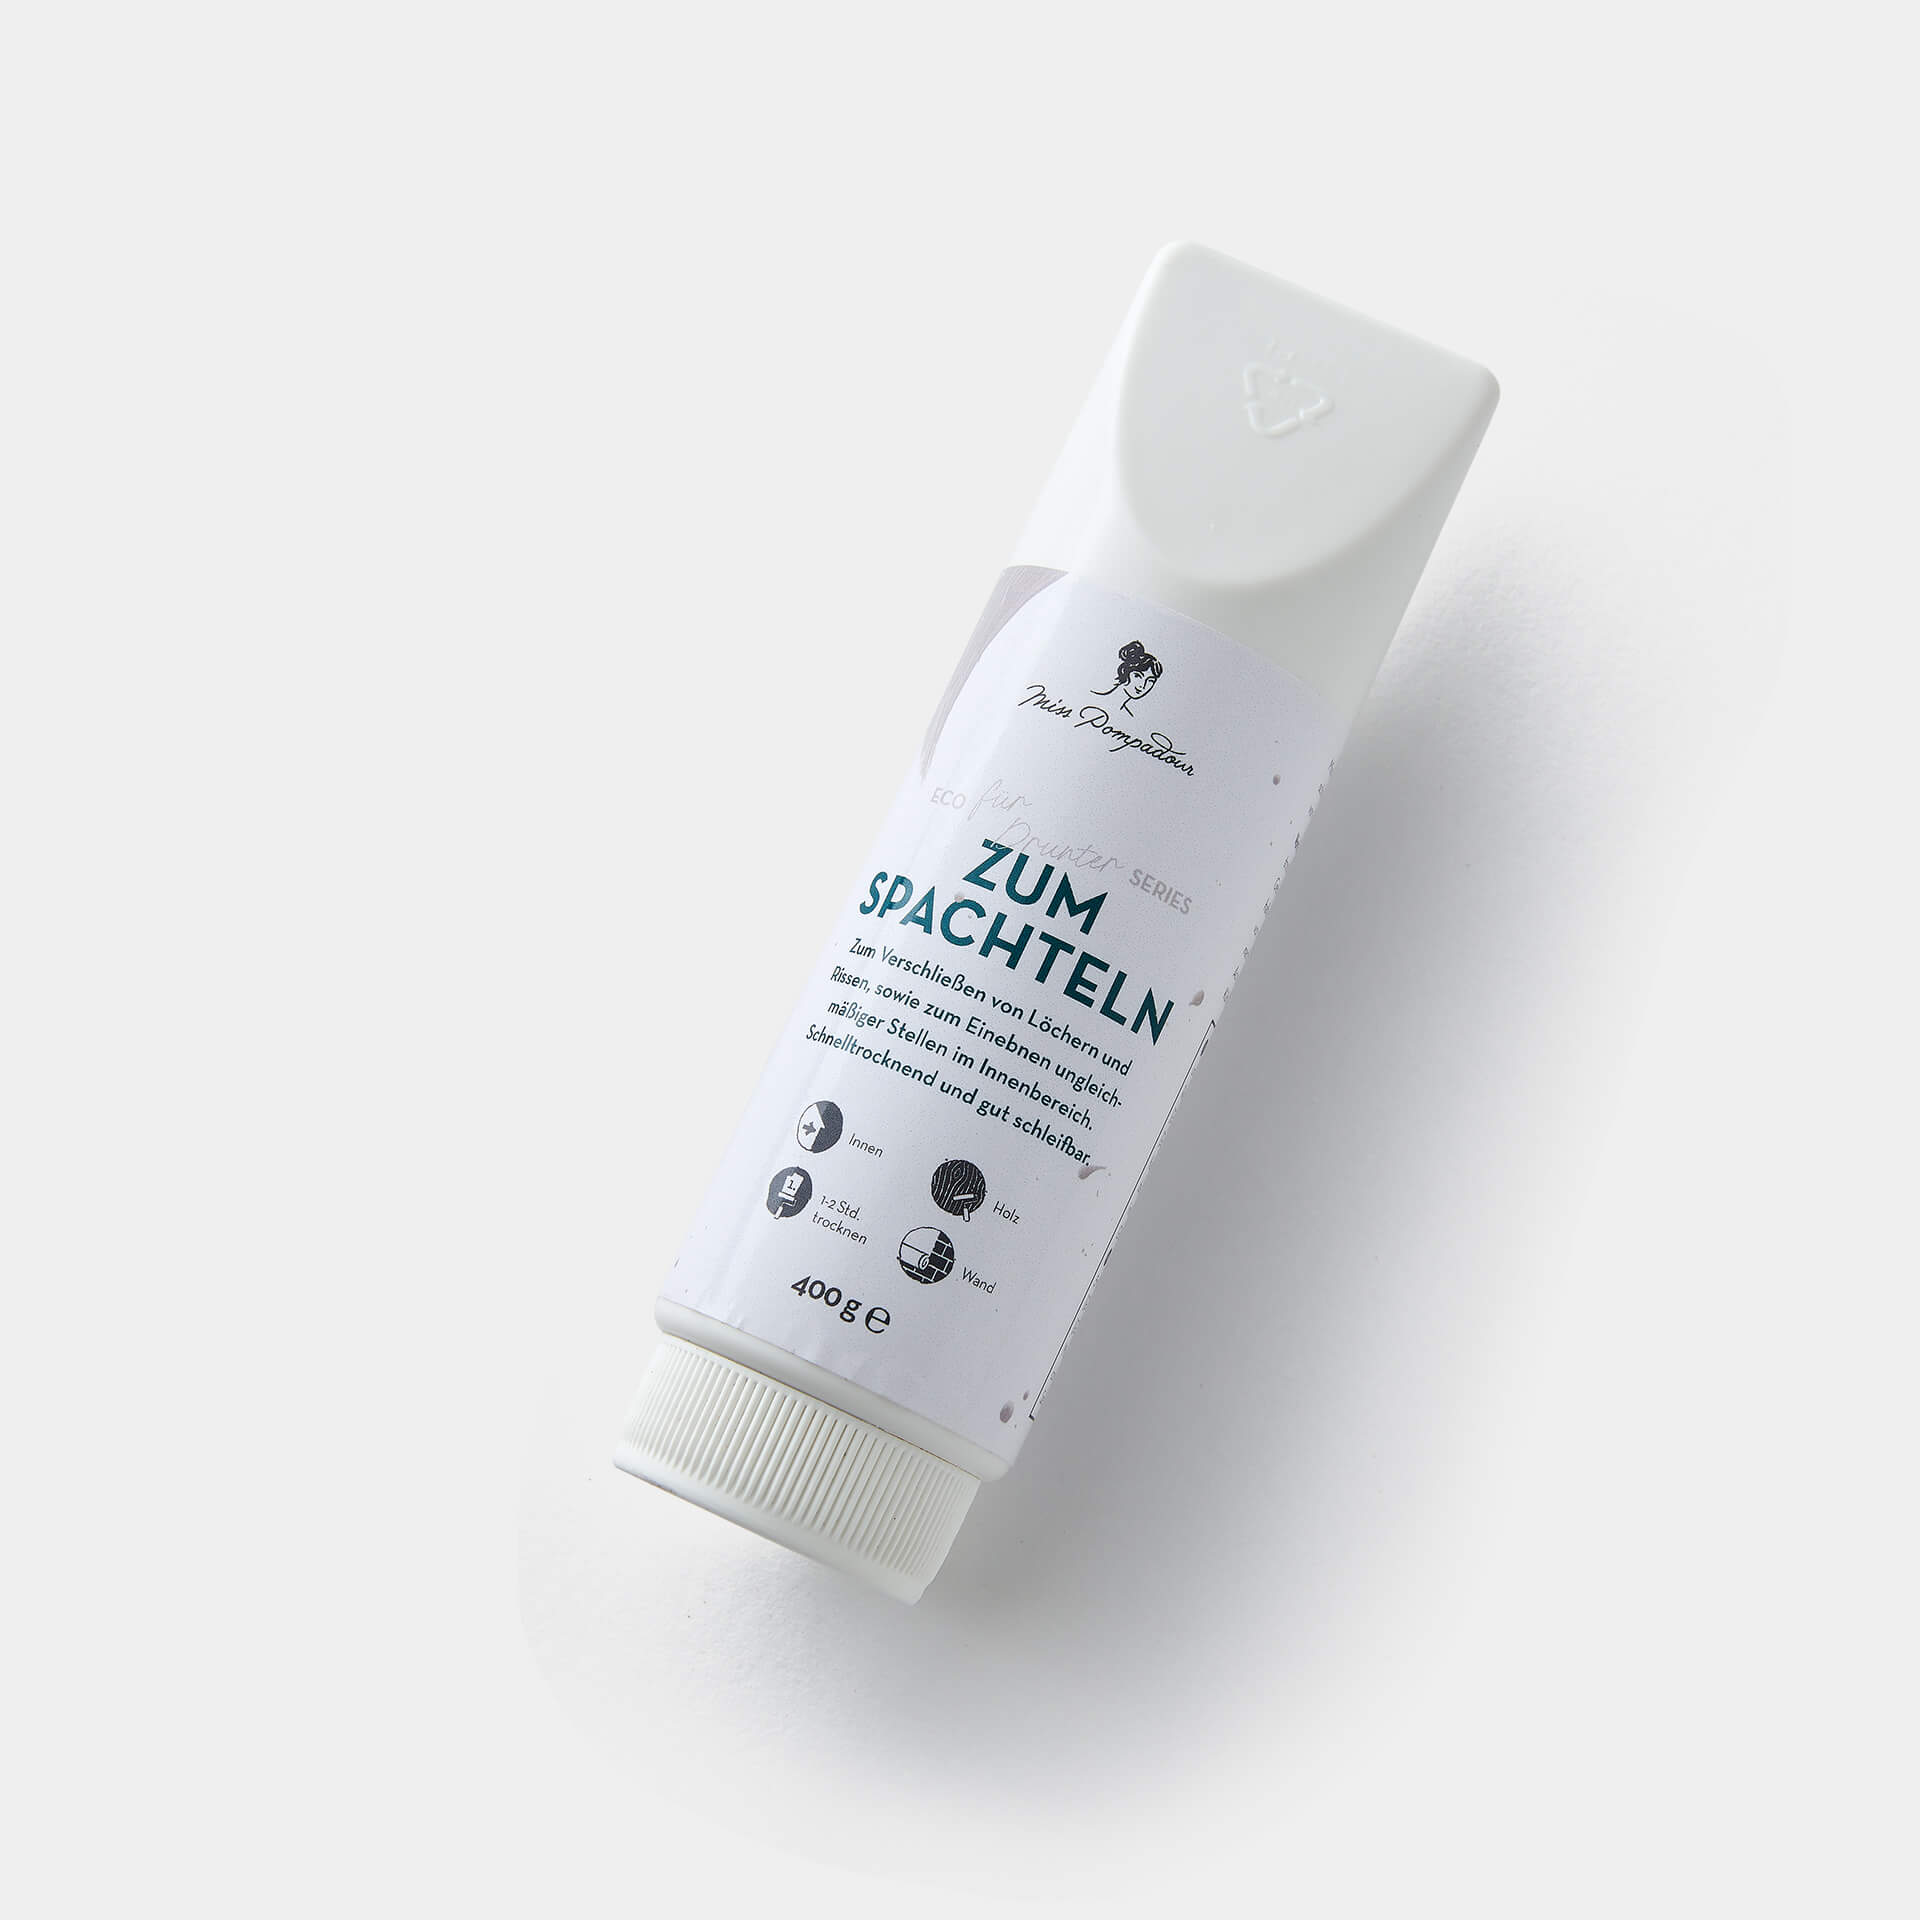
If there are marks or scratches on your walls or wood, first even them out with To Fill - MissPompadour Filler. This will create an even surface that you can easily paint afterwards. Be sure to sand the filler smooth for a flat surface.
Step 2: Clean wall and ceiling
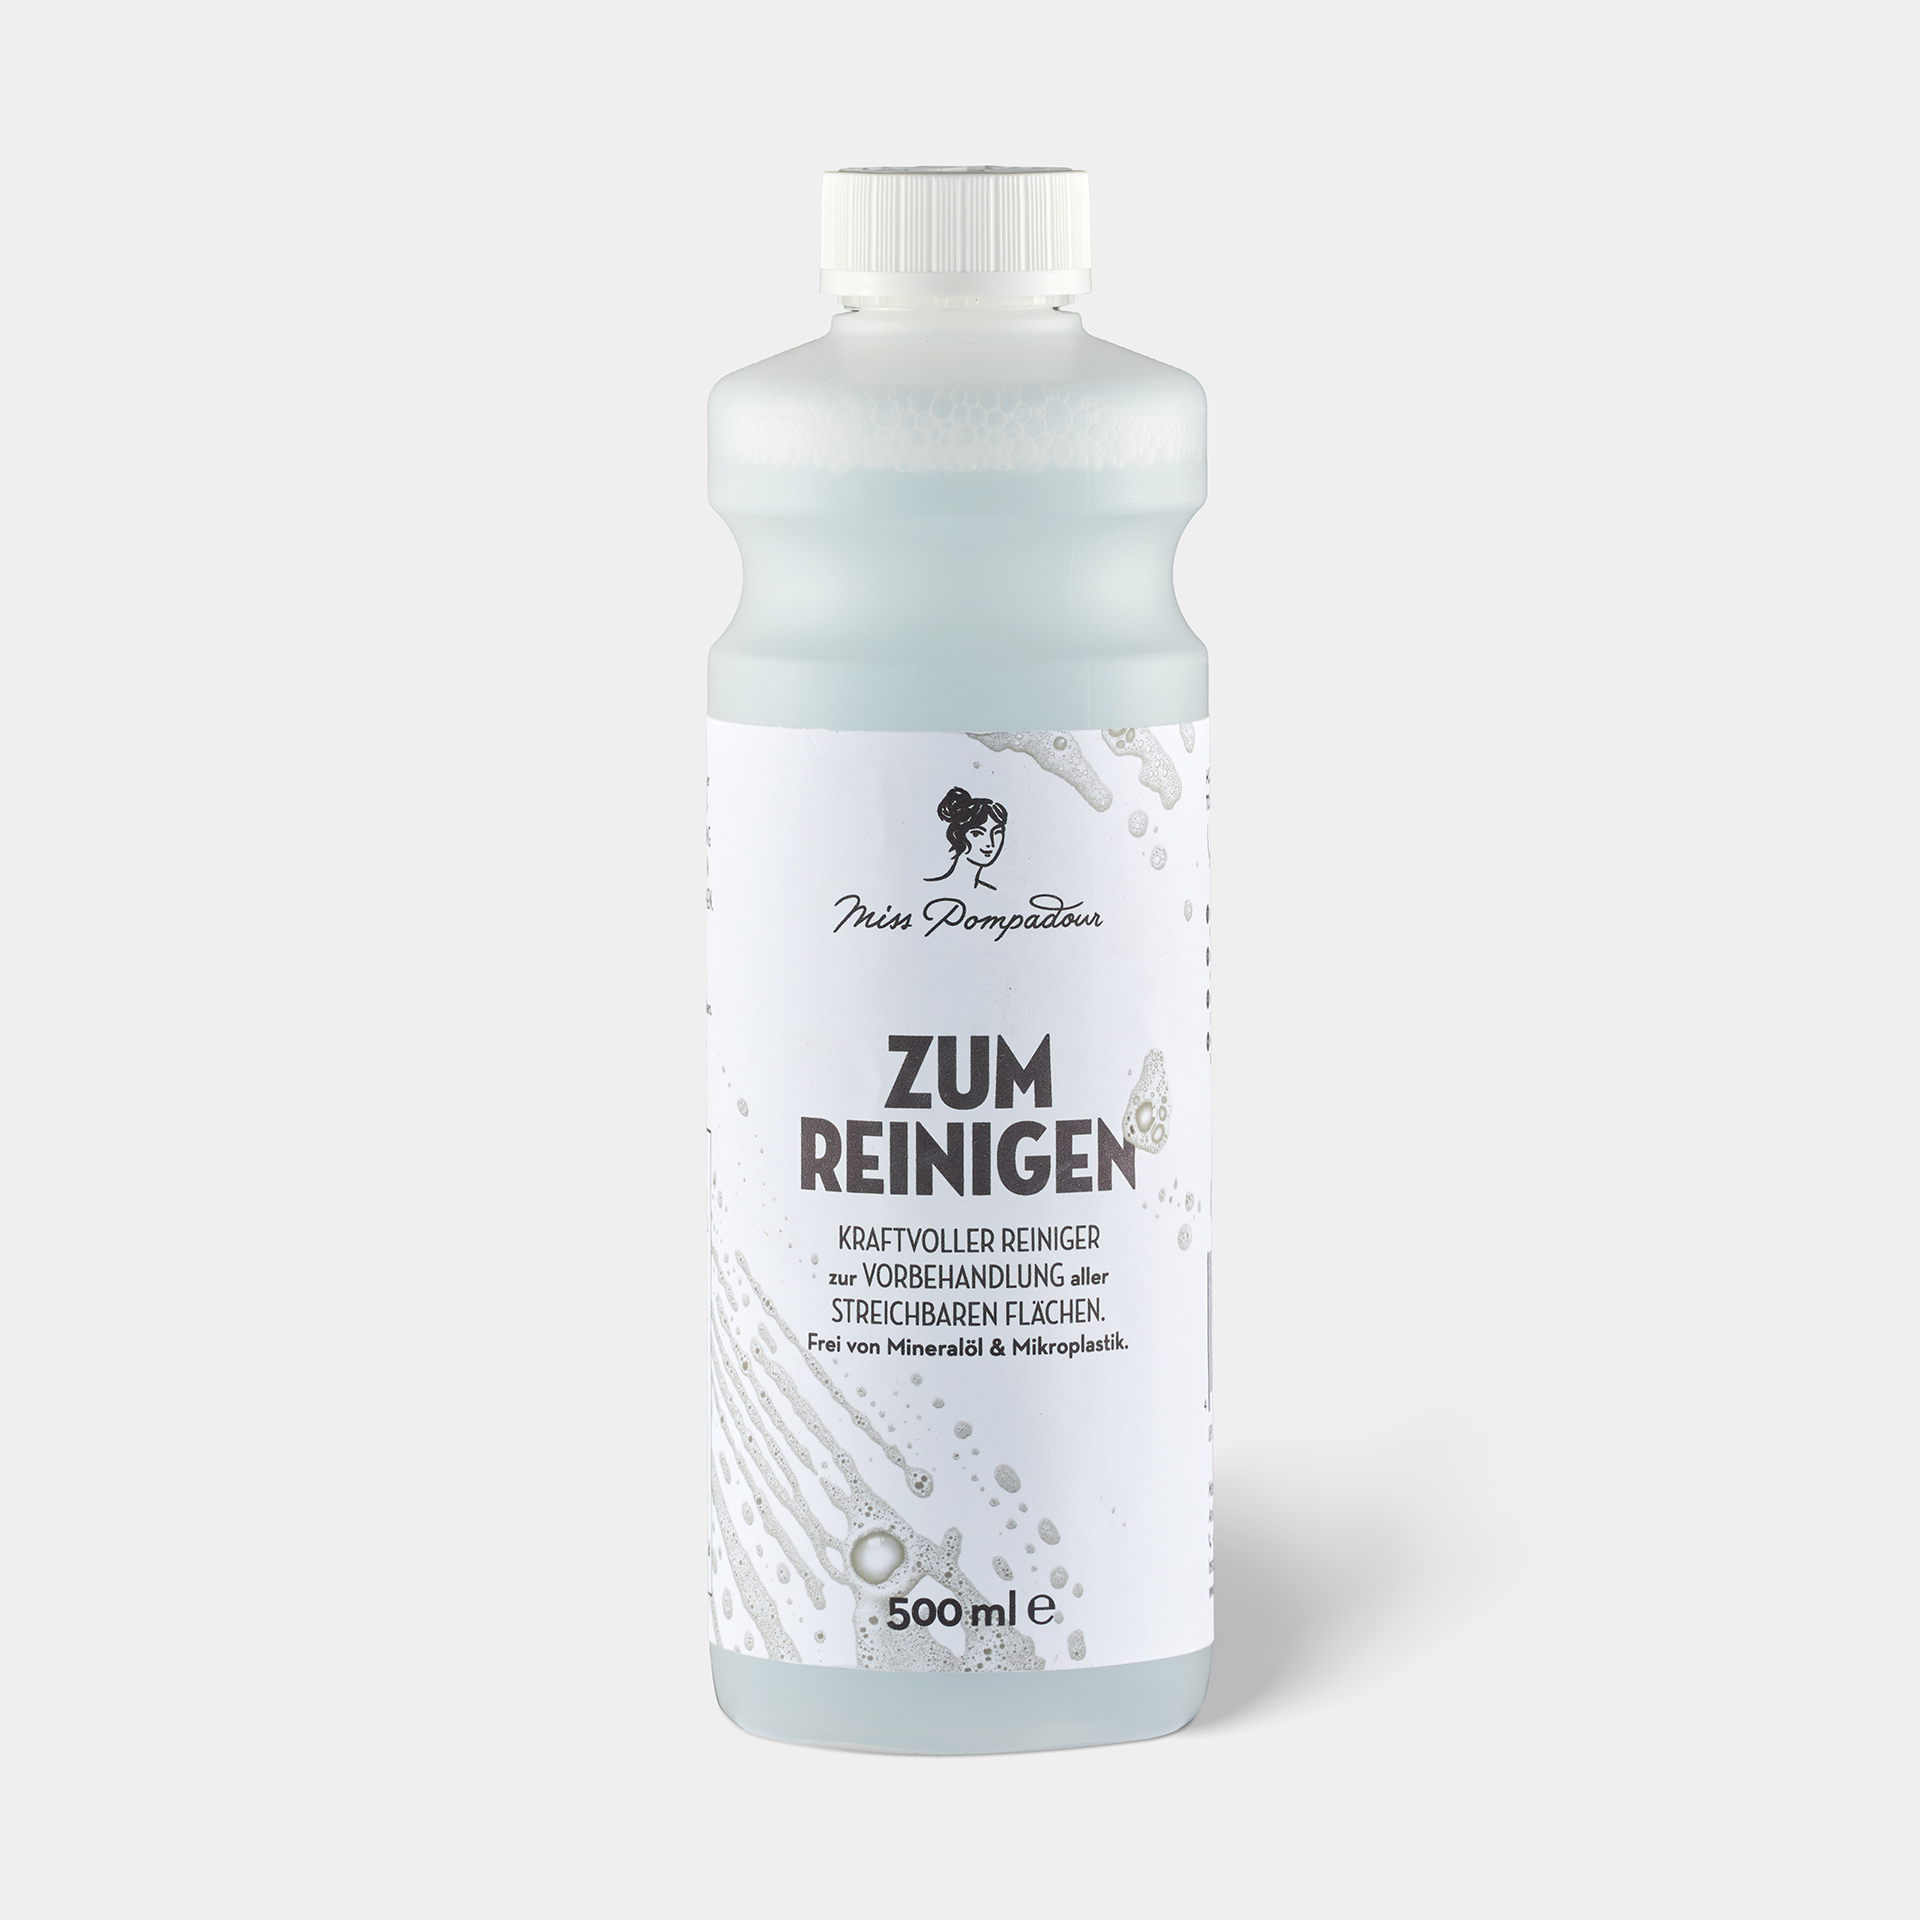
Make sure the surface is free of dust and grease. On plaster, it is enough to wipe or vacuum away dirt, but you also have to clean panels. Simply use our To Clean - MissPompadour Cleaner, as it is suitable for practically all surfaces.
Step 3: Masking and covering
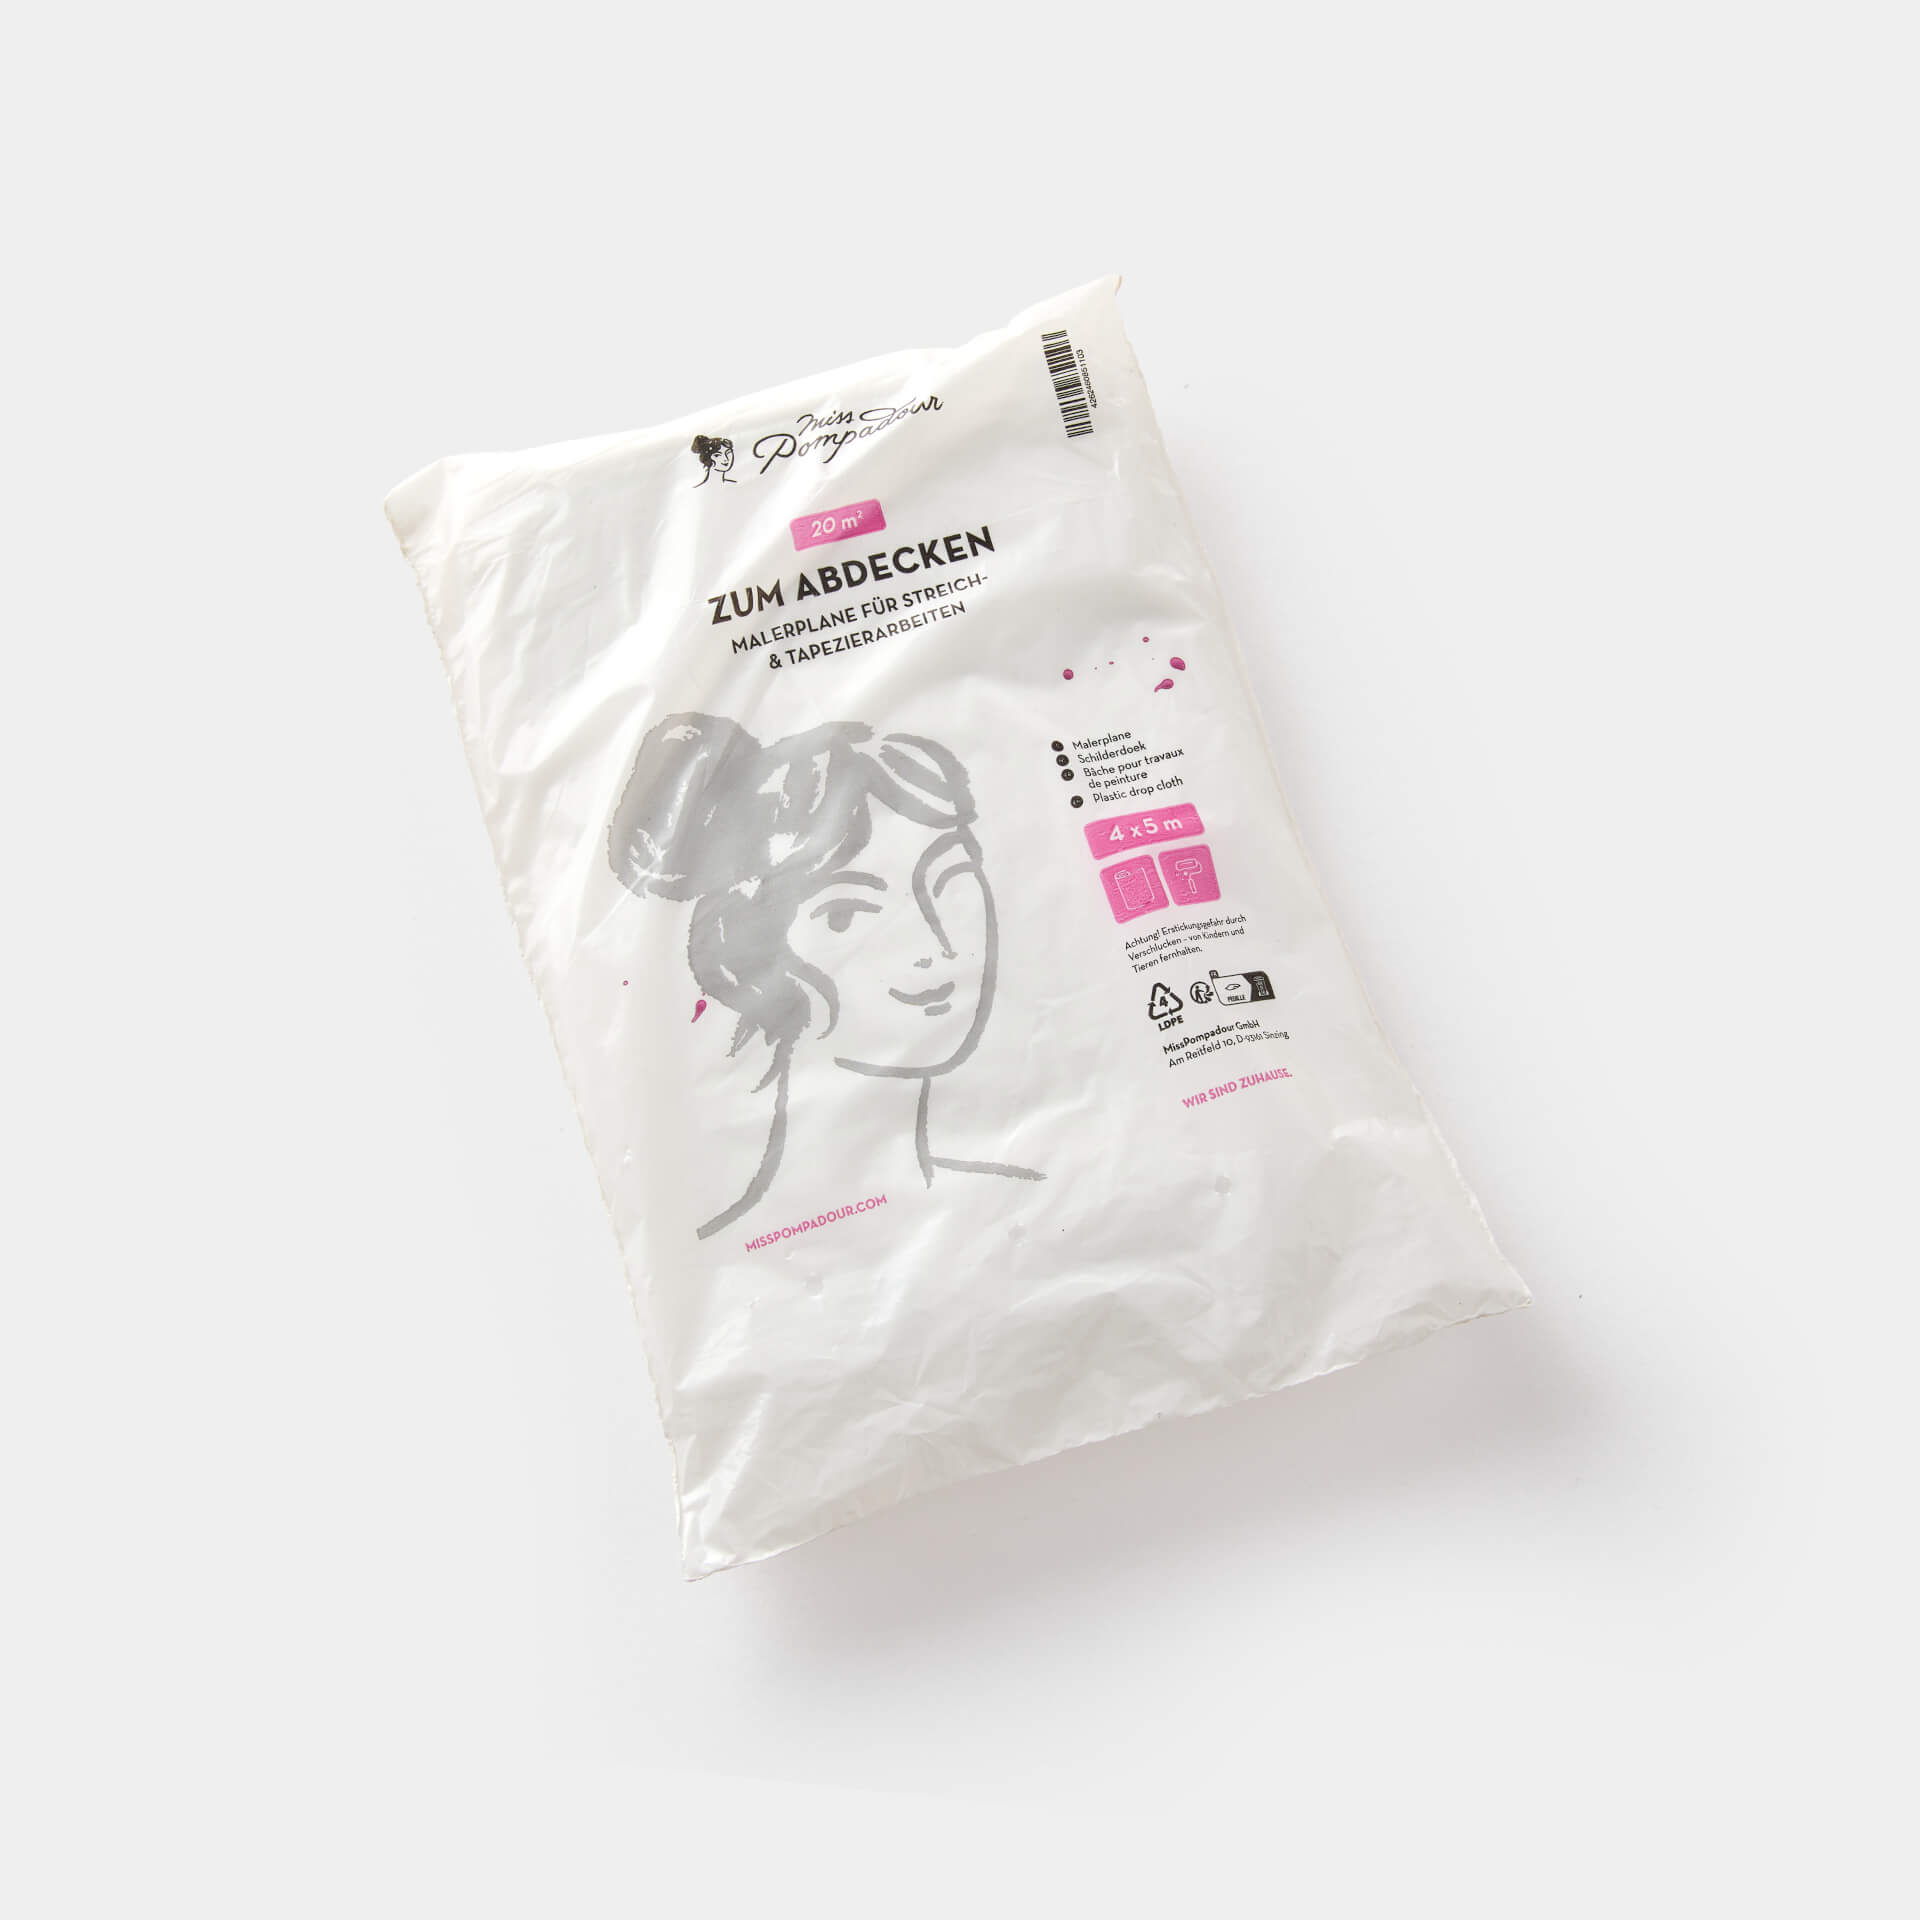
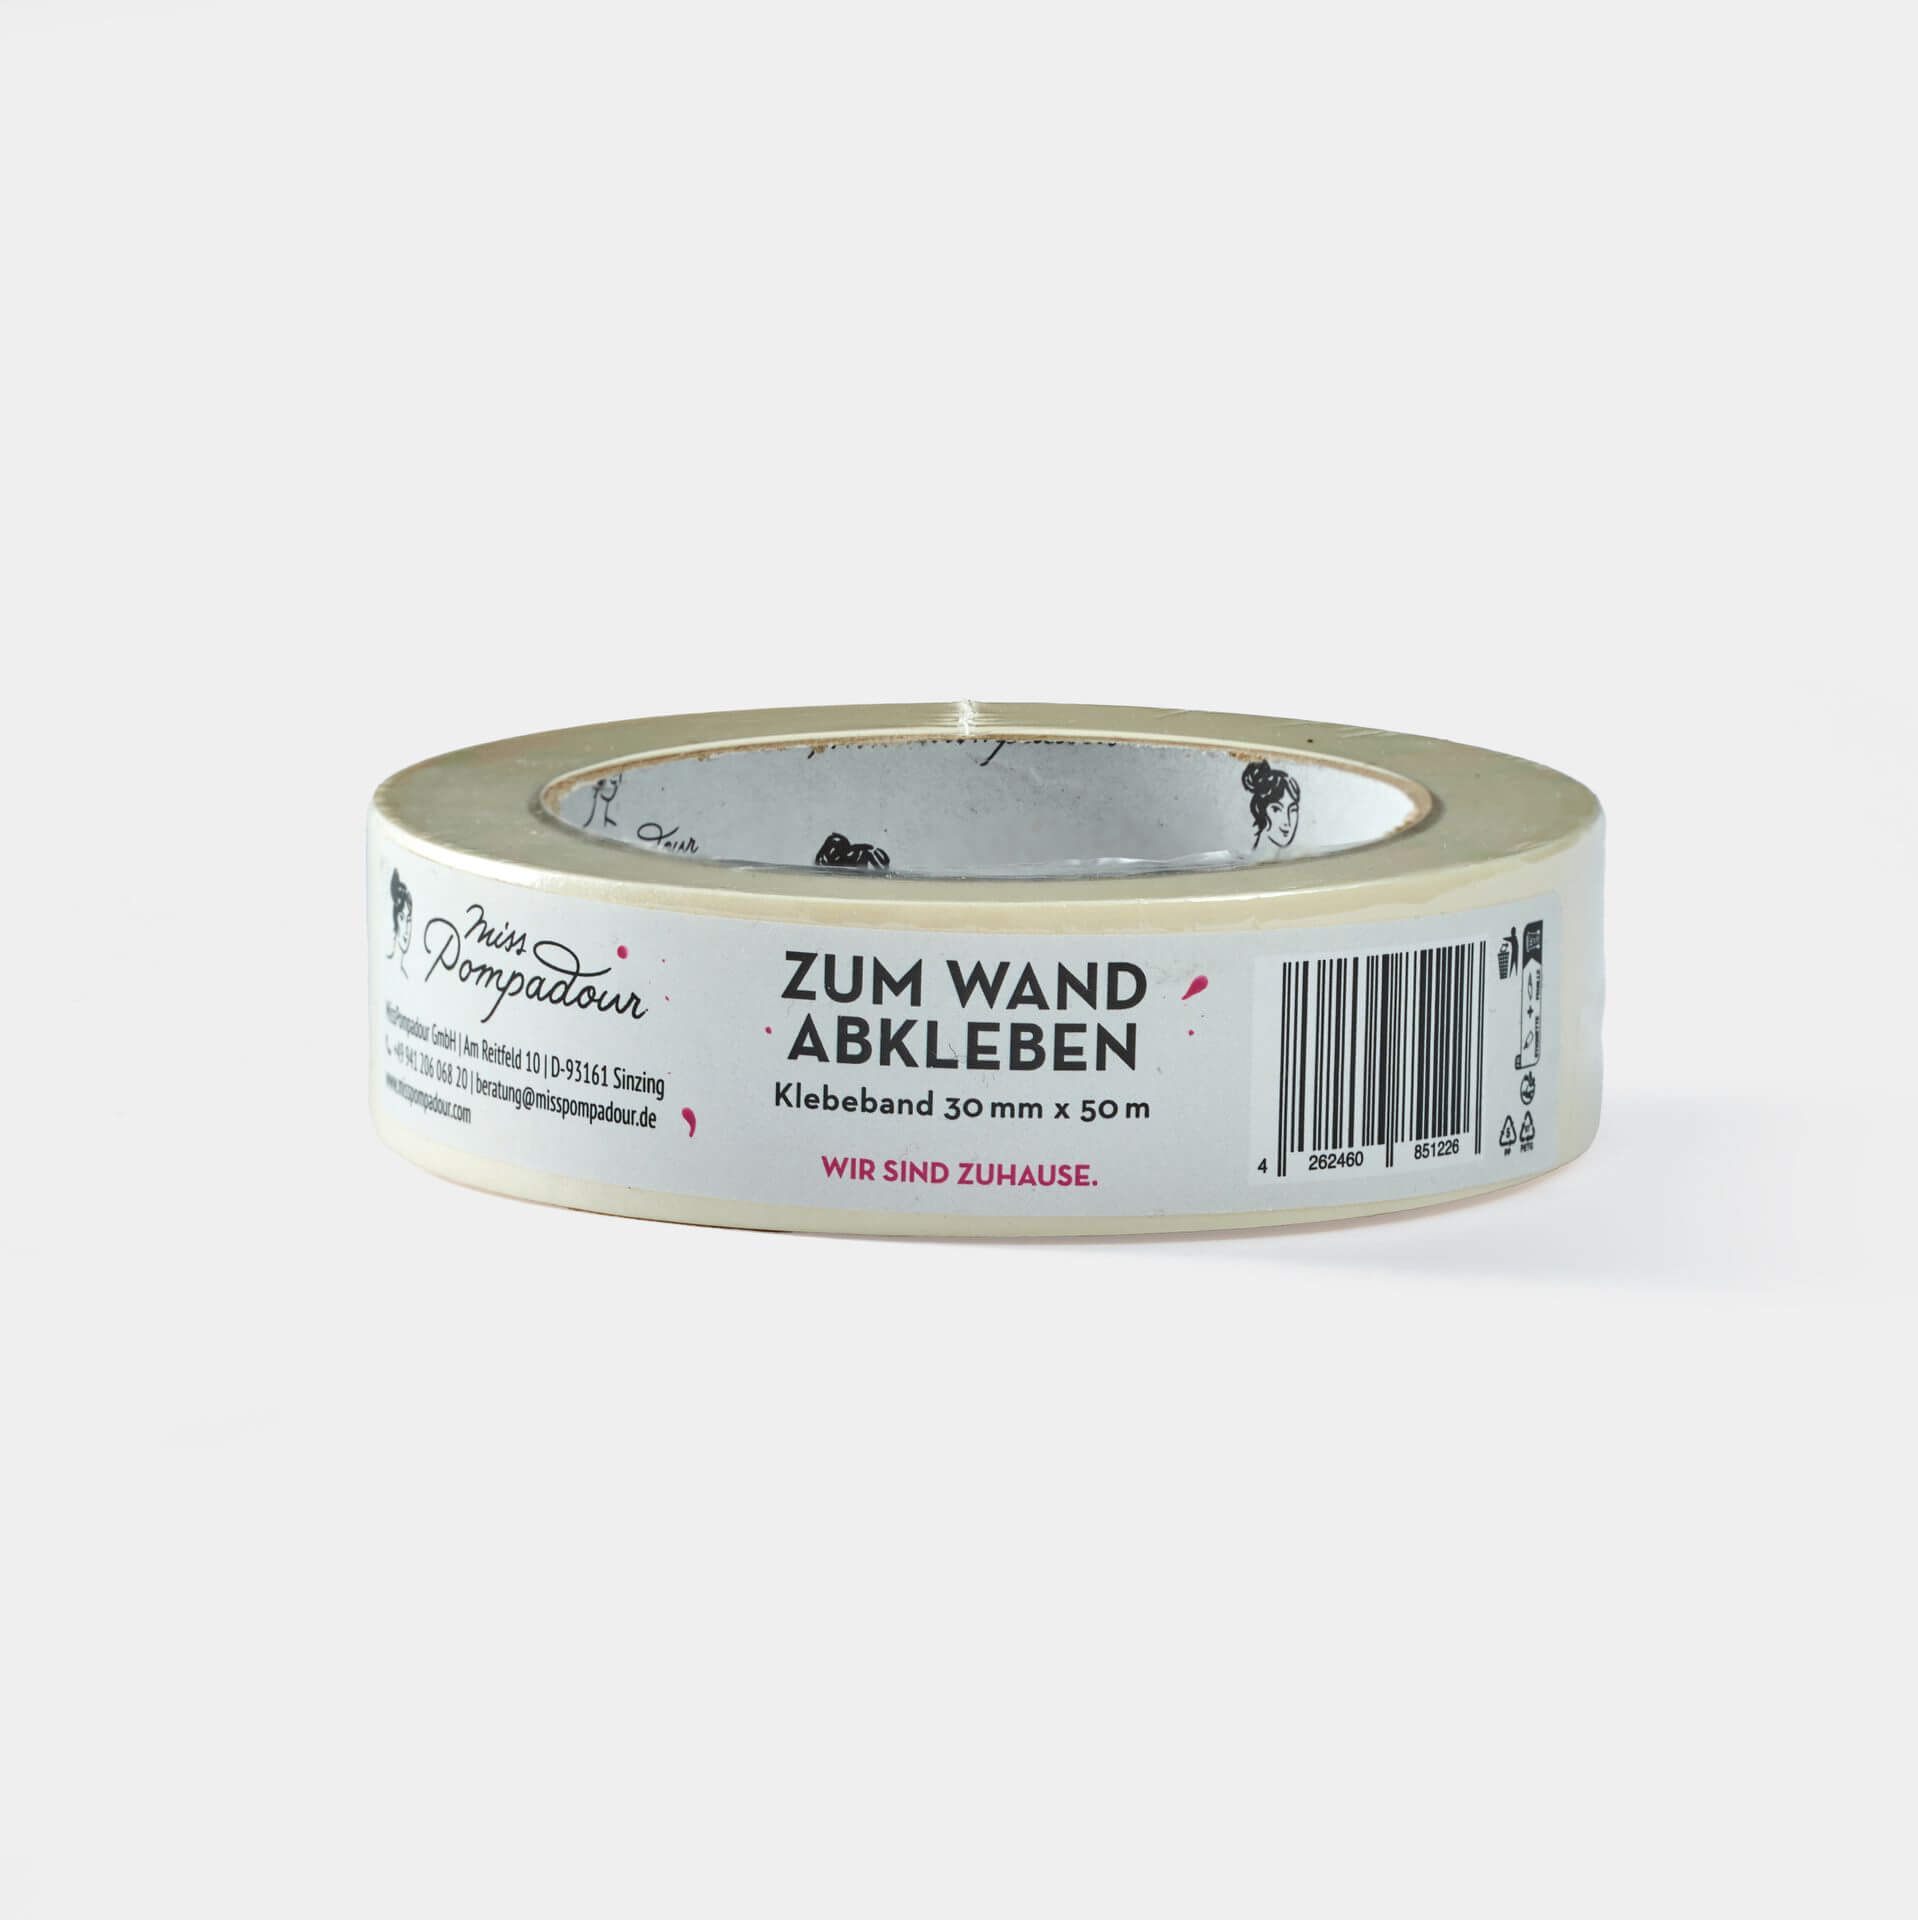
To protect your furniture and floor from stains, cover them with a plastic drop cloth. As our primers and paints hardly splatter, it is sufficient to do this in the immediate area where you are painting. Our plastic drop cloth is perfect for this. Don't forget to cover small areas, such as sockets or light switches! Our To Mask - MissPompadour Adhesive Tape in different sizes is perfect for this.
Step 4: Apply primer
Before applying your desired colour, apply the primer of your choice. MissPompadour To Prime Walls and To Bond & Block can be sprayed on diluted with water. This shortens the working time, especially for ceilings and large surfaces. However, you can also paint with a brush or Roller. It is important to apply the primer generously and with good coverage and to use clean brushes and rollers. Allow the primer to dry thoroughly (see instructions on the label). Now you can get started with thoroughly cleaned tools and the paint and embellish your wall and ceiling surfaces.
Frequently asked questions about priming walls and ceilings
How long is the drying time when priming the wall?
Allow your primer to dry for around 3 to 8 hours, depending on the surface. Then apply your desired colour. You will notice how easy it is to apply the paint to a perfectly prepared surface.
When do I need to prime a wall?
Whether you need to prime a surface before painting it depends on its texture and condition. If your wall has already been painted with chalk paint or a water-soluble paint from MissPompadour, you can simply paint over it. The paint will adhere well and the new coat of paint will completely cover the old one. Priming can also be useful before applying wallpaper.
However, if the wall is dirty, yellowed or simply unpainted and freshly plastered, it is worthwhile to use a wall primer. With this preparation, you can ensure that your paint job is beautiful and lasts
Priming with an insulating and stain block basically serves to create a barrier between the surface and the paint, because the primer closes open pores. In this way you prepare problematic surfaces for painting. Even if there is discolouration on the surface due to nicotine or if the substrate emits unpleasant odours, the insulating primer ensures that none of this gets into your paint coat. Especially in an old building, it can happen that a wall has stains that you cannot completely cover with wall paint. This can be remedied with a stainblock.
If you have old plaster that is slightly sandy, the paint alone will not adhere. Therefore, prime the wall with deep primer before painting. The same applies to absorbent surfaces such as plasterboard or wallpaper. With the right primer in advance, you can save a lot of paint.
Walls with special surfaces, such as non-woven wallpaper, also need a primer. Use the primer on your concrete wall, as well as on walls made of exposed brickwork.
When do I have to prime a ceiling?
If your ceiling has yellowed, for example due to nicotine, use the primer to block the colour. MissPompadour - To Bond & Block also isolates the odour if your ceiling emits unpleasant fumes. The same applies to a plastered ceiling as to a wooden ceiling
If you have filled cracks in the ceiling, apply a primer to create an even surface for your paint application.
When to use primer or deep primer?
Start your coat with the deep primer if the plaster on your wall or ceiling is freshly applied or very absorbent. Other dry, absorbent substrates such as cement or plaster can also be pre-treated with deep penetrating primer. This soaks into the plastered surface and ensures that not too much of your paint is absorbed. It also makes the wall paint more durable
On a smooth surface, such as plastic panels and boards, use a primer. This makes it easier for your paint to adhere to the surface, which makes it more stable
If you want to paint wooden panels, use MissPompadour - To Bond & Block to prime your wall and ceiling. This is also a primer that provides additional insulation and blocking.