


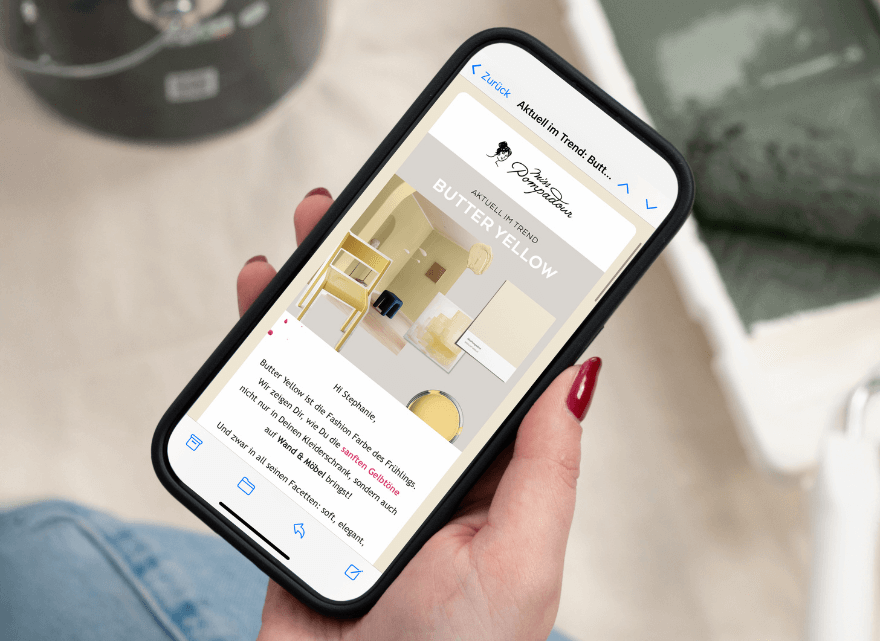


Paint IKEA Hemnes: New look for Hemnes chest of drawers, shoe cabinet & co.
6 min reading time
With the Hemnes series, Ikea has launched a furniture collection made of solid wood. This basis makes the furniture stable and extraordinarily durable. Do you also want to customise your Hemnes and give it a unique look with a little DIY? You are not alone! Of course, the easiest way to do such an IKEA hack is with paint and a brush.
Would you like to paint your Hemnes chest of drawers?
Table of contents
1. Painting IKEA Hemnes: A new look for your chest of drawers, shoe cupboard & co.
2. Painting the Hemnes chest of drawers: The preparation
3. Painting the IKEA Hemnes: How it works
4. Paint, chalk paint or varnish - the right choice for every look
5. Helpful accessories for painting & designing by MissPompadour
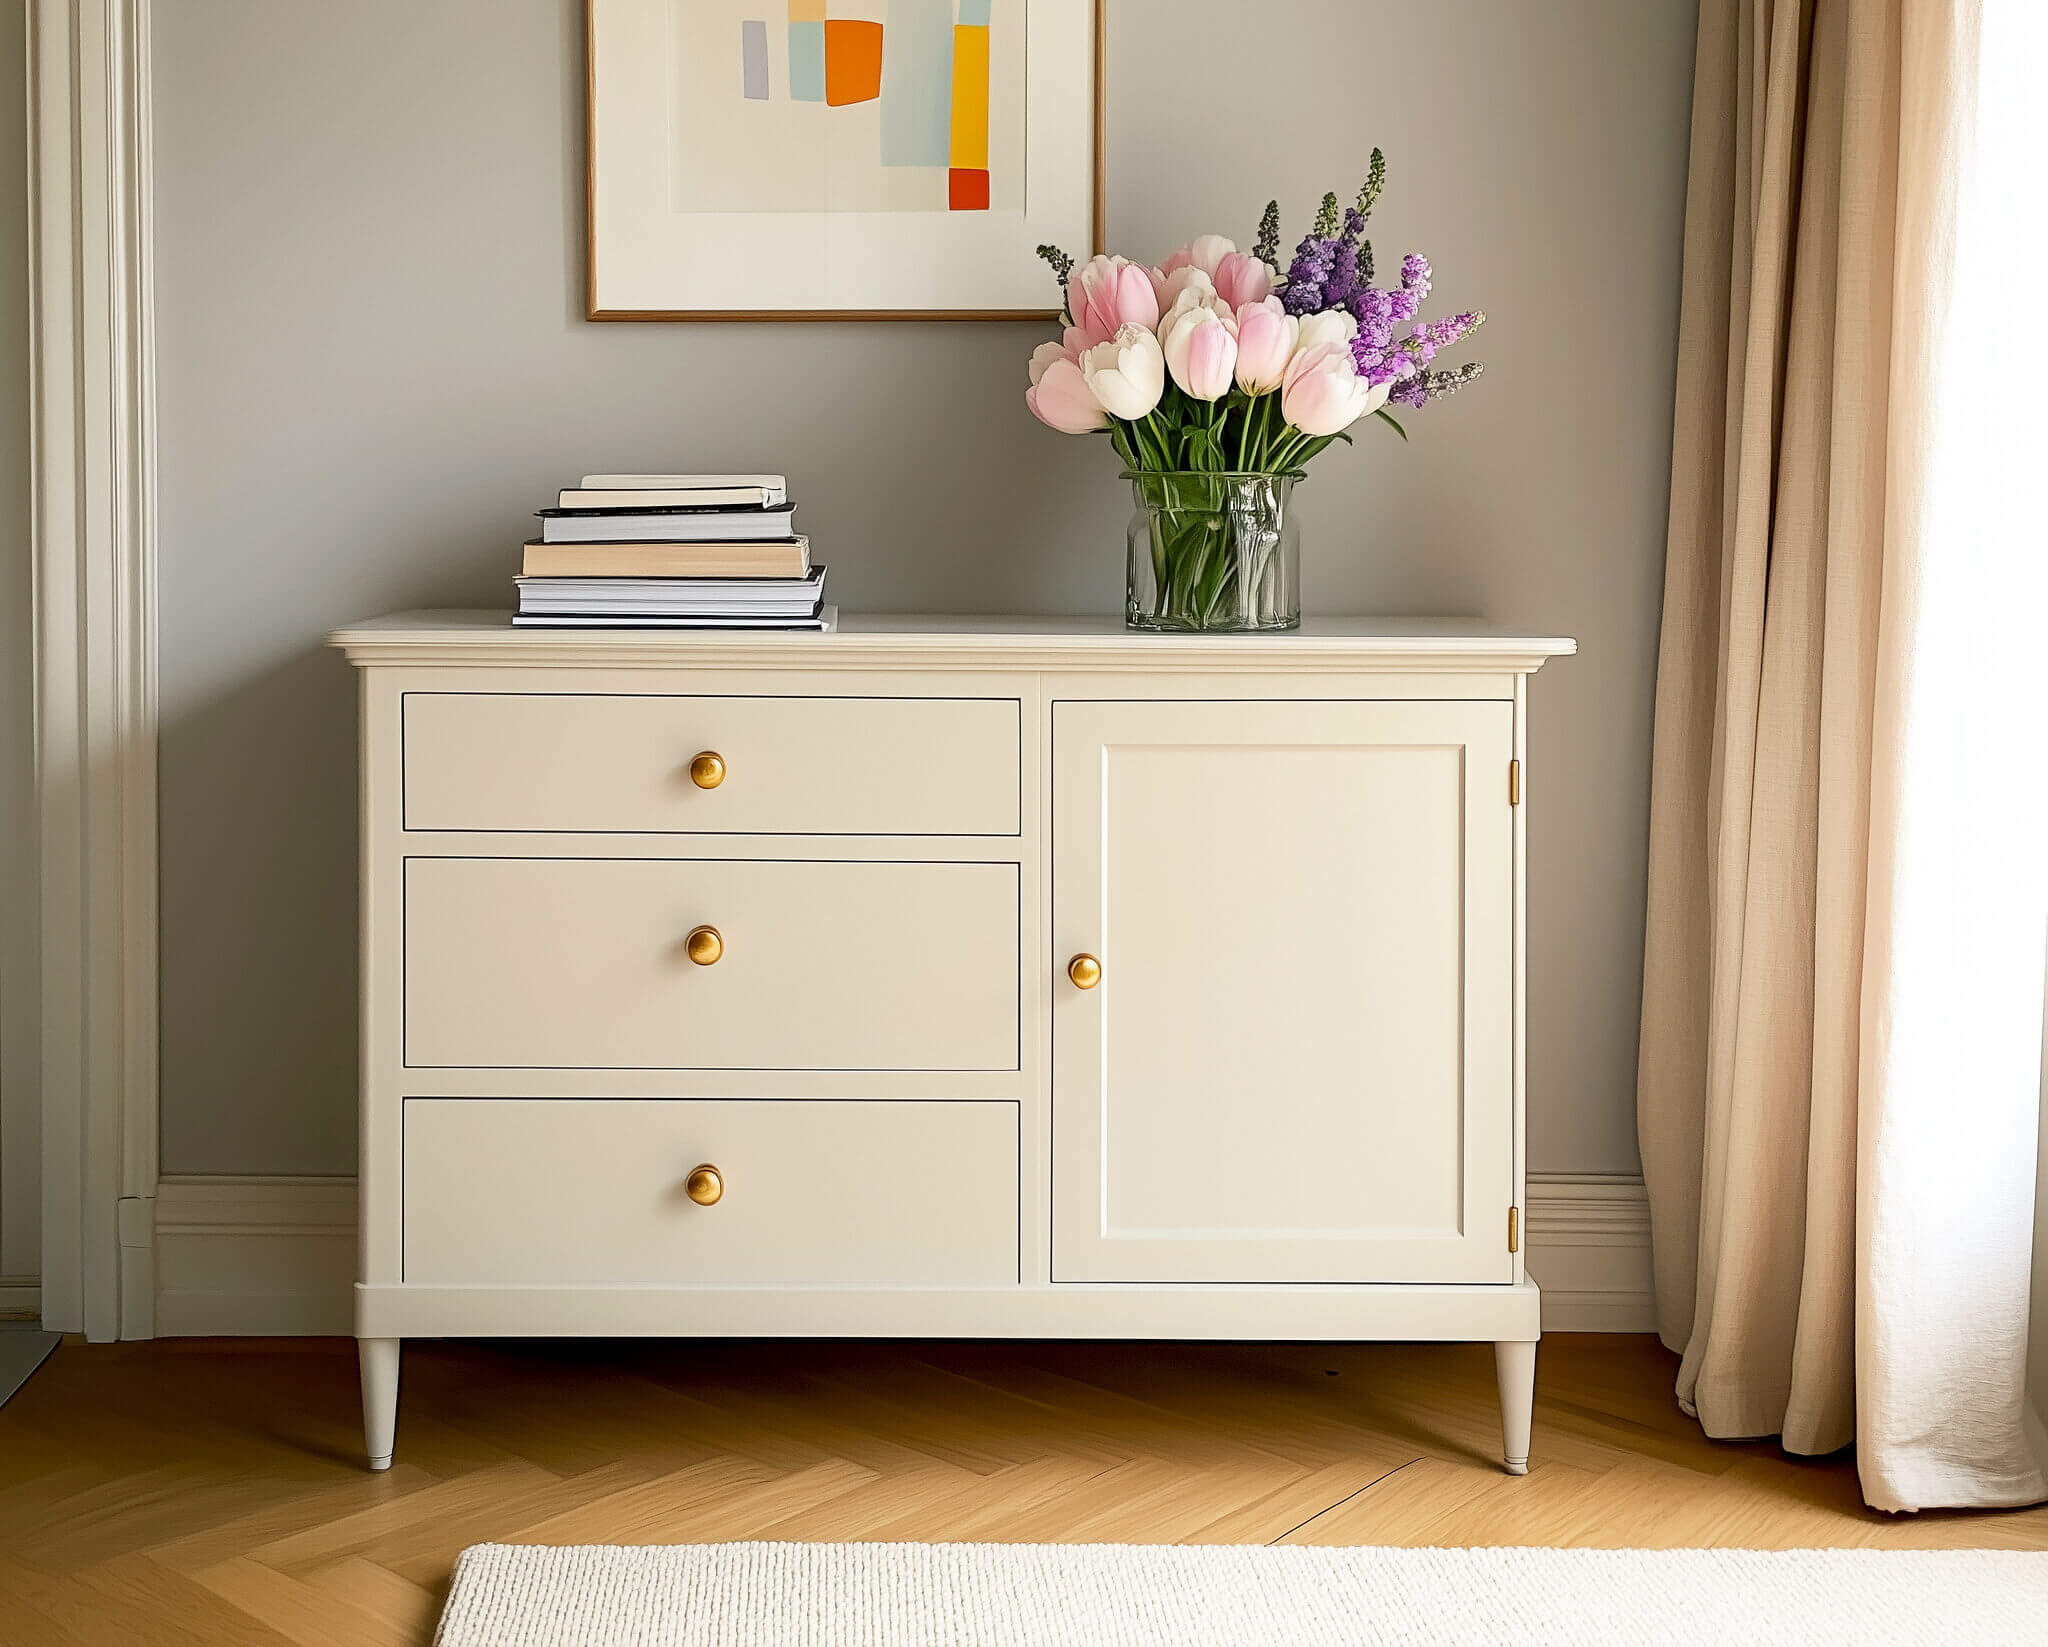
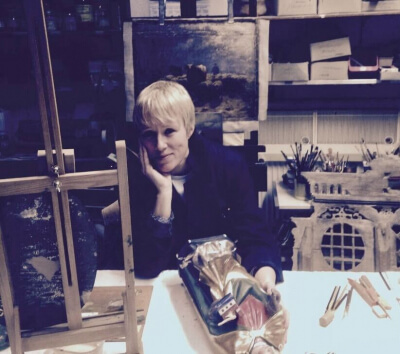
Inspiration: Your IKEA furniture could look like this
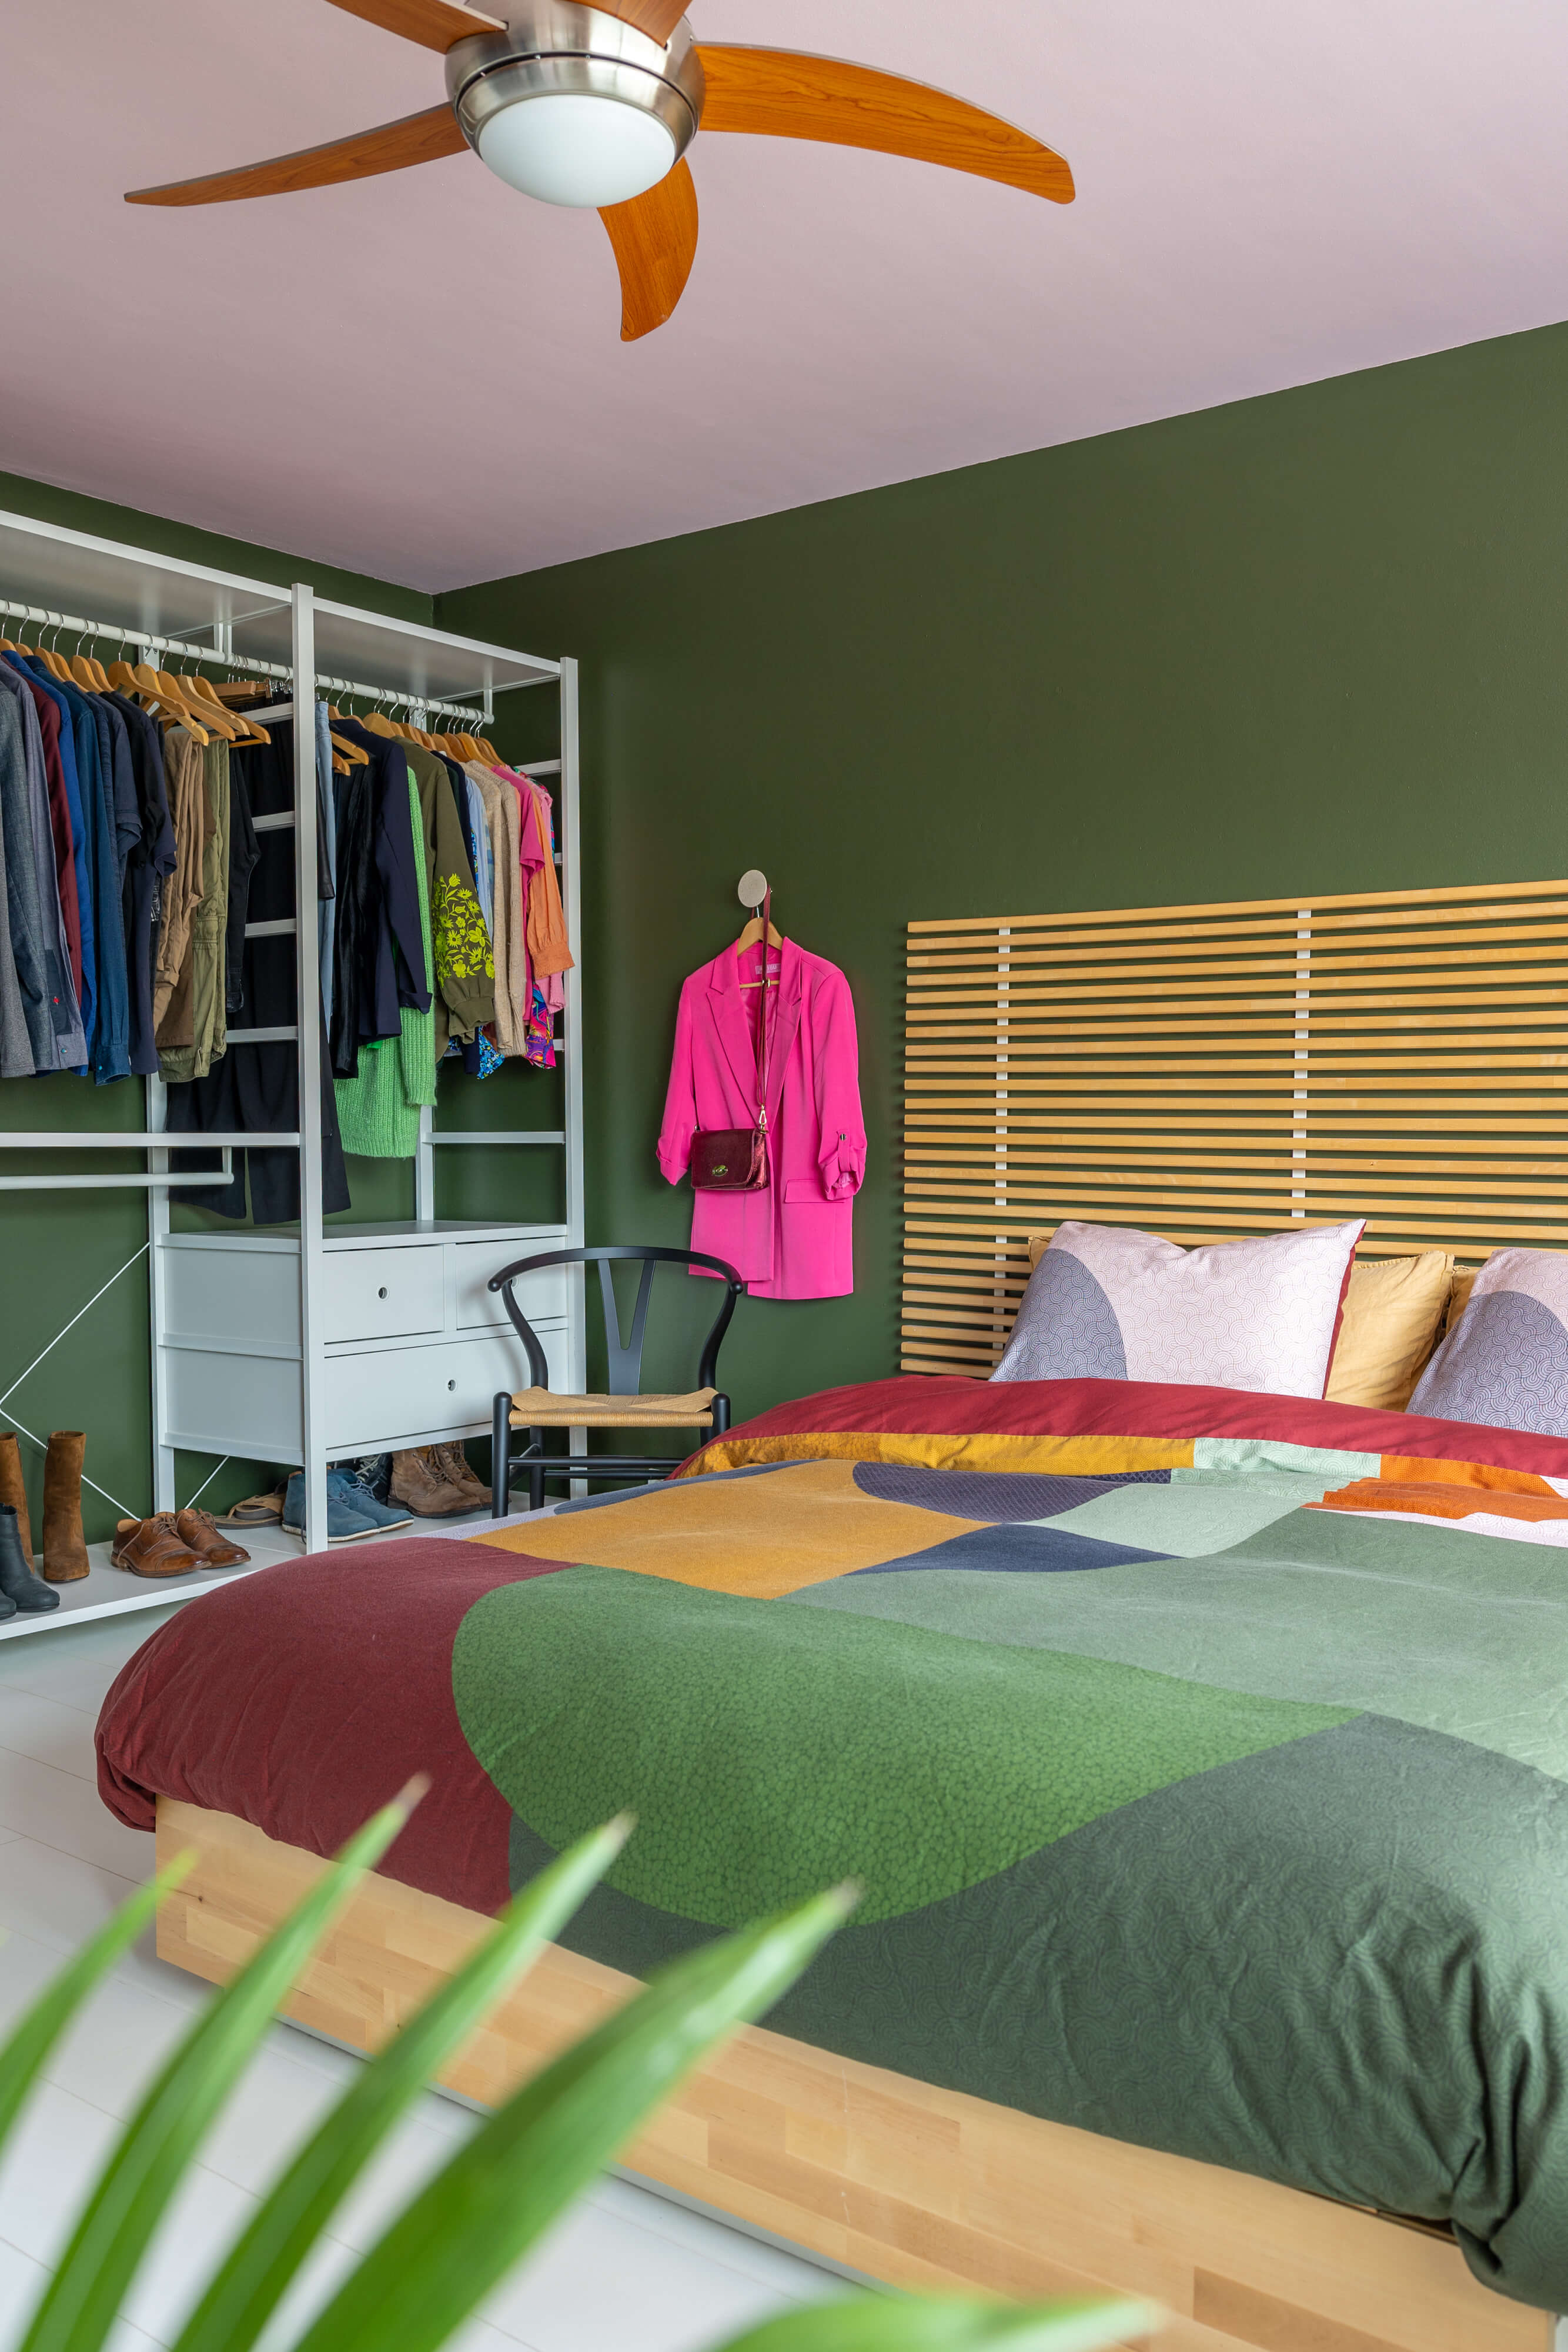
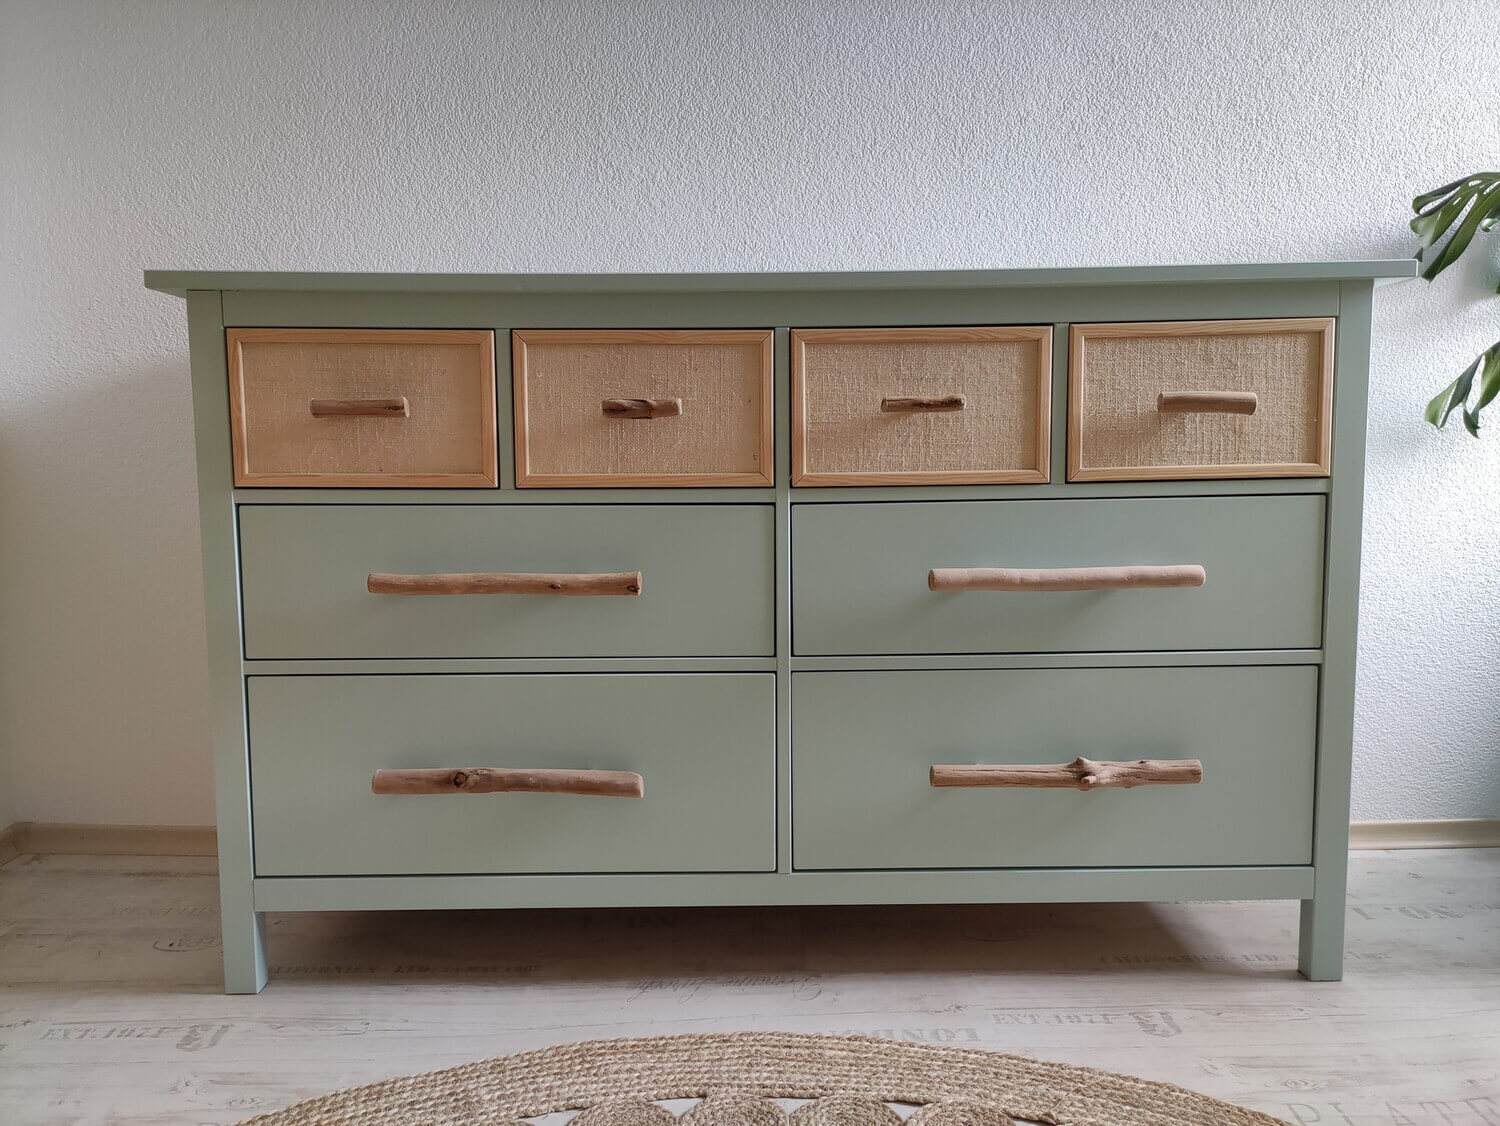
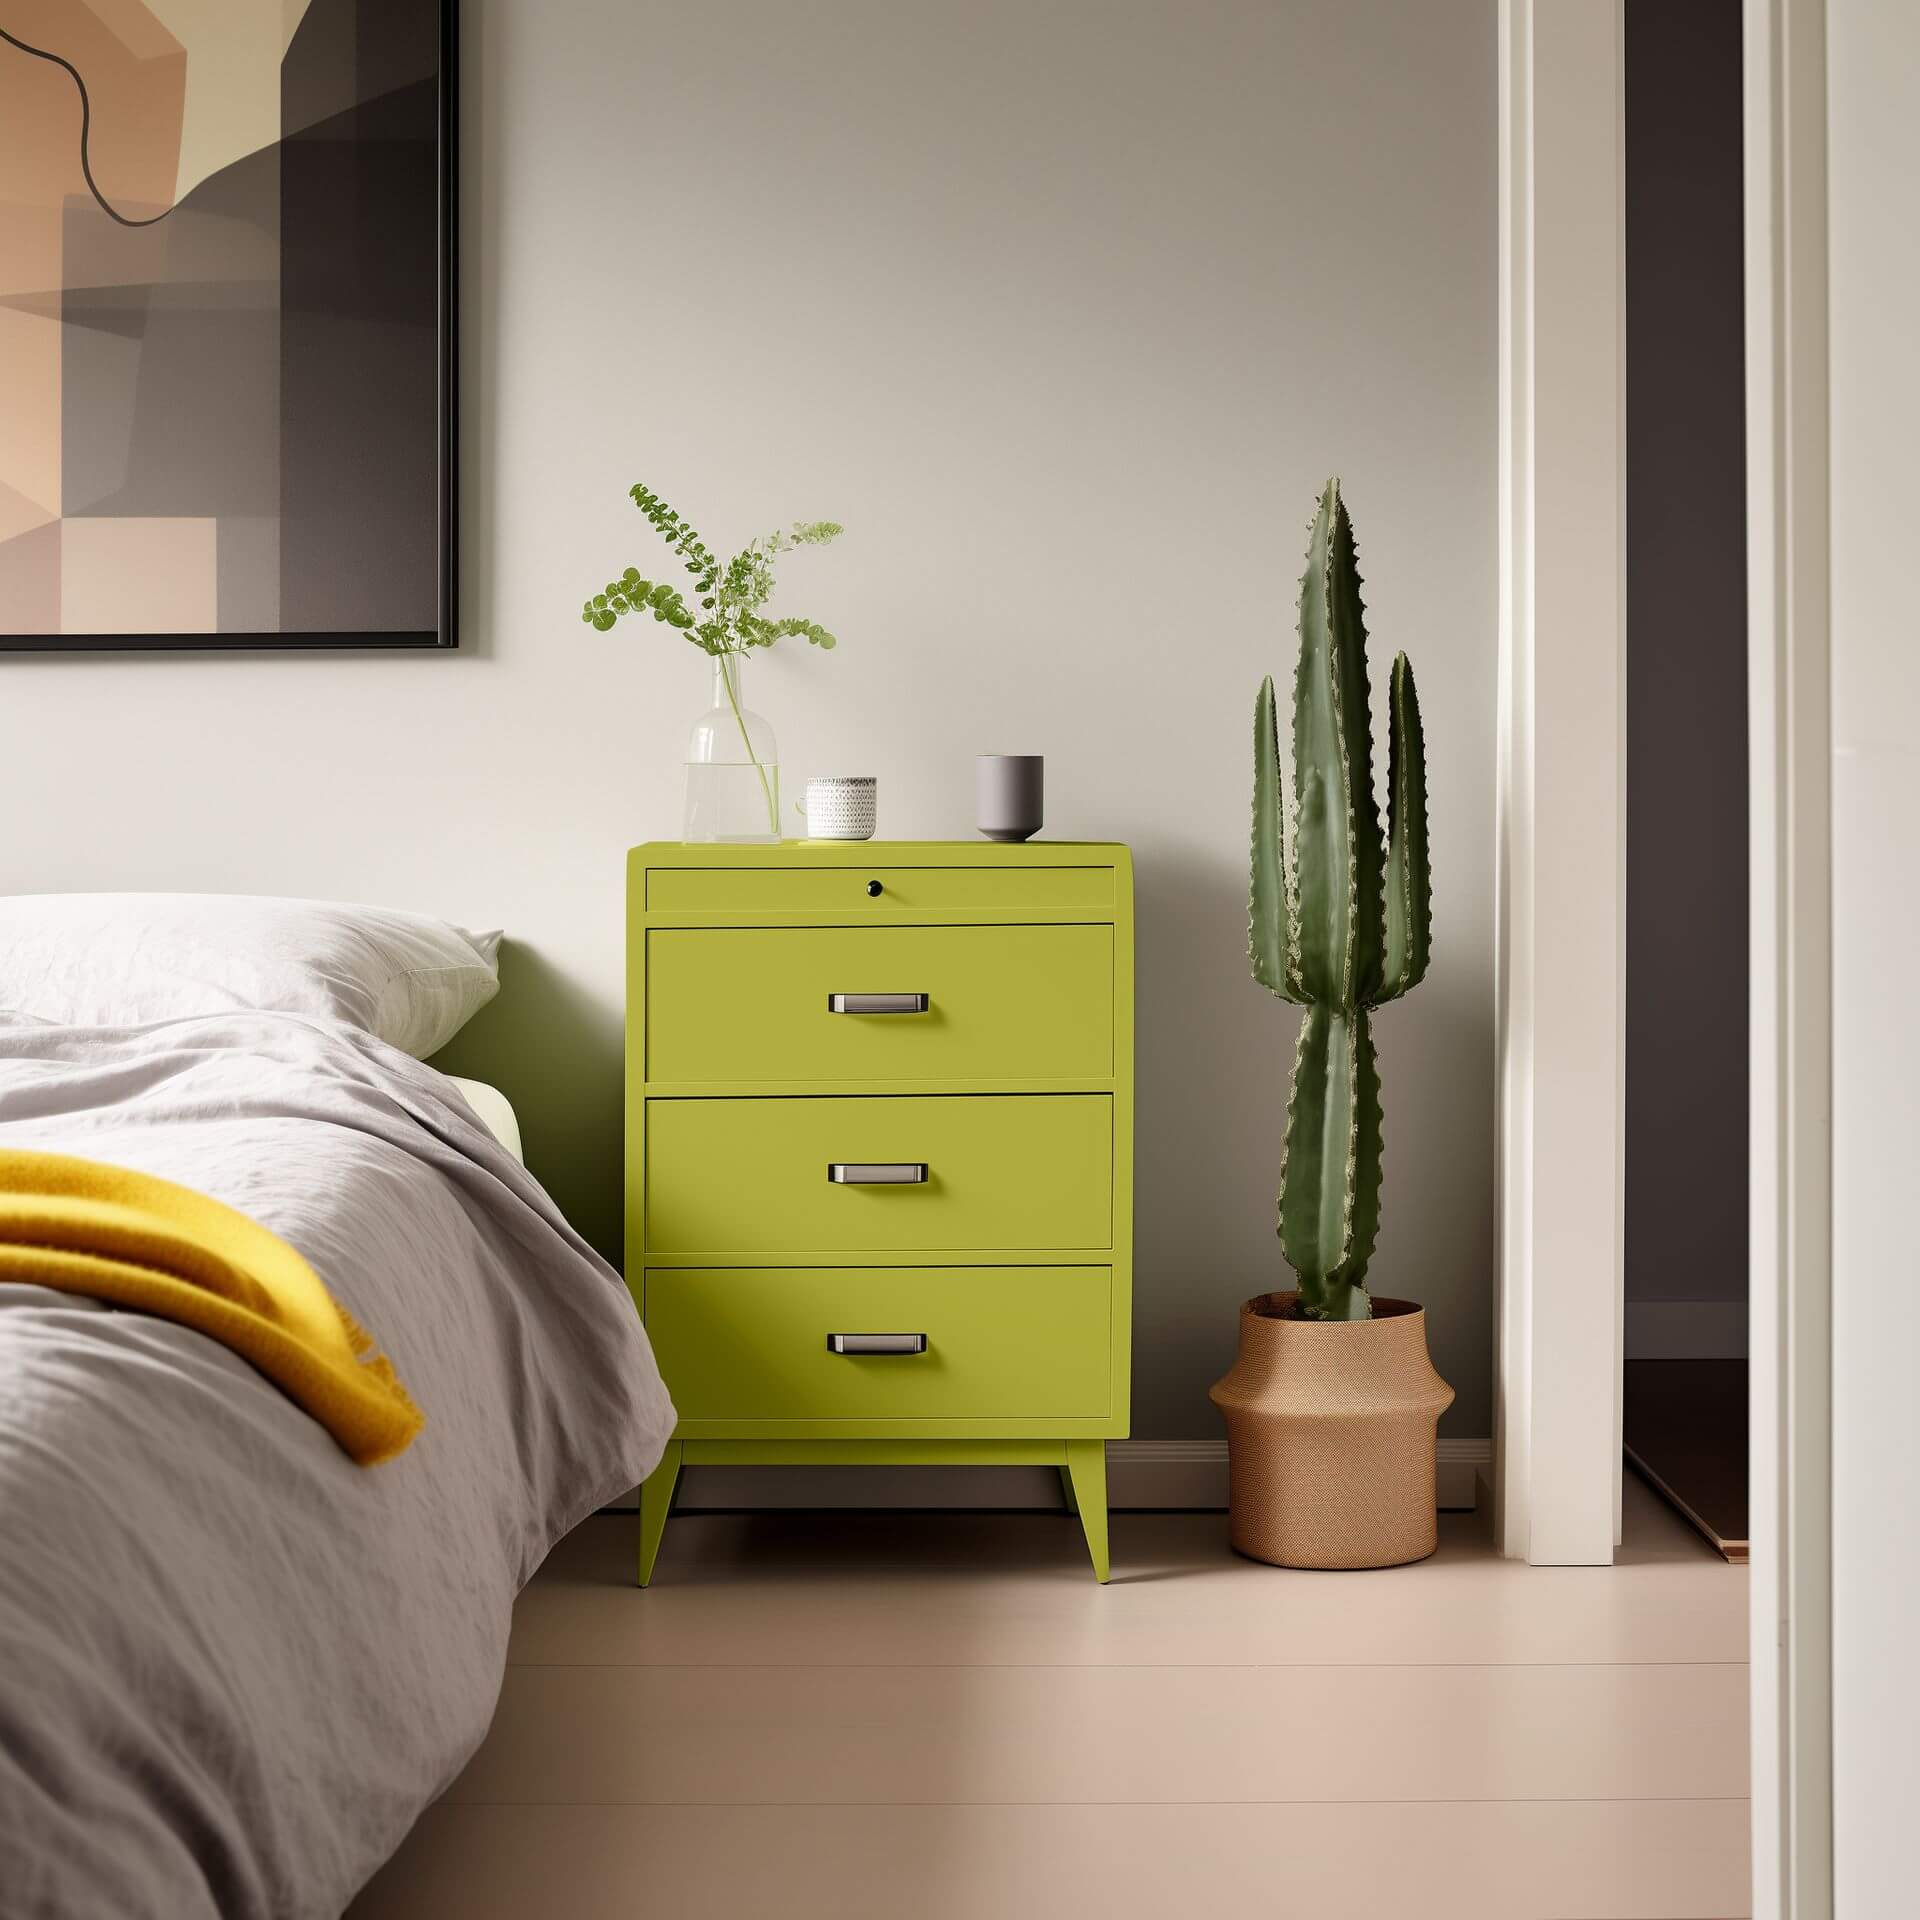
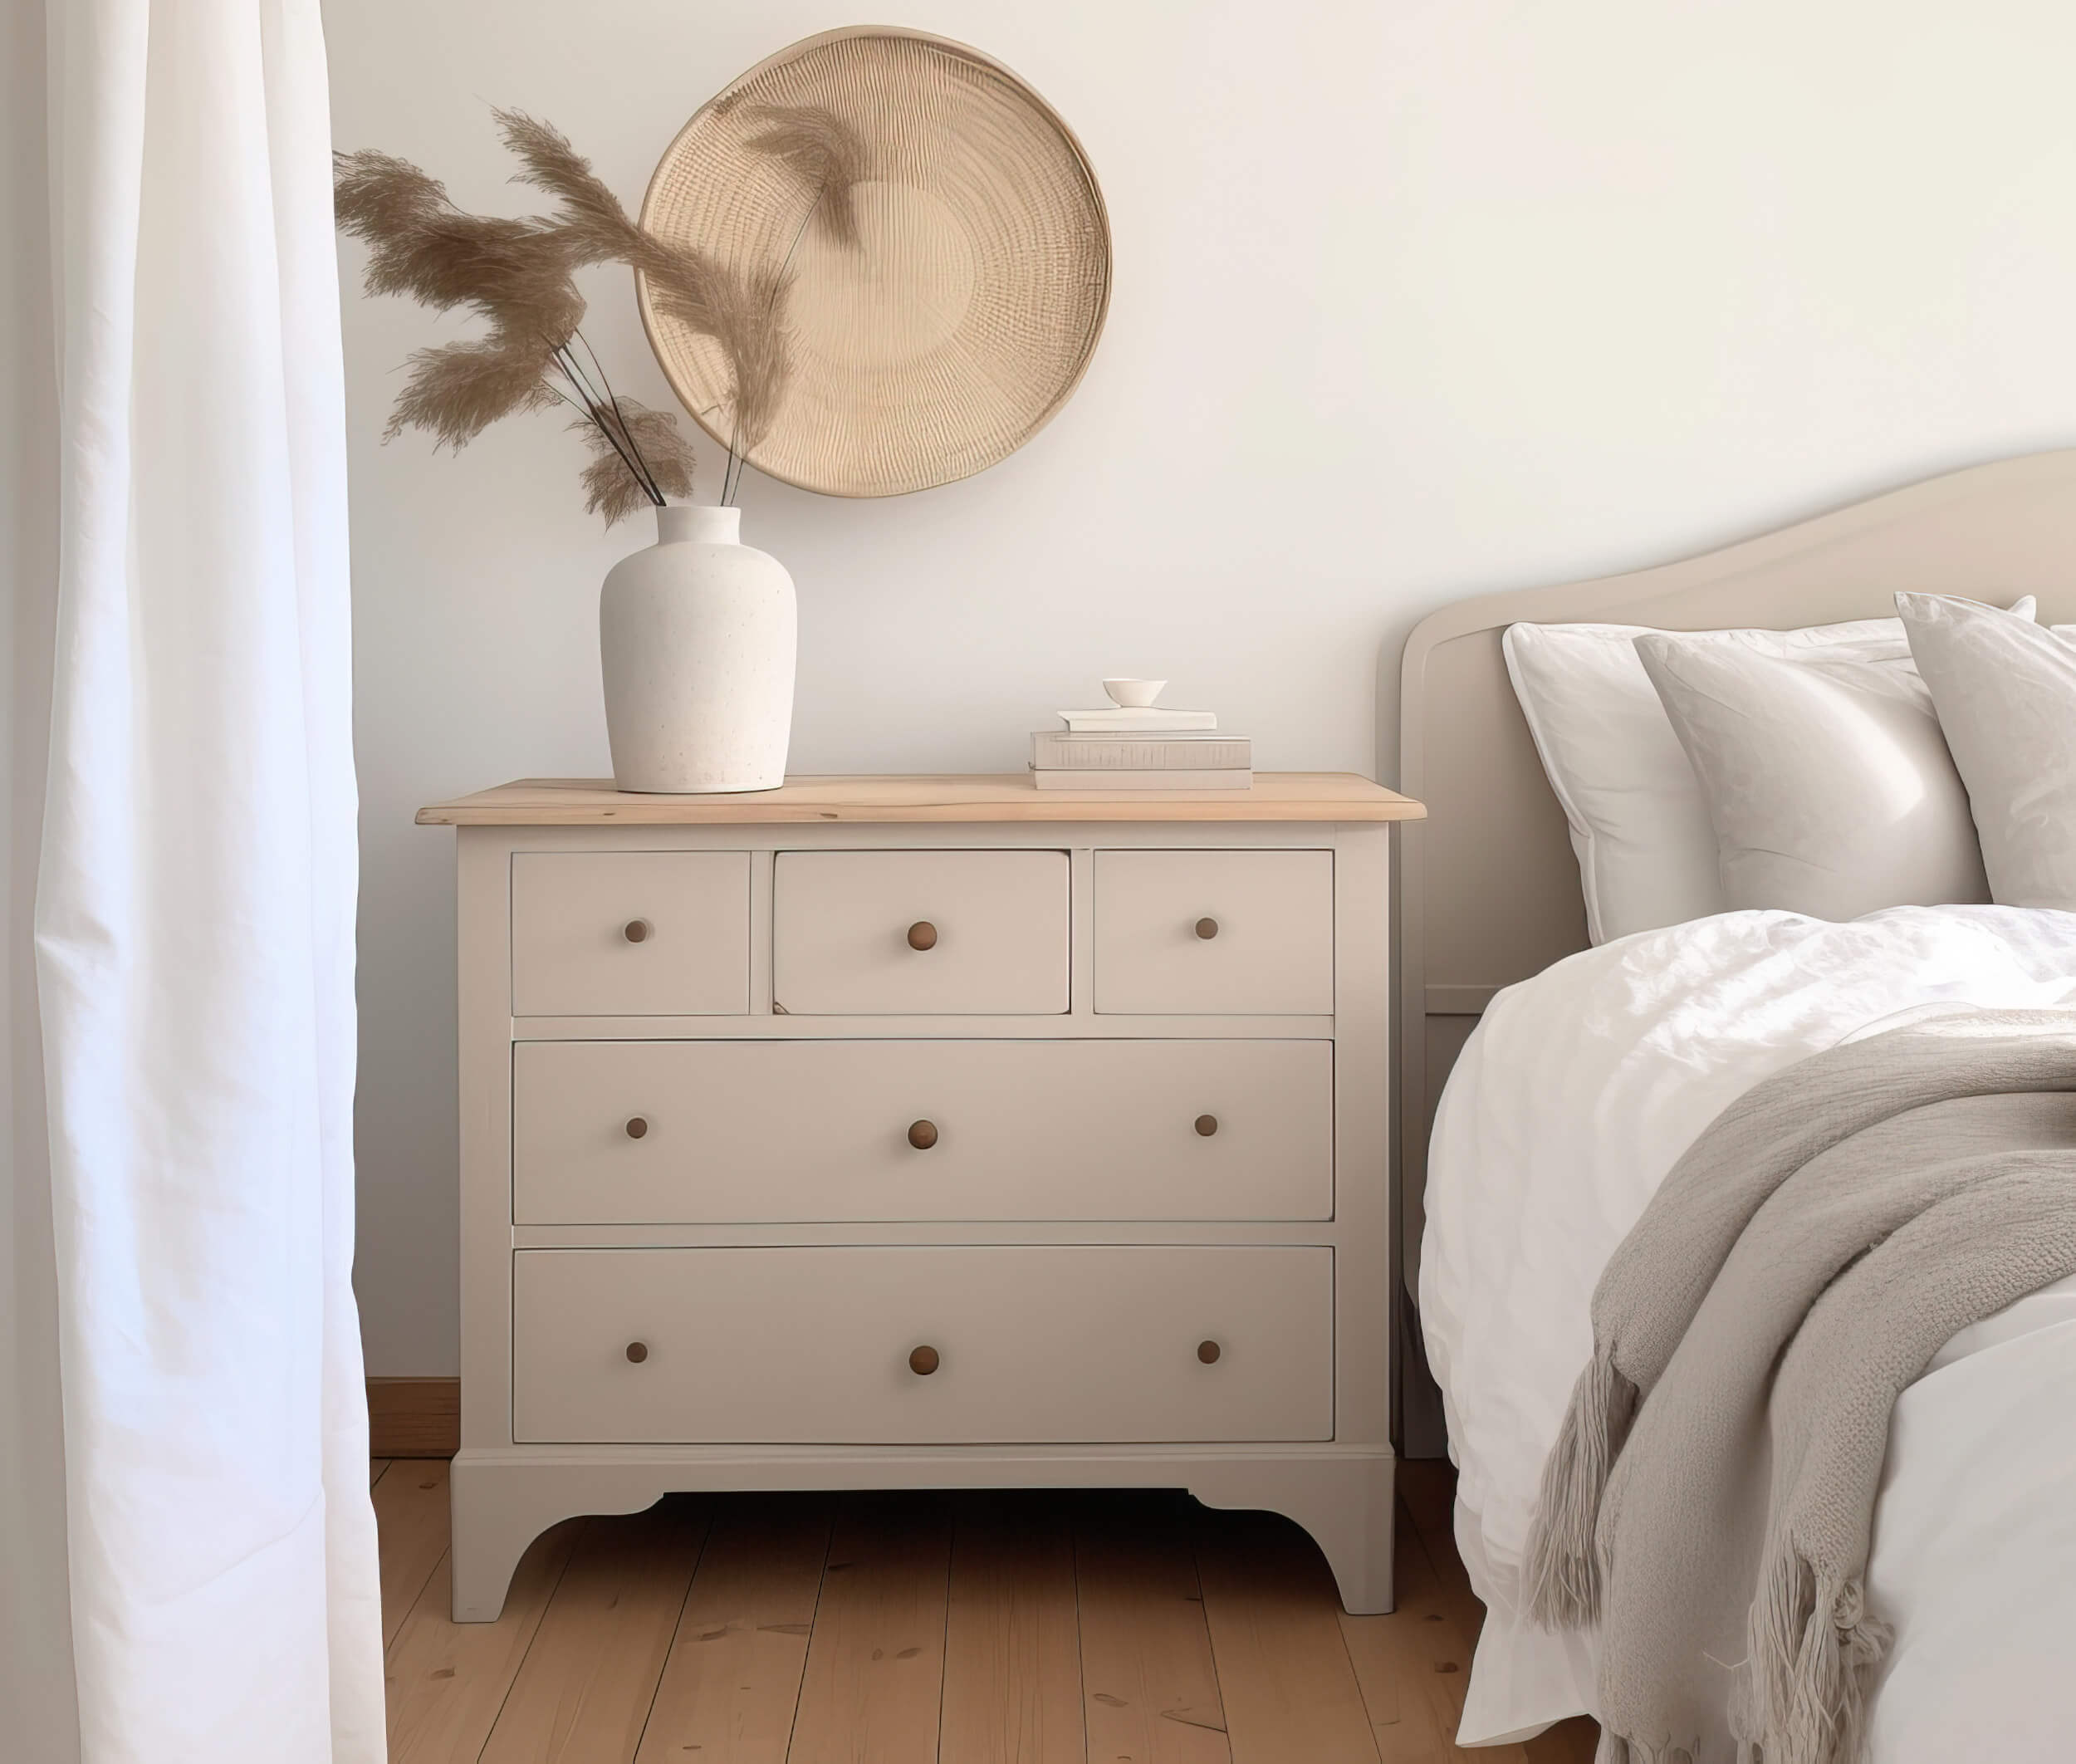
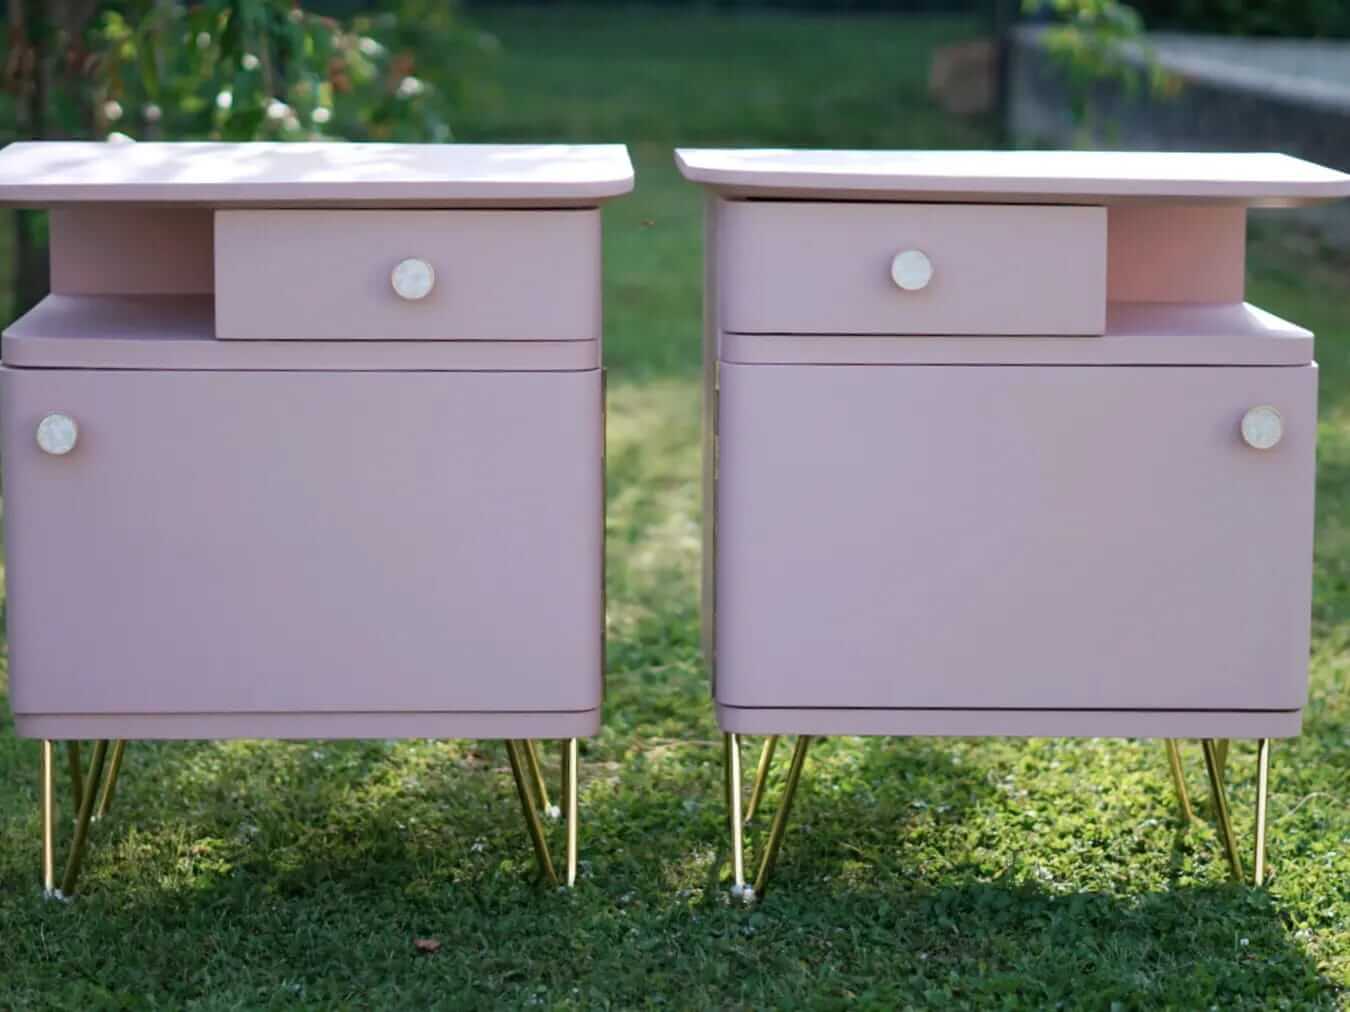
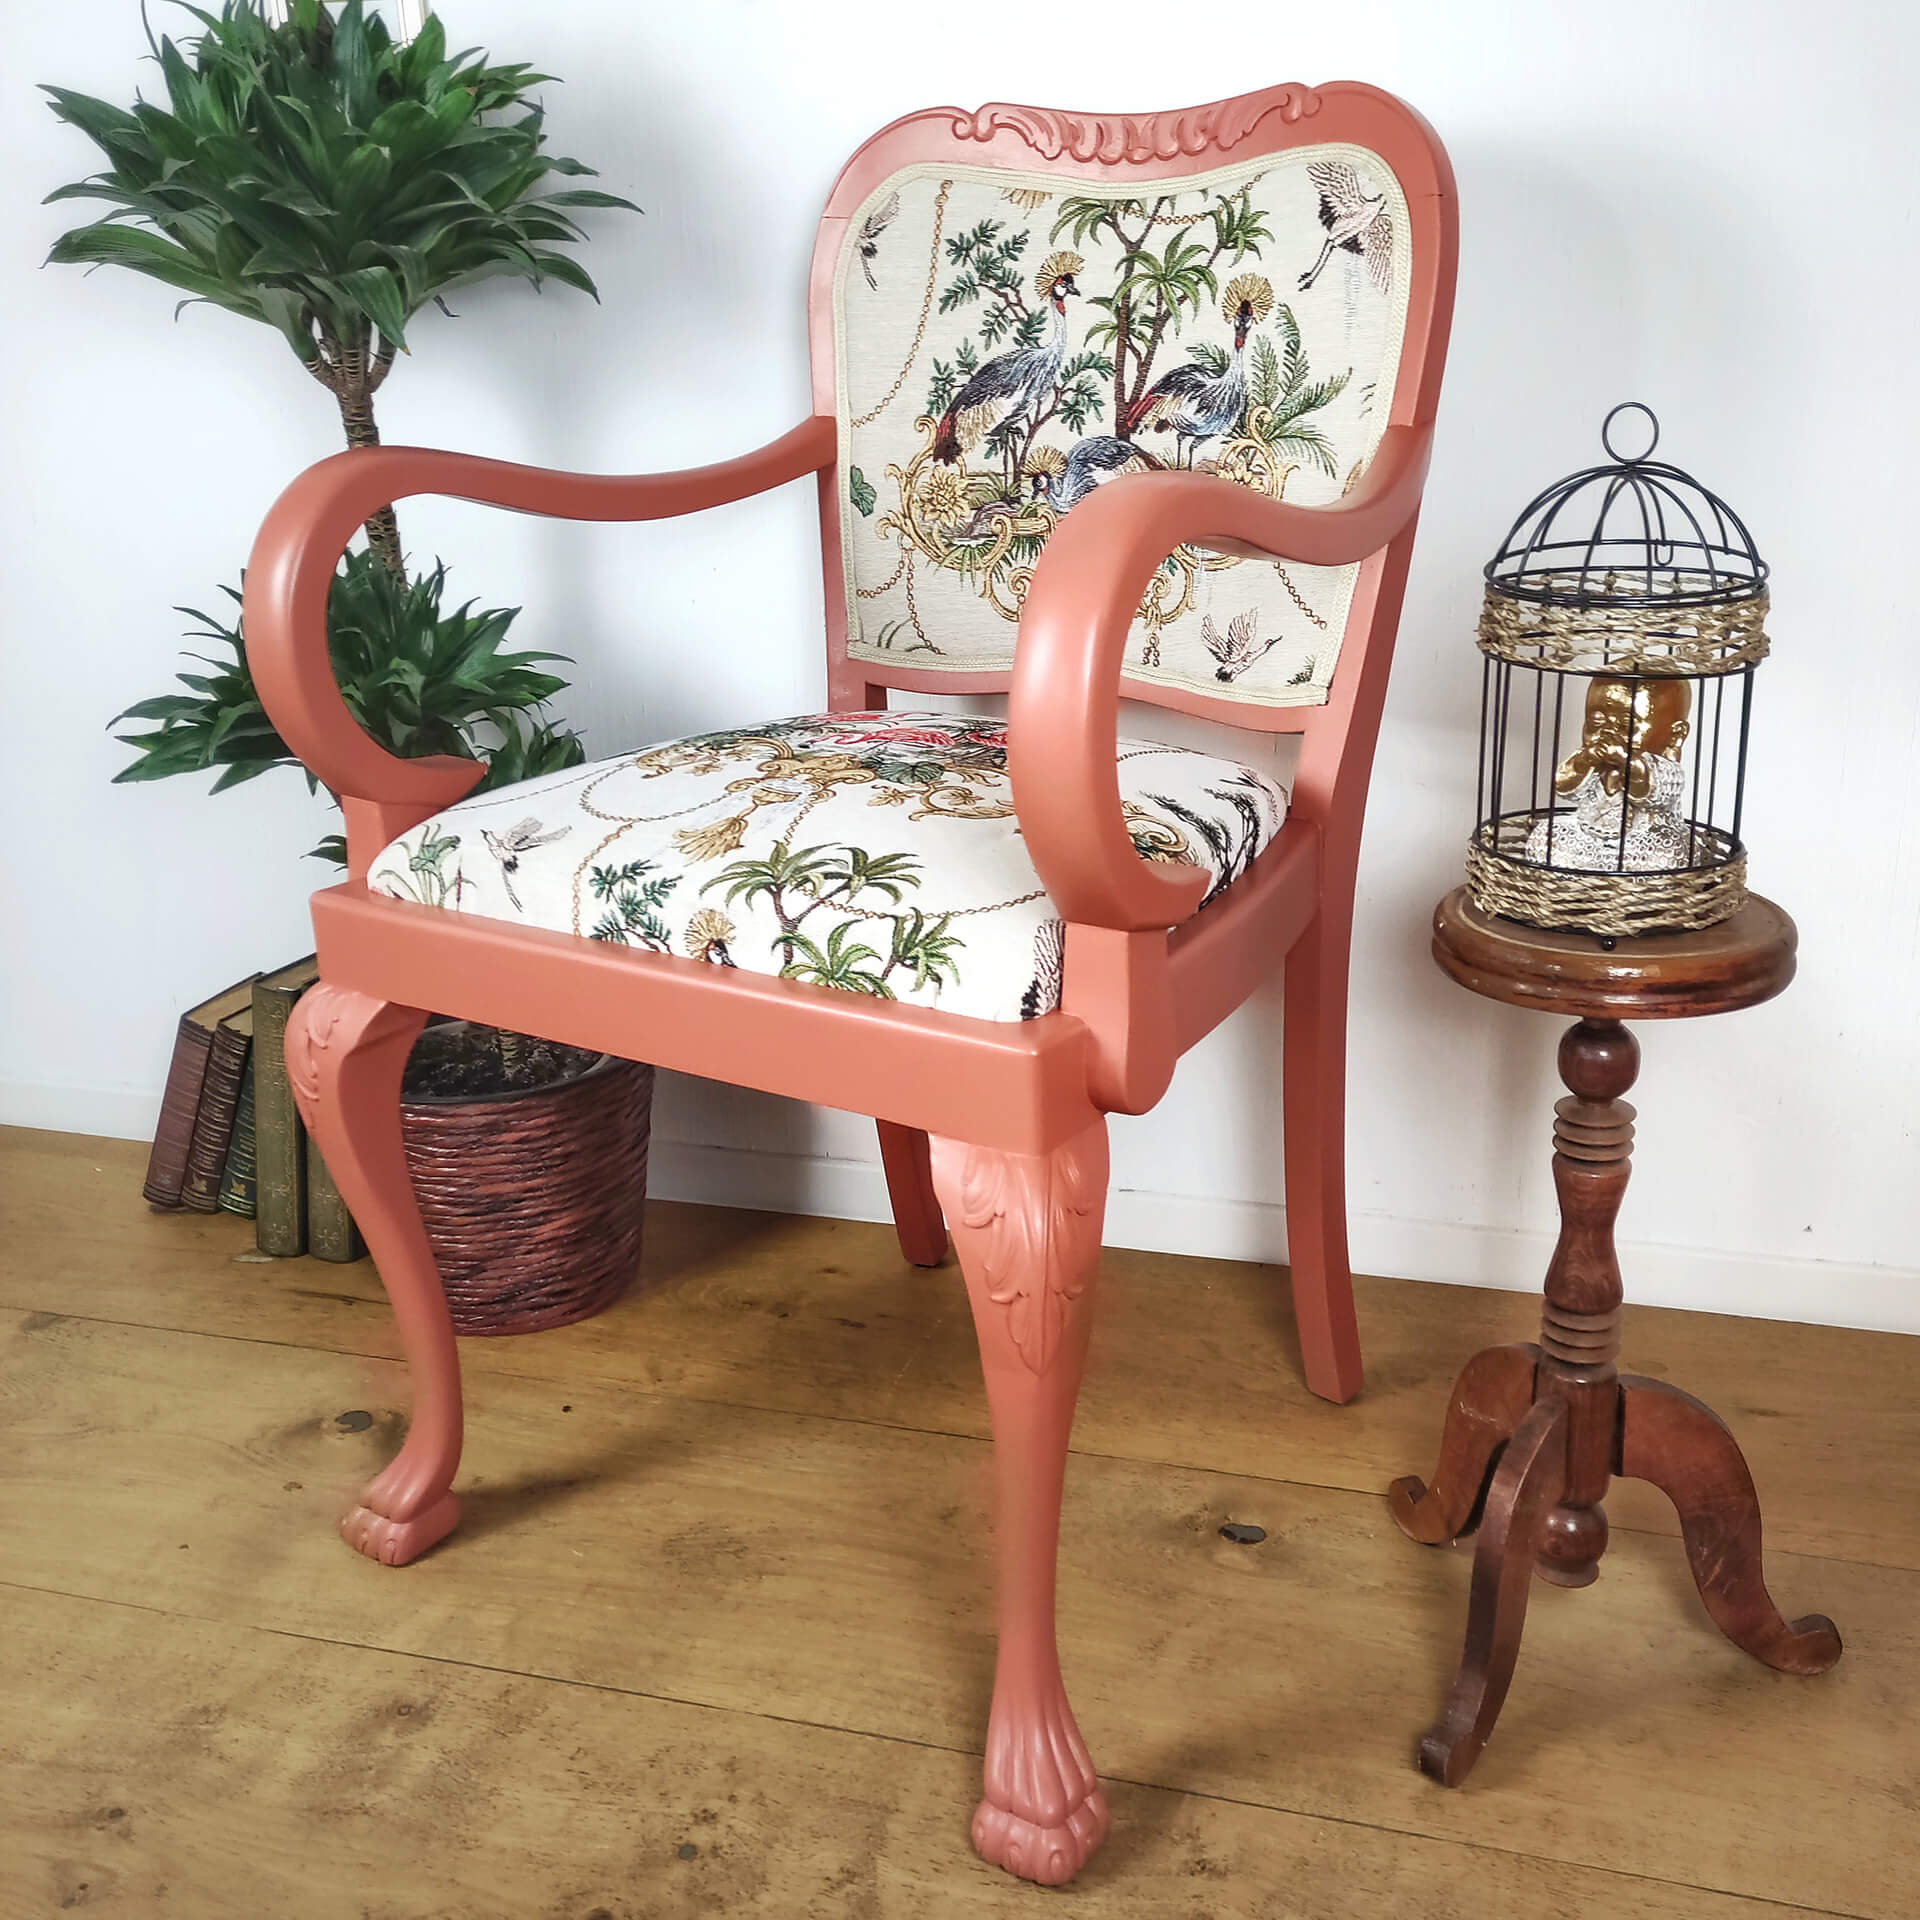
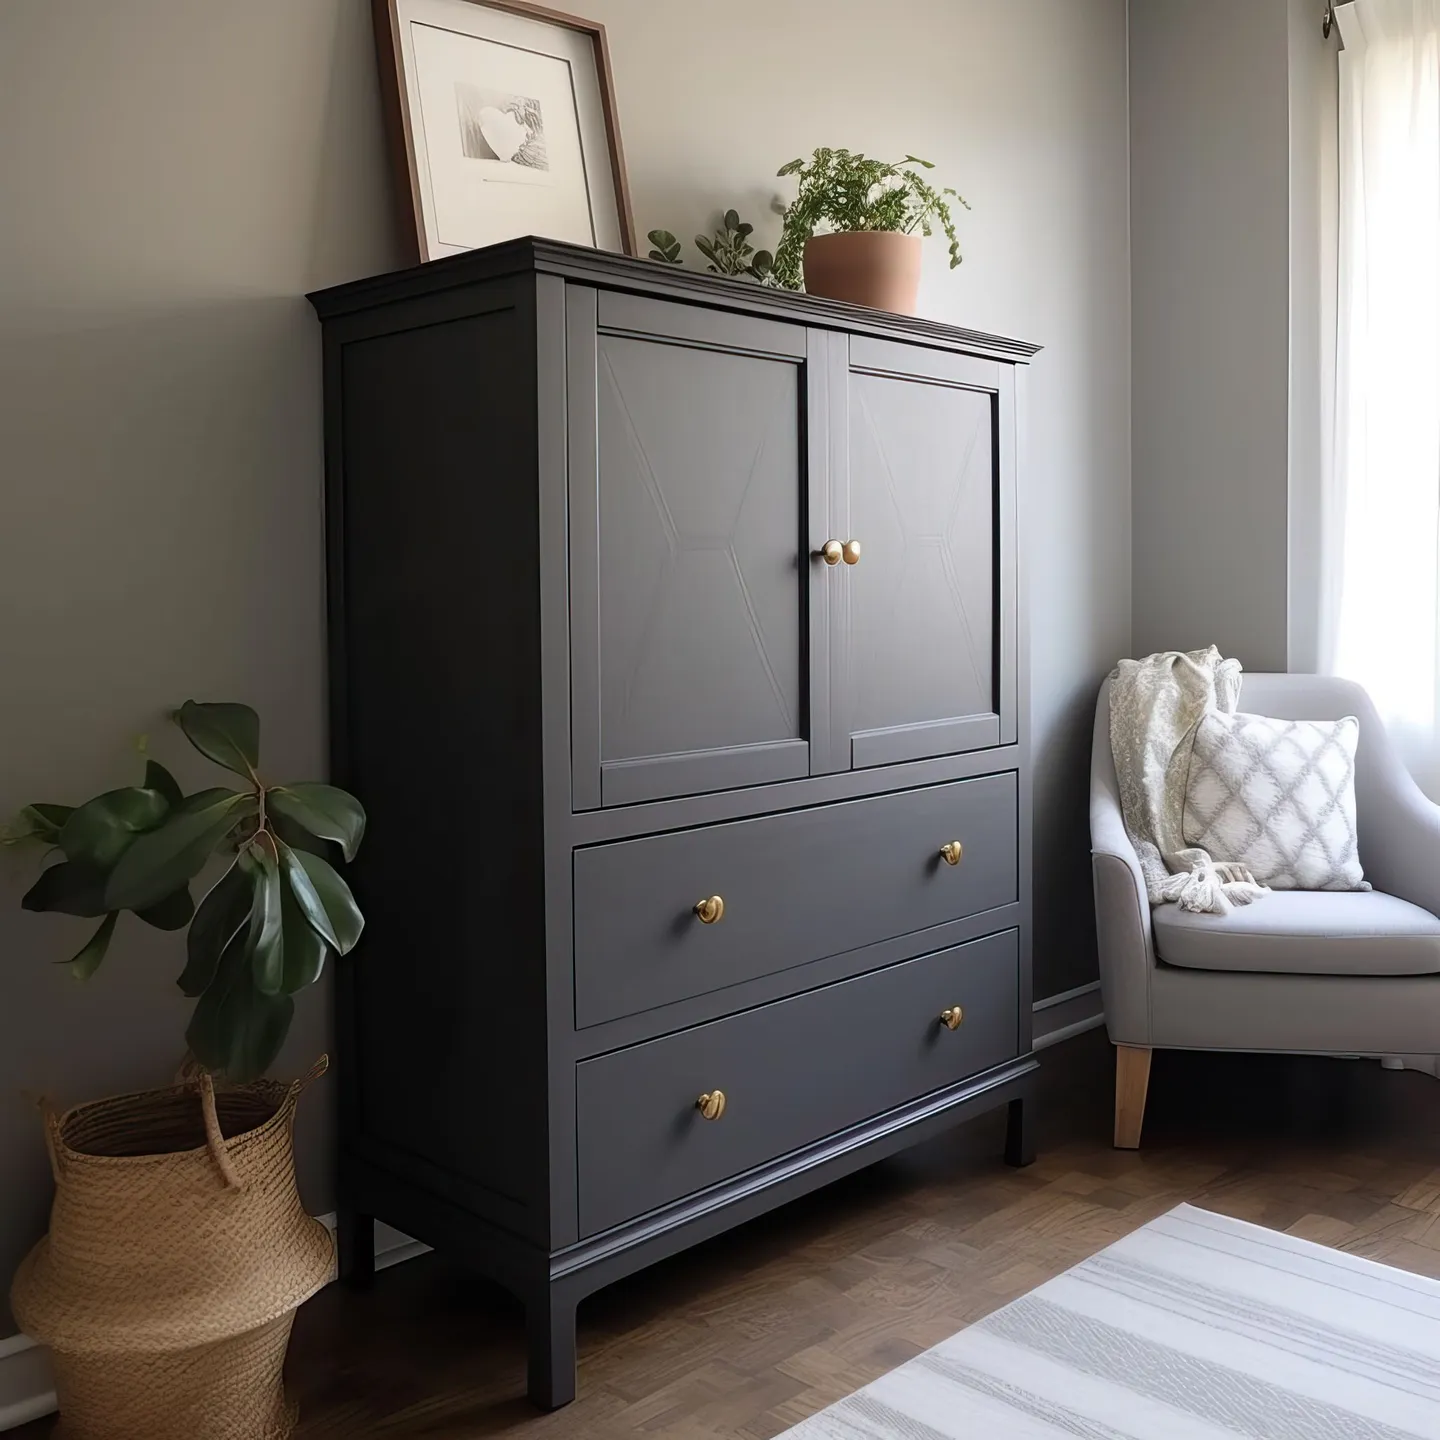
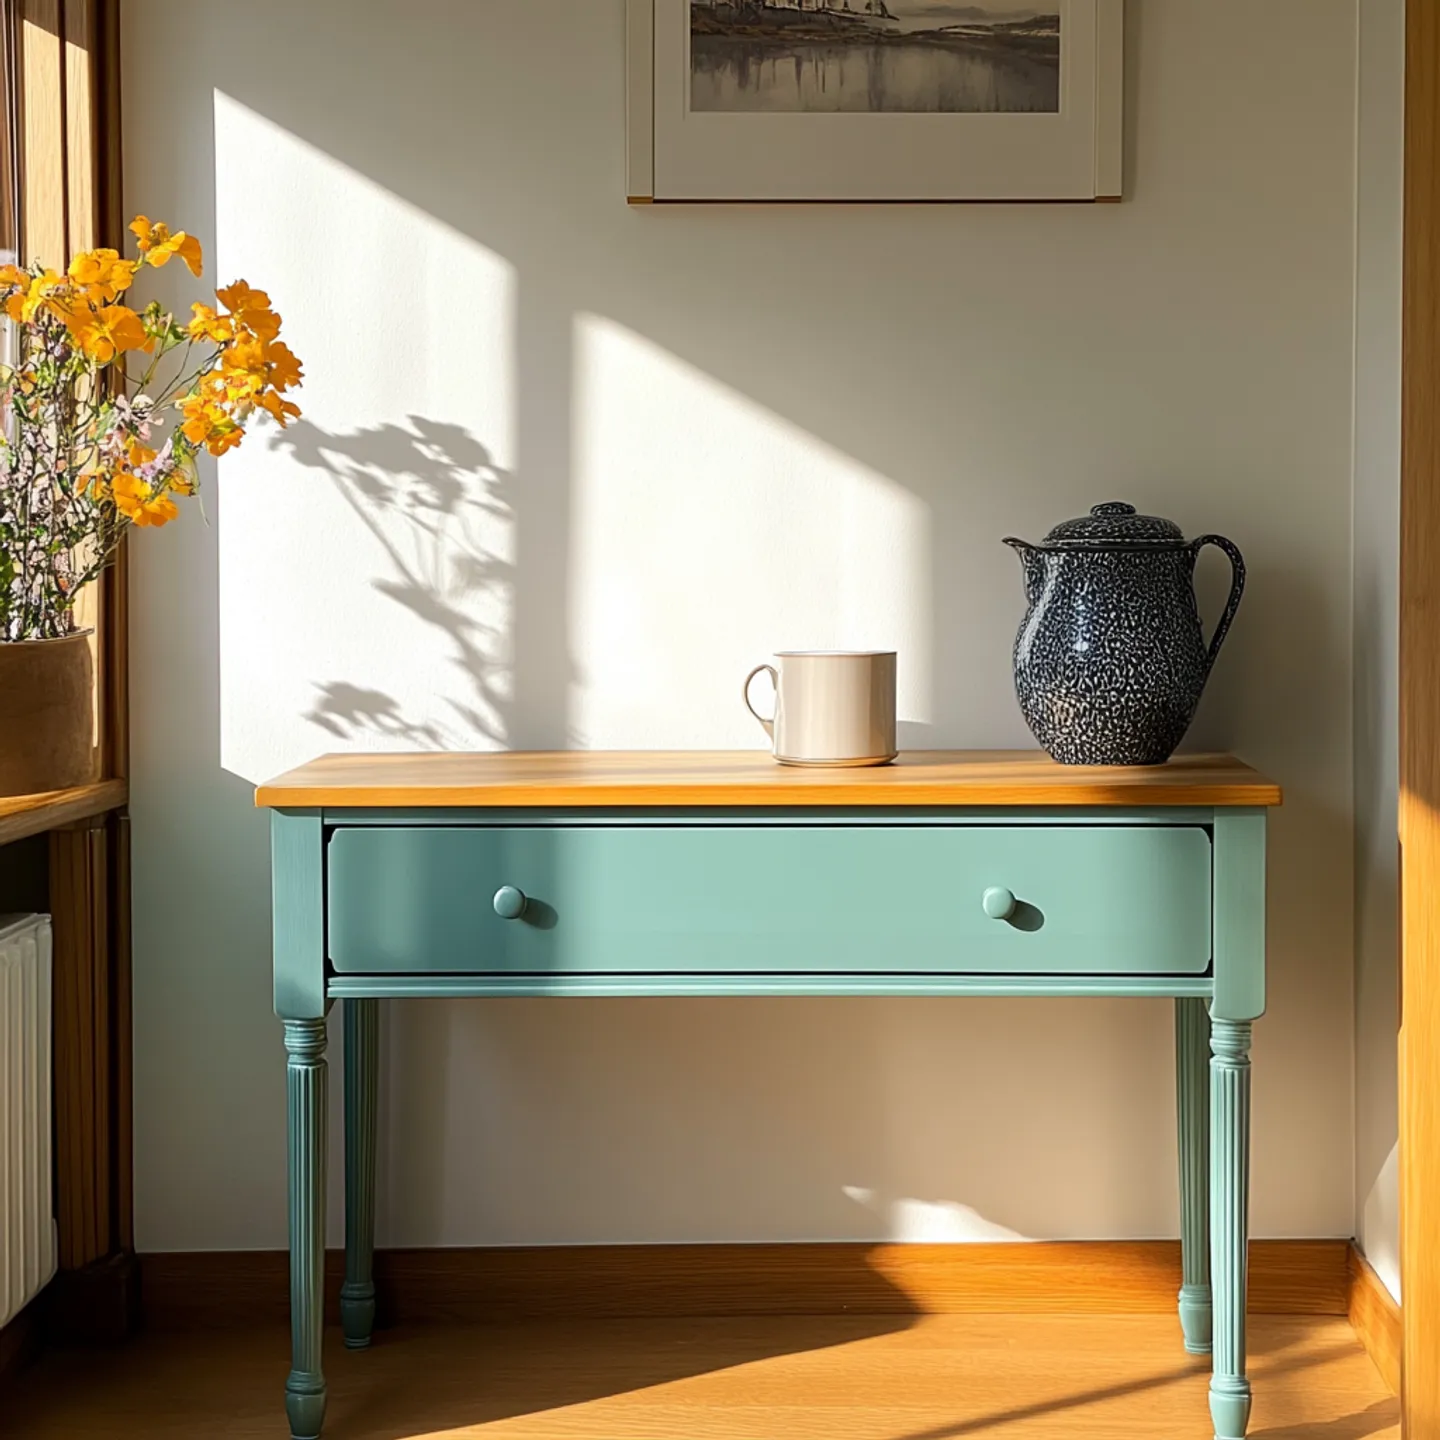
It's the simplicity of Ikea furniture that makes it so popular - it fits into pretty much any interior. If you want to paint your Hemnes chest of drawers, you're guaranteed to find what you're looking for in the pictures from our community!
Whether you want to paint with chalk paint or our varnishes, just let yourself be inspired by the many DIY painting results and creative ideas from our customers: from plain monochrome to stylishly decorated with stencils and furniture stickers - there's something for everyone
Painting the Hemnes chest of drawers: The preparation
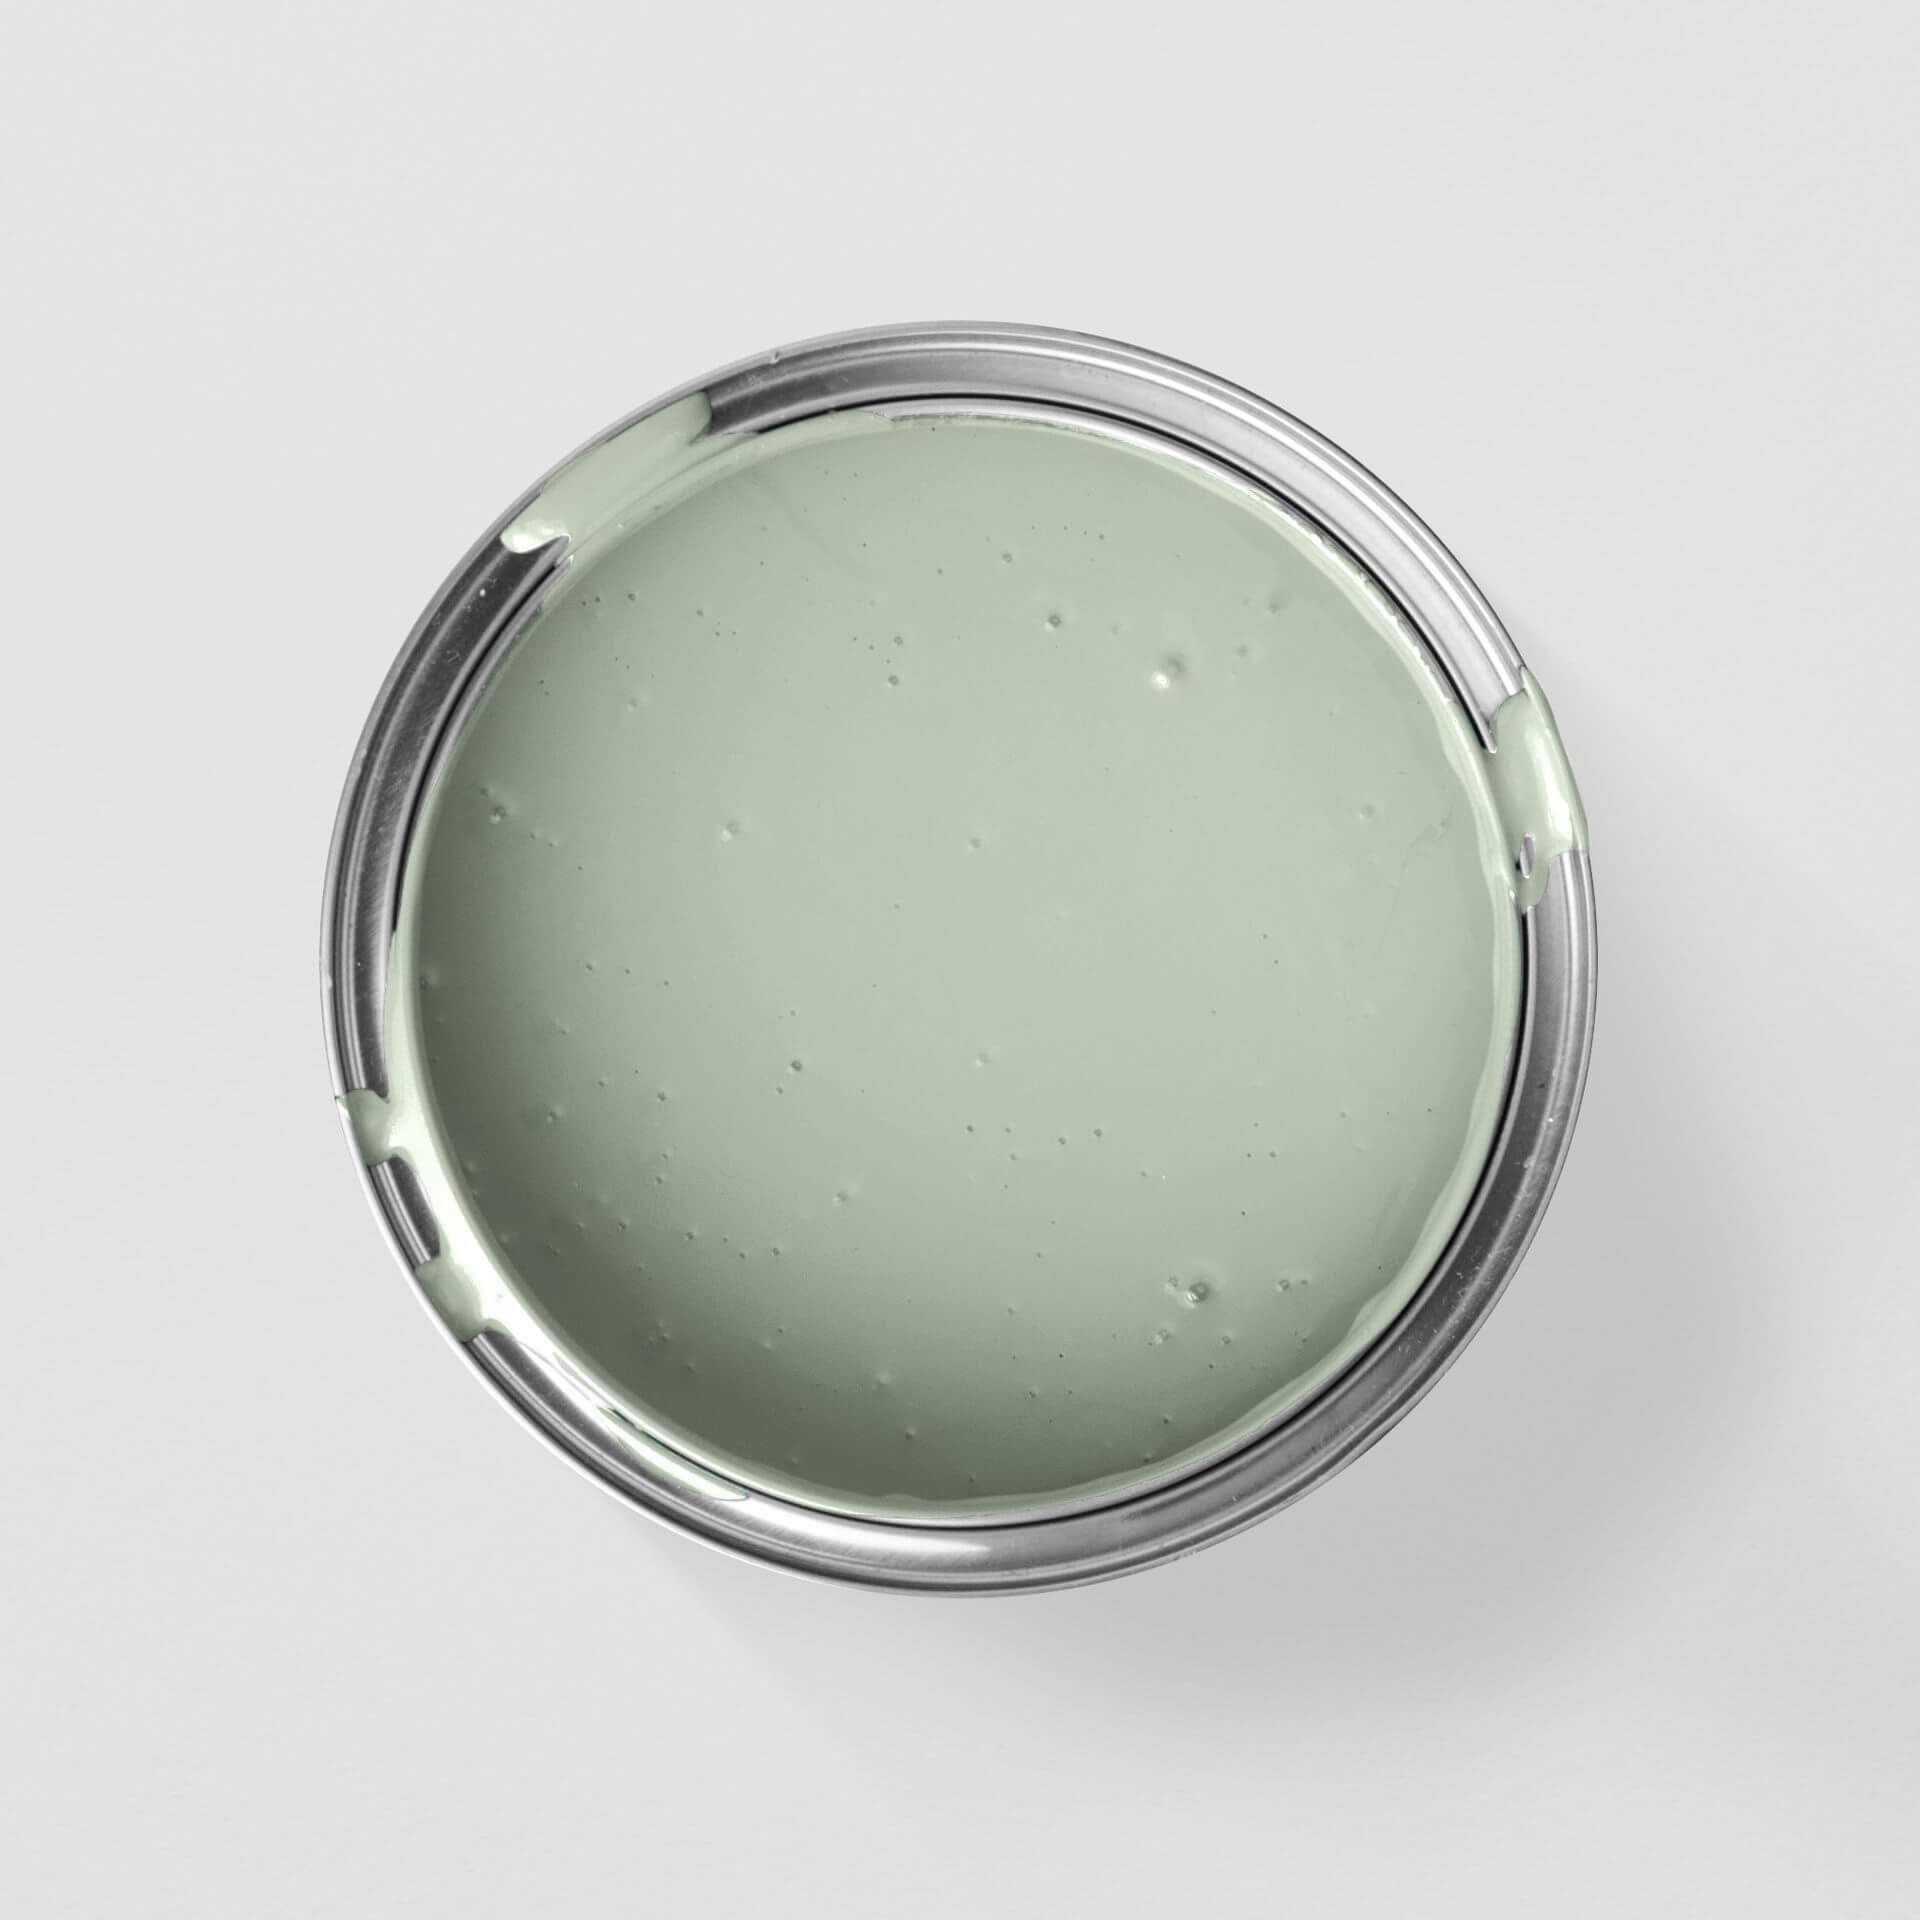
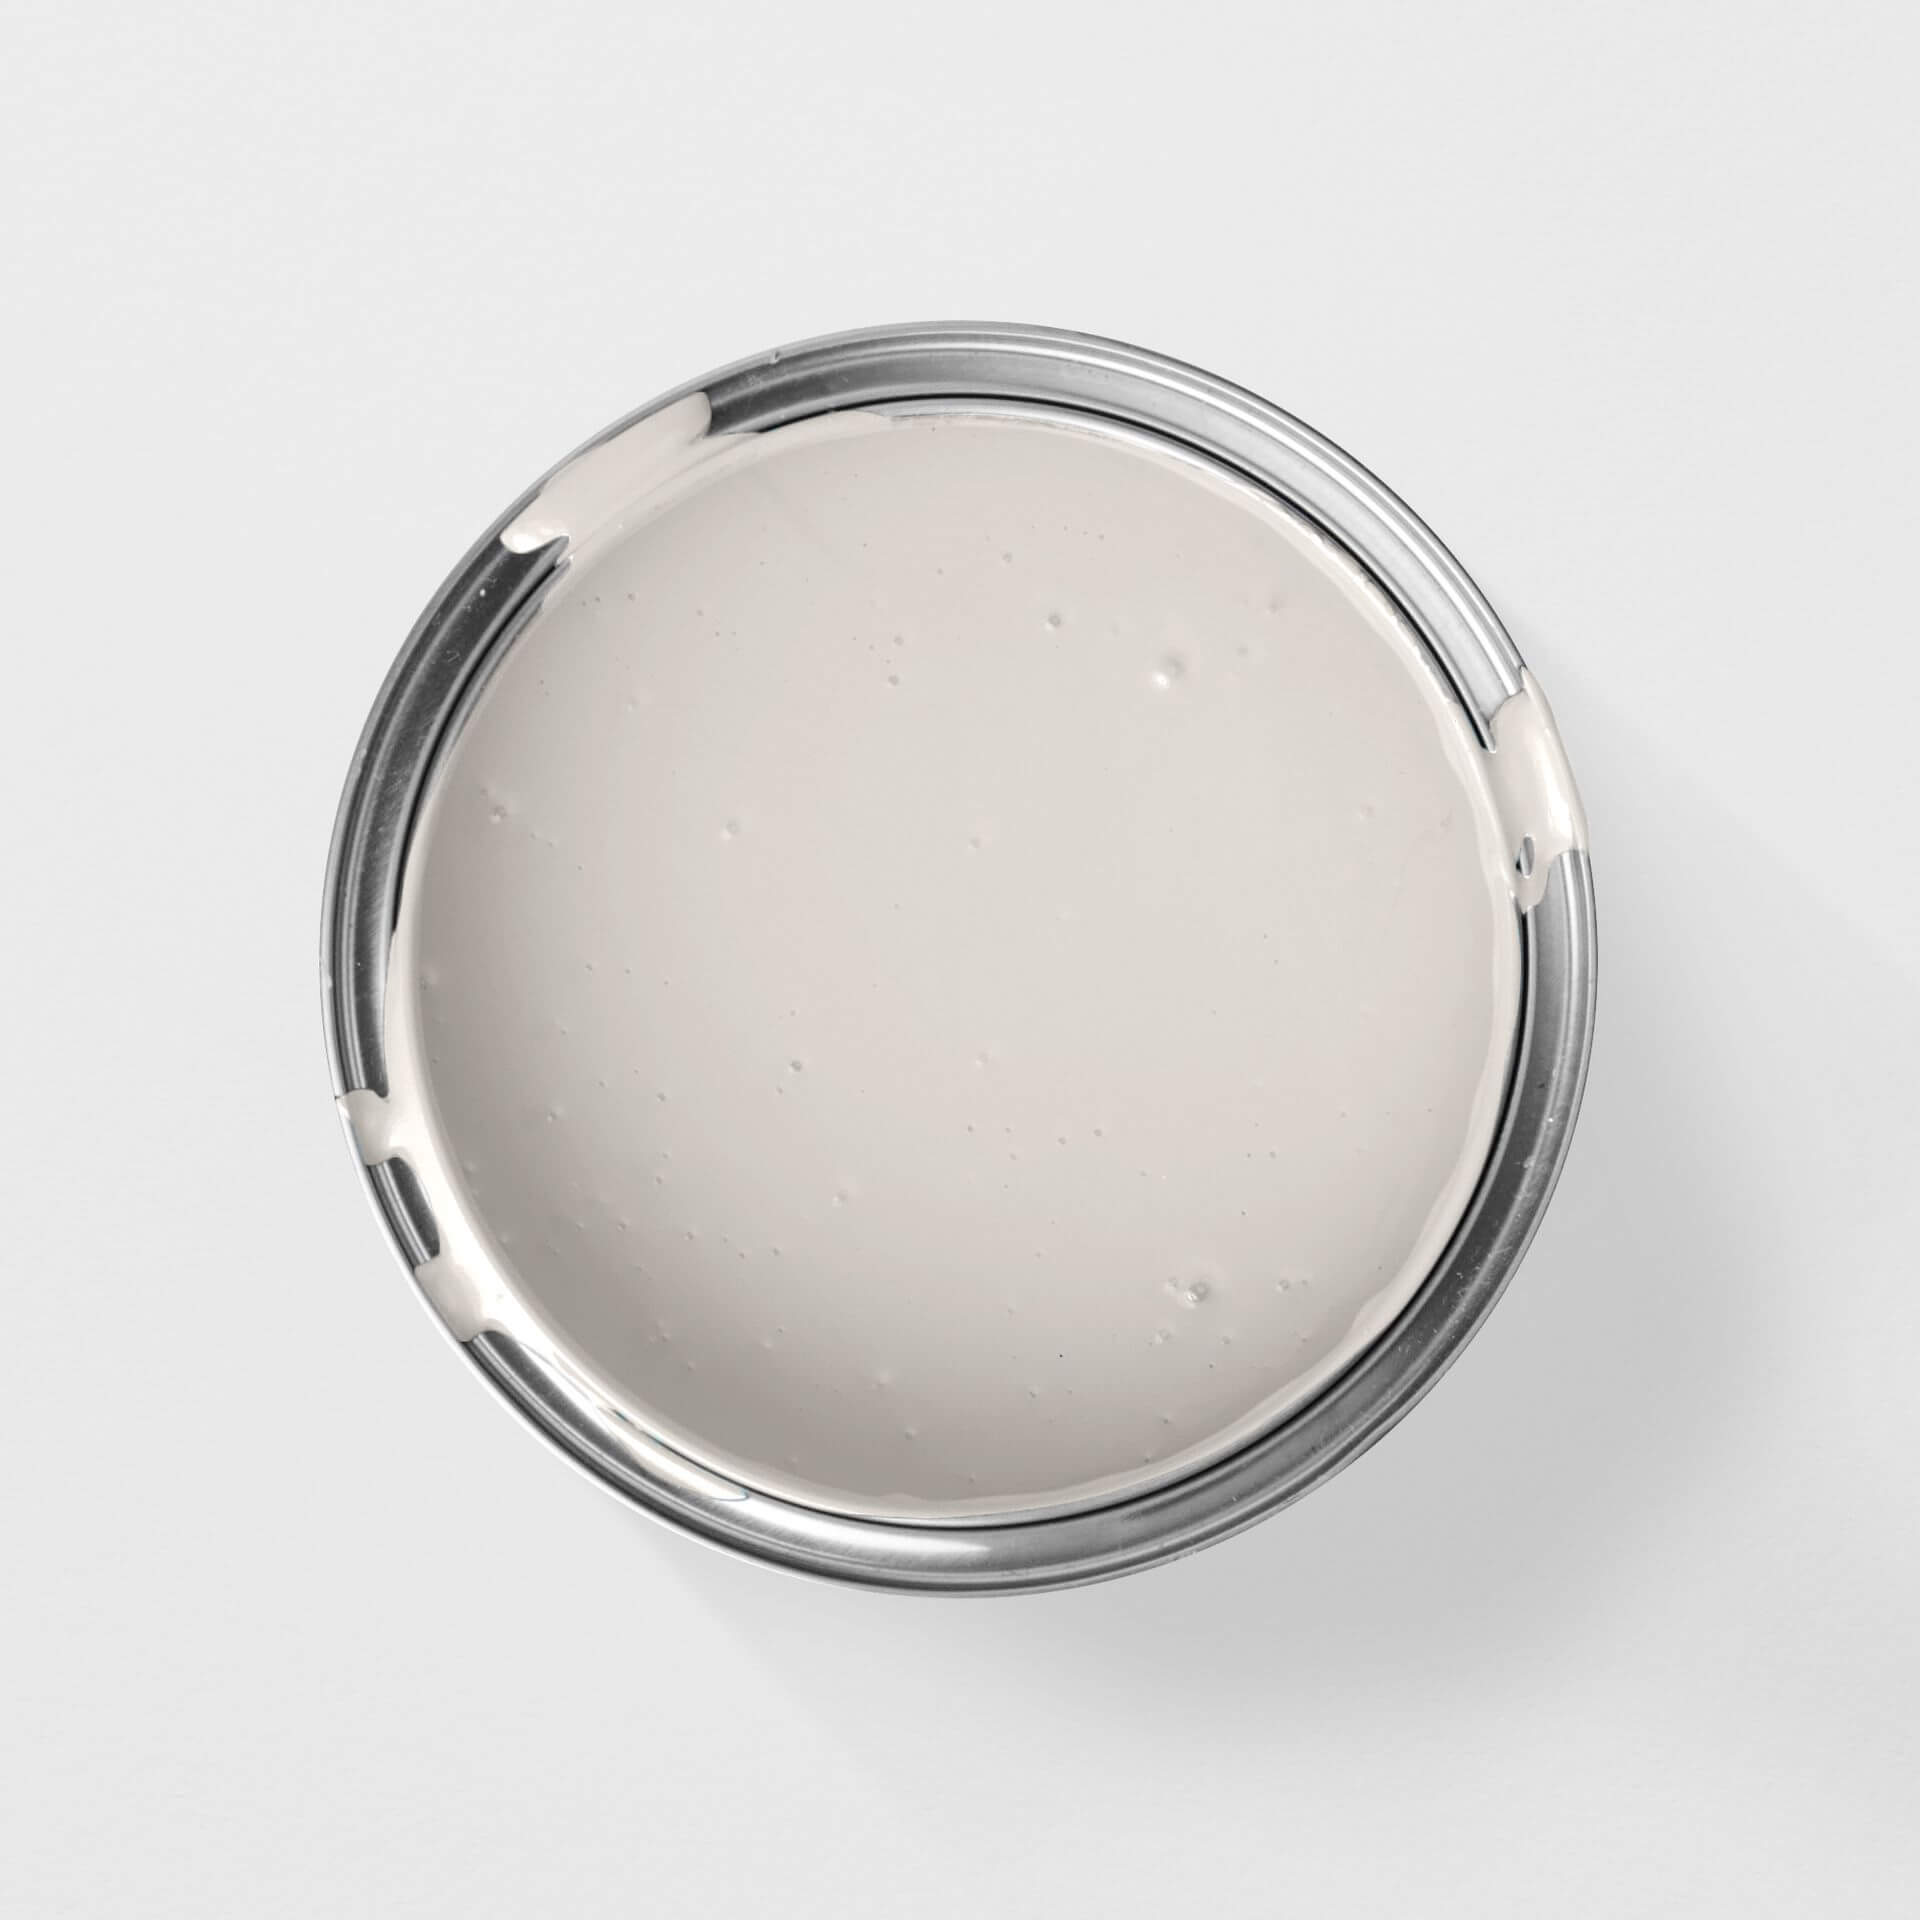
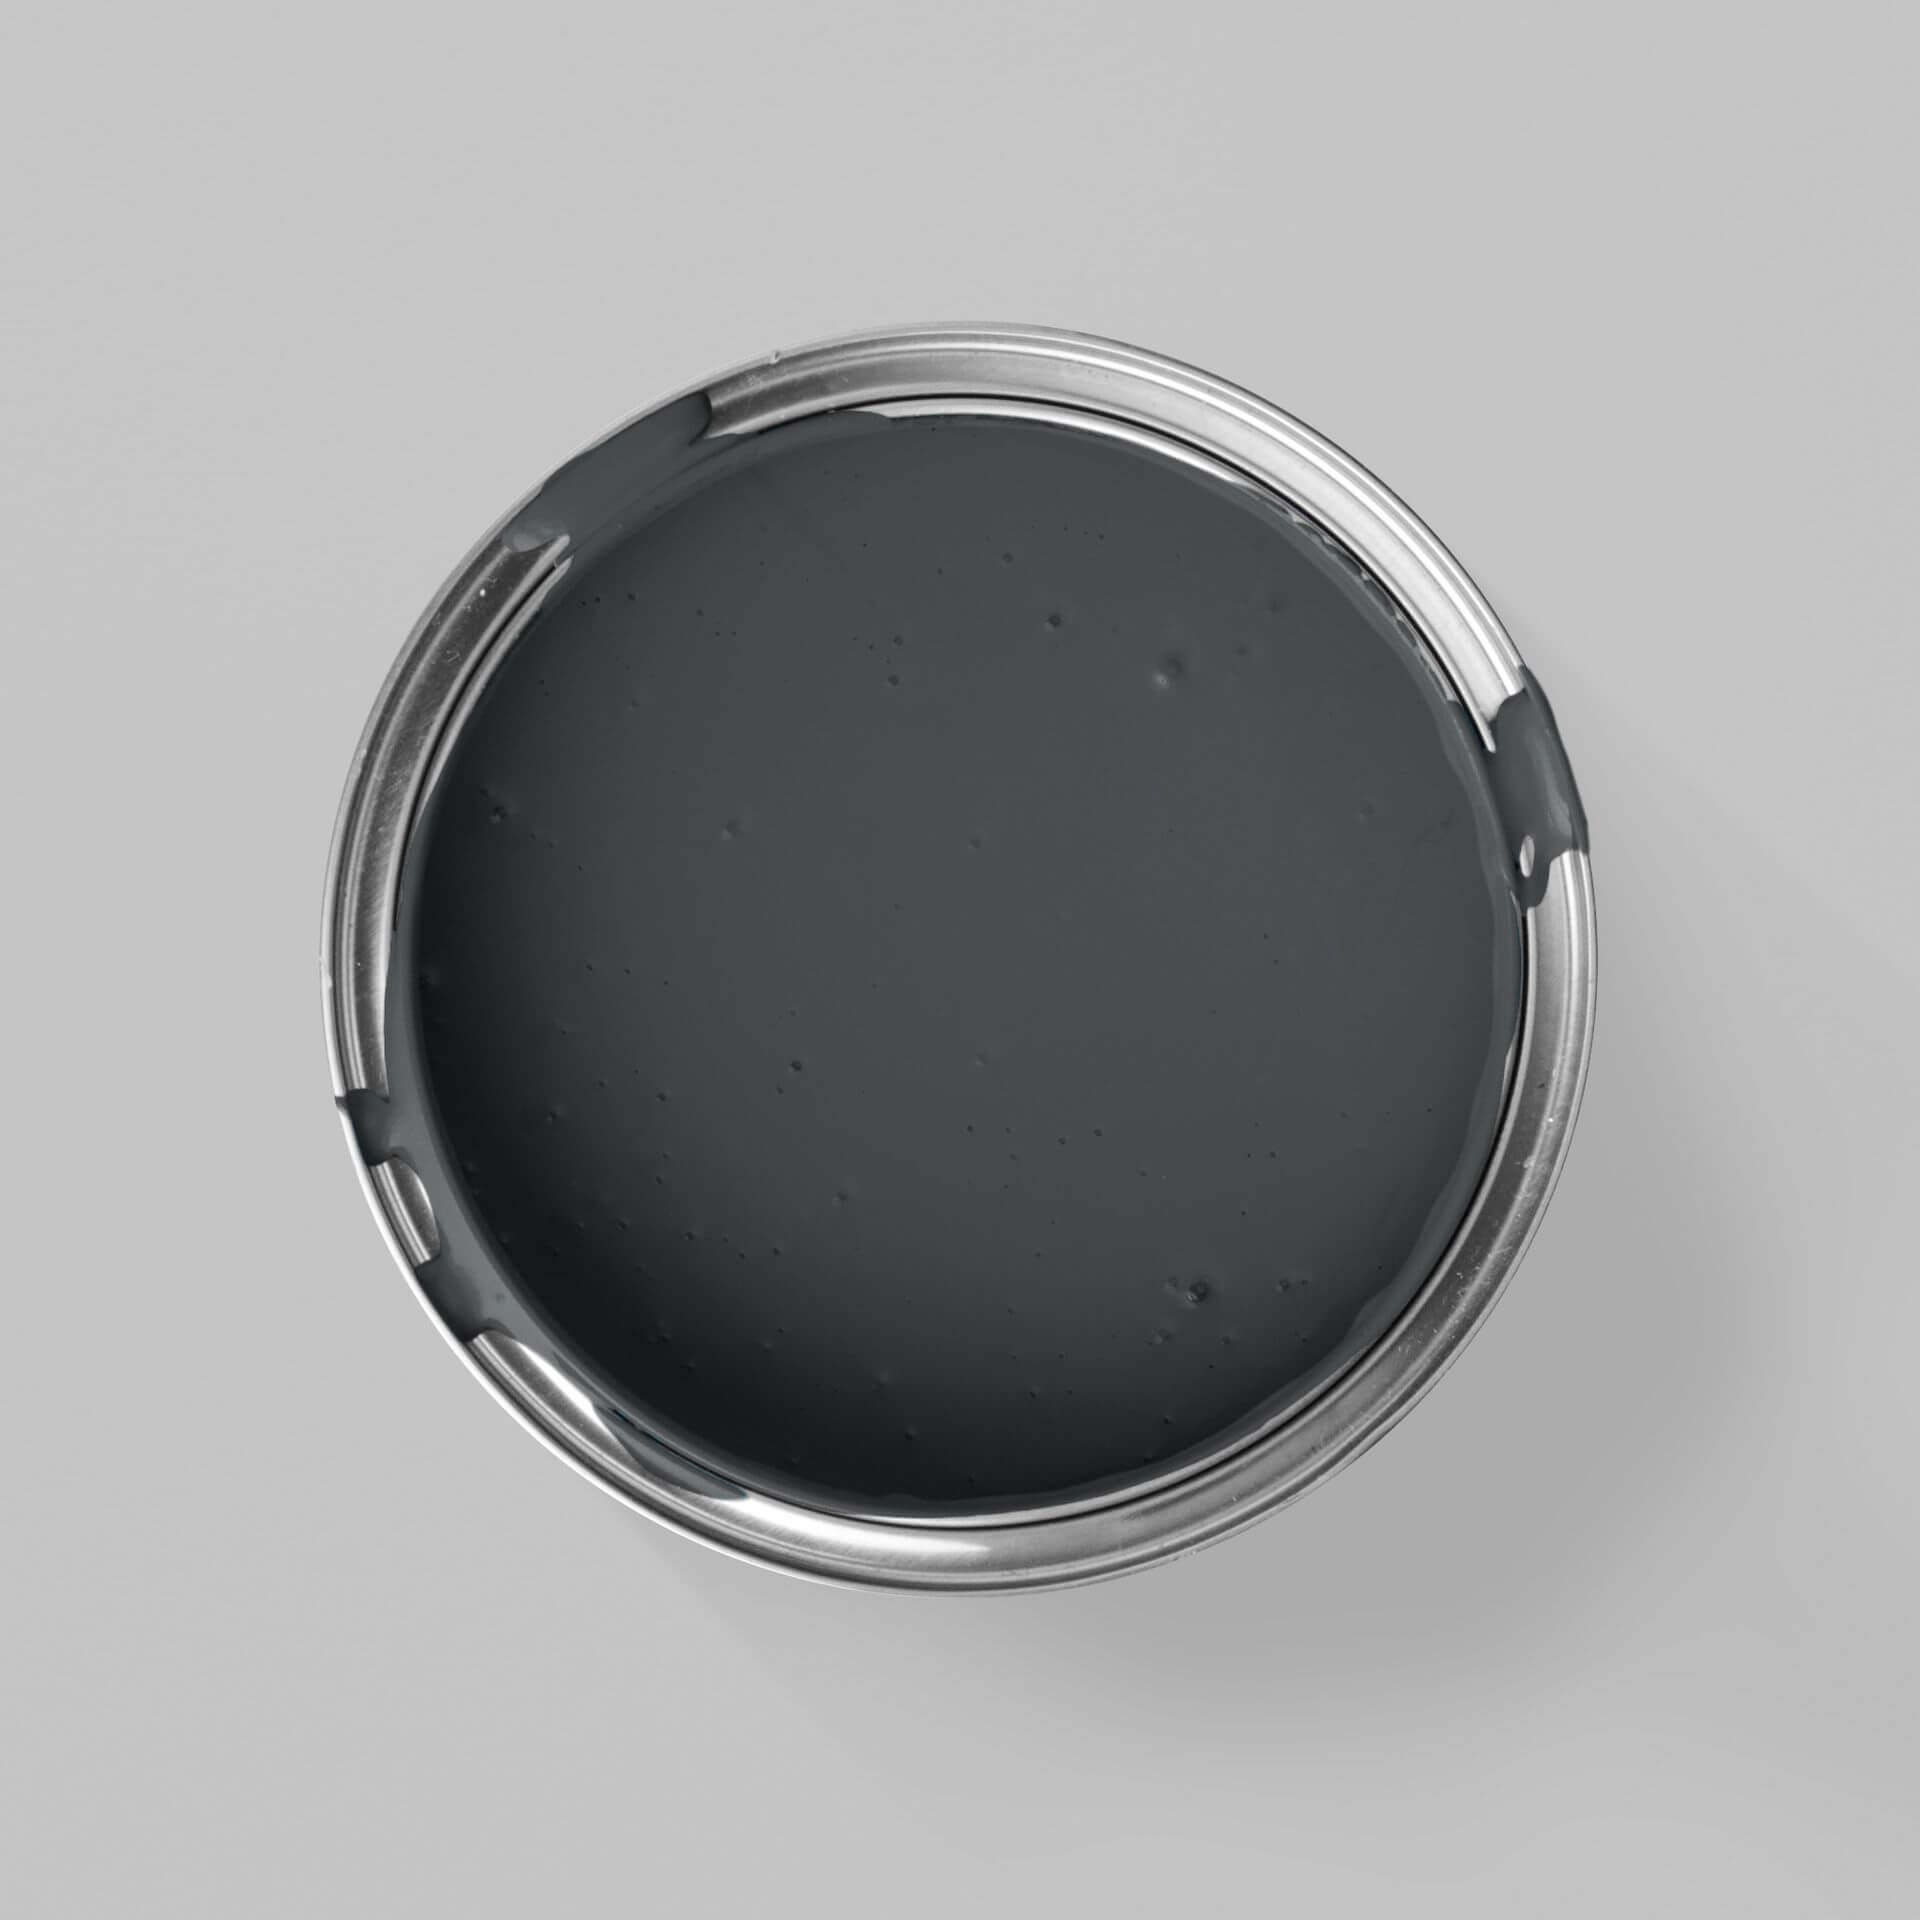
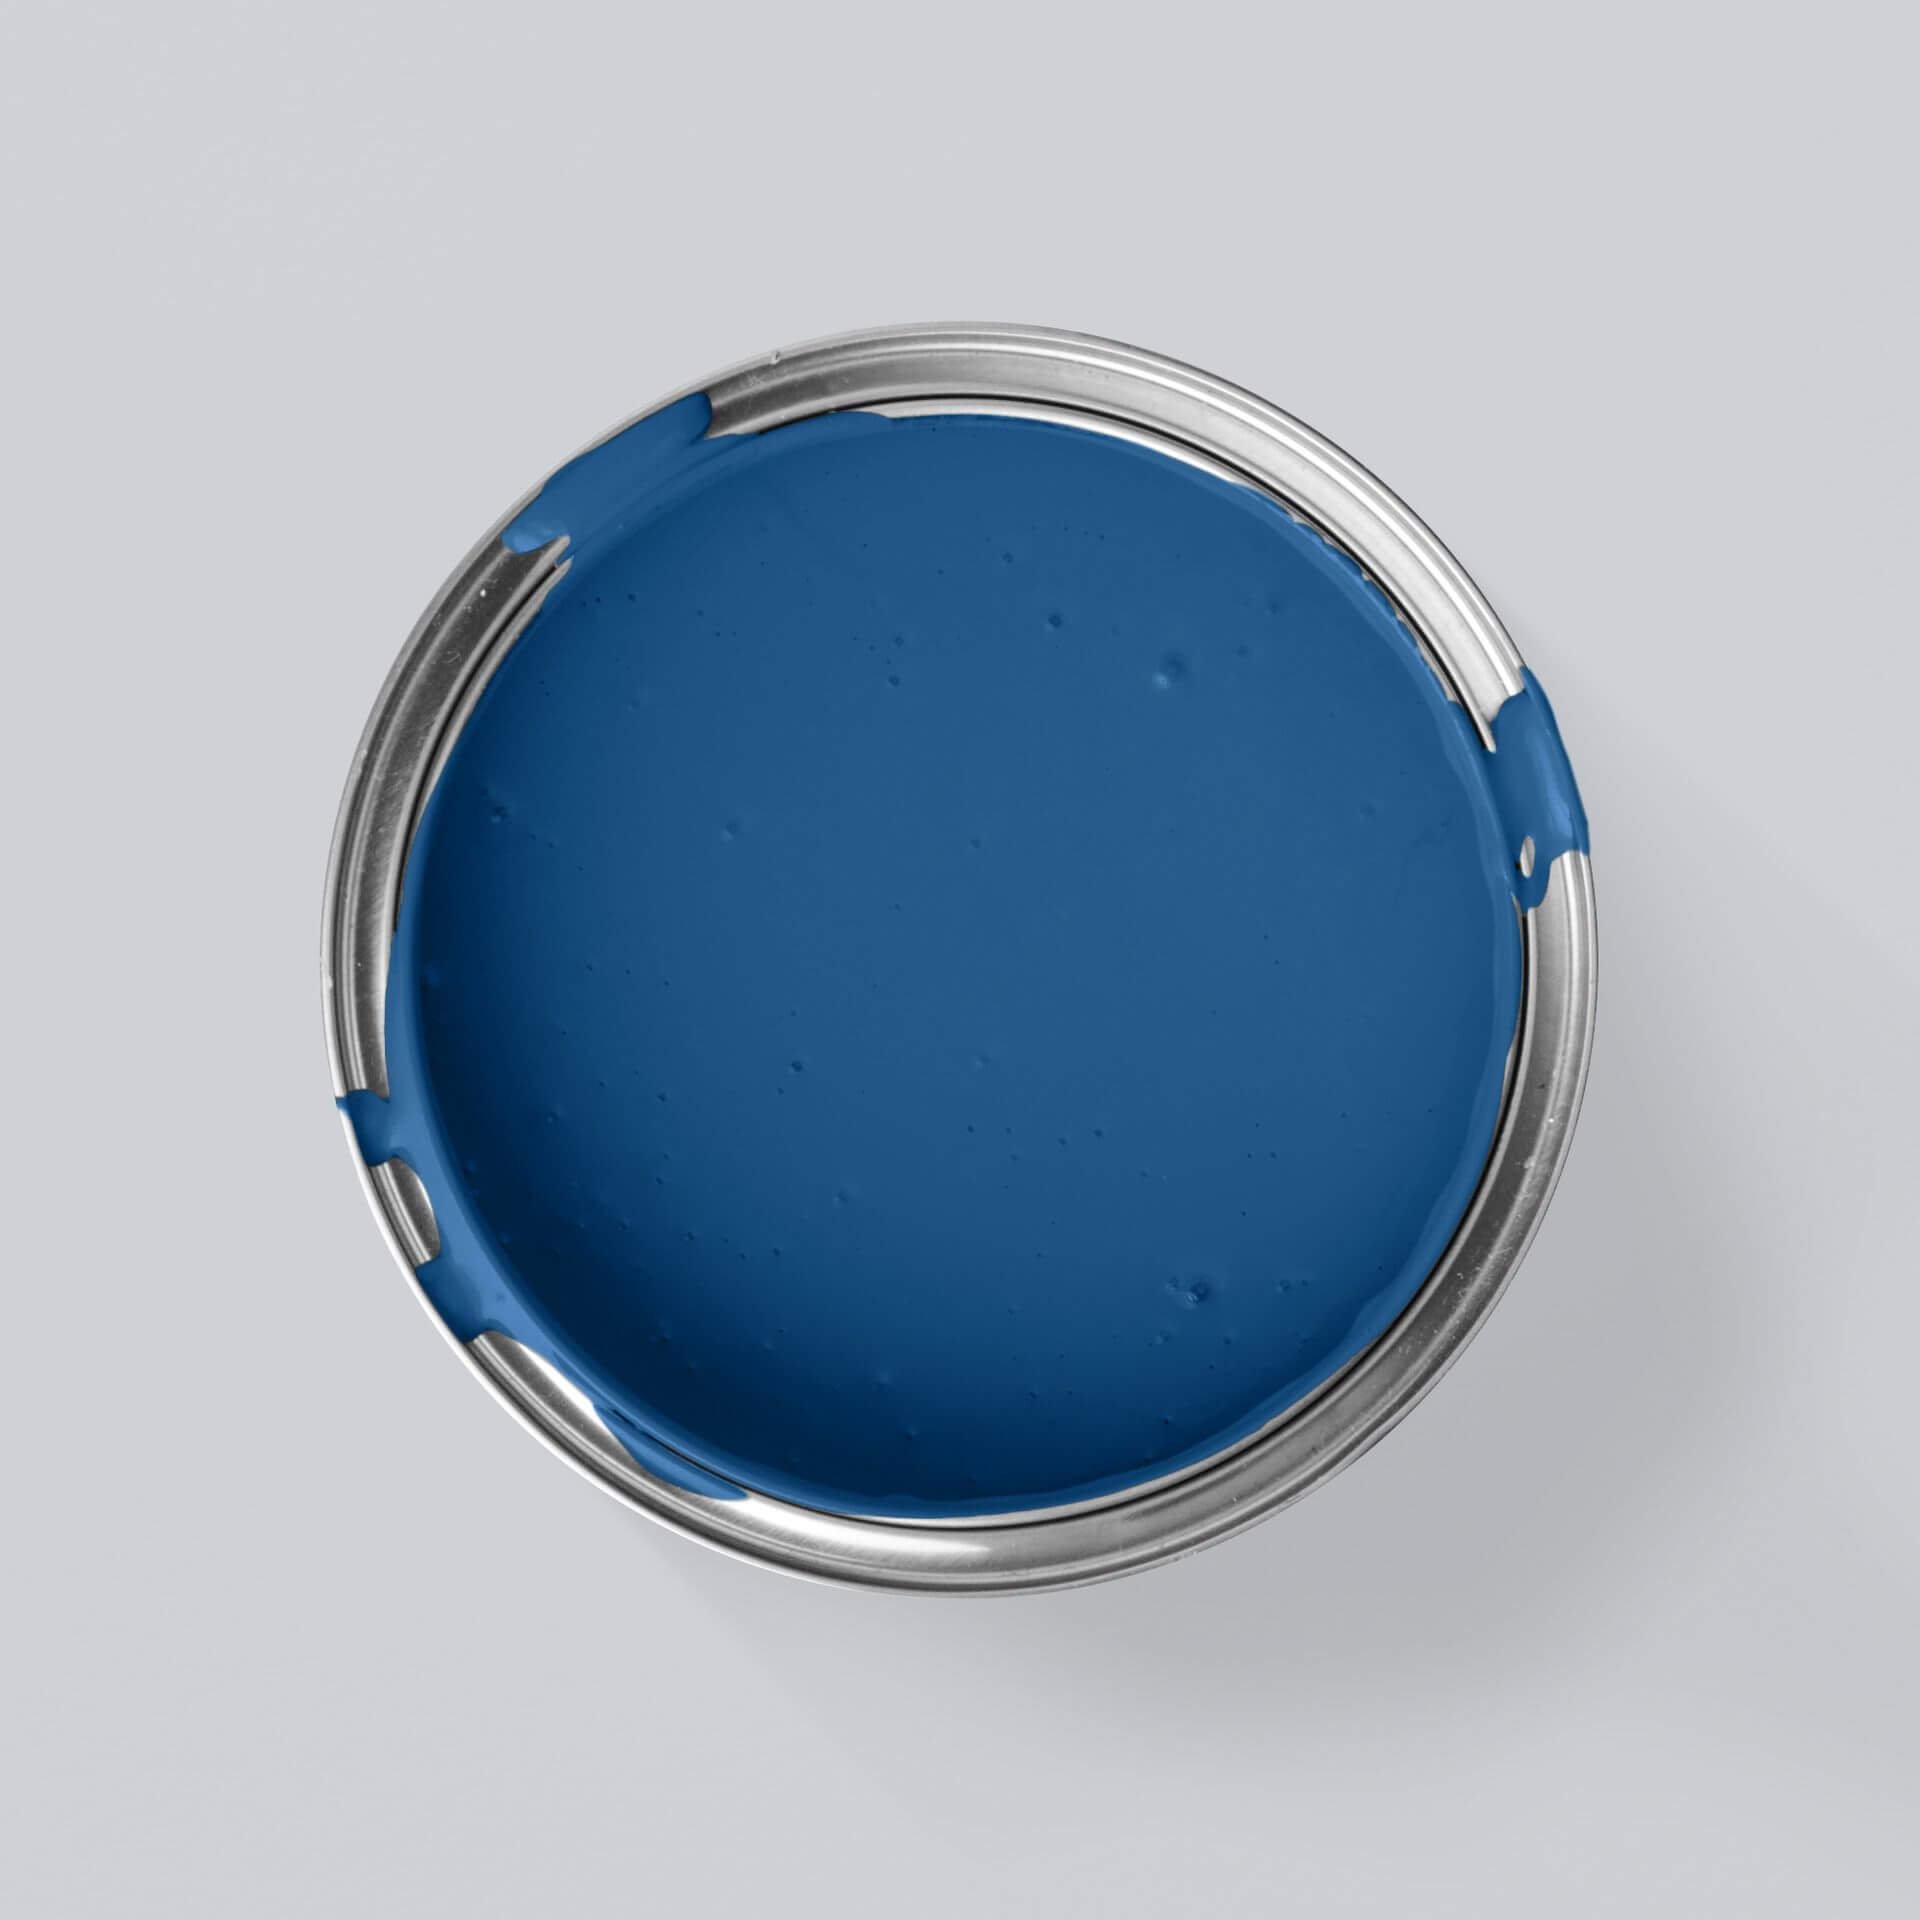
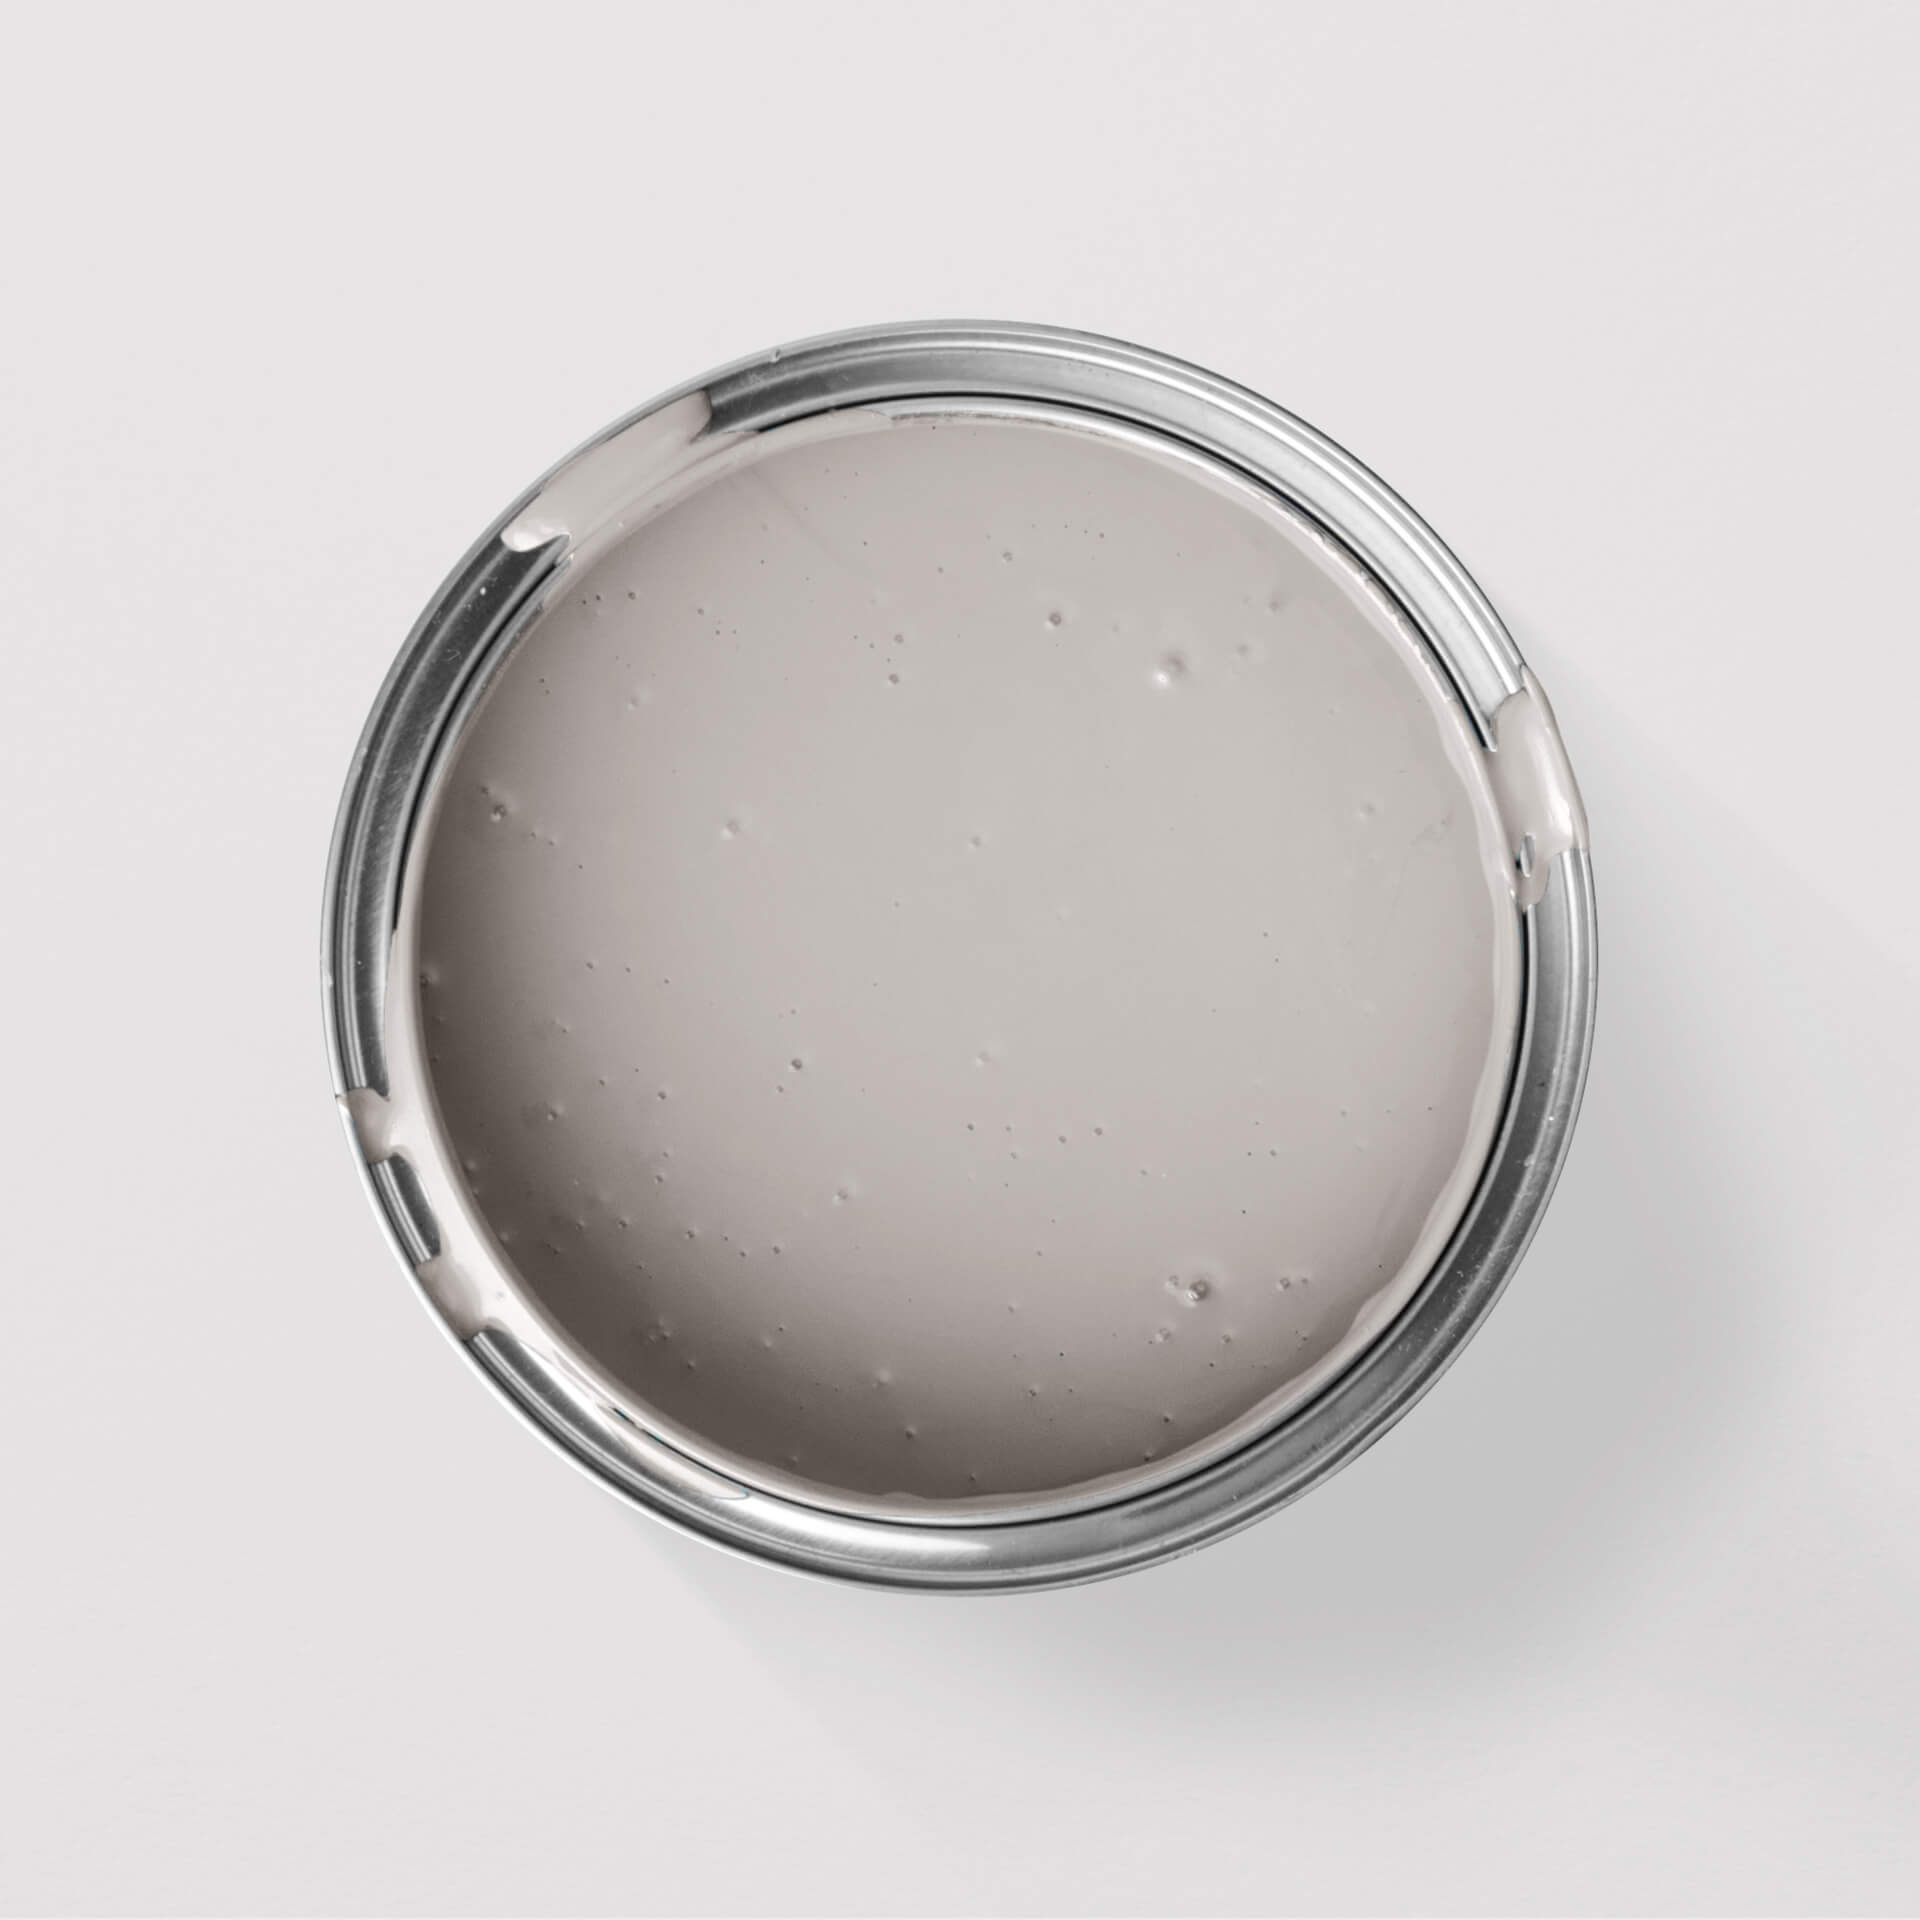
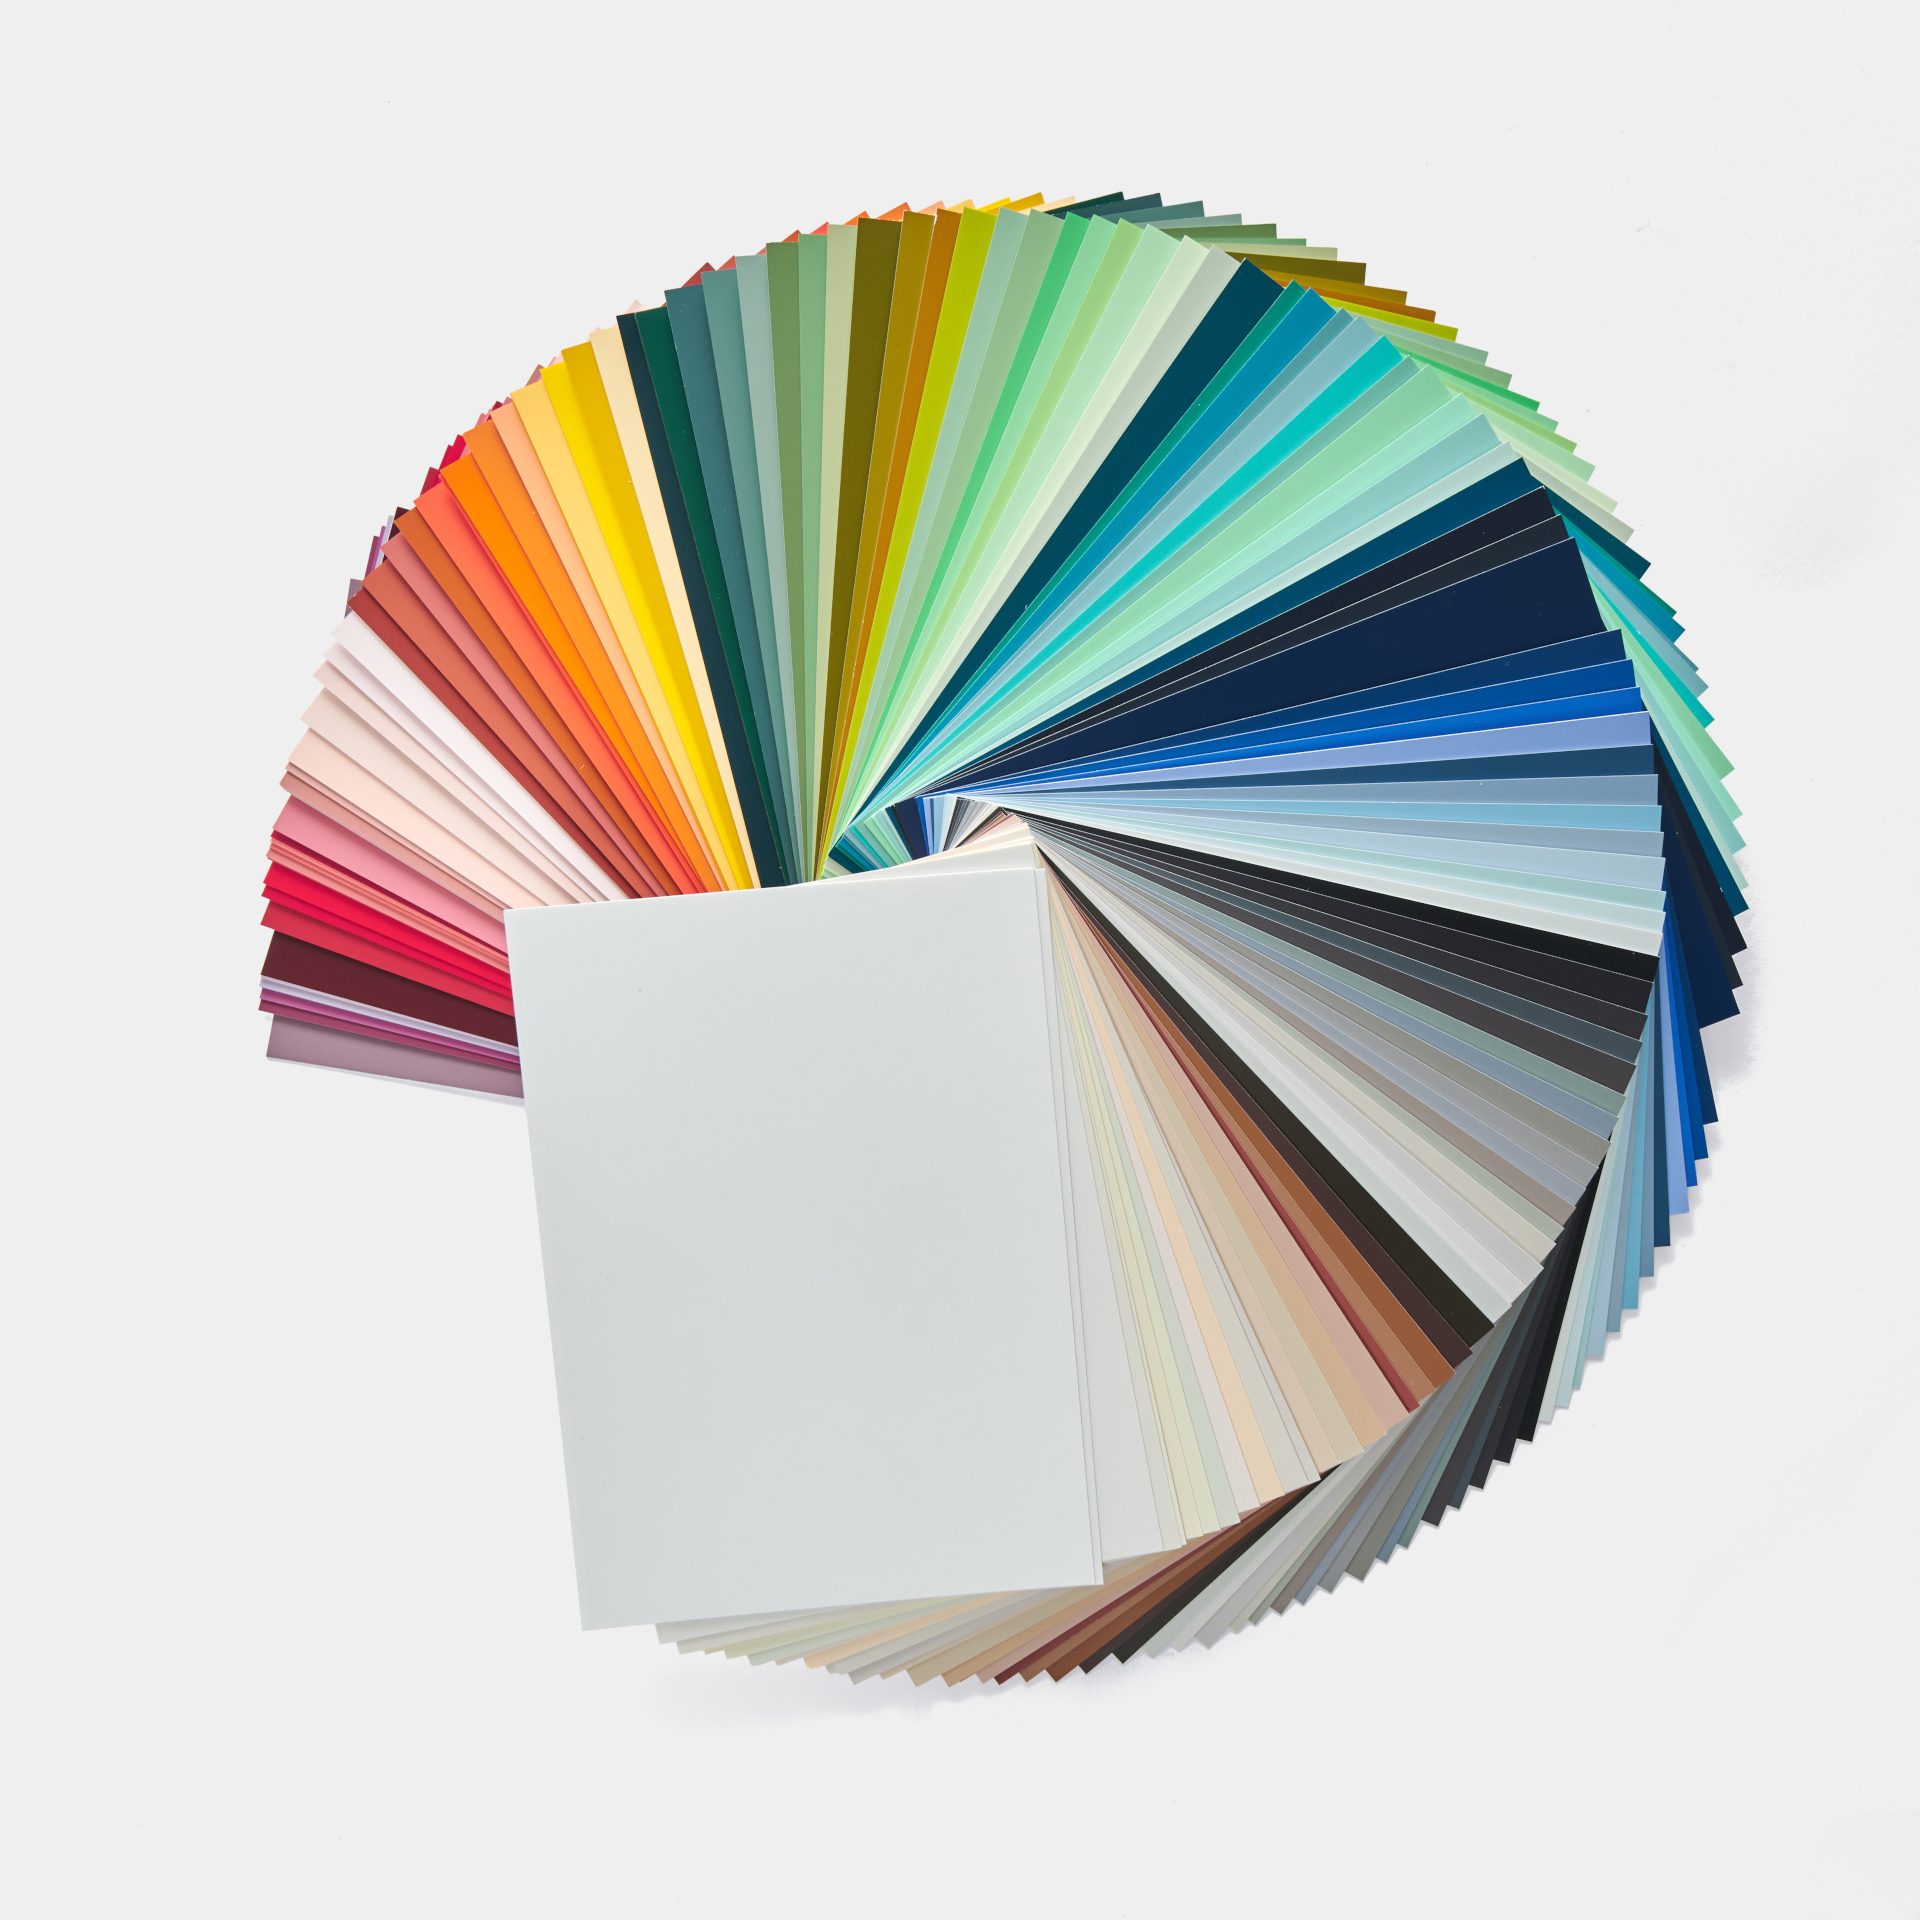
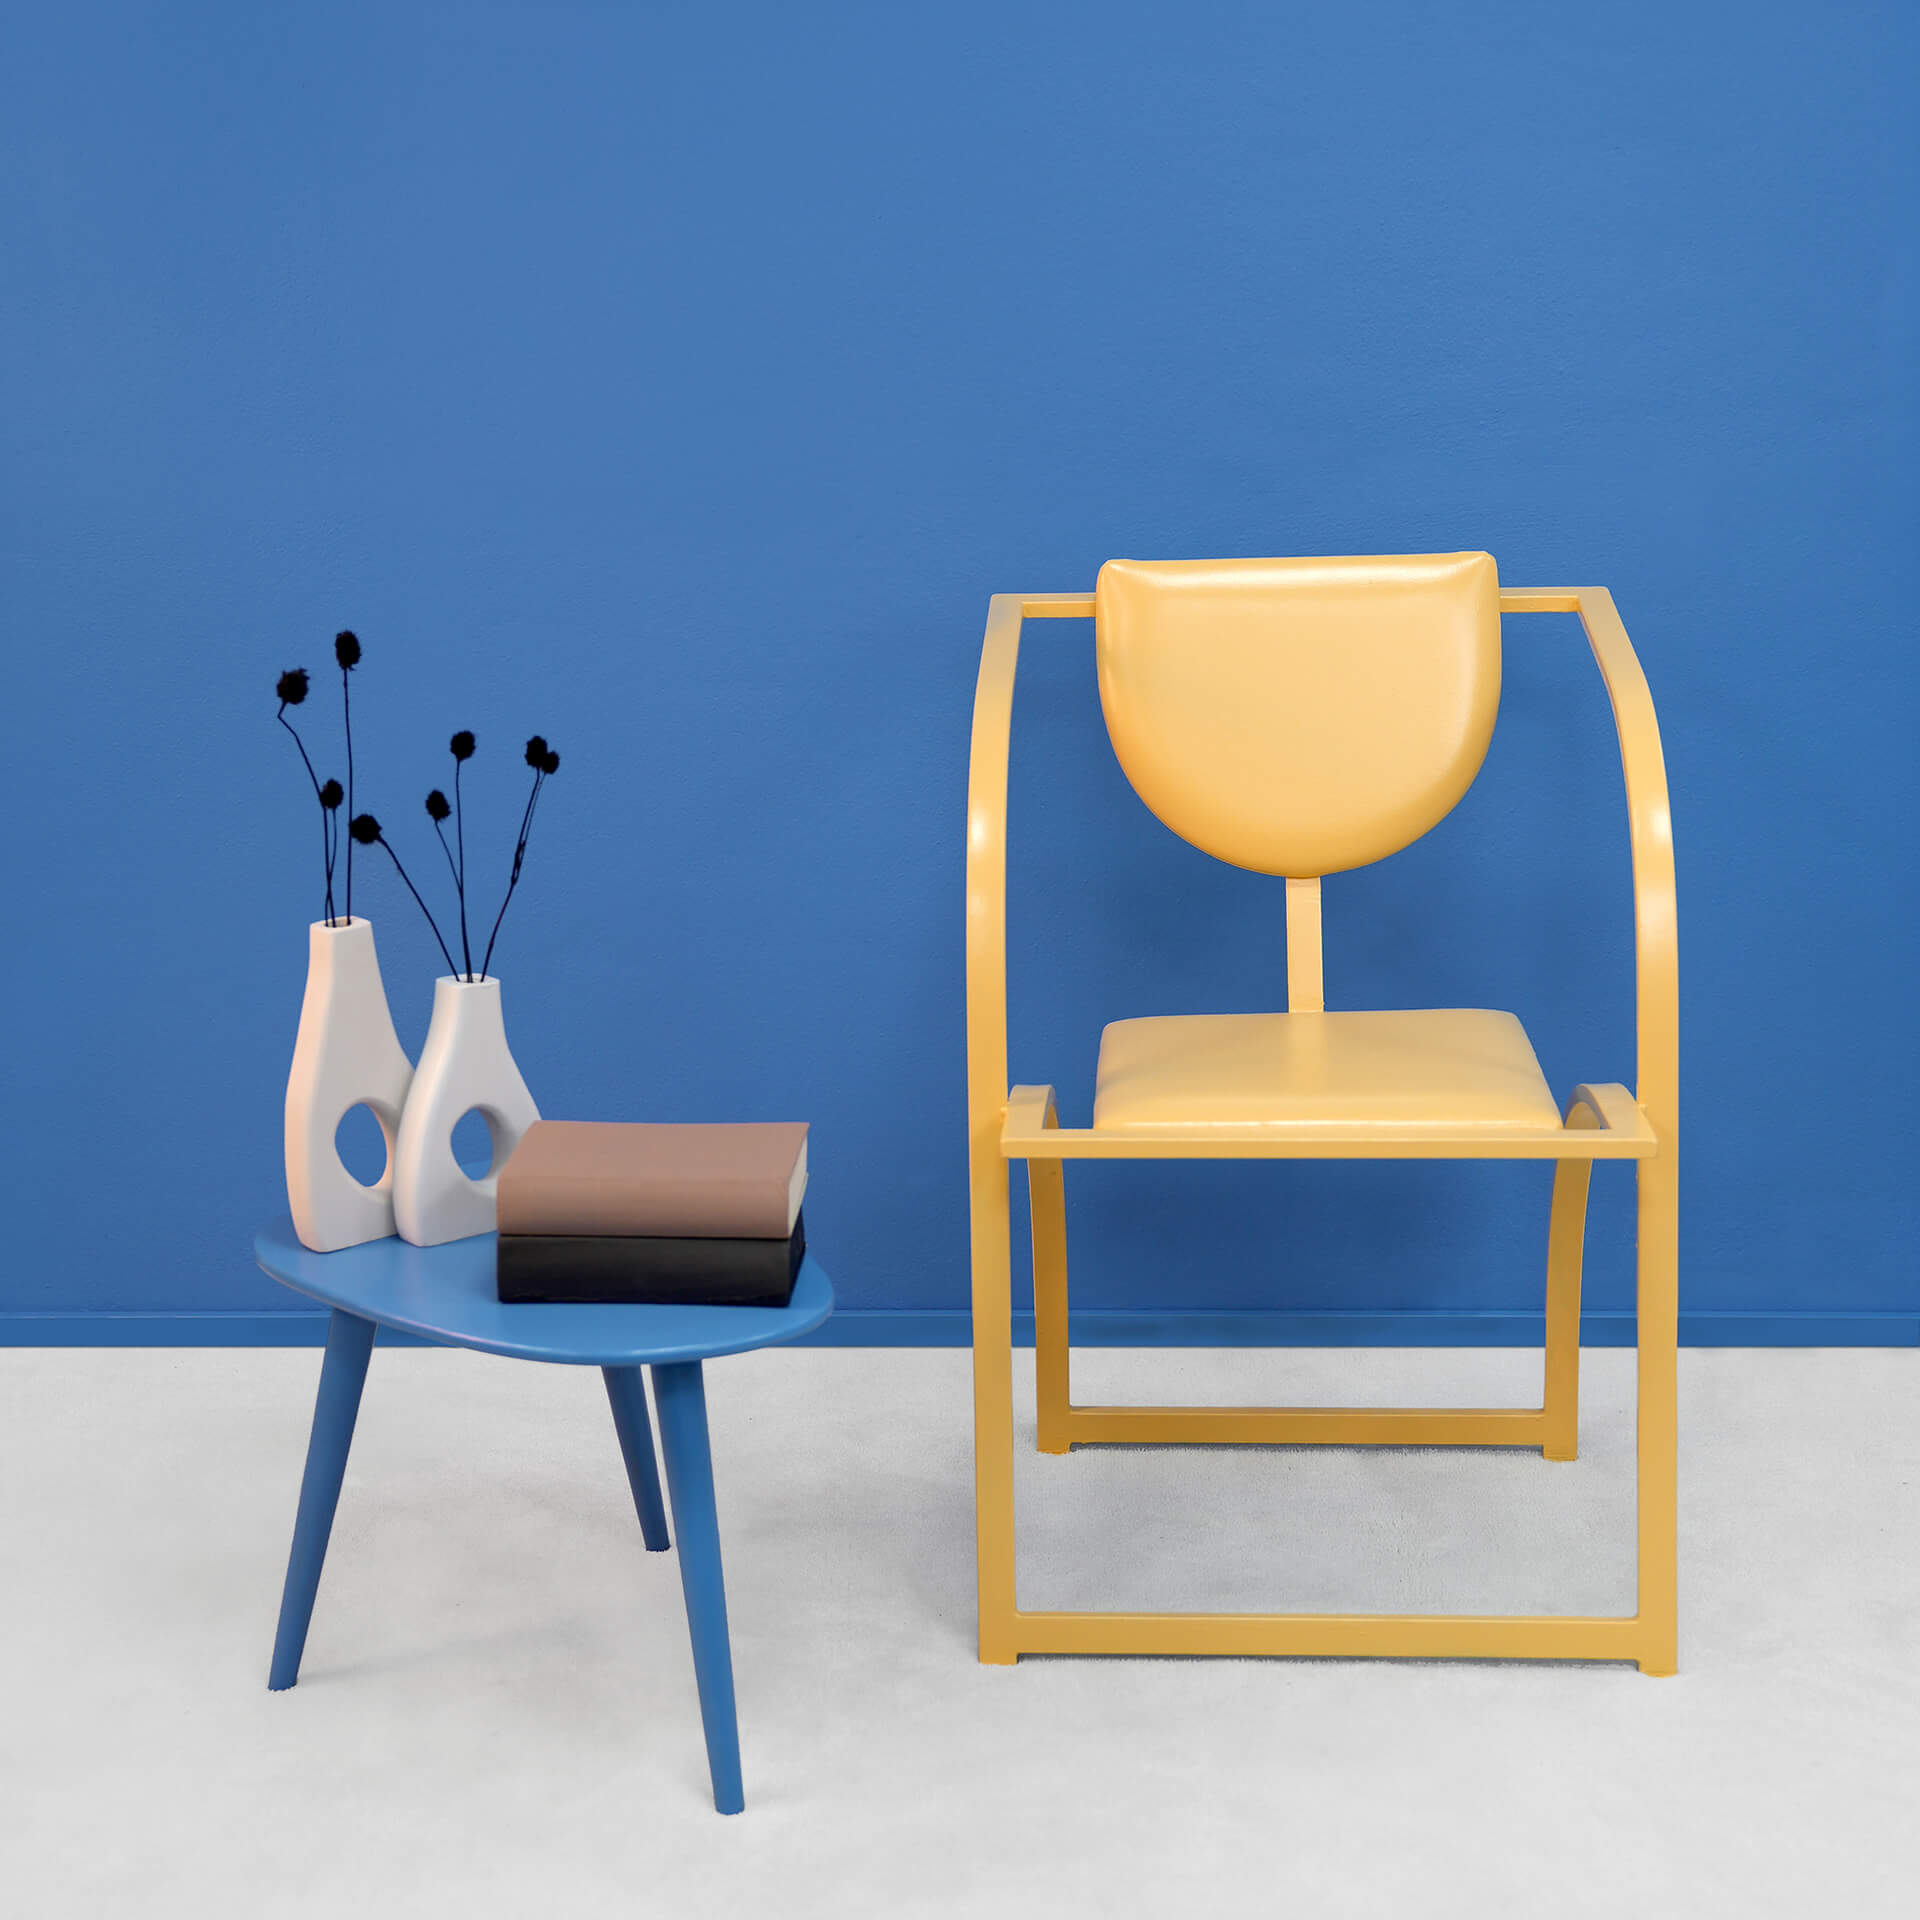
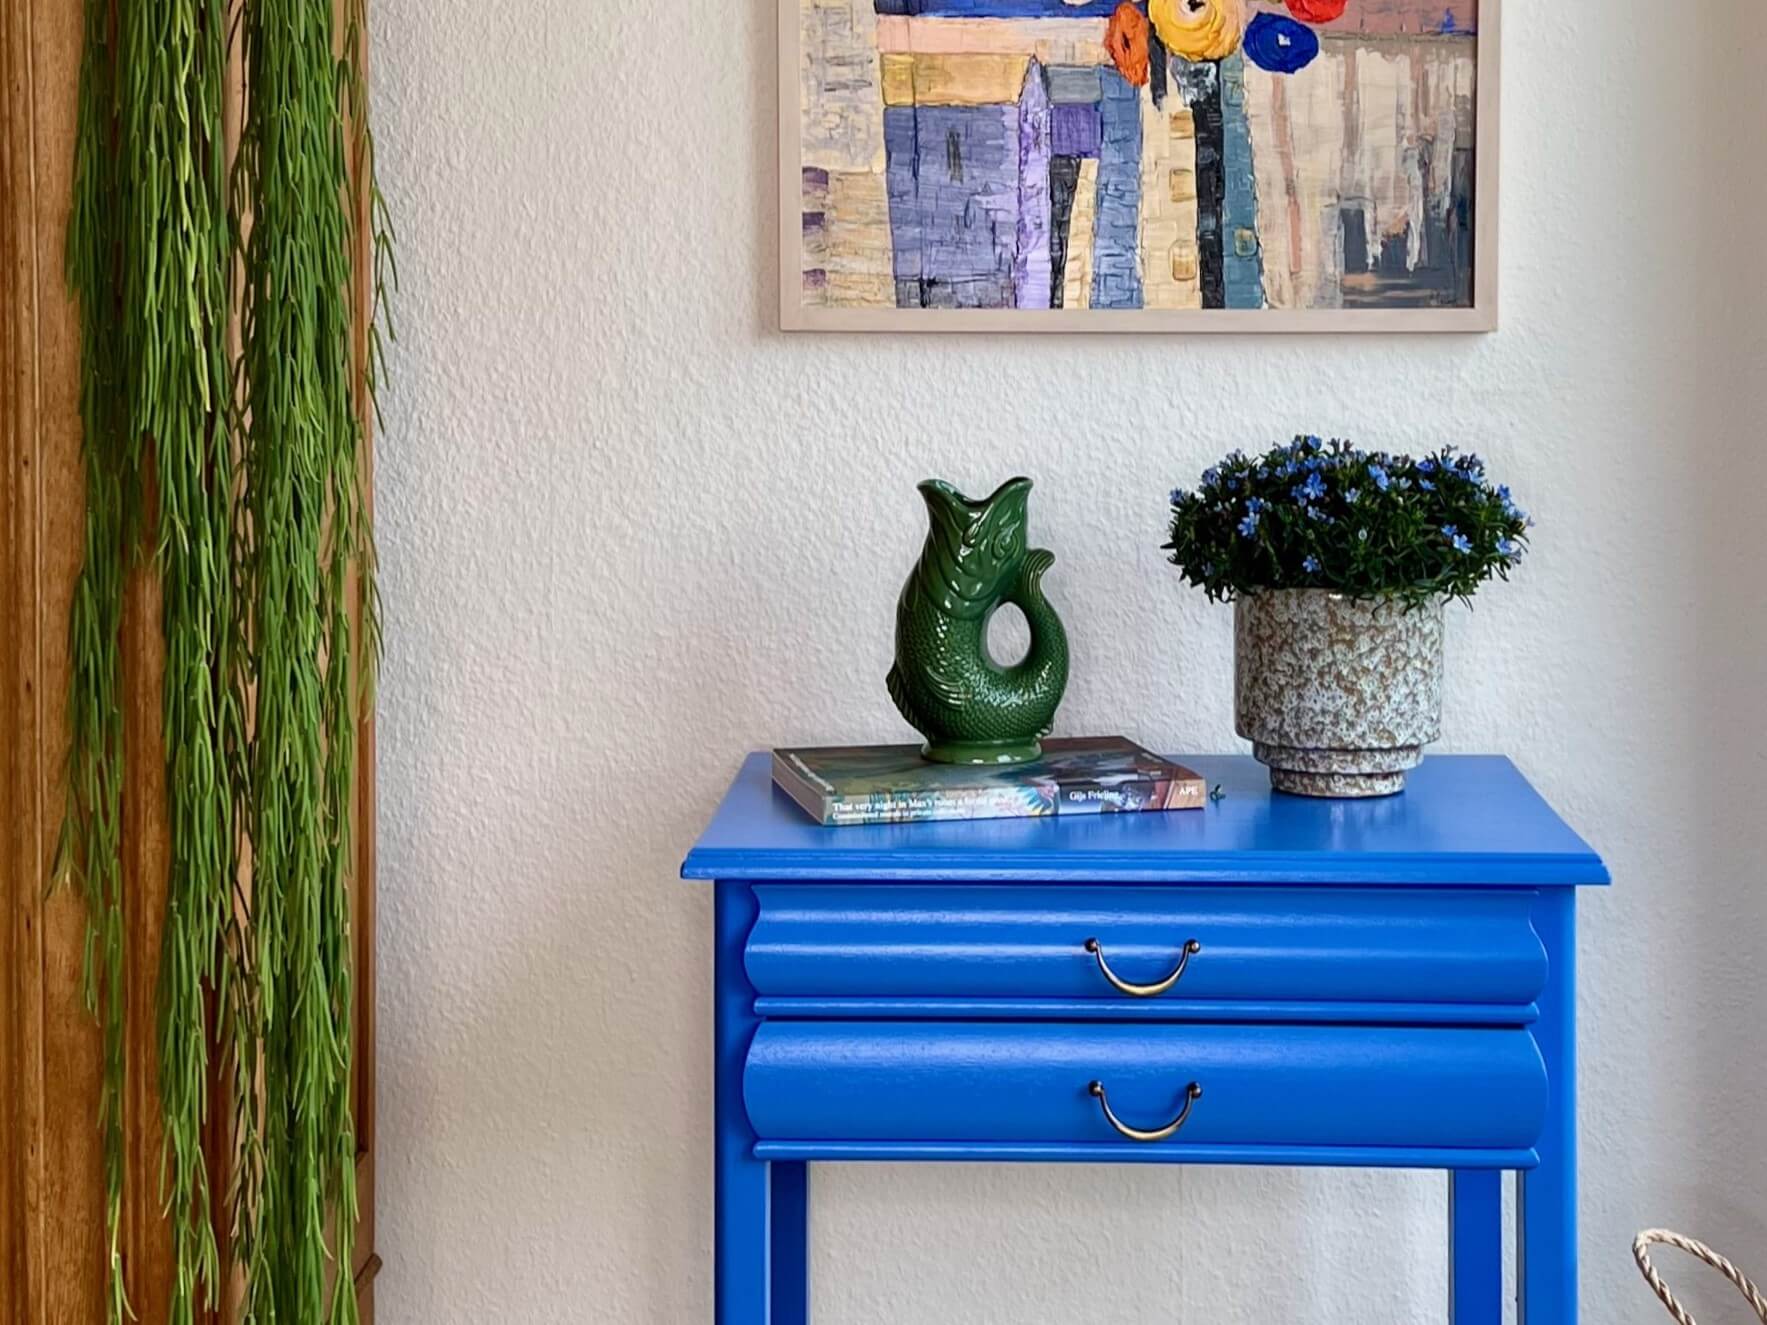
First think about which colour shade you want your shelf or chest of drawers to shine in. If you want to set an accent, then paint to complement your wall paint. If you want to paint your piece of furniture in the background, you can use the same colour shade for the wall and chest of drawers.
Now it's time for the brush. Unlike most Ikea furniture, which is veneered with plastic, the solid wood in the Hemnes range is stained or glazed. For your project, this means a different preparation than you are used to with your other Ikea furniture, but you don't have to despair! You can find out what you should bear in mind in these instructions.
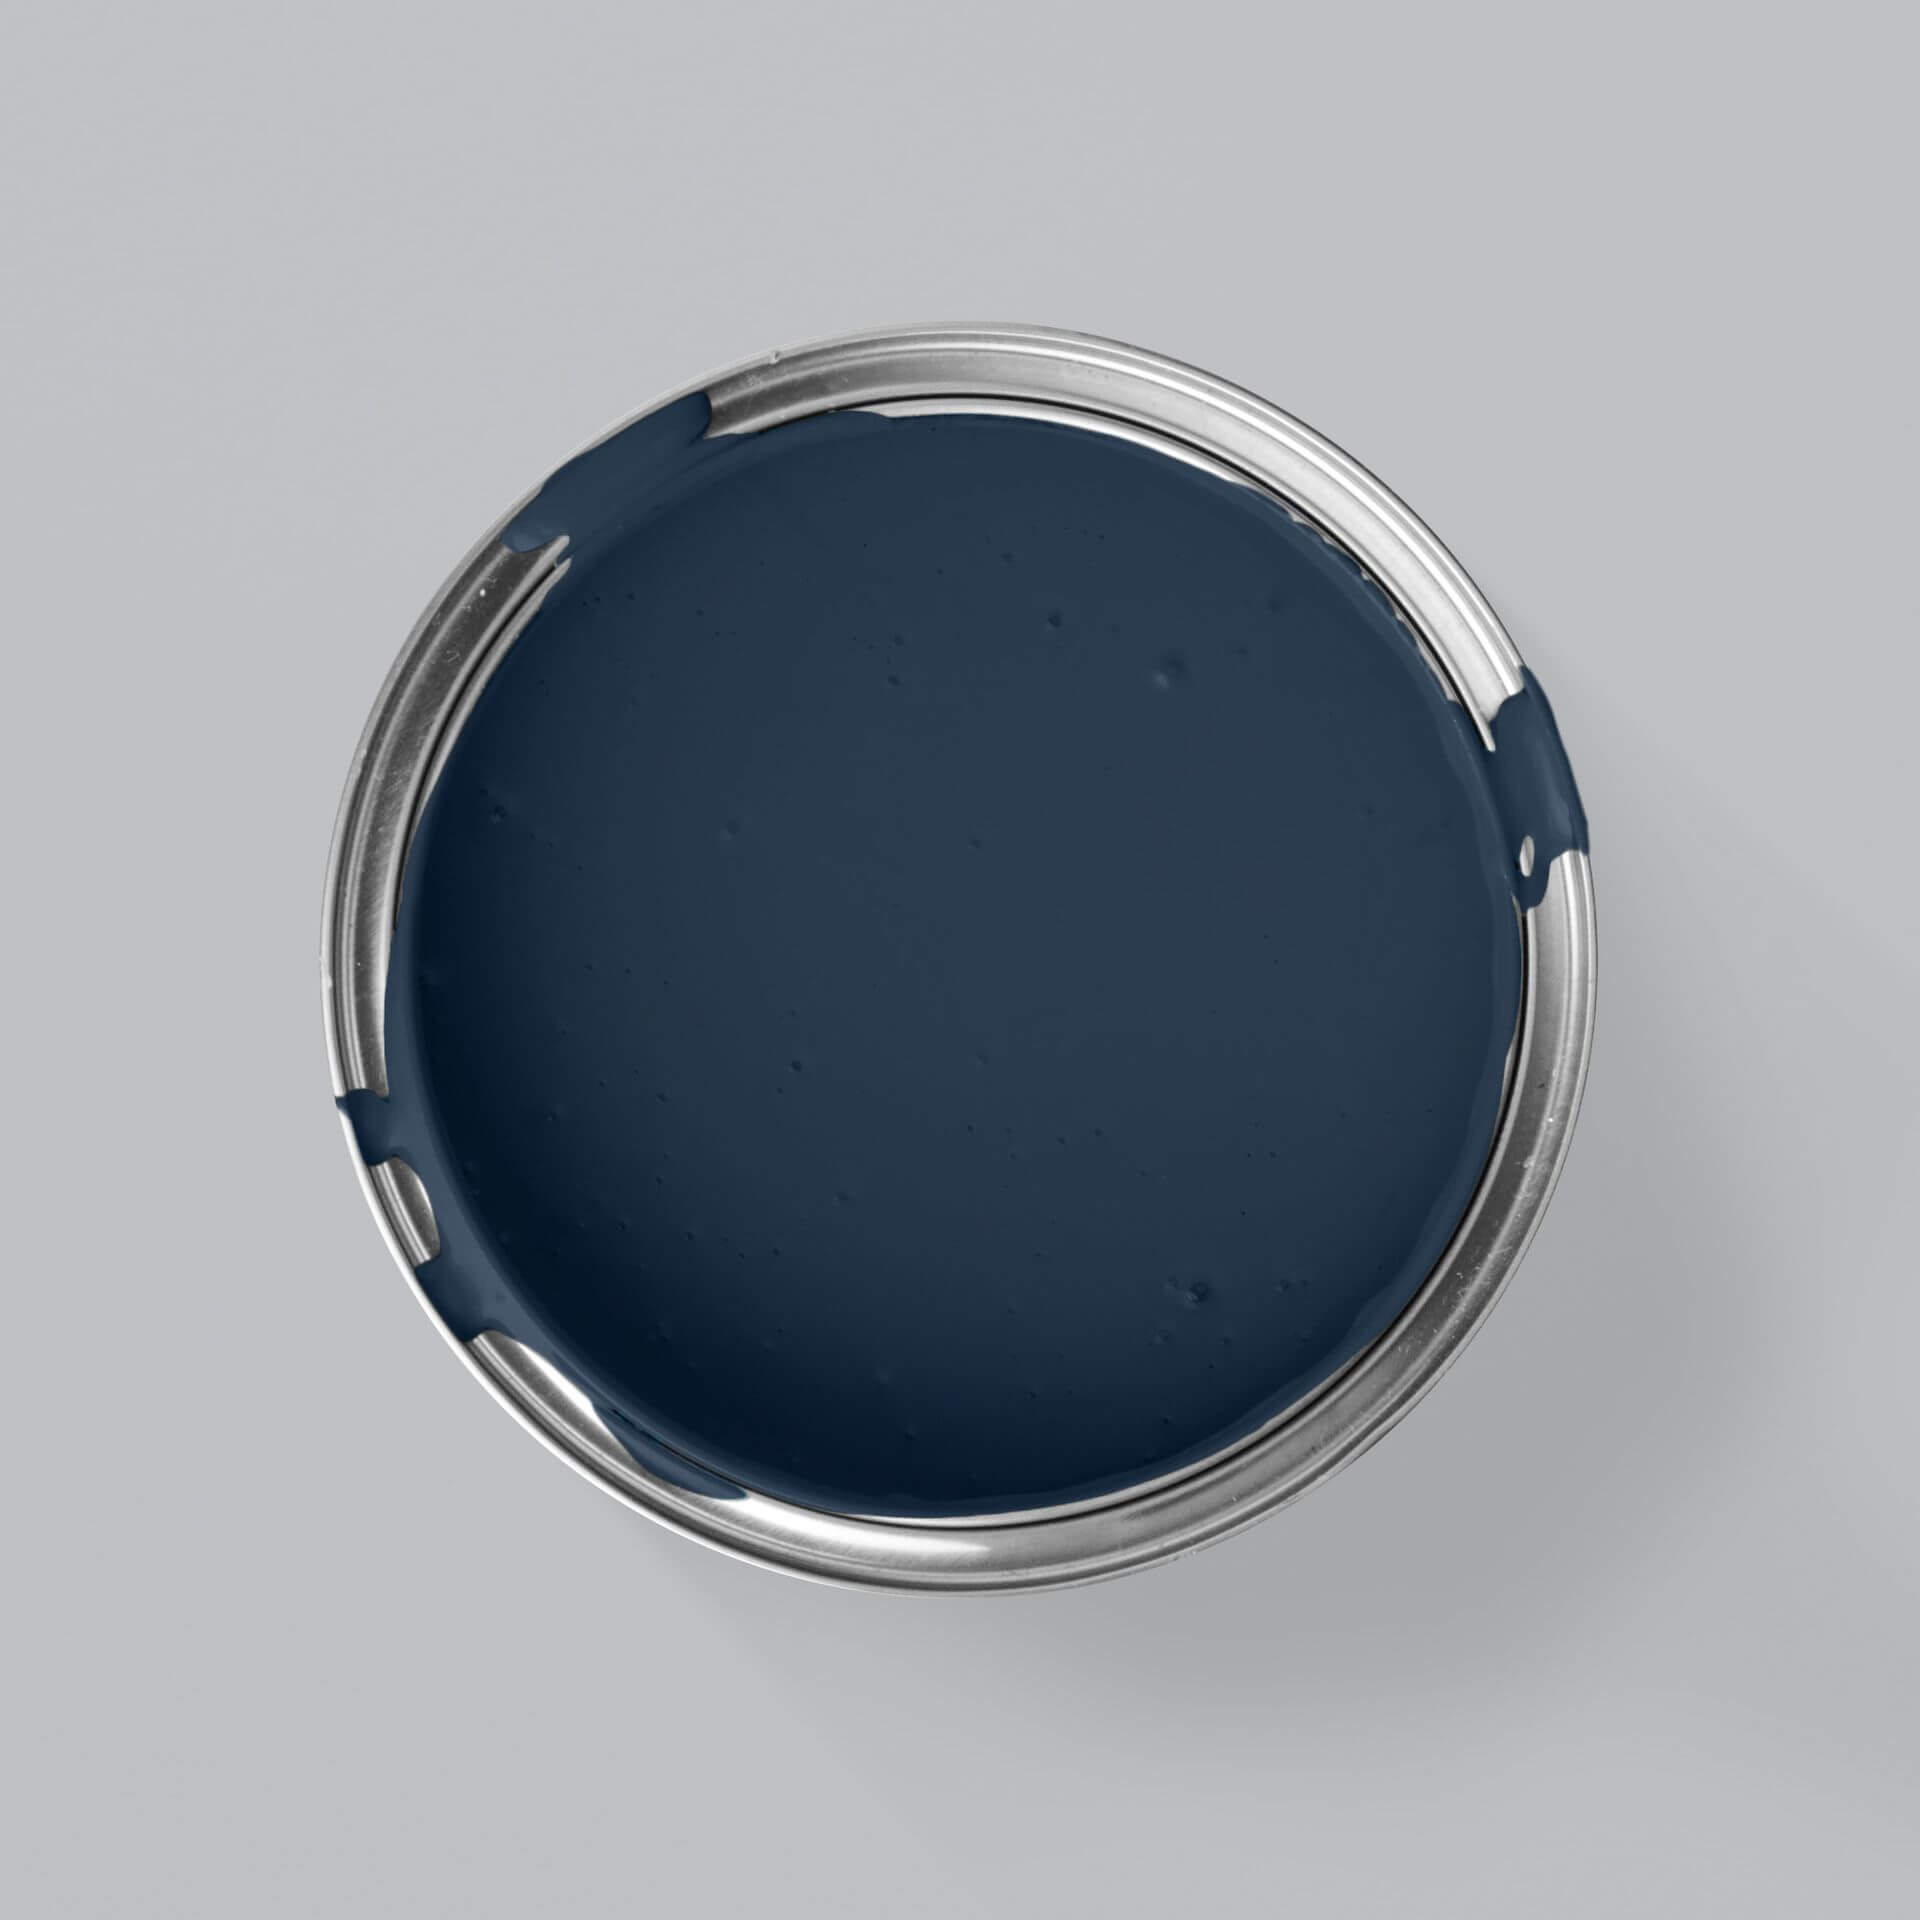
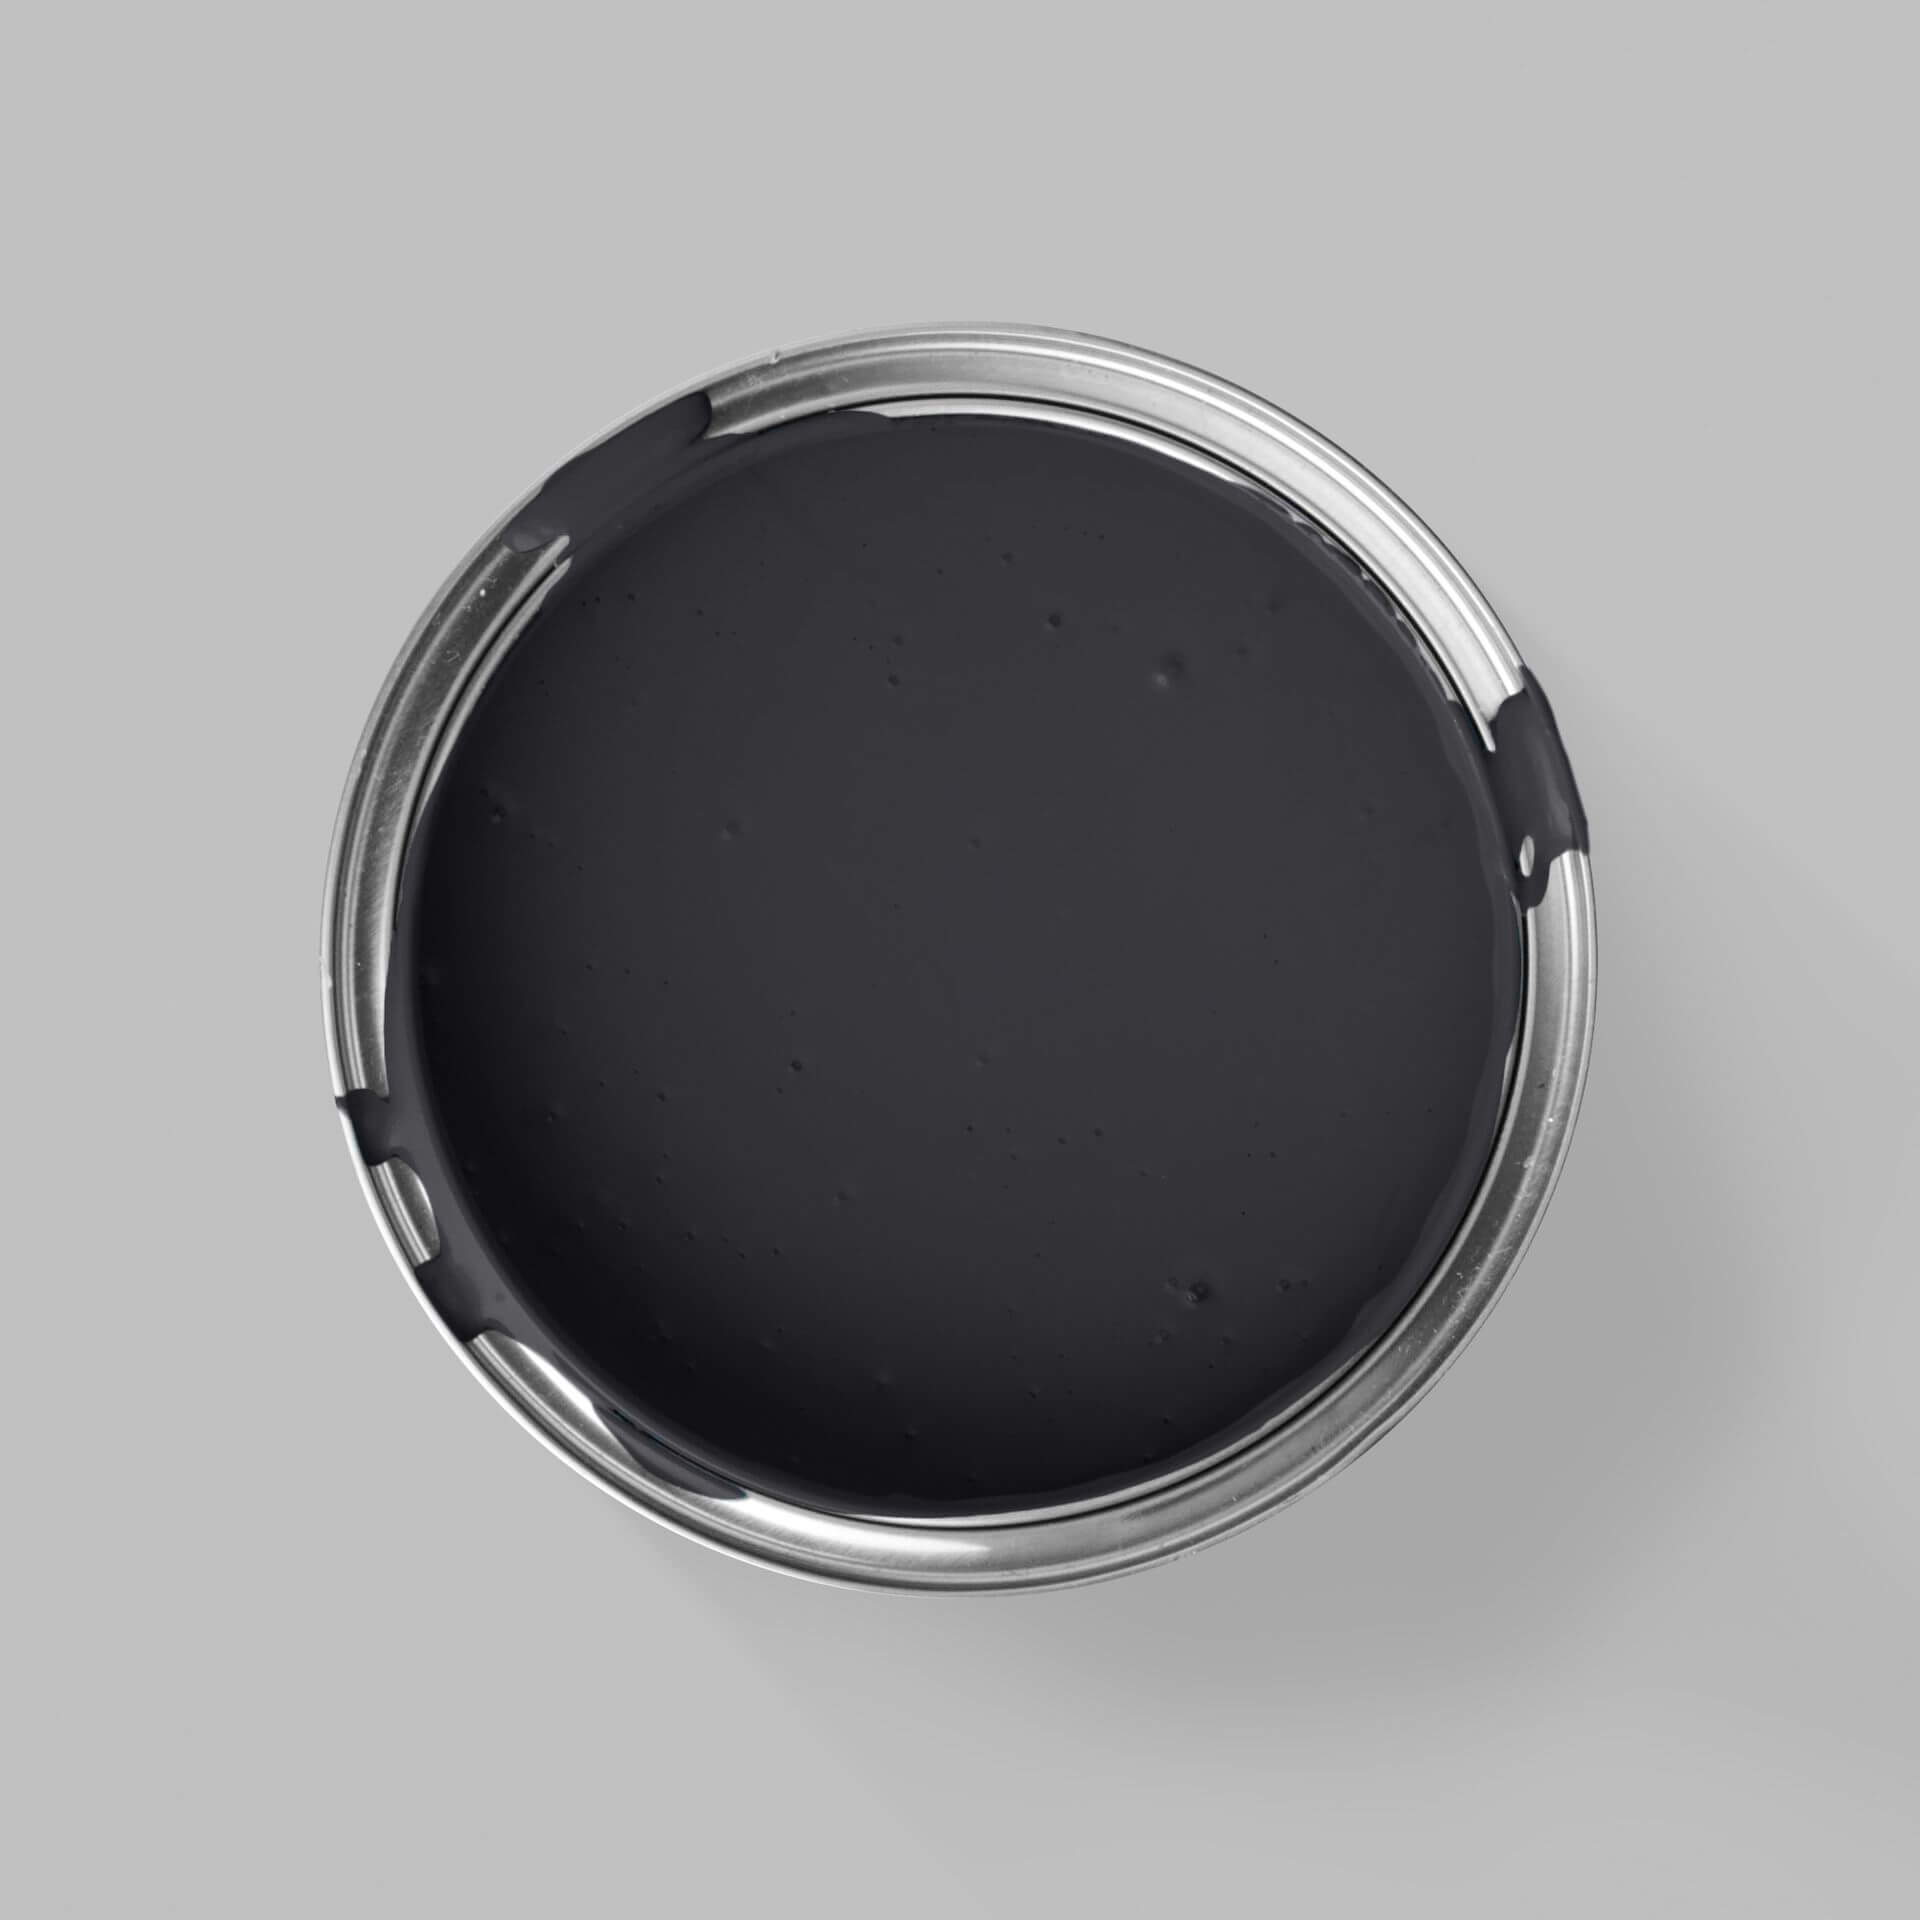
The furniture series is available in white or black-brown stain and grey glaze. There is also a white lacquered version. IKEA has the surfaces stained or stained to make the wood structures visible. While staining only works on the surface of the wood, stain penetrates deep into the wood structure. Nevertheless, the surface structure remains visible with both methods.
Unlike furniture with lacquered and plastic veneered surfaces , however, stain and stain require a primer.
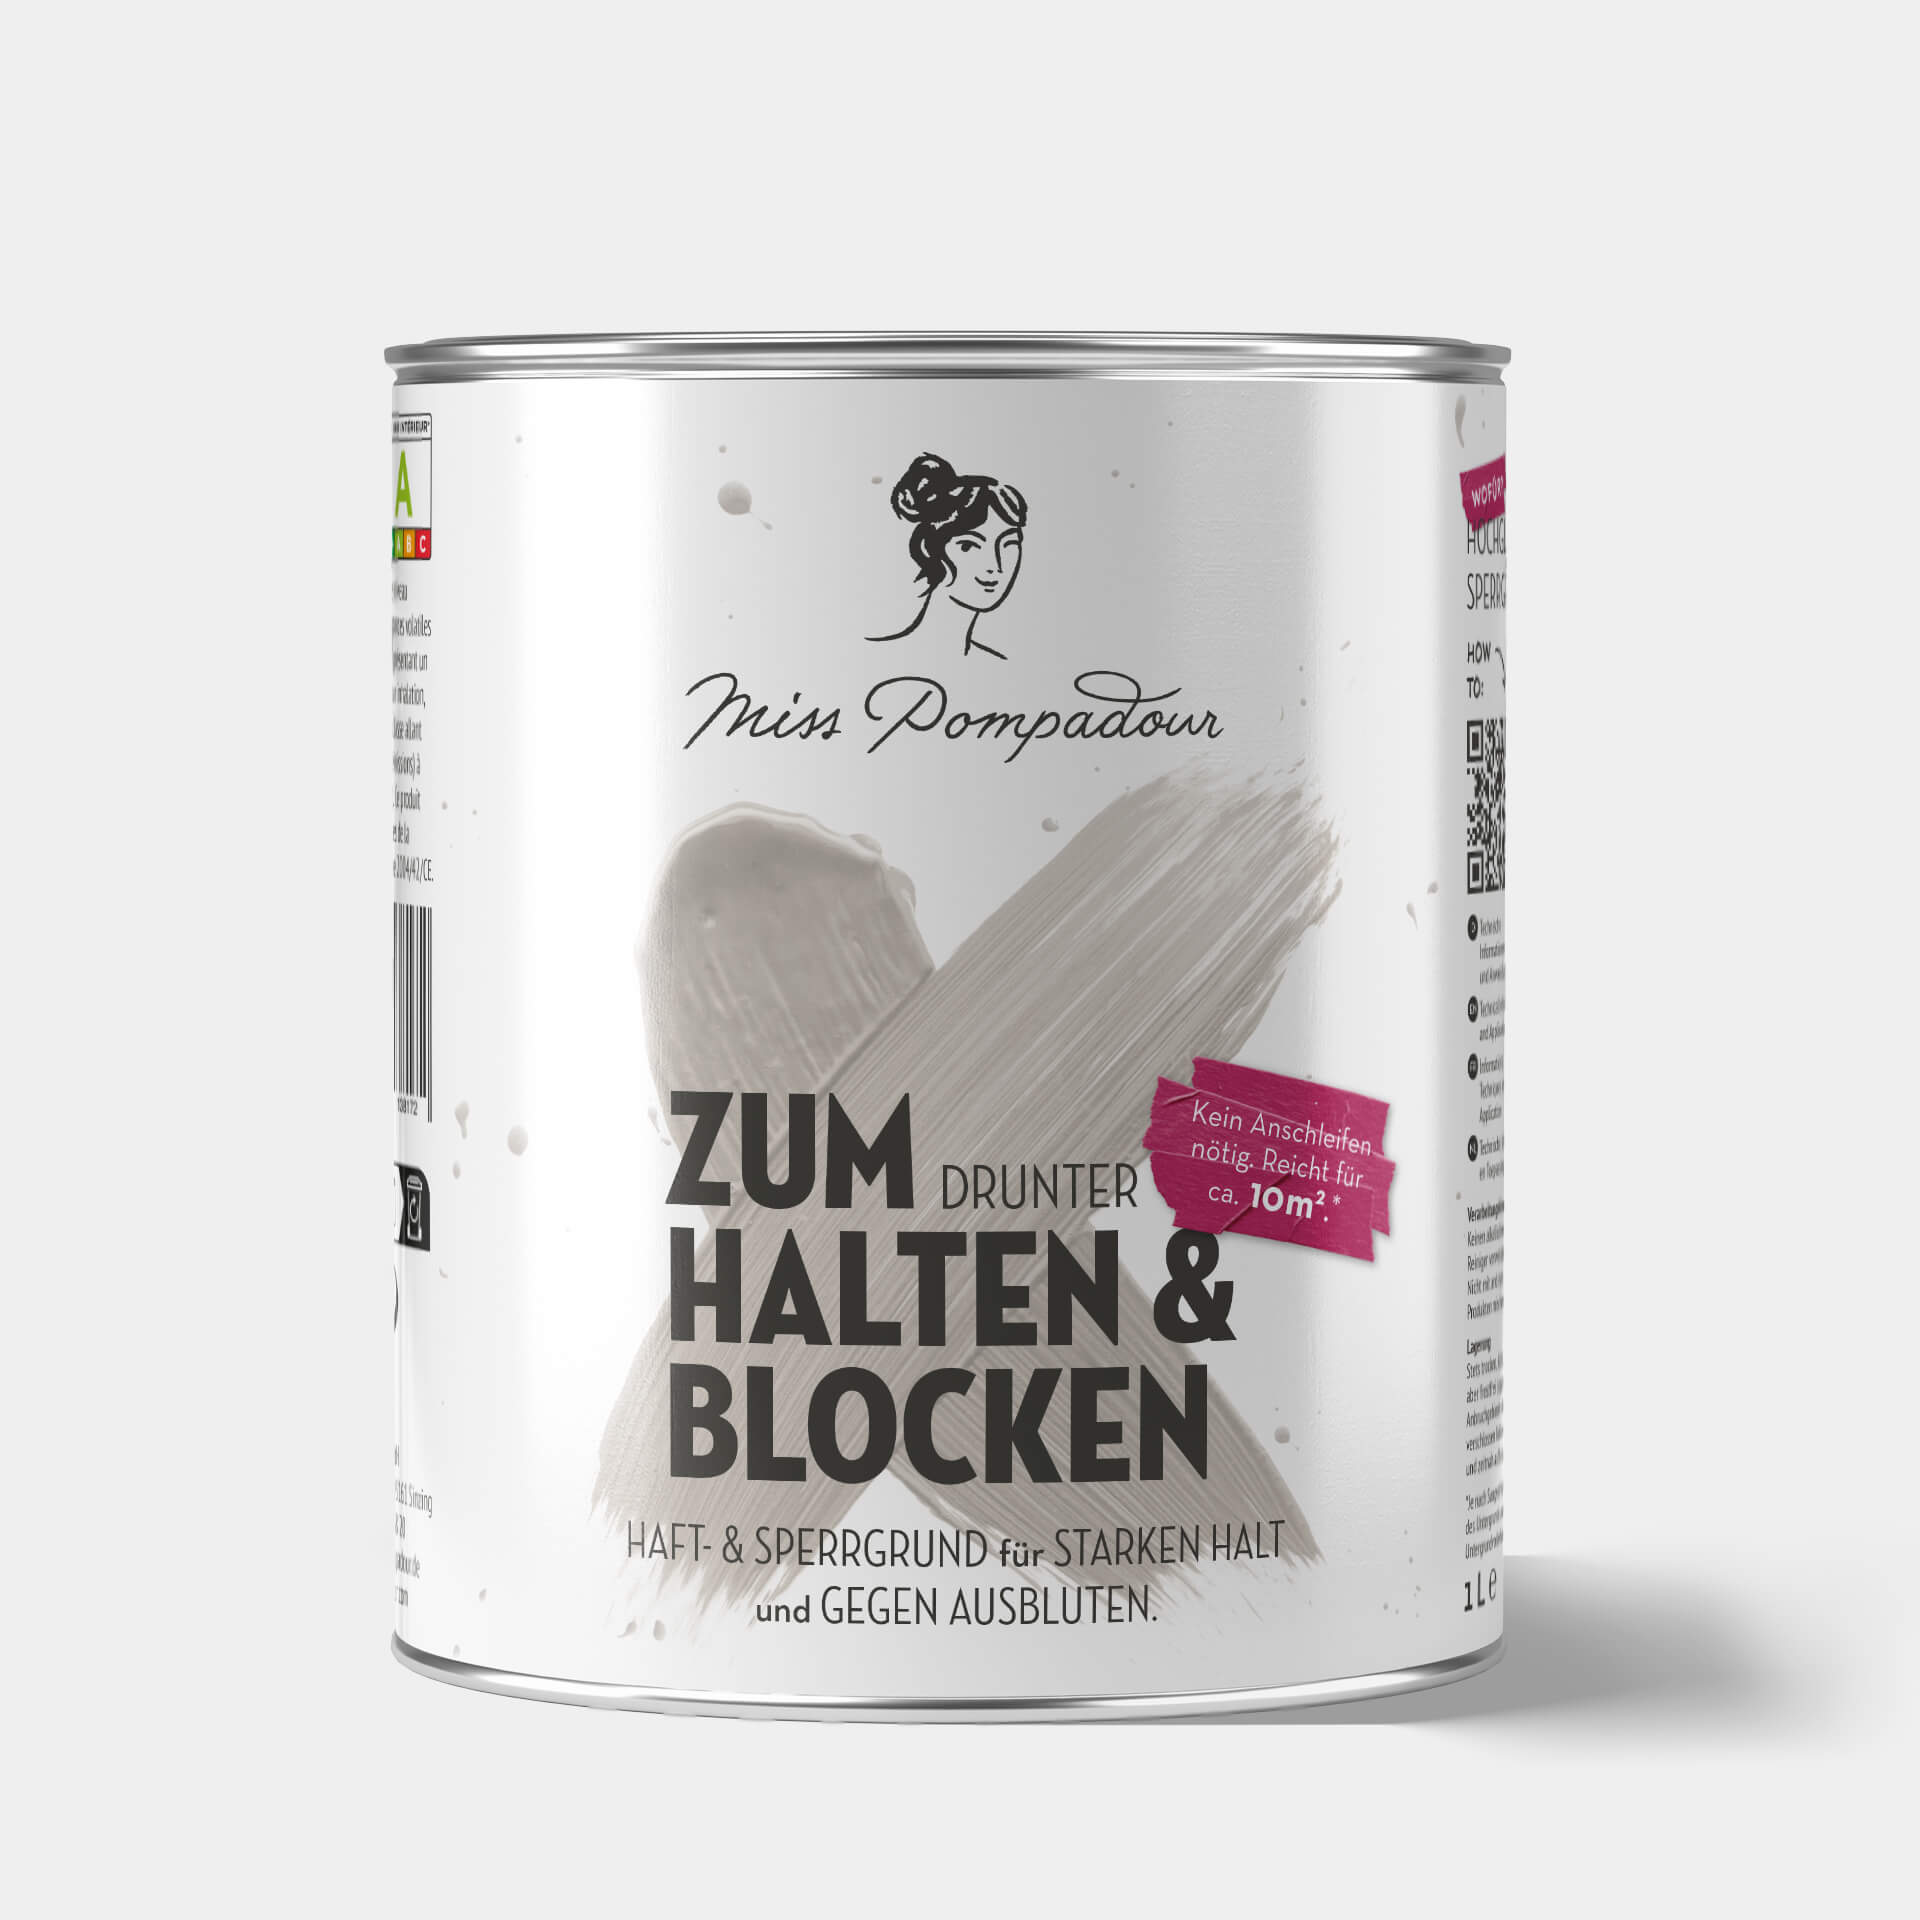
We recommend our To Bond & Block - MissPompadour Primer. This bonding and stain block ensures that neither stain nor stain will leak out and leave unsightly marks on the new varnish. If your Hemnes is painted white, a primer is also recommended so that the new varnish can adhere well to the smooth surface.
If you would like to paint another piece of furniture with a wooden surface, take a look at our blog article on " Painting wooden furniture". There we also explain how you can easily paint with chalk paint.
Why not paint your own Ikea range: Malm, Billy, Kallax and other furniture in the same colour or in a similar style will make your rooms look more impressive.
Painting IKEA Hemnes: how it works
Clean, sand or can I simply varnish Hemnes furniture?
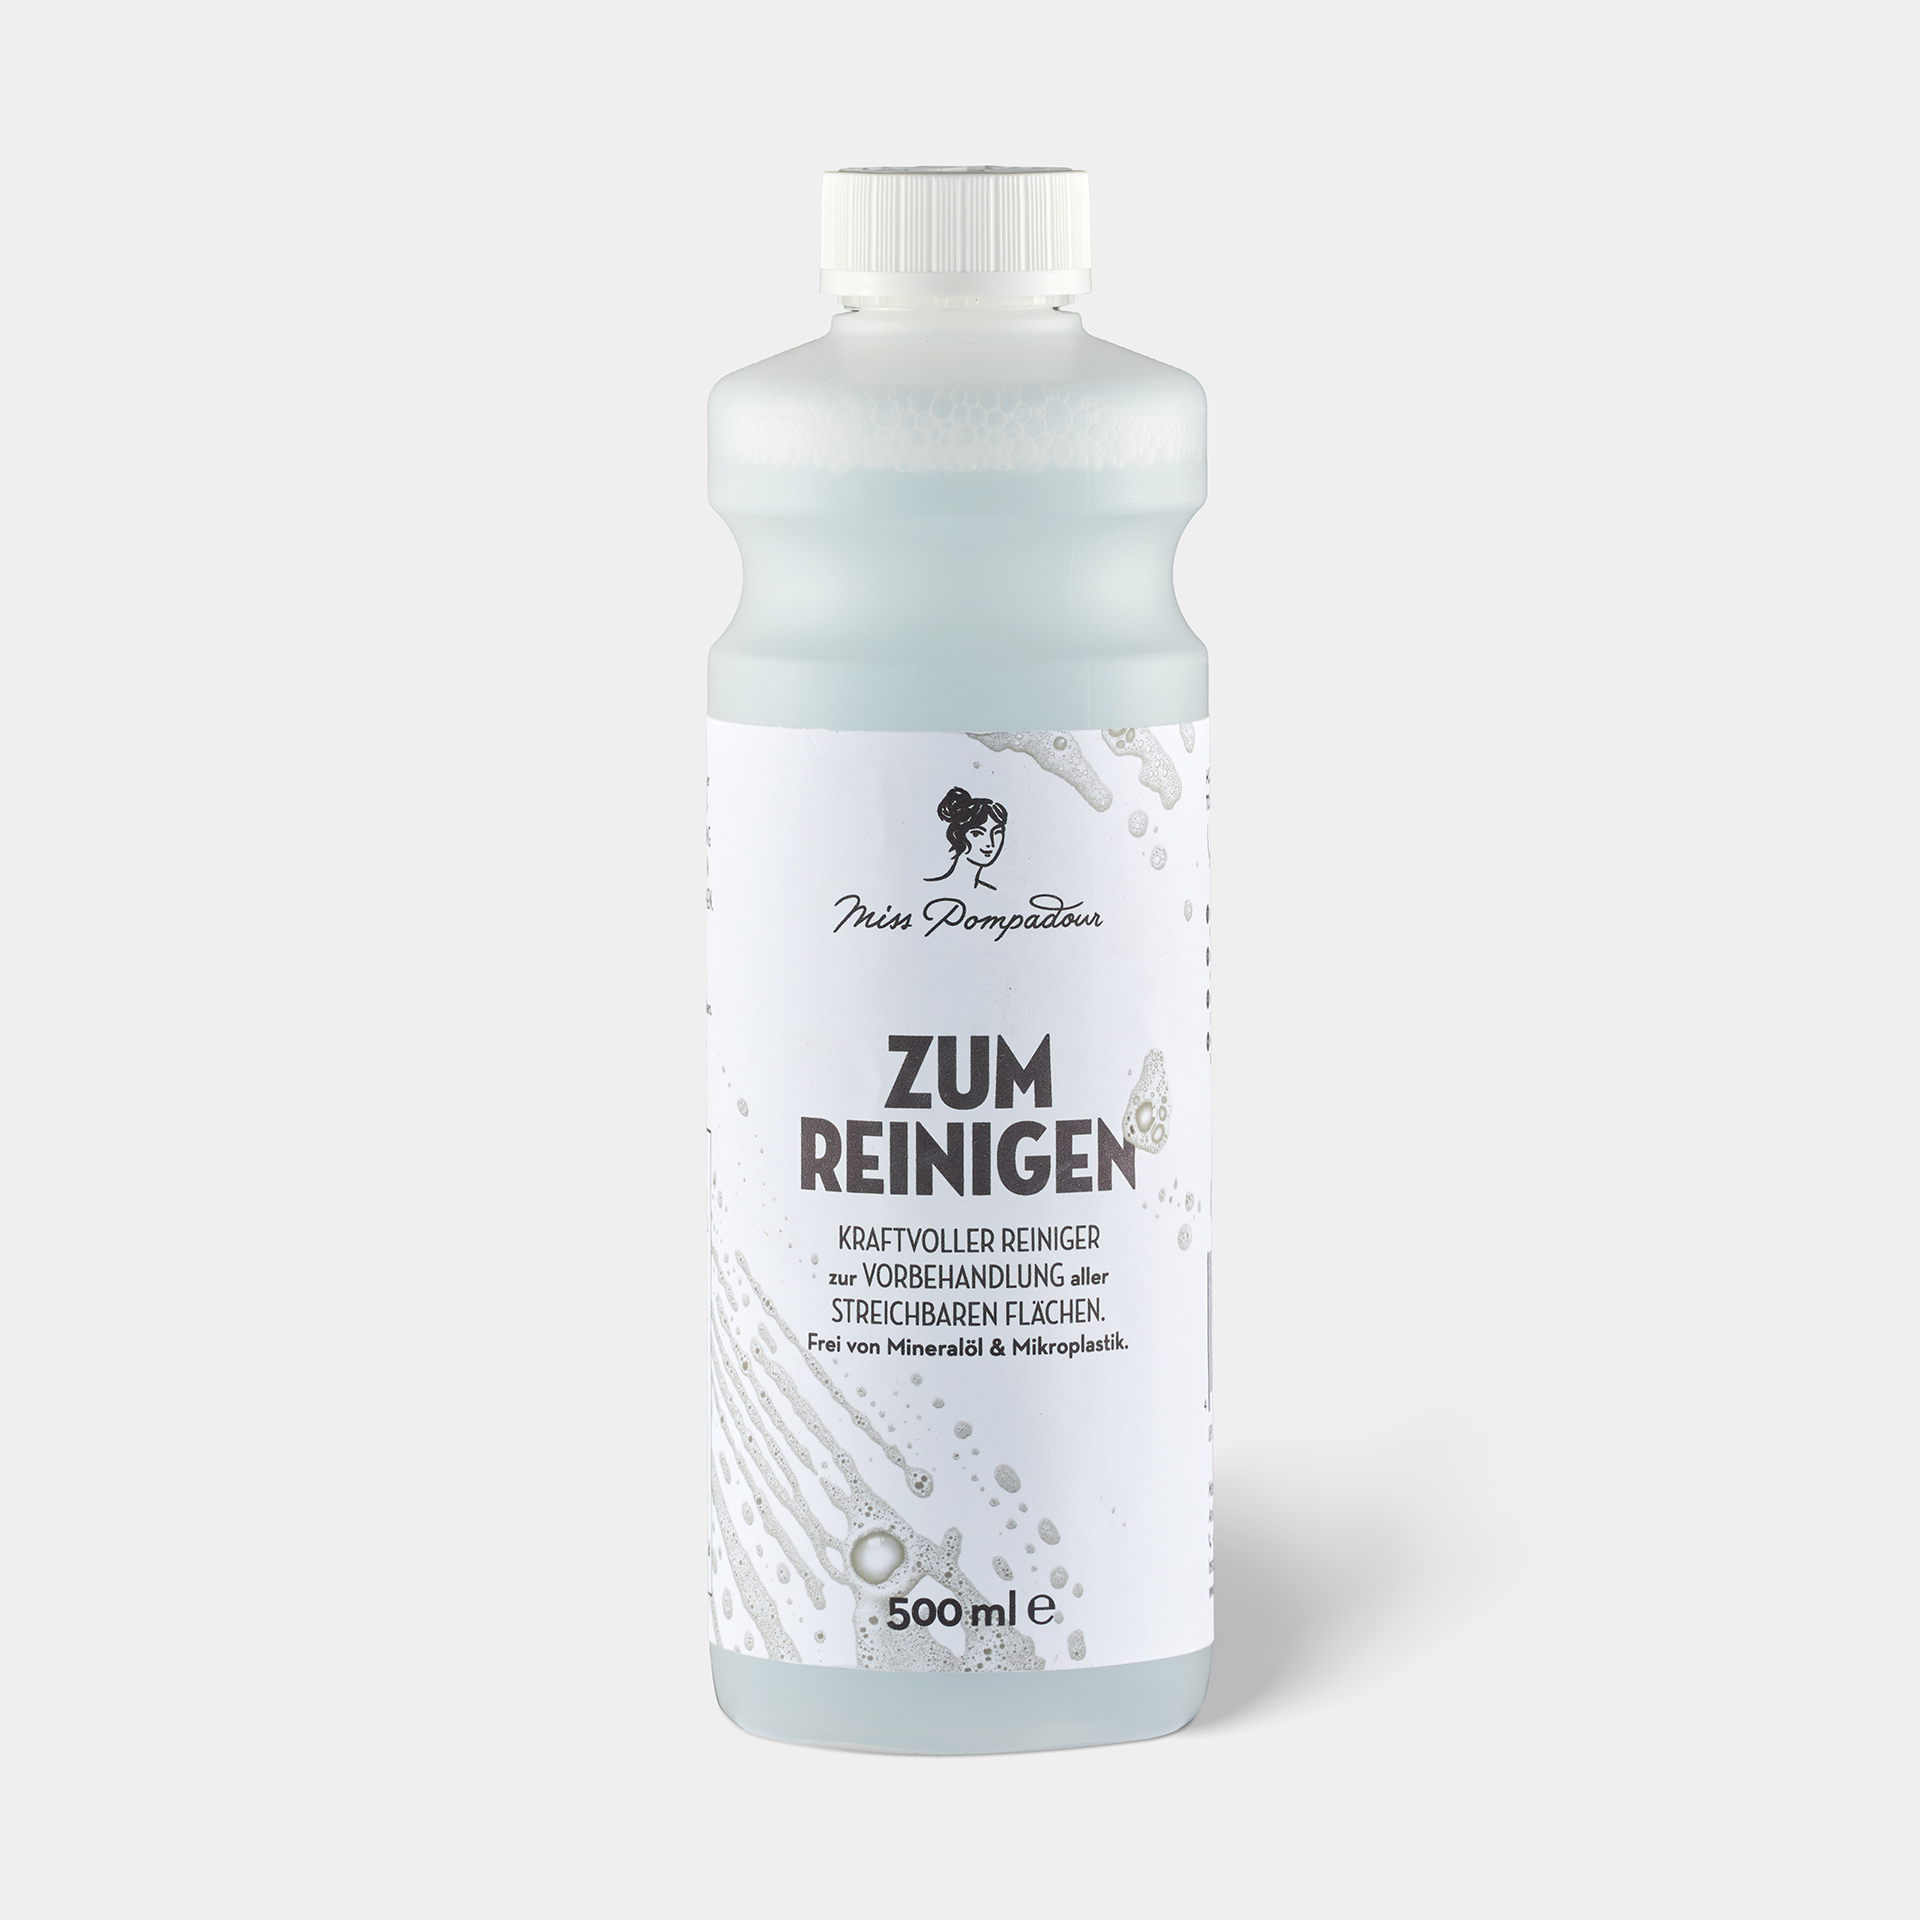
Every piece of furniture must be thoroughly cleaned before painting, as sanding dust, dirt particles and grease prevent the paint from adhering . Use the MissPompadour Cleaner to do this .
You do not need to sand varnished and stained furniture as long as its surface is intact.
However, be sure to prime the furniture - the water contained in the varnish can dissolve the stain. If this leaks into the varnish, it will become stained.
Even with a varnish, you cannot be sure whether pigments will come off. Also treat the substrate with our To Bond & Block primer. This means you can easily paint a black-stained Hemnes chest of drawers white without sanding first.
How To Paint IKEA Hemnes Furniture
With this how-to you can turn your Hemnes chest of drawers into a truly unique piece. Whether you're a beginner or a pro: just paint!
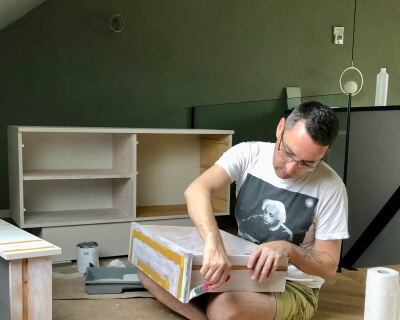
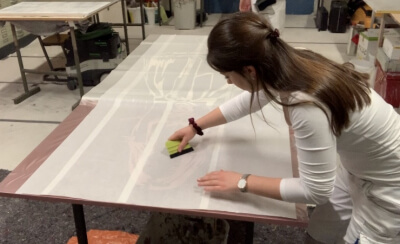
Step 1: Preparation
Firstly, remove all drawers and carefully clean your workpiece on all surfaces to be painted. Use the To Clean cleaner from MissPompadour to remove all dirt and grease residues effortlessly. Even if your piece of furniture is completely new, it still needs to be cleaned and degreased thoroughly. Because residues can also be found on new furniture.
Don't forget to wipe the surfaces with clean water afterwards.
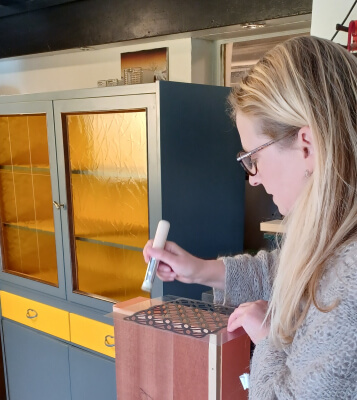
Step 2: Priming
Now prime all surfaces with an opaque coat of To Bond & Block from MissPompadour. This will help your varnish to adhere particularly well to the surface of the Hemnes piece of furniture, even without sanding. You also ensure that neither stain nor varnish can penetrate your colour. Allow the primer to dry for at least 8 hours or overnight. Always make sure to use clean tools when priming.
Step 3: Painting
Now paint all surfaces in the colour of your choice. Leave the furniture paint to dry for at least 4 hours, preferably overnight. Then apply a second coat. Normally, no sanding is necessary between coats.
If you want to apply patterns with stencils or finish with wax, allow the second coat to dry well before continuing.
Step 4: Drying
Now comes the hardest step: let your piece of furniture dry! Please note that this can take between 6 and 14 hours, depending on the thickness of the coat. However, the varnish will only be fully cured after around 14 days.
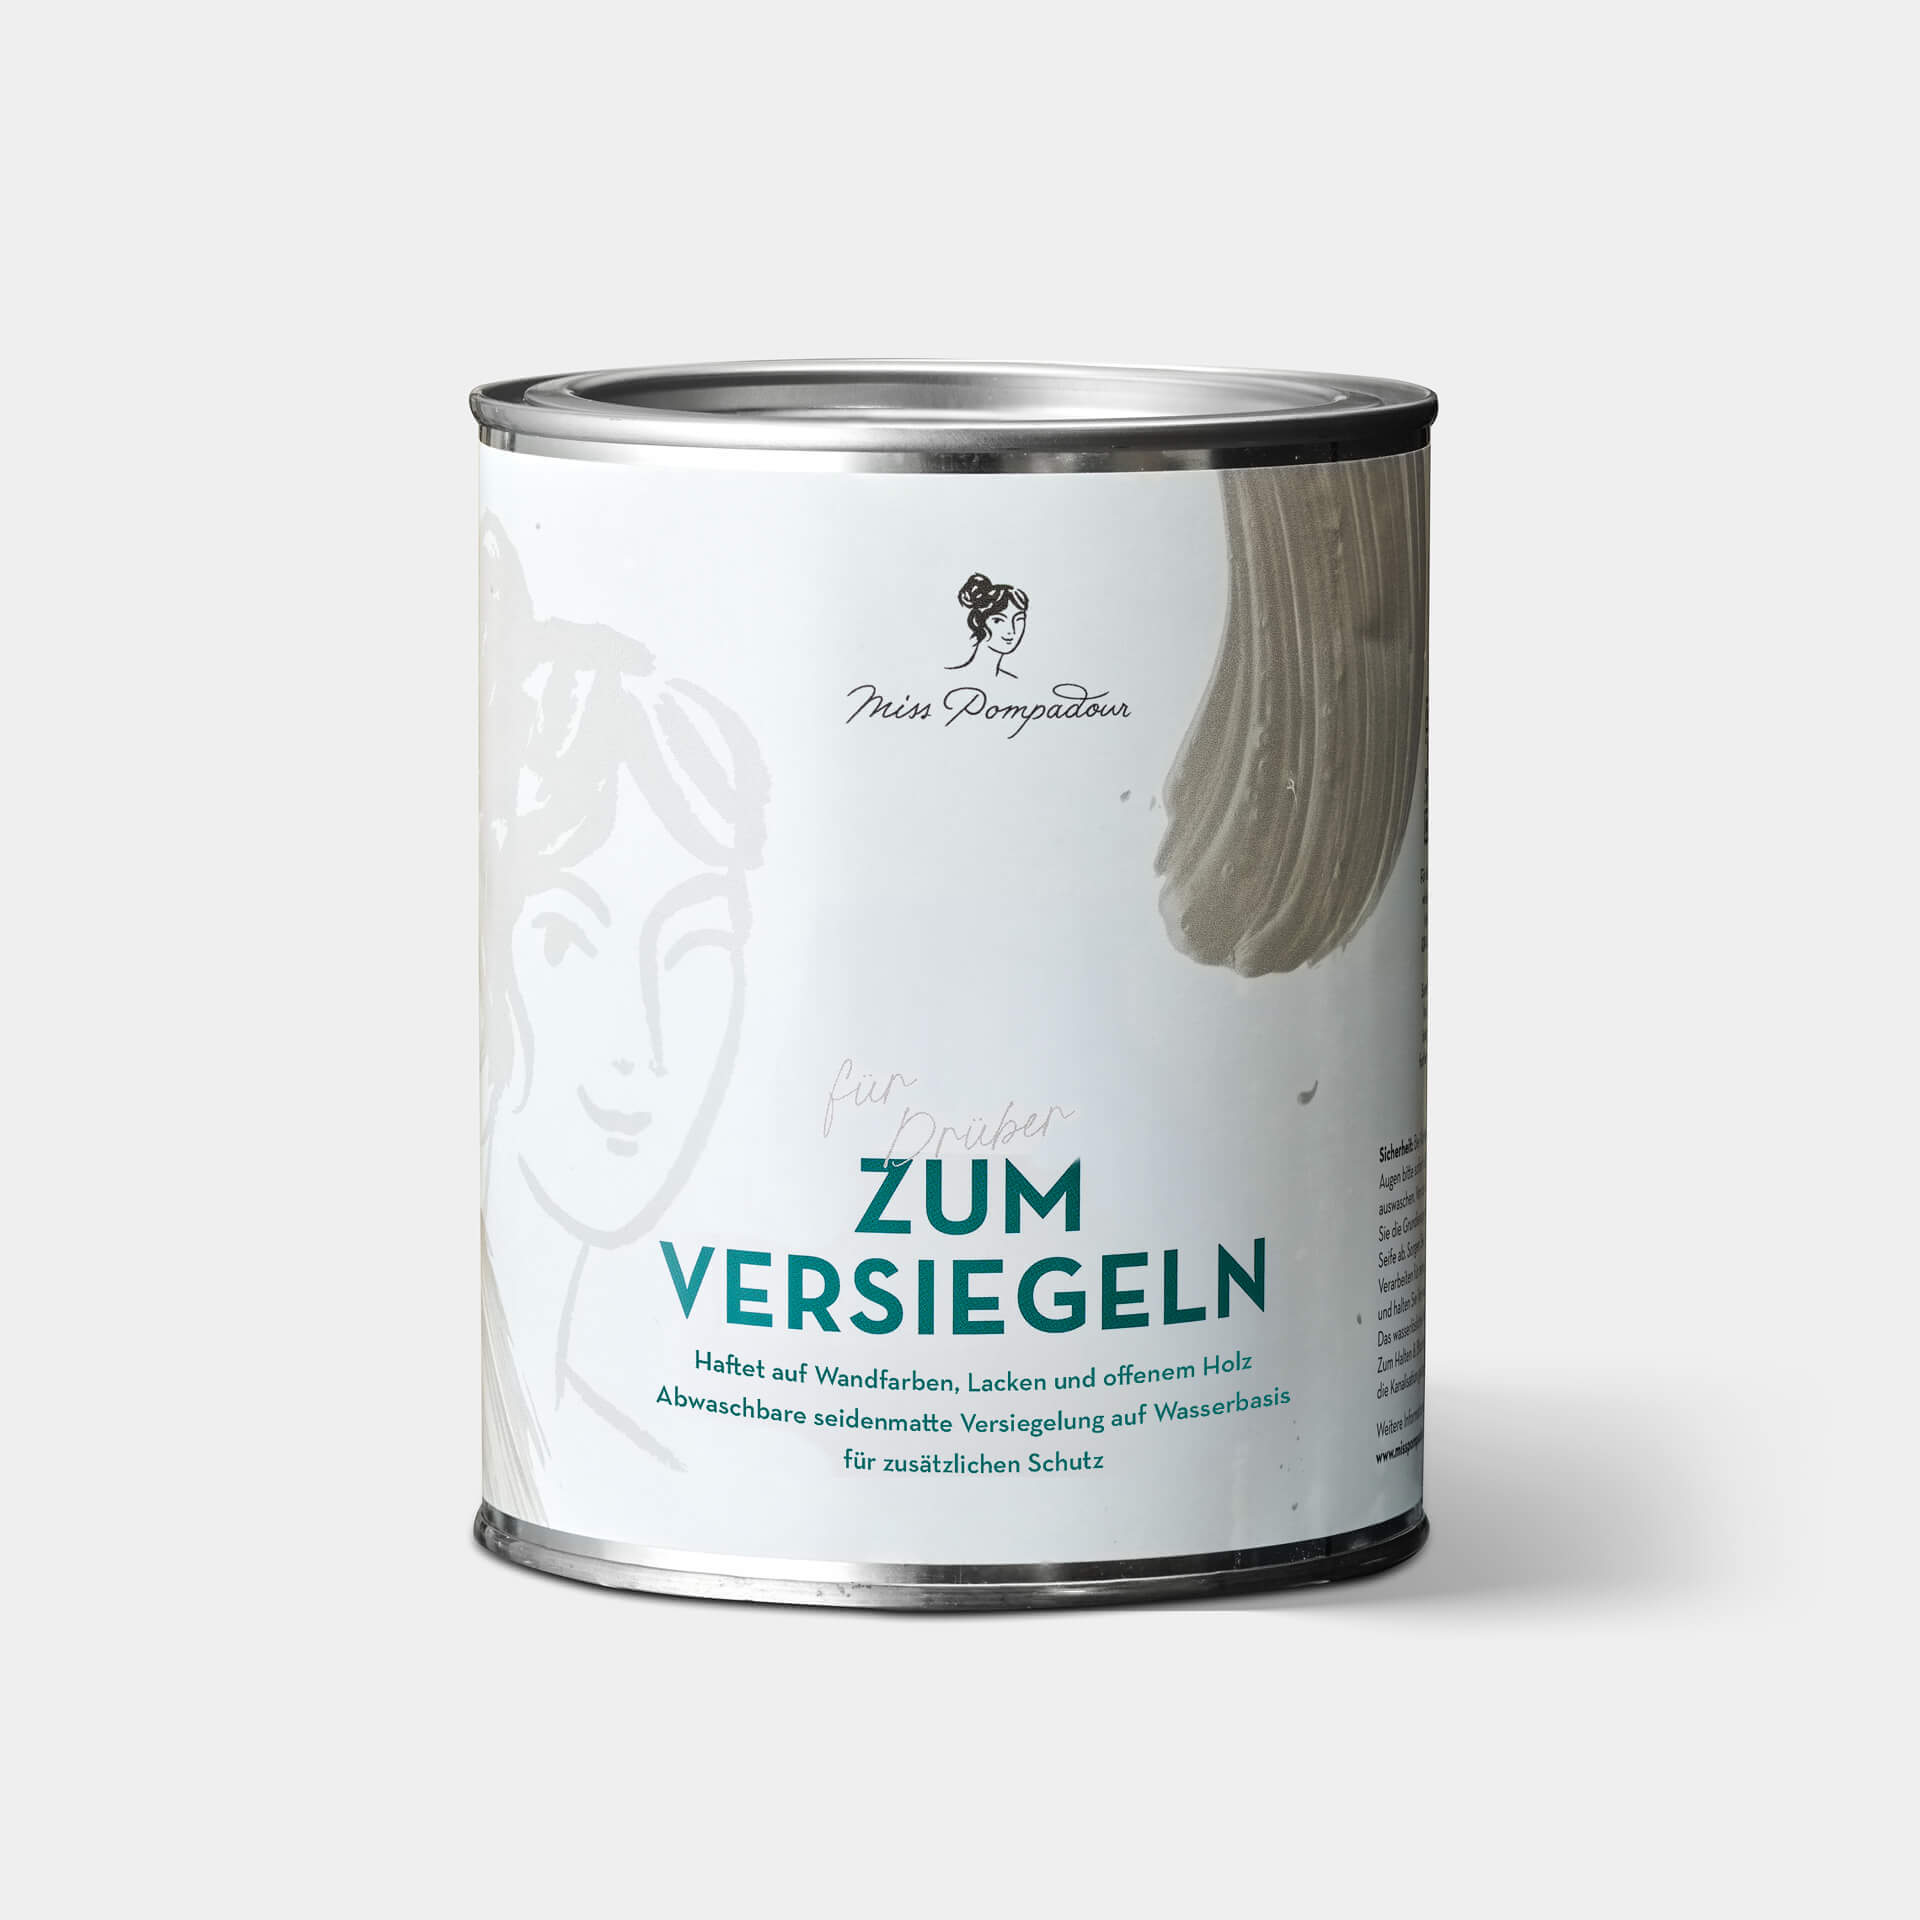
Tip: If your chest of drawers is likely to be subjected to heavy use, we recommend applying an additional coat of MissPompadour To Seal, at least on the shelves. This will make your coating even more impact and scratch-resistant and longer-lasting!
Welcher Lack? Die richtige Wahl für deinen Look
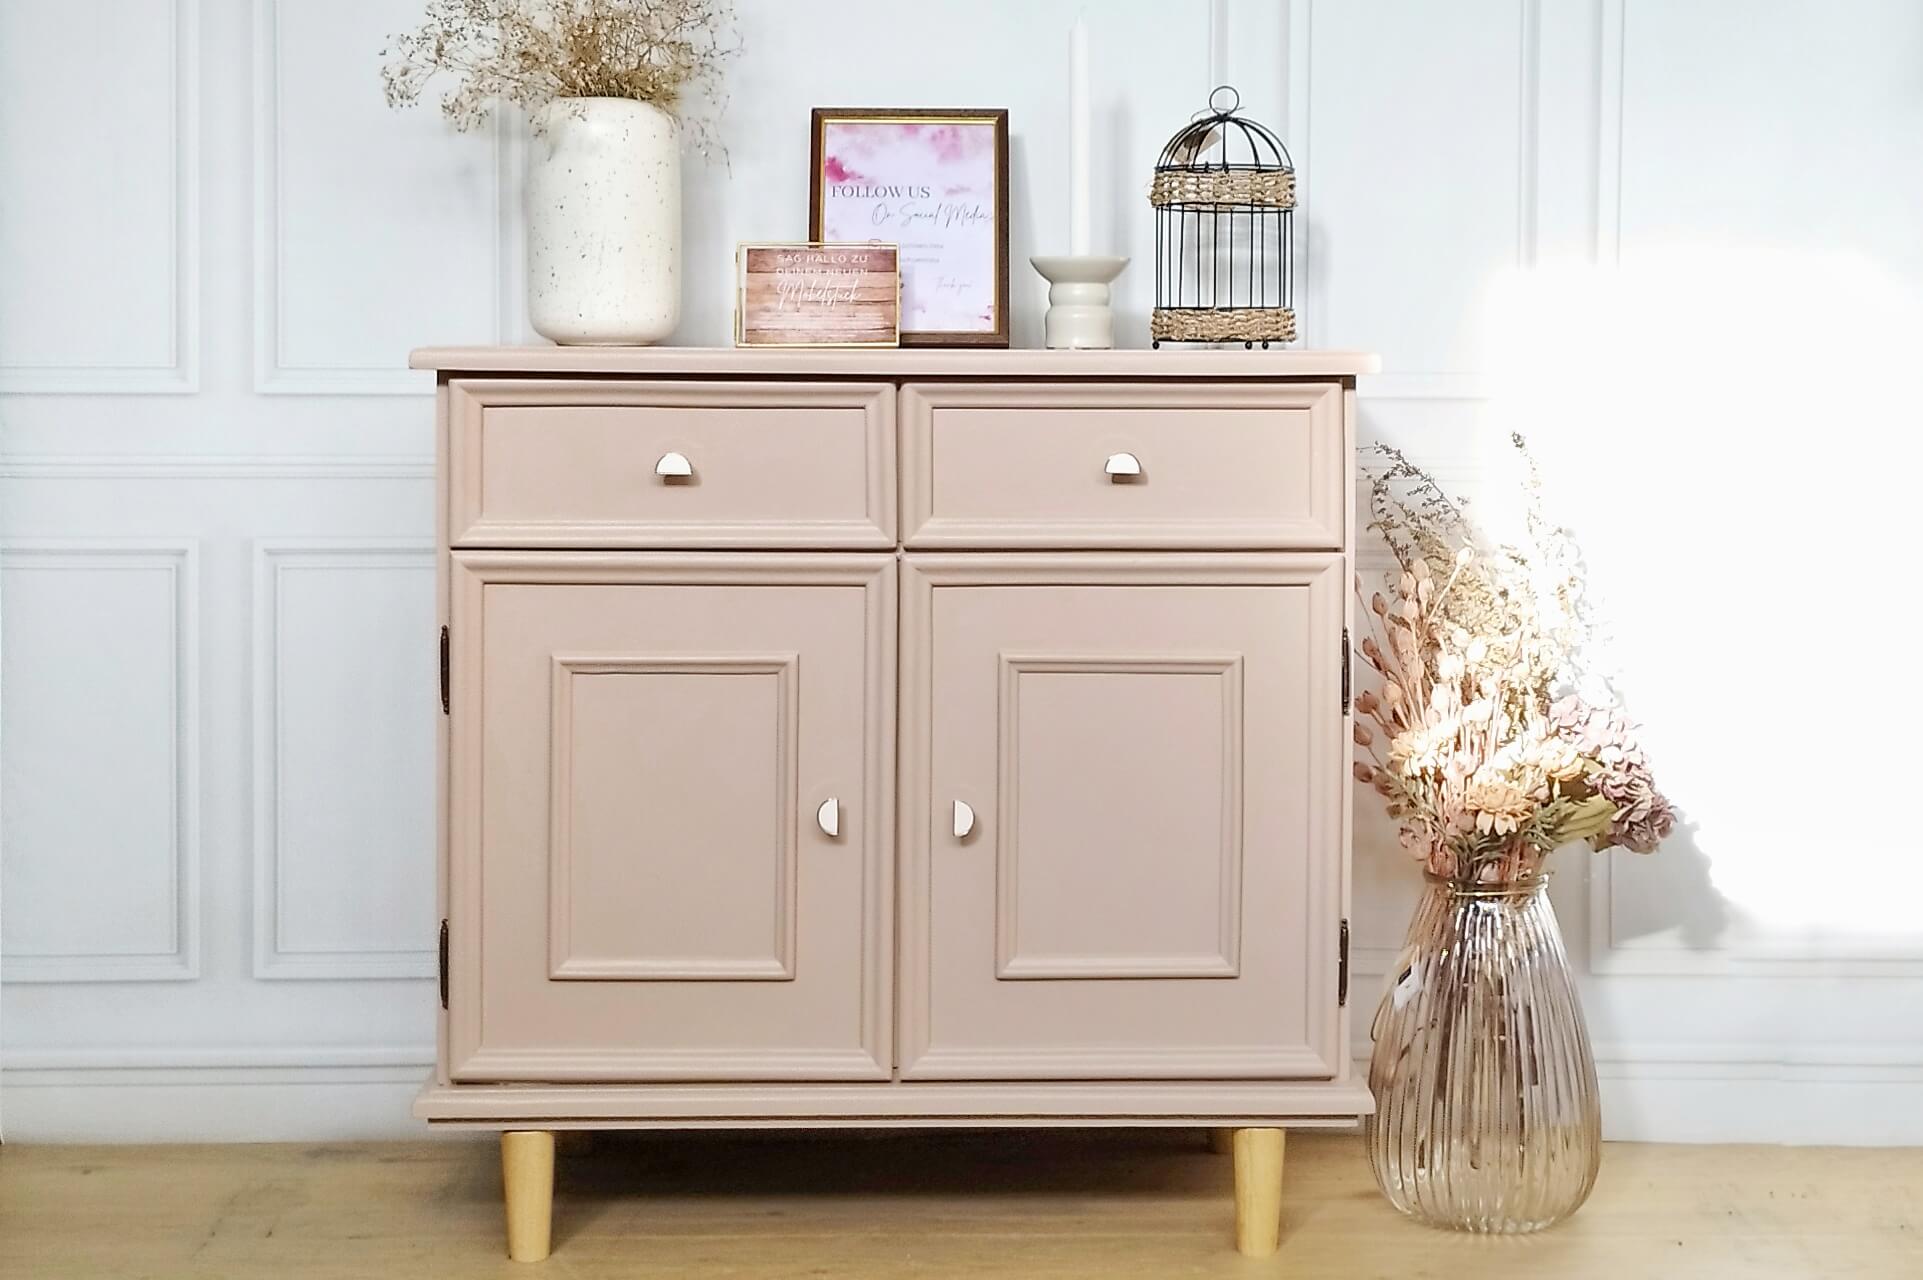
Mit der Auswahl der Lackqualität kannst du deiner Hemnes Kommode jeweils zu einem ganz anderen Aussehen verhelfen. Streichst du deine Kommode oder deinen Schuhschrank mit Farben aus der CosyColours Kollektion oder mit den LittlePomp Kreidelacken, so bekommen die Oberflächen ein pudriges, edles Finish. Den matten Lack kannst du auch anschließend noch mit Antikwachs oder Metallicwachs behandeln. So erzeugst du mühelos einen nostalgischen Shabby Style. Wie das im Detail funktioniert, erfährst du in unserer Anleitung zum Streichen in Shabby-Shic. Wird dein Möbelstück stärker beansprucht, so empfehlen wir, den Anstrich zum Abschluss zu versiegeln.
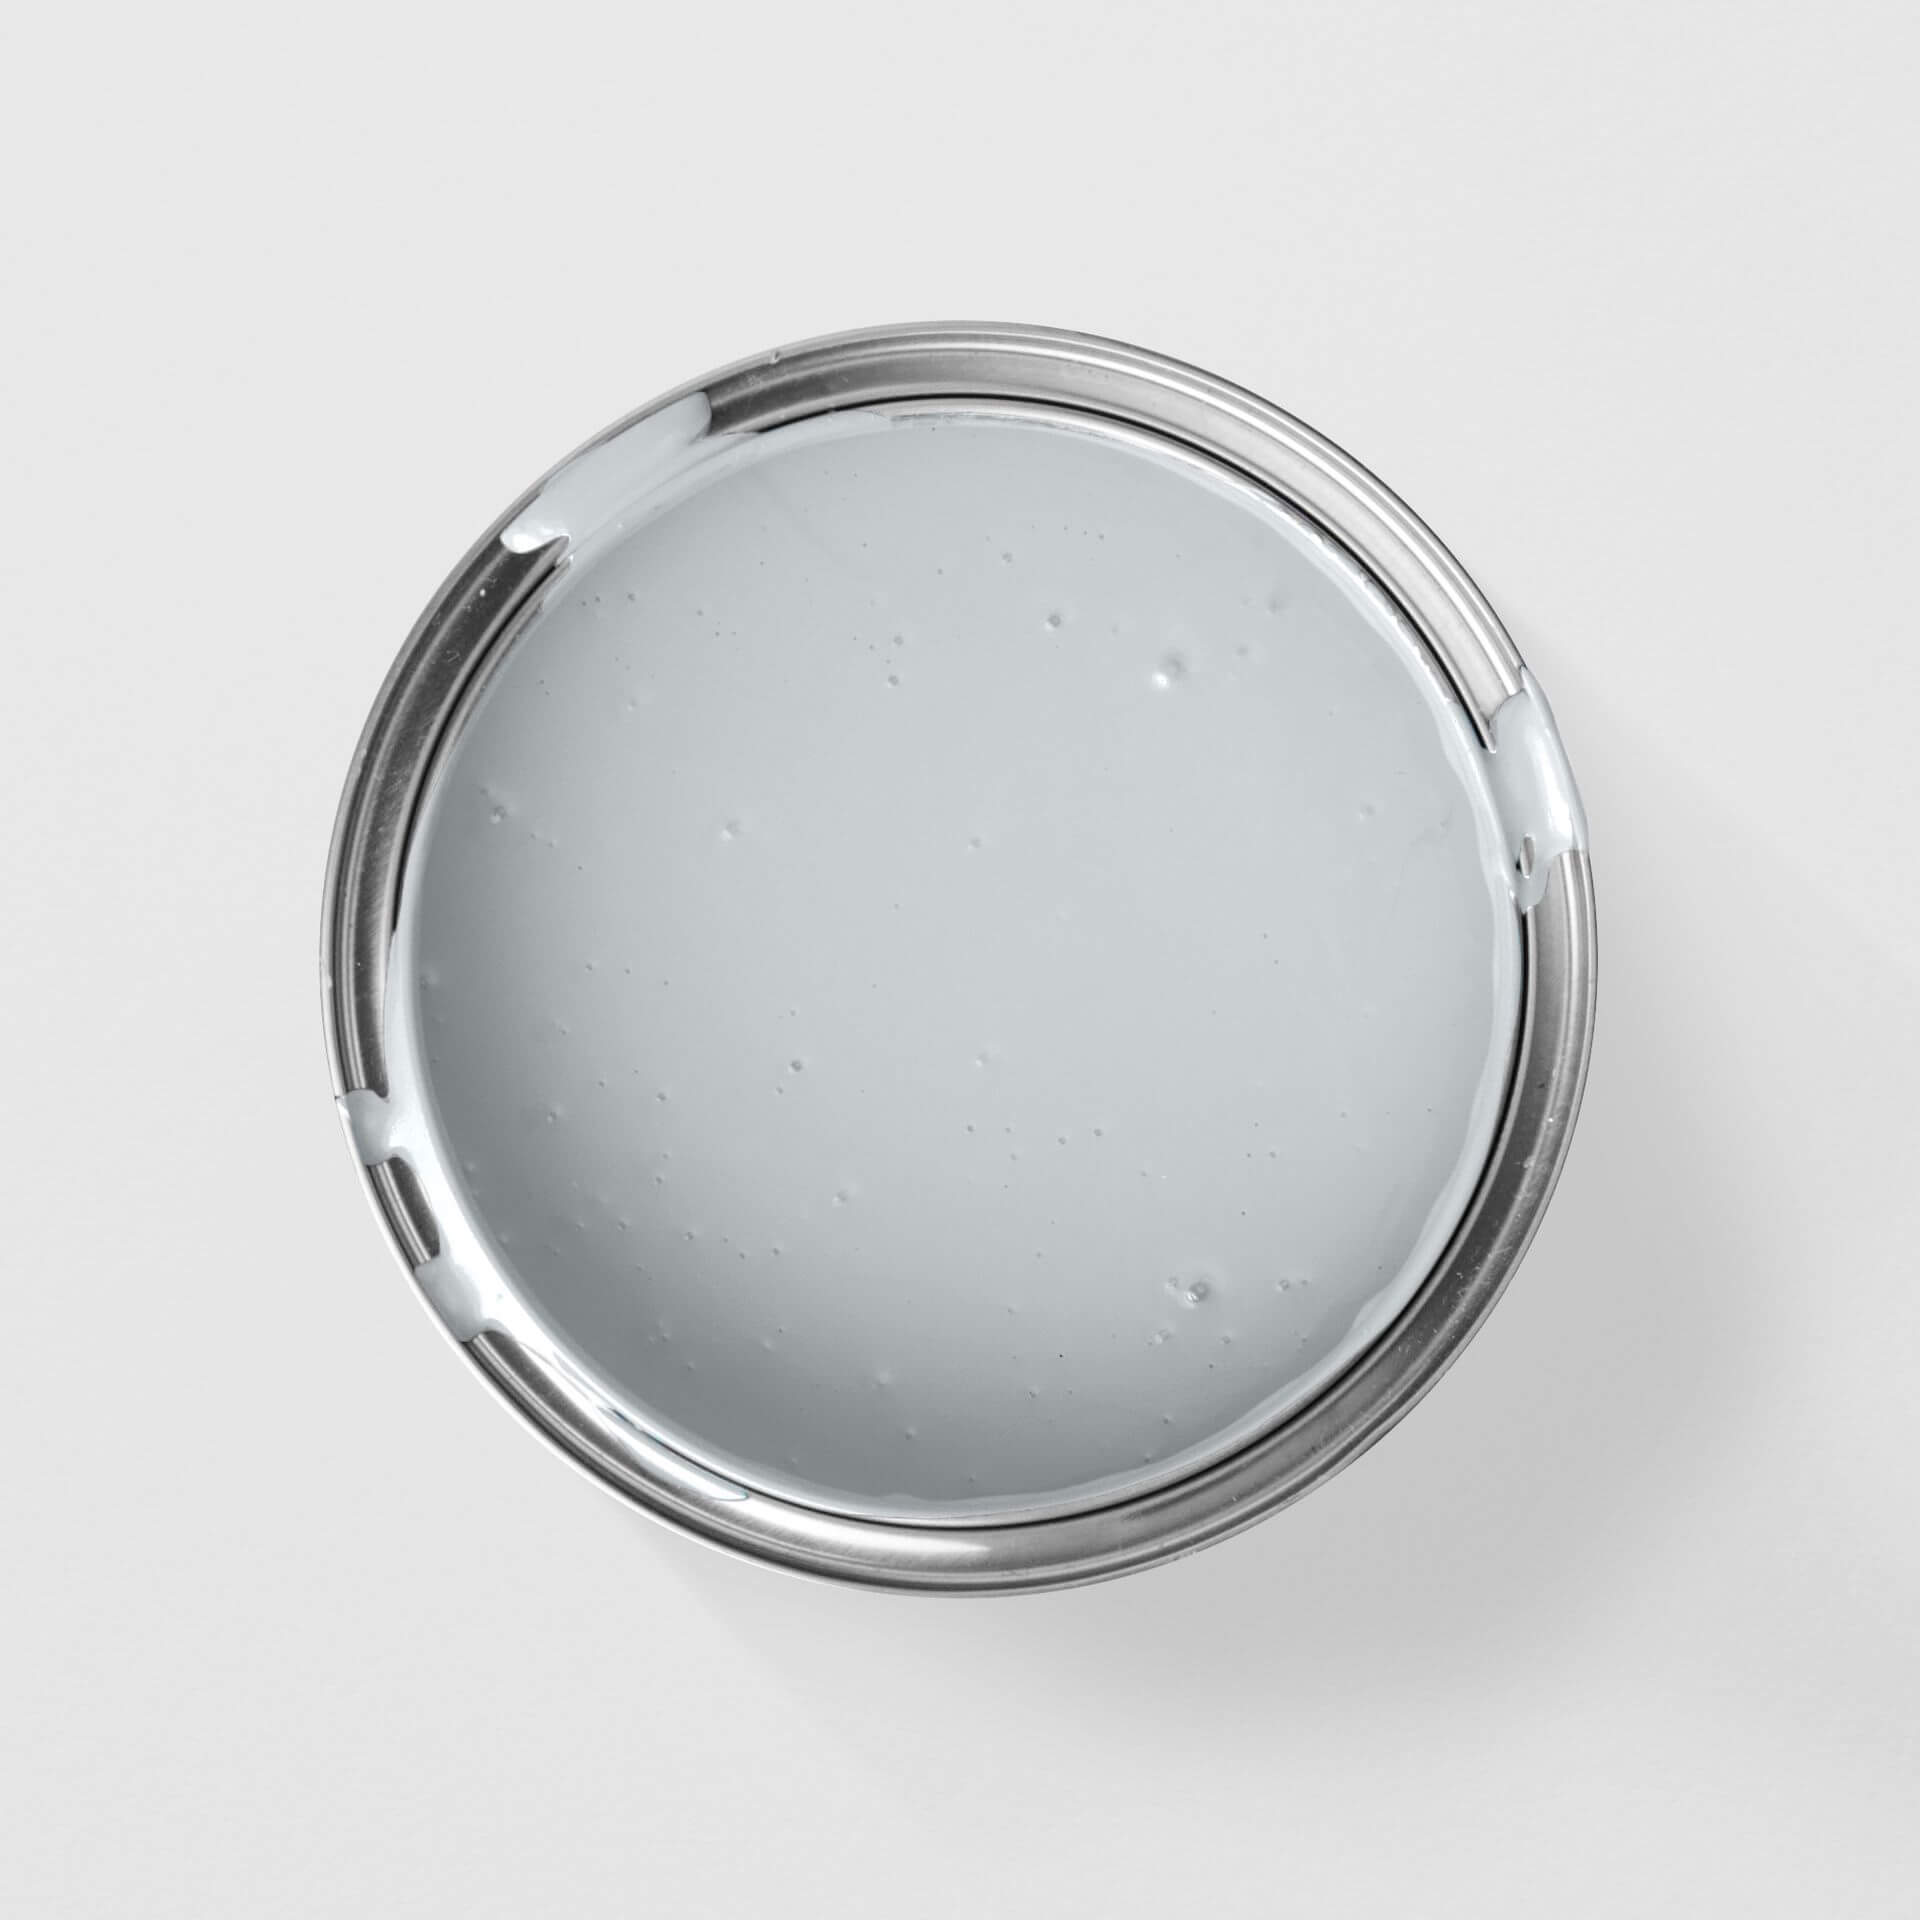
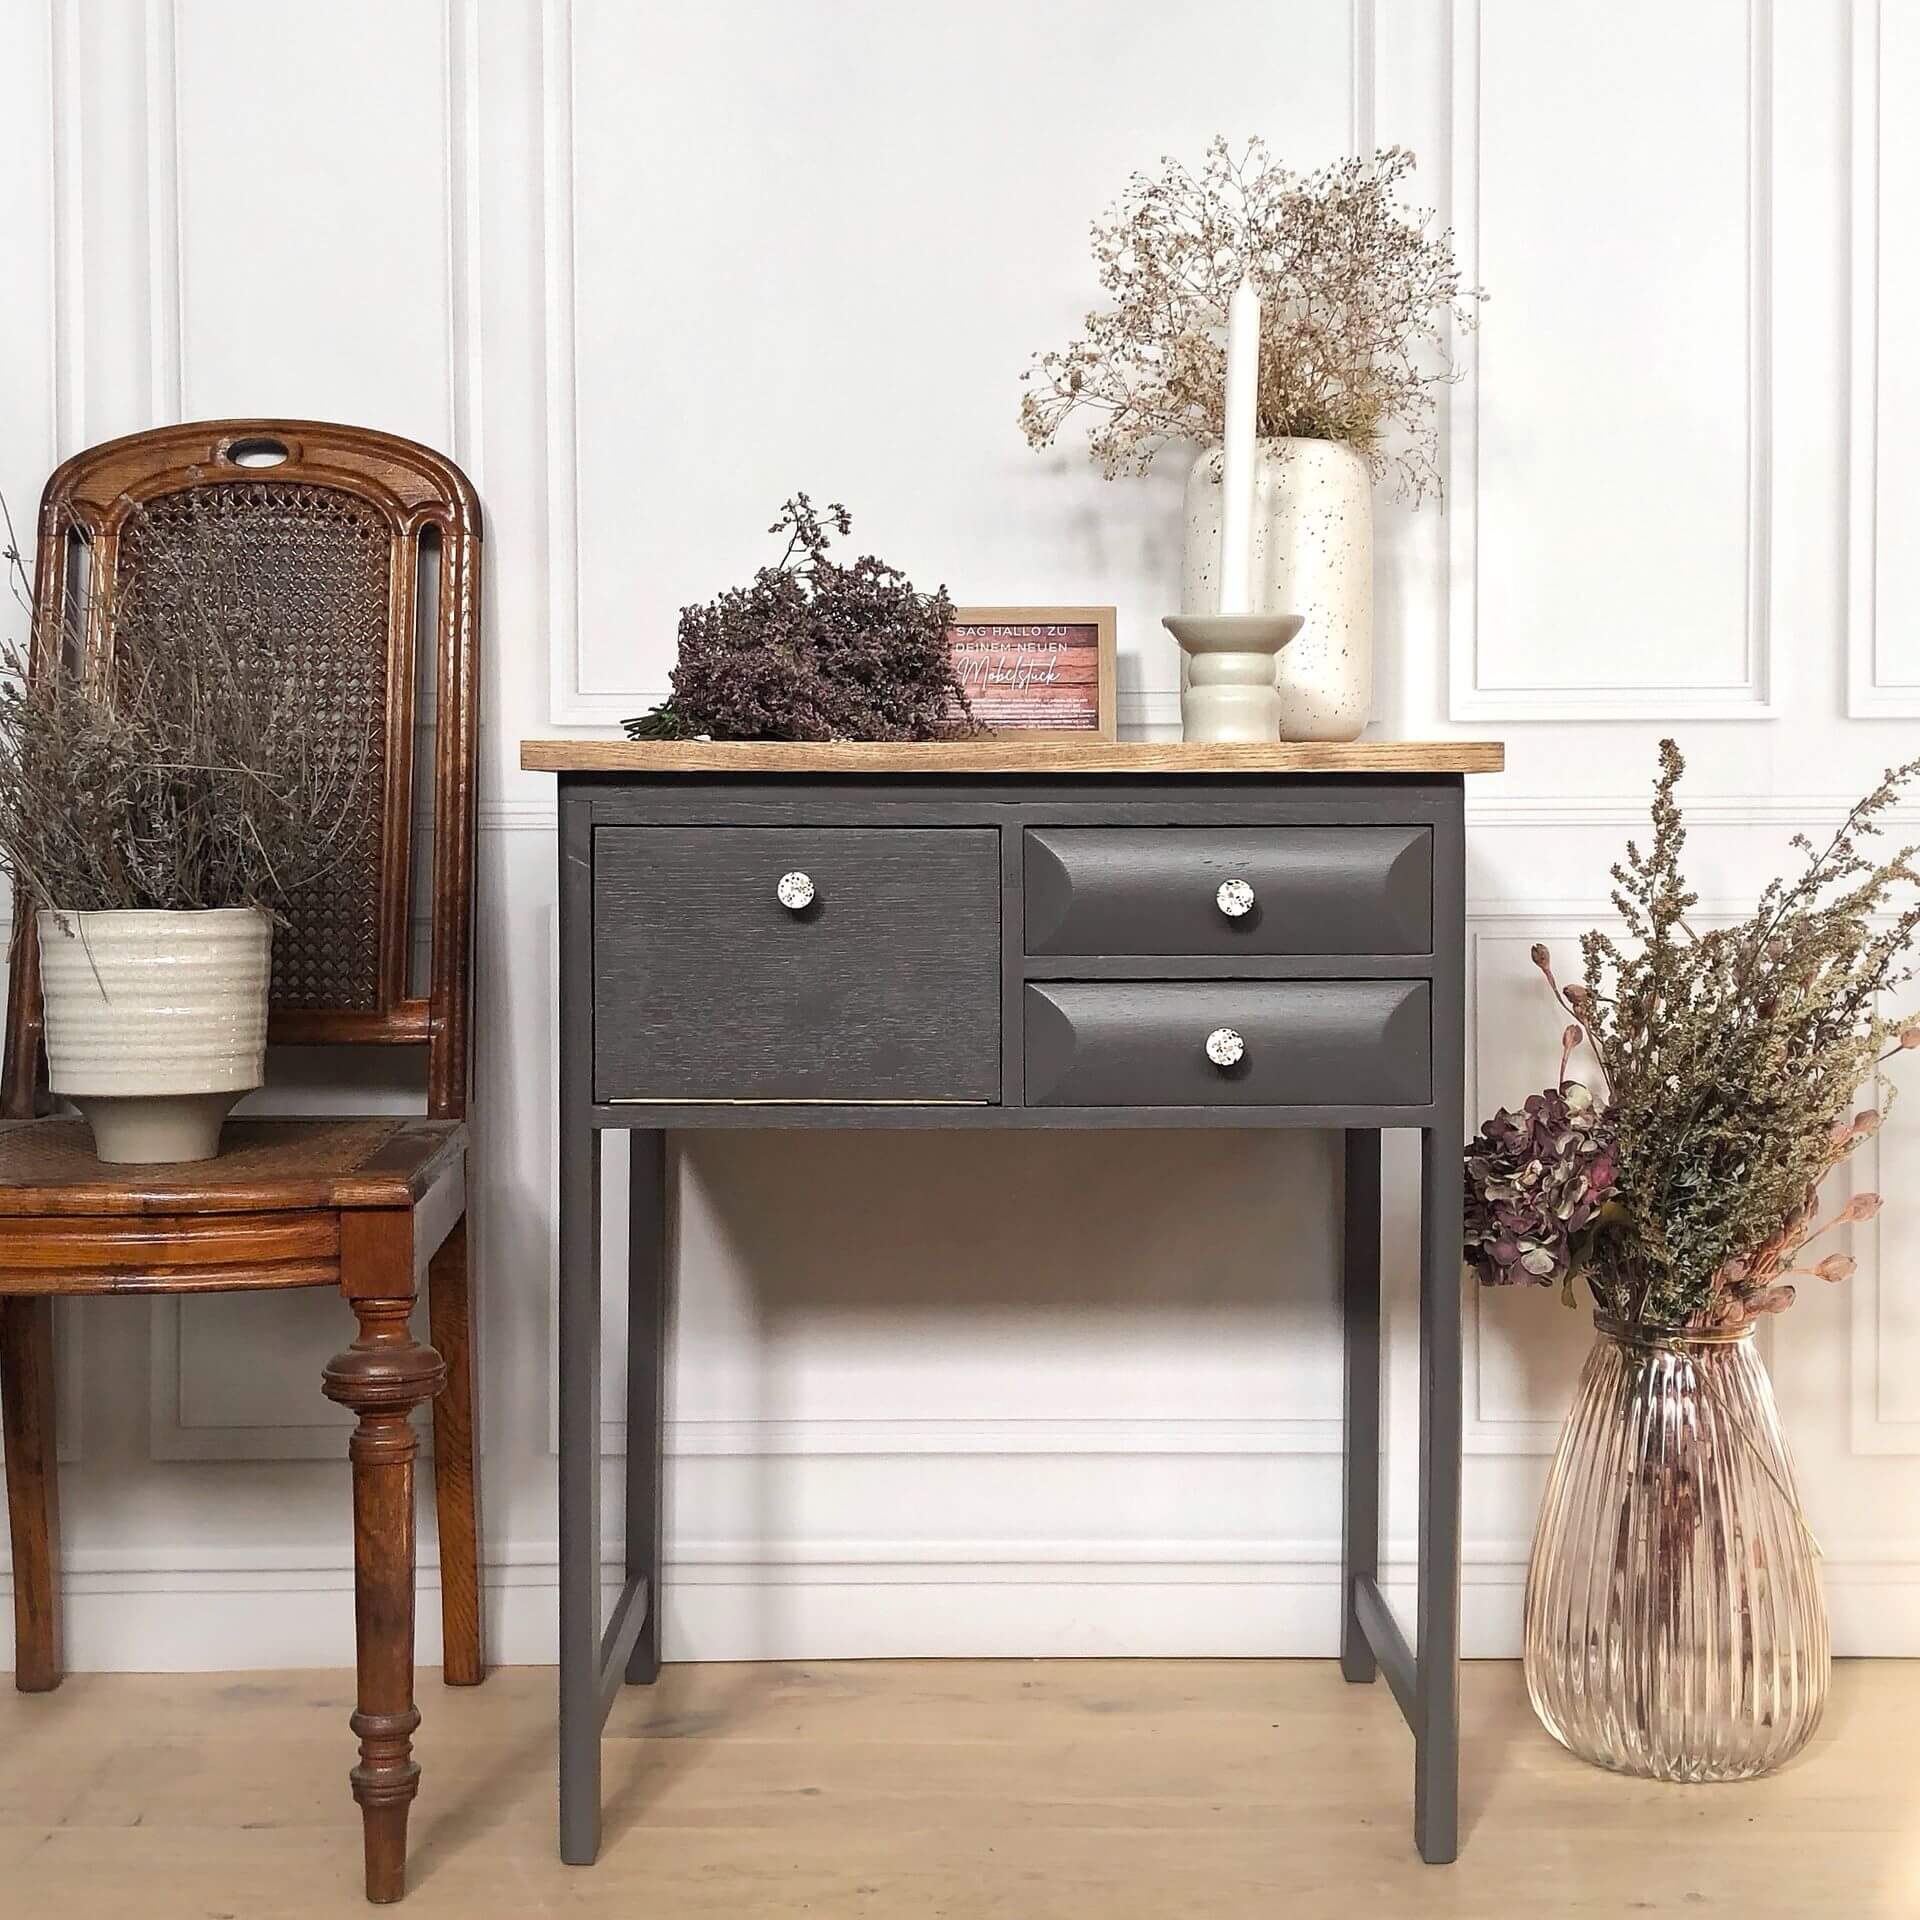
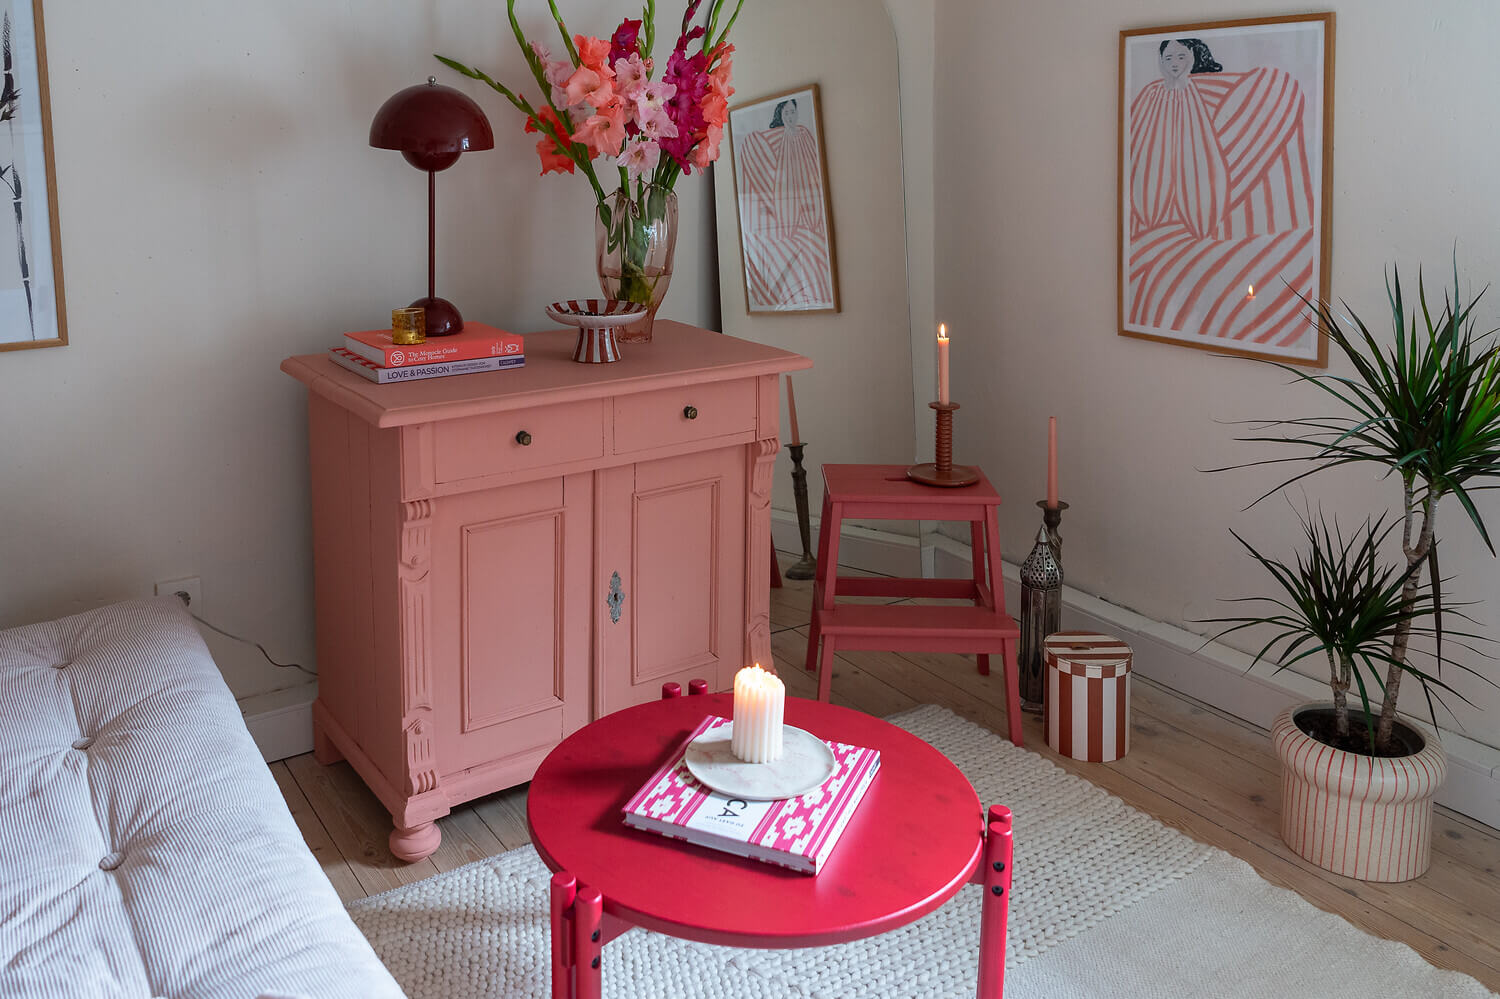
Du kannst aber auch mit der Lackvariante Der Alles Streichen Lack! streichen. Dieser Lack erzeugt einen dezenten, edlen Glanz. Er lässt dein Möbelstück frisch und modern wirken und die Farbe leuchten. Möchtest du die massive Kommode oder das Regal am liebsten verschwinden lassen, verwende für die Wandfarbe einfach den gleichen Farbton wie für das Möbelstück. Das kann sich besonders im Kinderzimmer eignen, um einen kleinen Raum größer wirken zu lassen. Am besten funktioniert das mit Kreidefarben.
Für einen nostalgischen Stil streiche dein Regal einfach mit der pudrigen, matten Kreidefarbe. Mit Wachs behandelt kannst du ihm gleich einen antiken Look verpassen.
Helpful tools for painting & designing from MissPompadour
Paint your furniture within your rooms without hesitation, as the wood paints from MissPompadour do not release any toxic substances. Lay a plastic drop cloth around the furniture to protect your floor. However, our varnishes are so low-splash that this is more of a safety measure.
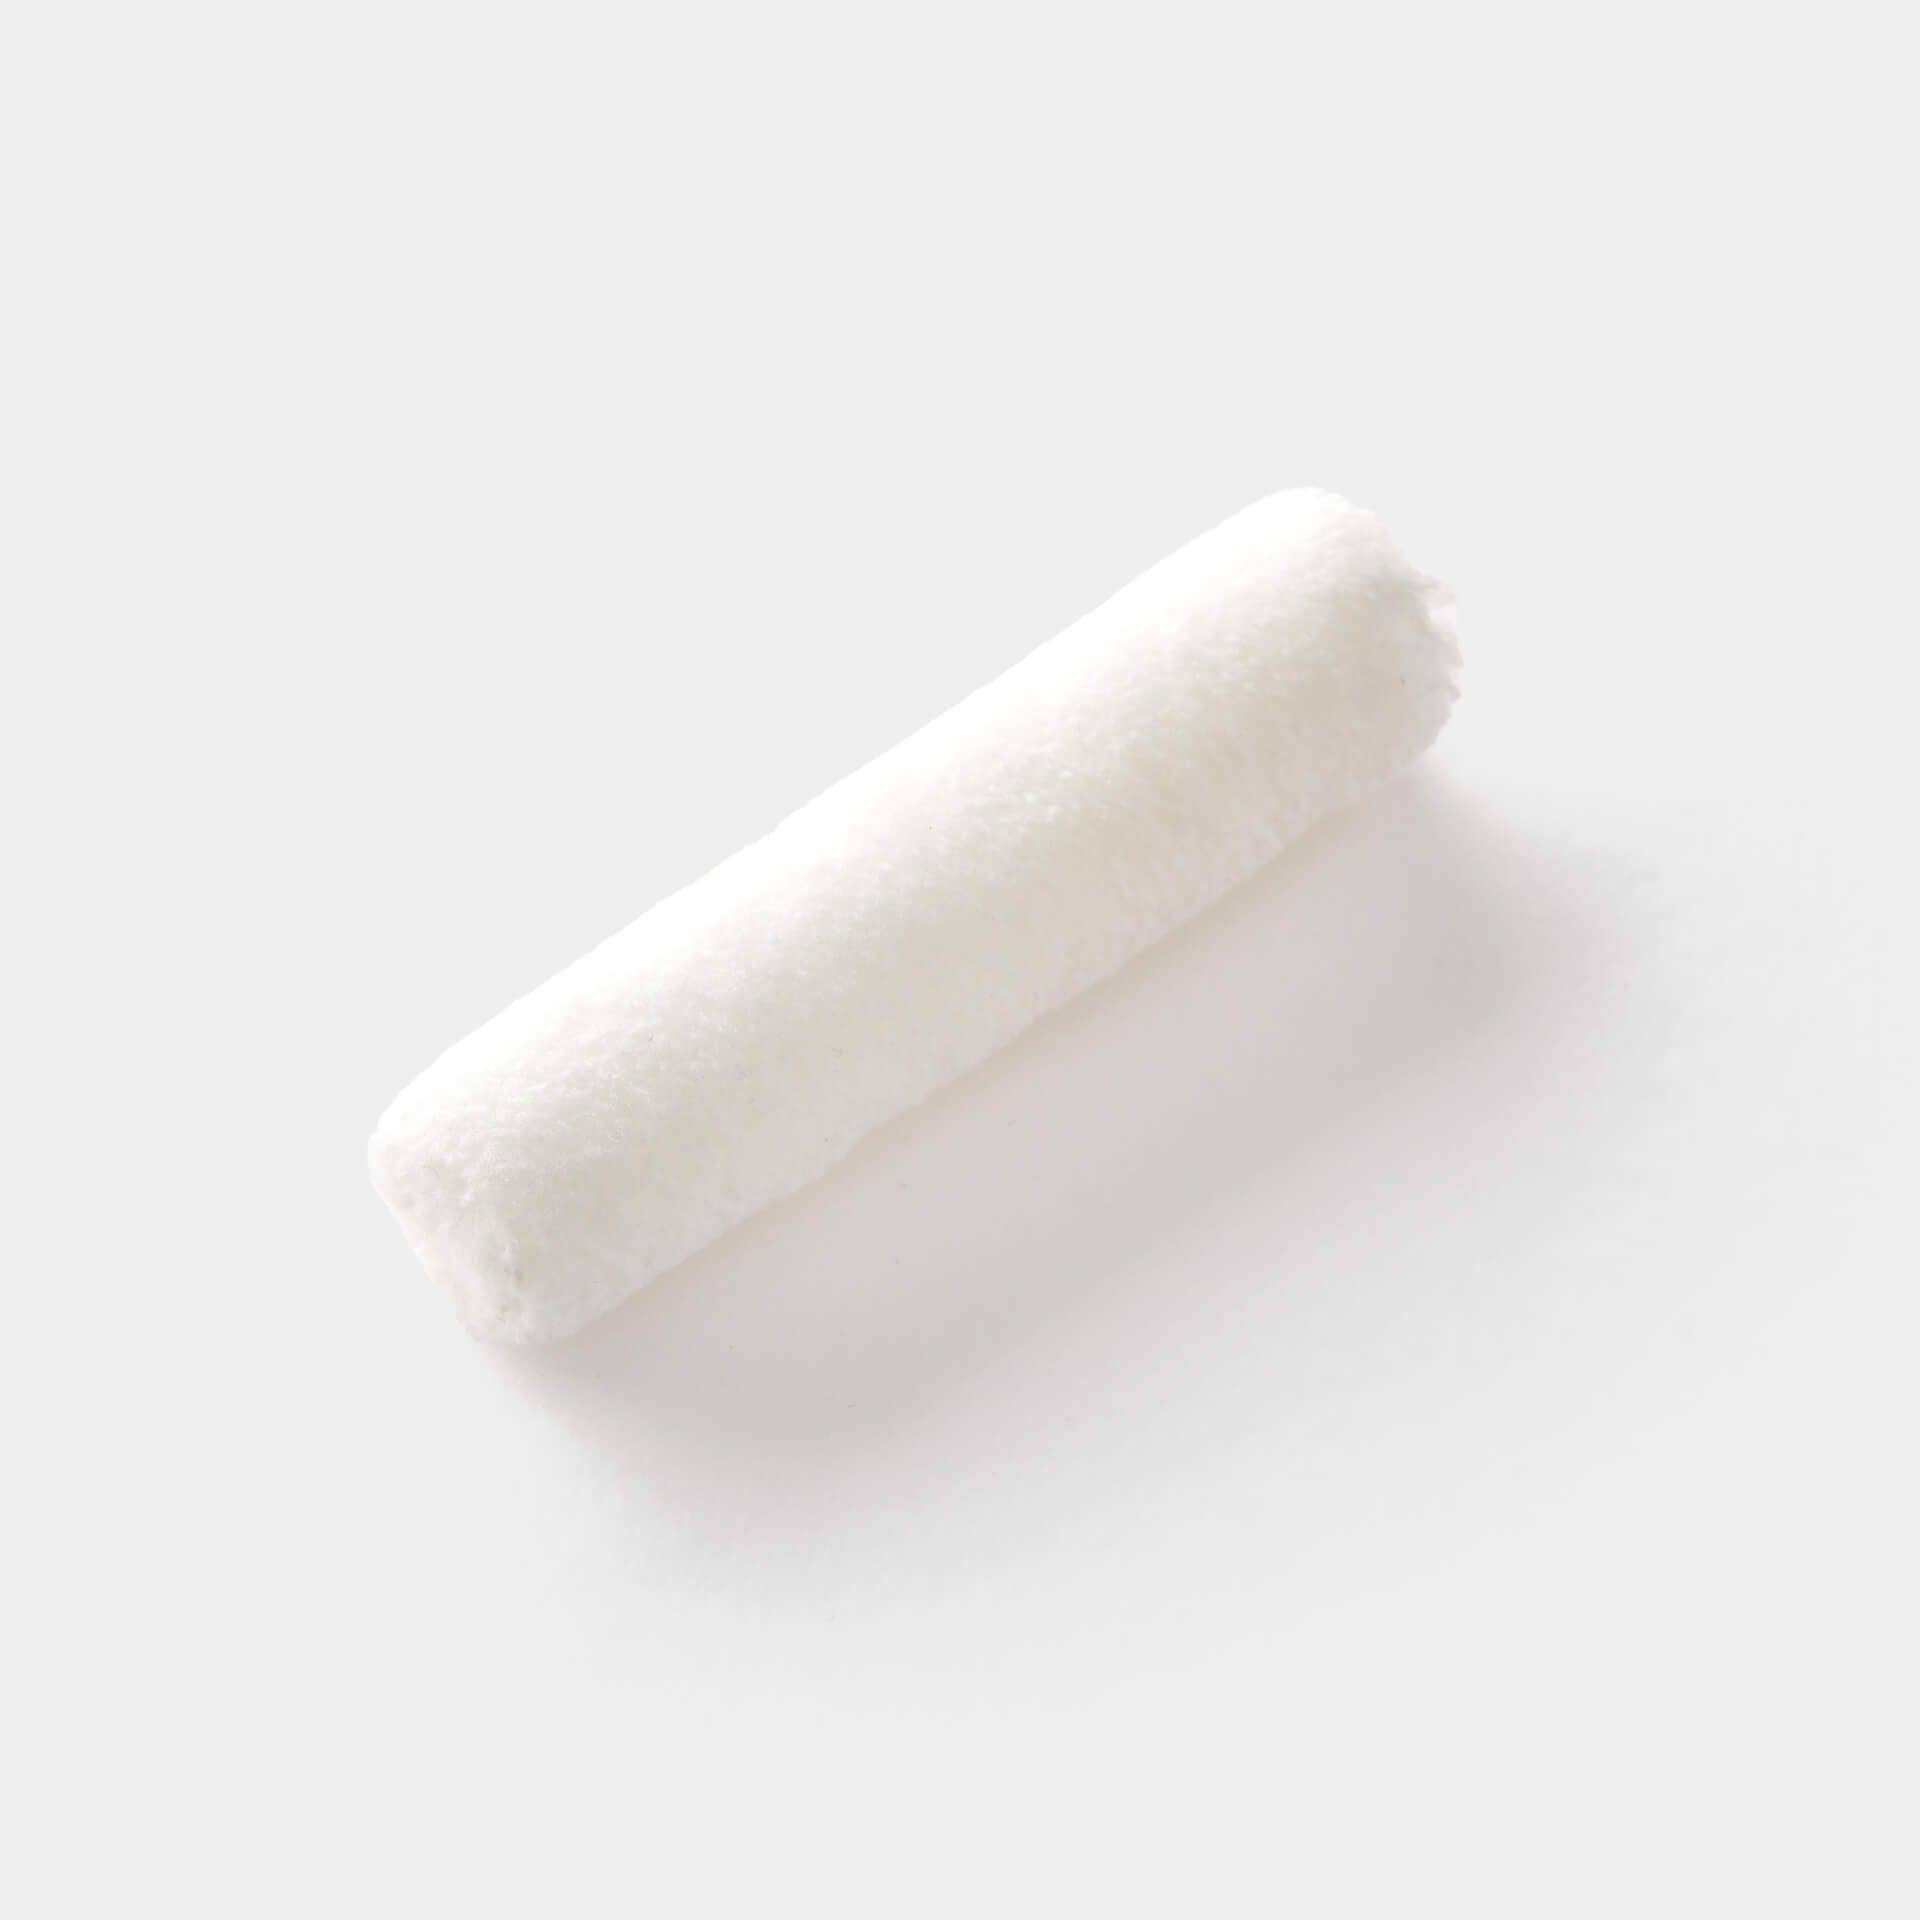
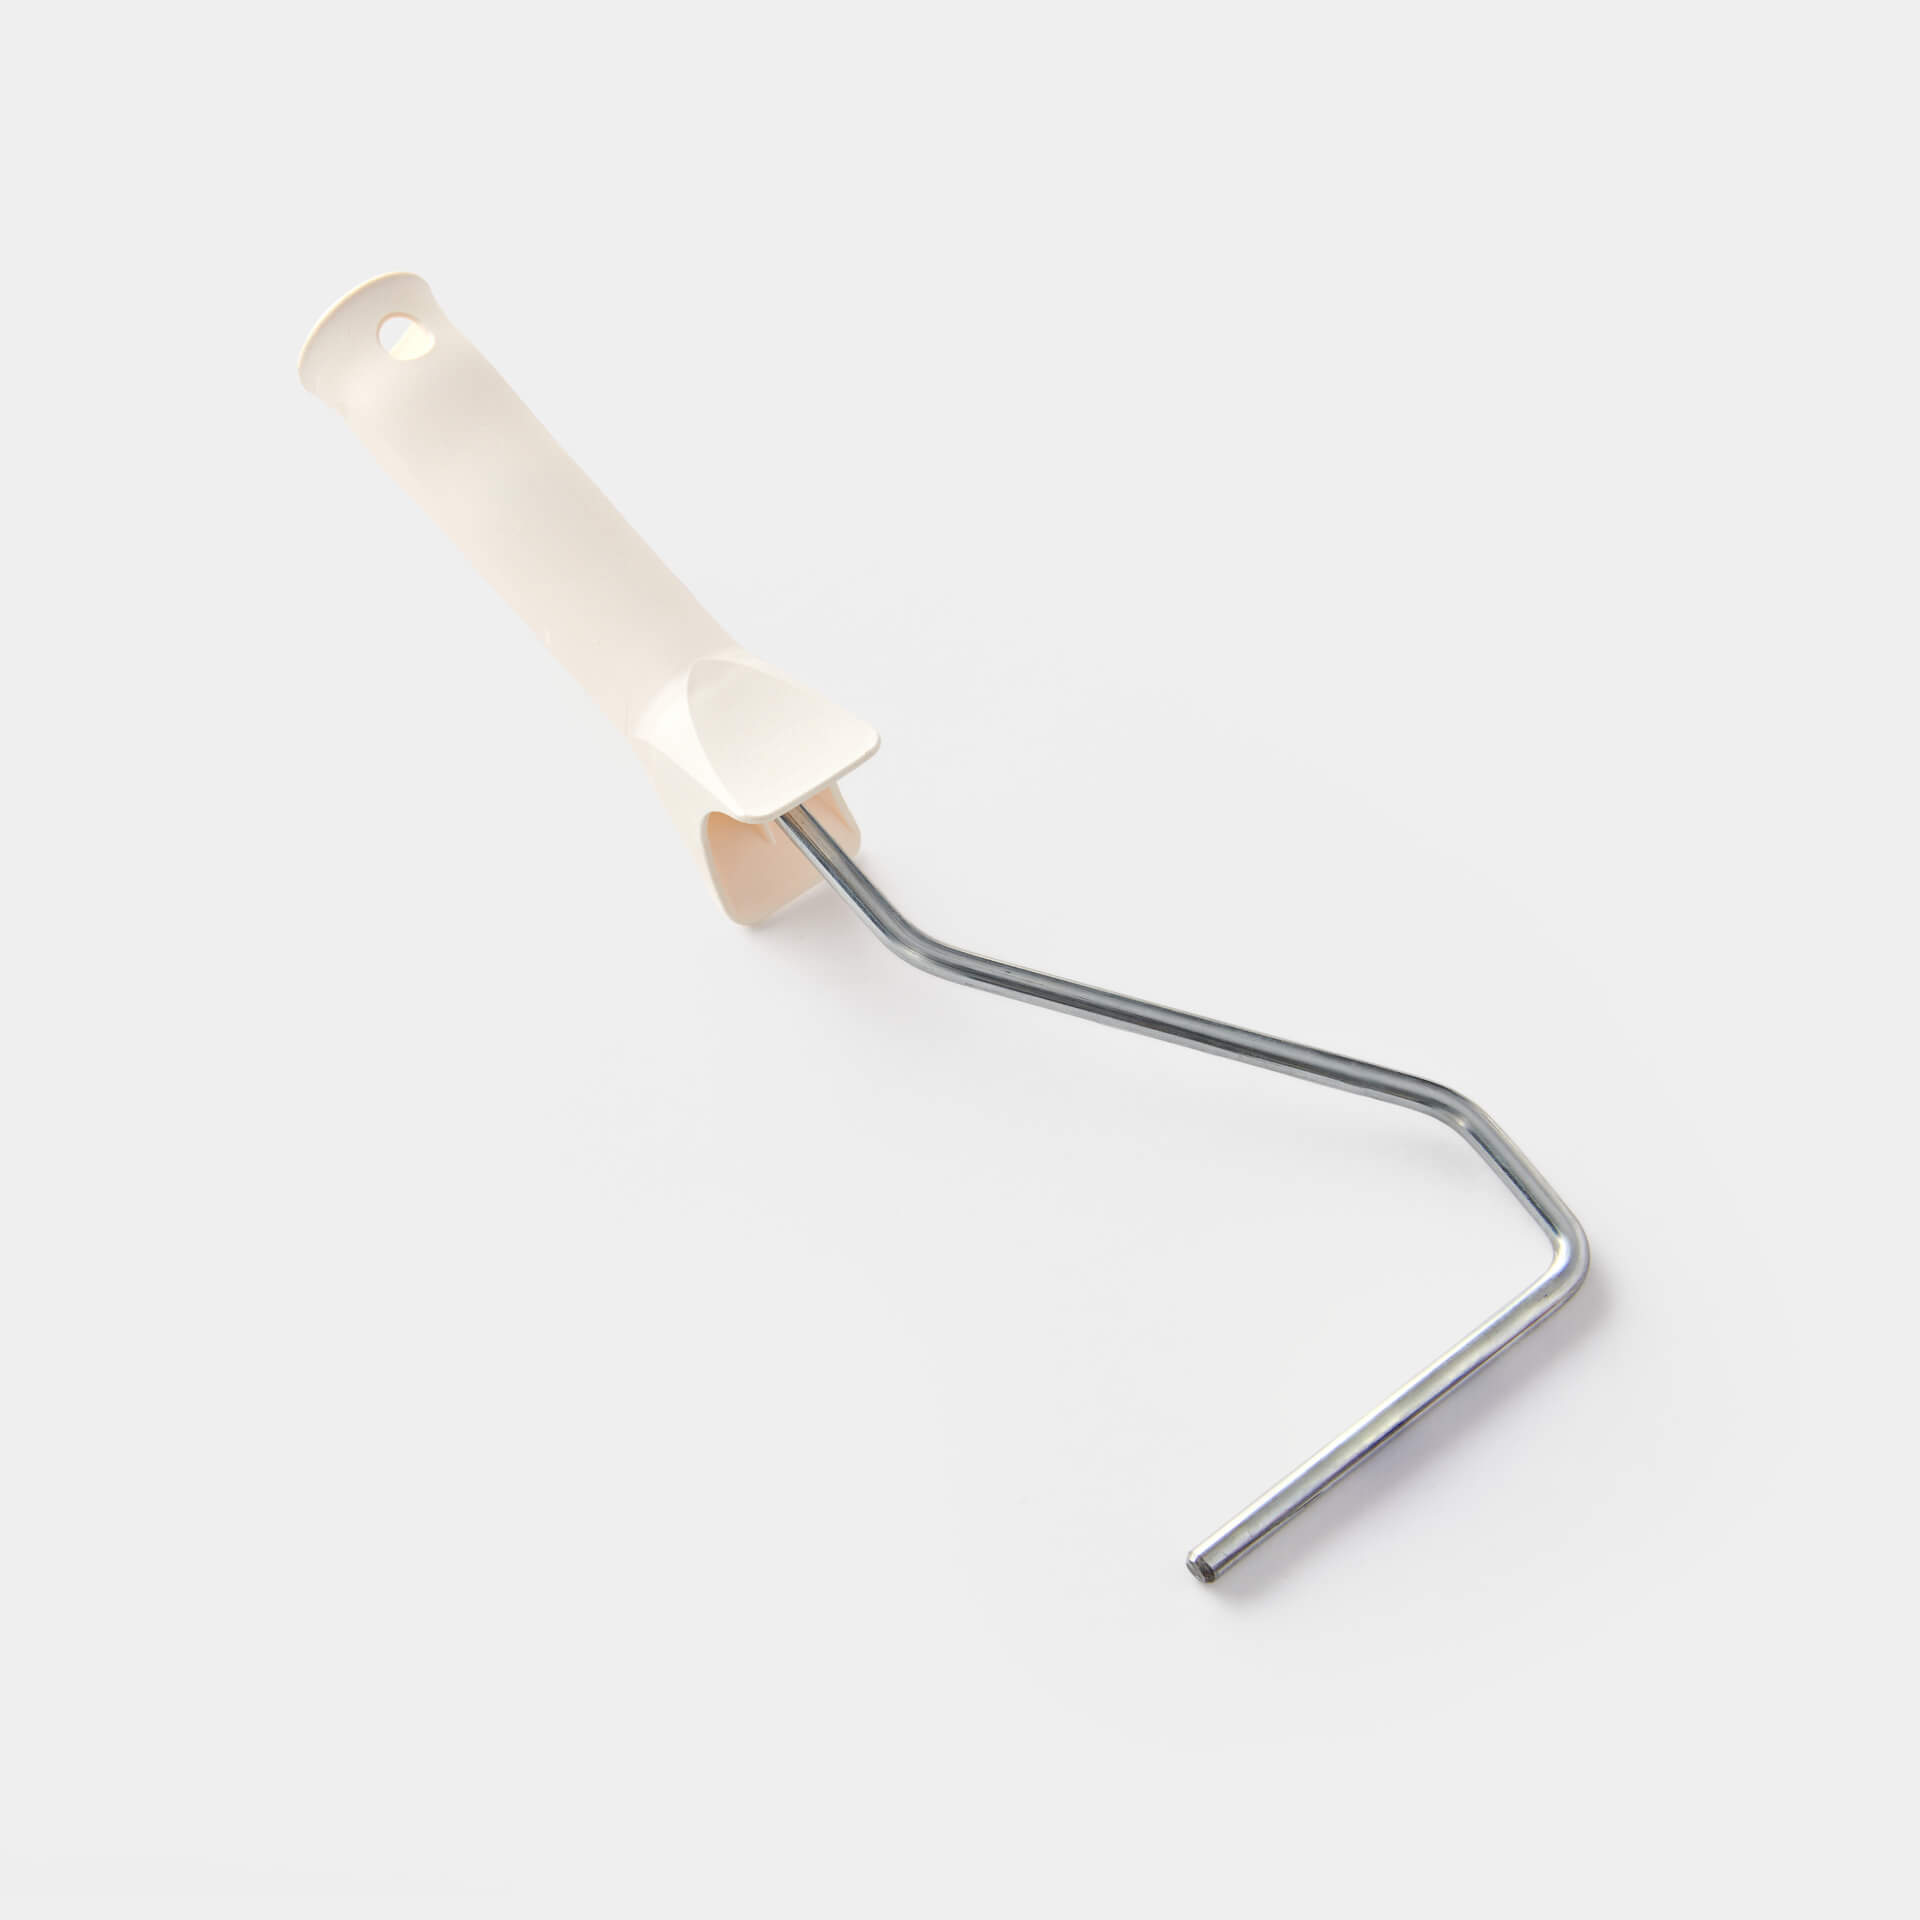
The practical brush tray makes your work much easier. The brush is placed upright in it and is therefore always easy to reach.
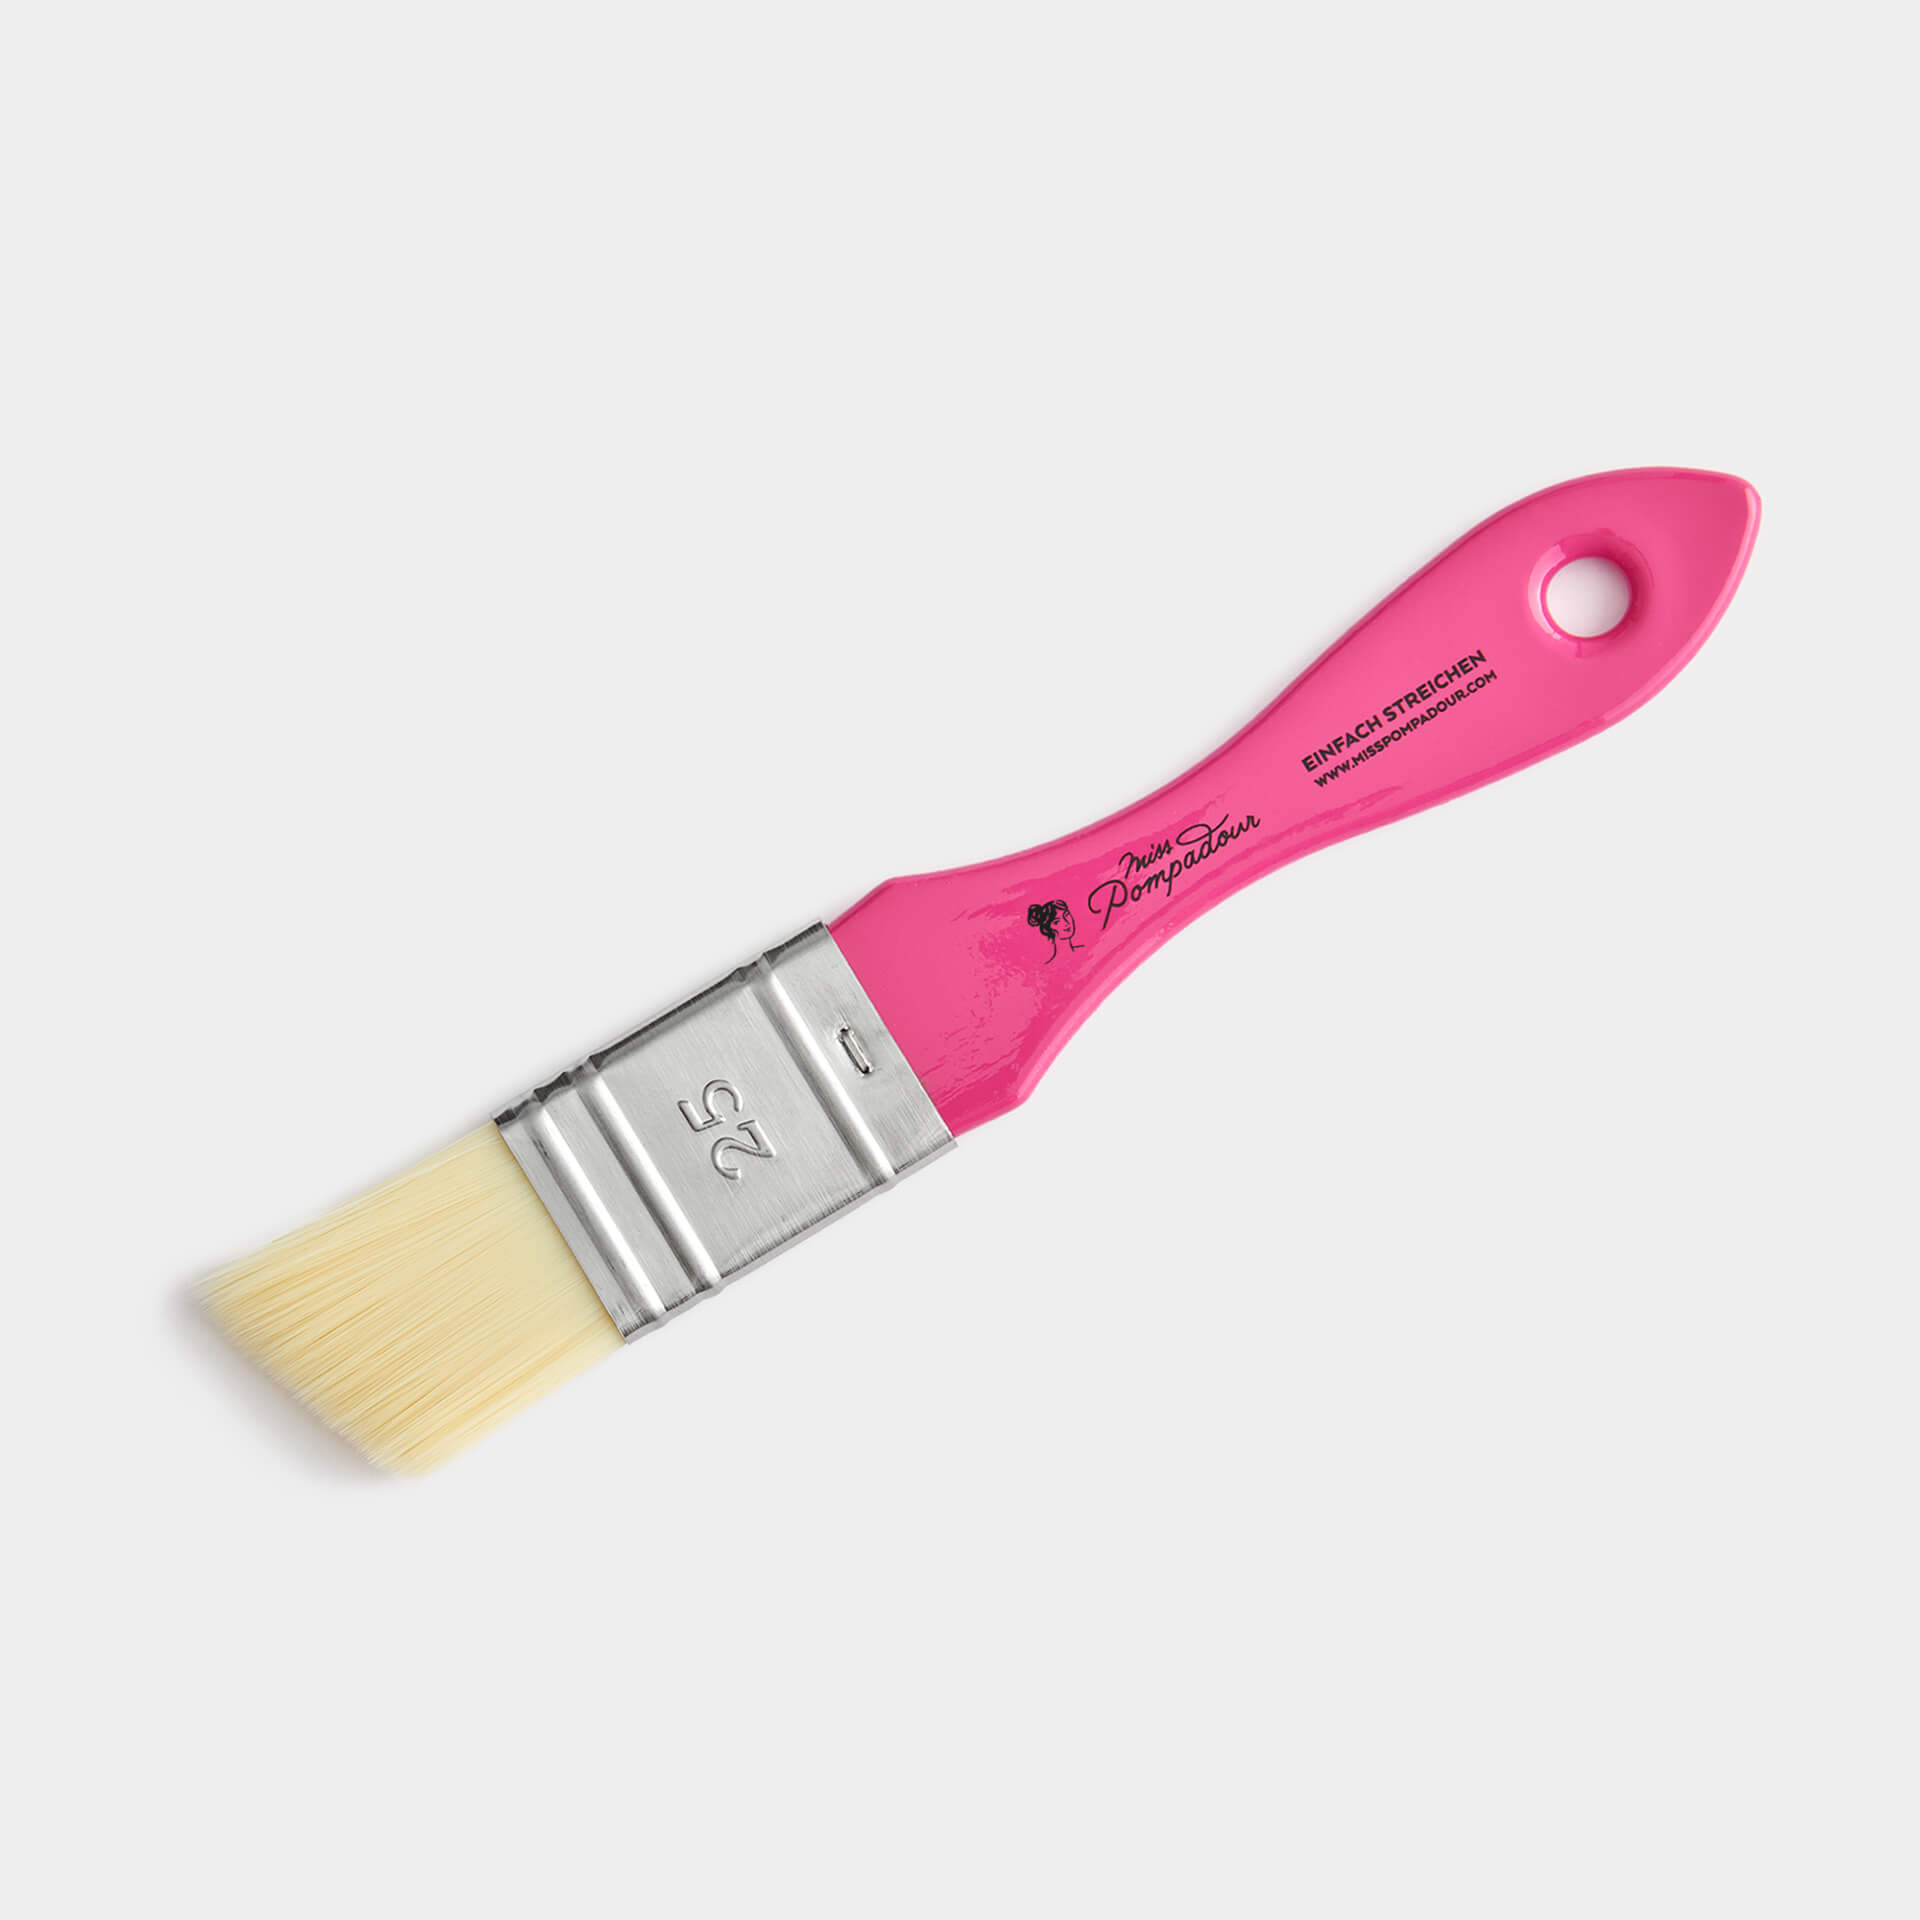
And last but not least, the most important thing: you need a really good brush. Take a look at the absolute super brushes in our shop.
With the fine MissPompadour brush, you can work precisely and without brush marks. This brush guarantees a perfect painting result and is a "brush for life" in the truest sense of the word.
Colour selection

Material & Accessories

Questions ?
We're here to help
We'll help you anytime, via Phone or Live-Chat (Mo-Fr 09-18, Sa until 16 Uhr), via WhatsApp or directly via our Contact Form.