


Painting Your Garden House: Instruction
8 min reading time
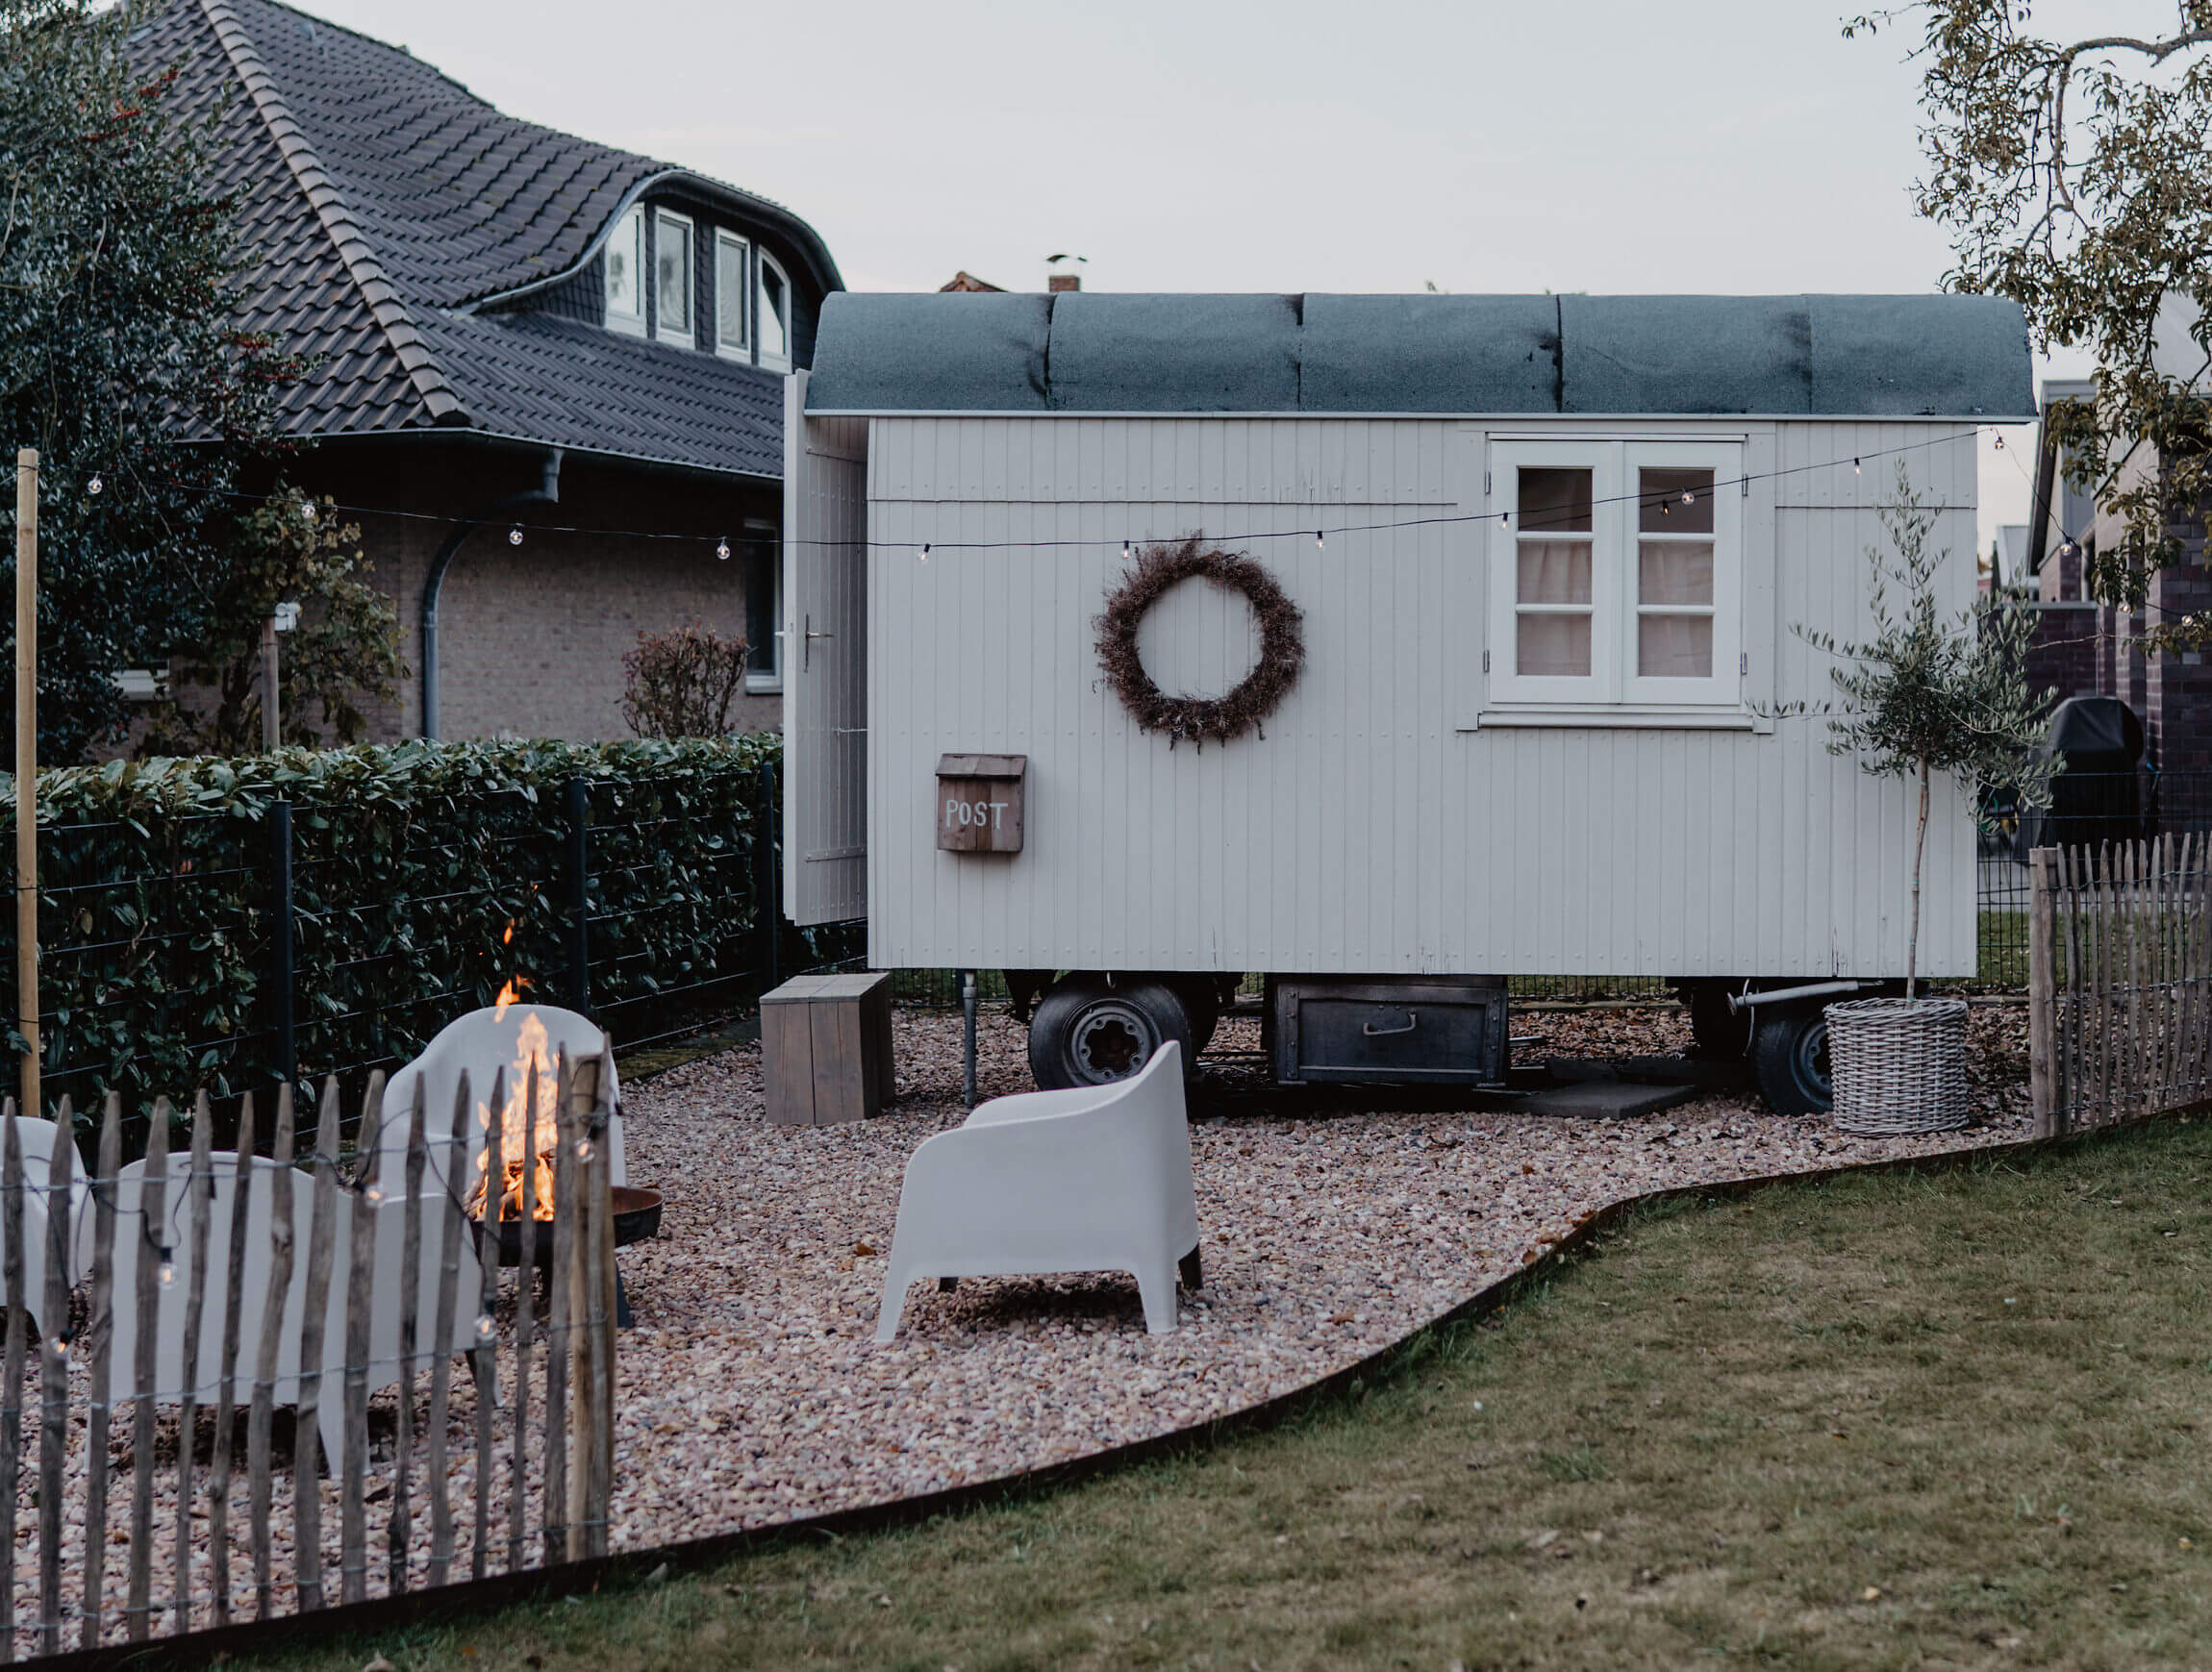
Table of content
Ideas for painting garden sheds from the MissPompadour Painting community
Preparation: How to choose the right colour for the garden shed
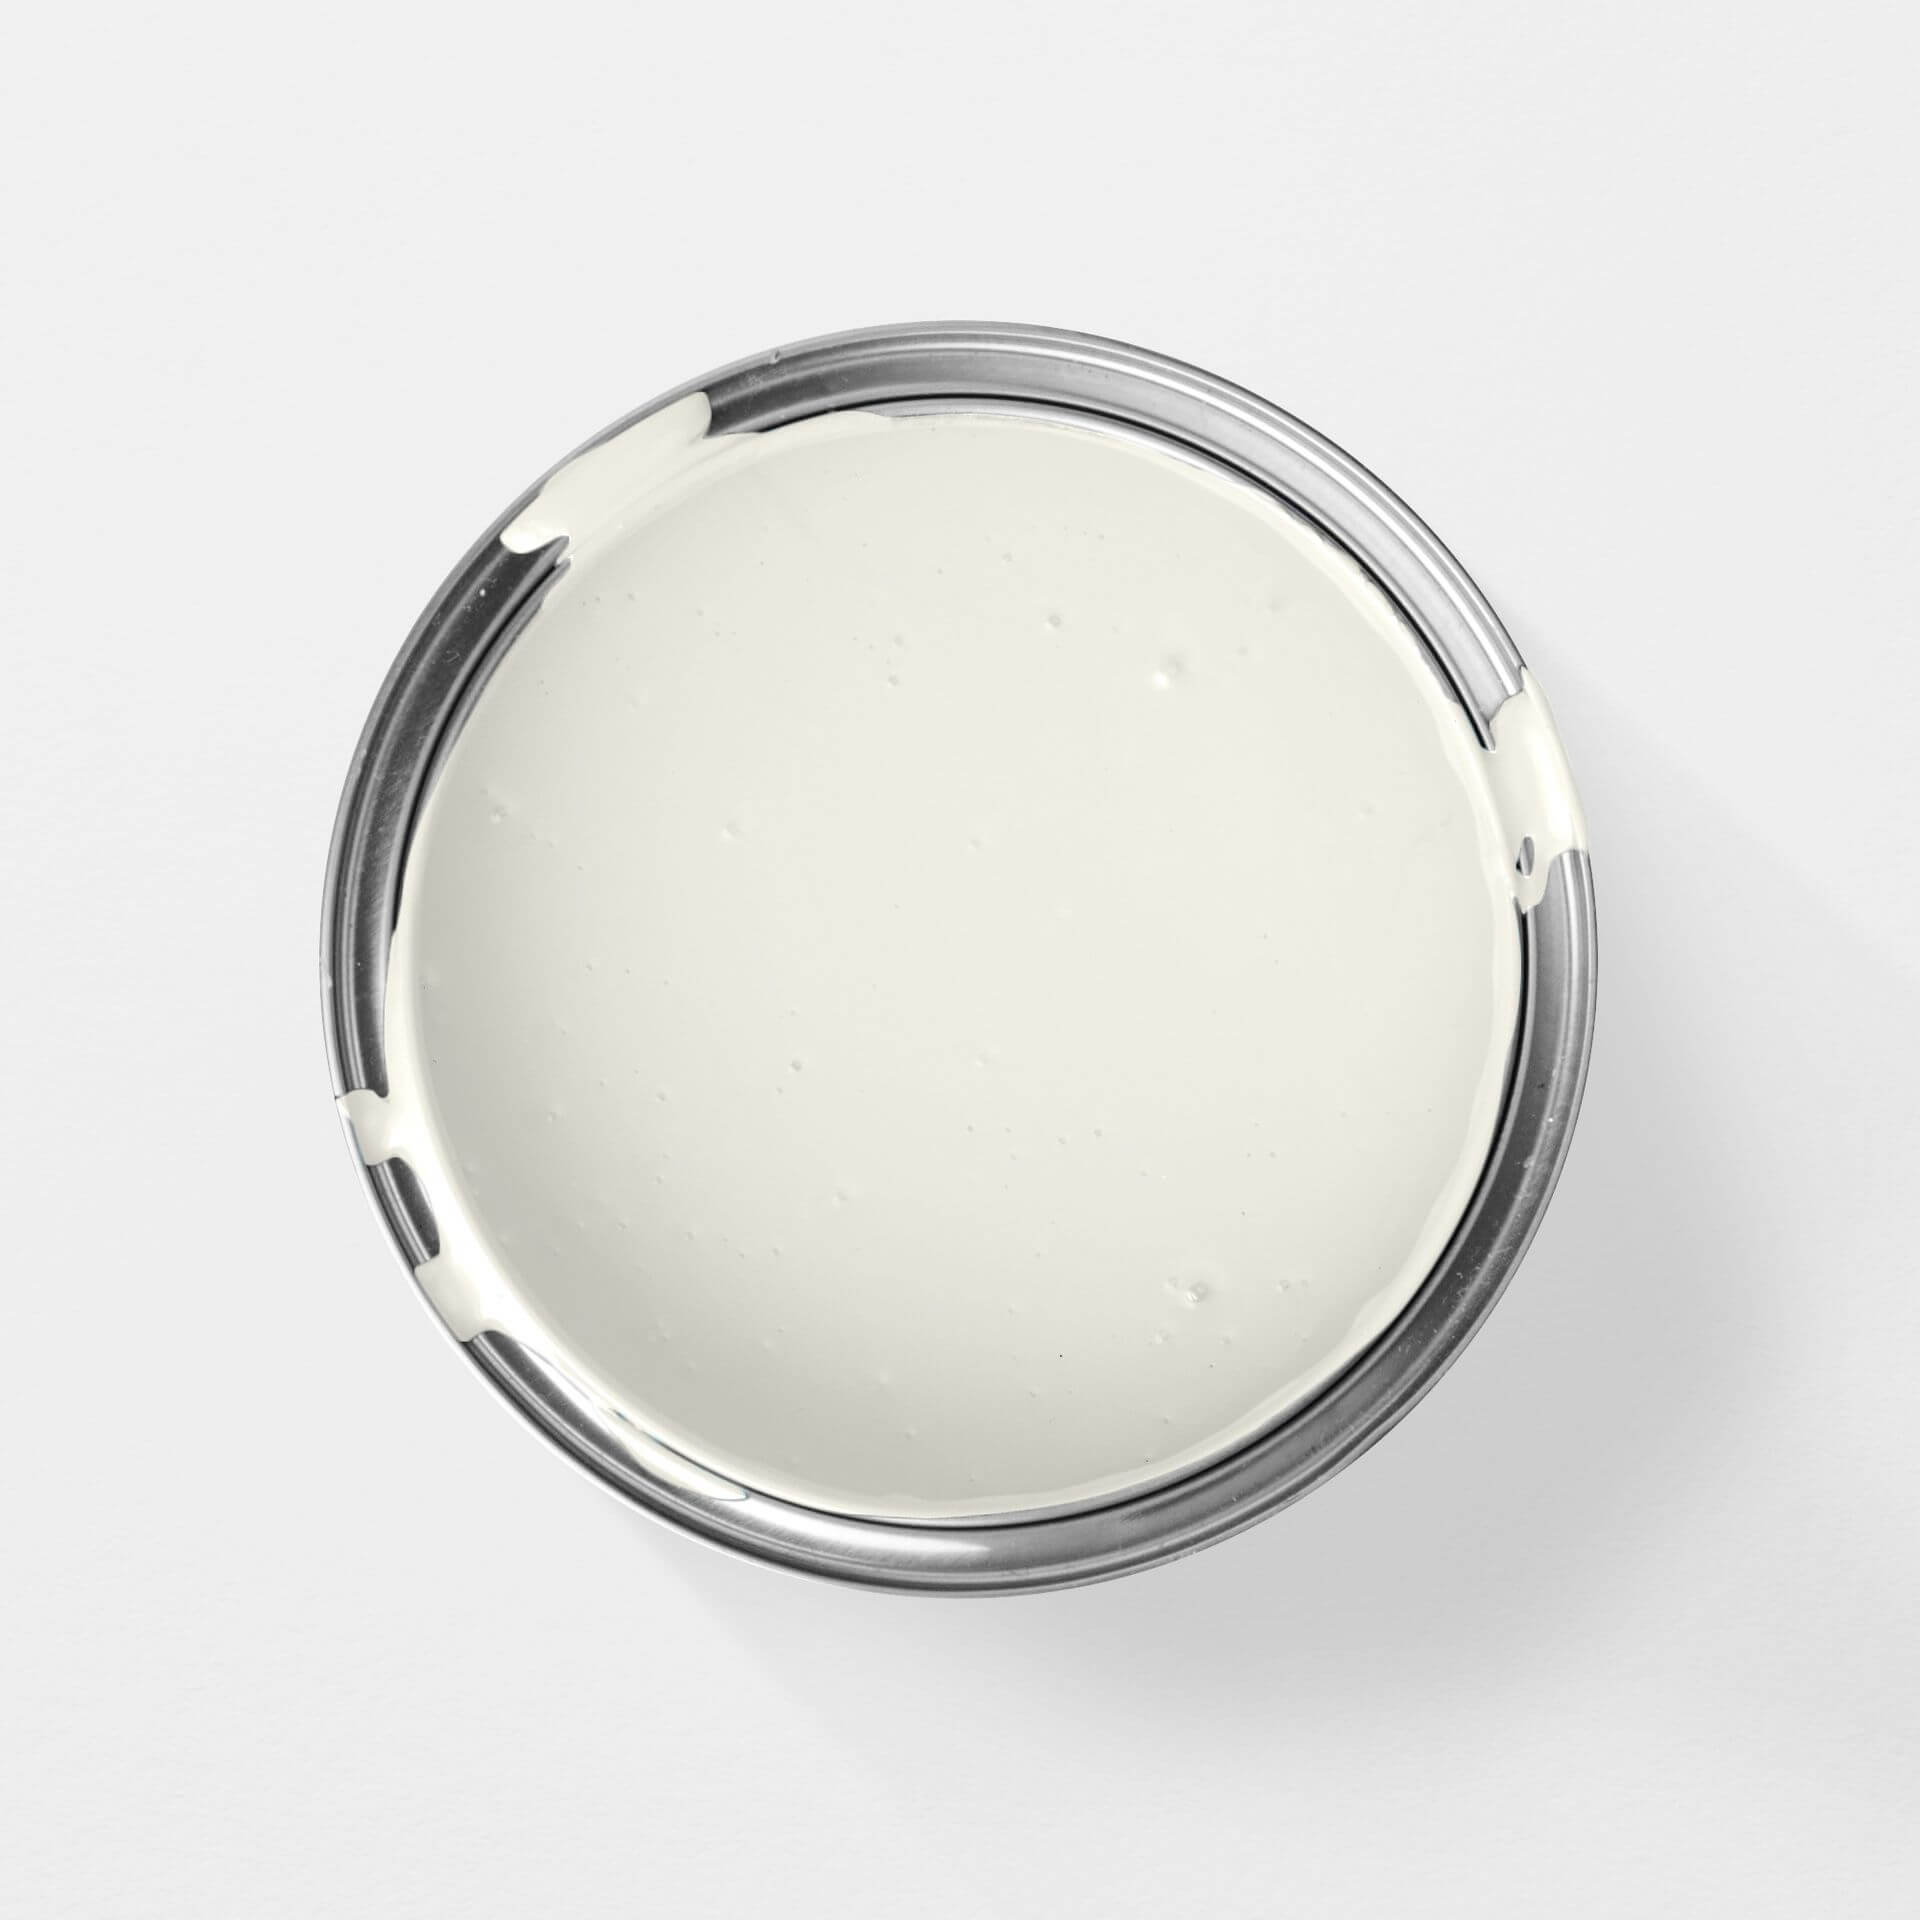
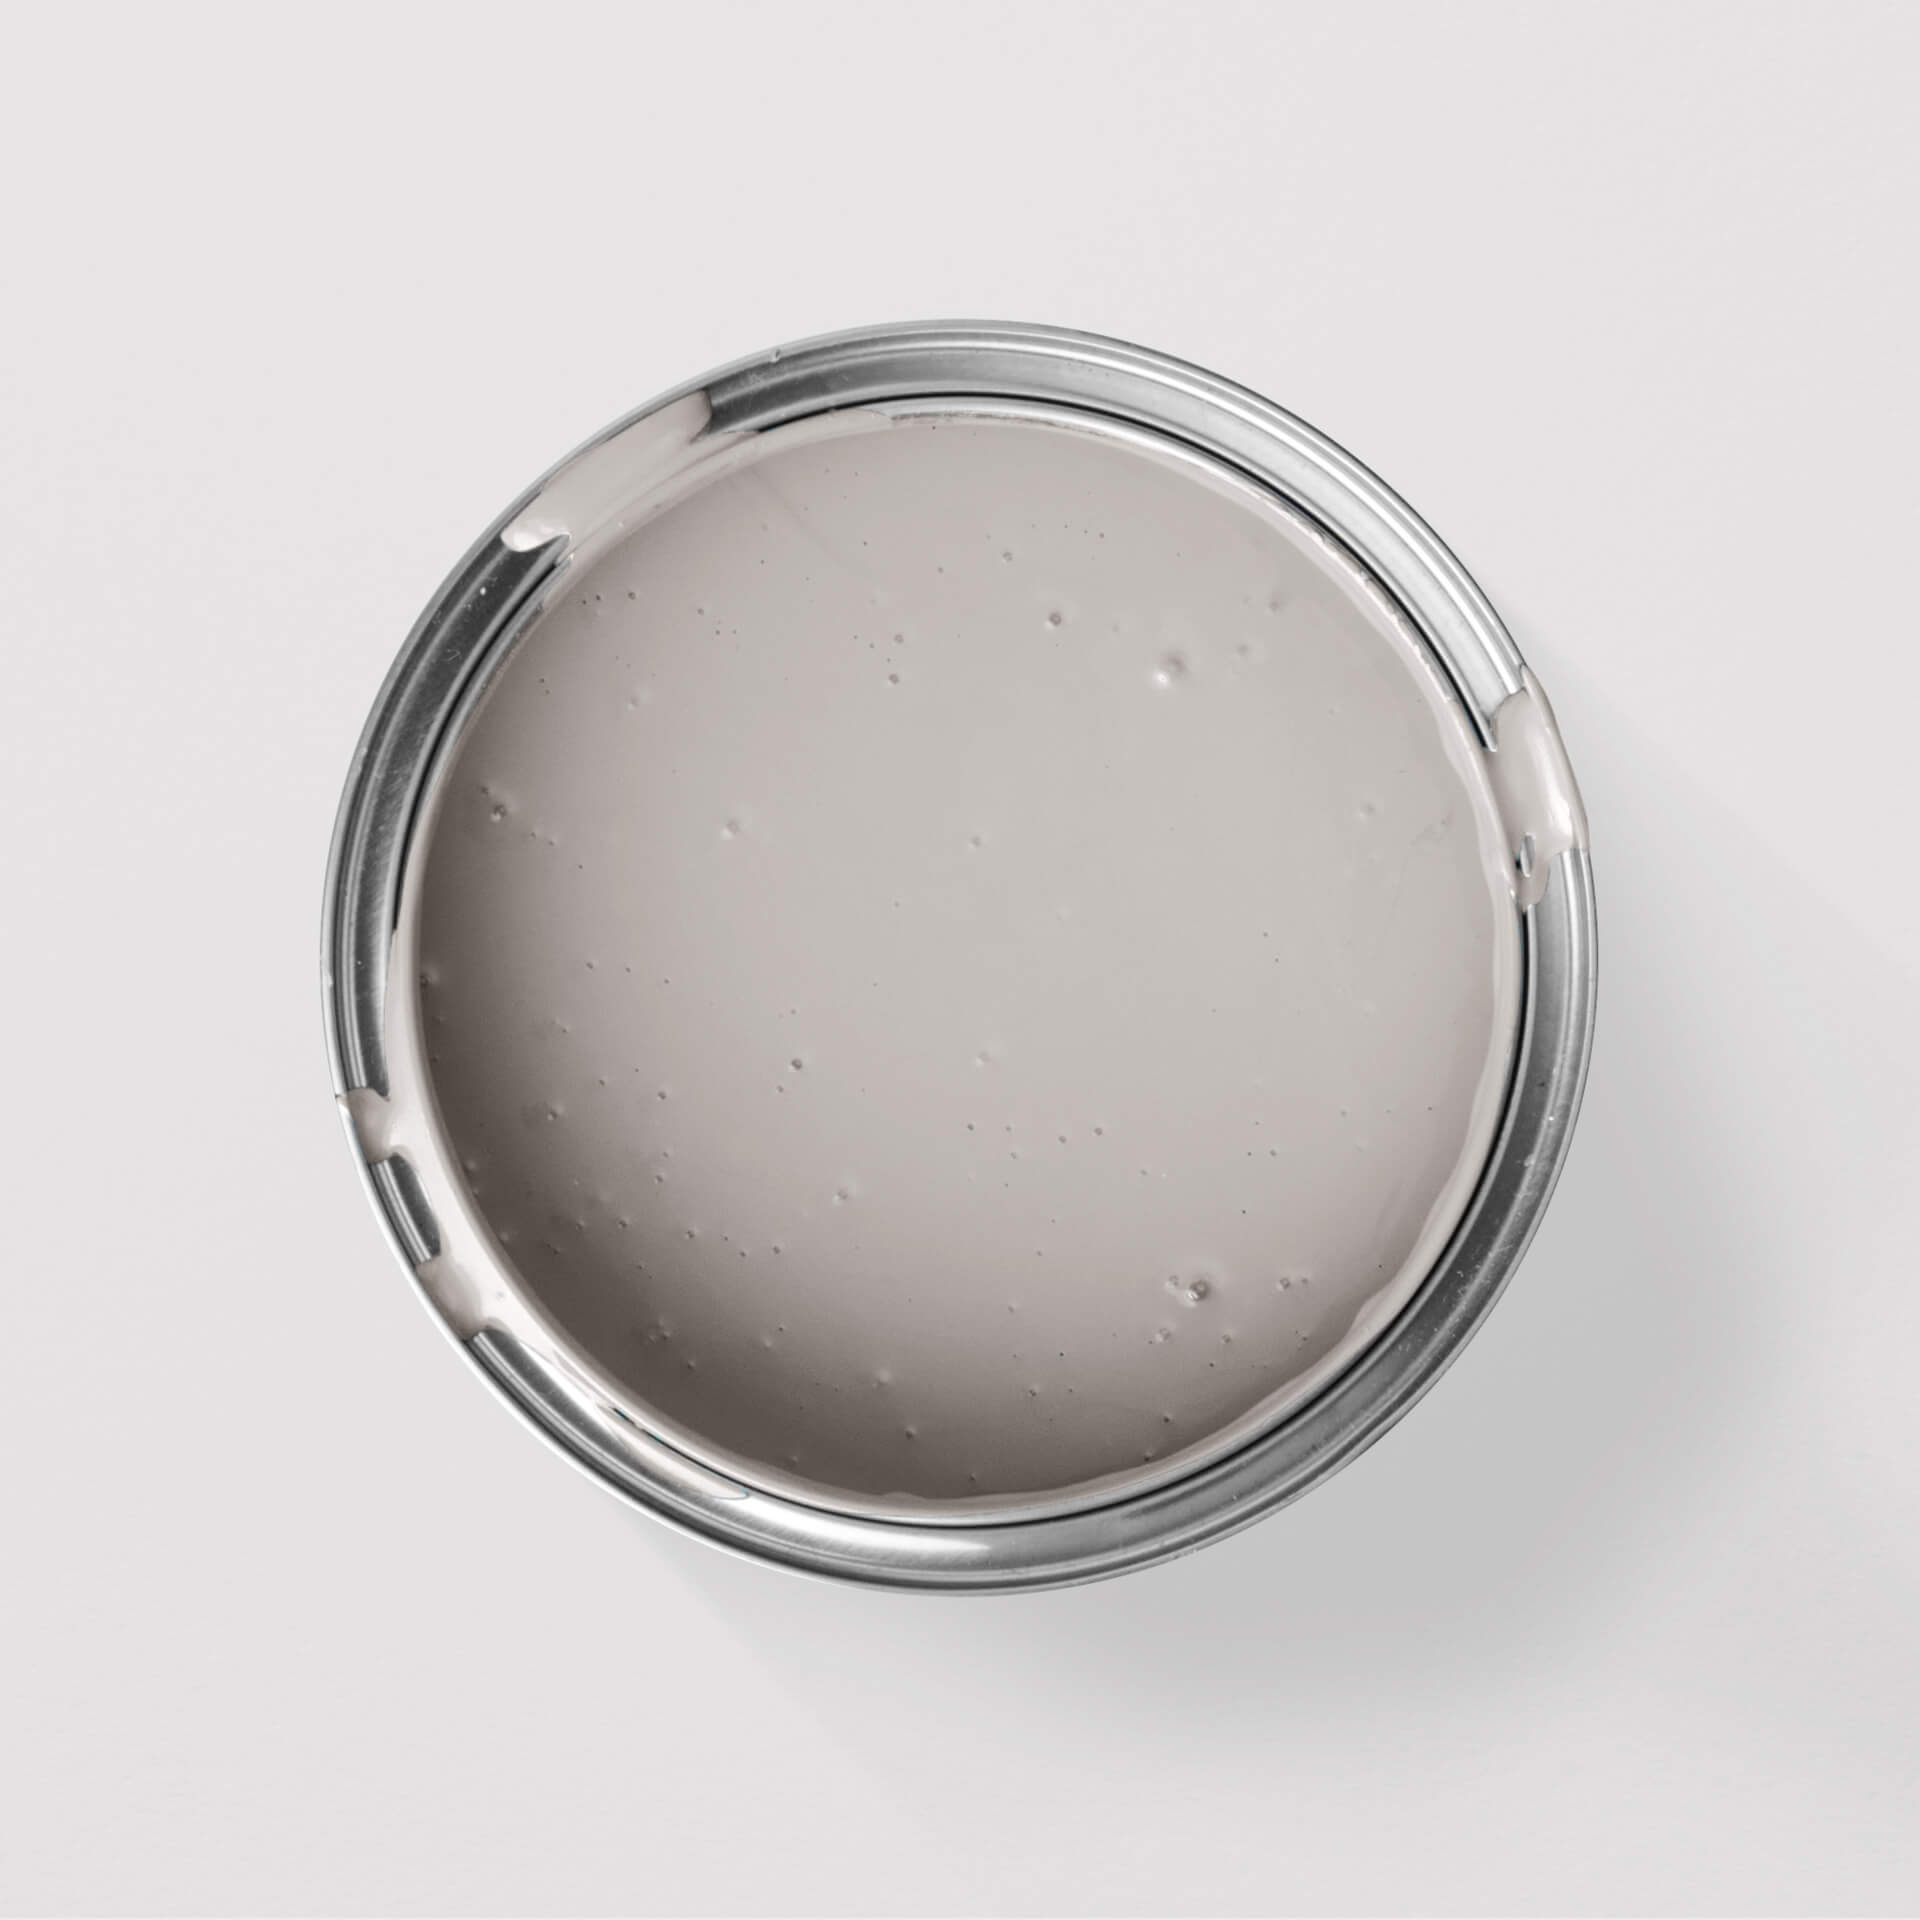
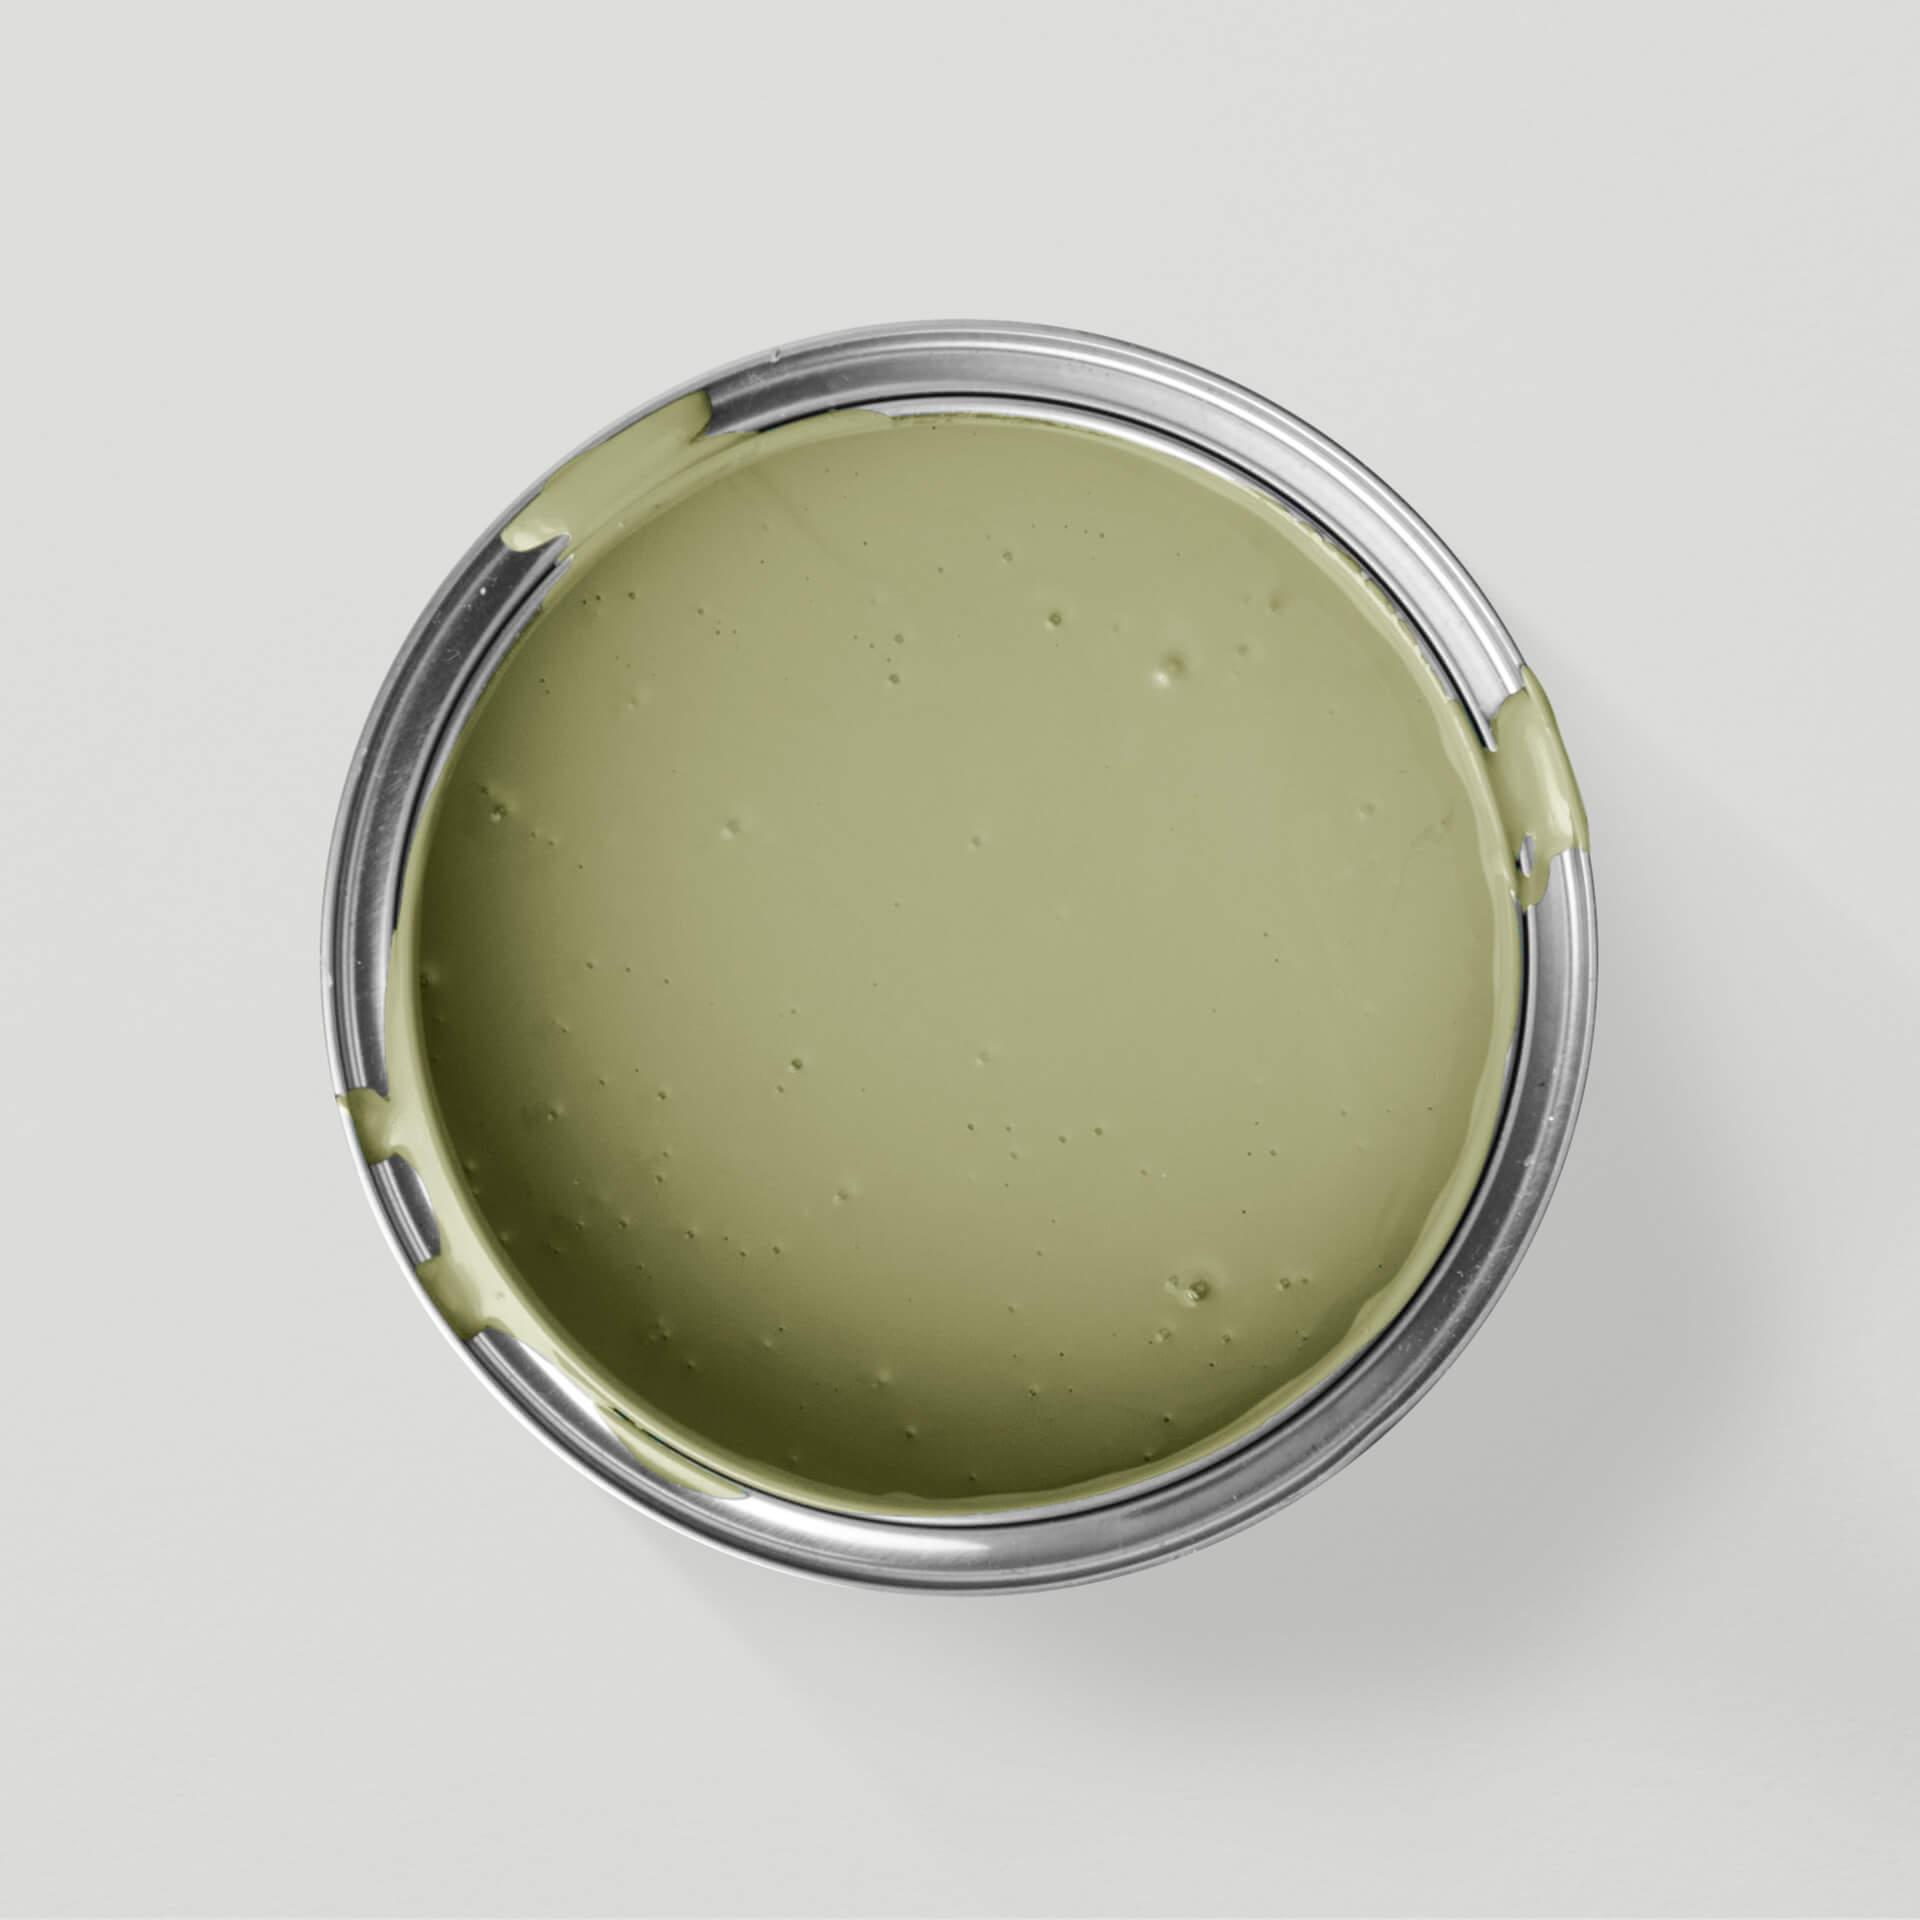
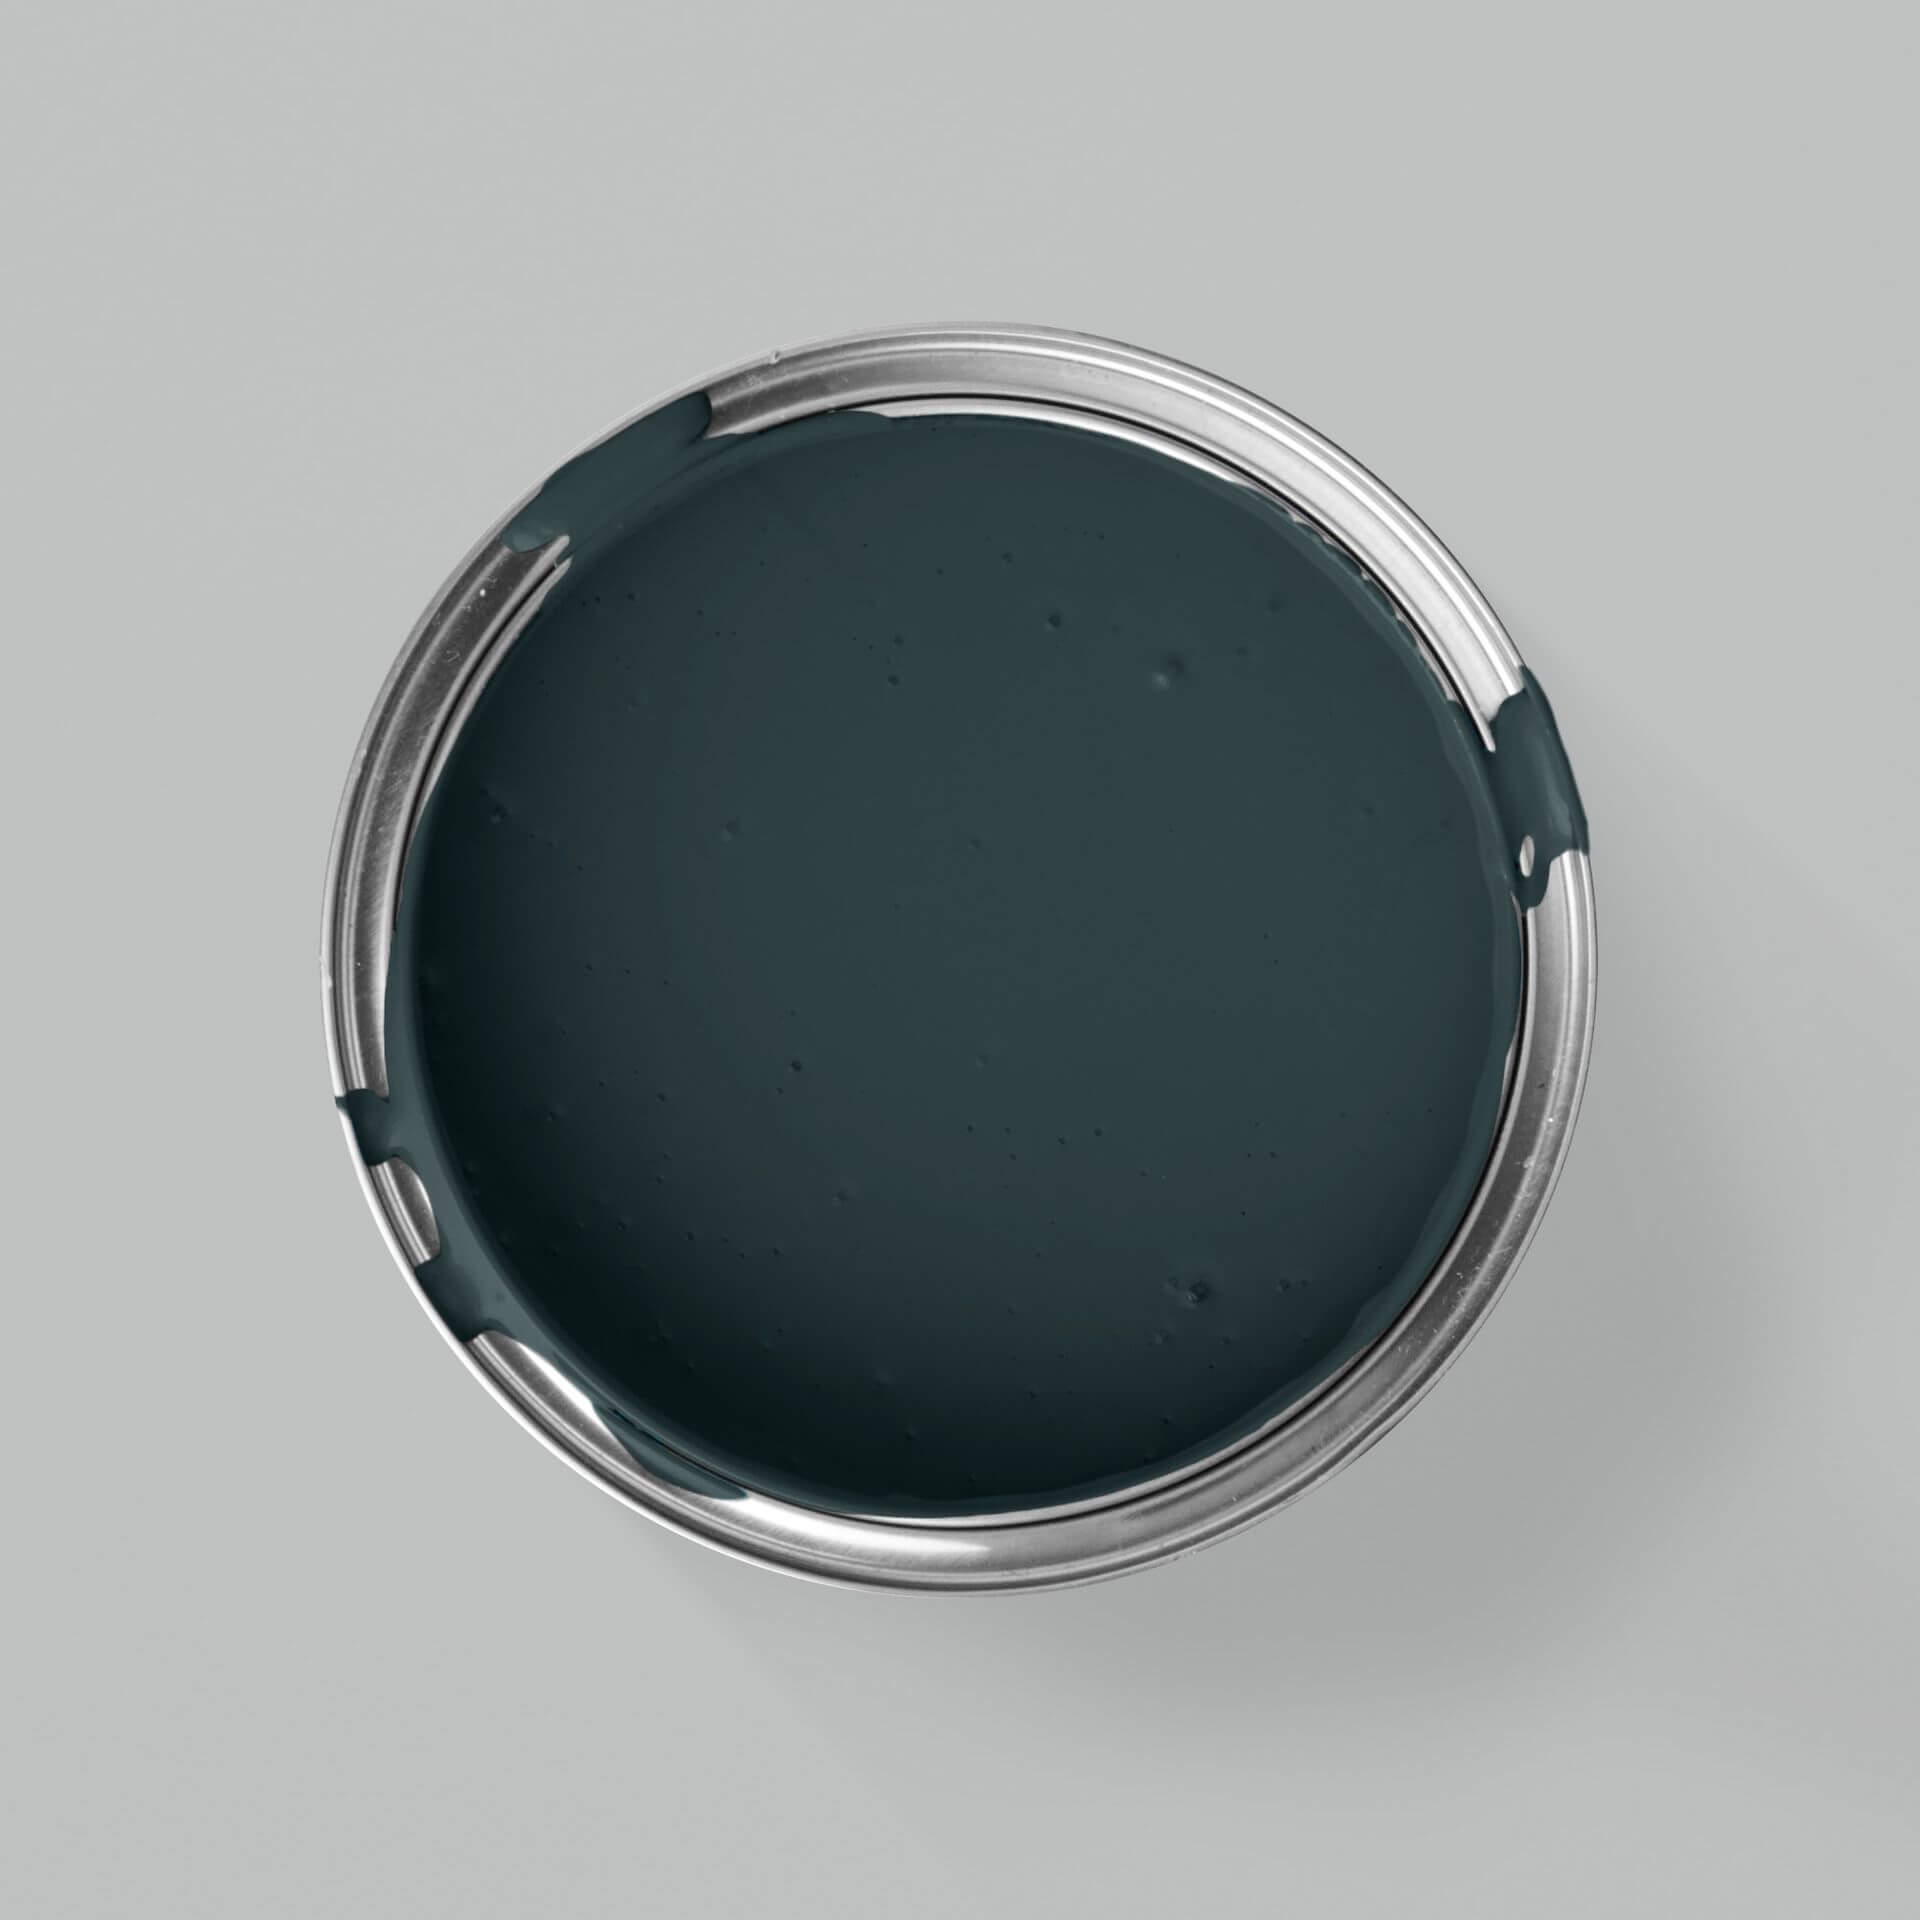
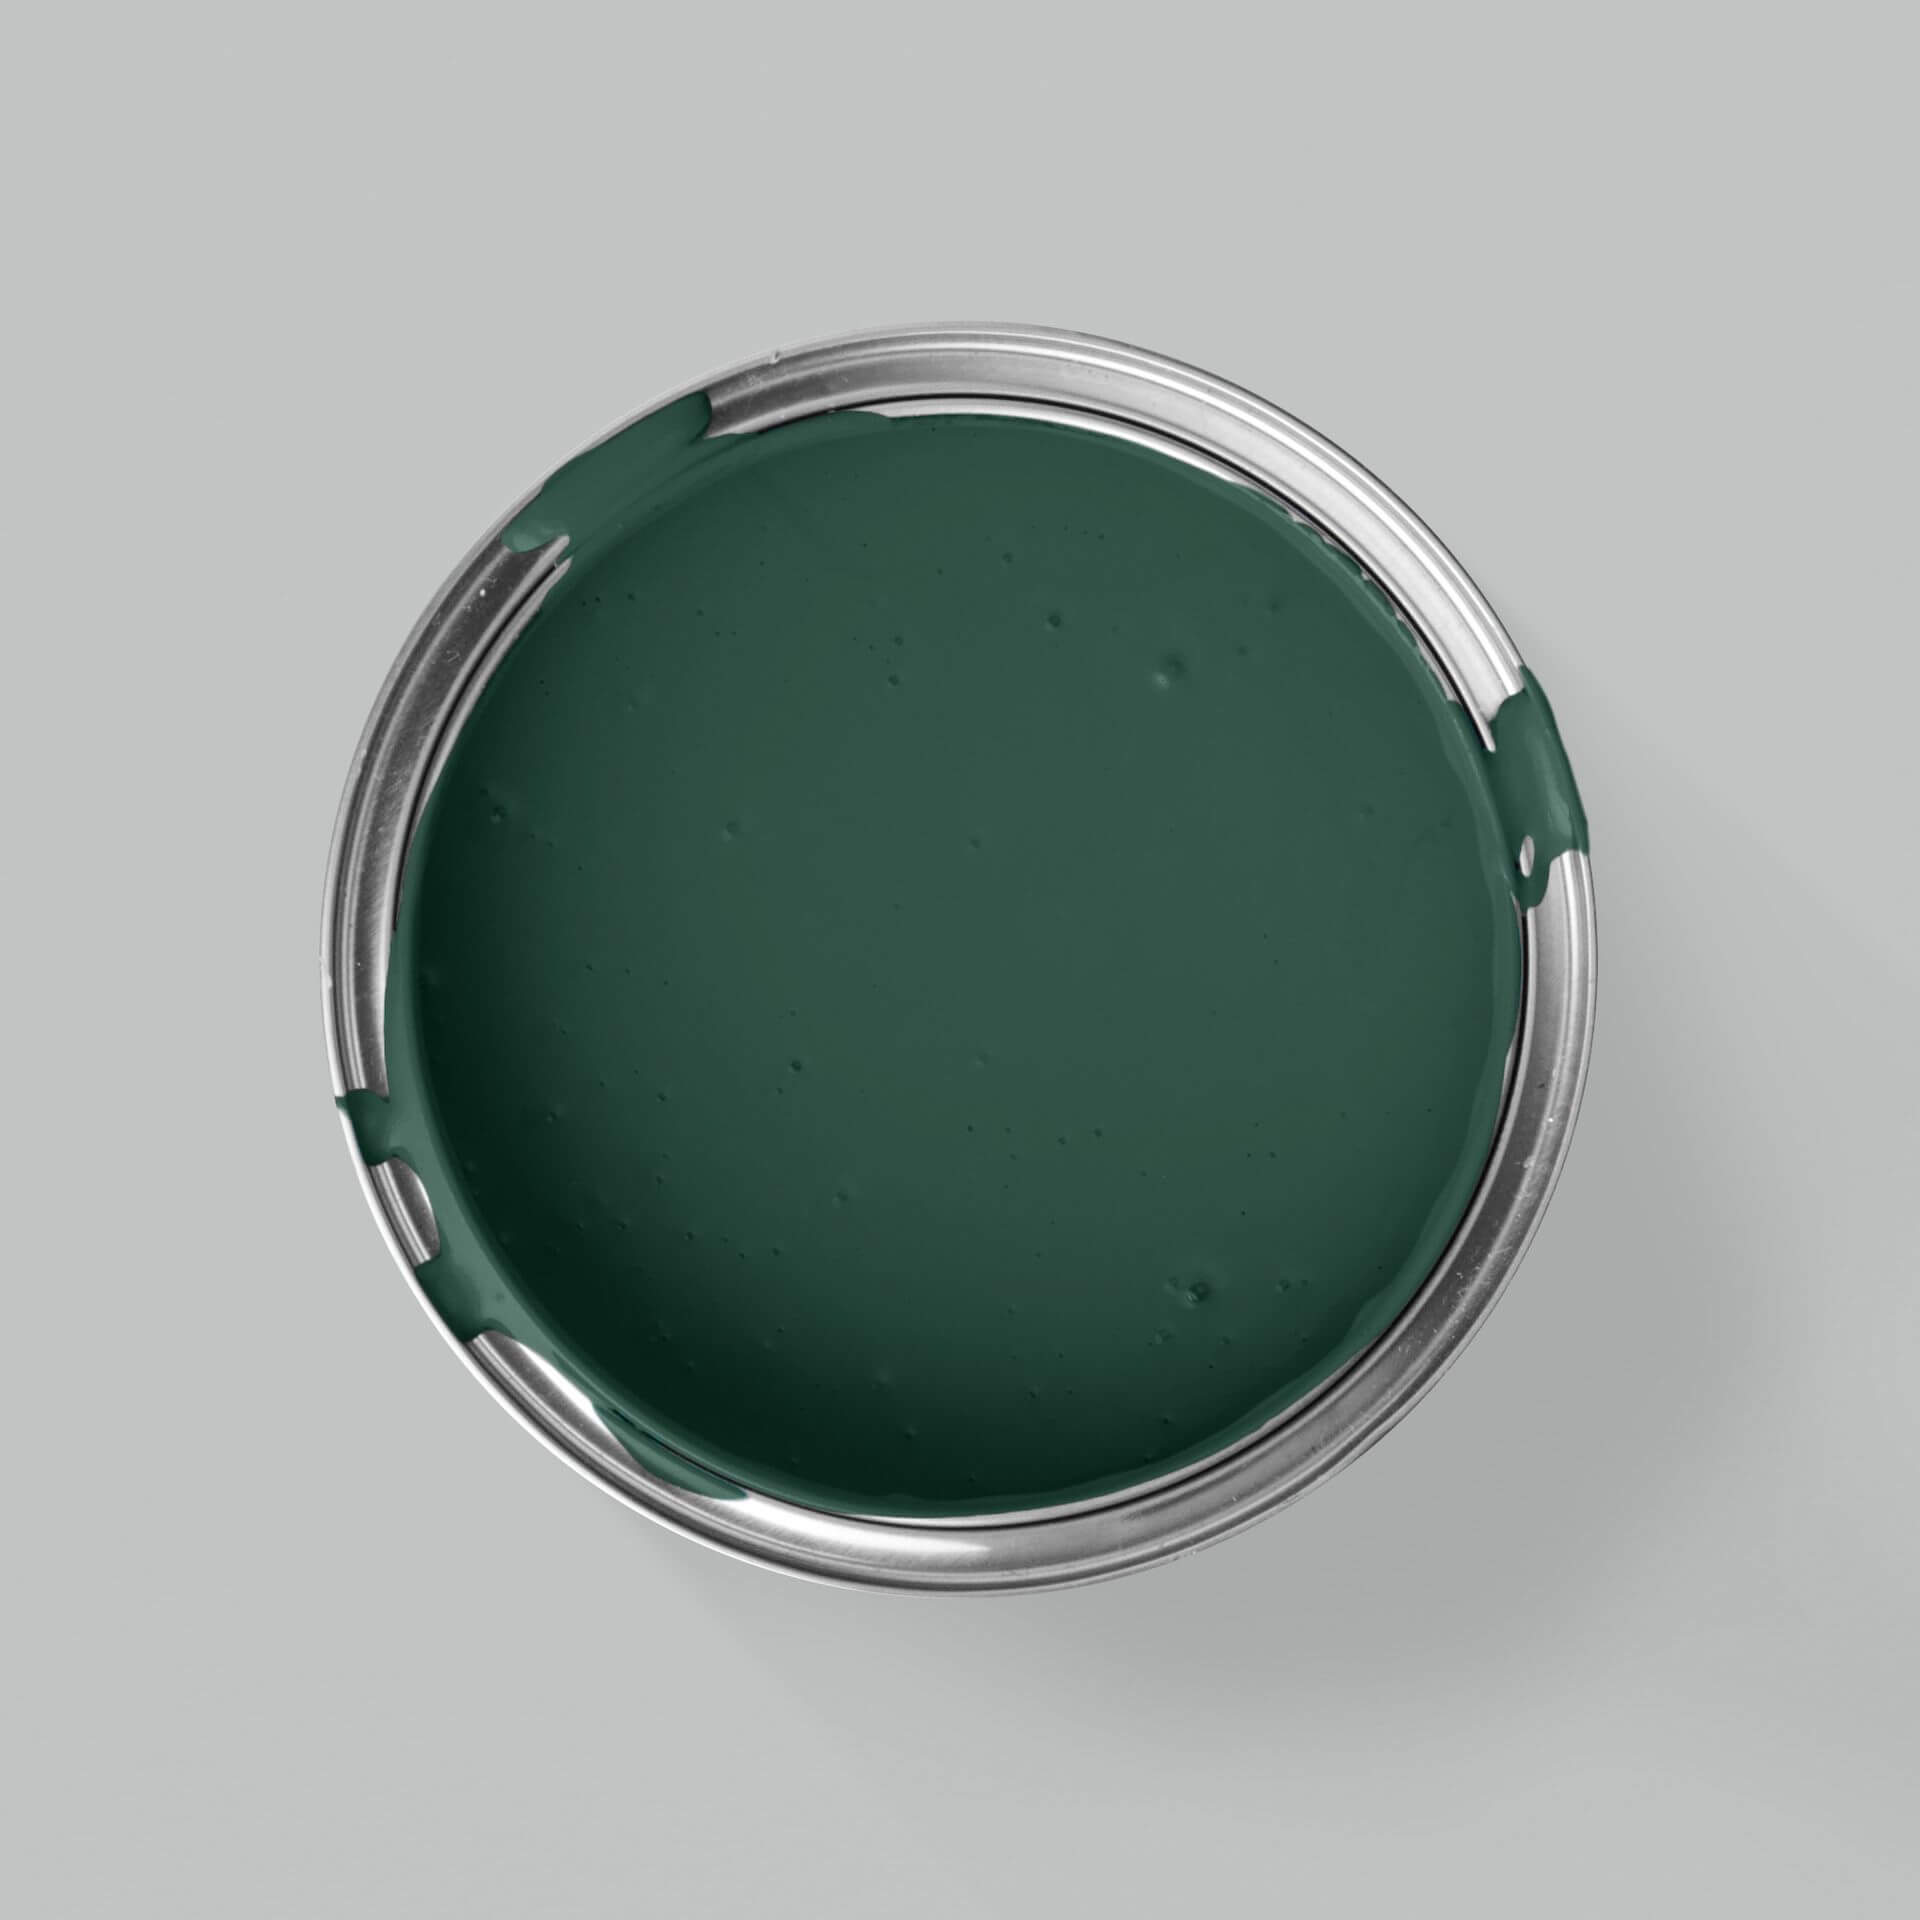
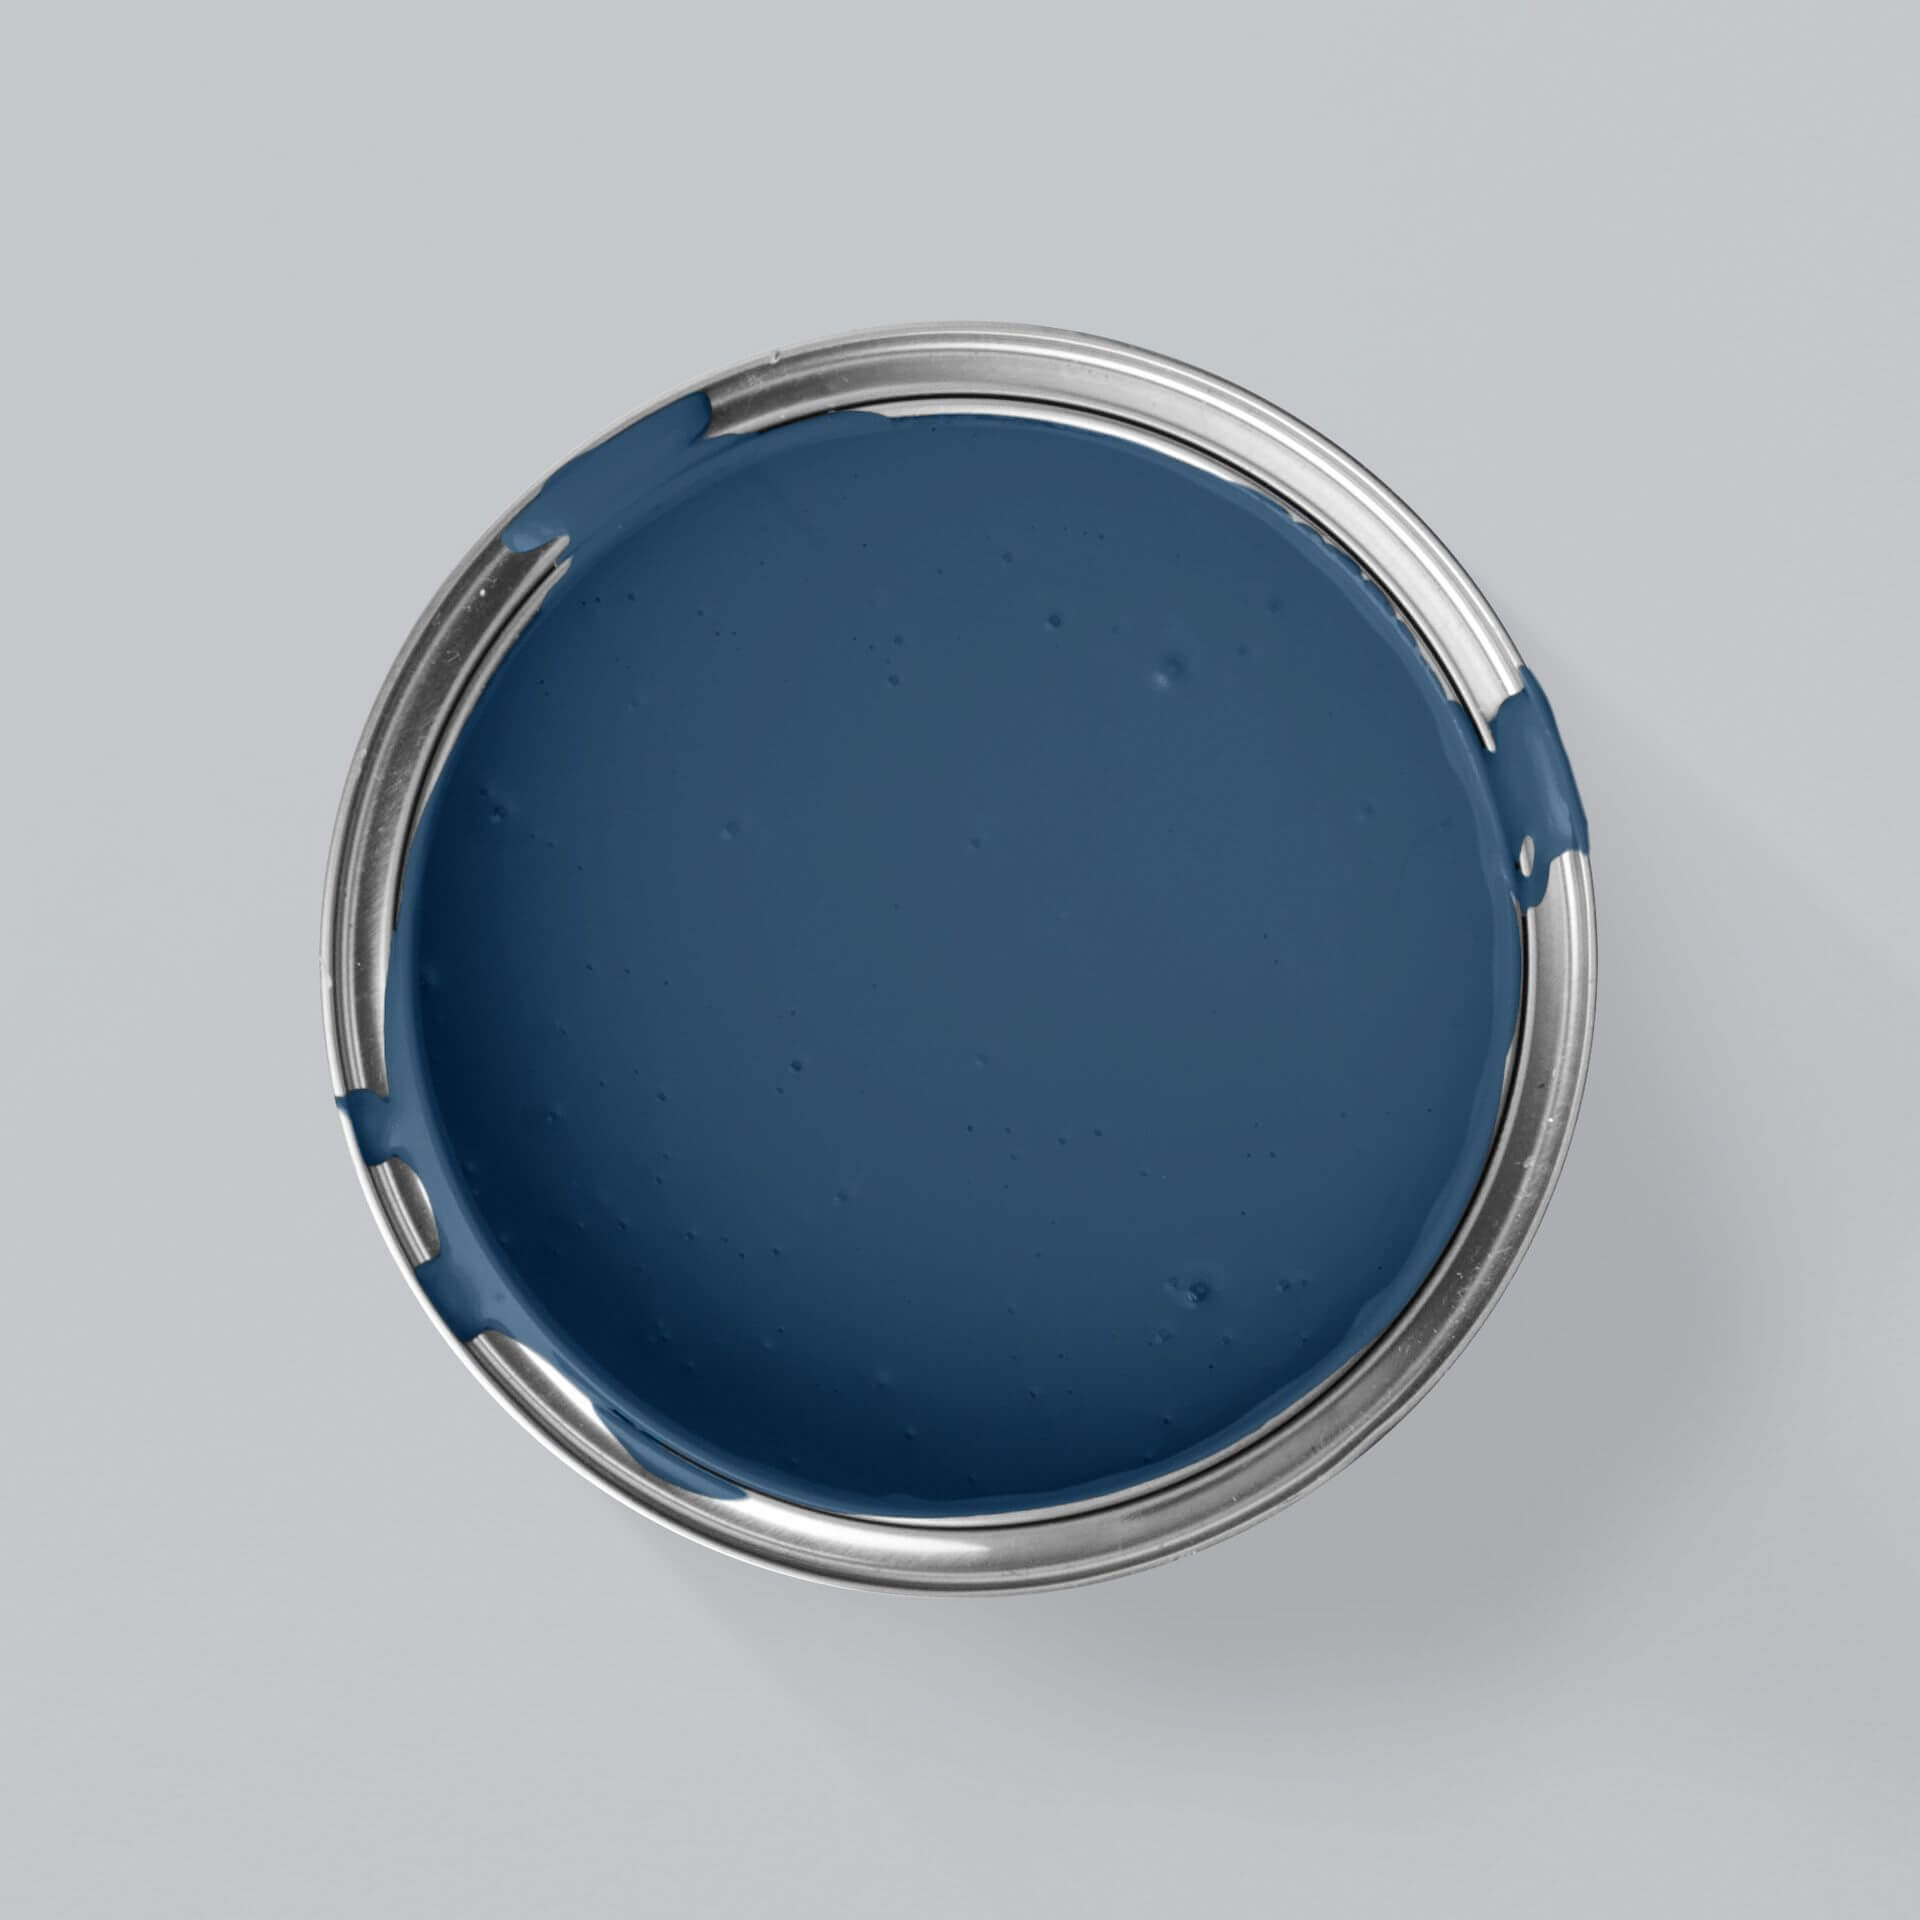
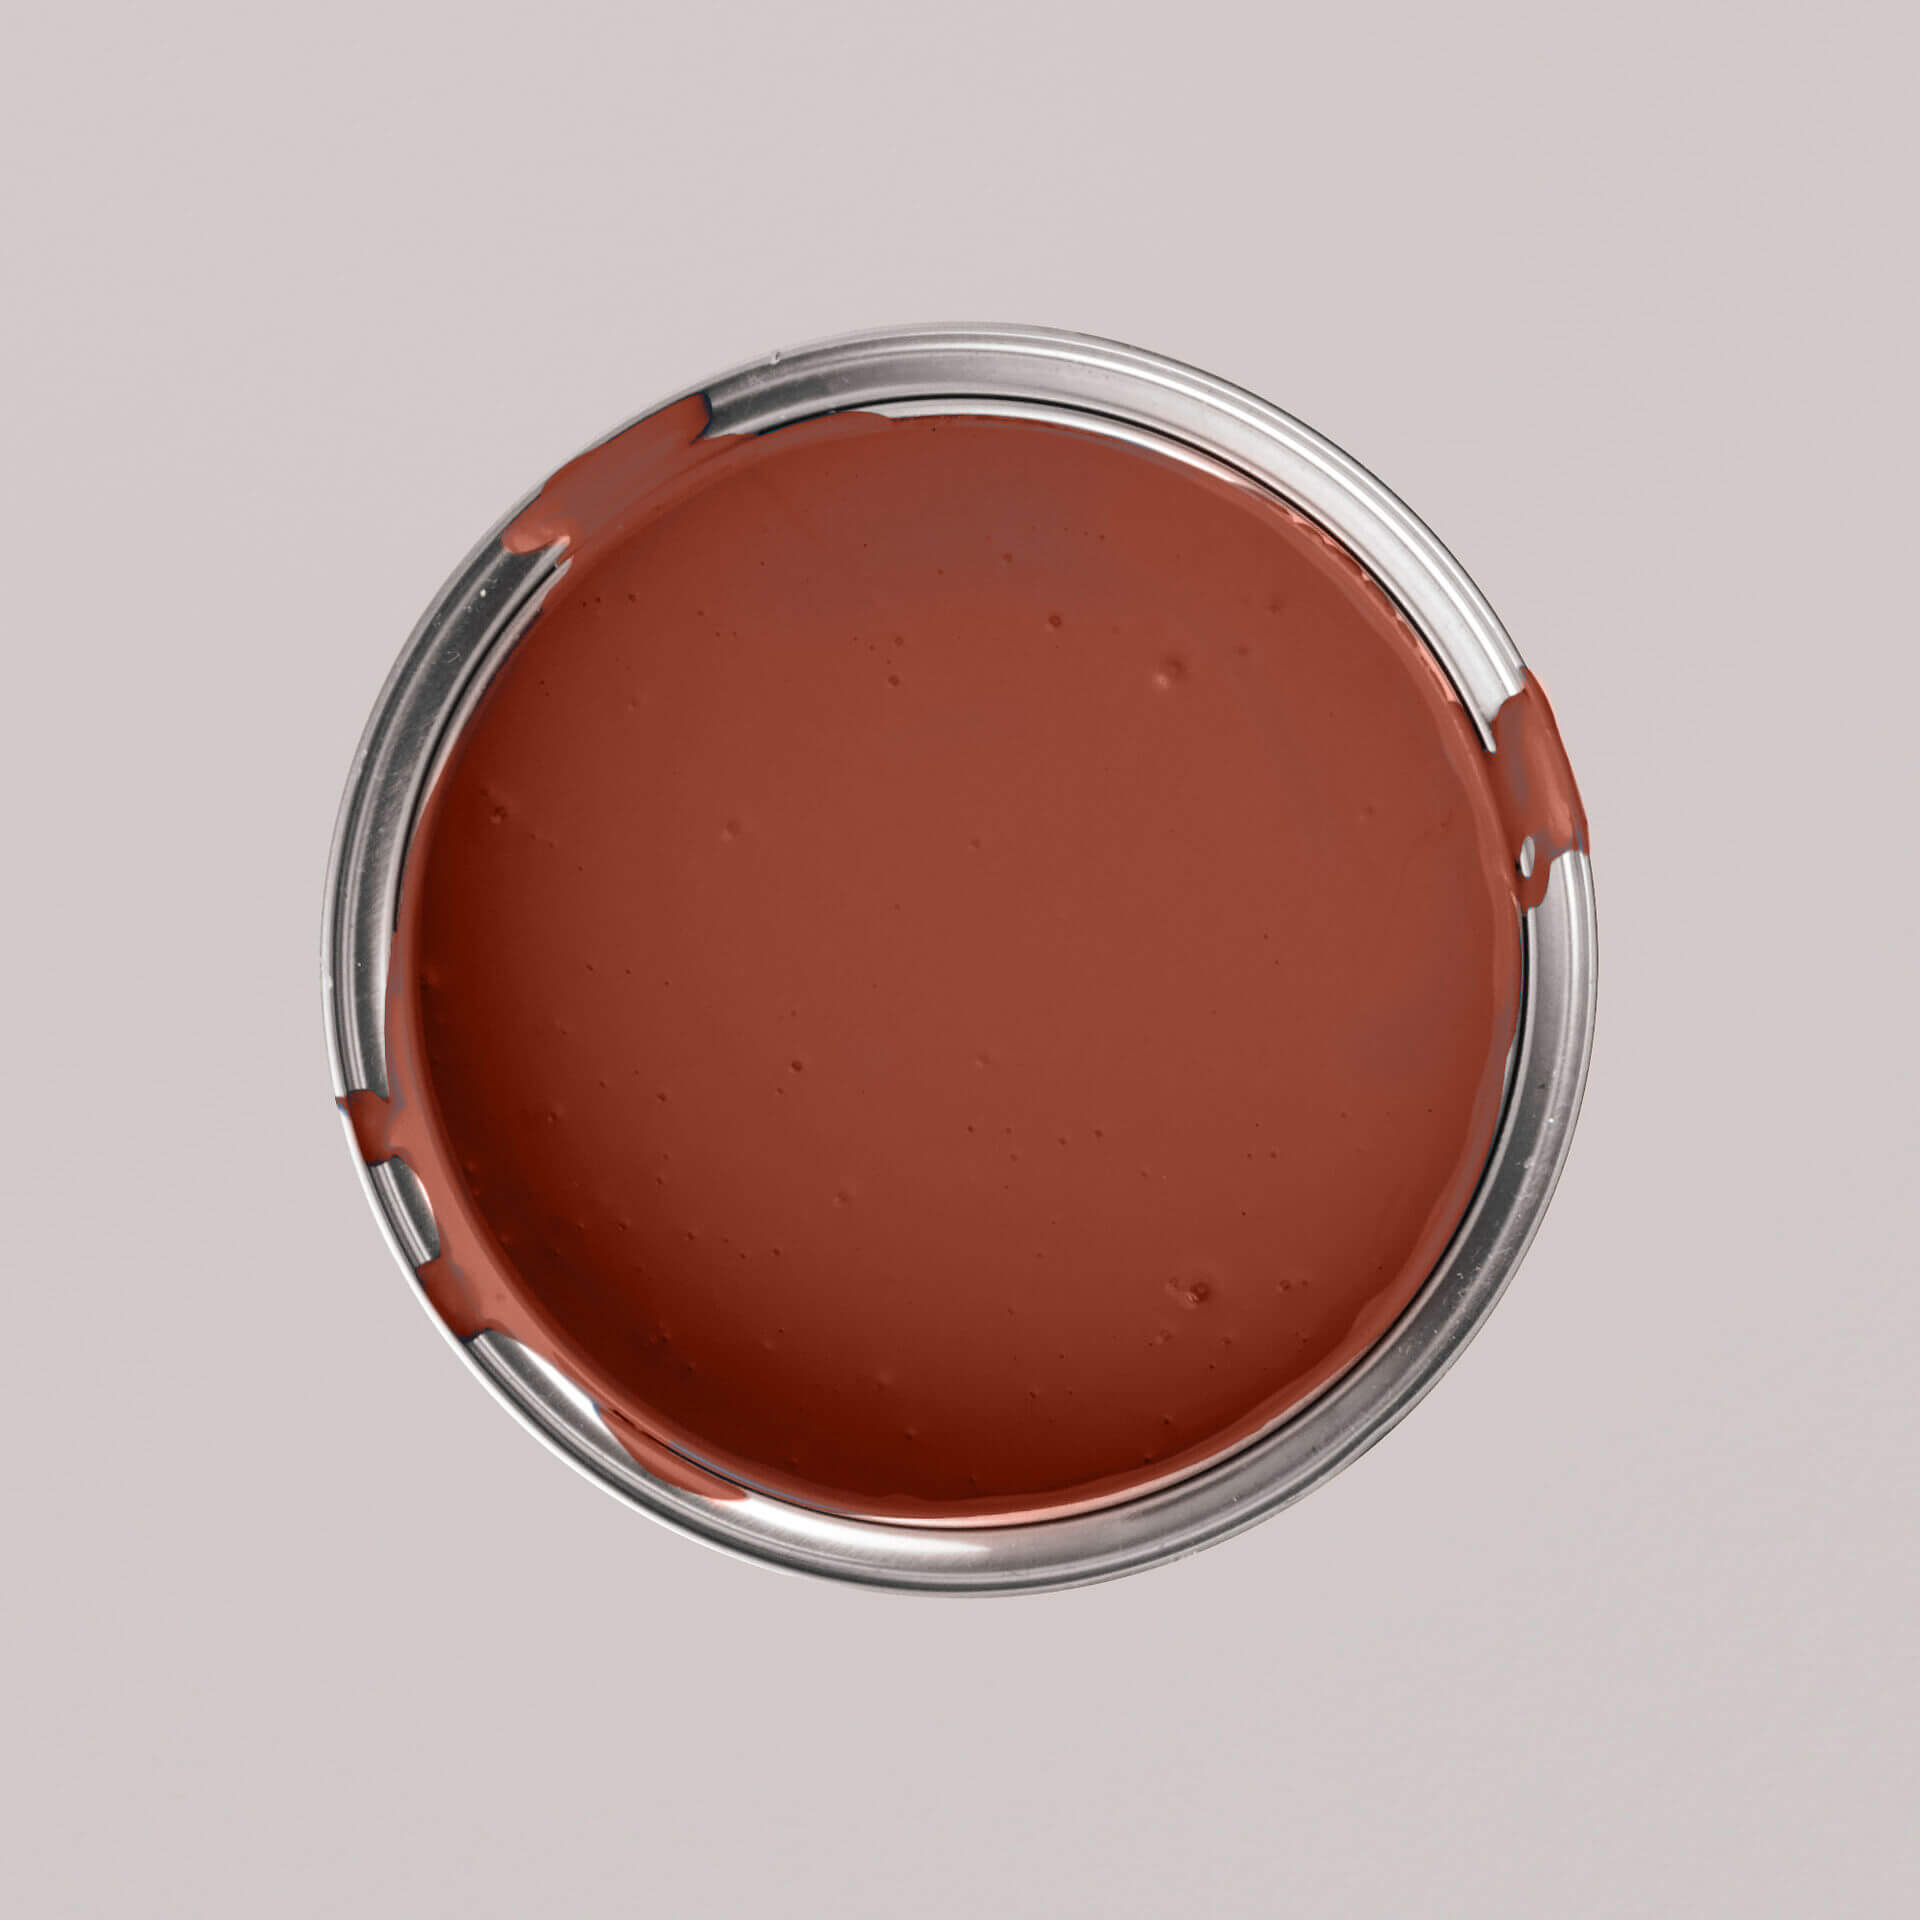
Our large colour scheme leaves no colour wish unfulfilled. If you need help deciding, our colour cards will certainly help you. For outdoor areas, you should always choose varnishes as, unlike wall paints, they are more resistant and weatherproof. A special weather protection colour is not necessary. Whether wood or metal, with our colours, your garden shed will become the centrepiece of your garden in no time at all.
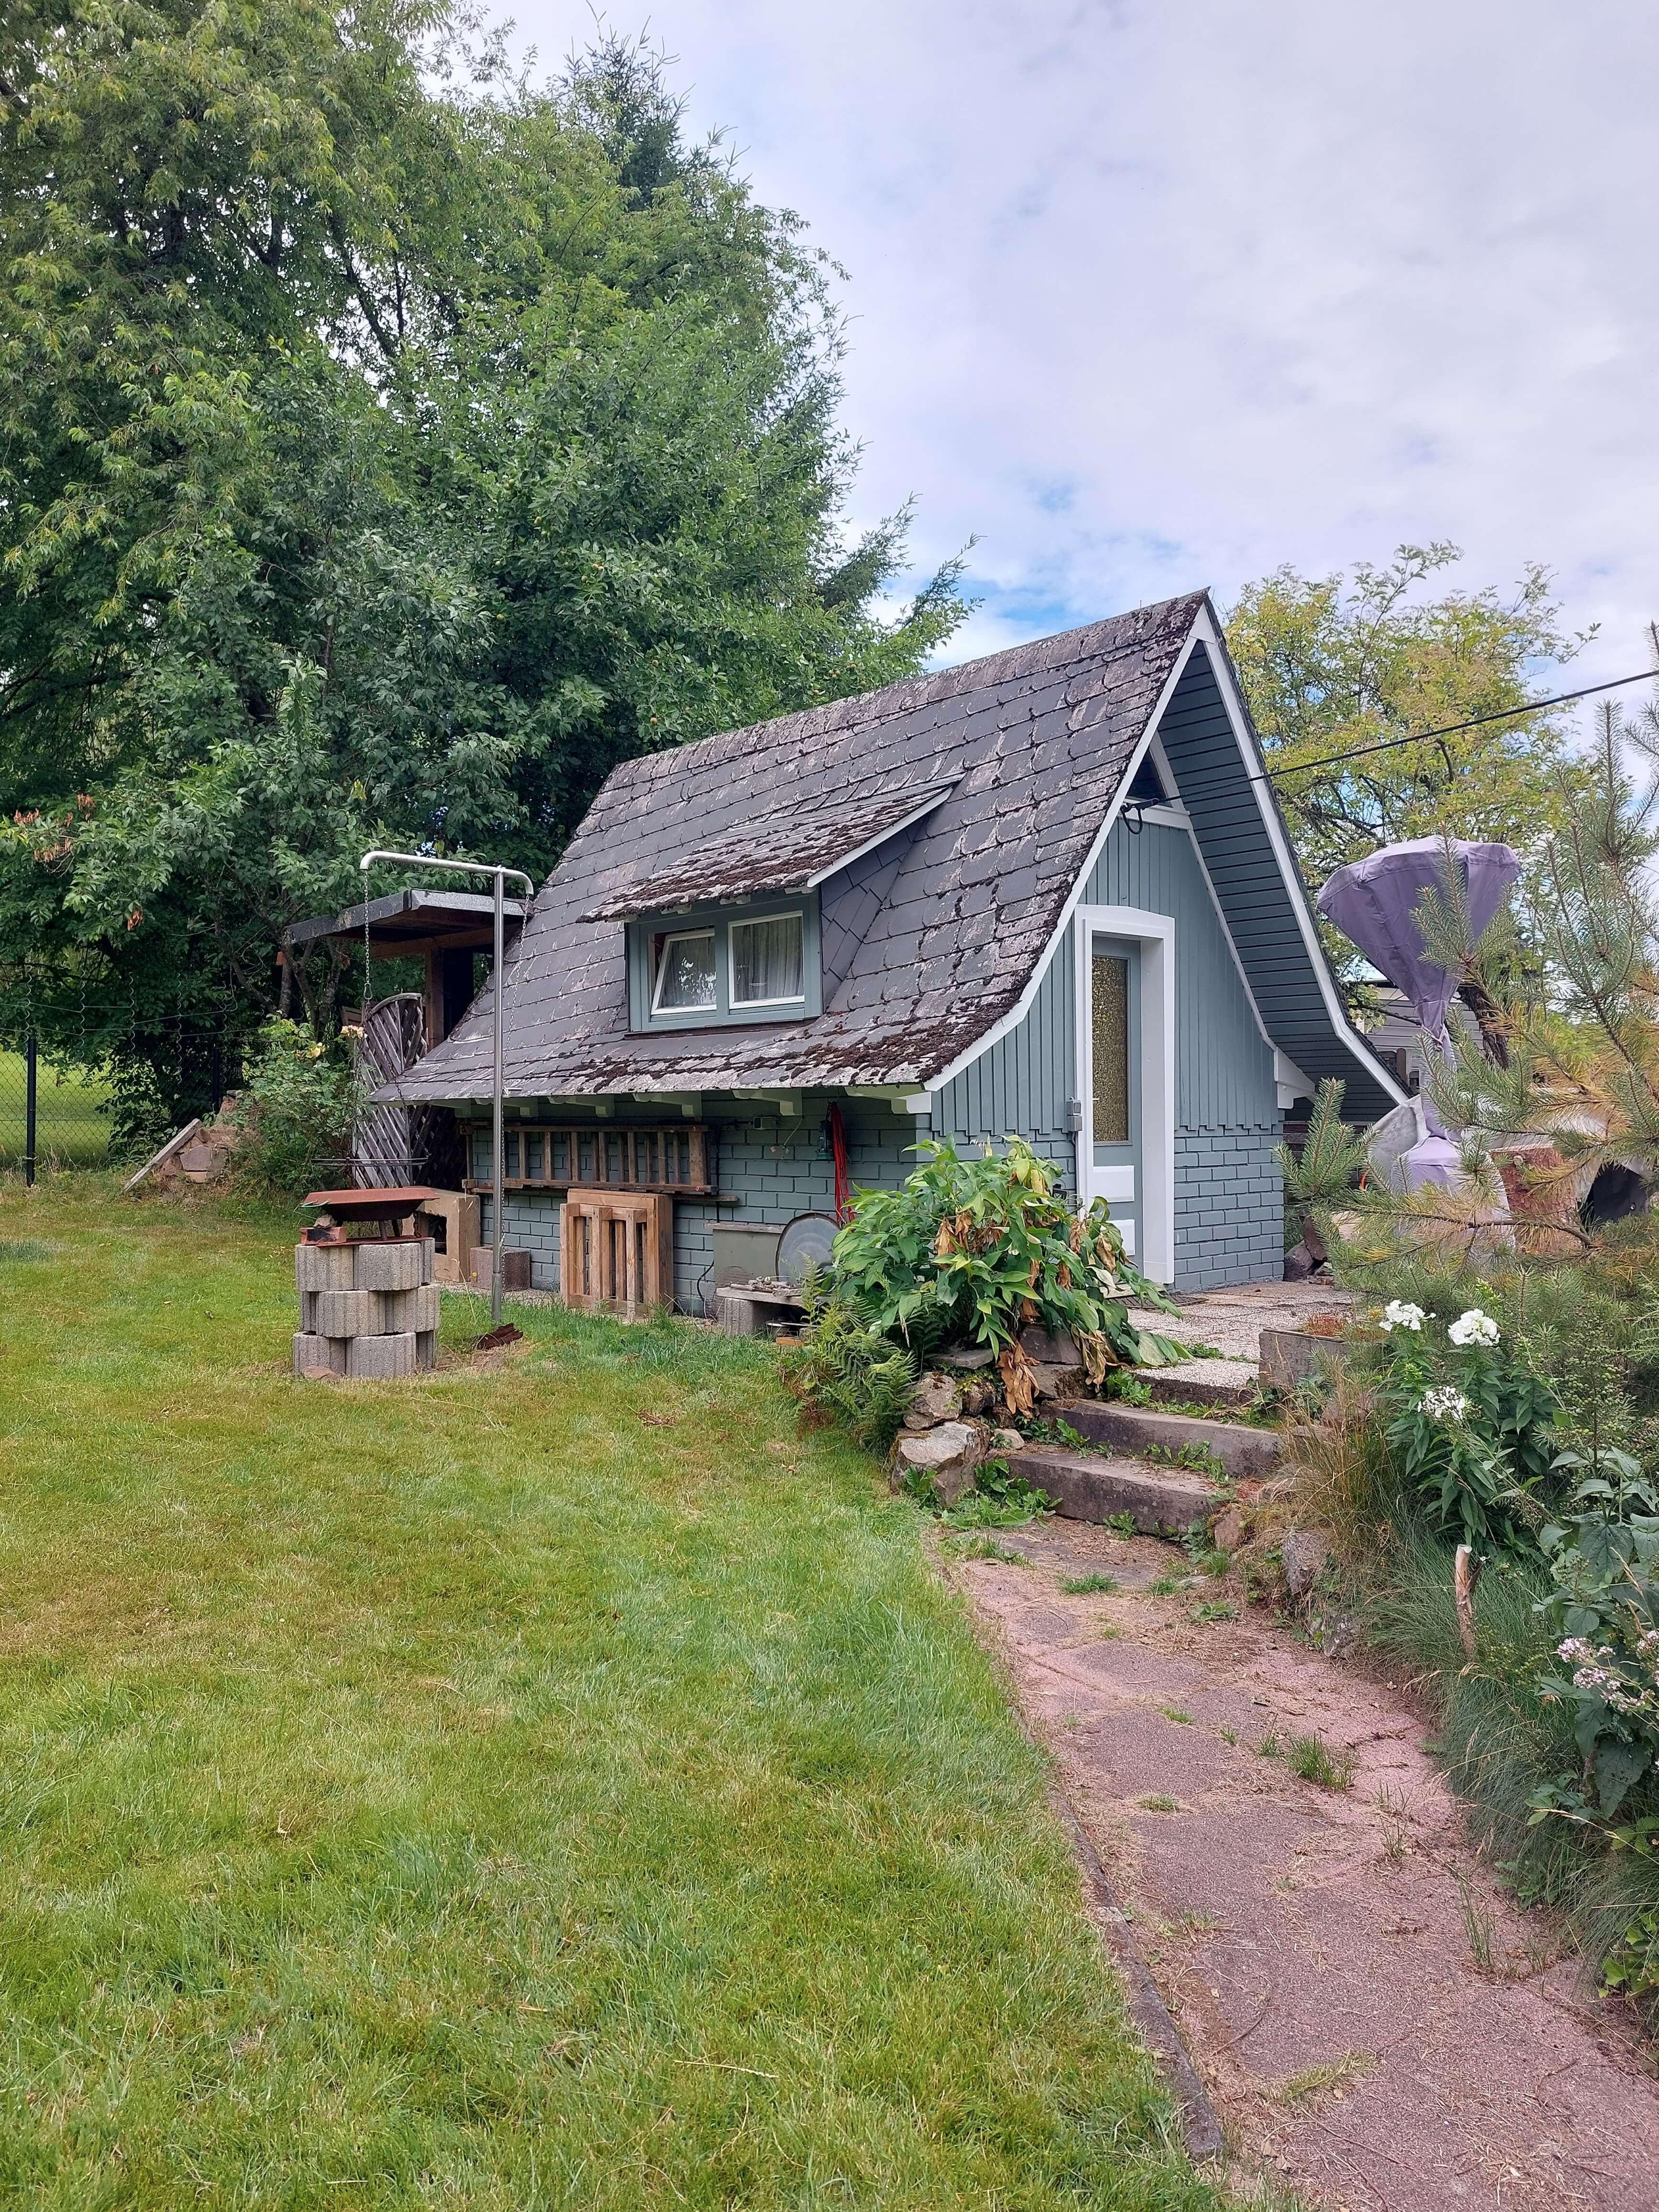
Is your garden shed new or old?
Whether your garden shed is new or old makes almost no difference to the procedure. Nevertheless, we have a few tips for you in advance
- If your garden shed is made of untreated wood, you should definitely use a primer.
- With older garden sheds that have already been painted, the old varnish may come off. If this is the case, it must be removed before repainting. Removing the old paint ensures that the new varnish adheres well to the substrate and thus provides good protection against moisture.
What material is the garden shed made of?
No matter what material it is, painting is easy with our paints. Many of our paints are equally suitable for several materials. Whether the garden shed is made of metal, wood or plastic is particularly important for the primer - you can find tips on this further down in the text.
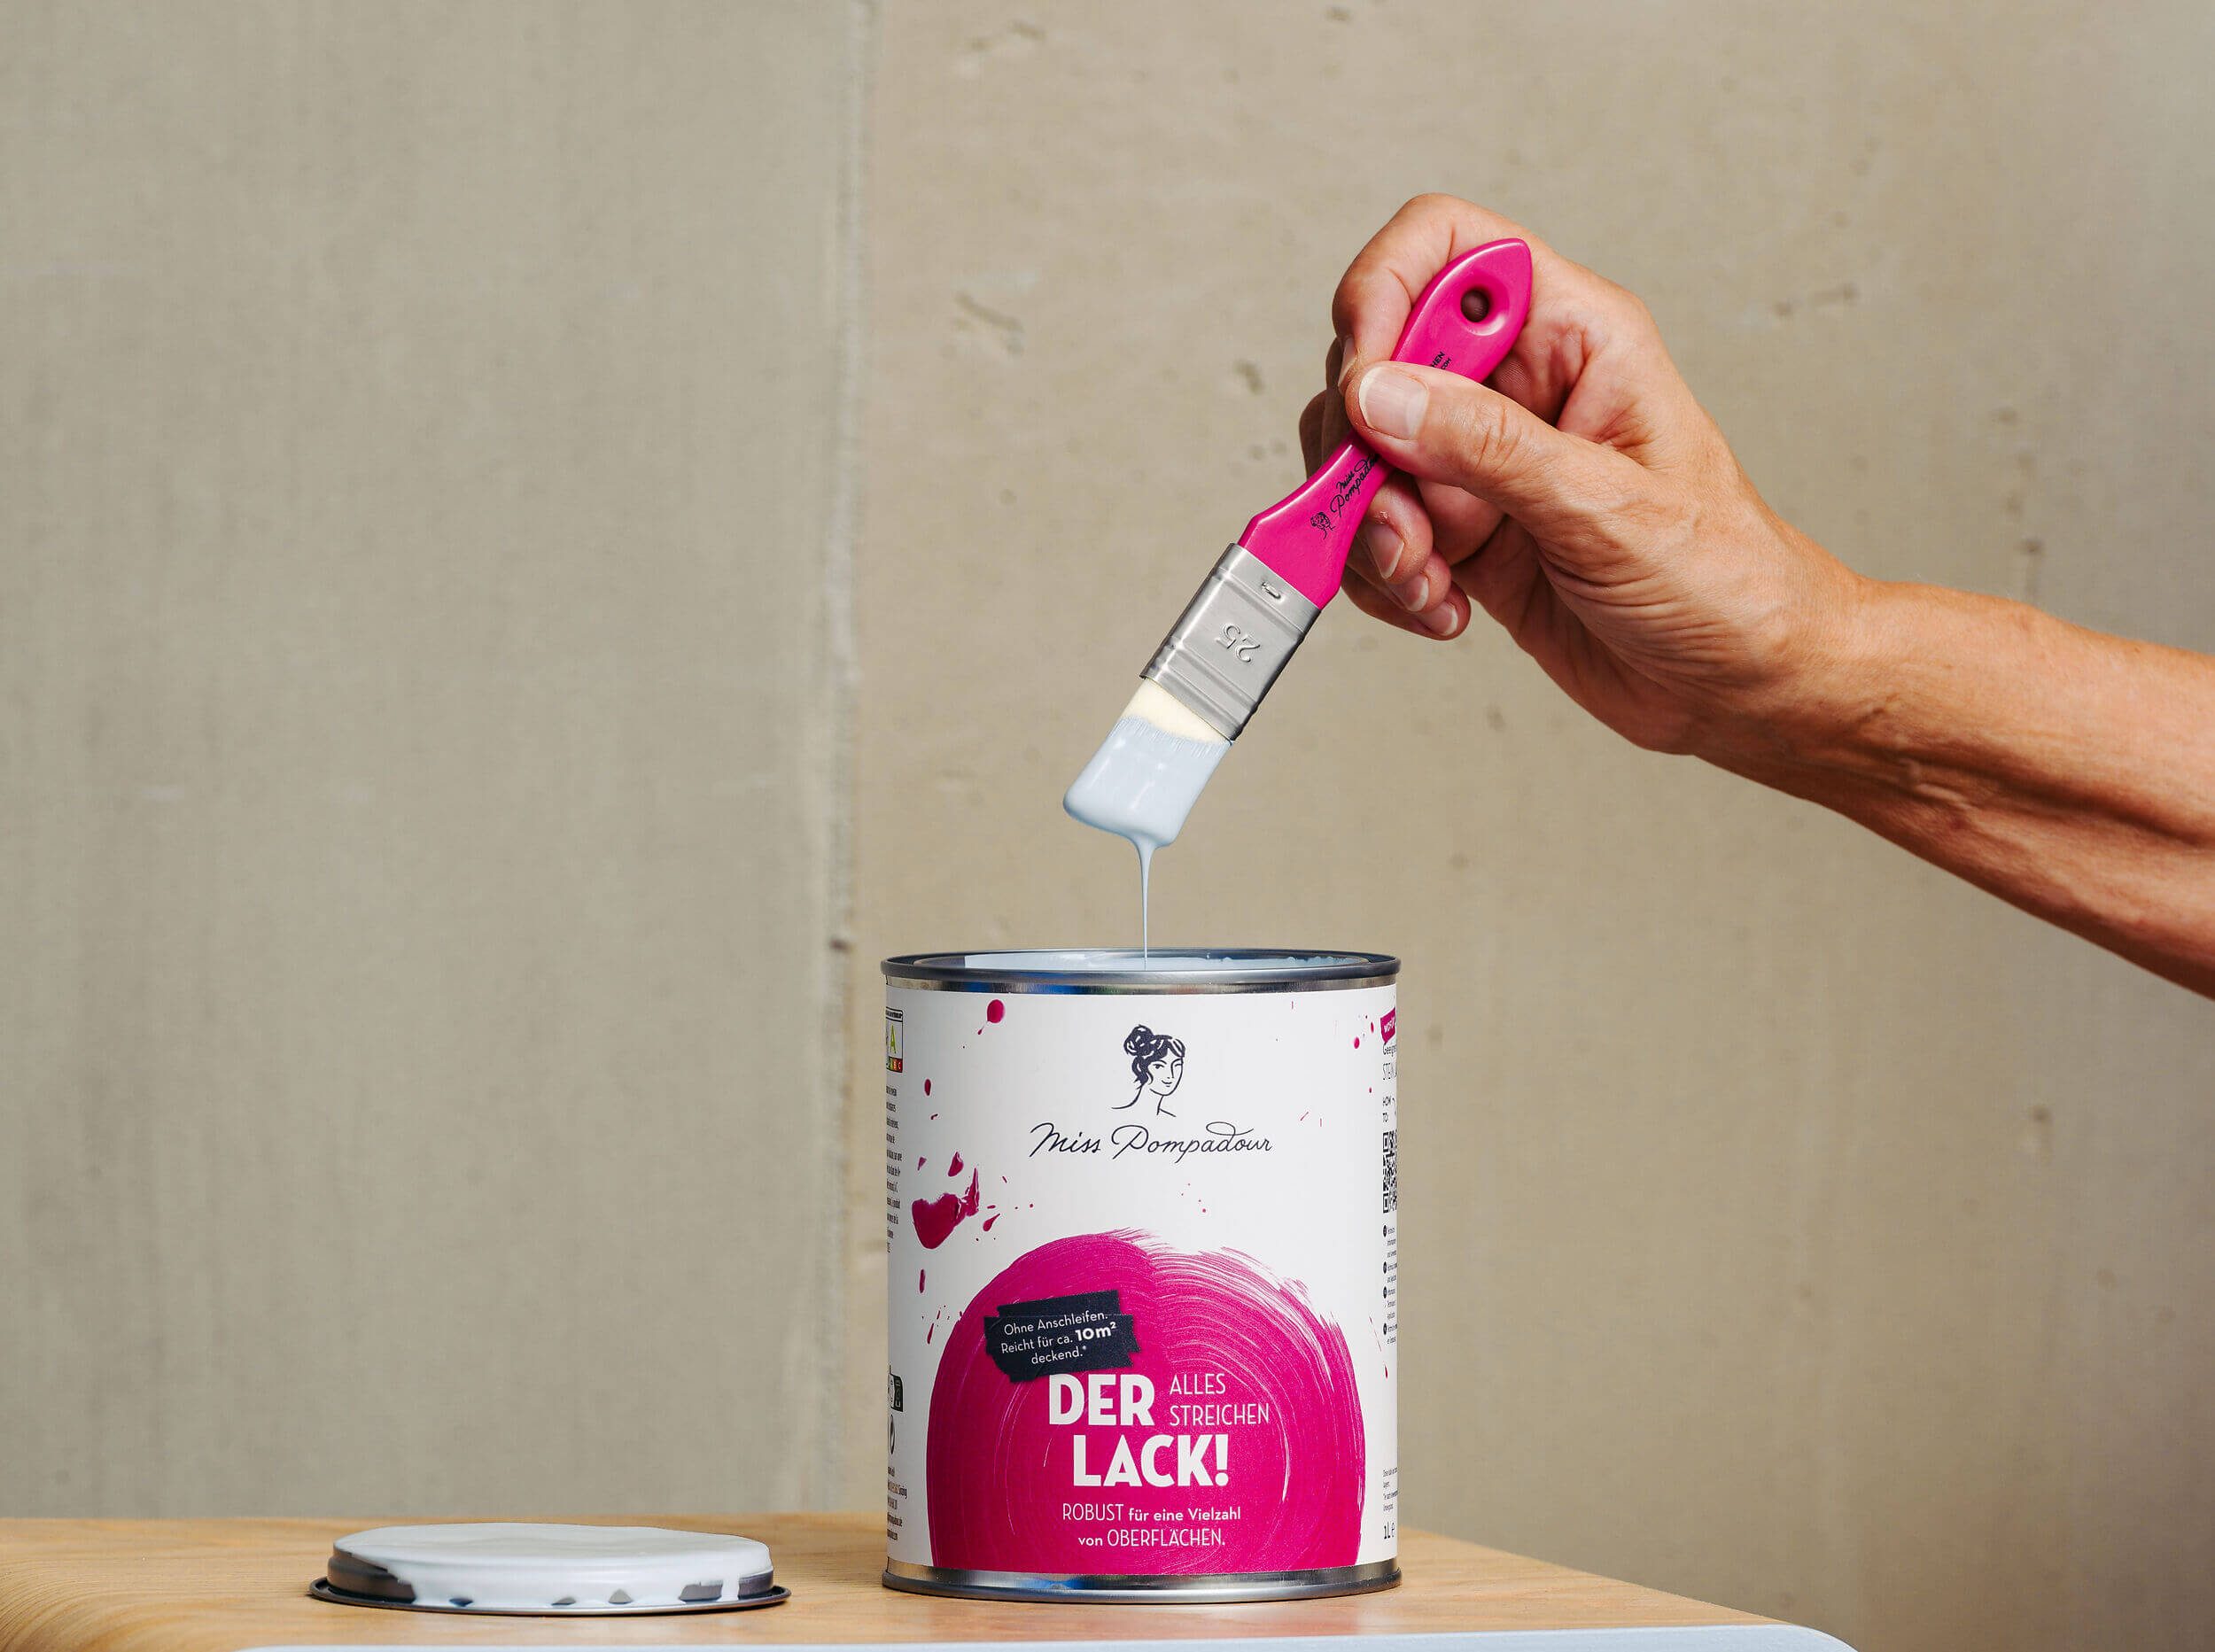
We particularly recommend our balcony & garden varnish. It is UV and weather-resistant and comes in 12 wonderful, hard-wearing colour shades. Our Easy Eggshell! is also suitable for outdoor use. All our varnishes are water-based, easy-care and ideal for garden sheds made of wood, metal and plastic.
Paint your garden shed properly: Instructions from MissPompadour
In the following steps, we will give you instructions on how to paint your wooden or metal garden shed properly:
Step 1: Rough cleaning of the garden shed
Step 2: Preparing the garden shed
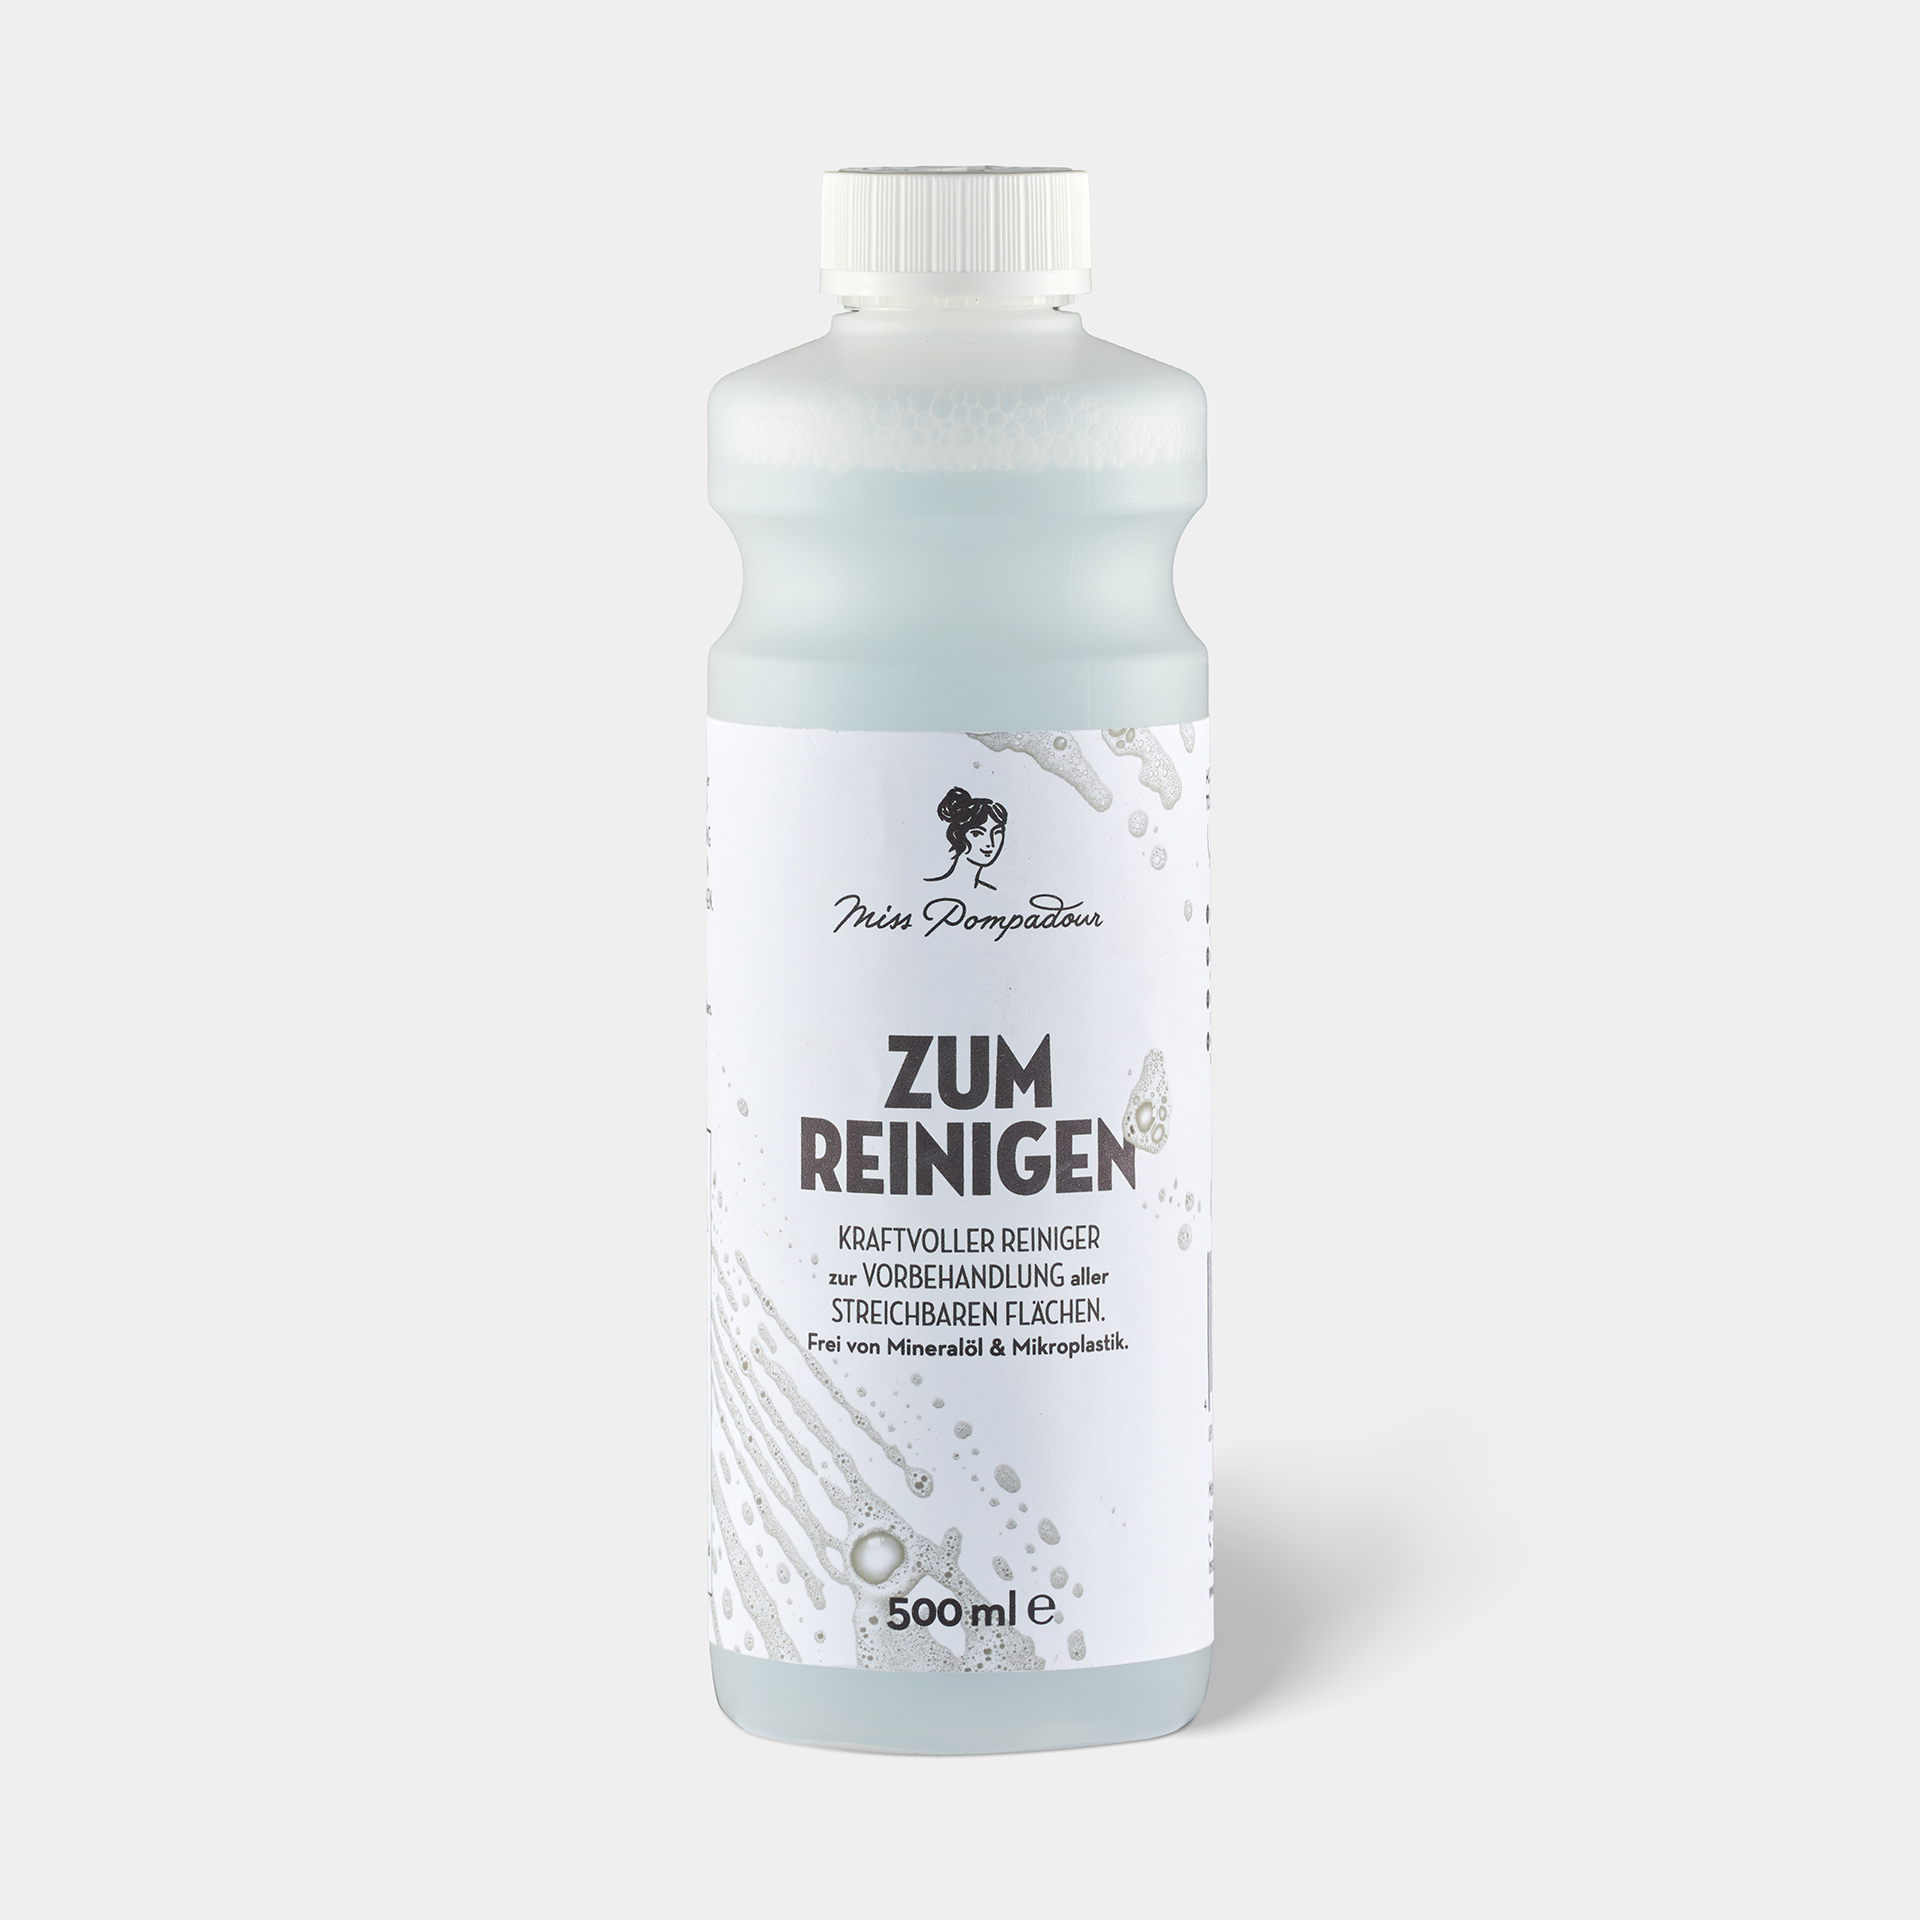
- Particularly with wooden garden sheds that have already been painted, for example with a stain, you should sand down the garden shed if the old paint comes off. Removing peeling paint is important - otherwise the new coat of paint will not adhere well and for a long time. You may need a sander for the rough preparatory work. The To Clean - MissPompadour Cleaner is also suitable for creating a grease-free and clean surface.
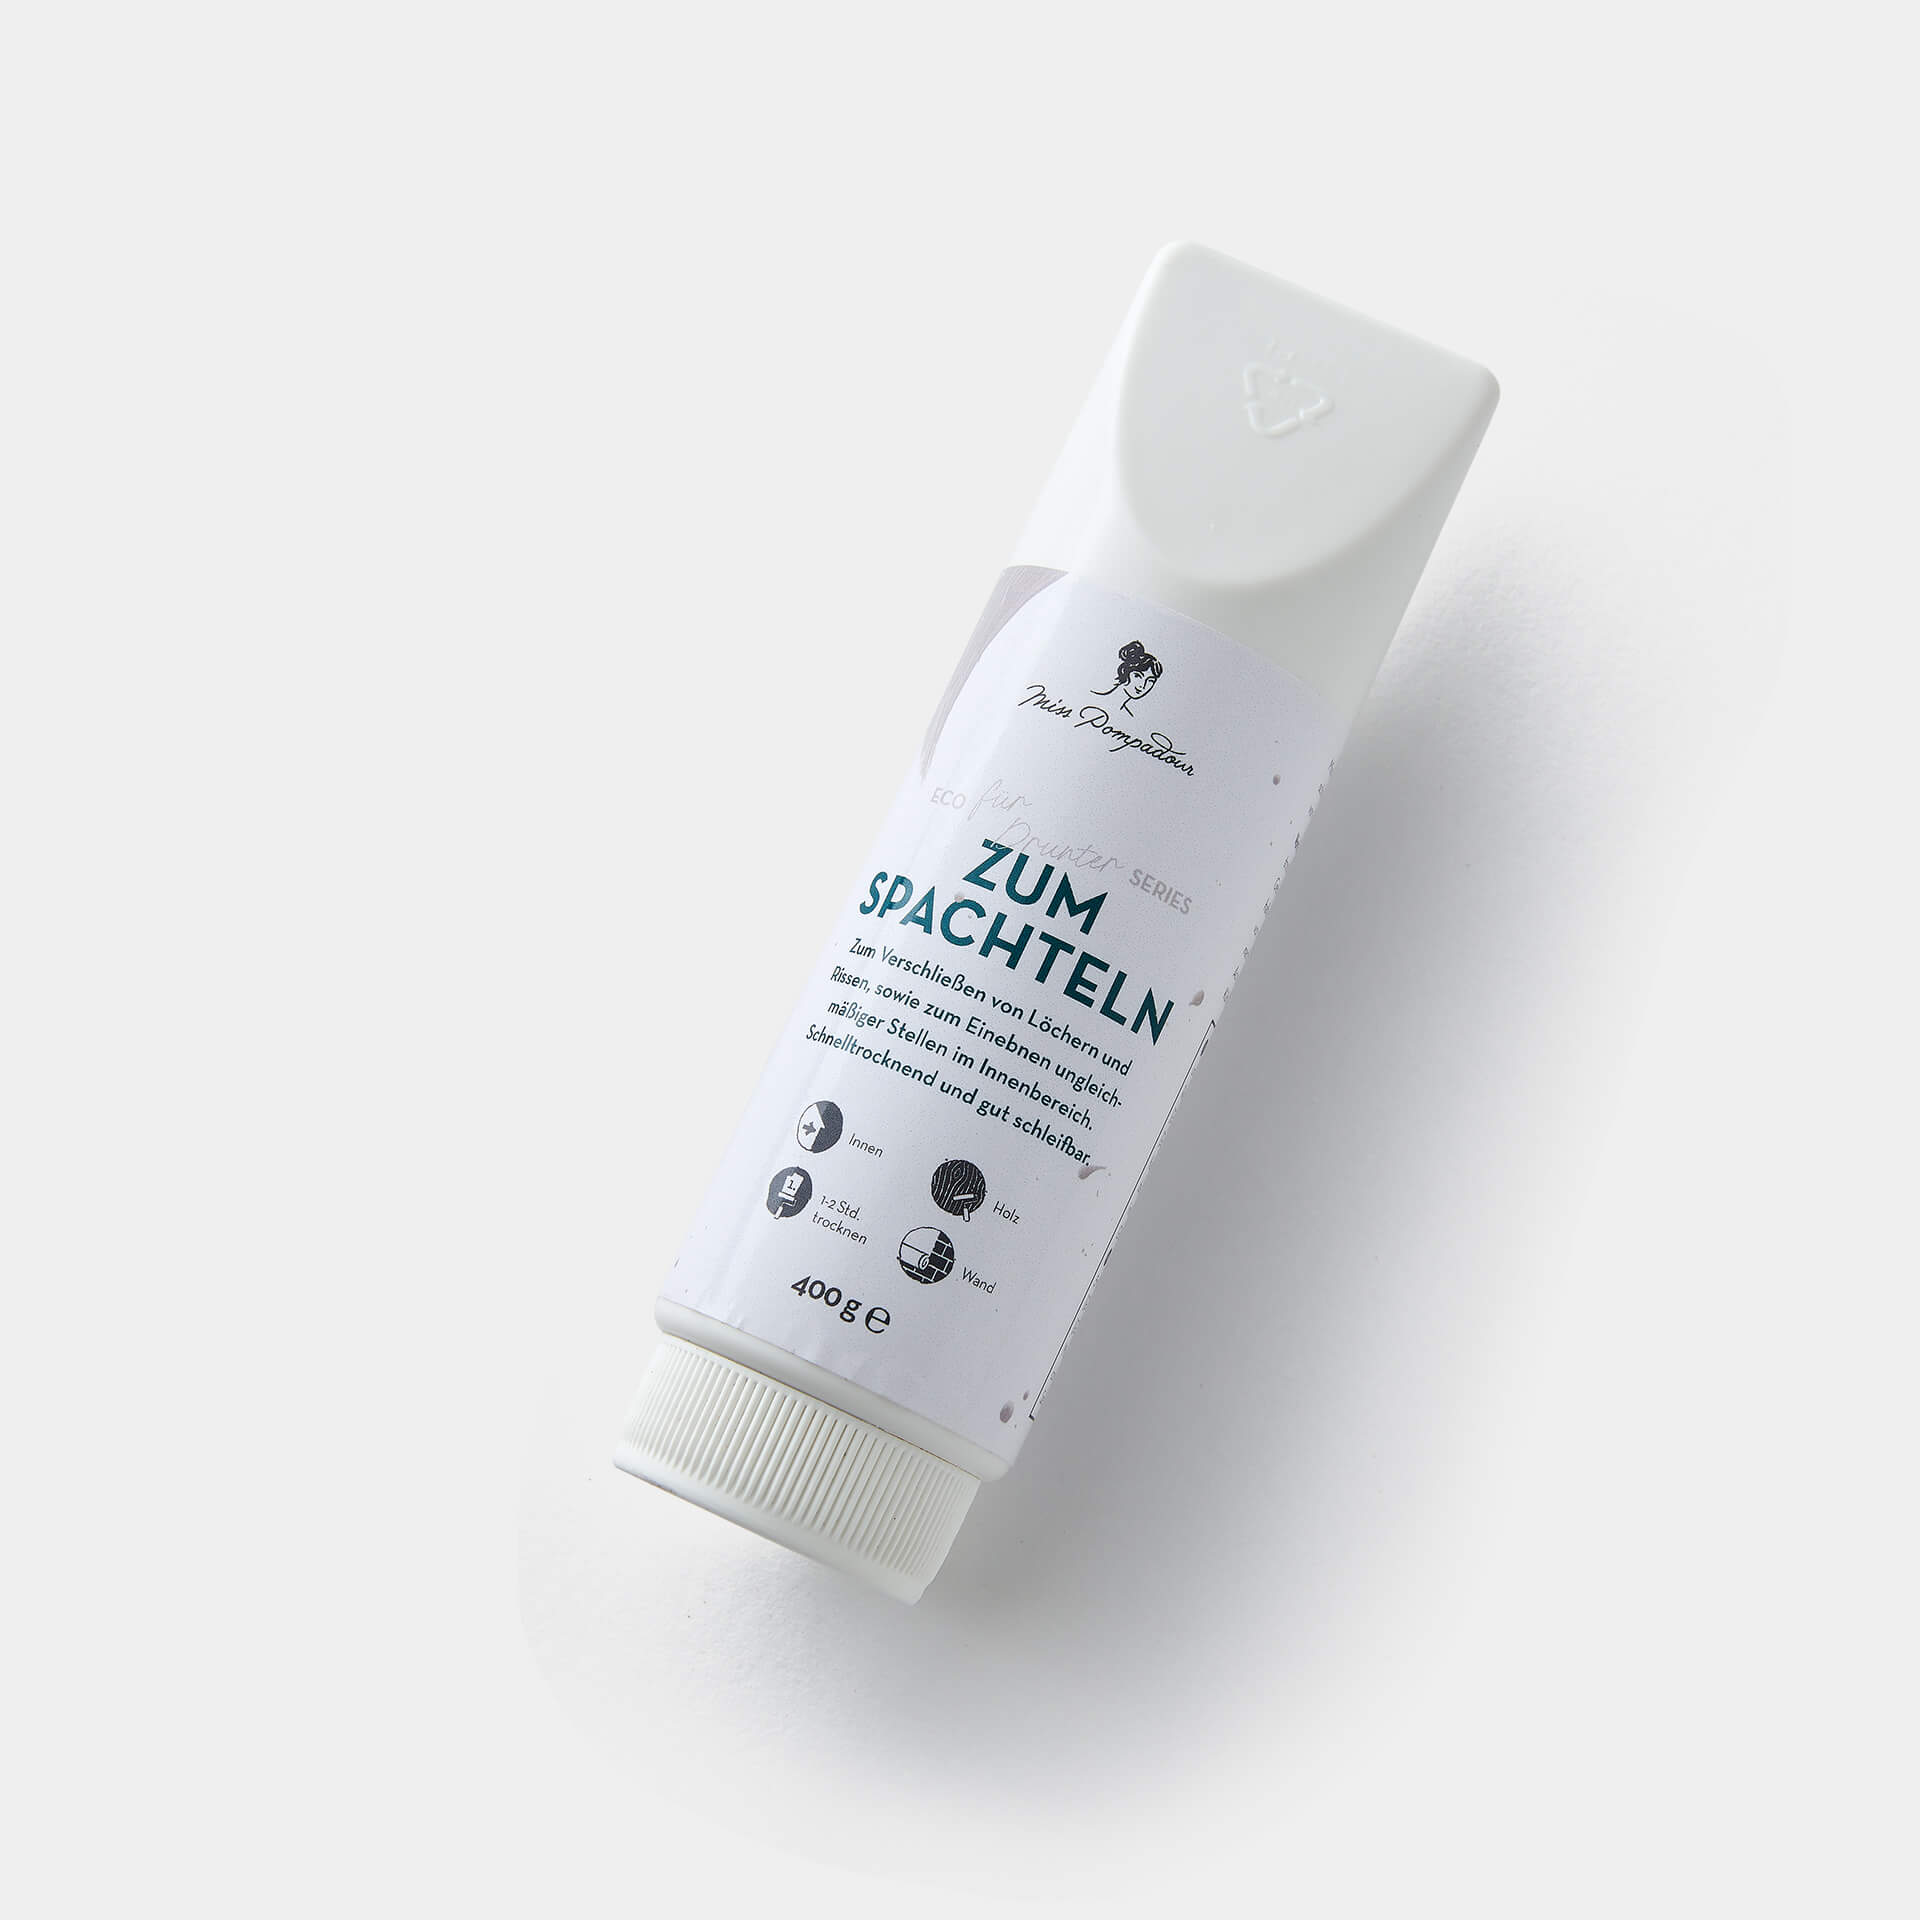
- Damage and unevenness should also be repaired, sanded or filled with a compound in this step: You can easily conceal any imperfections or holes with To Fill - MissPompadour Filler
- Then clean the garden shed again thoroughly with clear water
- Finally, we recommend masking the window frames and other openings as well as covering the area around the garden shed so that it does not suffer any colour damage.
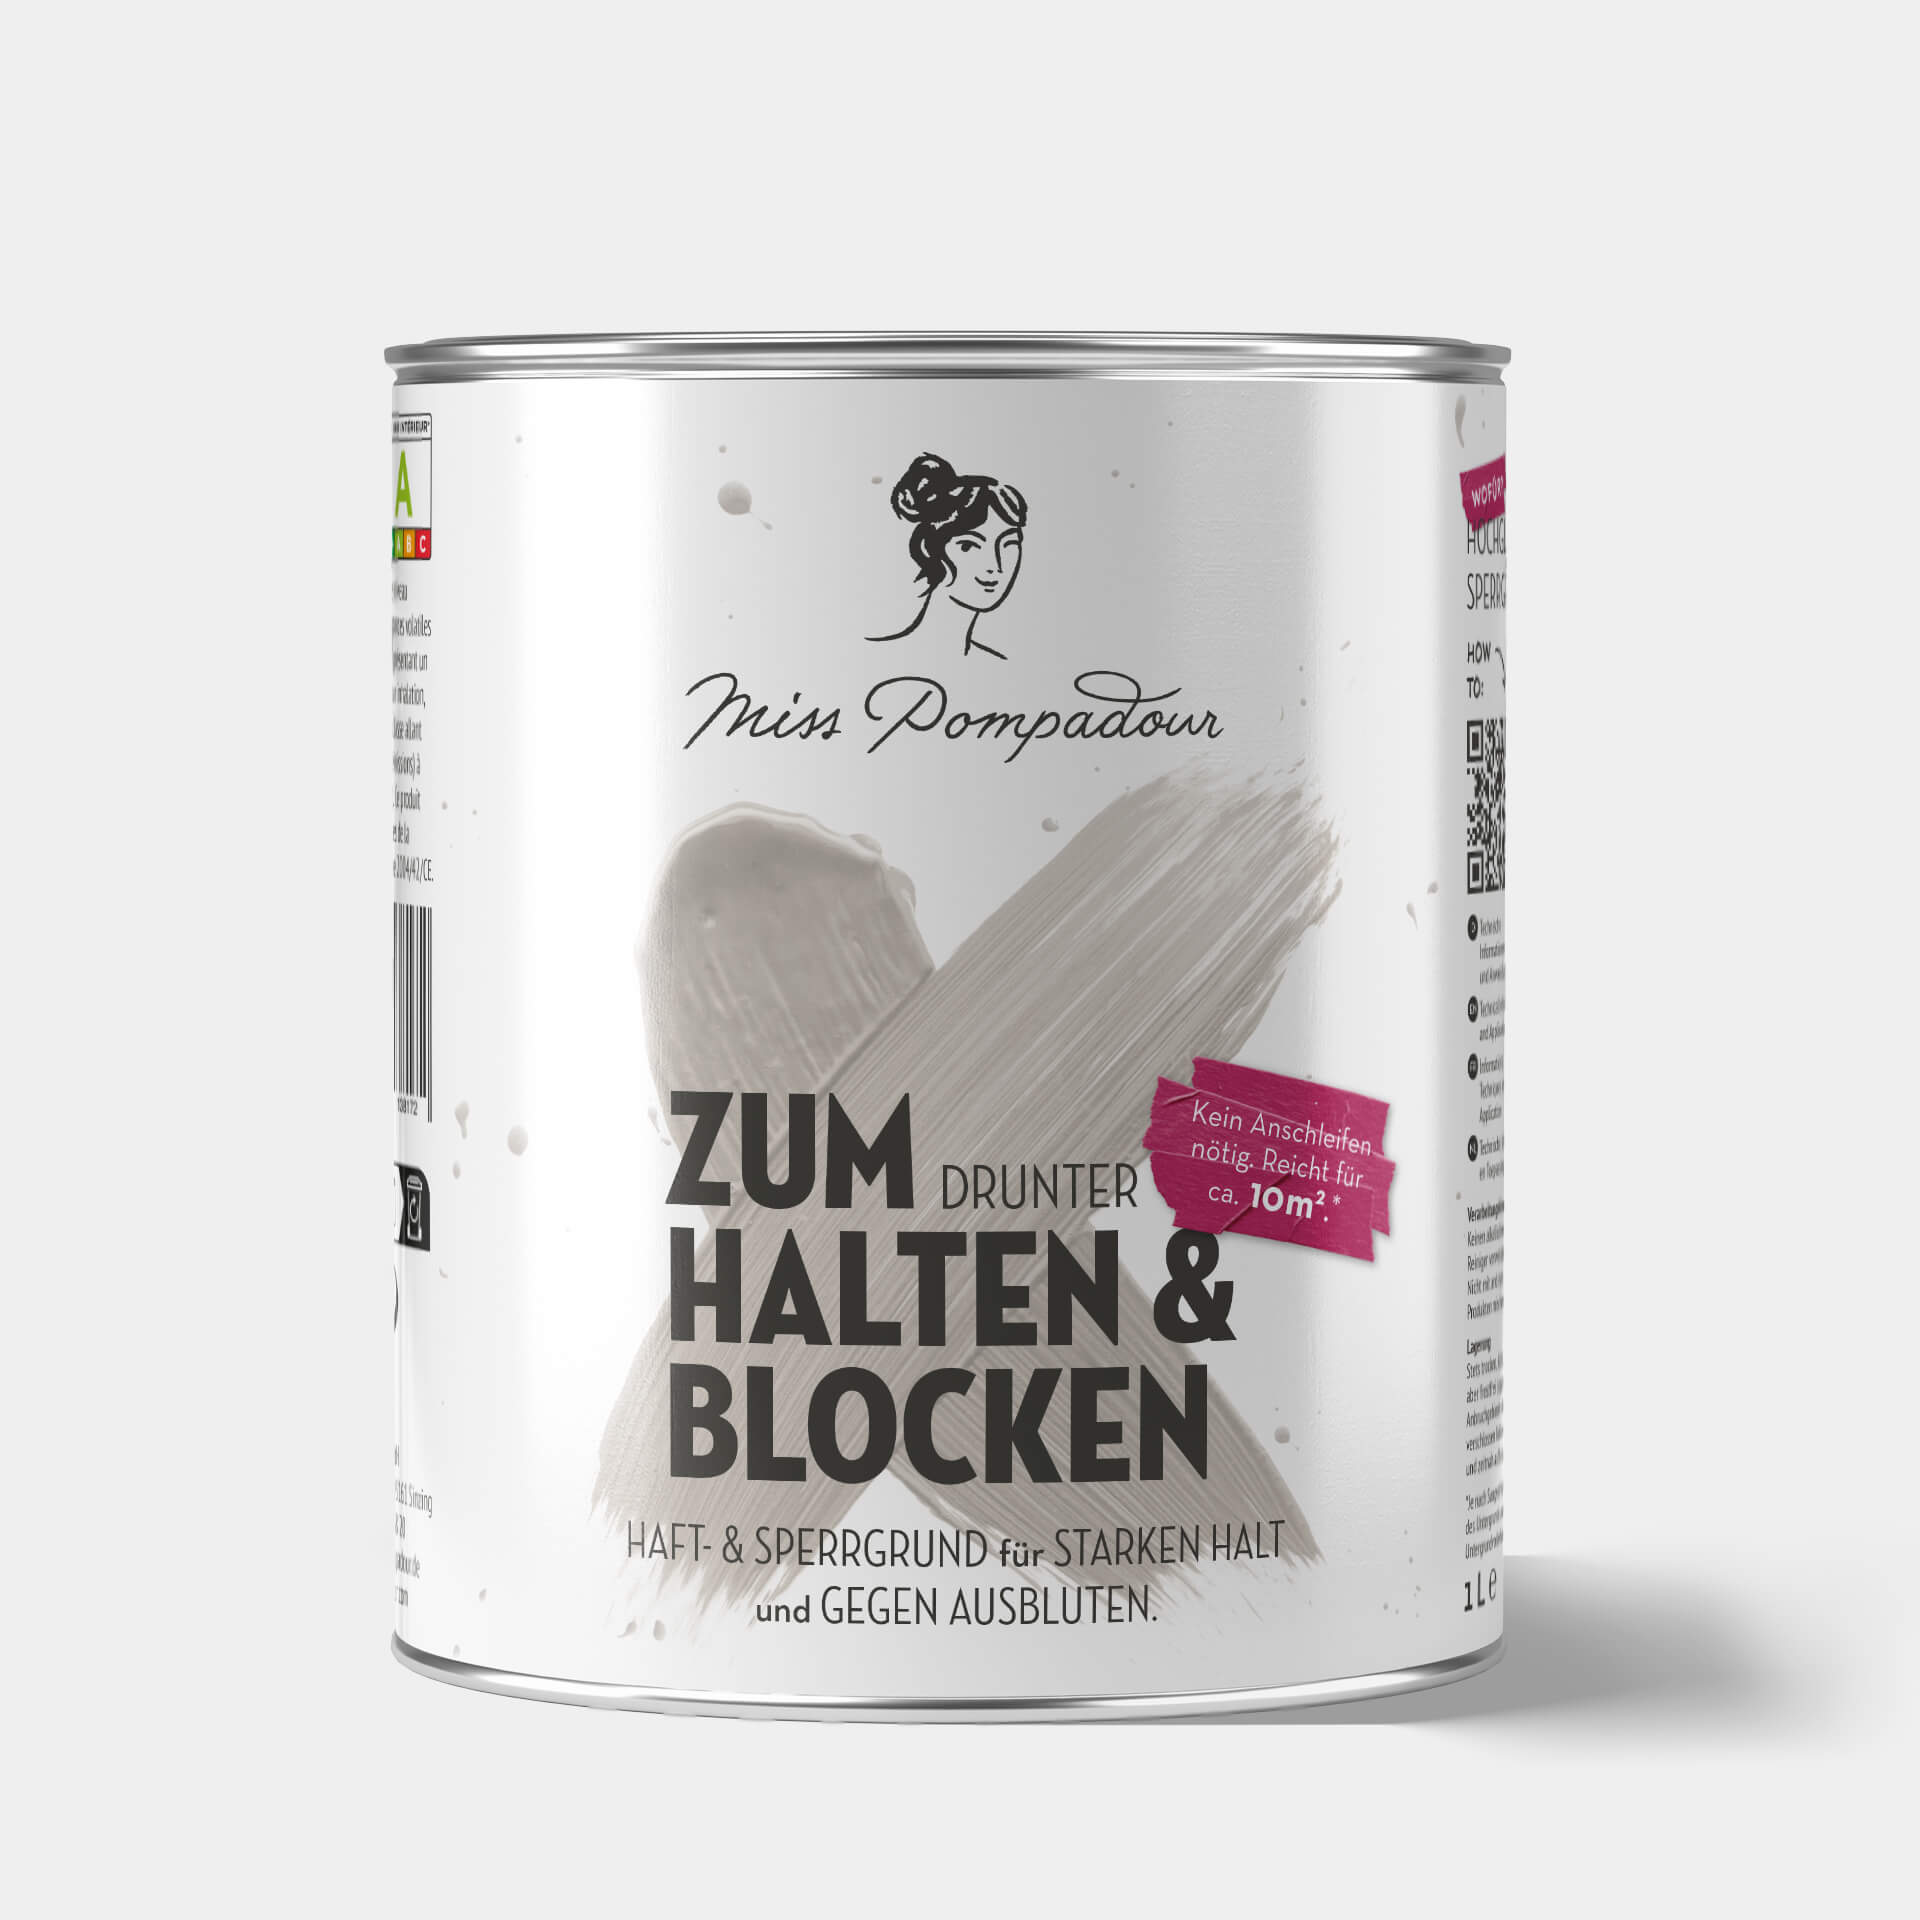
Step 3: Primer
The primer is the first thin coat of paint and ensures that the colour bonds well with the material and therefore lasts longer on the surface
Our MissPompadour To Bond & Block primer is a great 2in1 product. Use it:
- For wood: the barrier layer prevents tannins in the wood from bleeding and leaving unsightly stains in the fresh paint
- On laminated doors and plastic veneer, it ensures a surface that is easy to paint. Apply a thick coat of primer and allow it to dry thoroughly.
Pro tip: You should apply the primer really thickly and with good coverage so that it can fulfil its potential as a barrier and primer perfectly. The primer must dry thoroughly before you continue working. This takes 3 to 8 hours, depending on the surface.
Step 4: Painting the garden shed
Now the time has come and the layers of paint can be applied to the dry material. To achieve a perfect result, you need enough time. How many coats you apply depends on the desired result. However, it should be at least two coats. With our products, you can paint as often as you like without sanding in between. A few tips
- Always paint from top to bottom to avoid runs (drops of paint)
- Use a small amount of paint on the brush, otherwise excess paint will also cause runs
- Allow each coat of paint to dry very well. Usually 4 to 5 hours is sufficient, but it can take longer depending on the ambient conditions
- The surfaces harden more and more with each day and have reached a very good stability after 10 to 14 days
Pro tip: If it is too wet, too cold, too warm or the sunlight is too high, the paint application can become more difficult and the colour may not hold well. You should therefore wait for a stable period of fine weather in which temperatures remain in the double-digit degree range (even overnight). At the height of summer, be sure to set the alarm clock and start painting in the cooler morning hours.
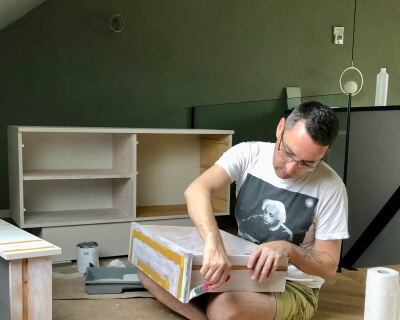
Painting the garden shed - Agathe paints her COMPLETE garden shed! (with paint from MissPompadour)
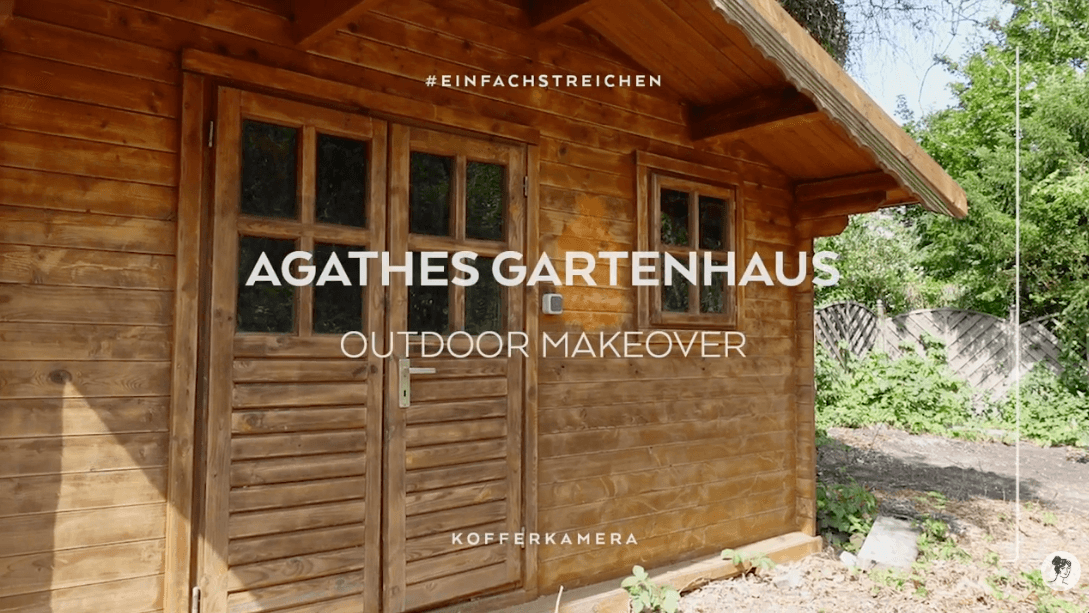
Painting the garden shed - Agathe paints her ENTIRE garden shed! (with paint from MissPompadour)
Garden shed in shabby chic or vintage look
There are no limits to your creativity when painting your garden shed. Whether you want to paint your garden shed a classic grey-white colour or conjure up a real highlight in your garden with bright colours. In addition to the ideas from our community, you can also browse magazines or platforms for inspiration. The boring garden shed can quickly become a trendy shabby chic shed or an eye-catcher painted in Scandinavian country house style. With our various brands and collections, you have a huge colour scheme to choose from.
FAQ: Frequently asked questions about painting garden sheds
Can I paint my old garden shed without sanding it down first?
Yes, with MissPompadour Paints you can paint your garden shed without the hassle of sanding it down first. If your garden shed is still unpainted or the old garden shed paint is still holding up really well, you can simply paint it after a thorough clean.
How often should I paint my garden shed?
How often you renew the colour of your garden shed depends on the paint, material, location and your mood for change. Outside, you should refresh or renew weathered surfaces every few years. A fresh coat of paint also ensures that the base material is well protected.
Should I paint the garden shed before assembling it?
This depends on what your garden shed looks like. If there are elements that you can no longer easily reach or paint in the finished state, you should paint the individual parts before assembling and allow them to cure well. If minor damage occurs to the material during assembly, you can simply touch it up again after assembly.
What colour should I use for the wooden floor of my garden shed?
You'll Need These Tools to Paint Your Garden Shed
- Scraper, broom, wire brush: For a thorough clean before you start the main job.
- Sandpaper or sanding fleece: Use our To Sand - MissPompadour sanding fleece on any areas where old paint has flaked off, or for other surface imperfections on your garden shed that need smoothing before you paint.
- Cleaning cloths and bucket: You can give your garden shed a proper clean with To Clean - MissPompadour cleaner , as the surfaces need to be free of dust and grease for your paint to adhere perfectly.
- Masking film or newspaper: To protect your floor from paint splashes.
- Adhesive tape: To protect window frames or handles.
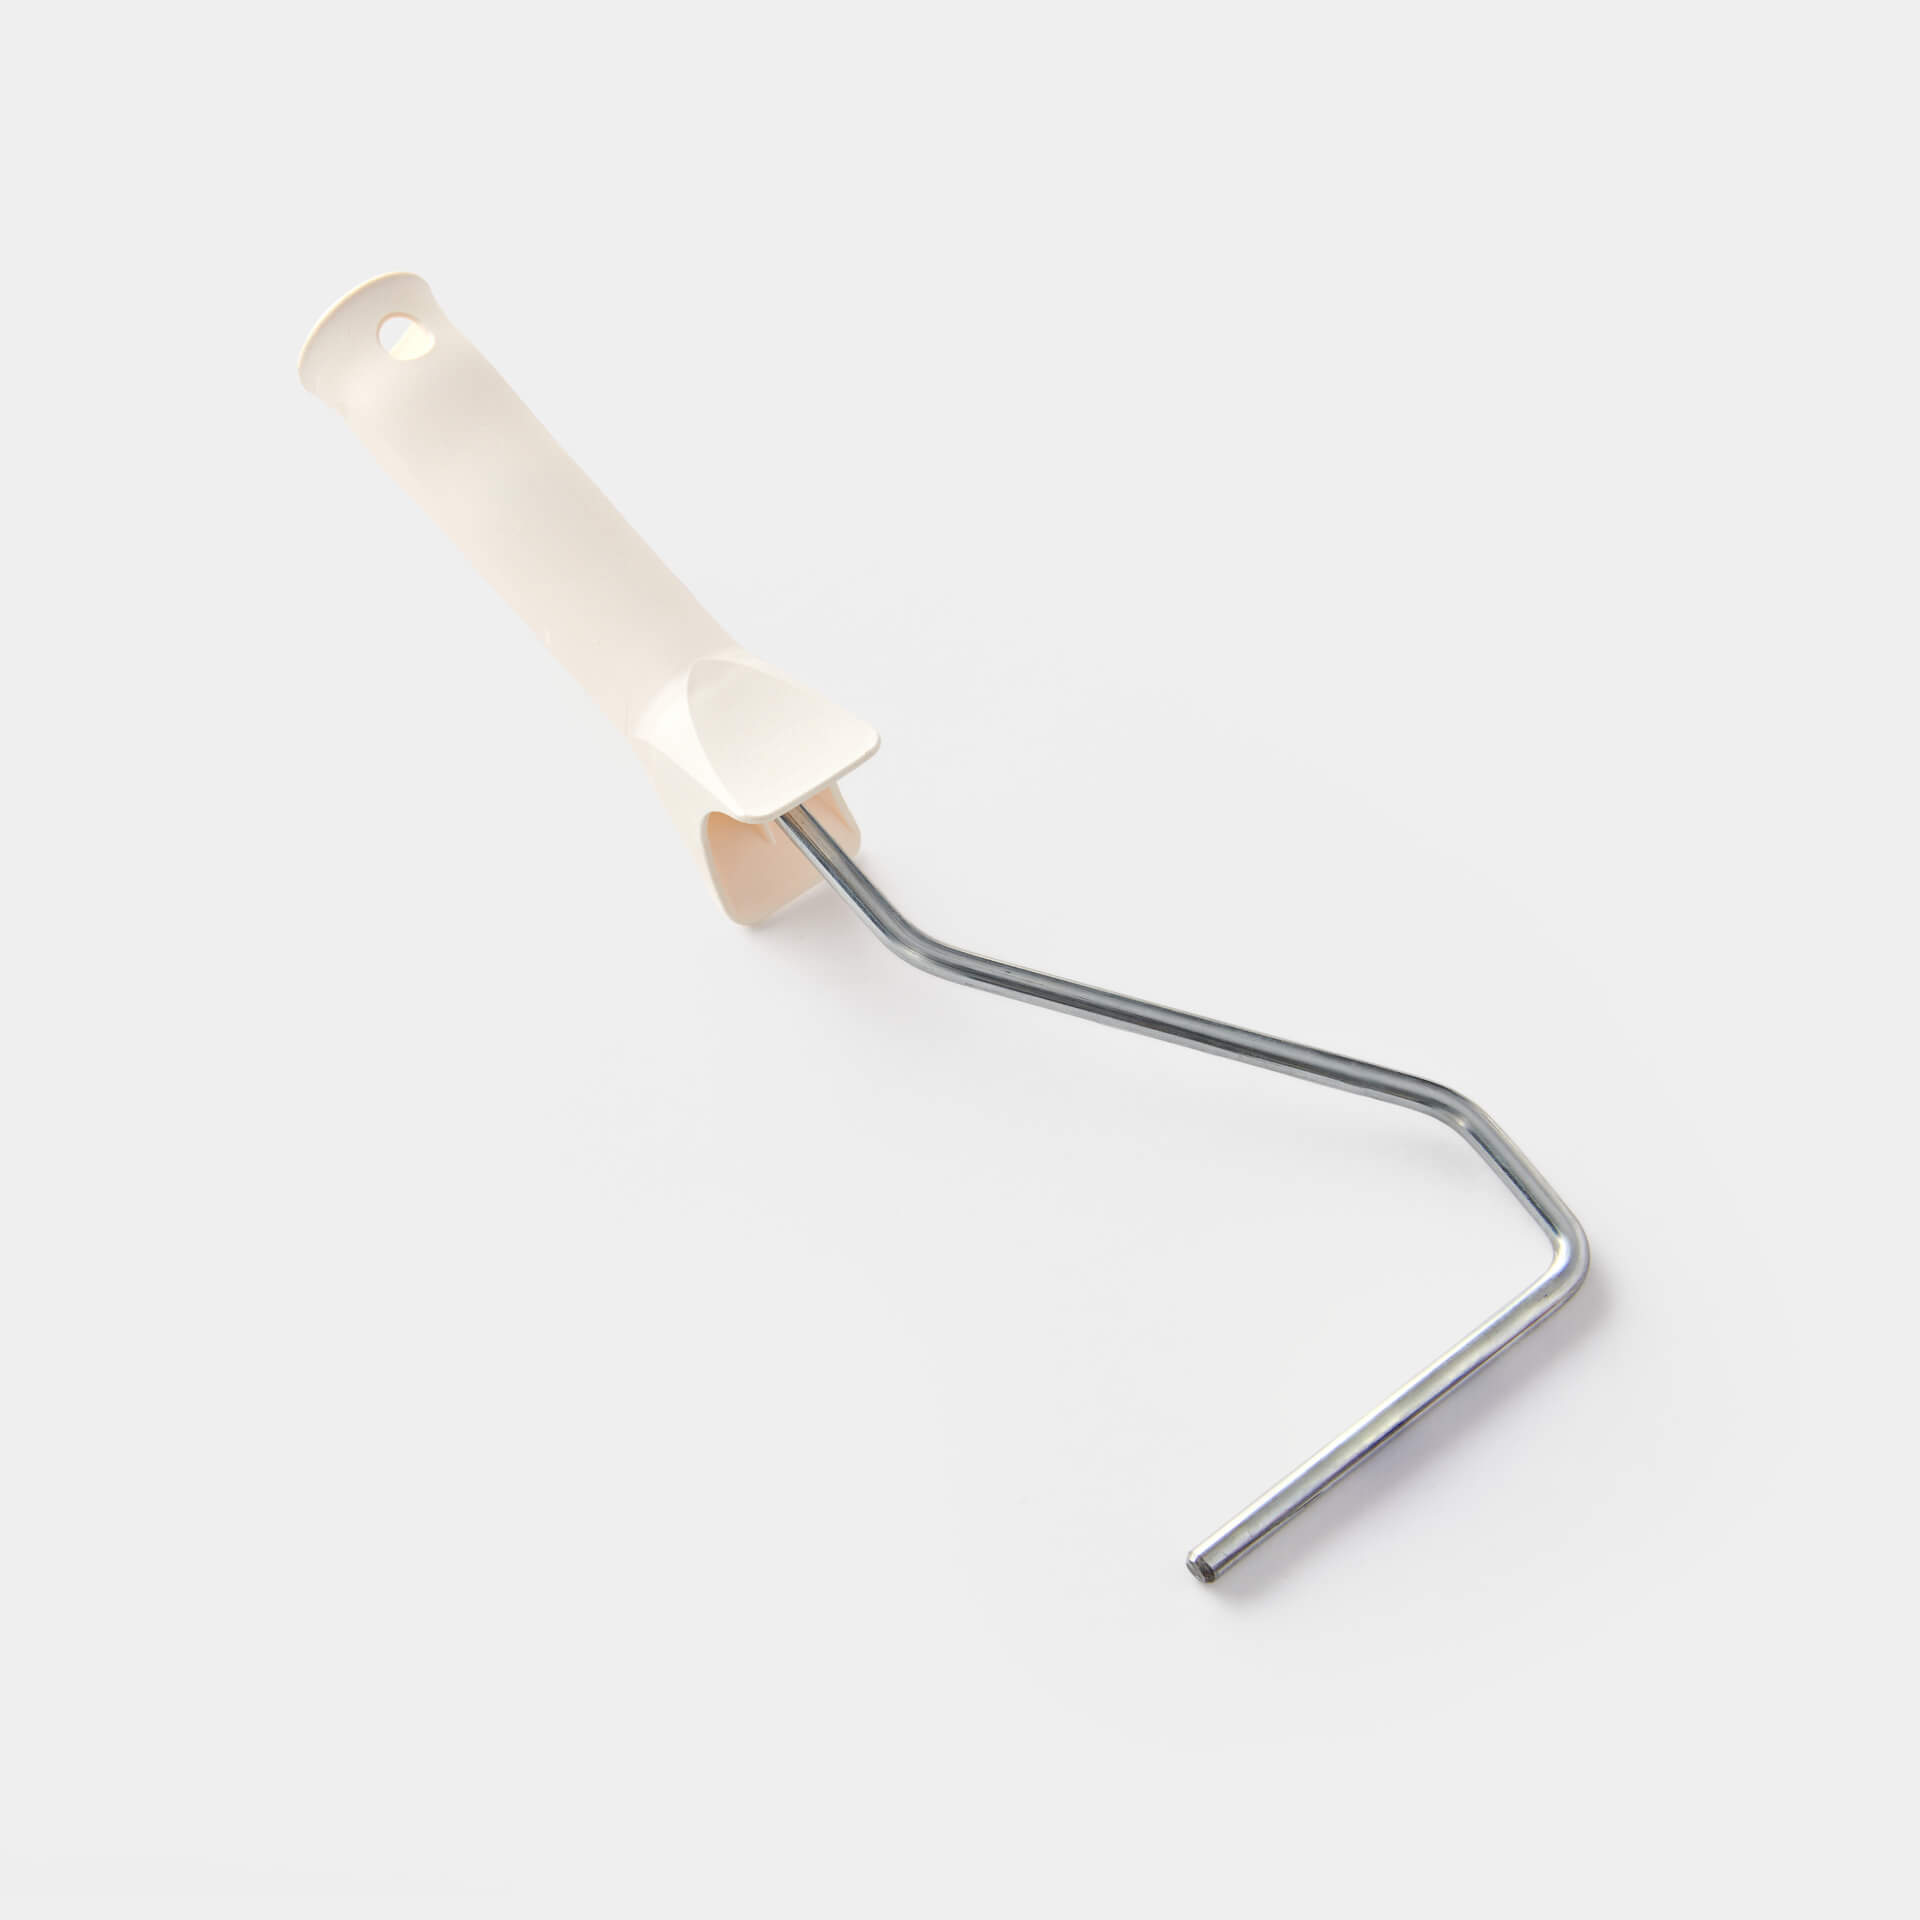
- Brush, paint roller or spray gun: For larger areas, our paint roller for water-based paints and spray guns are also great options.
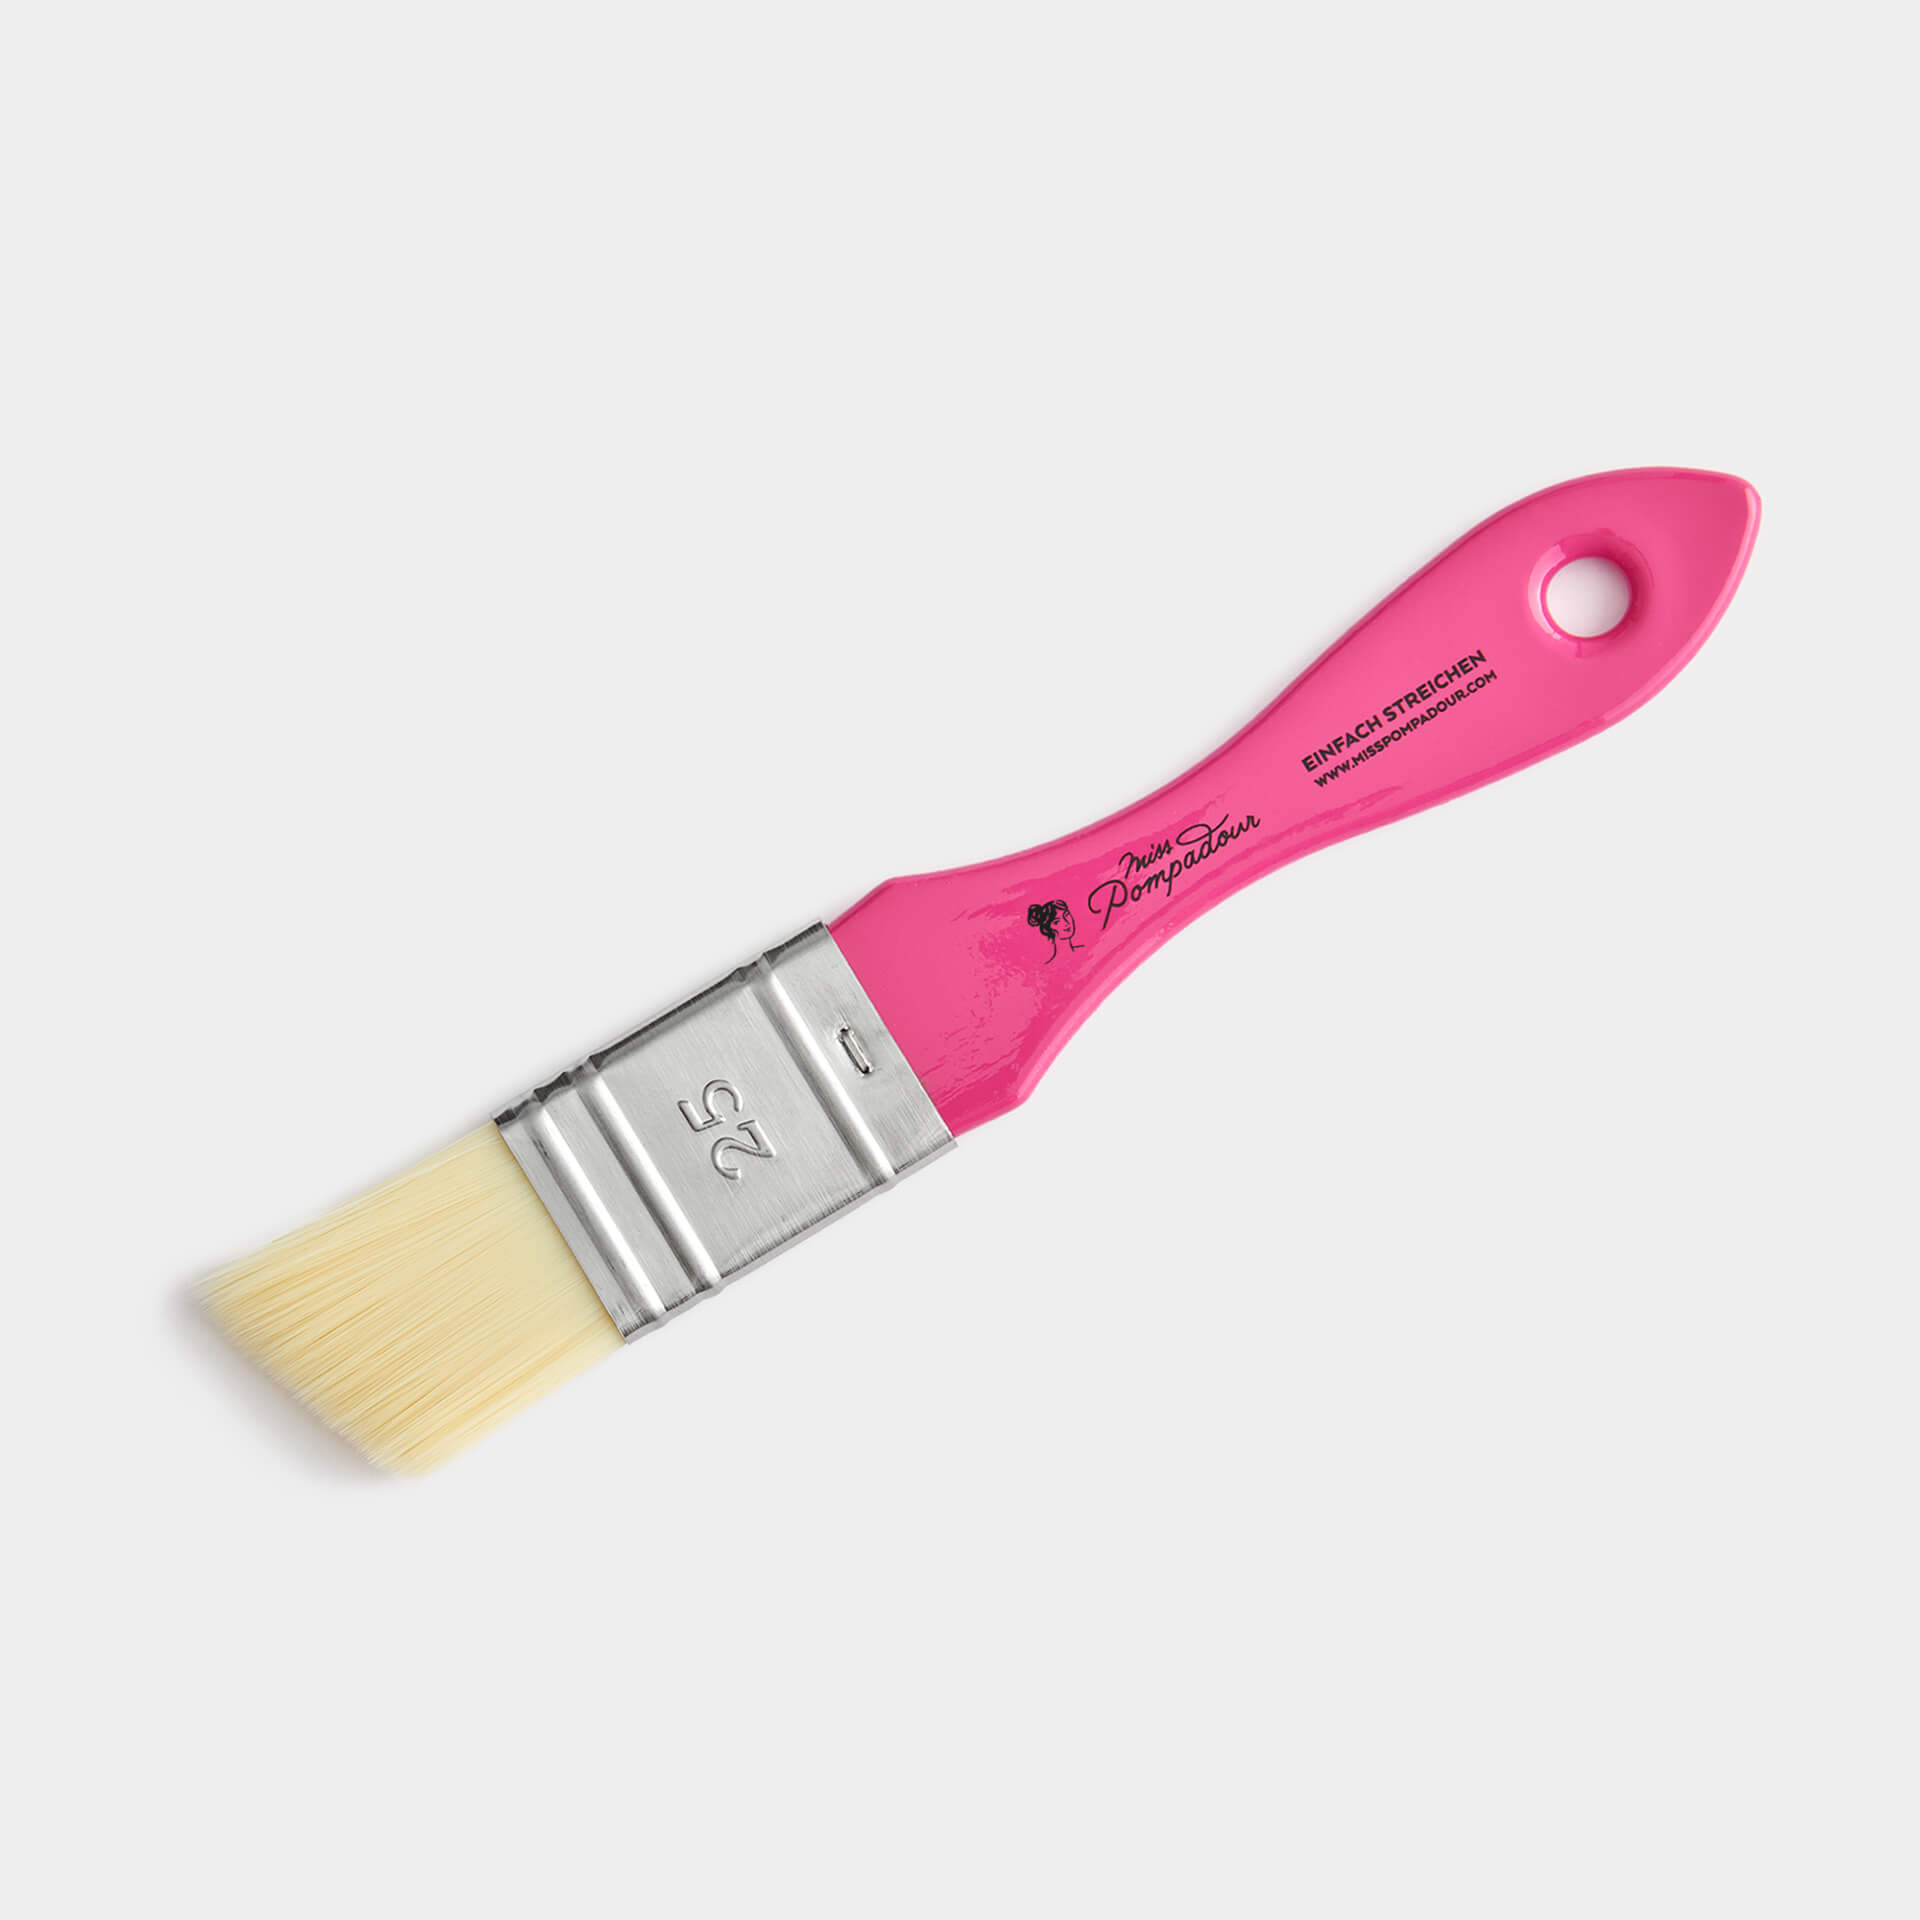
- For precise work, like painting around window frames, our angled and eco-friendly brush For painting - MissPompadour brush is just the ticket. With a steady hand, you might even skip the masking tape altogether!
Colour selection


Tools and Tools


Questions ?
We're here to help
We'll help you anytime, via Phone (Mo-Fr 09-18, Sa until 16 Uhr), via WhatsApp or directly via our Contact Form.