


Painting Wooden Ceilings and Wall Panelings: How to Beautify Old Wood Panels
10 min reading time
Until the 1980s, panelled ceilings were modern. Unfortunately, they no longer fit in with our modern interpretation of cosiness. Most of the time, the softwood of these ceilings develops an unattractive yellow tinge over the years. Or it is stained dark from the start and then the ceiling literally presses down on your head from above. Sometimes the panels are also made of plastic, which looks old-fashioned and oppressive. Fortunately, ceilings and wall panelling can be painted quite easily. Then they look really chic in no time at all.
Table of contents
2. Choosing the right colour for your wooden ceiling
3. Step-by-step guide: How to paint and varnish ceiling panels properly
4. Frequently asked questions about painting wood ceilings and wall panels
5. Video: MissPompadour Campus: Painting Ceiling Beams Project
6. You still need these accessories
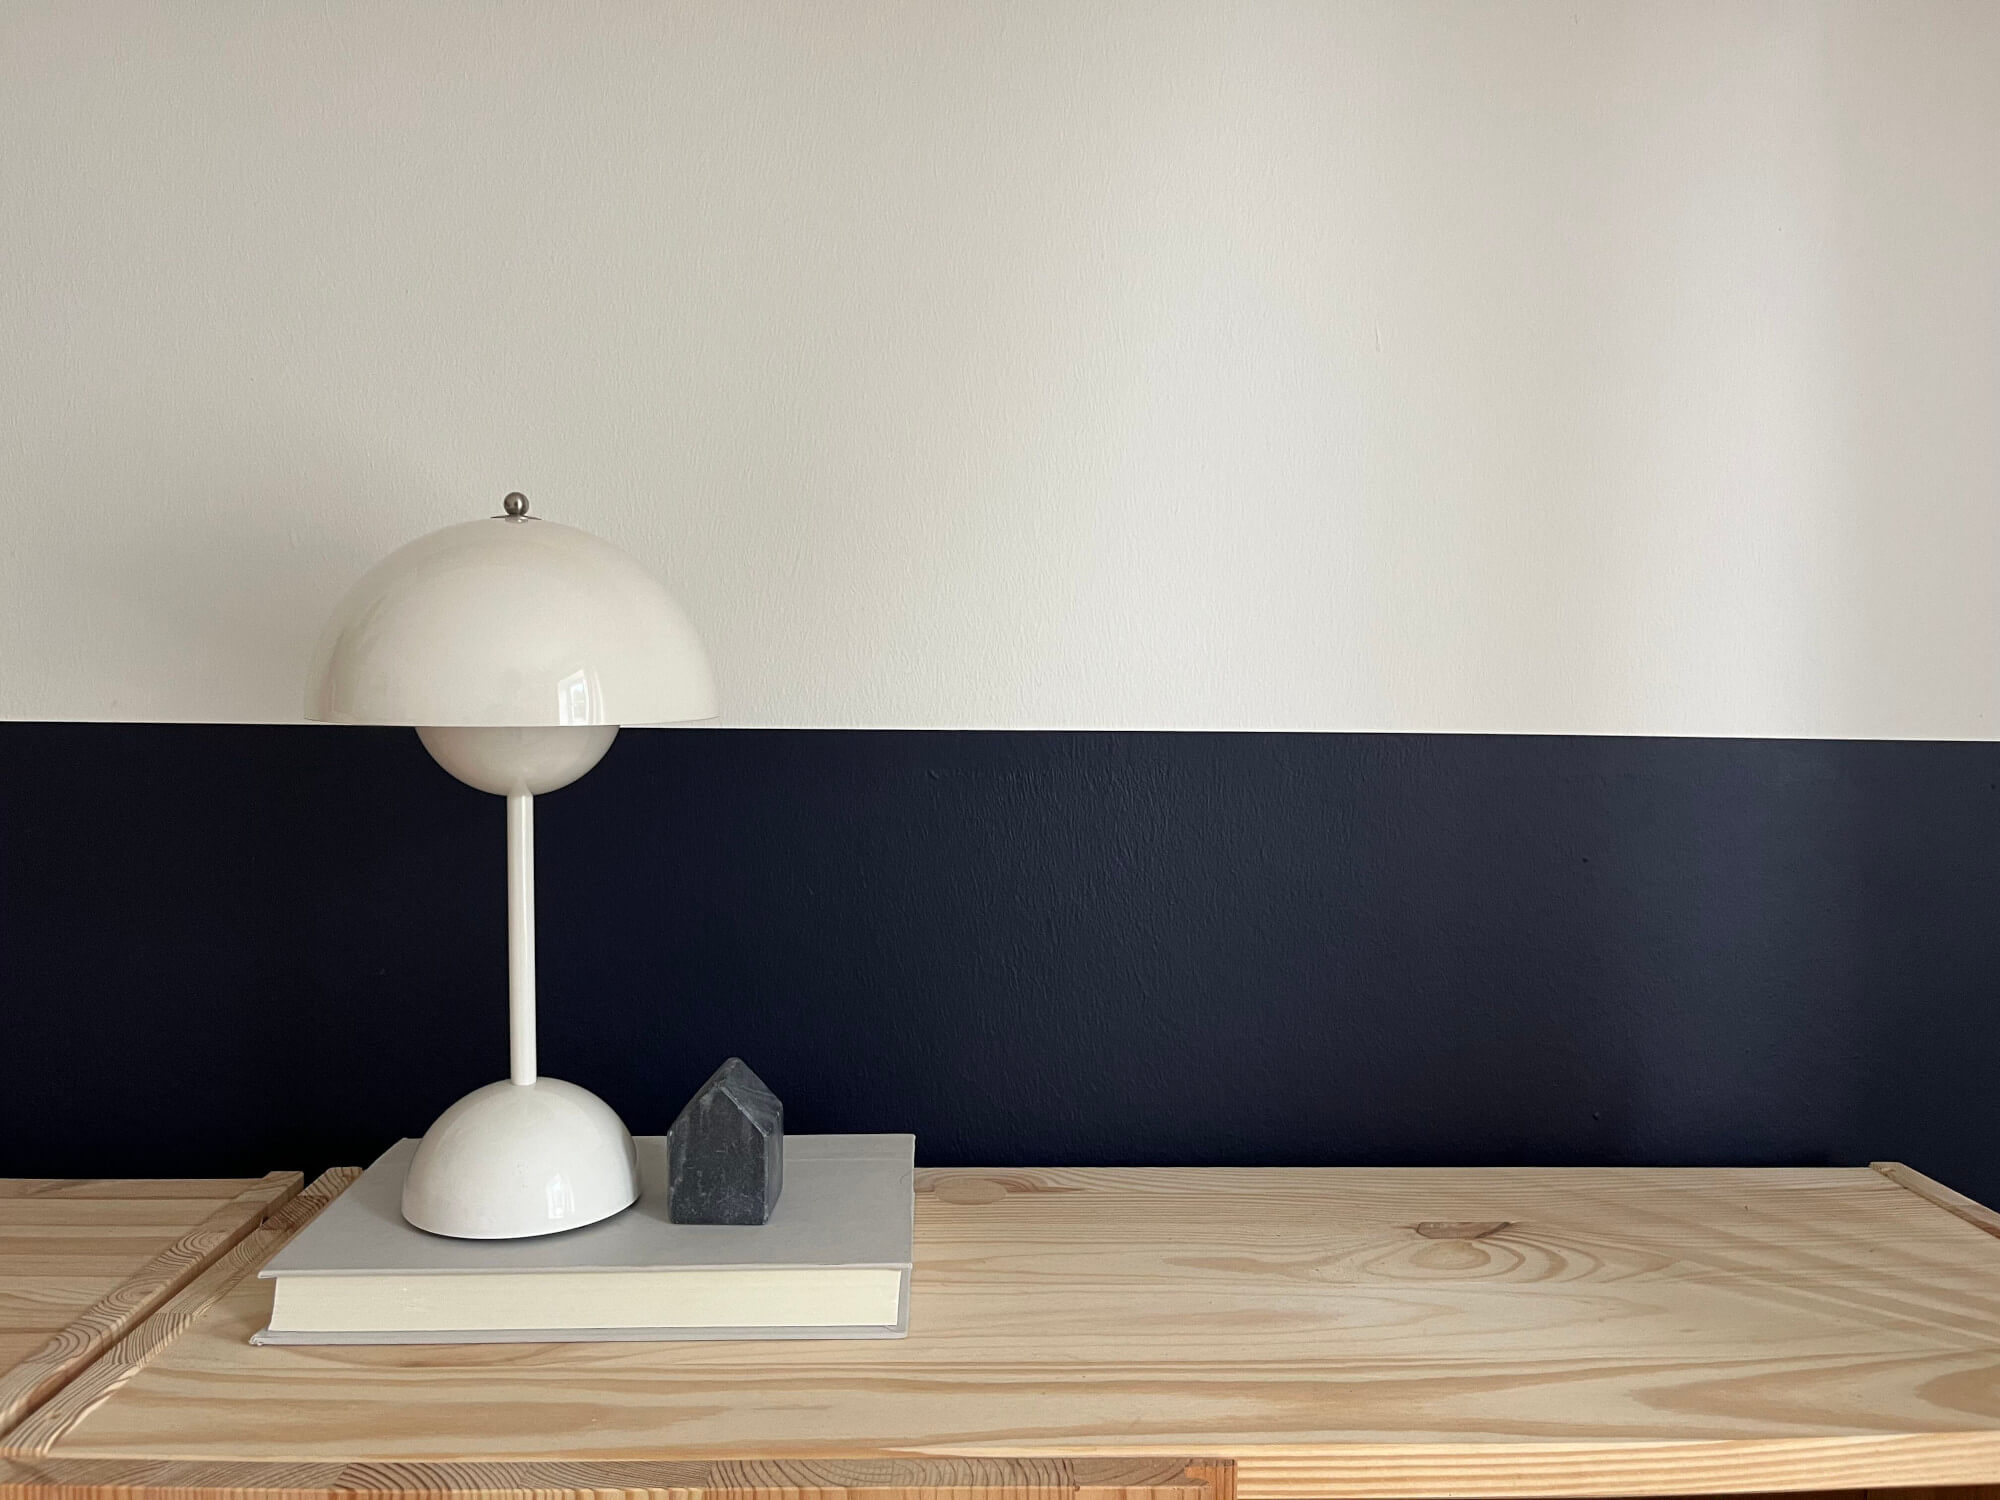
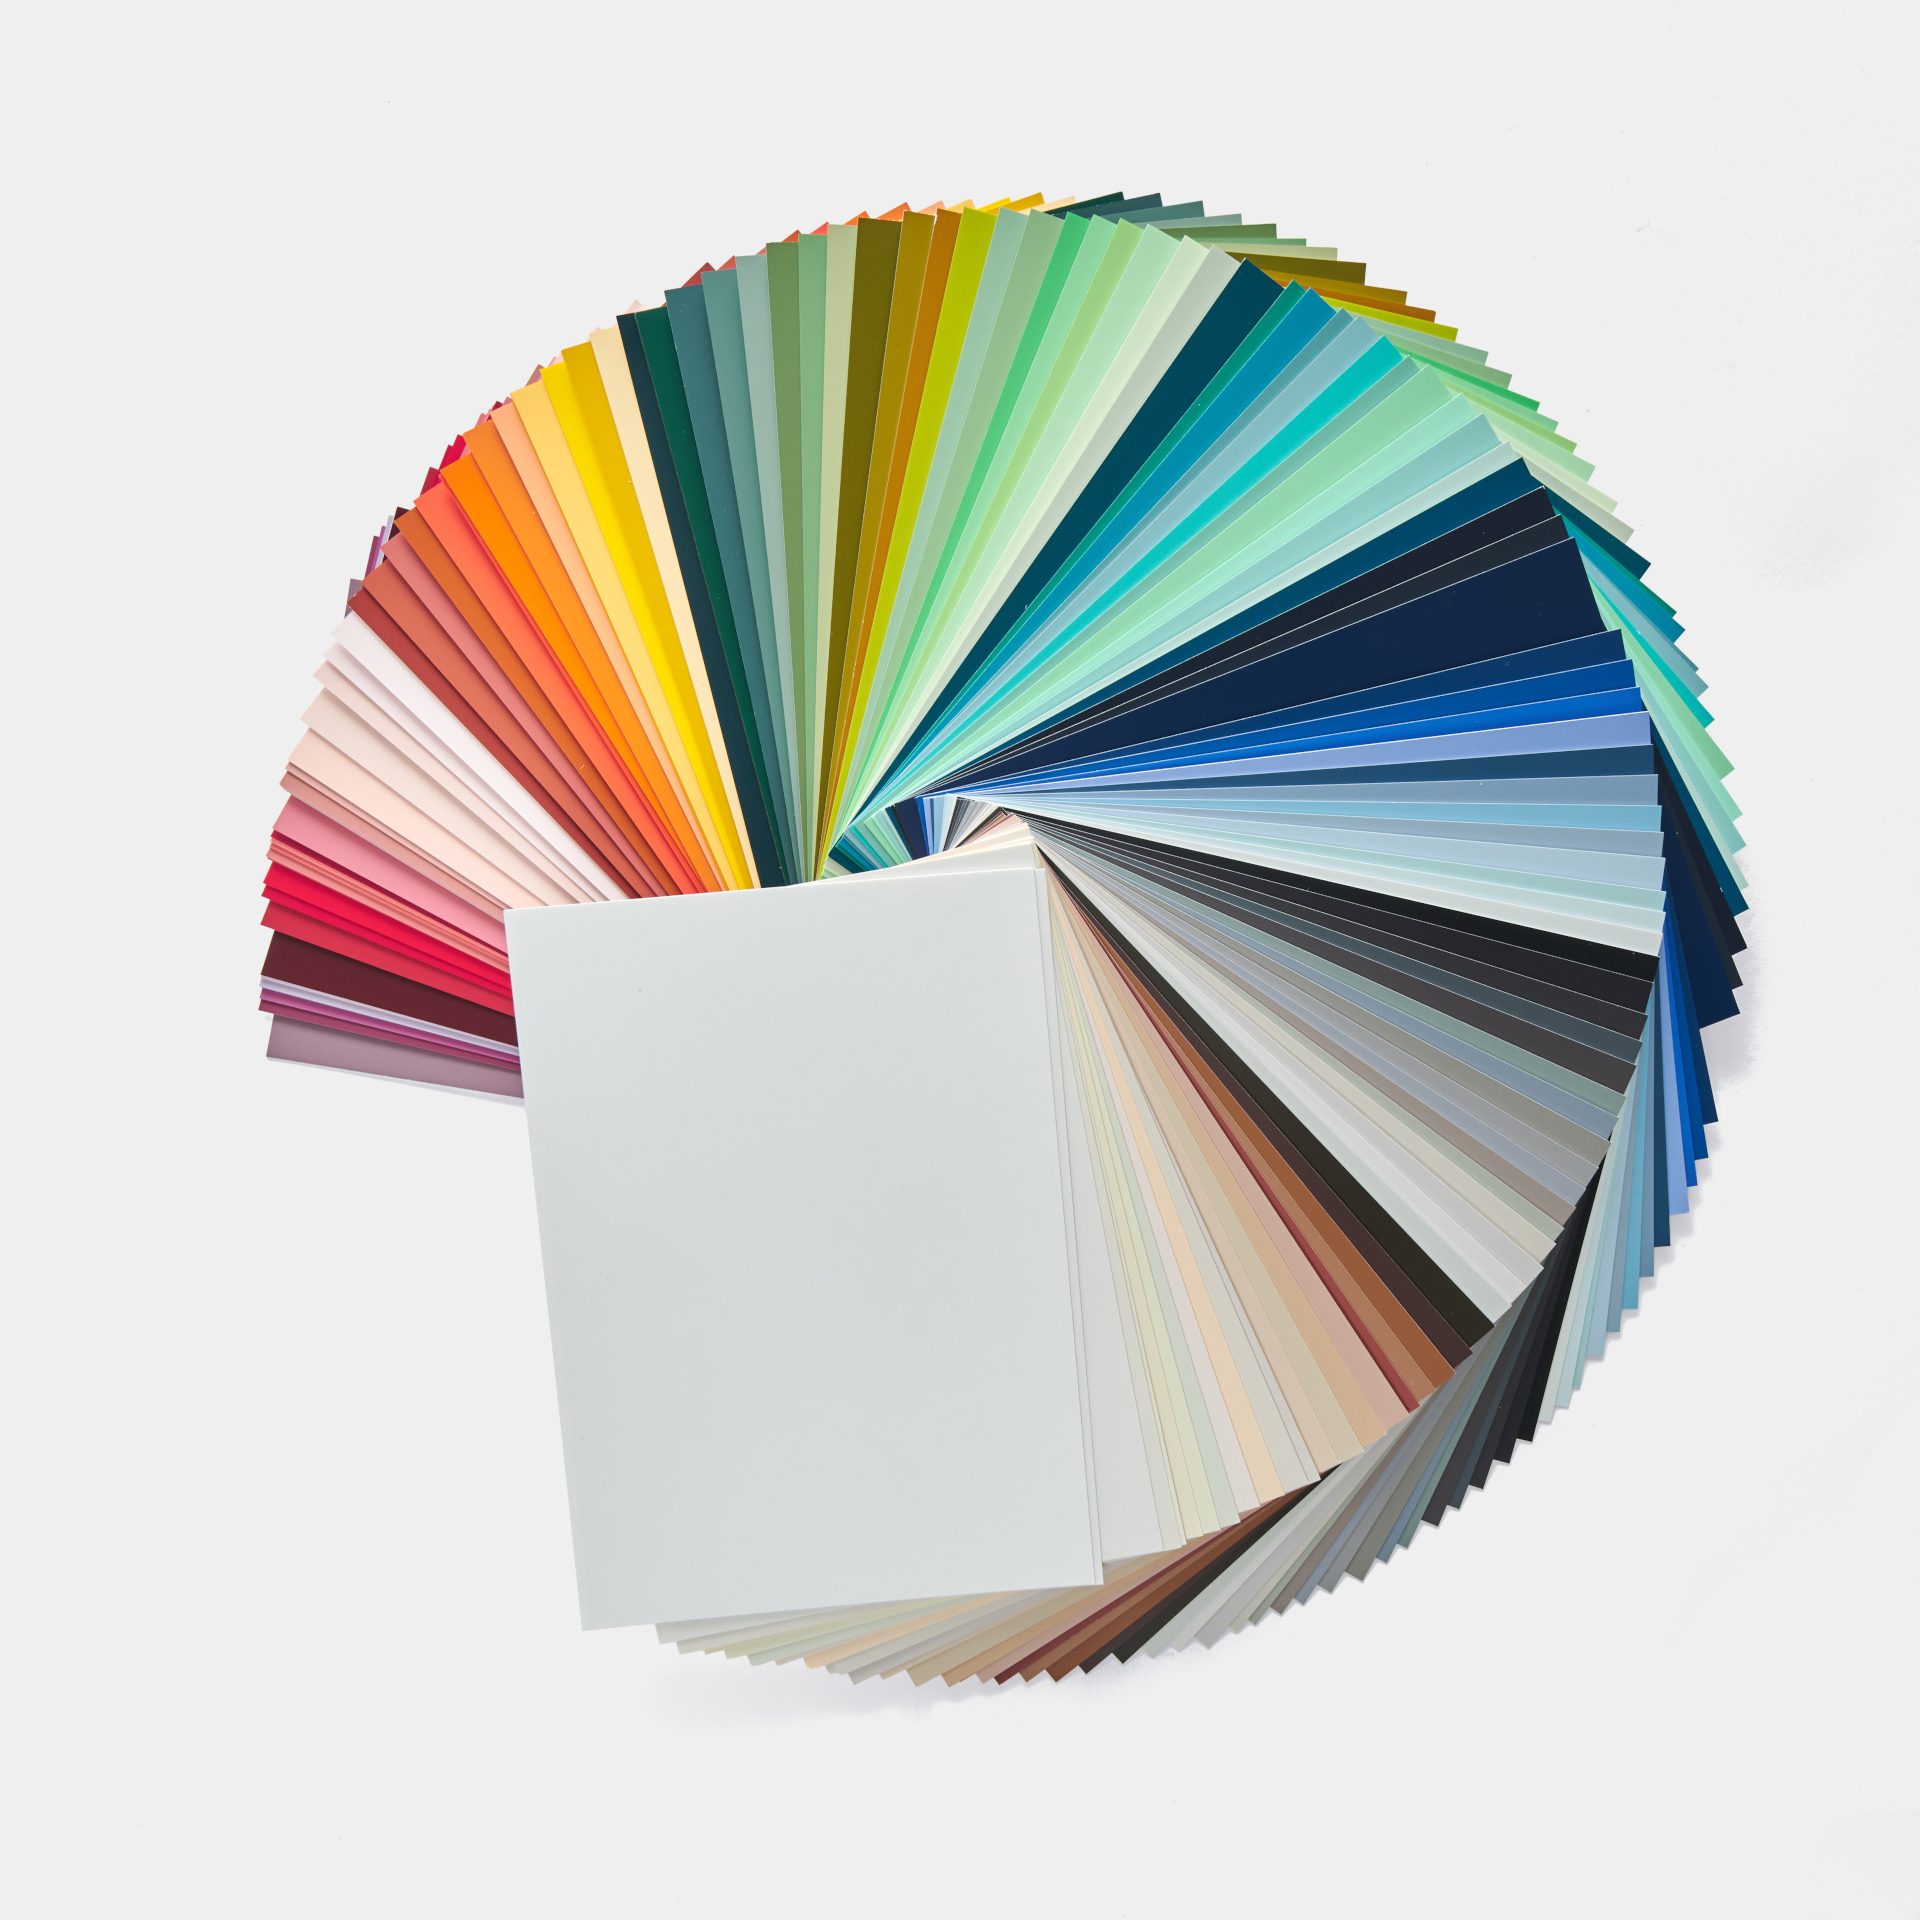
Choosing the Perfect Colour for Your Wooden Ceiling
How often do you find yourself wanting to paint your wooden ceiling white? But then the questions start! For starters, not all whites are created equal – as anyone who’s browsed our site will know instantly. And for another, many people struggle to believe it’s that simple to transform a brown or dark wood ceiling to a beautiful white. We’ve broken down exactly what you need to consider and the best way to go about it in our guide!
You might be wondering if you can really paint over a brown or dark wooden ceiling. Yes, you absolutely can with our wood lacquer!
White and other light colours are often a fantastic choice for ceilings, as they tend to make rooms feel larger and more spacious. This is a real bonus in narrow hallways, rooms with low ceilings, and smaller spaces.
Things to keep in mind when painting your ceiling white: If you're aiming for a white wooden ceiling, using a primer is also key here. However, our lacquers are designed to cover dark surfaces too. Just remember, when painting from a dark shade to a lighter one, you should generally expect to apply more coats than usual!
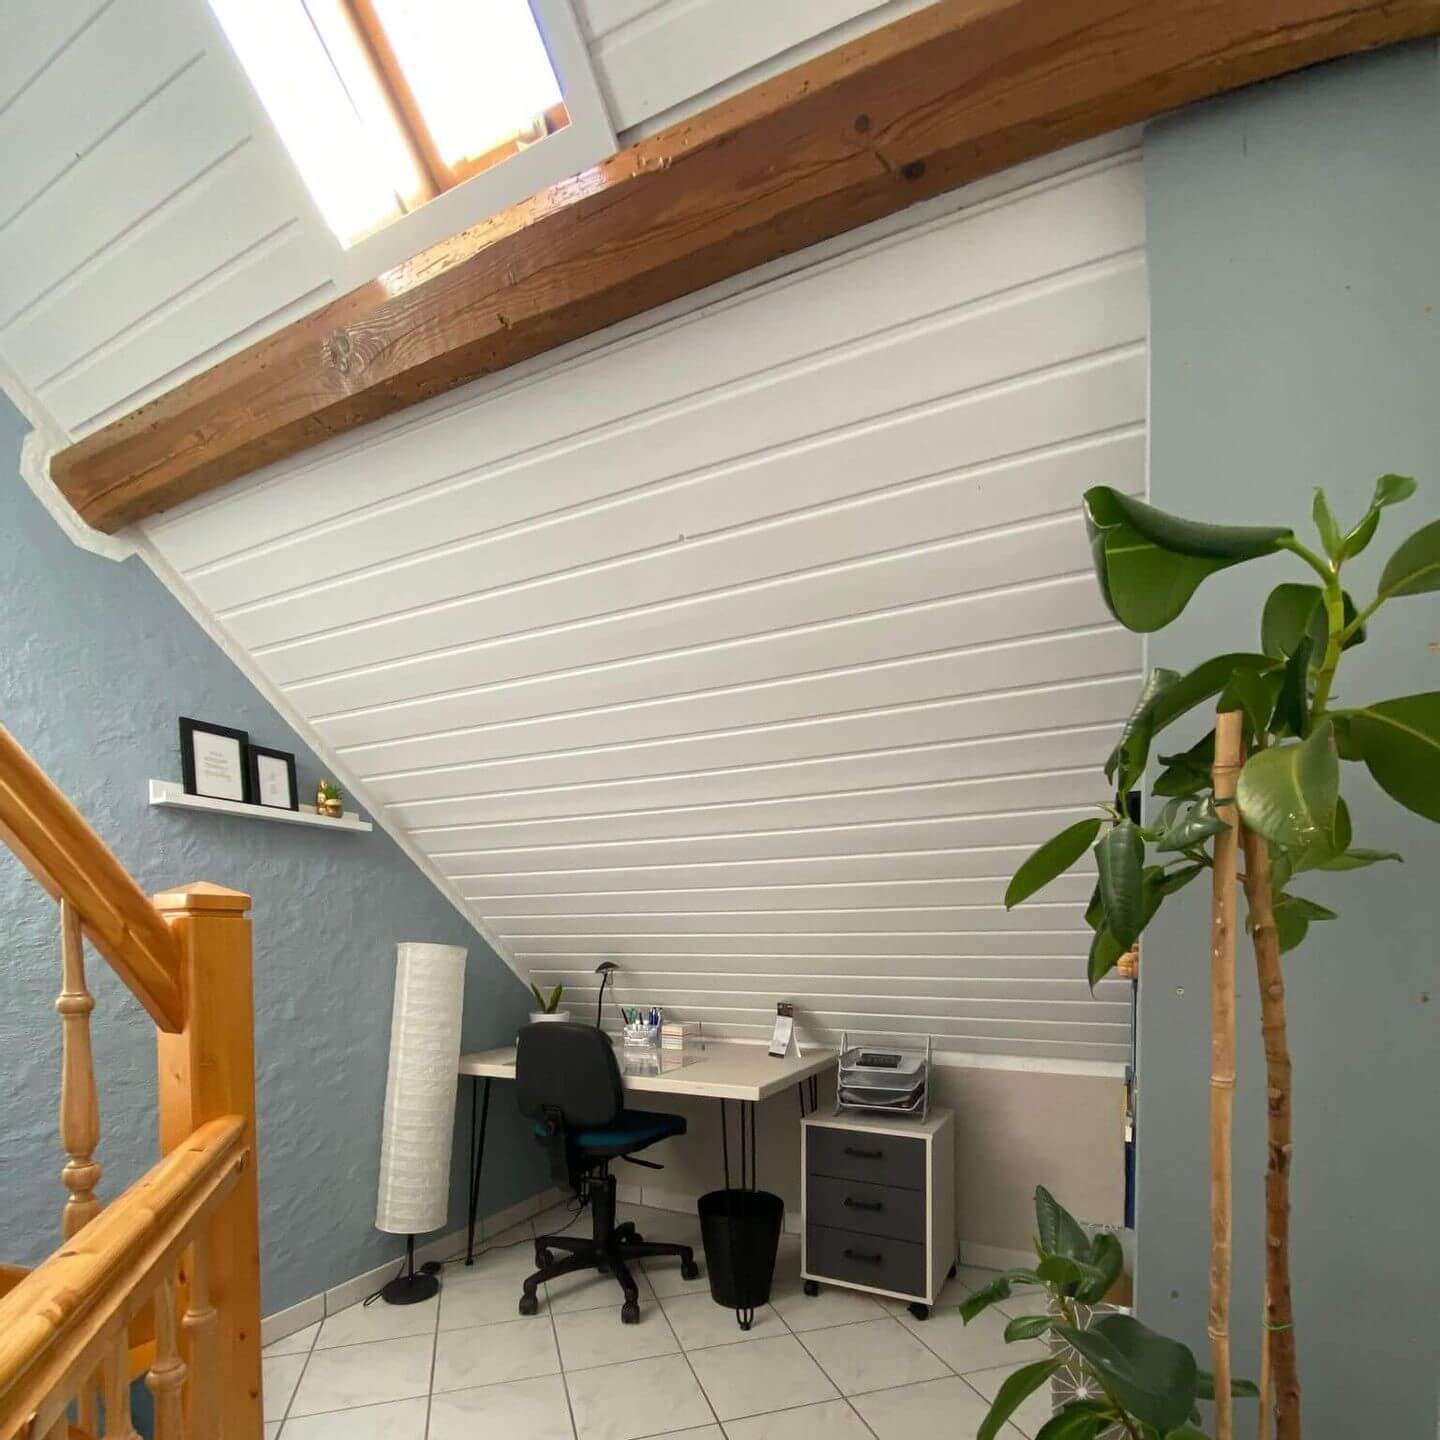
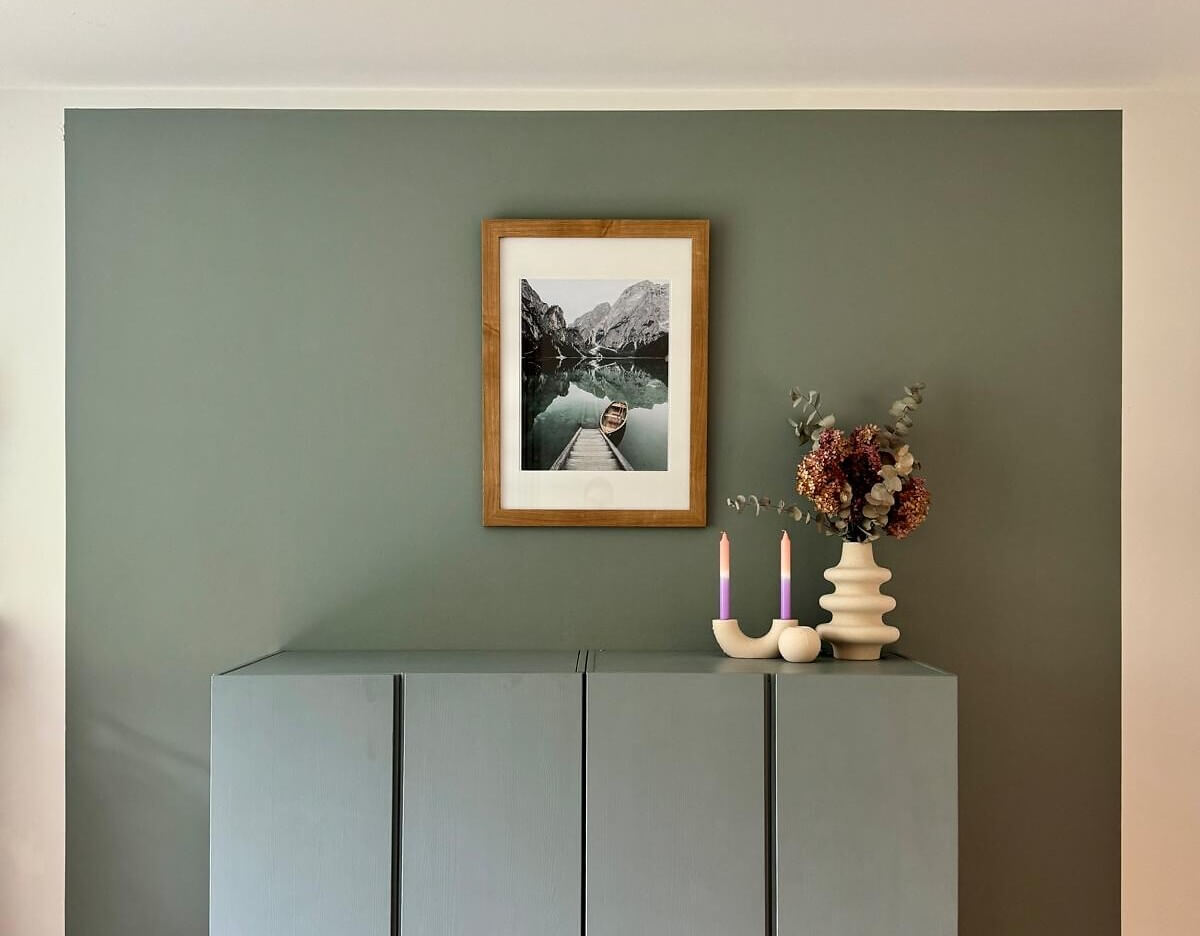
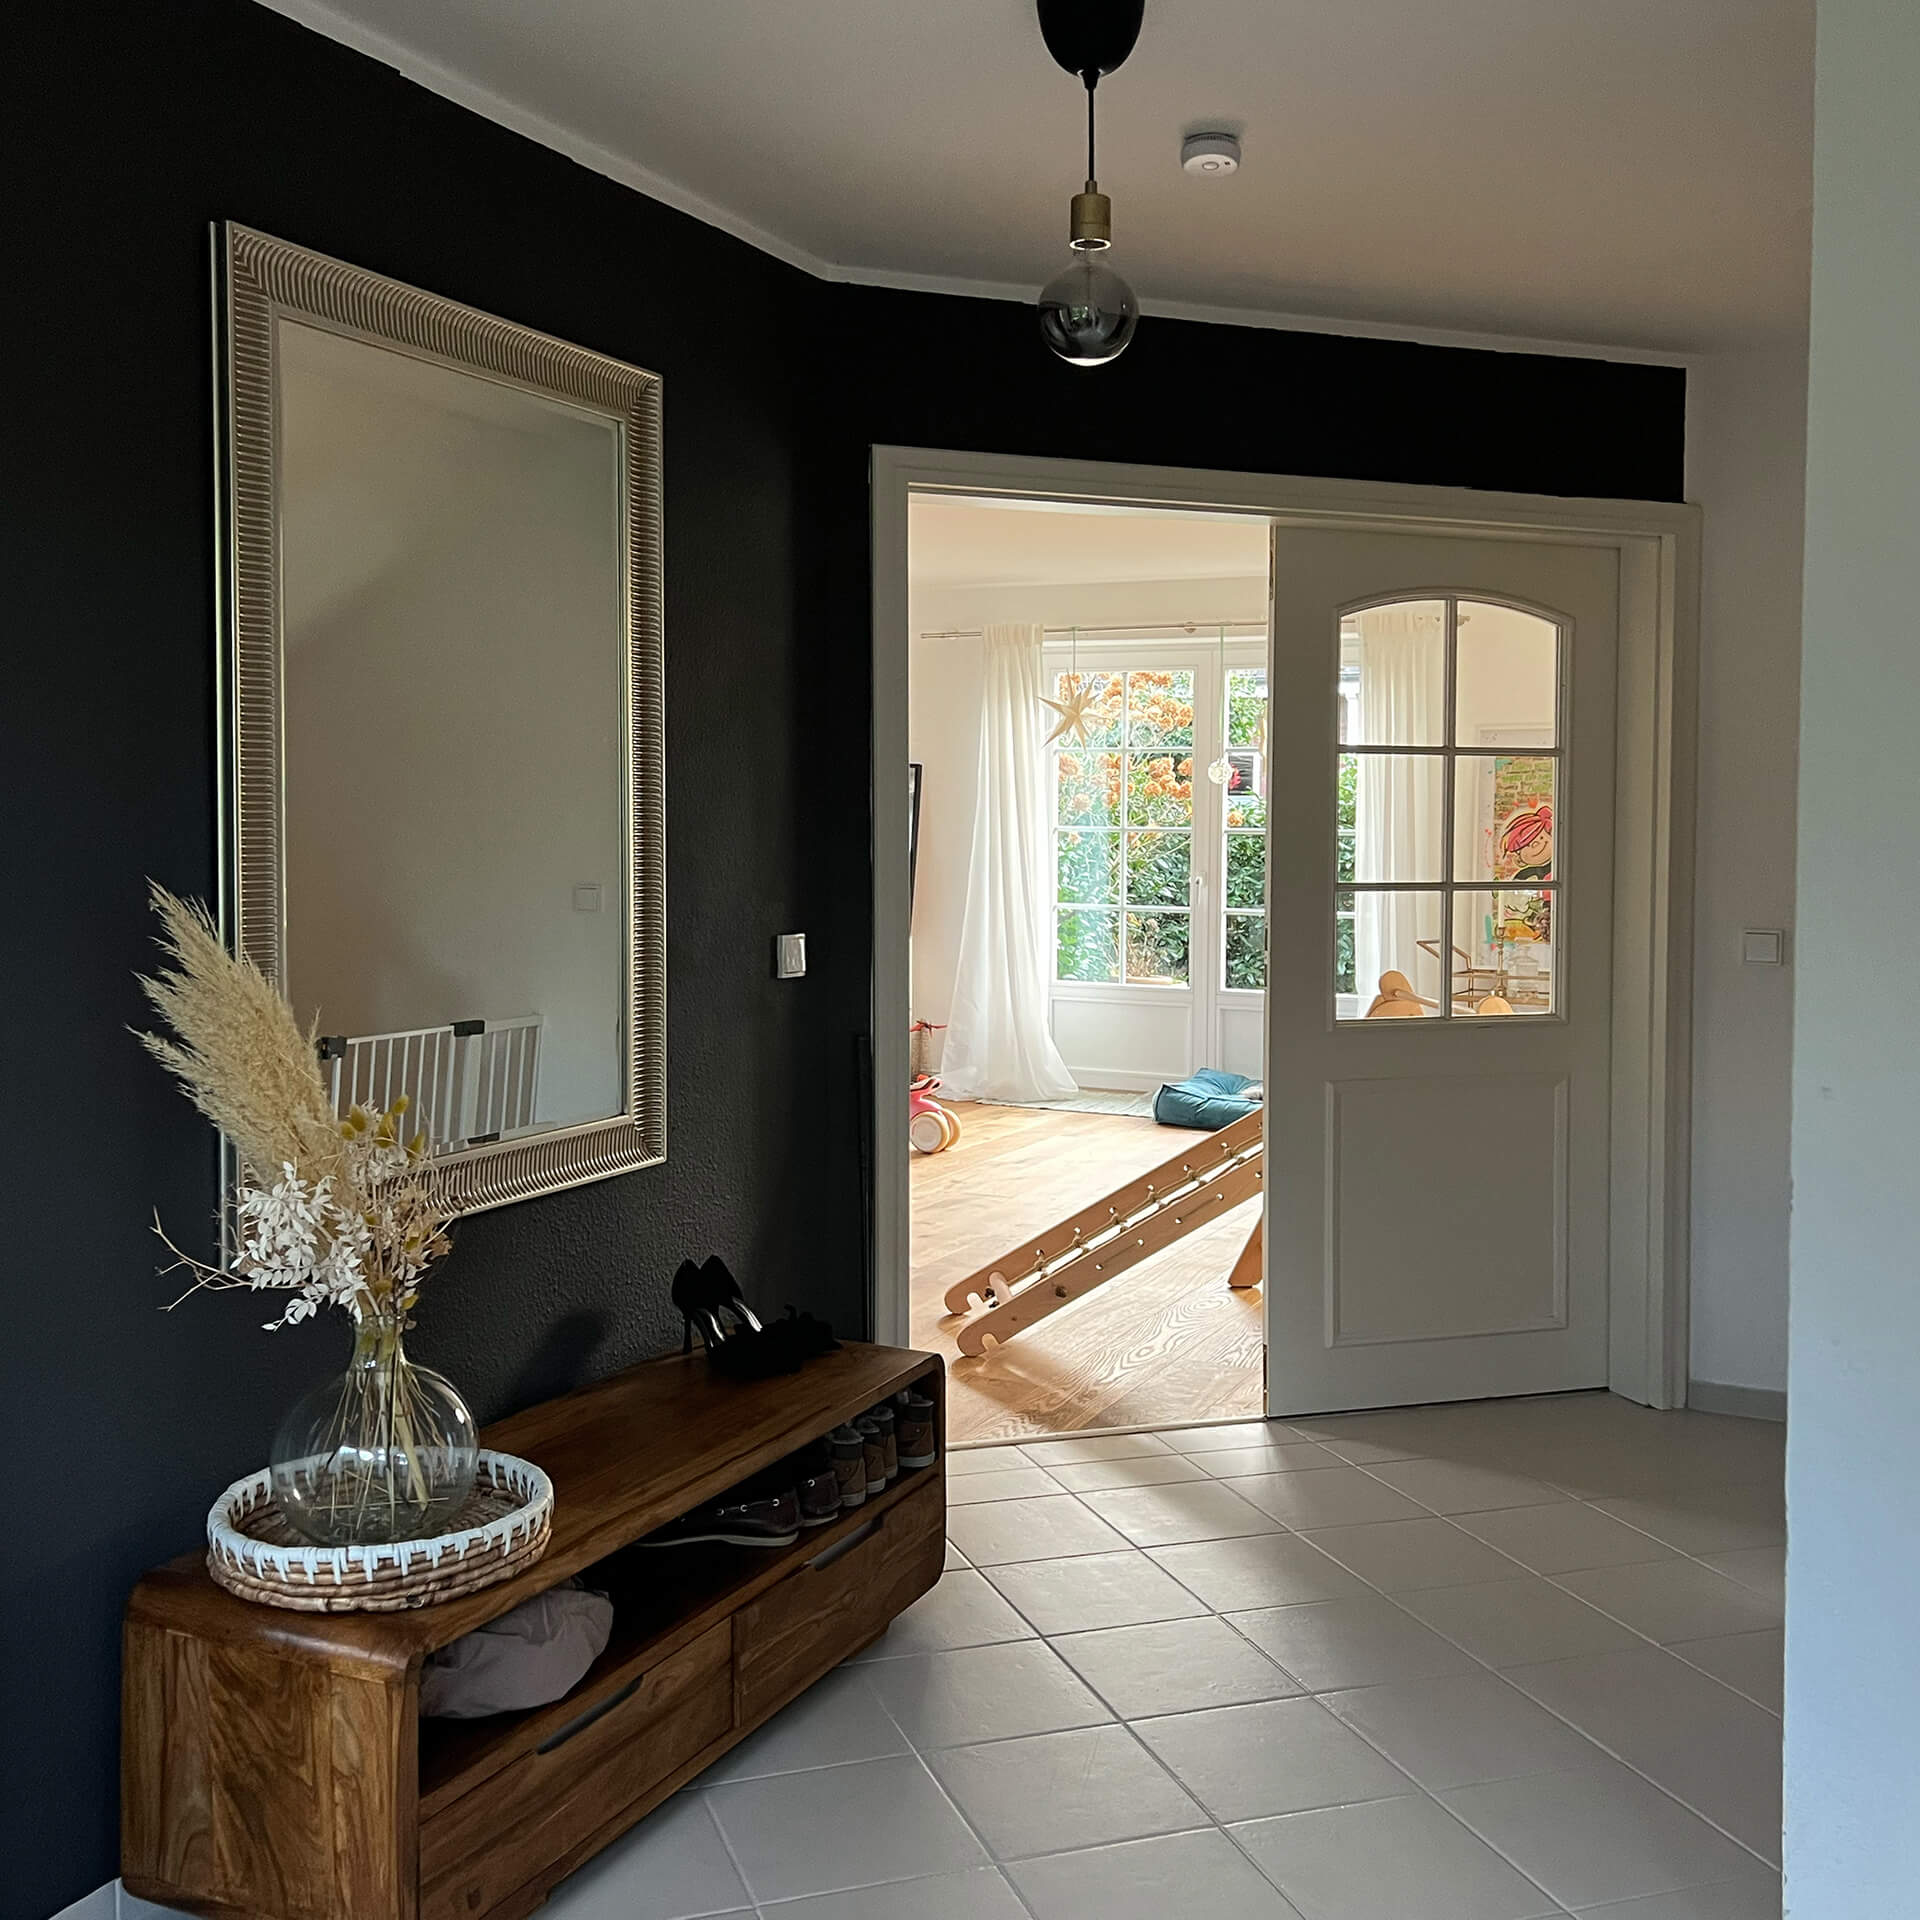
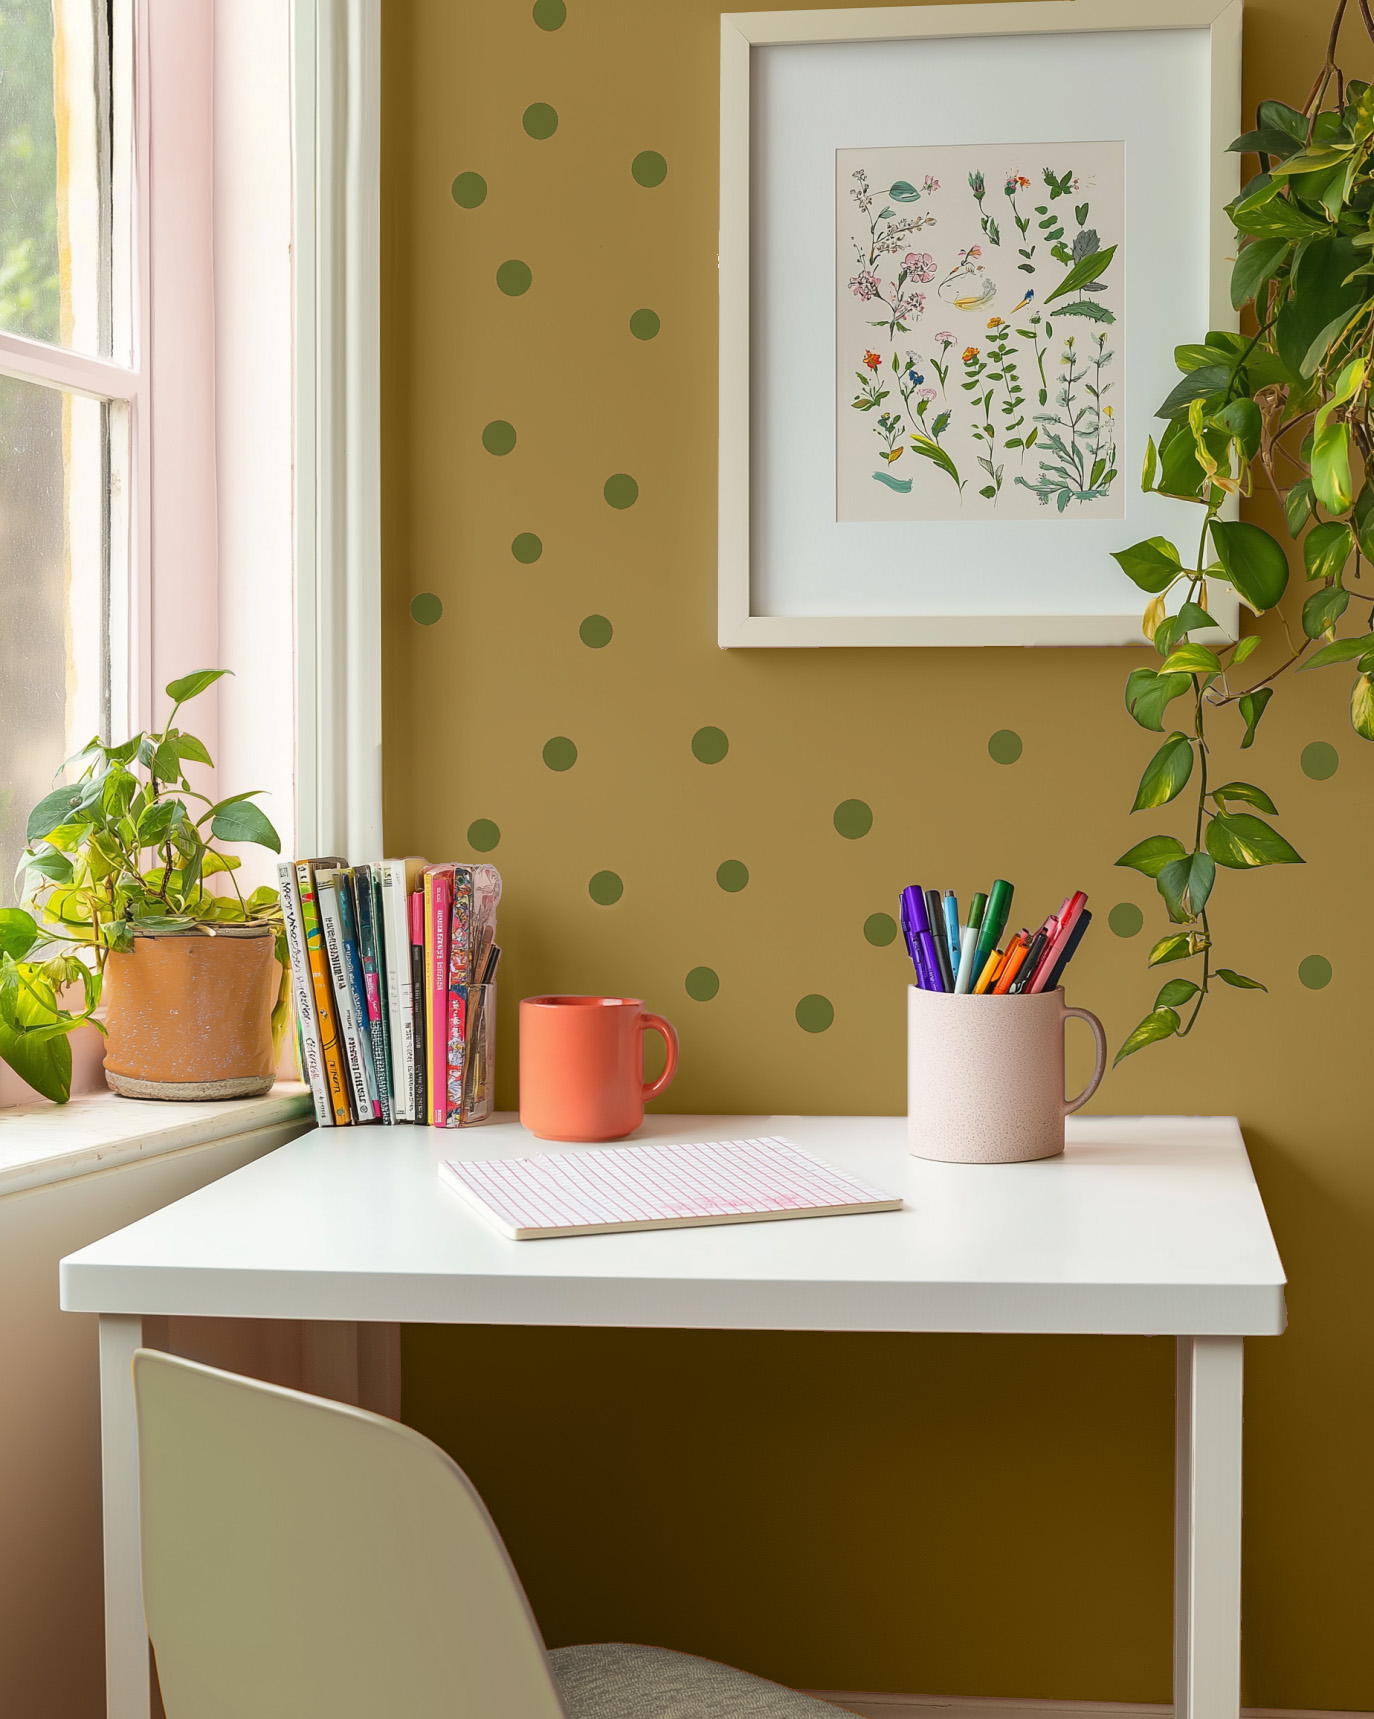
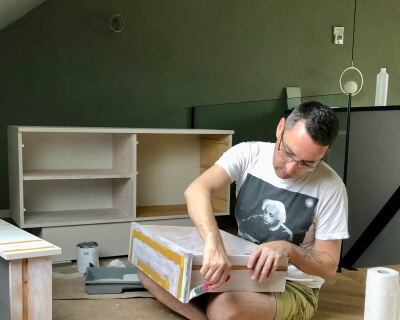
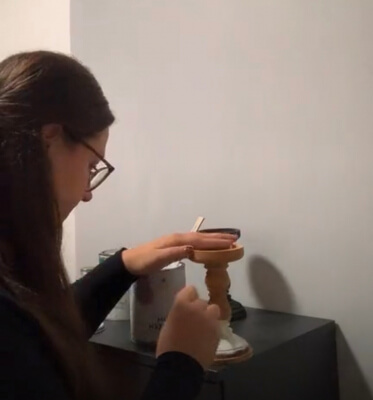
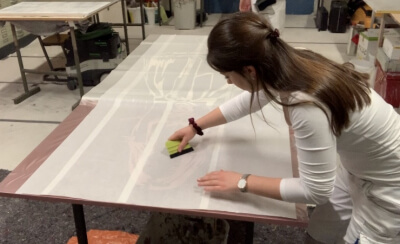
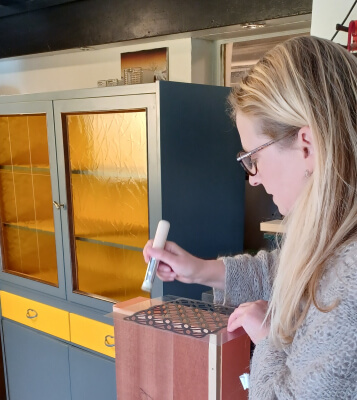
Before/after photos of painted or varnished wooden ceilings and wall panels
Why should you paint your wooden panels? If you want to remove wooden ceilings or wall panels, this often means a lot of dirt, work and perhaps even nasty surprises. With a coat of paint, you can make your ceiling and wall panels stand out visually or create a completely individualised eye-catcher. And who doesn't like to change their walls from time to time, whether plastered or with panels? Take a look at how our customers have transformed their rooms and let yourself be inspired!
Step-by-step guide: How to paint ceiling panels the right way
Step 1: Choose your shade
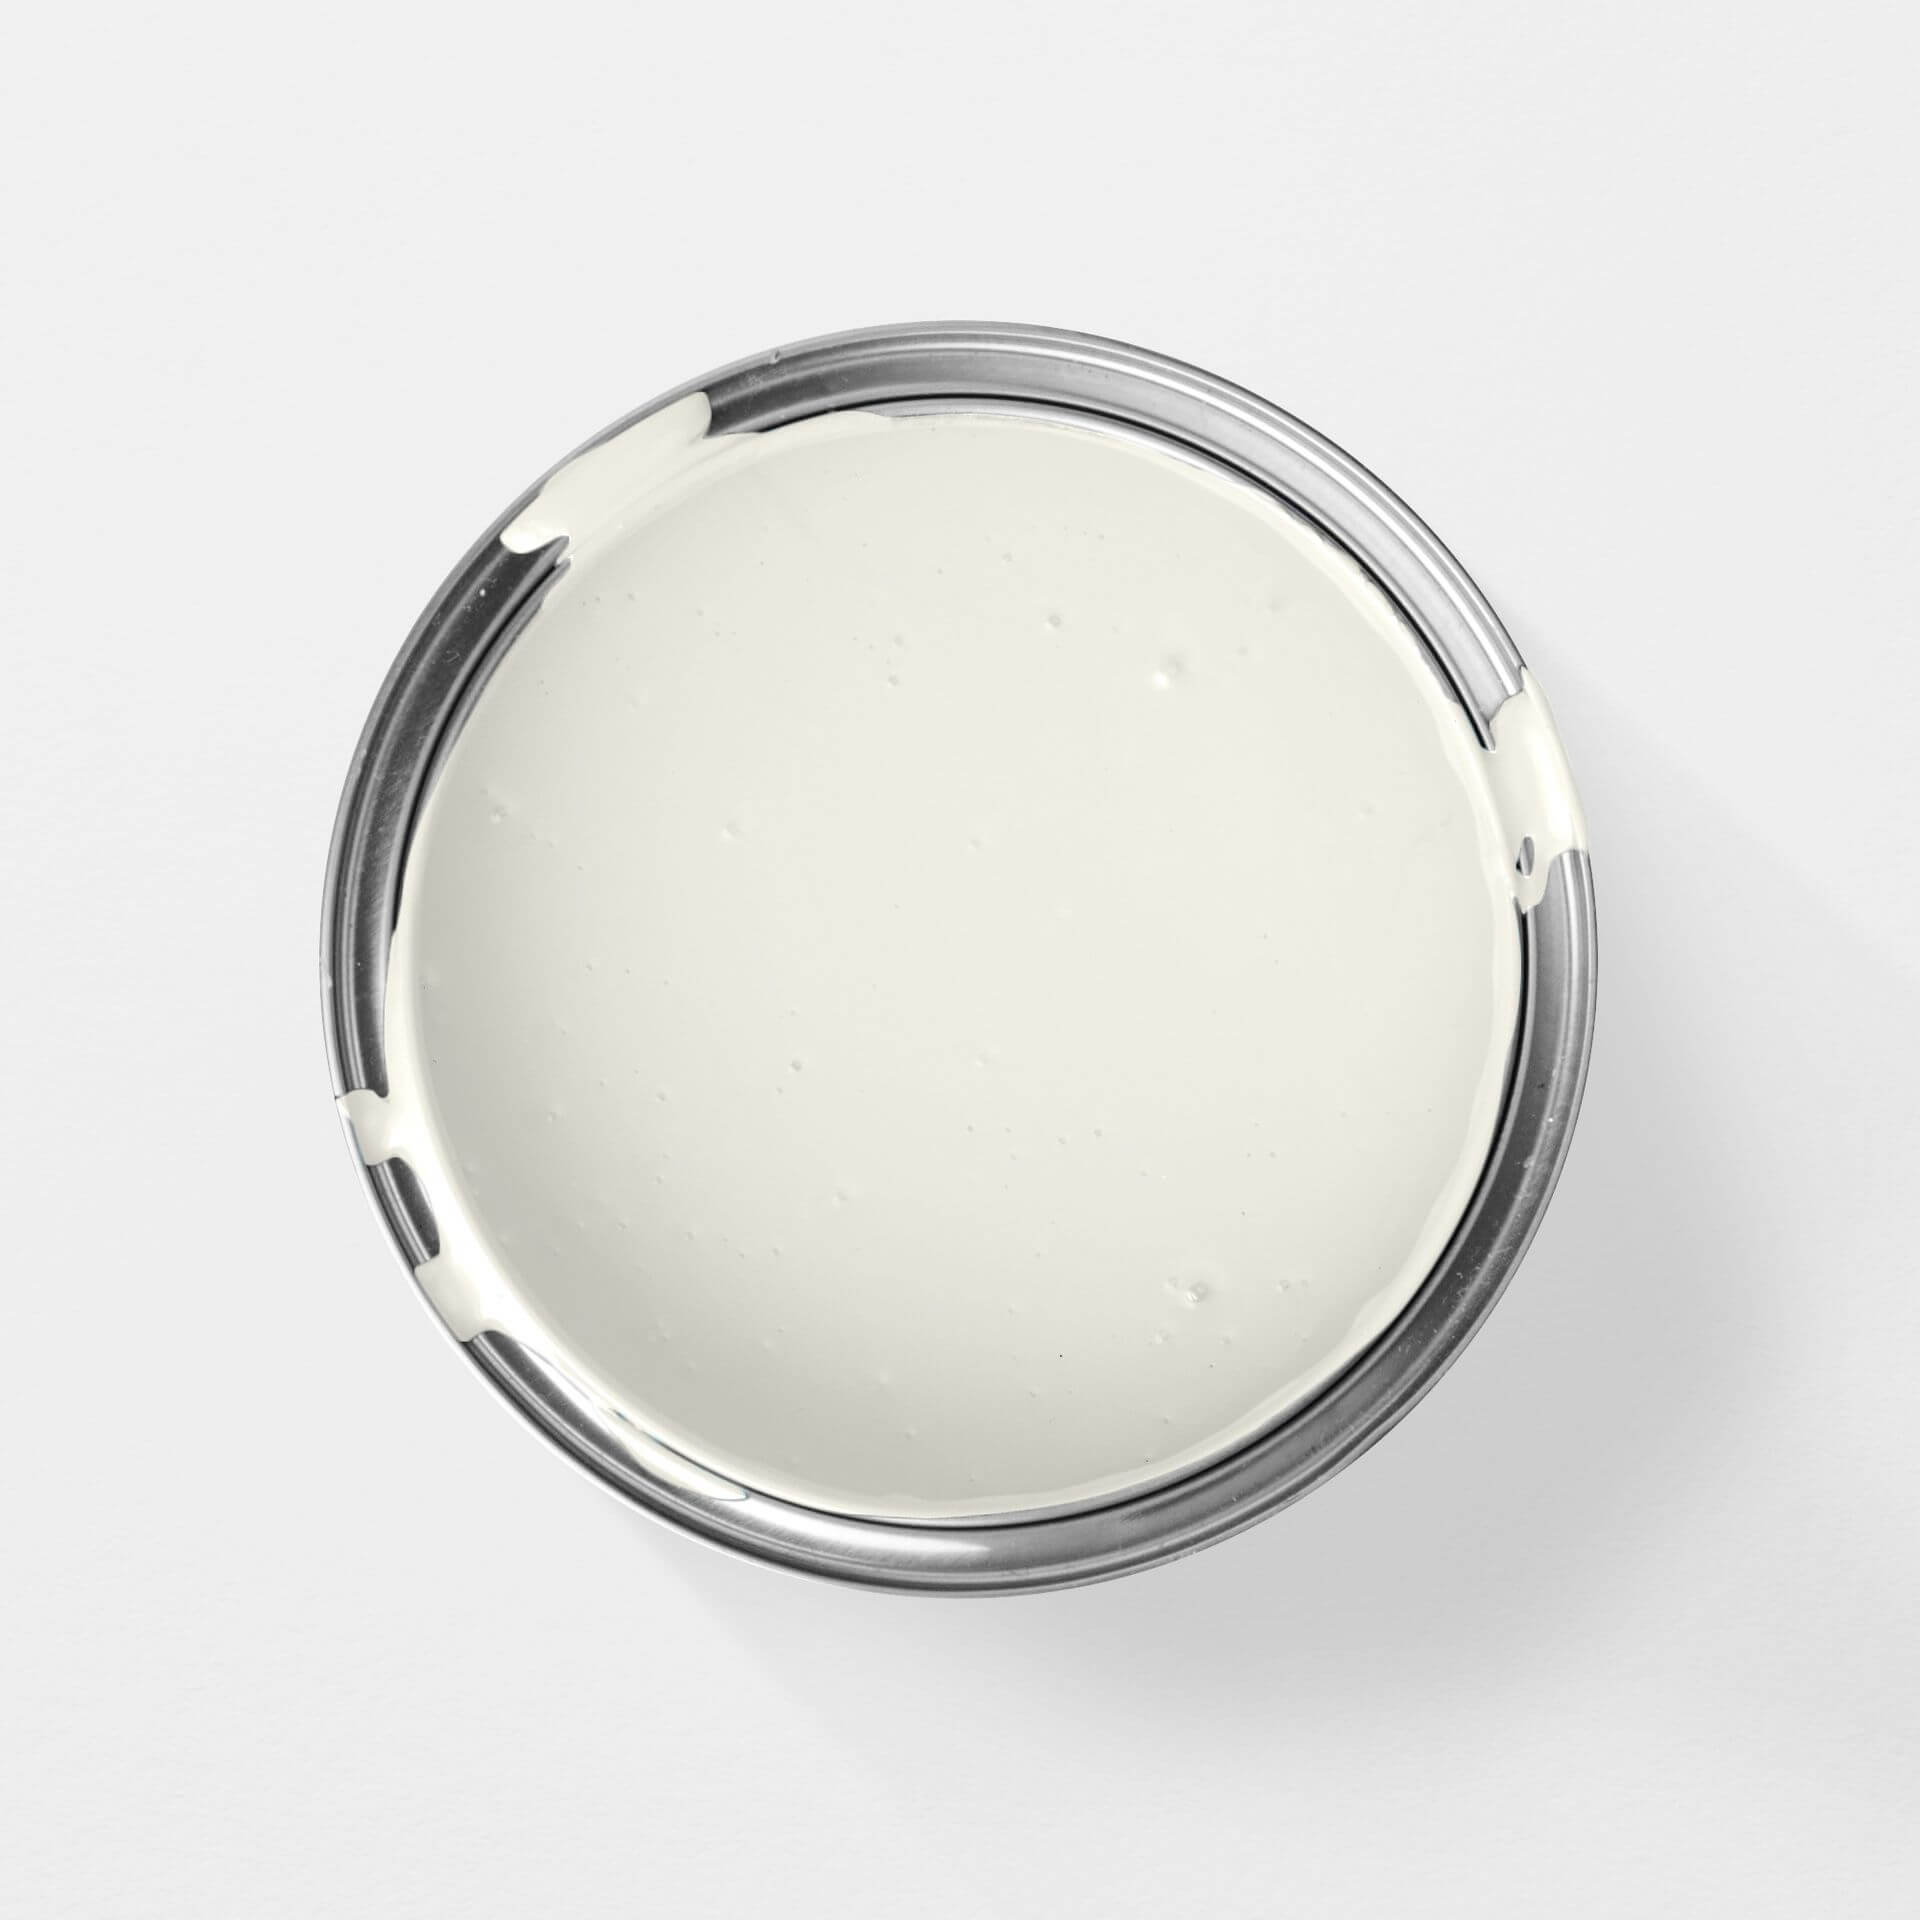
To paint your wooden ceiling and wall panels, you can basically choose any of our paint qualities, regardless of the material. We particularly recommend the shades from our Just Paint collection: if you want a satin finish, choose our Easy Eggshell! But you can also use wall paints to paint the ceiling in the same finish as the wall, for example. Choose MissPompadour - The Functional Wall Paint!, for instance. If you really can't decide on the right white, it's best to order our colour cards!
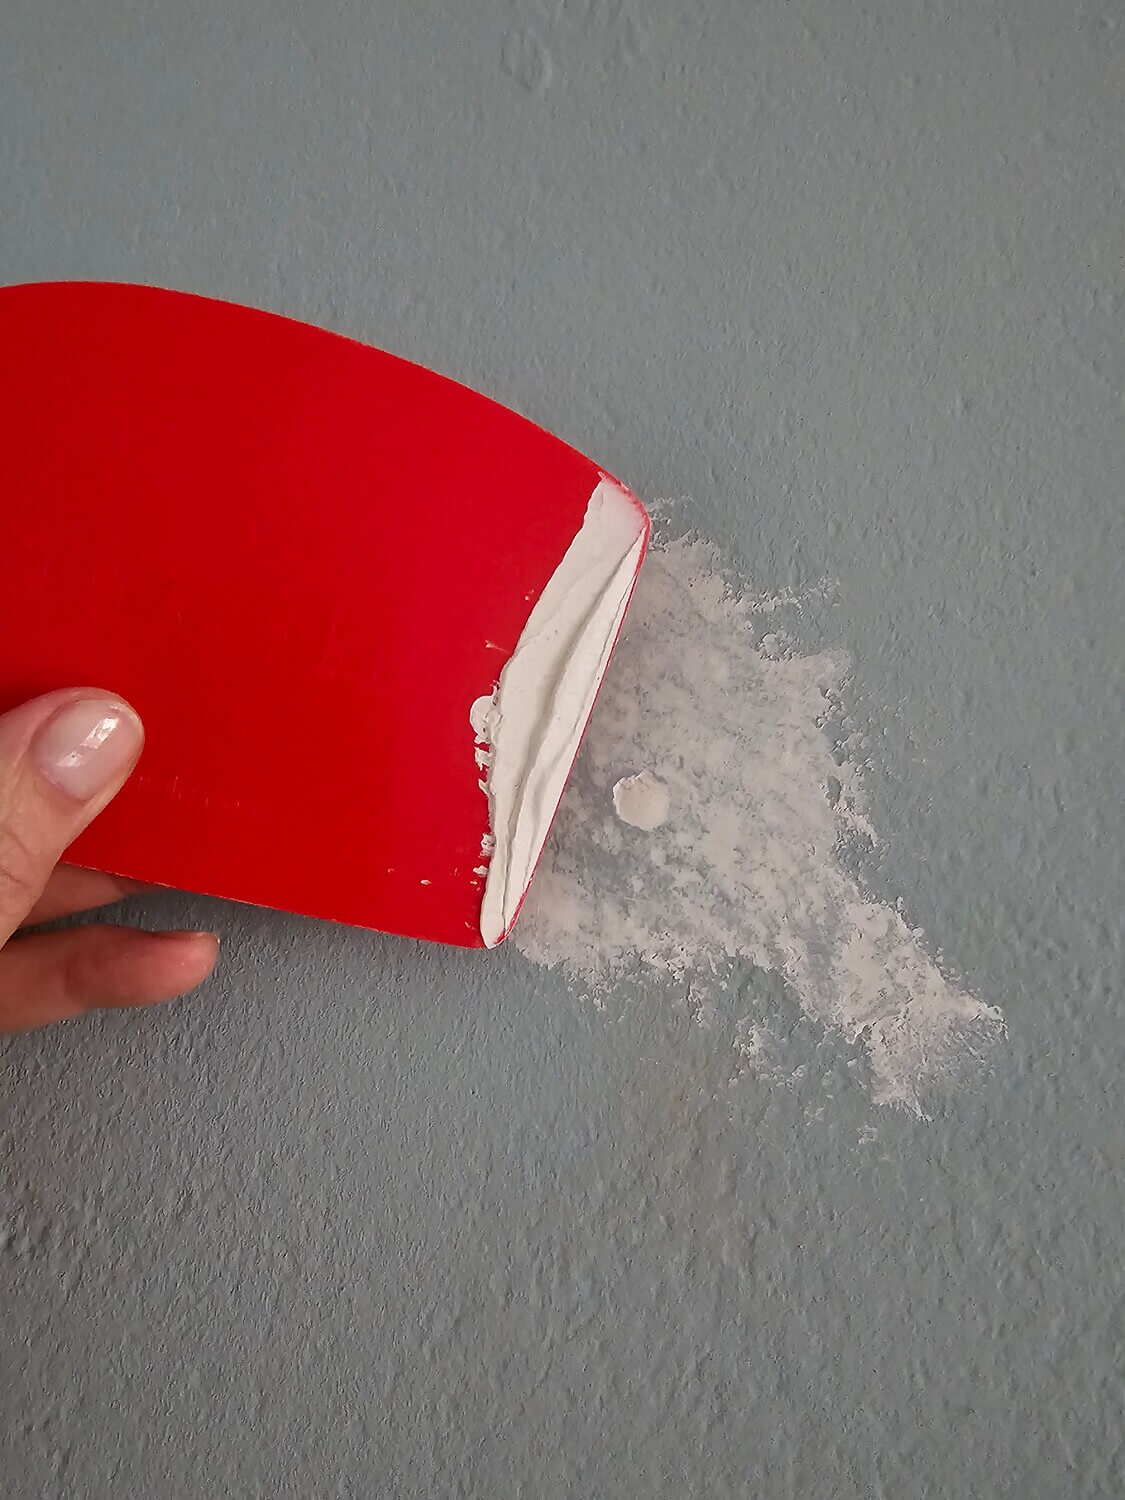
Step 2: Prepare the surfaces
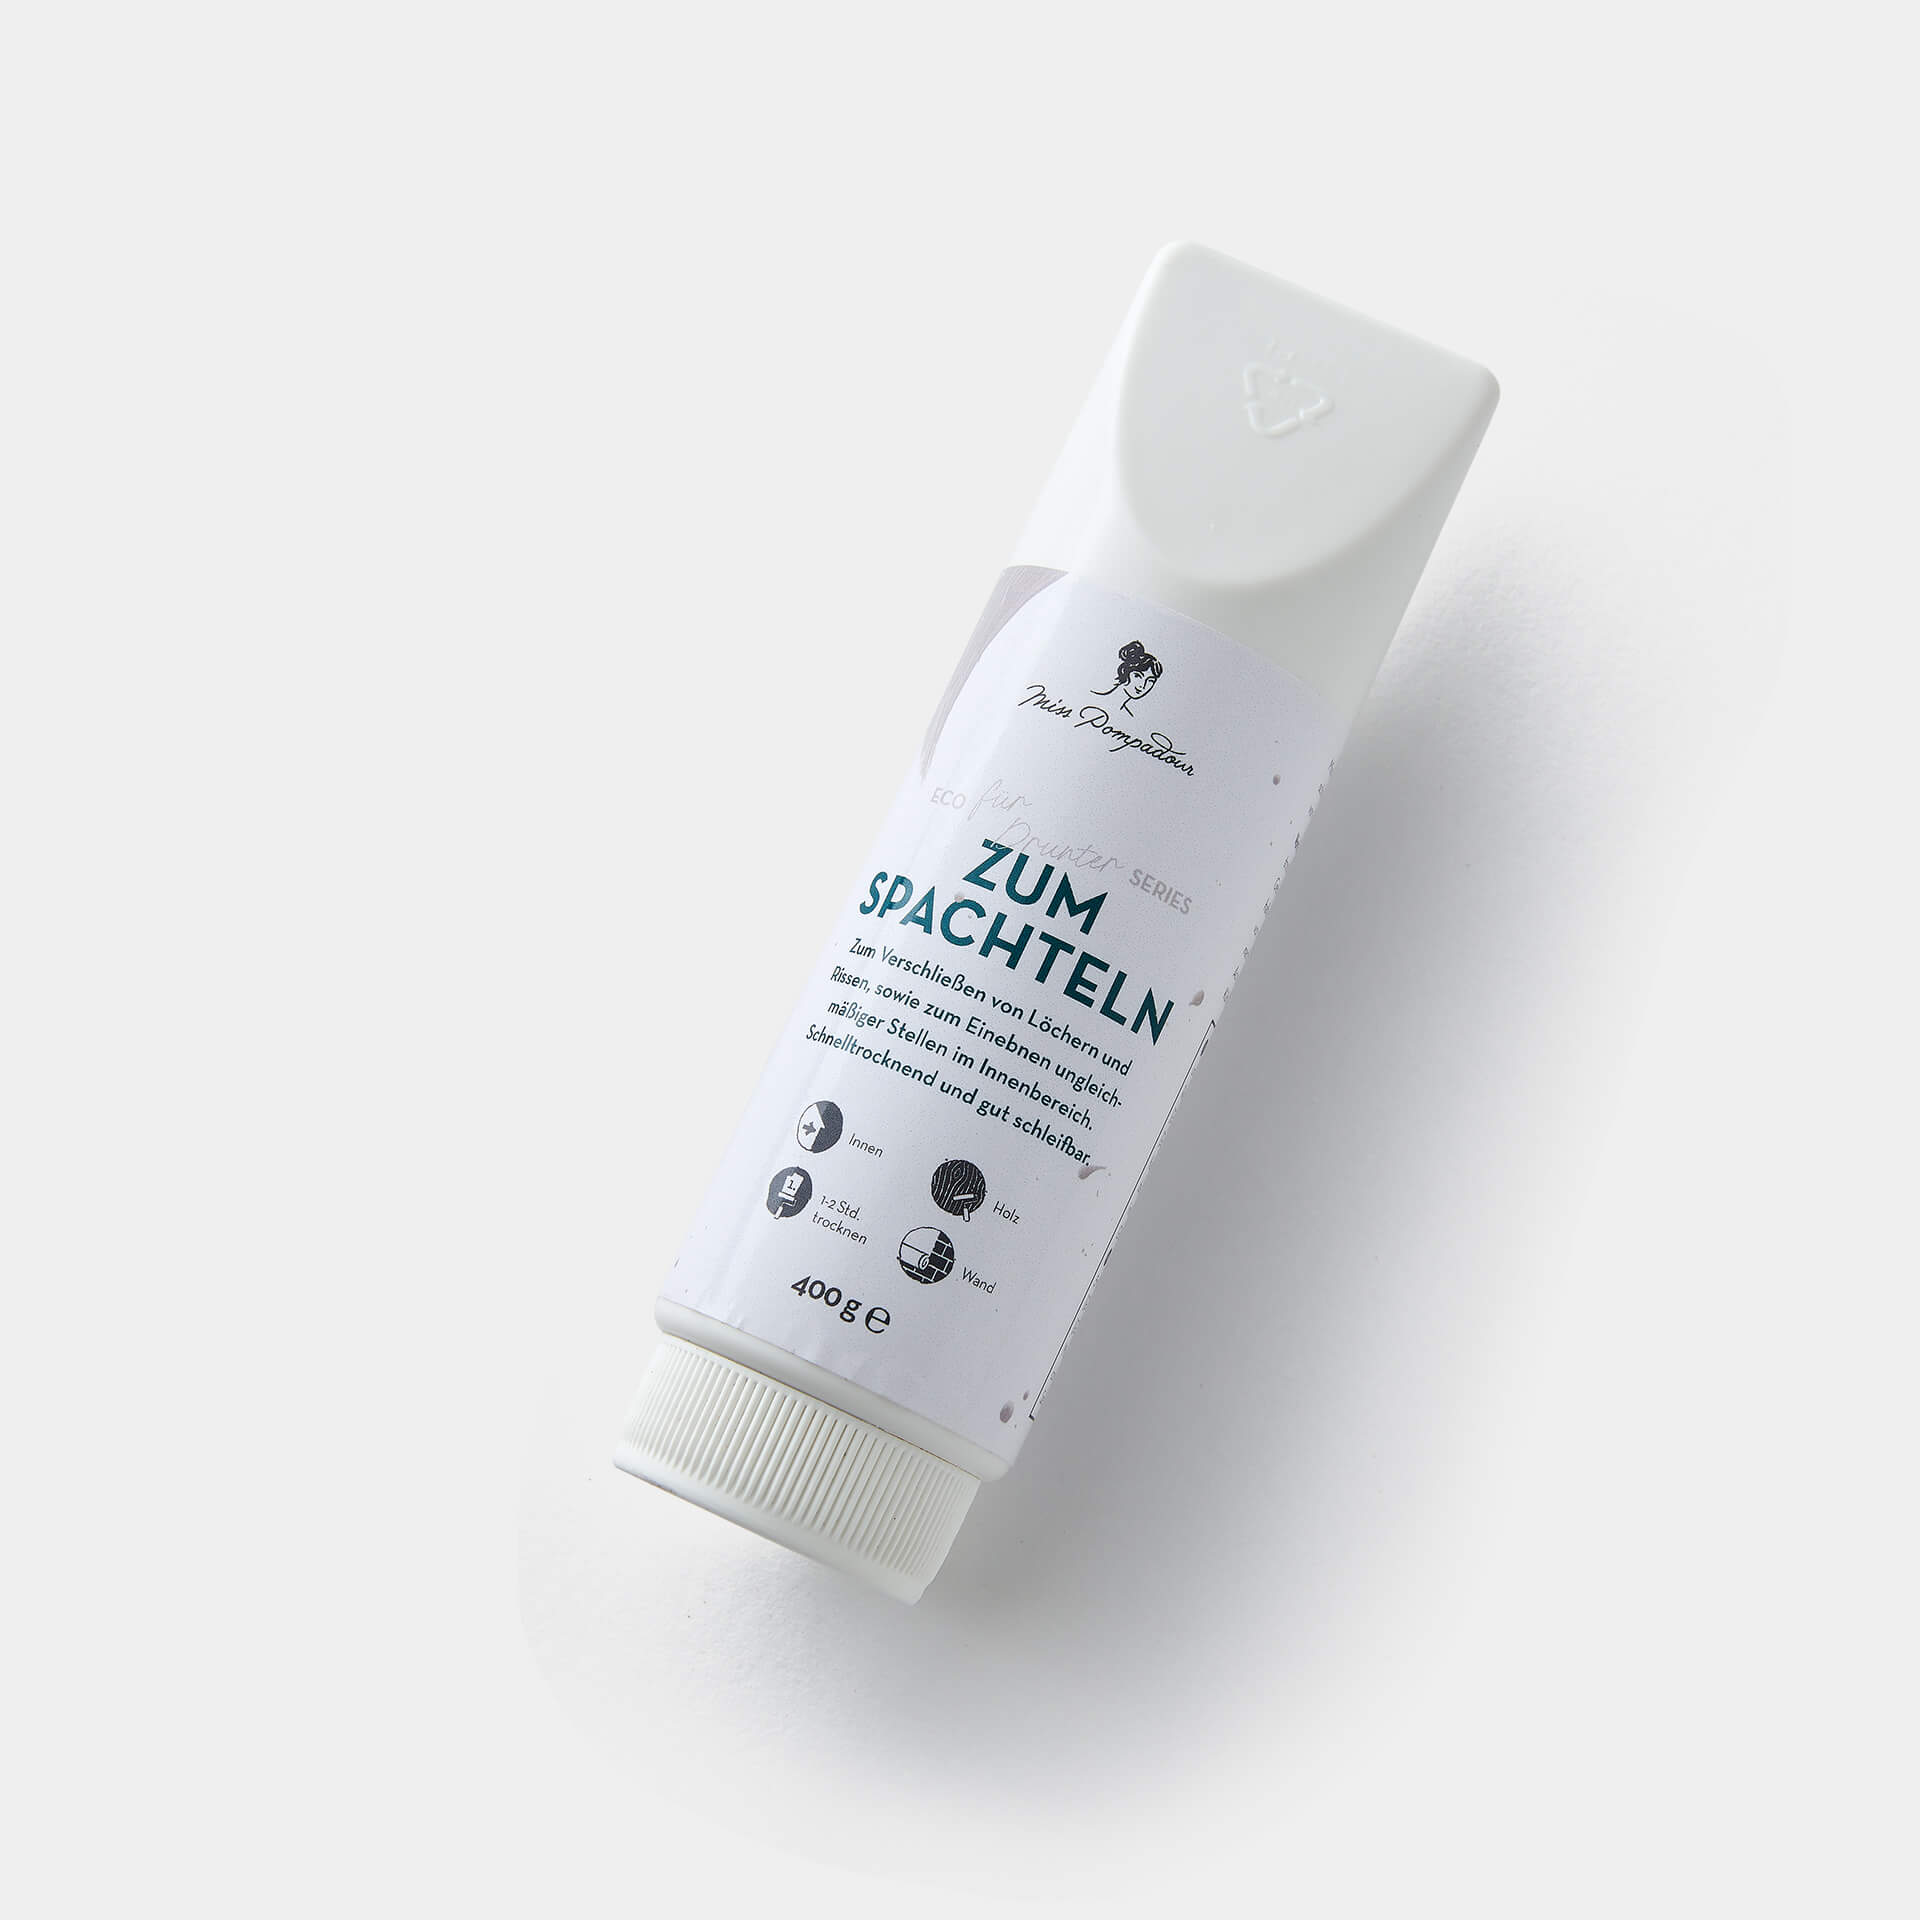
Gently sand down any nicks or scratches on your panelling, if there are any. You can use a fine-grit sandpaper for this. Then conceal them with To Fill – MissPompadour filler. You can also seal knotholes in this way to prevent them from leaving dark spots in your coat of paint.
Step 3: Clean the wooden ceiling or wall panels
Clean the surfaces to prepare them thoroughly for painting. You can vacuum off any dust first. Then, it's best to use To Clean – MissPompadour Cleaner and lukewarm water to degrease the surfaces. Afterwards, wipe down well with clean water. It is important that the surface is free of dust and grease. Everything must dry completely before you start painting.
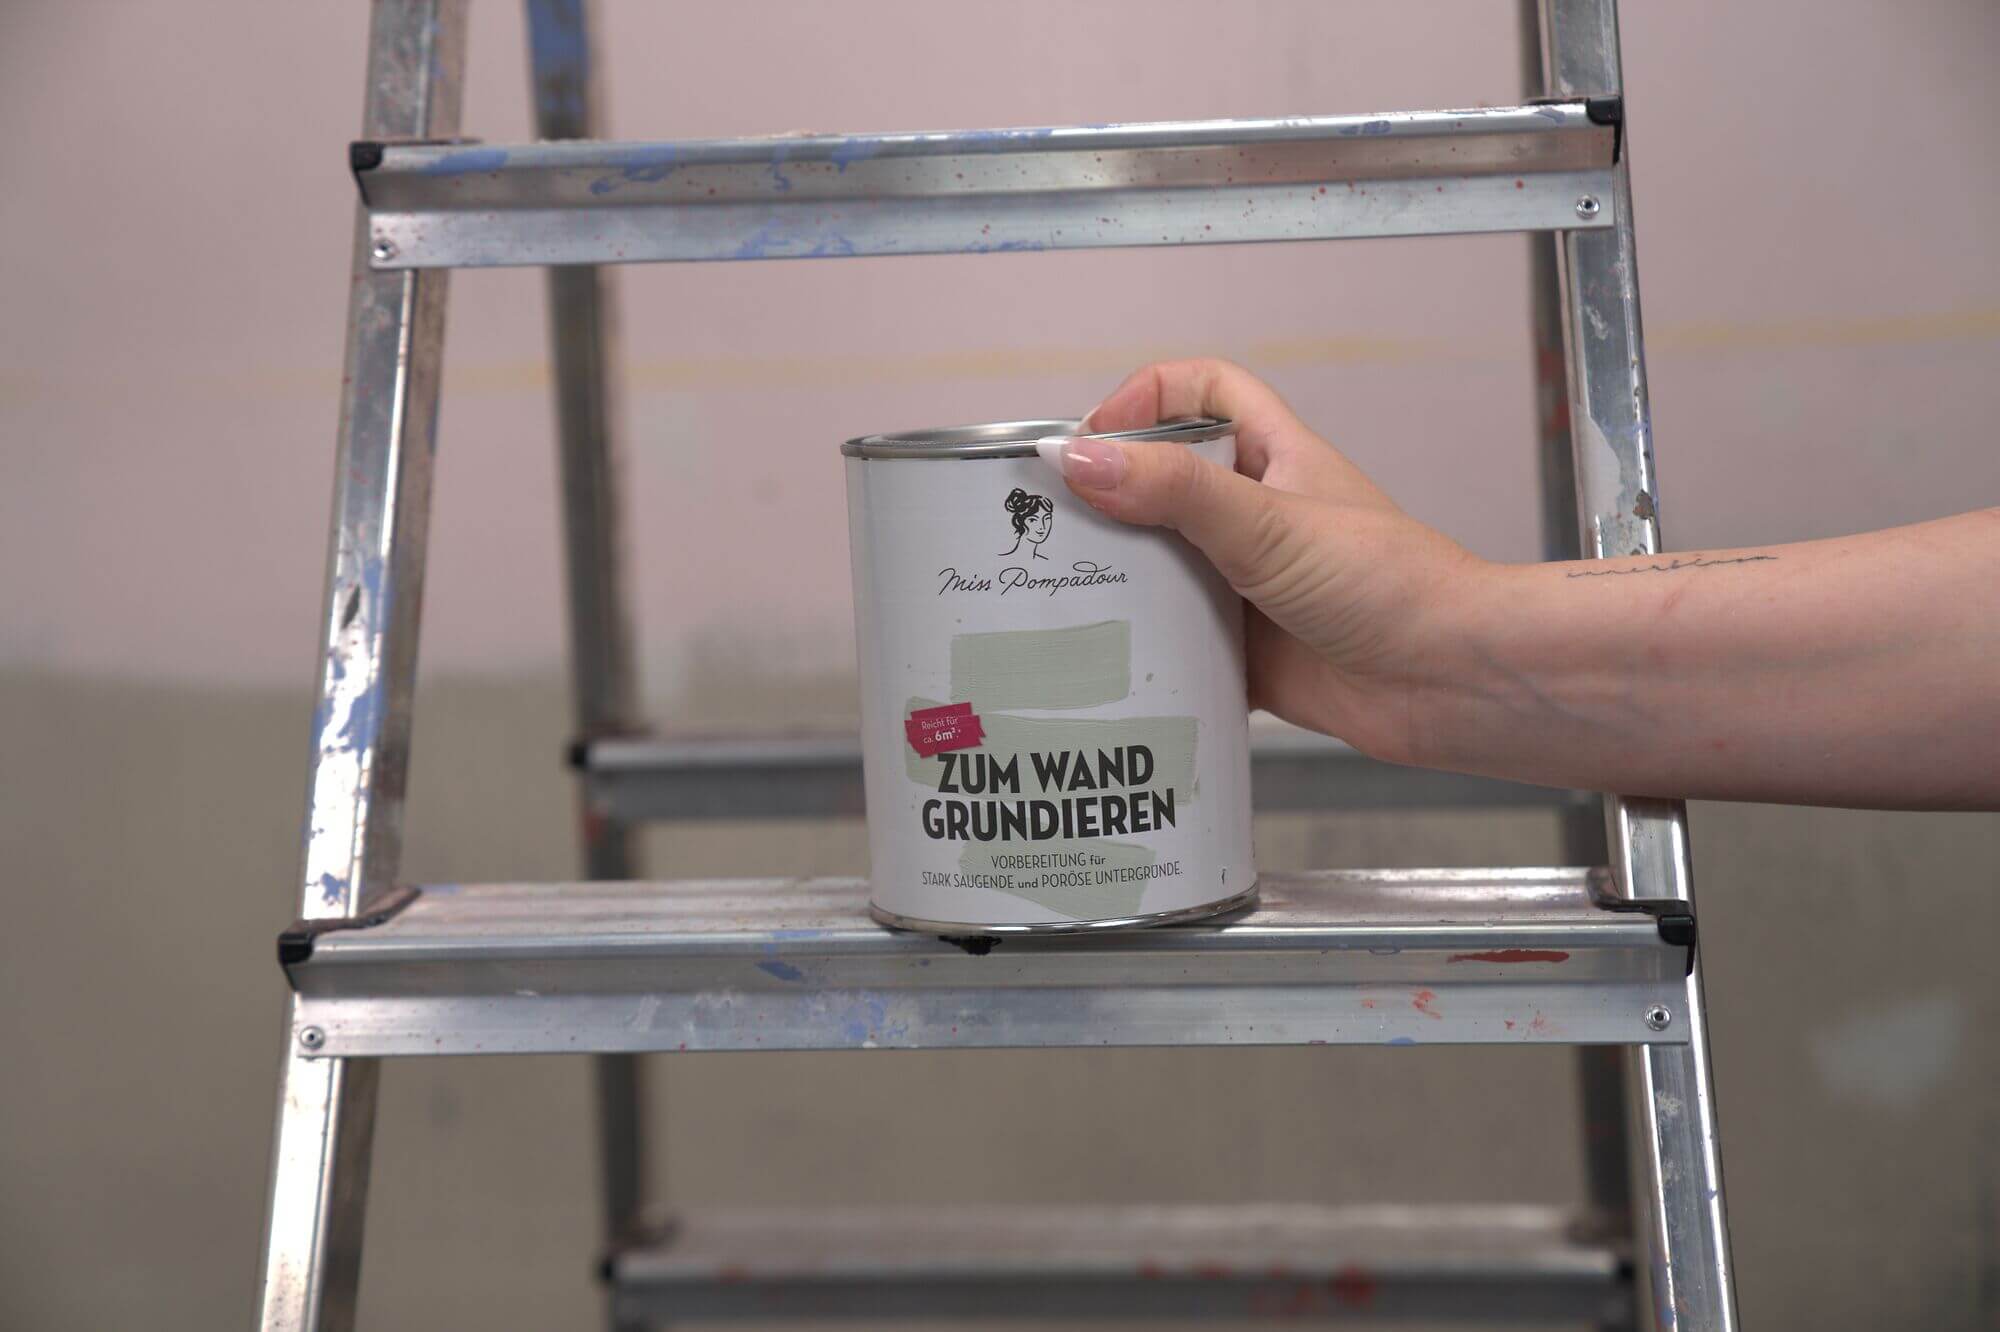
Step 4: Prime the surfaces
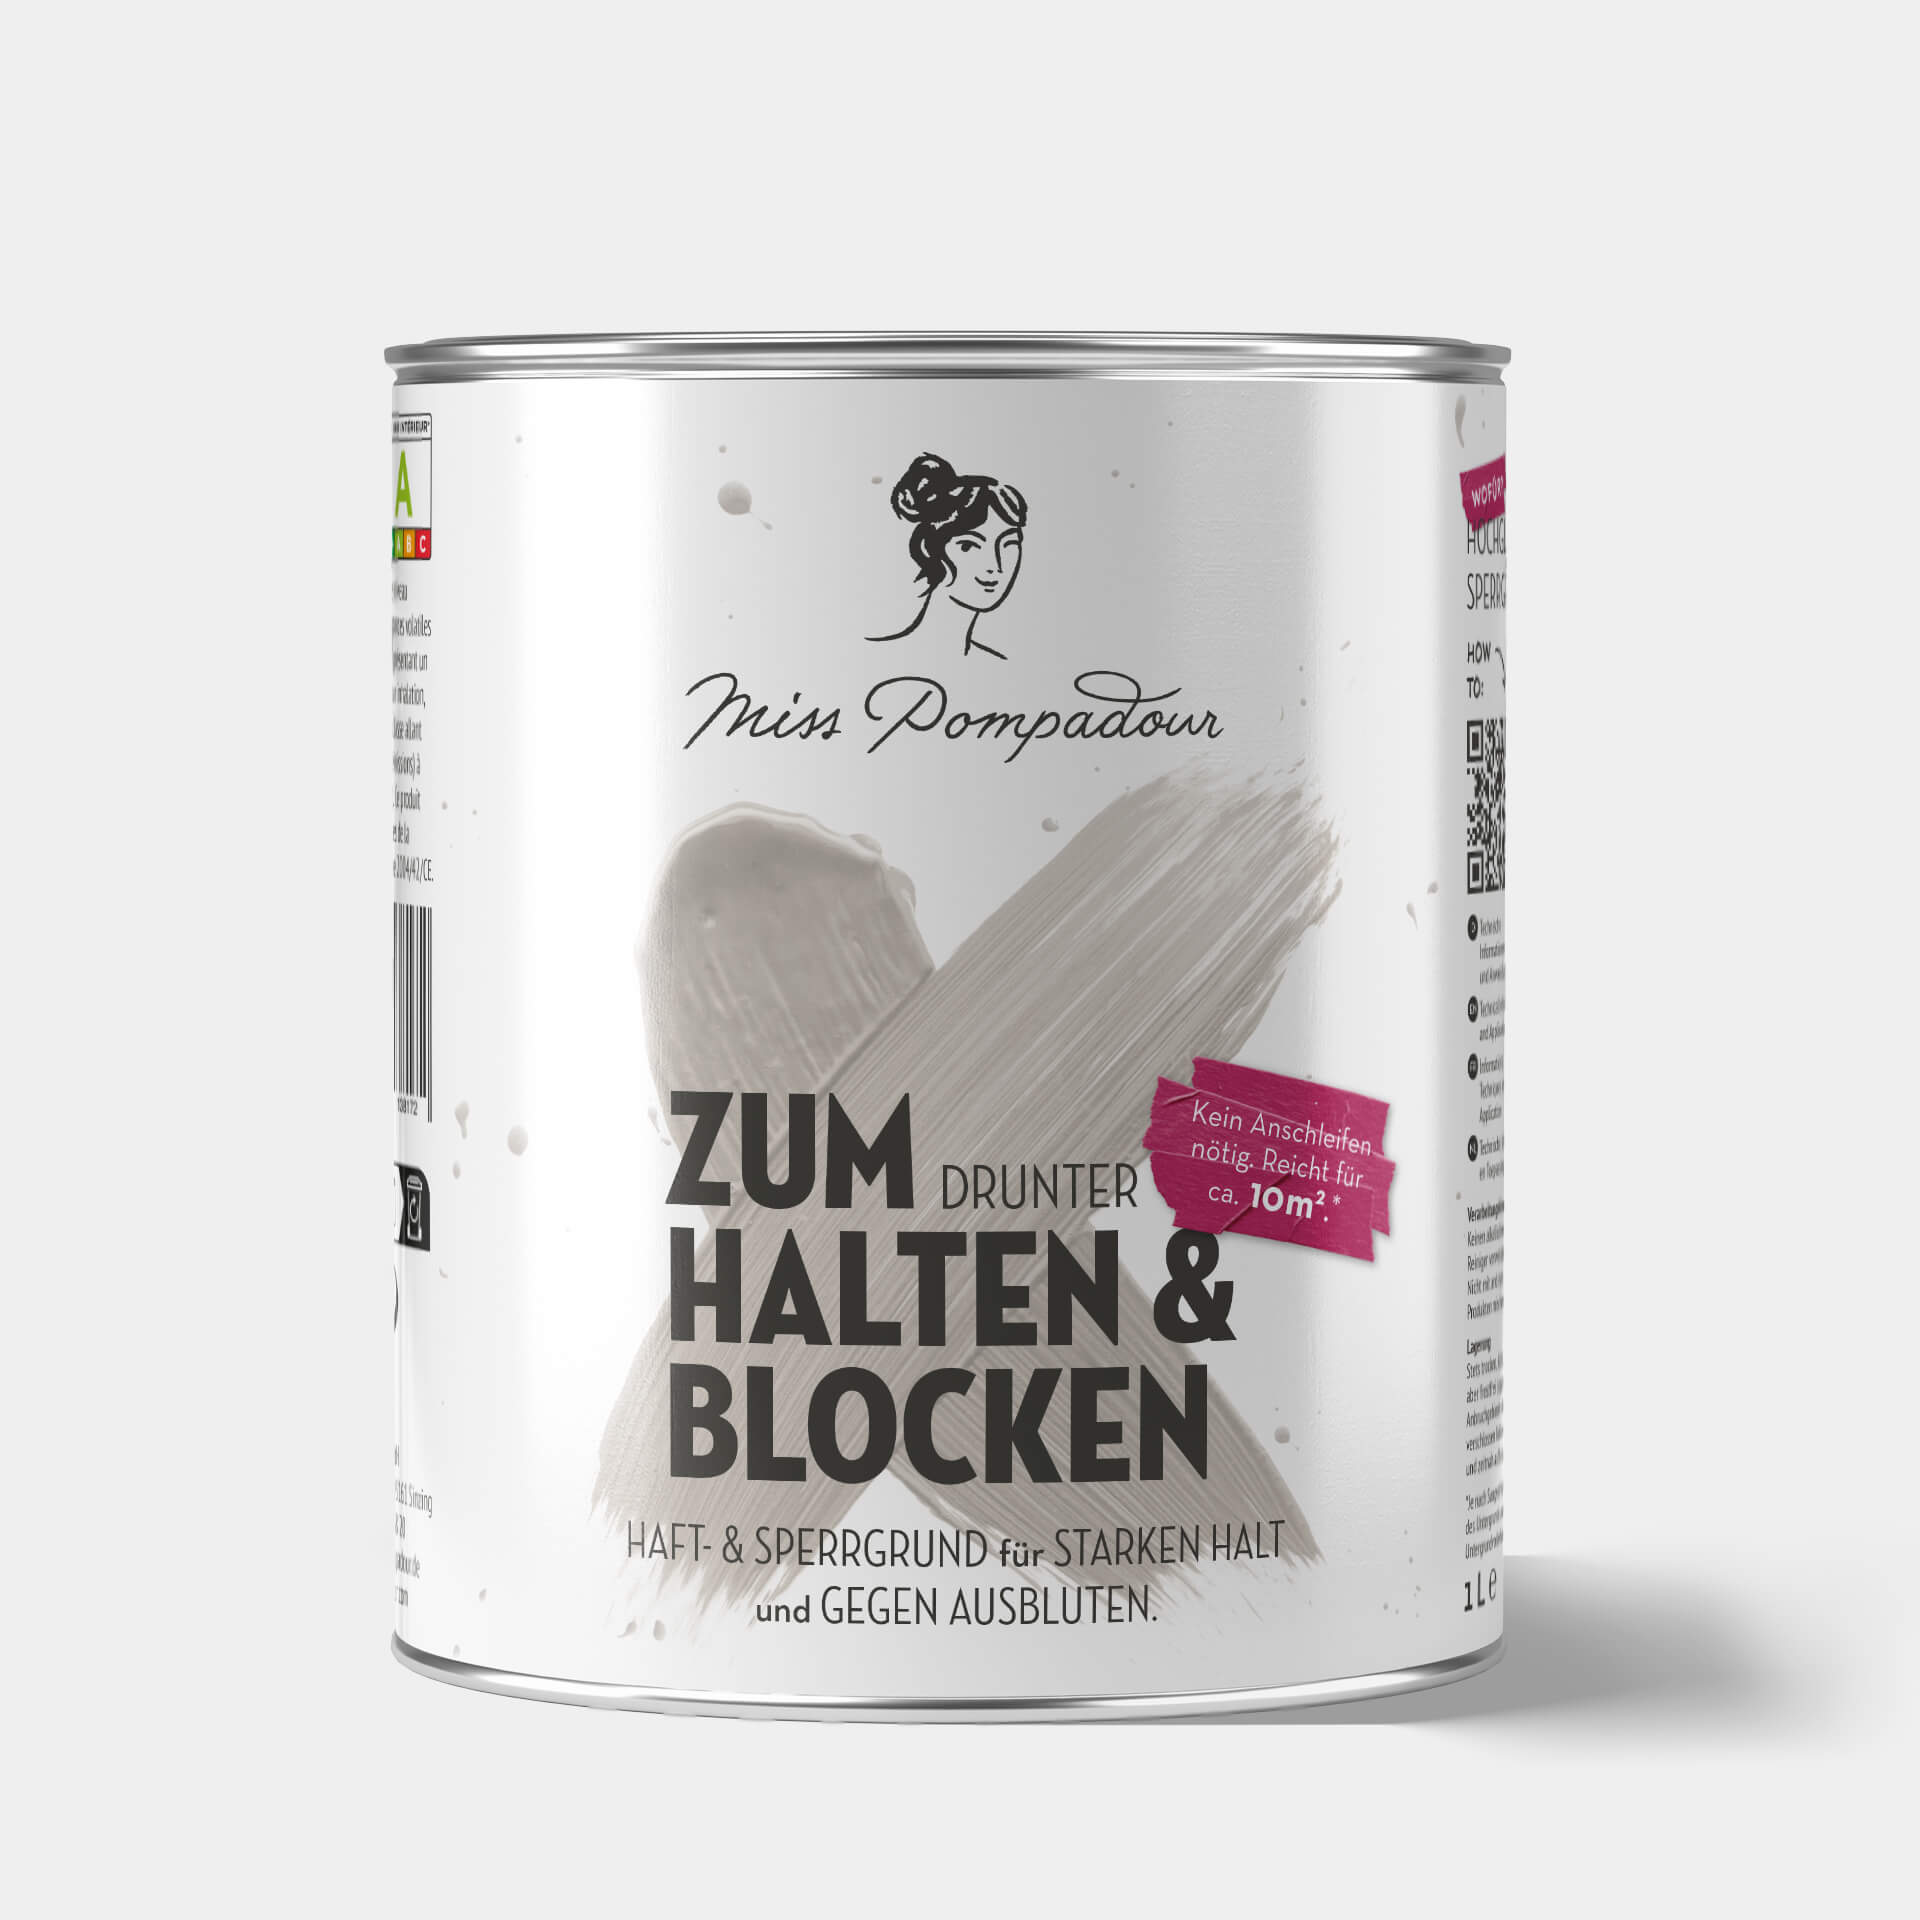
Wood: If you have an untreated wooden ceiling or wall panelling, you should apply a coat of To Bond & Block - MissPompadour primer first. With real wood, there is always a risk that tannins or stains will bleed through and leave marks in your new light paint. If you want to paint the wooden ceiling white, this step is particularly important. Always make sure to use clean tools when applying our primer. Let the primer dry for 8 hours or overnight.
Plastic:
Are you painting smooth surfaces? Plastic panelling should be primed with a generous coat of To Bond & Block to ensure better adhesion of the paint to the surface.
Step 5: Paint the surfaces
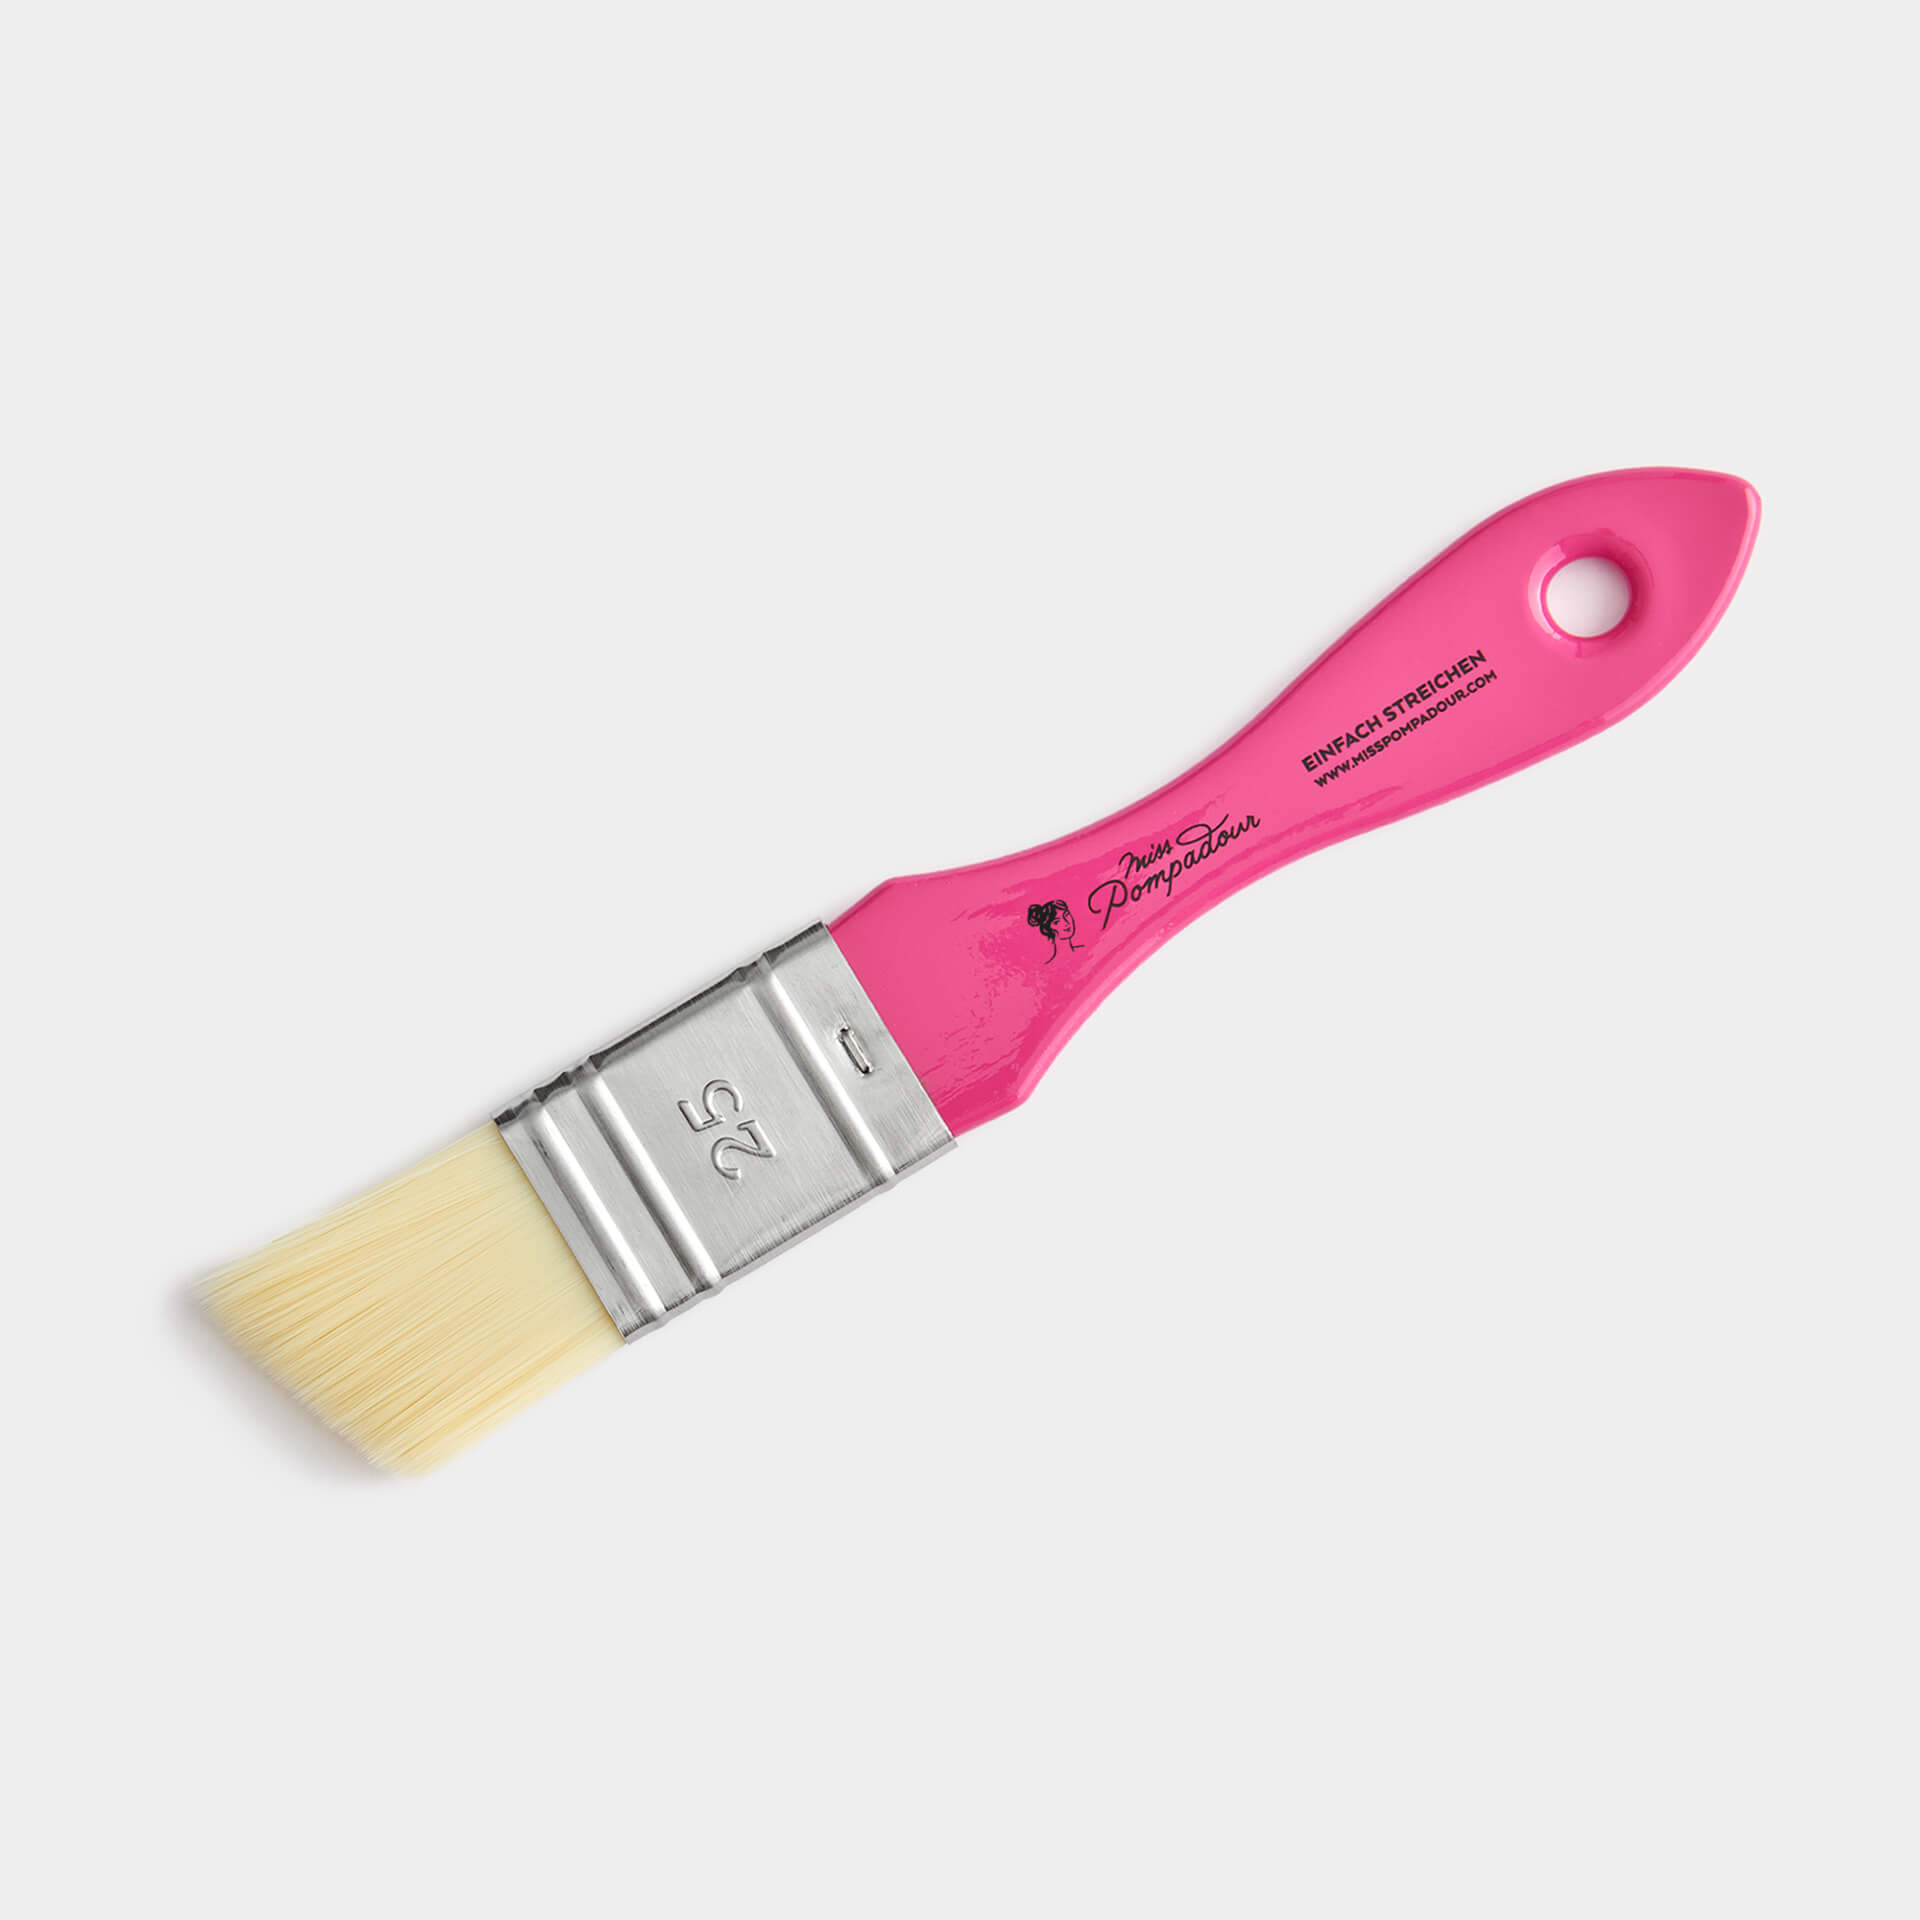
Now paint your chosen shade. Apply as many coats of paint as needed until you are happy with the coverage. Usually, you'll get full coverage after 2–3 coats, but two coats are always recommended. Let each coat dry for 4–6 hours. The coats of paint become more robust with each passing day – reaching their full durability after about 14 days. If you are painting tongue and groove boards, you can easily pre-paint the grooves (the joints) with our fine MissPompadour brush, e.g. in 50mm. You can then paint the flat surfaces with the paint roller for water-based paints.
Step 6: Sealing wall panels
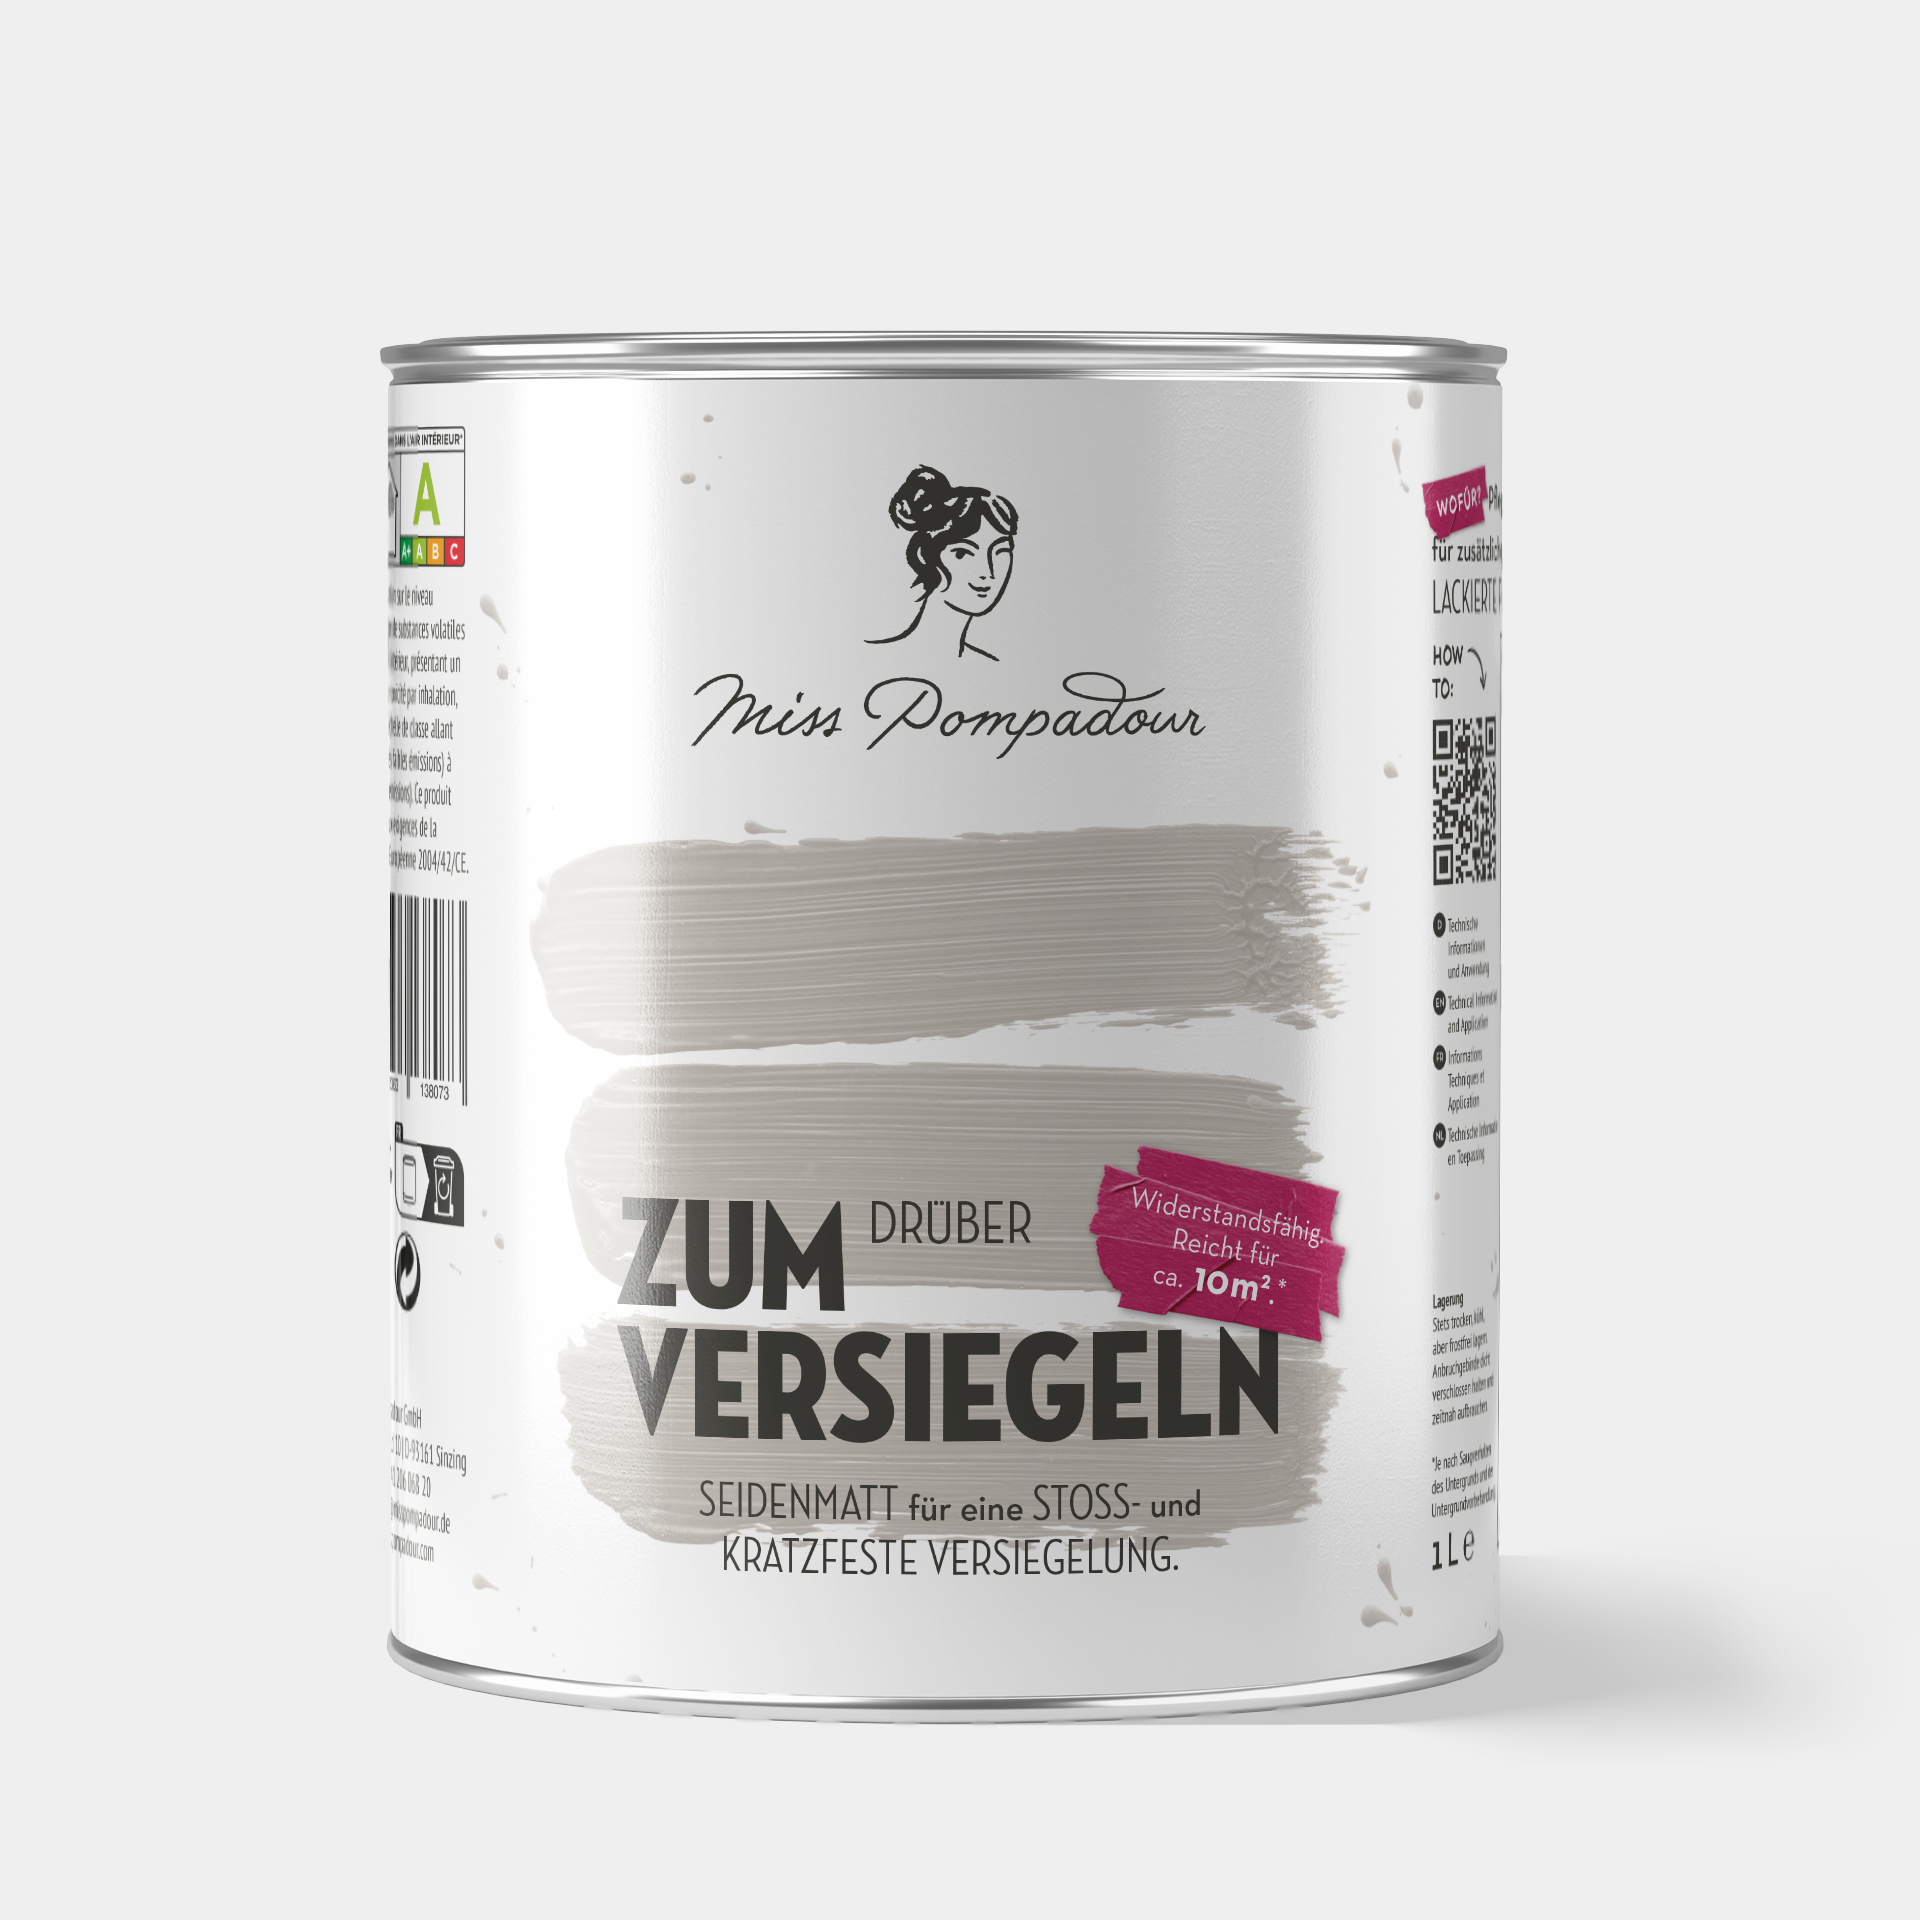
You do not need to seal ceilings, as they are hardly subjected to any physical wear and tear. For wall panels, you can use To Seal – MissPompadour topcoat to create an even more robust surface. Especially if you have painted with wall paints, we recommend sealing the surfaces, depending on the level of wear and tear. Apply the topcoat after the paint has dried for 24 hours.
Video: MissPompadour Campus: Project Painting Ceiling Beams
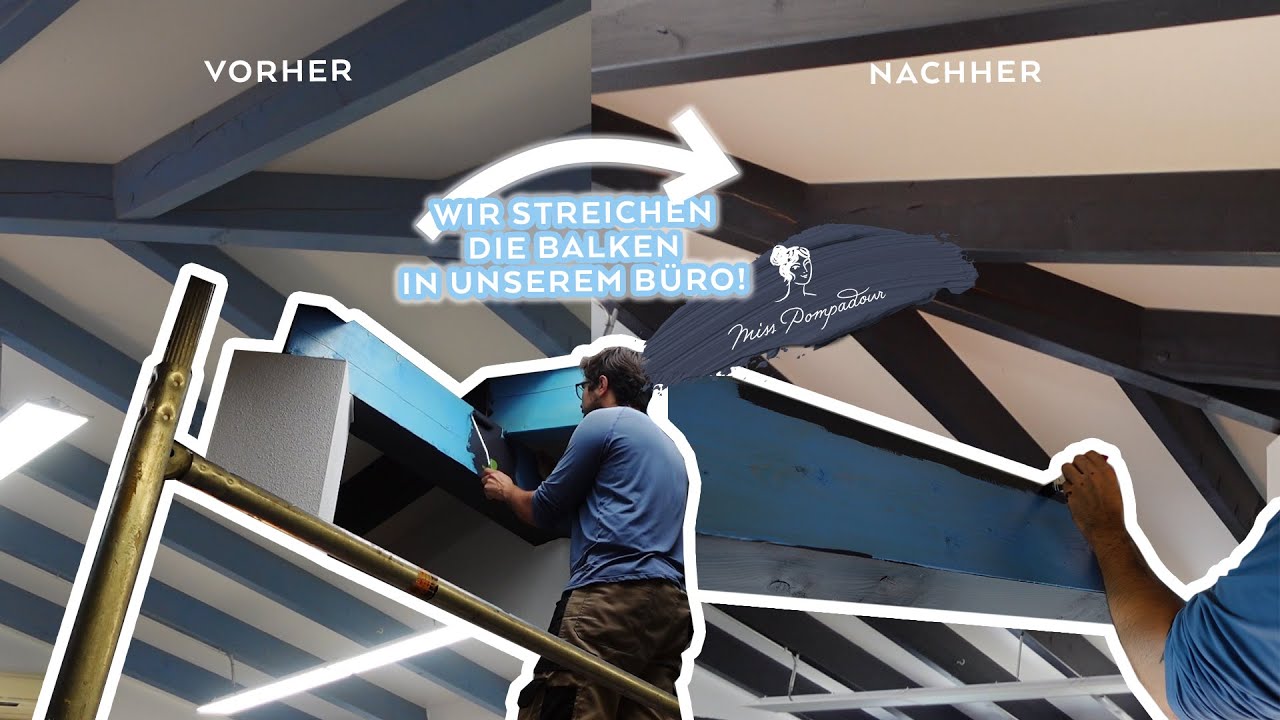
Today we have a little insight into our premises, because our ceiling beams have been painted!
Frequently asked questions about painting wall panels and wooden ceilings
1. Things to know about preparation
Do I have to sand the wood before painting?
Basic sanding is not necessary. Only if parts of an old coating on the wooden panels come off should they be sanded smooth.
Do I need to prime the ceiling or wall panels?
For real wood panels, use MissPompadour To Bond & Block as a primer to ensure that the wood does not release any discolouration into the new paint. This is particularly important for oak, tropical and softwoods, as these tend to release tannins. Stained and glazed woods can also discolour your paint.
For smooth plastic surfaces, you should use MissPompadour To Bond & Block as a primer. The colour then adheres better to the surface and the surface is perfectly prepared for painting.
How do I determine the right amount of paint?
Next to each colour shade in our shop you will find the practical quantity calculator. Simply enter the square metres to be painted and you will get the estimated consumption for two coats.
Can you paint a wooden ceiling with wall paint?
Yes, you can paint wooden ceilings not only with varnish but also with wall paints. You can sand the wood first so that it absorbs the paint better. Especially if you want the ceiling to blend into the background, you can use wall paints to adapt the look of the ceiling to that of the walls.
Do I need to seal the ceiling or wall panels?
If you want to paint your wooden ceiling, you can save yourself the topcoat here. Ceiling panels are not usually exposed to heavy loads, so a topcoat is not necessary.
2. Painting overhead made easy
How do I paint without dripping?
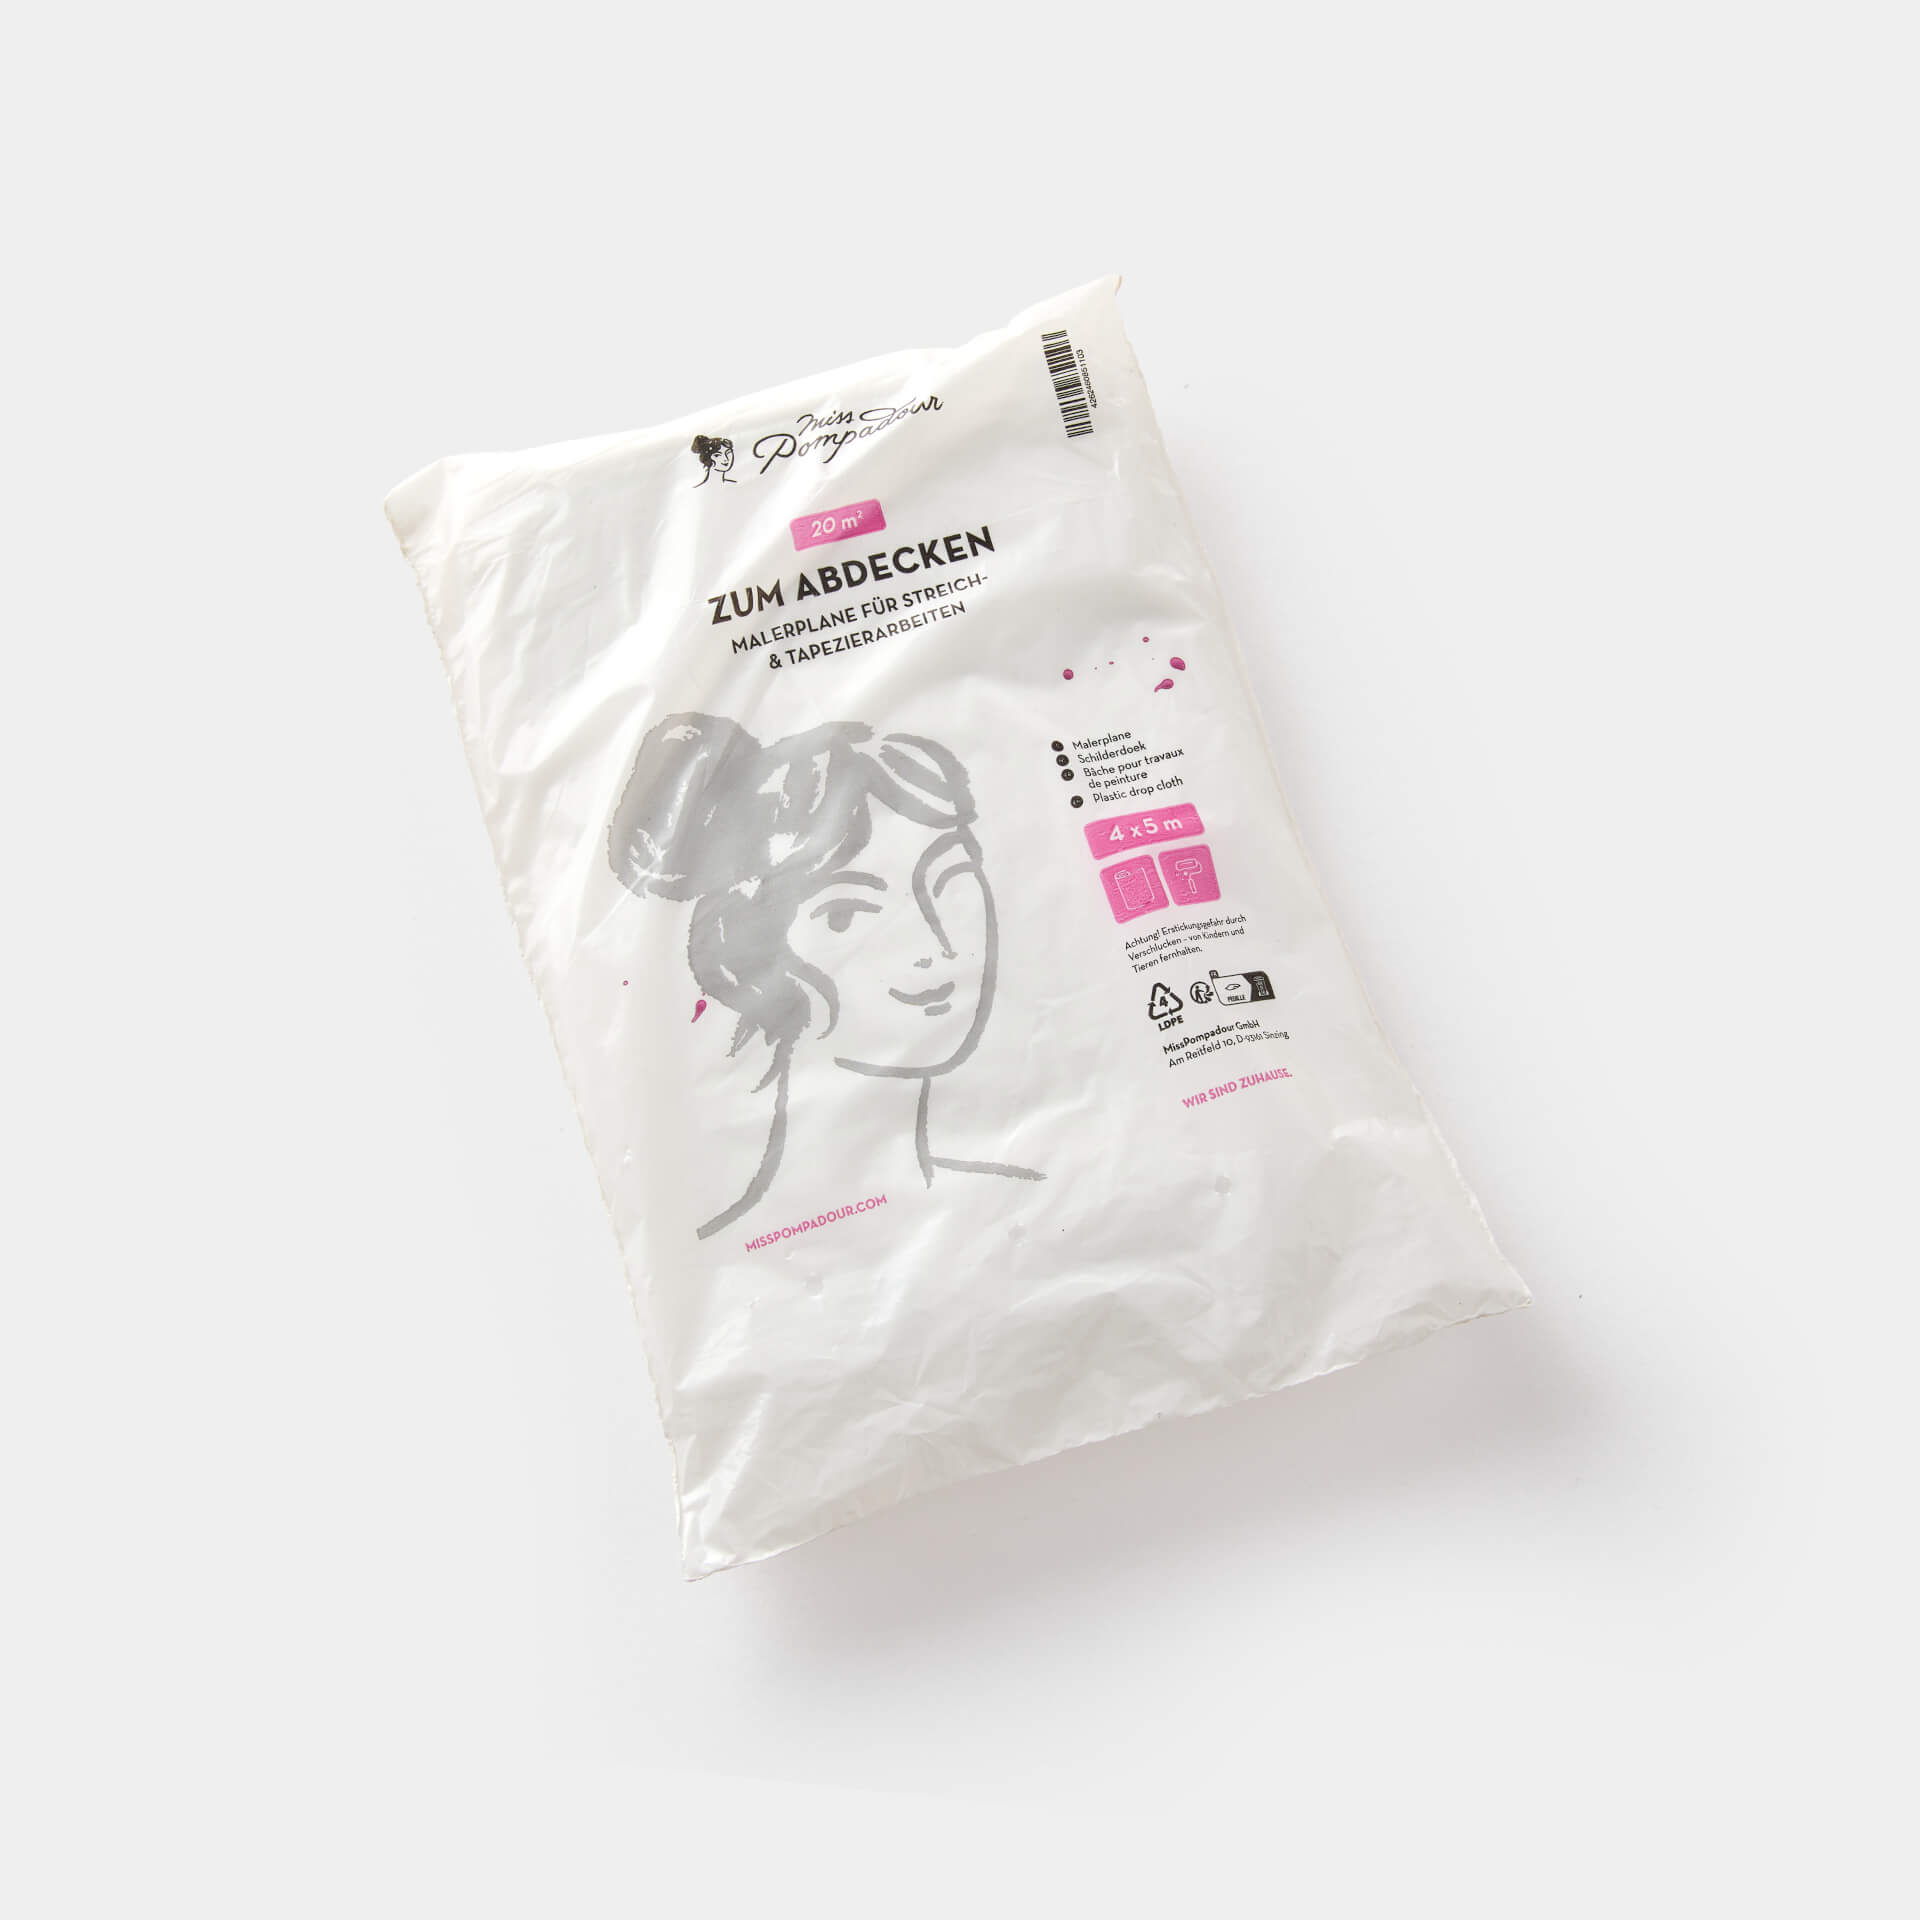
Our colours and varnishes are all sufficiently thick and do not tend to drip. Depending on the painting technique, this can still happen. We recommend that you do not dip the brush completely into the paint, but only about ⅔ of the bristles. Then the paint is really spread and does not drip down the brush. Never place the roller in the paint tray with the handle in the paint, otherwise the paint can drip off the handle. Please still protect your floor and furniture with plastic drop cloth, painter's fleece or paper
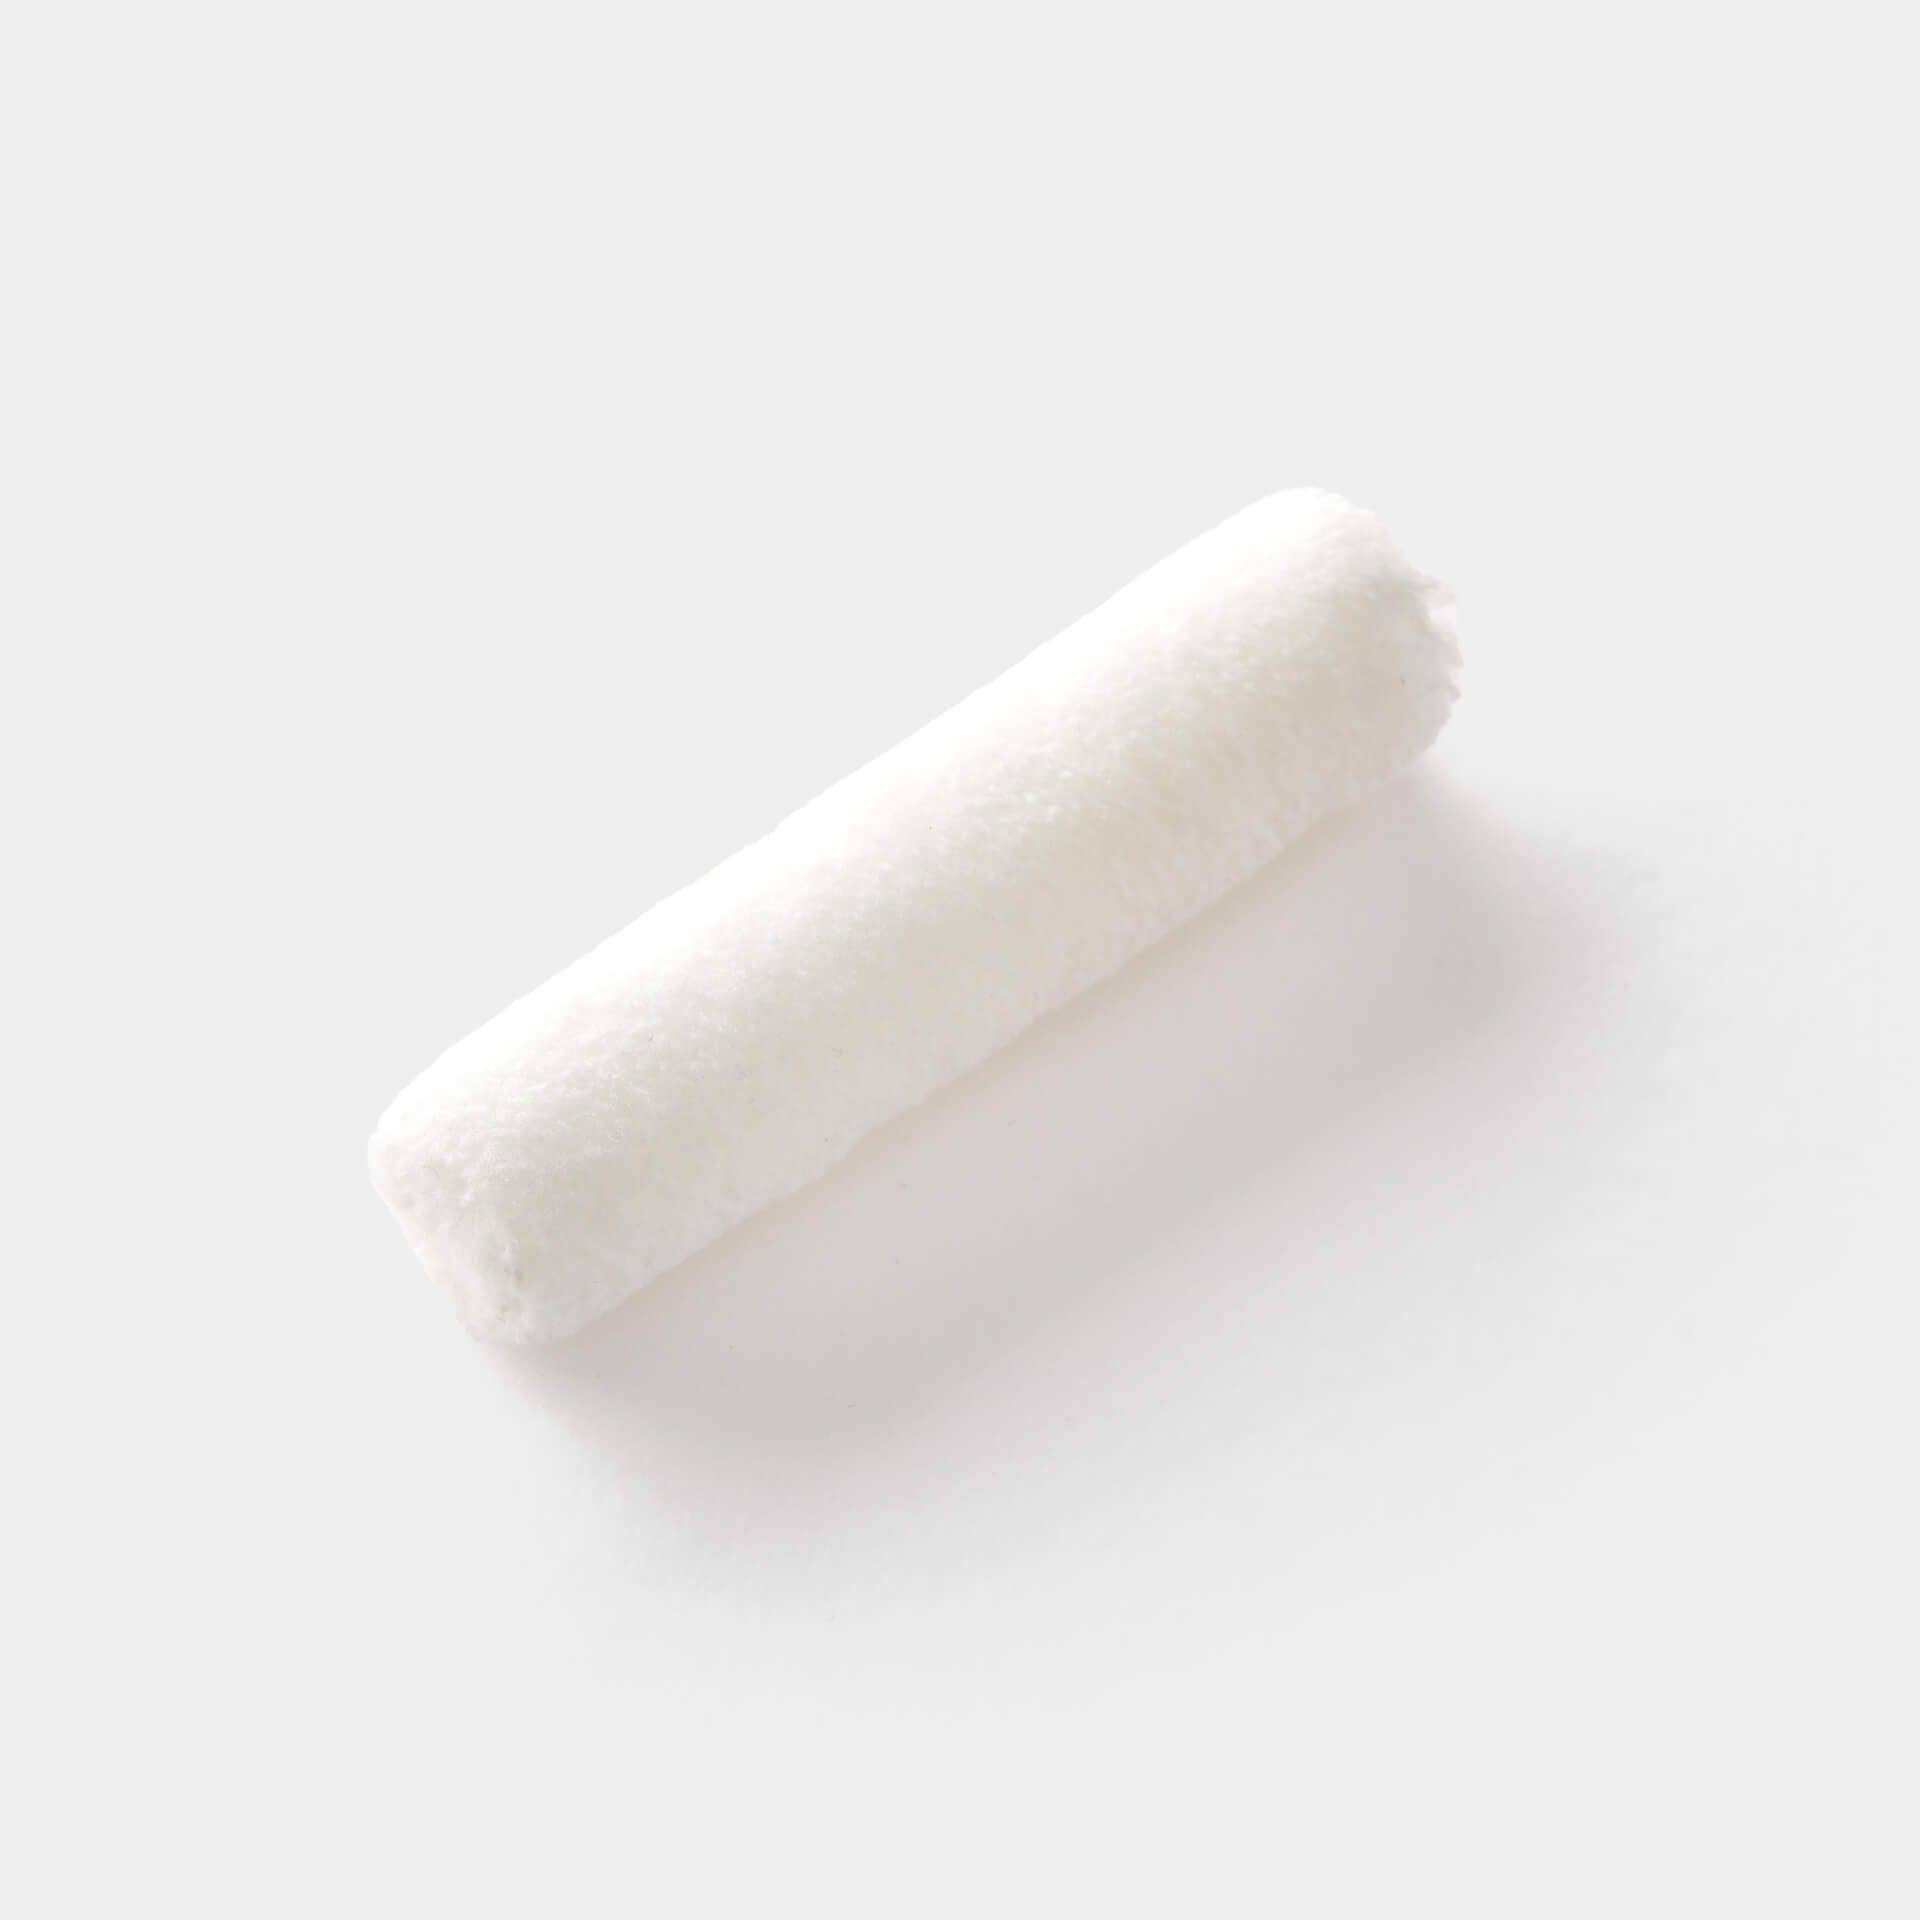
Which roller do I need to paint the wooden ceiling?
Most wood panelling - and also that made of plastic - has grooves, i. e. small indentations. These can be pre-painted very well with our fine MissPompadour brushn. Then use the varnish roller for the surface.
Can I also spray the paint?
Let's face it – painting a wooden ceiling can be exhausting. So, if you're planning to paint your ceiling panels, you can significantly speed up the process by using a paint spray system. Dilute the paint with water as per the instructions on the technical data sheet. It's best to practise on a test piece or an inconspicuous area first. You'll get the hang of it in no time.
3. Special features
Can coated panels and ceiling laminate be painted?
Yes, you can actually do that very well. You can simply paint the ceiling with the colour of your choice. If you prime it with MissPompadour To Bond & Block, you'll make the first coat a little easier. The colour can then be painted more evenly on the smooth surface. You should always primeplastic panels on walls, as they are usually exposed to much higher loads than the ceiling. The paint then adheres better and the first coat can also be painted better for a beautiful result.
How can I preserve the wood grain but still lighten the ceiling?
If you like the look, but your wooden ceiling is too dark and oppressive overall, you can also finish it with a white wax. The more coats you apply, the brighter and more opaque it becomes. Make sure to spread the Wax evenly.
You can also use the MissPompadour To Stain wood stain to give your wooden ceiling a new shine without covering the wood grain. Apply the Stain thinly and evenly. The more coats of paint you paint, the stronger the colour shade will be.
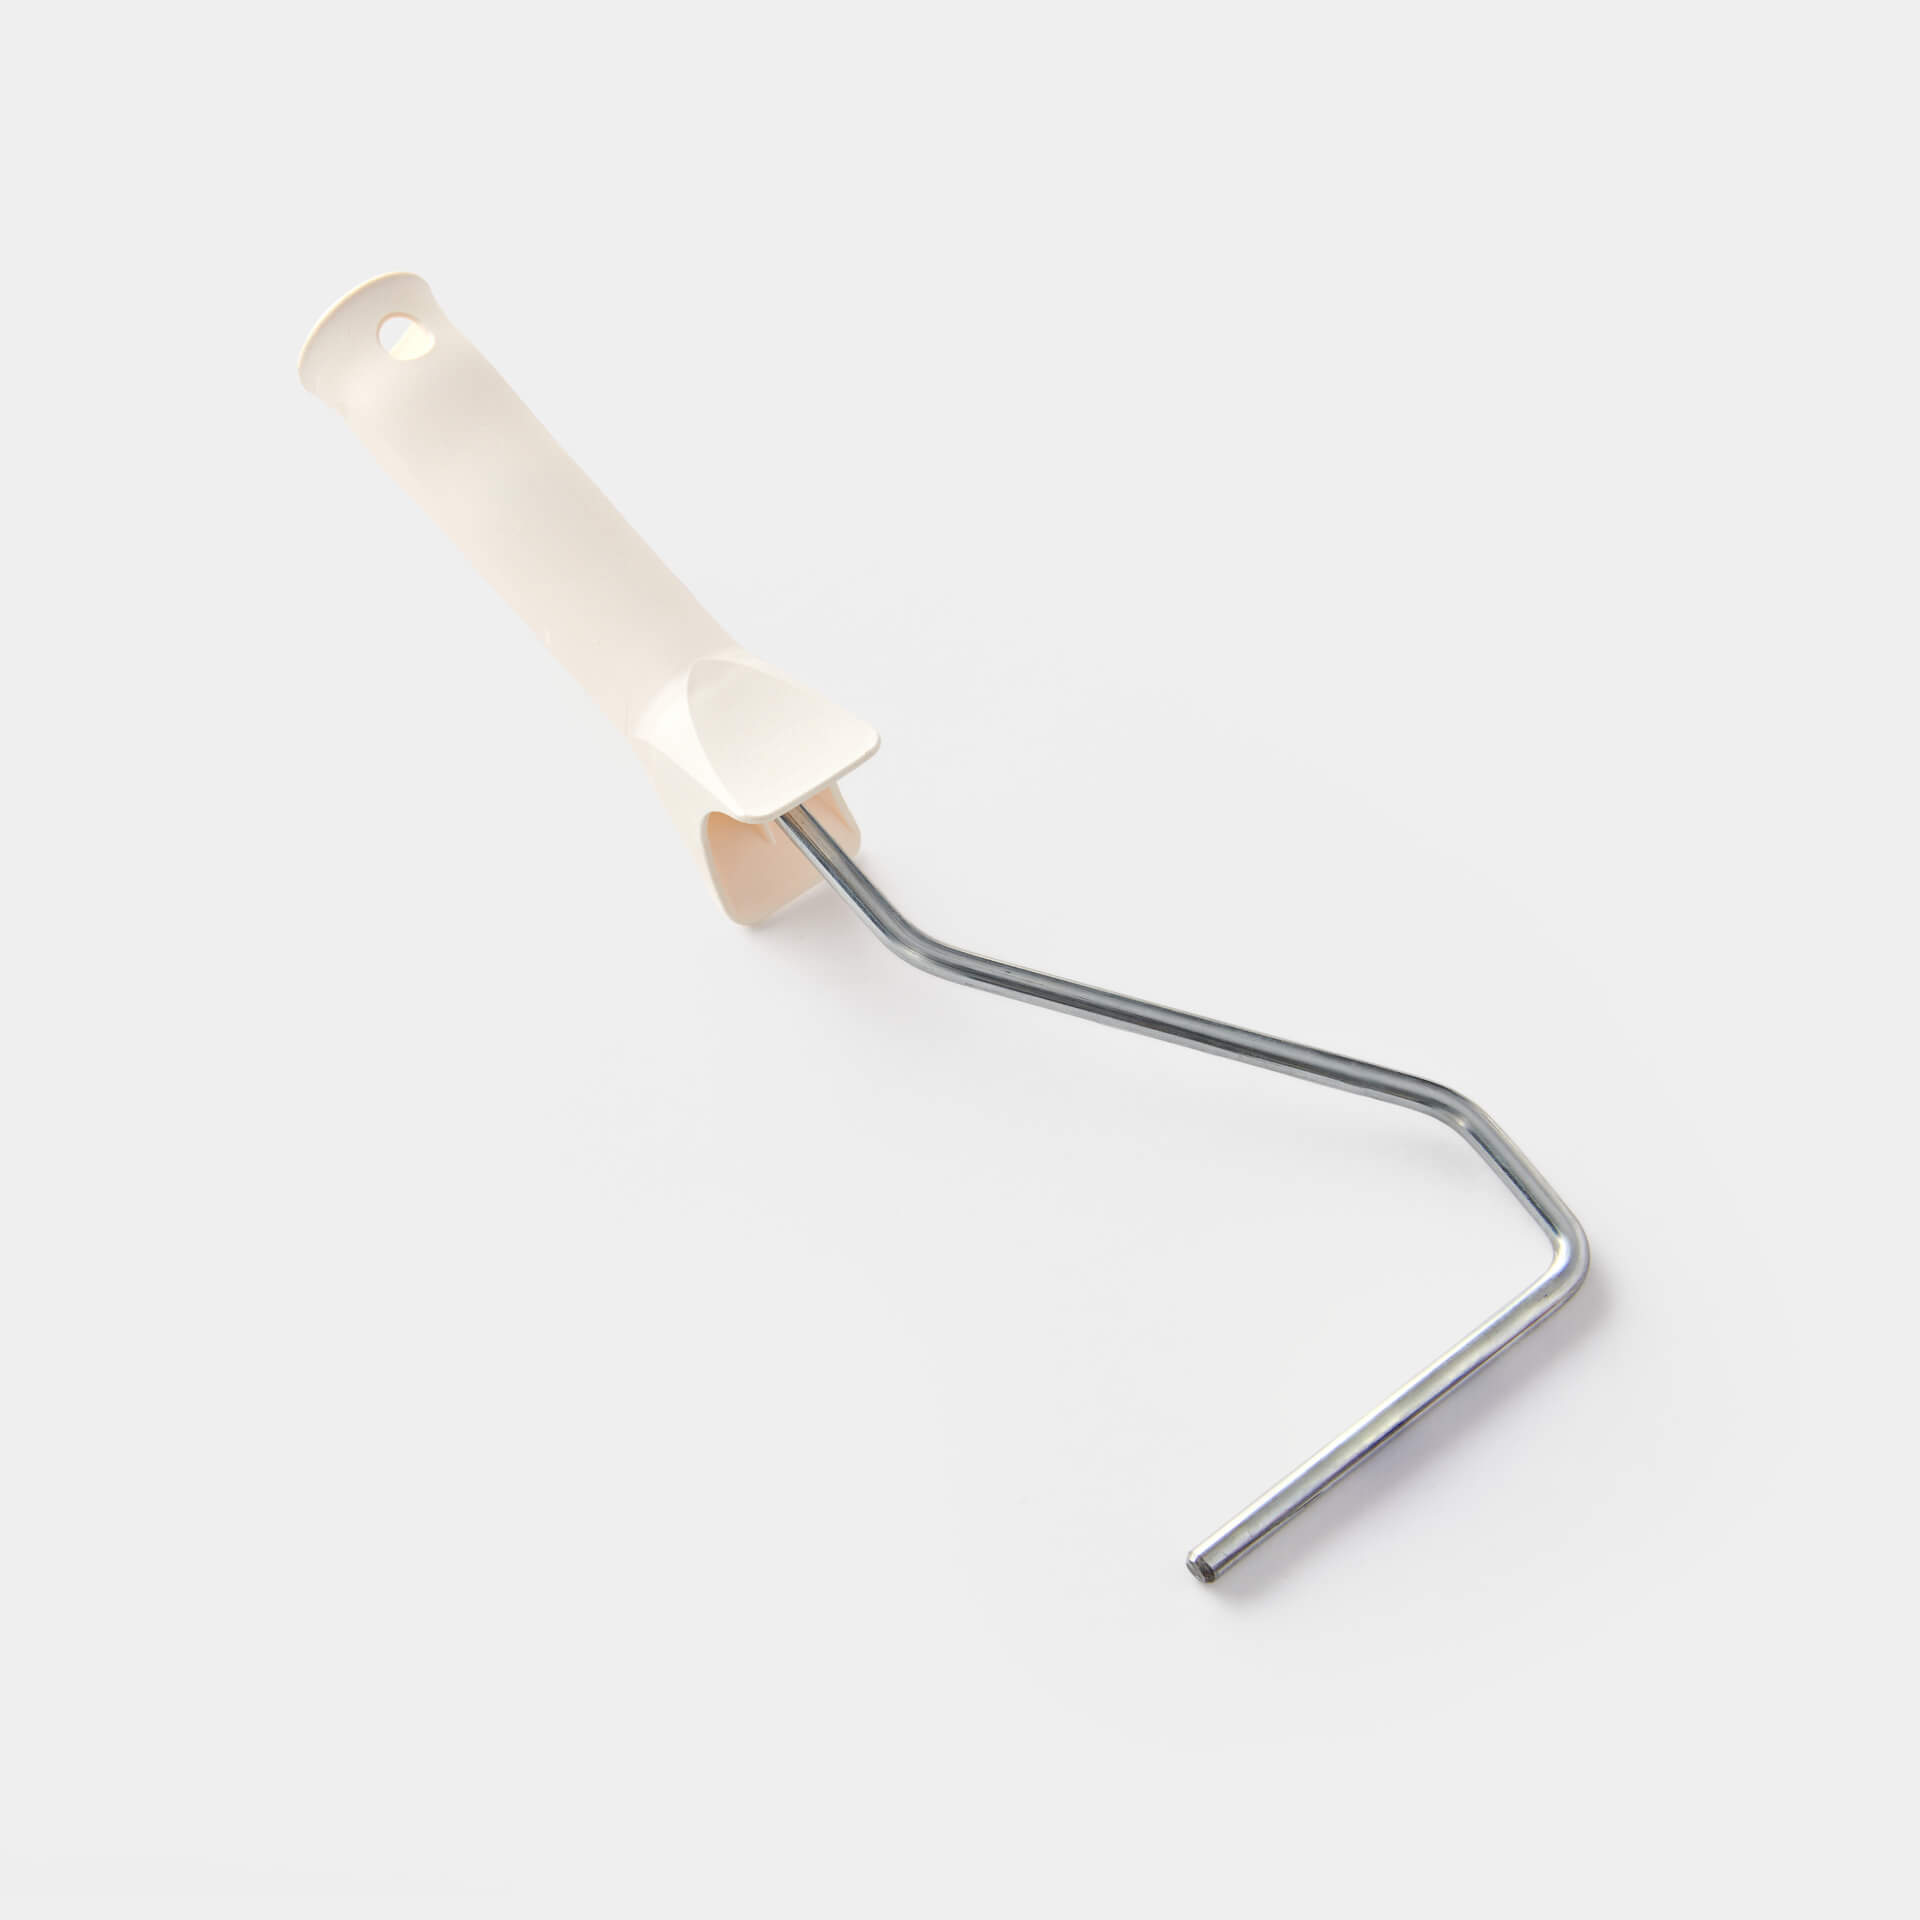
You still need these tool products
Of course, there are a few more tools and supplies you 'll need to have on hand when painting wood!
- Cleaning cloths and buckets: to thoroughly clean the surfaces first: The surface must be free of dust and grease for your paint to hold well.
- Sandpaper or sanding pad: For all areas where old varnish has flaked off. These should first be sanded smooth with a fine grit.
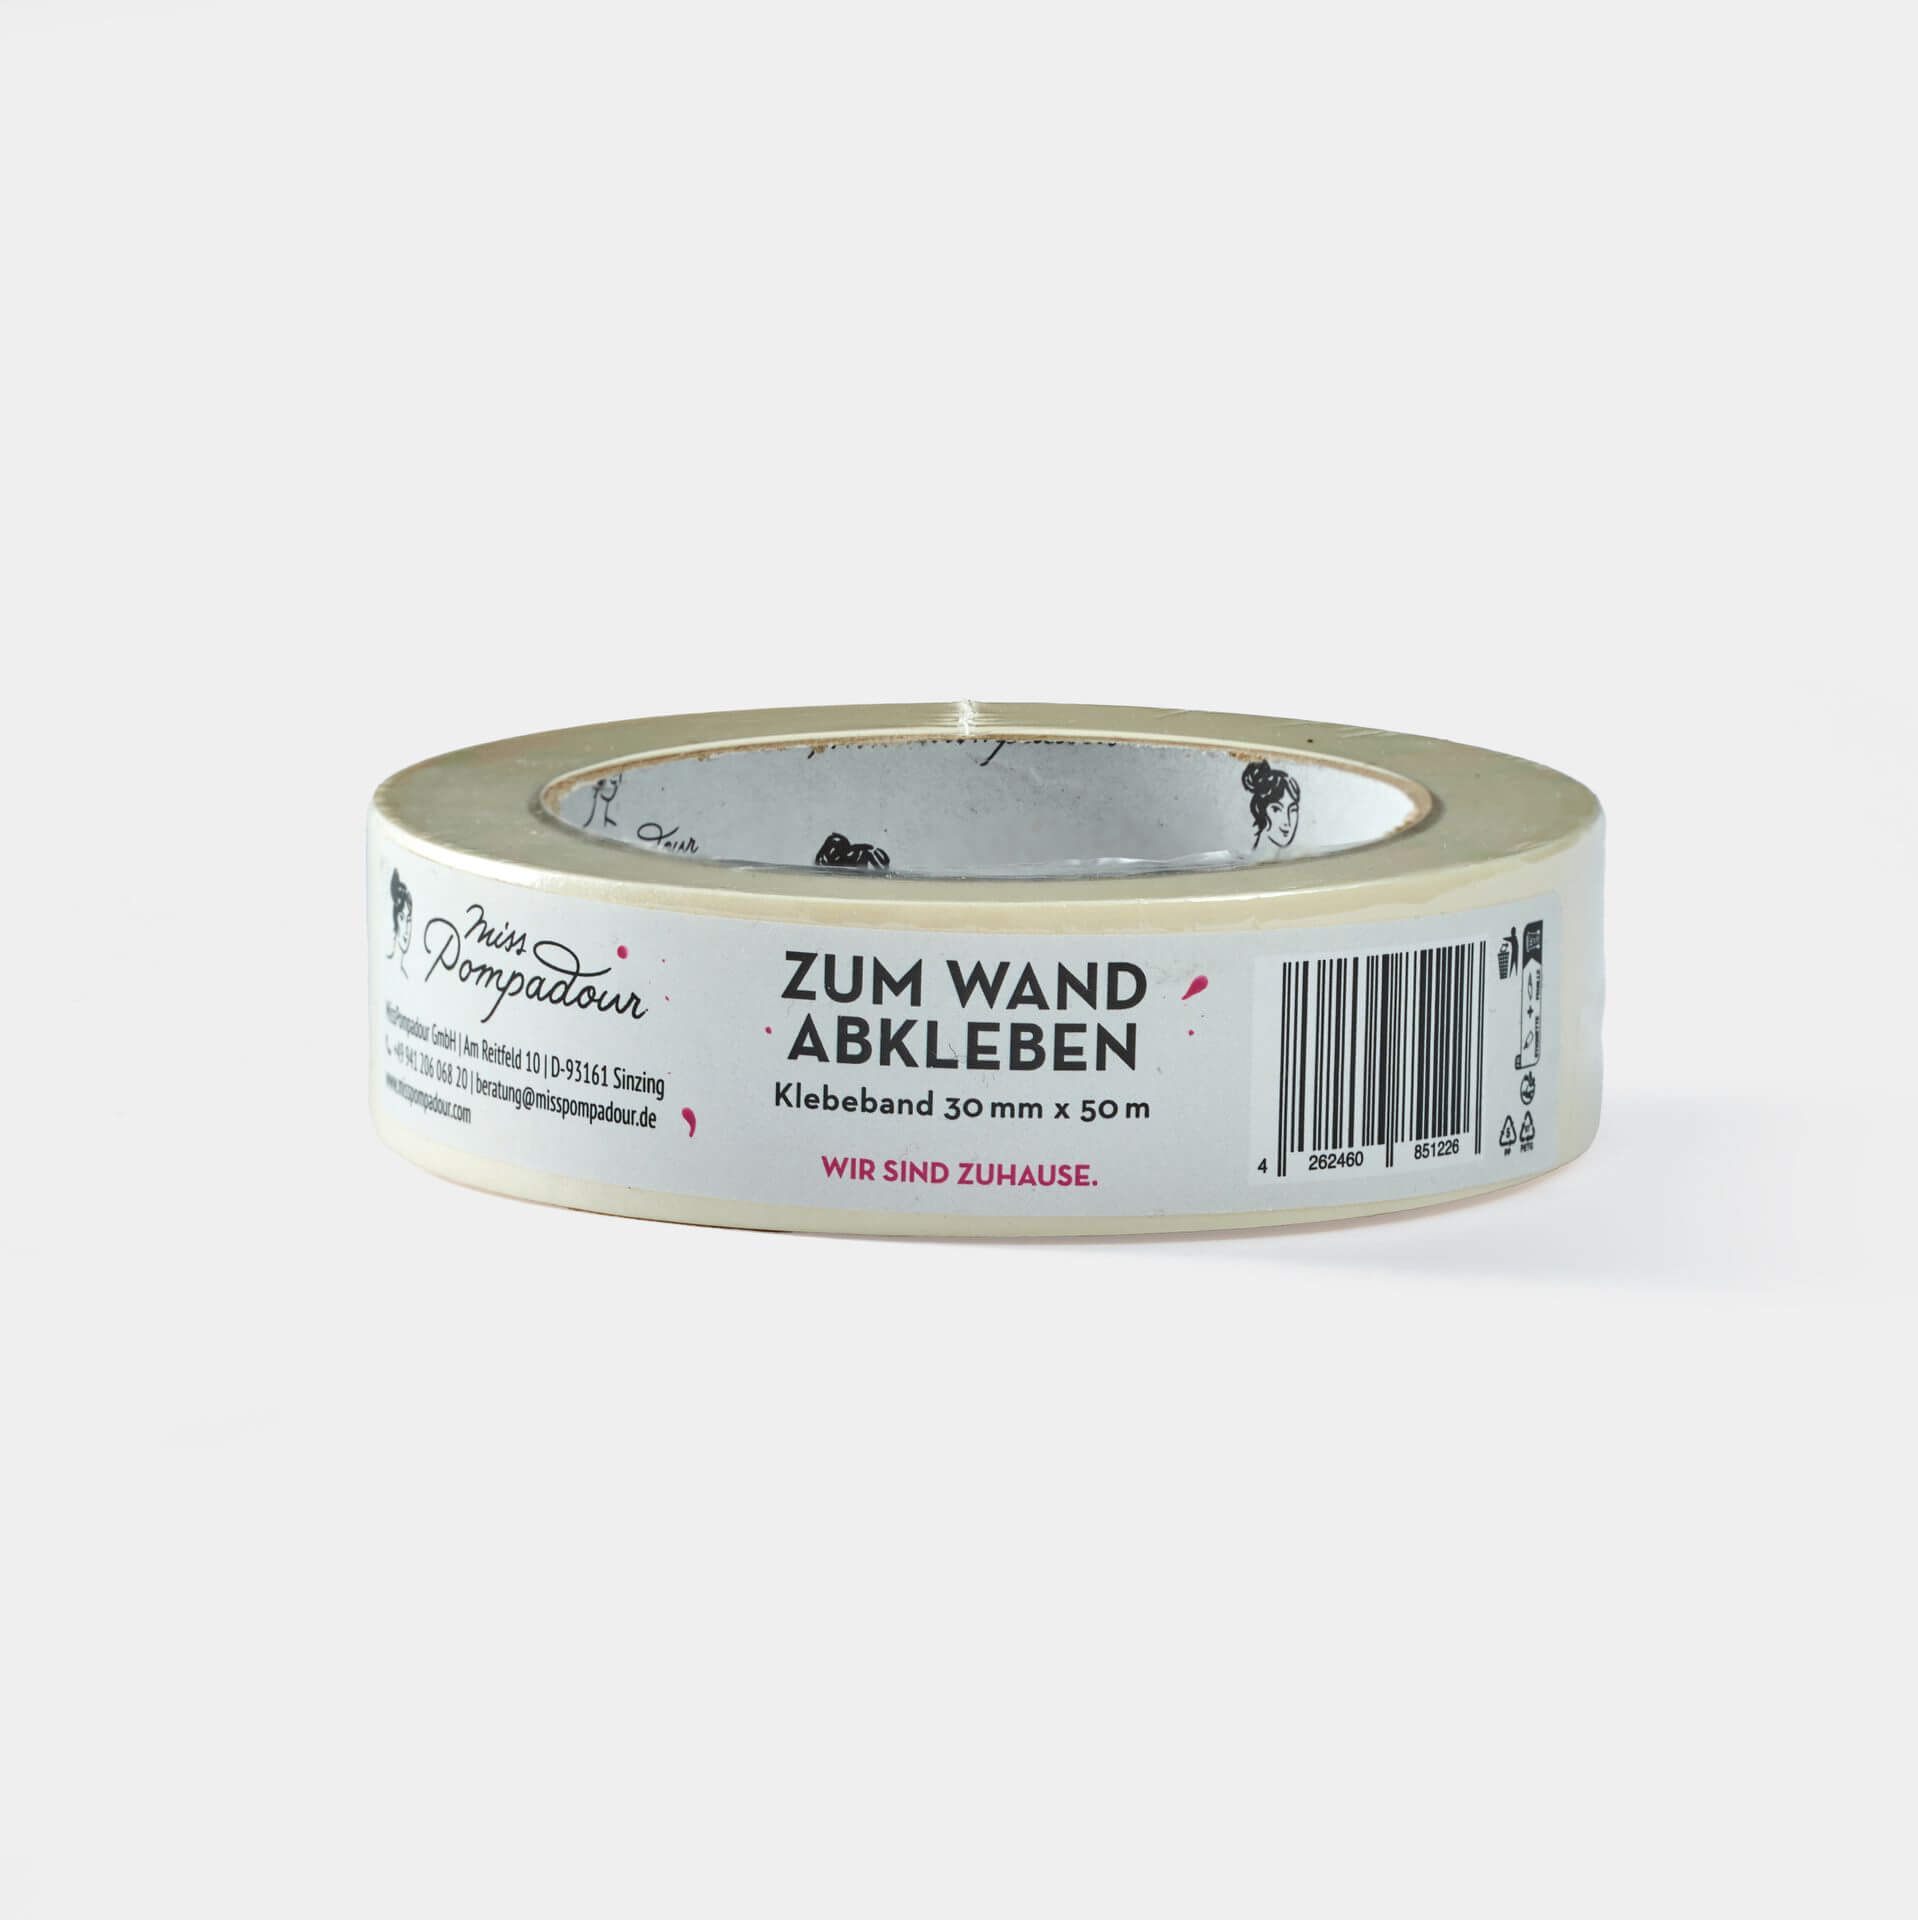
- Masking tape for masking: Always remove the masking tape when the paint is not yet dry to ensure a clean edge.
- plastic drop cloth, painter's fleece or newspaper: To protect your floor and furniture.
- Brush, varnish roller and paint tray: It is best to pour the varnish into the paint tray. Paint corners, edges and recesses with the brush and the surfaces with the varnish roller.
- Ladder or small work platform: to make it easier to reach the ceiling.
Have you finished reading?


Colours for your ceiling

How to make your project perfect


Questions ?
We're here to help
We'll help you anytime, via Phone (Mo-Fr 09-18, Sa until 16 Uhr), via WhatsApp or directly via our Contact Form.