


DIY Decorative Fireplace Build
In Painting - How-To · 5 min reading time
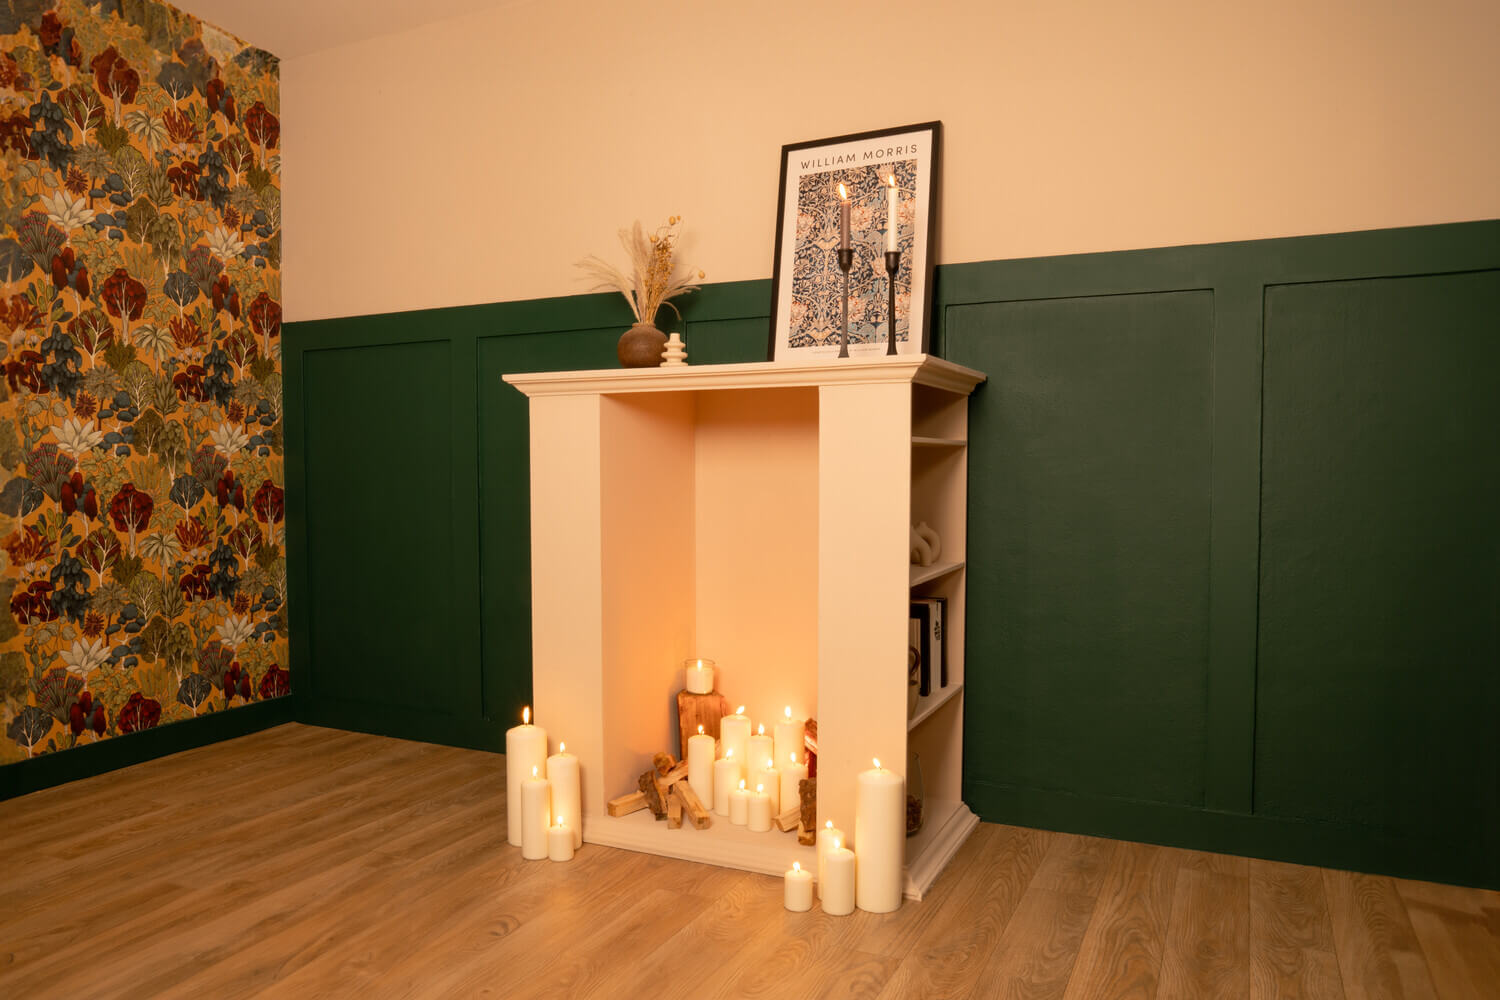
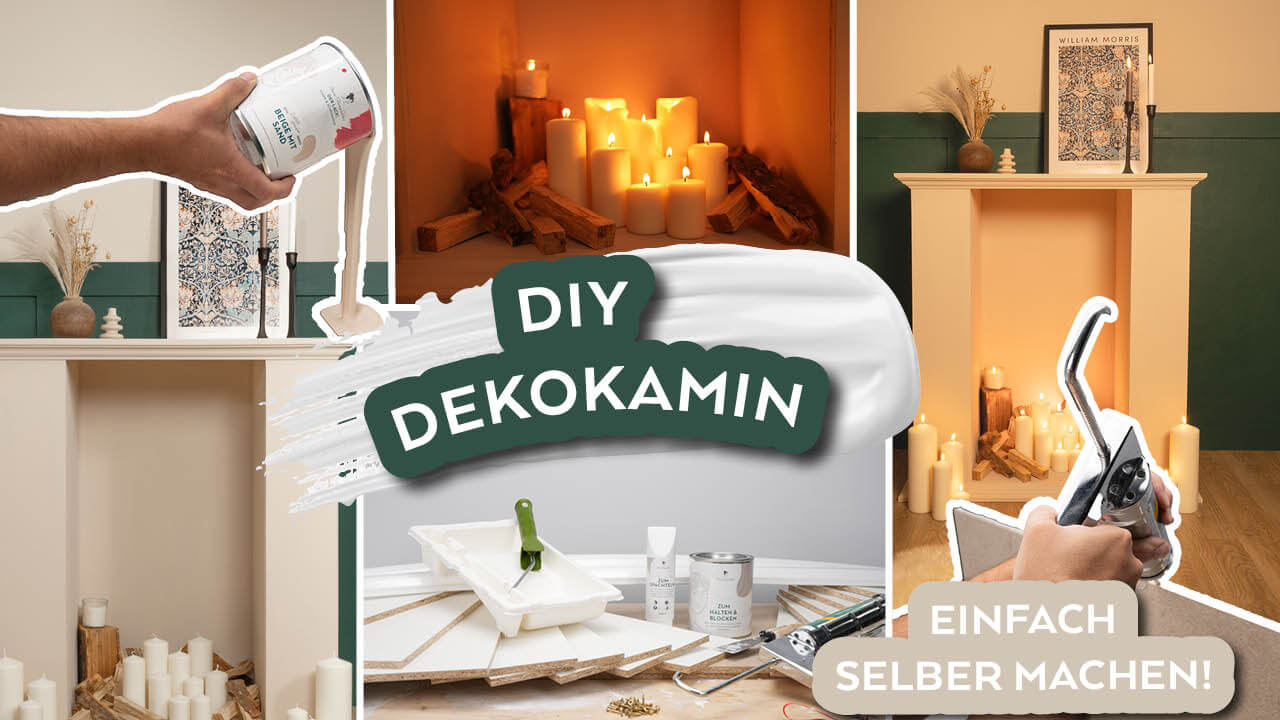
Dreaming of cosy evenings by the fire, but don't have one? Just build yourself one! Of course, you can't make a real fire here, but you can still use candles to create a cosy atmosphere on those dark days. Our step-by-step instructions explain how to build a DIY fireplace yourself.
Step-by-step to the decorative fireplace
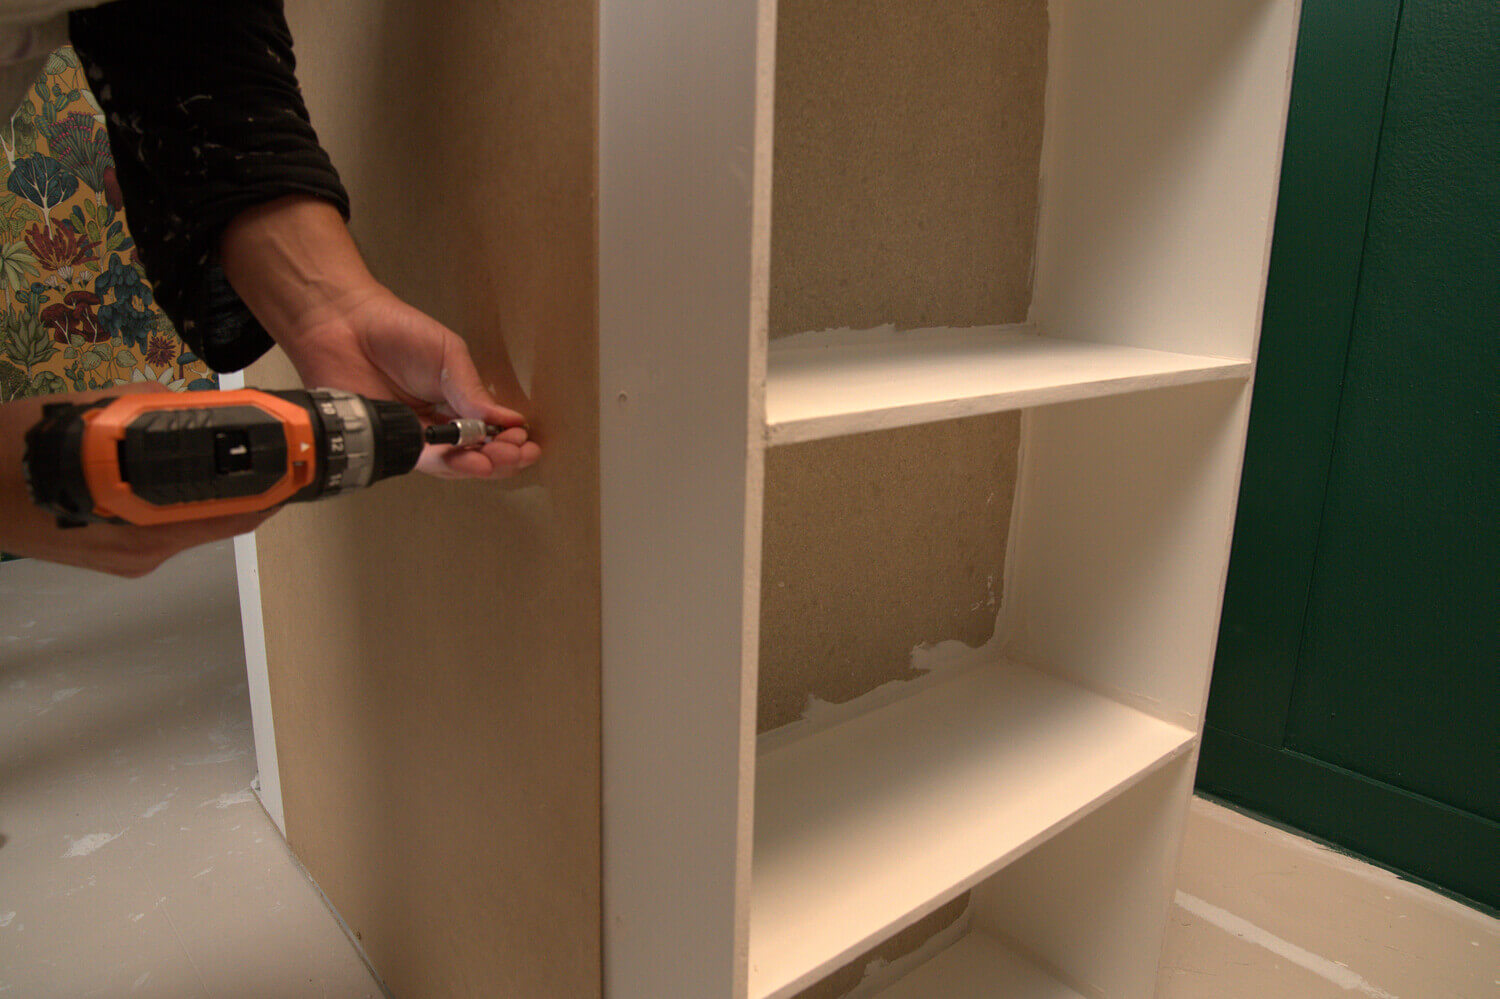
Step 1:
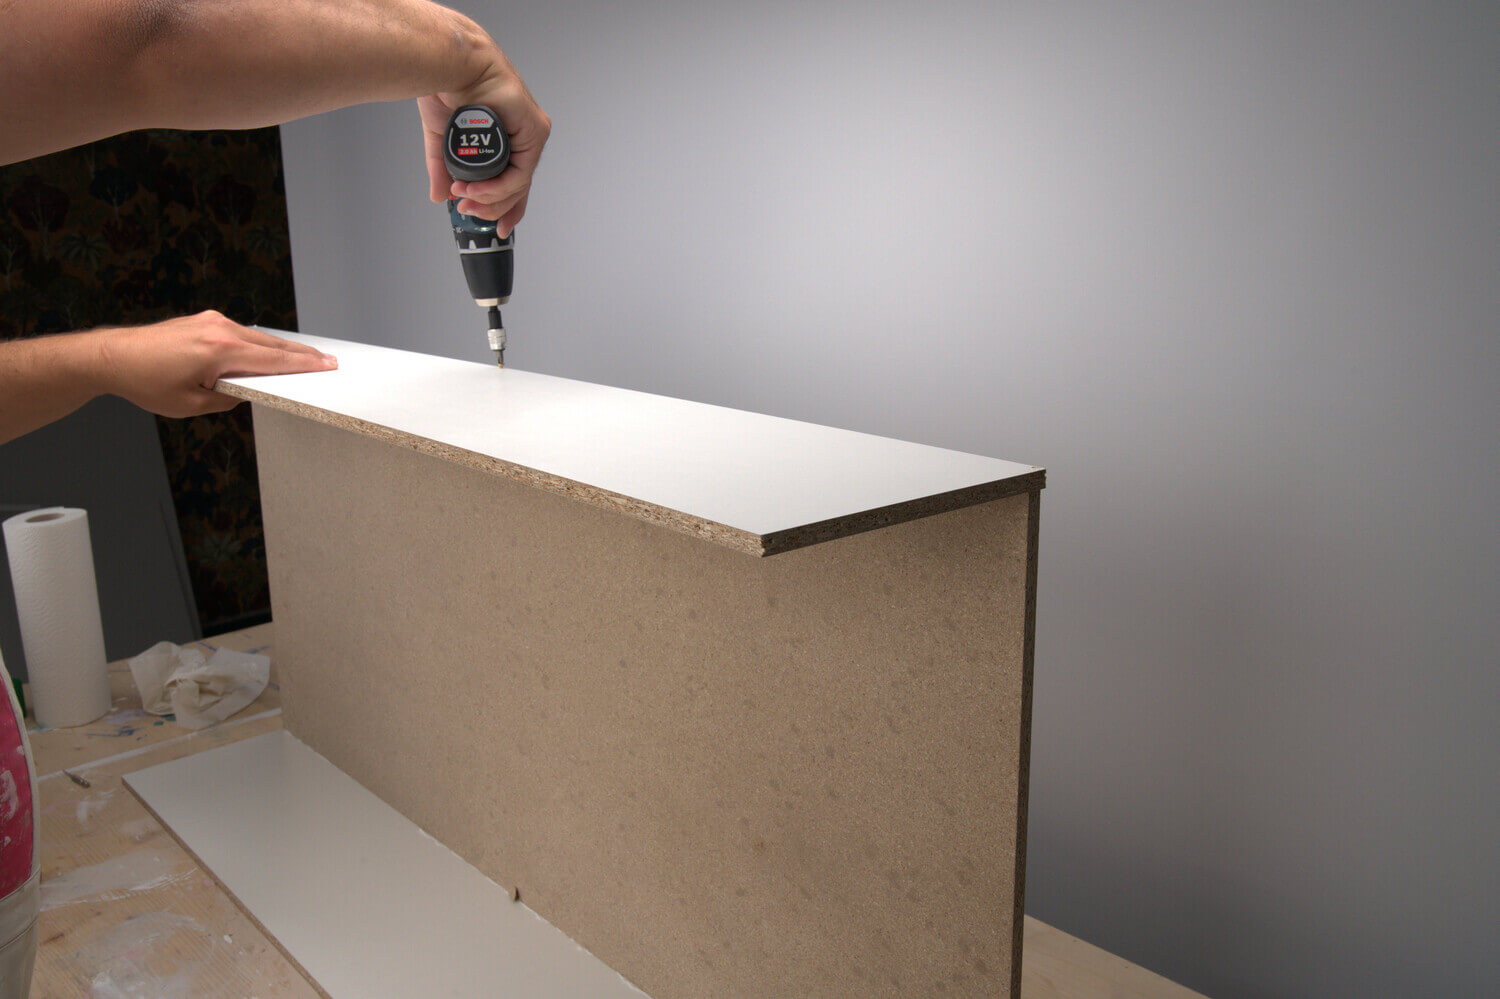
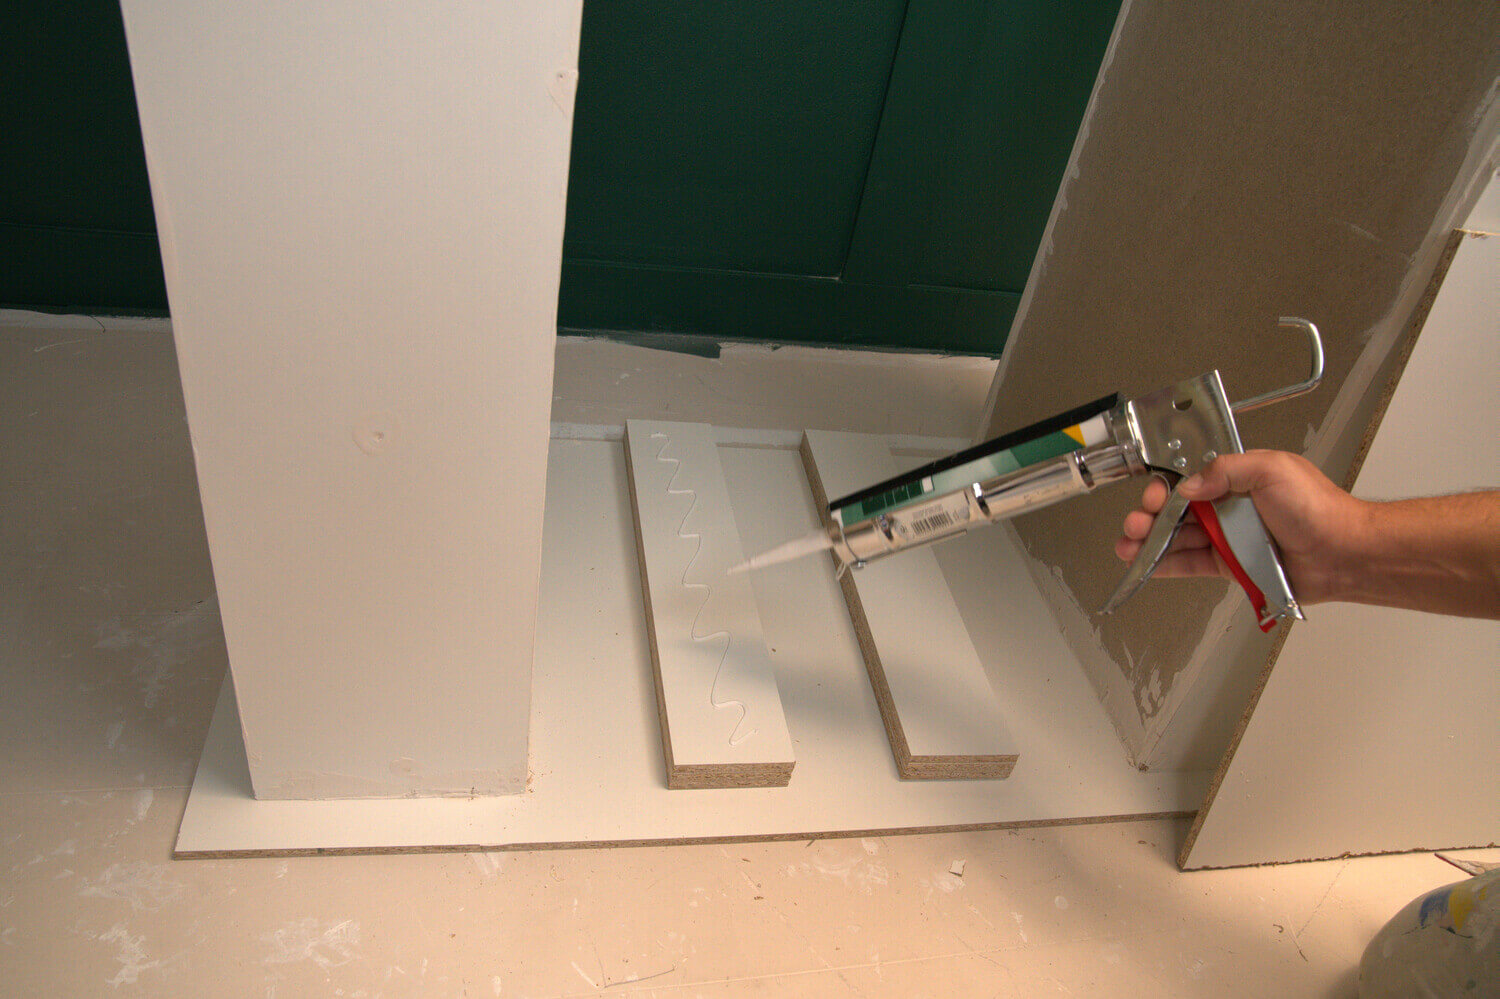
Drill three holes in one of the side panels (110 x 20 cm) - one about 2 cm from the edge and one in the middle. Then apply assembly glue to one long side of a back panel (110 x 48 cm) and glue the side panel to the back panel. Then screw it to the pre-drilled holes. Proceed in the same way on the second side.

Step 2:
Then follow with the first bottom panel. Use a folding ruler and pencil to draw a line 4 cm above the lower edge of the back wall so that you can later finish with the trim. Pre-drill and fix the bottom panel with mounting glue and screws.
Step 3:
You are free to decide on the height of the other shelves. We based the spacing on a book, as this part of the fireplace is also perfect as a bookshelf. Many books are between 19 and 25 cm high. If you already have ideas about what you want to display on these side shelves, use the largest item as a measure.

Step 4:
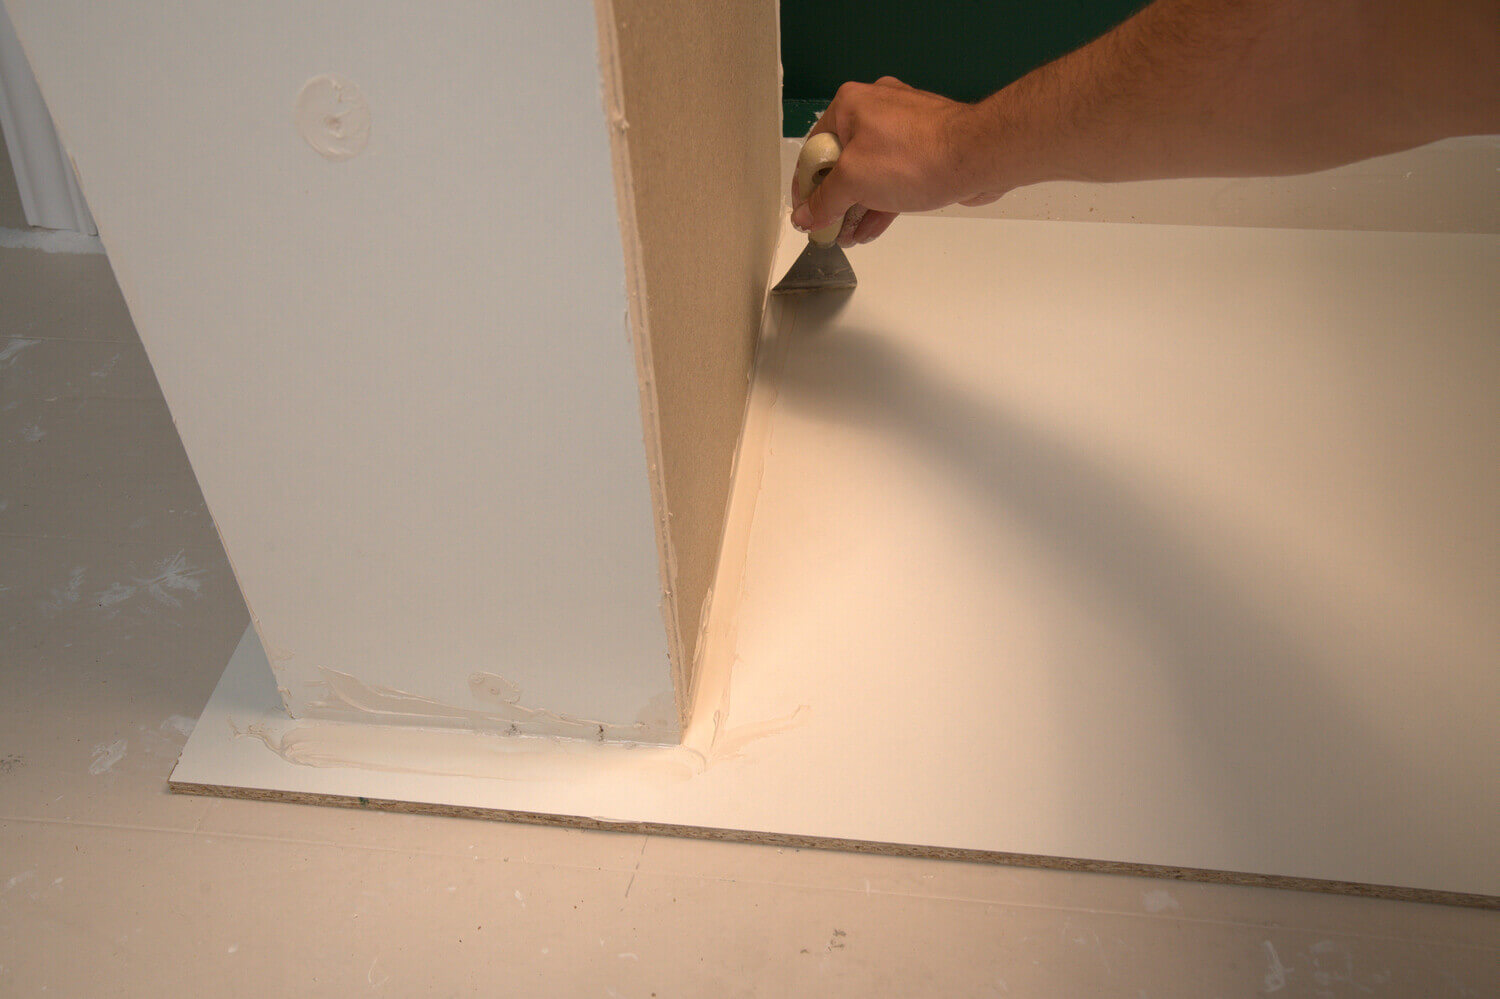
Build the second side of the fireplace unit following the same pattern. Spackle the corners and drill holes of both sides with To Fill.

Step 5:
Place the two units back to back and place the inner bottom panel (60 x 50 cm) between them.
Step 6:
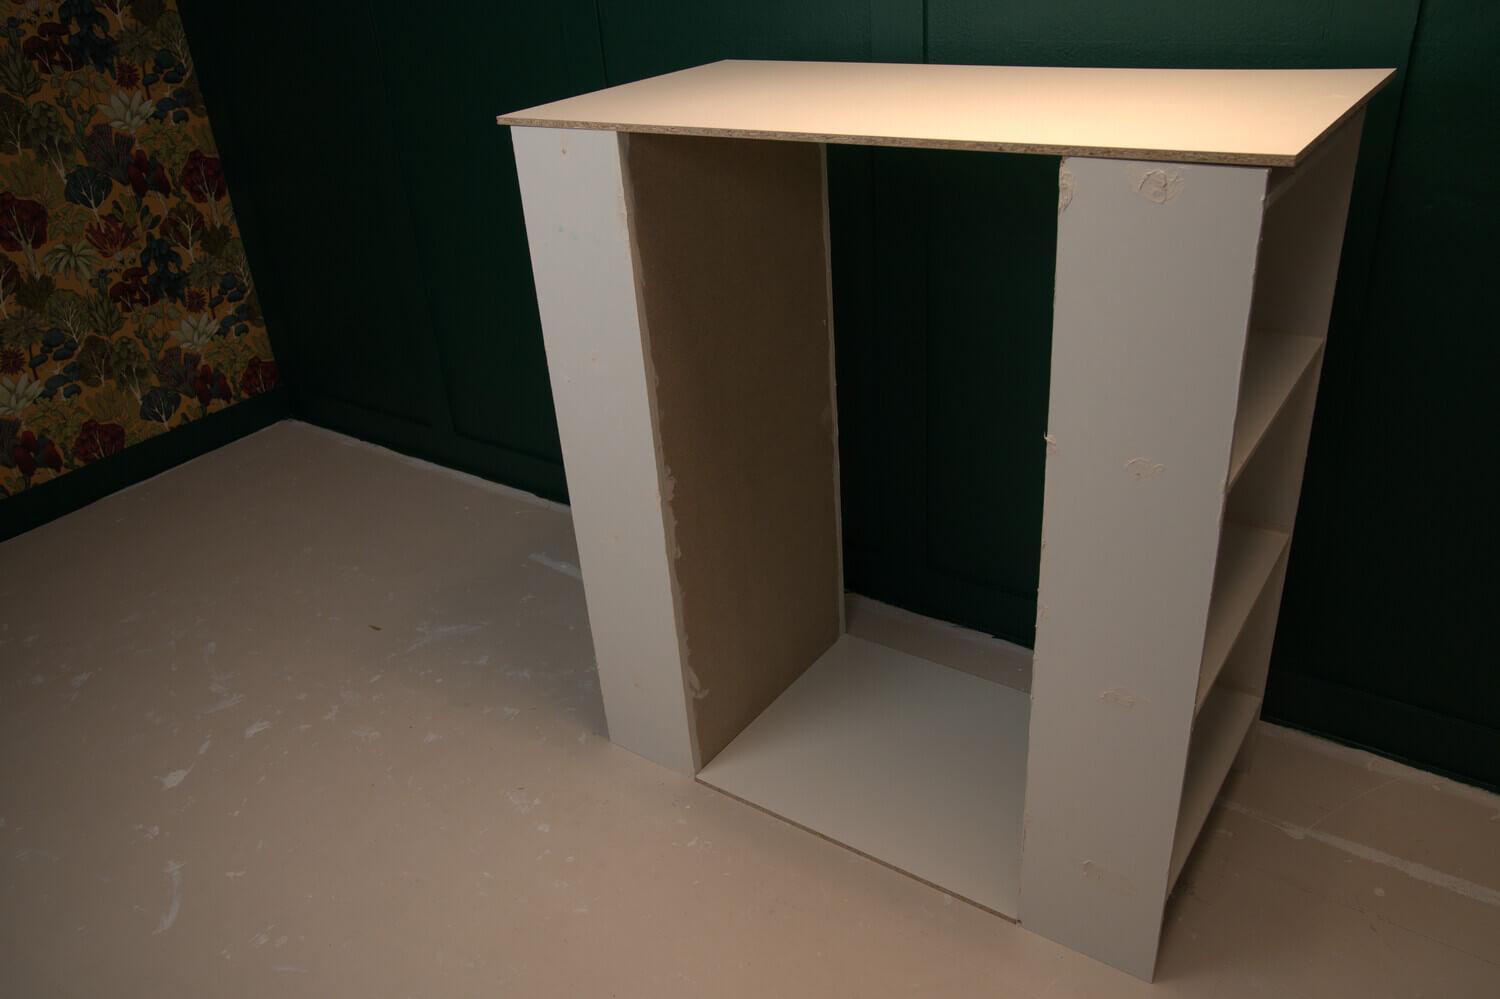
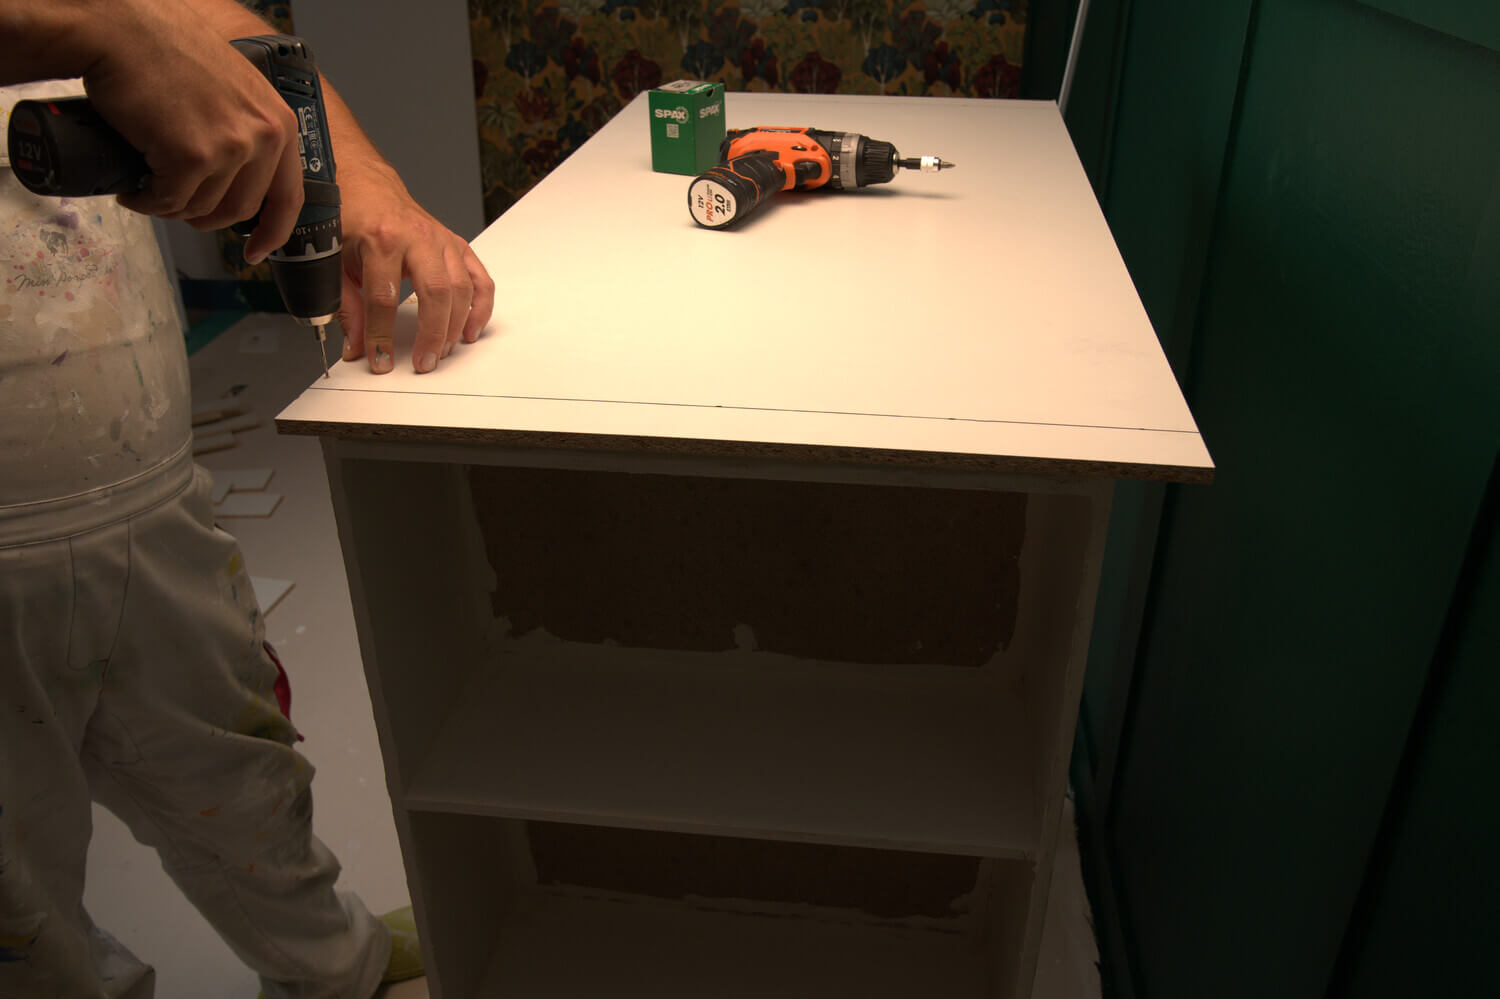
The bottom panel ensures that the two side panels are correctly spaced. Mark a 4.5 cm distance from the edge on both sides of your ceiling tile (109 x 54.5 cm) - this is how much the ceiling panel should overlap later. Now you can apply assembly glue to the upper ends and place the ceiling panel so that the side parts are flush with the marked lines. As soon as it is properly in place, screw the ceiling panel in place.
Step 7:
Then turn the fireplace upside down and place it on the ceiling panel. Now mount the large bottom panel (109 x 54.5 cm). Here too, fill the edges with spackle
Step 8:
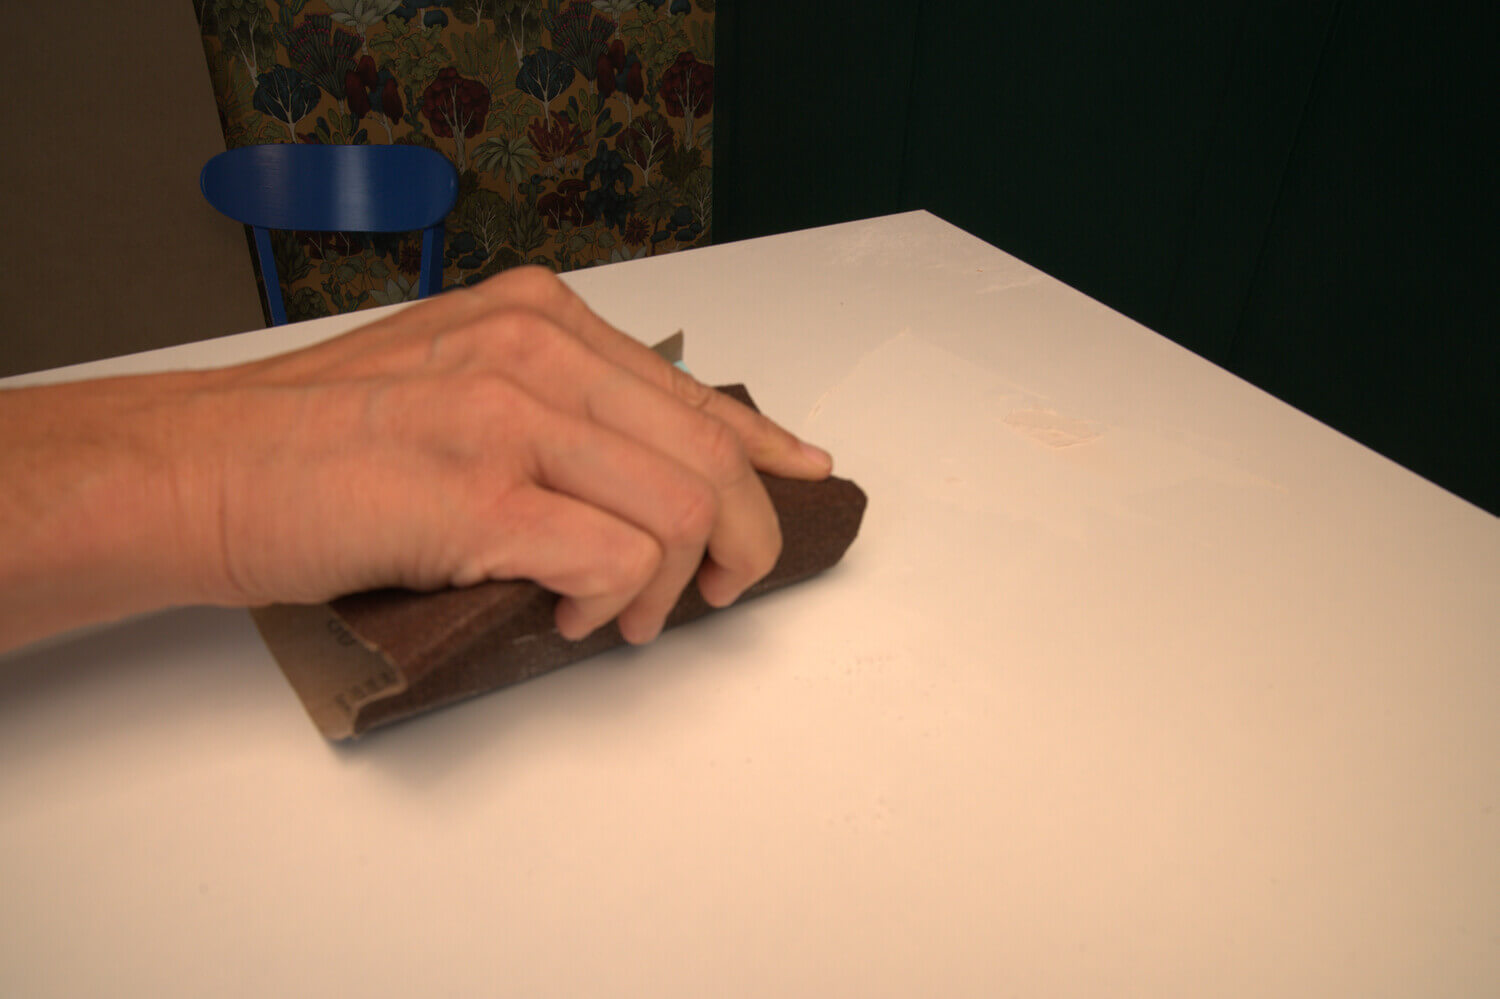
Turn the chimney over again. The next step is to sand down the areas where you have spackled with filler.
Step 9:
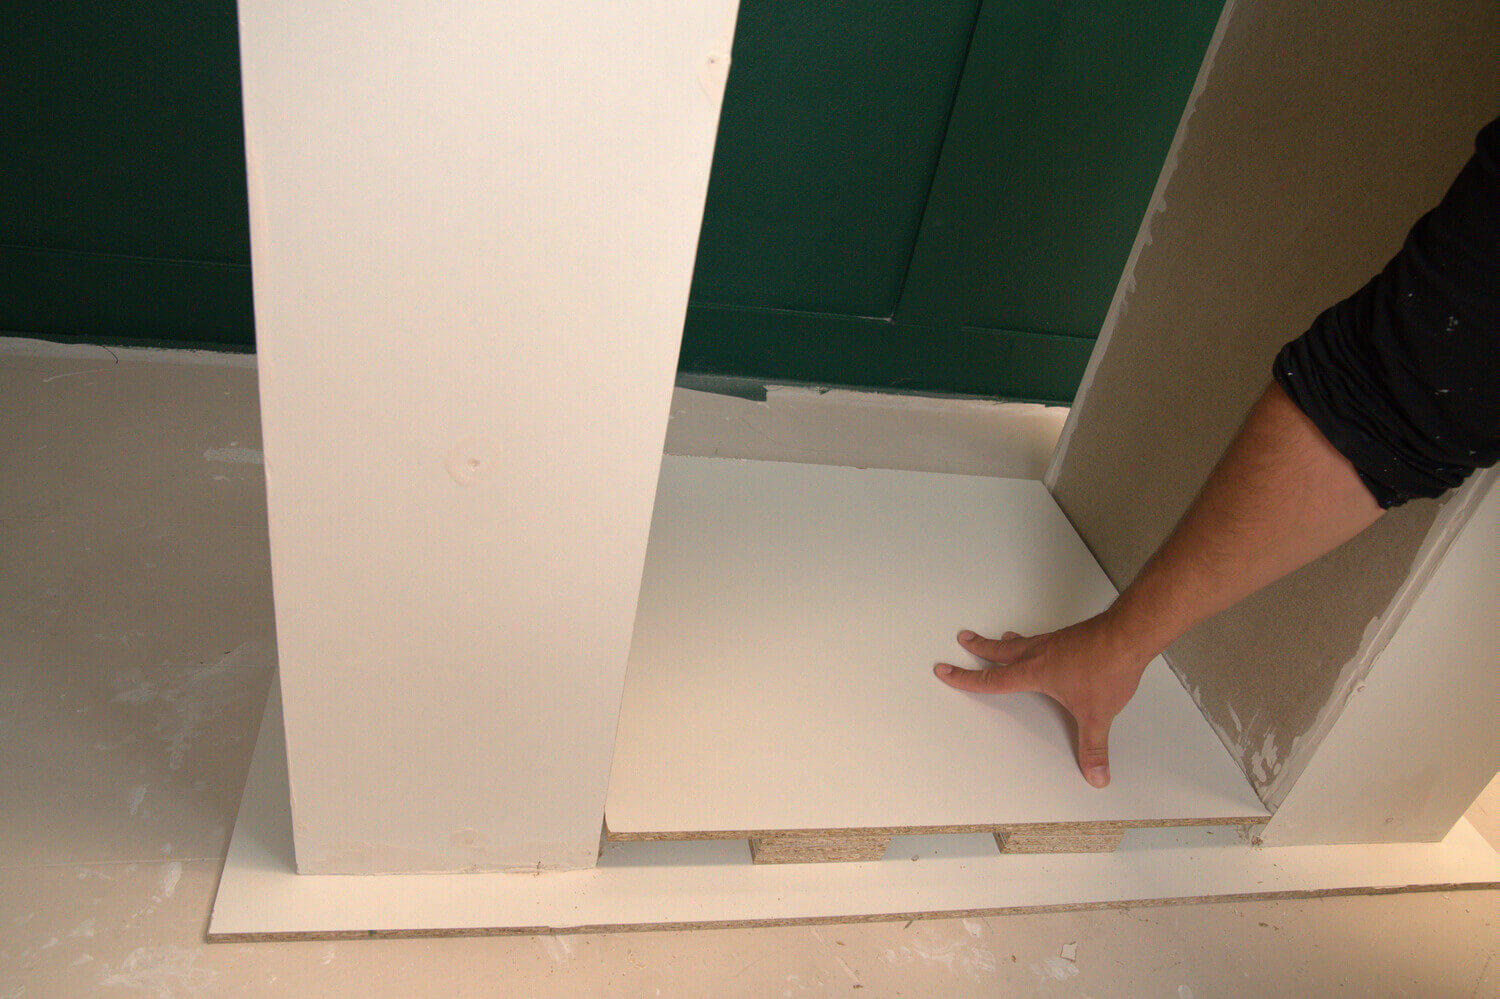
Now glue three of the feet (10 x 50 cm) on top of each other and then in the middle of the large bottom panel.
Step 10:
Now glue the inner bottom panel (60 x 50 cm) onto this. Because of the feet, this will later fit perfectly with the trim. Here, too, spackle all the corners with filler.
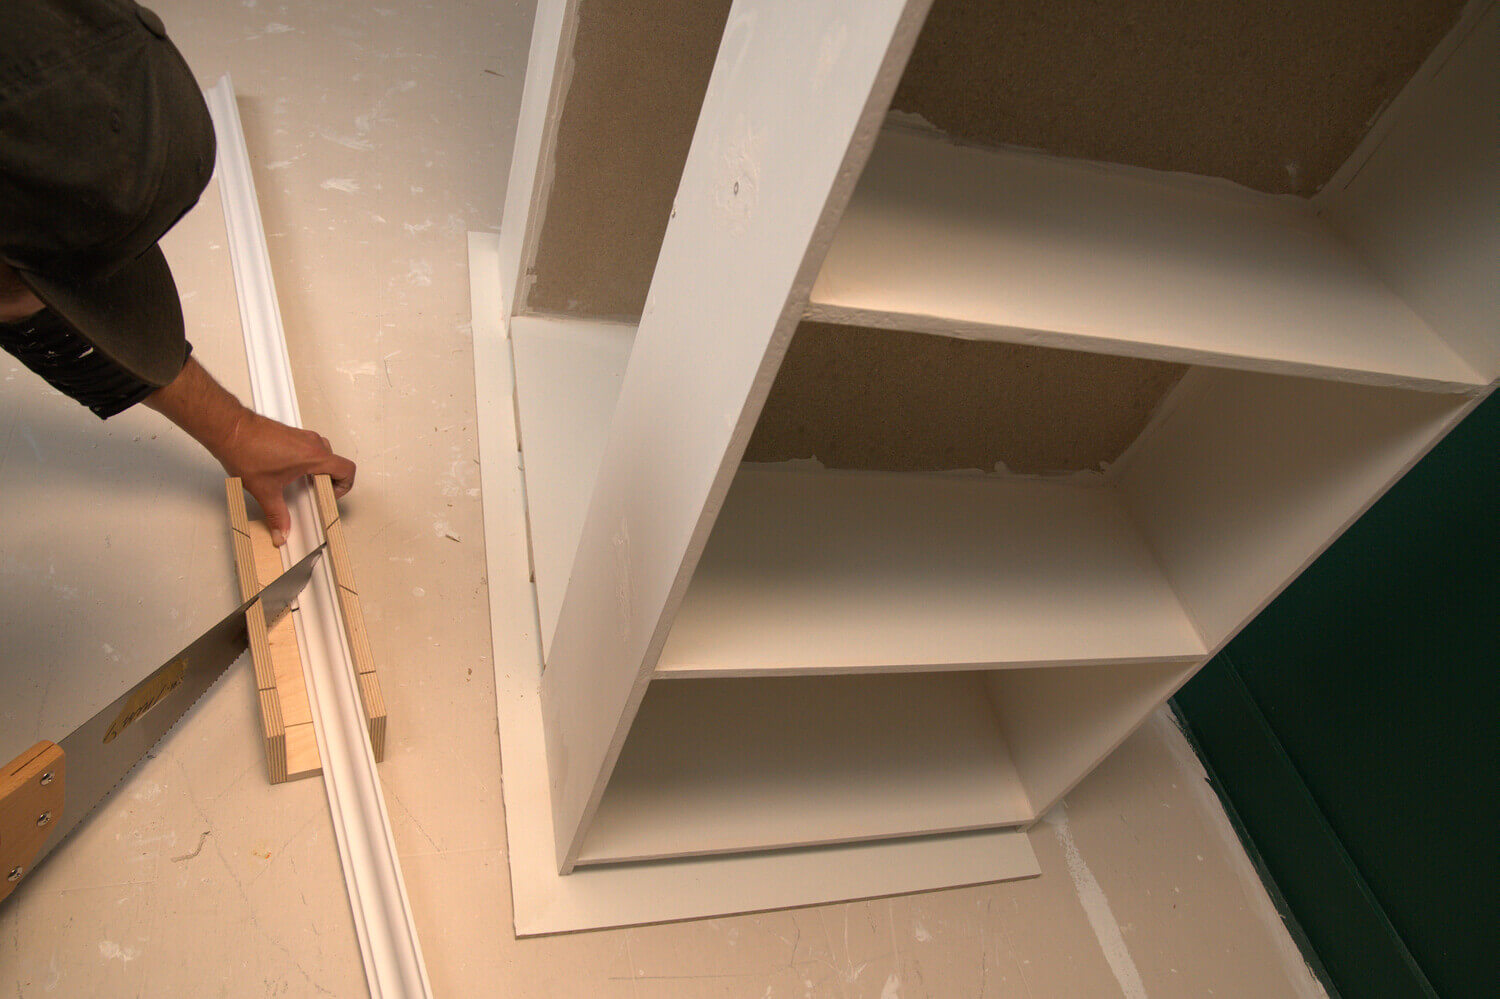
Step 11:
Then measure the trim and cut them to size with a mitre box and fretsaw. Glue them in place. You should fix the upper trims with masking tape while they dry.
Step 12:
Spackle the last joints and sand everything down well. After that, you only have to mount the back wall and your "construction" is finished!
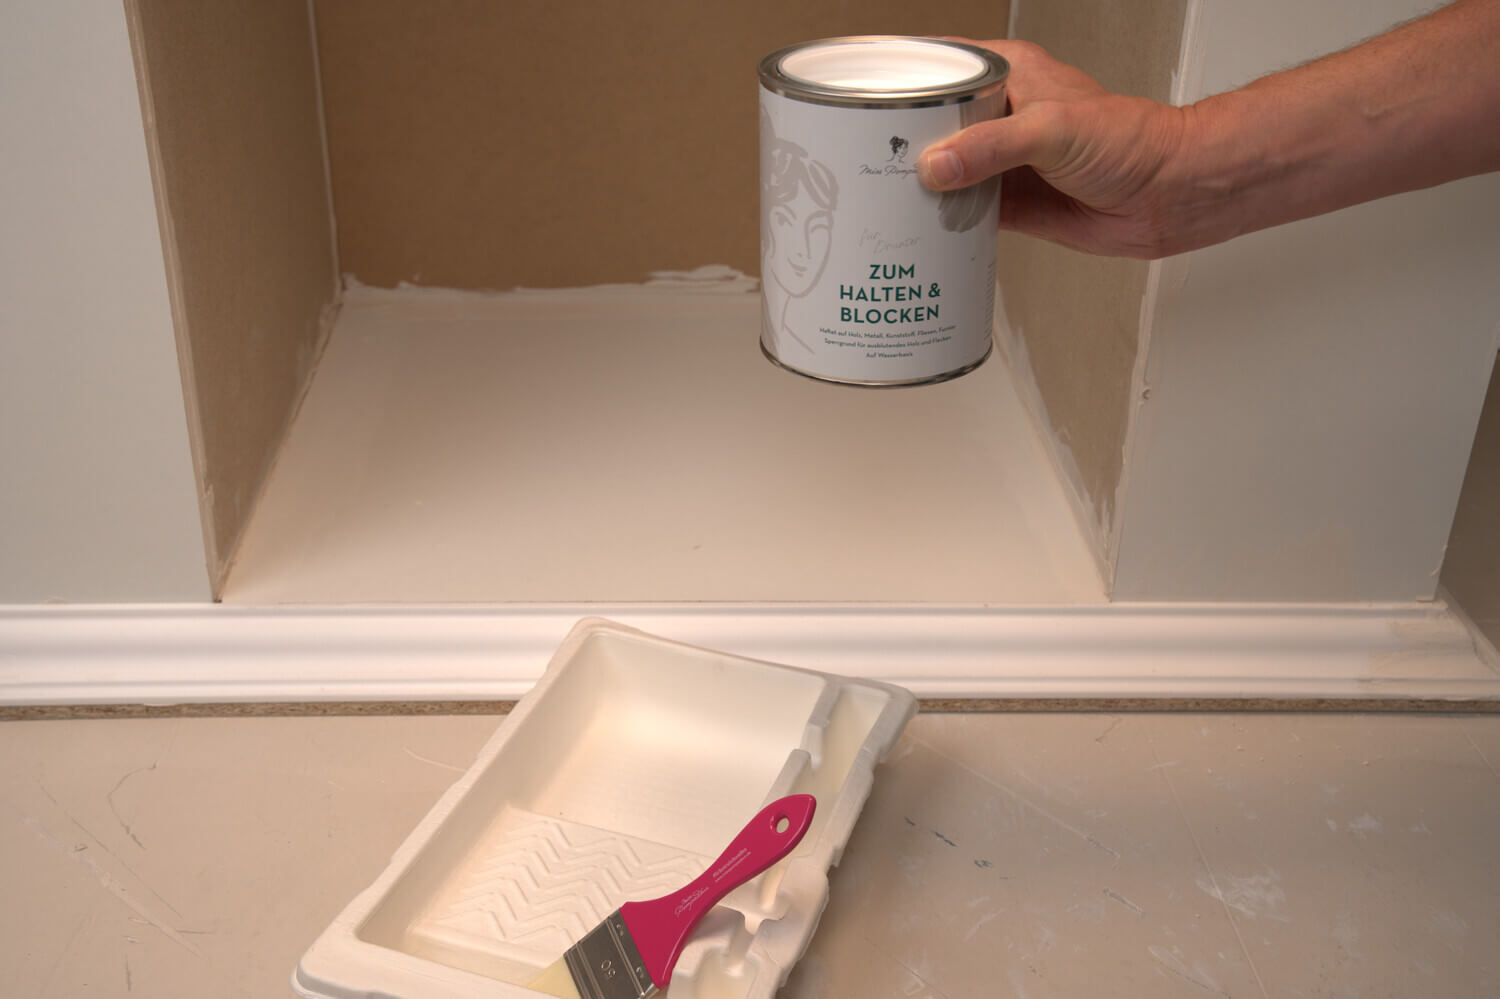
Step 13:
Prime the fireplace with To Bond & Block and let it dry for approx. 6 hours. Then paint it 2x in your favourite colour. We chose Beige with Sand in the Eggshell quality.
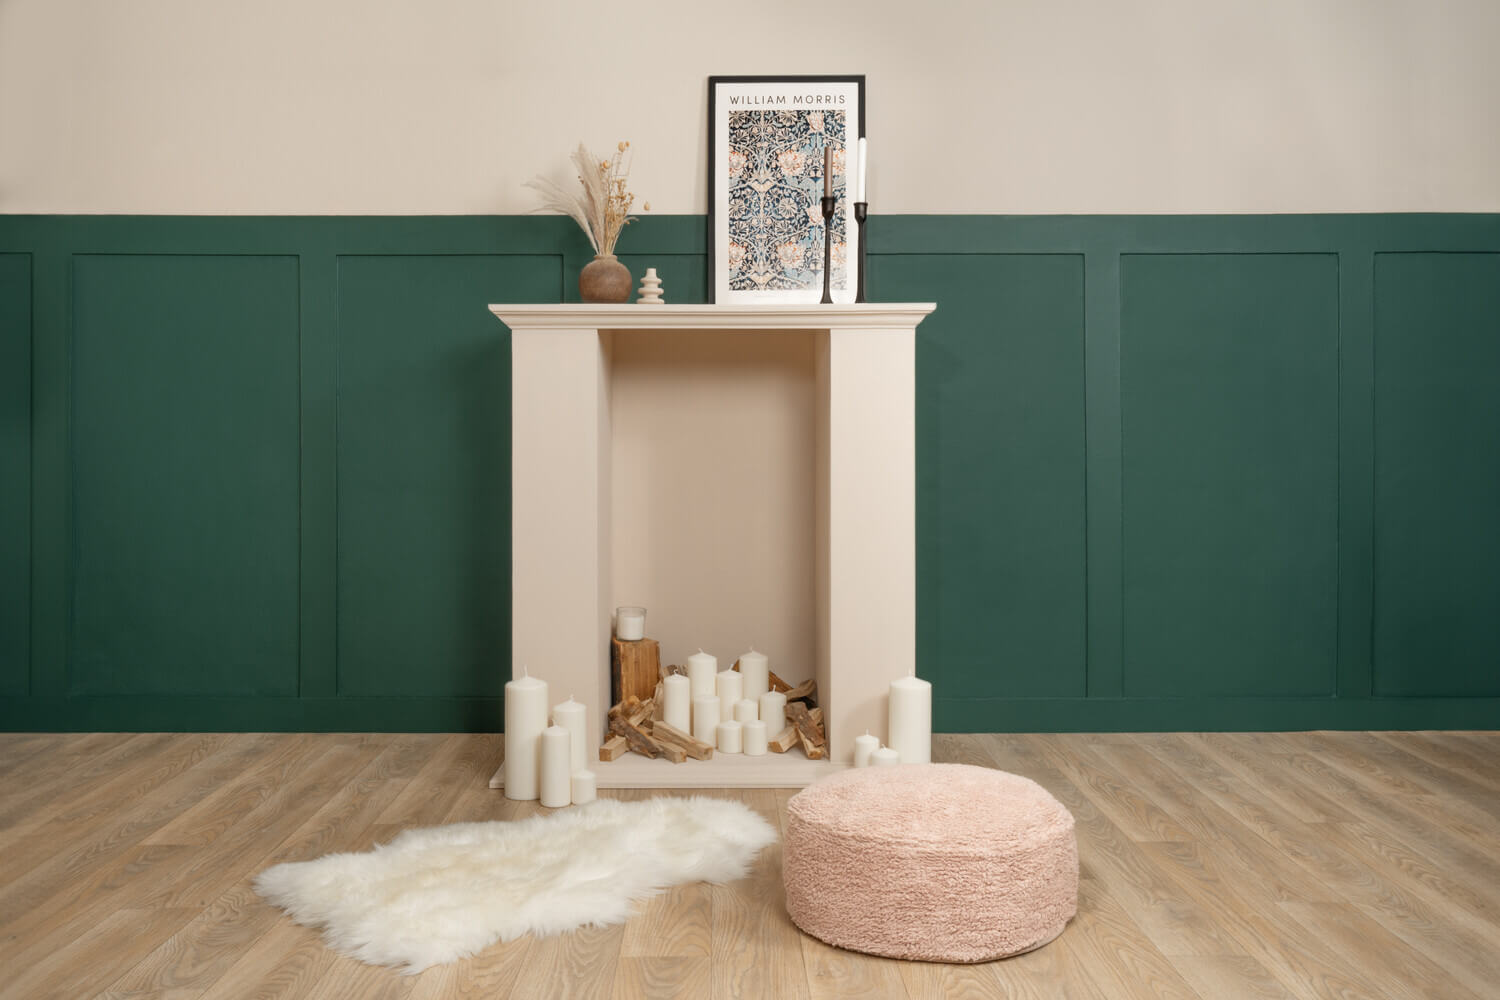
Step 14:
Your fireplace is ready! Fill it with candles, decorate it, and the cosy evenings in front of the fireplace can begin.

We're here to help
You need of support during your project or have another concern? Just message our customer service!
We'll help you anytime, via Phone or Live-Chat (Mo-Fr 09-18, Sa until 16 Uhr), via WhatsApp or directly via our Contact Form.
You will need this material:
- MDF/HDF - fibreboard, thickness 10 mm:
2 pieces: 109 x 54.5 cm (for floor and ceiling panel)
2 pieces: 110 x 48 cm (for the backs of the body)
4 pieces: 110 x 48 cm (for the sides of the body)
8 pieces: 48 x 19 cm (for the bottoms of the body)
6 pieces: 10 x 50 cm (for the feet of the inner bottom plate)
1 piece: 50 x 60 cm (for the inner bottom plate) - 1 piece of MDF/HDF board, thickness 3 mm, 70 x 110 cm (for the back wall)
- Trim strips, approx. 450 cm in total, 40 x 45 mm
- Folding rule and pencil
- Mounting glue and Sanding Pad
- Wood screws (approx. 20 x 3 cm) and cordless screwdriver
- To Fillfiller and spatula
- Mitre box (to saw the angles of the mouldings) and scroll saw
- To Mask painter's masking tape
- To Bond & Block primer
- Eggshell Varnish in the colour of your choice
- Brush, Rollers, paint tray
Build your own decorative fireplace: The MissPompadour video tutorial
Everything for your project
At MissPompadour you will find a wide range of accessories.


Content: 0.4 Kilogramm (€24.75* / 1 Kilogramm)


 10cm")
