


Wall panelling DIY: Build your own wooden wall panelling
5 min reading time
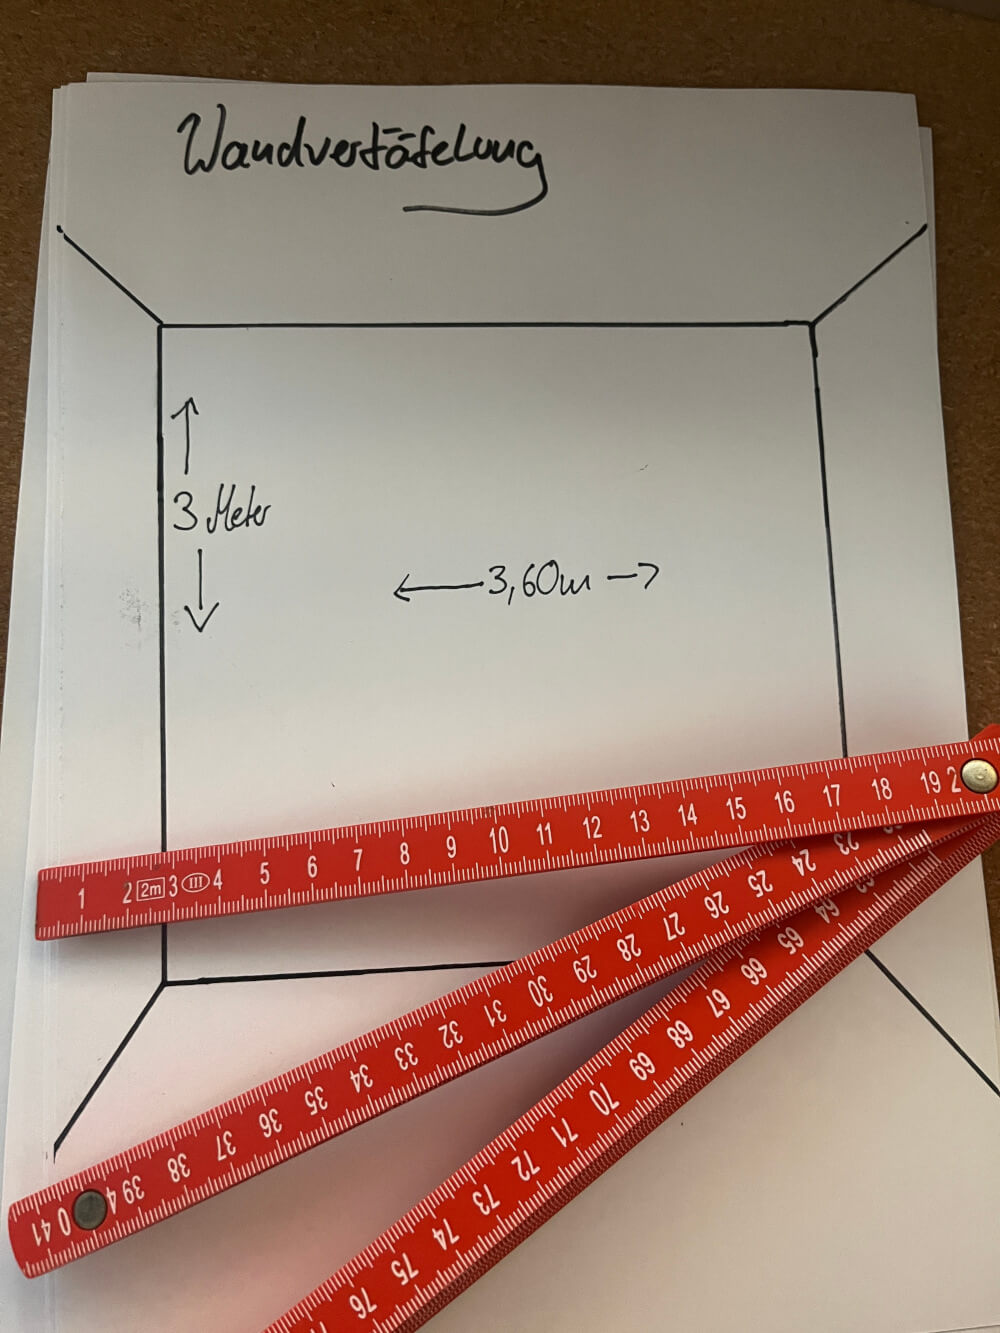
Planning wood panelling
Flat Panel or Beadboard Wainscoting?
Wood panelling half-high or covering the entire surface?
Classic or modern wall panels?
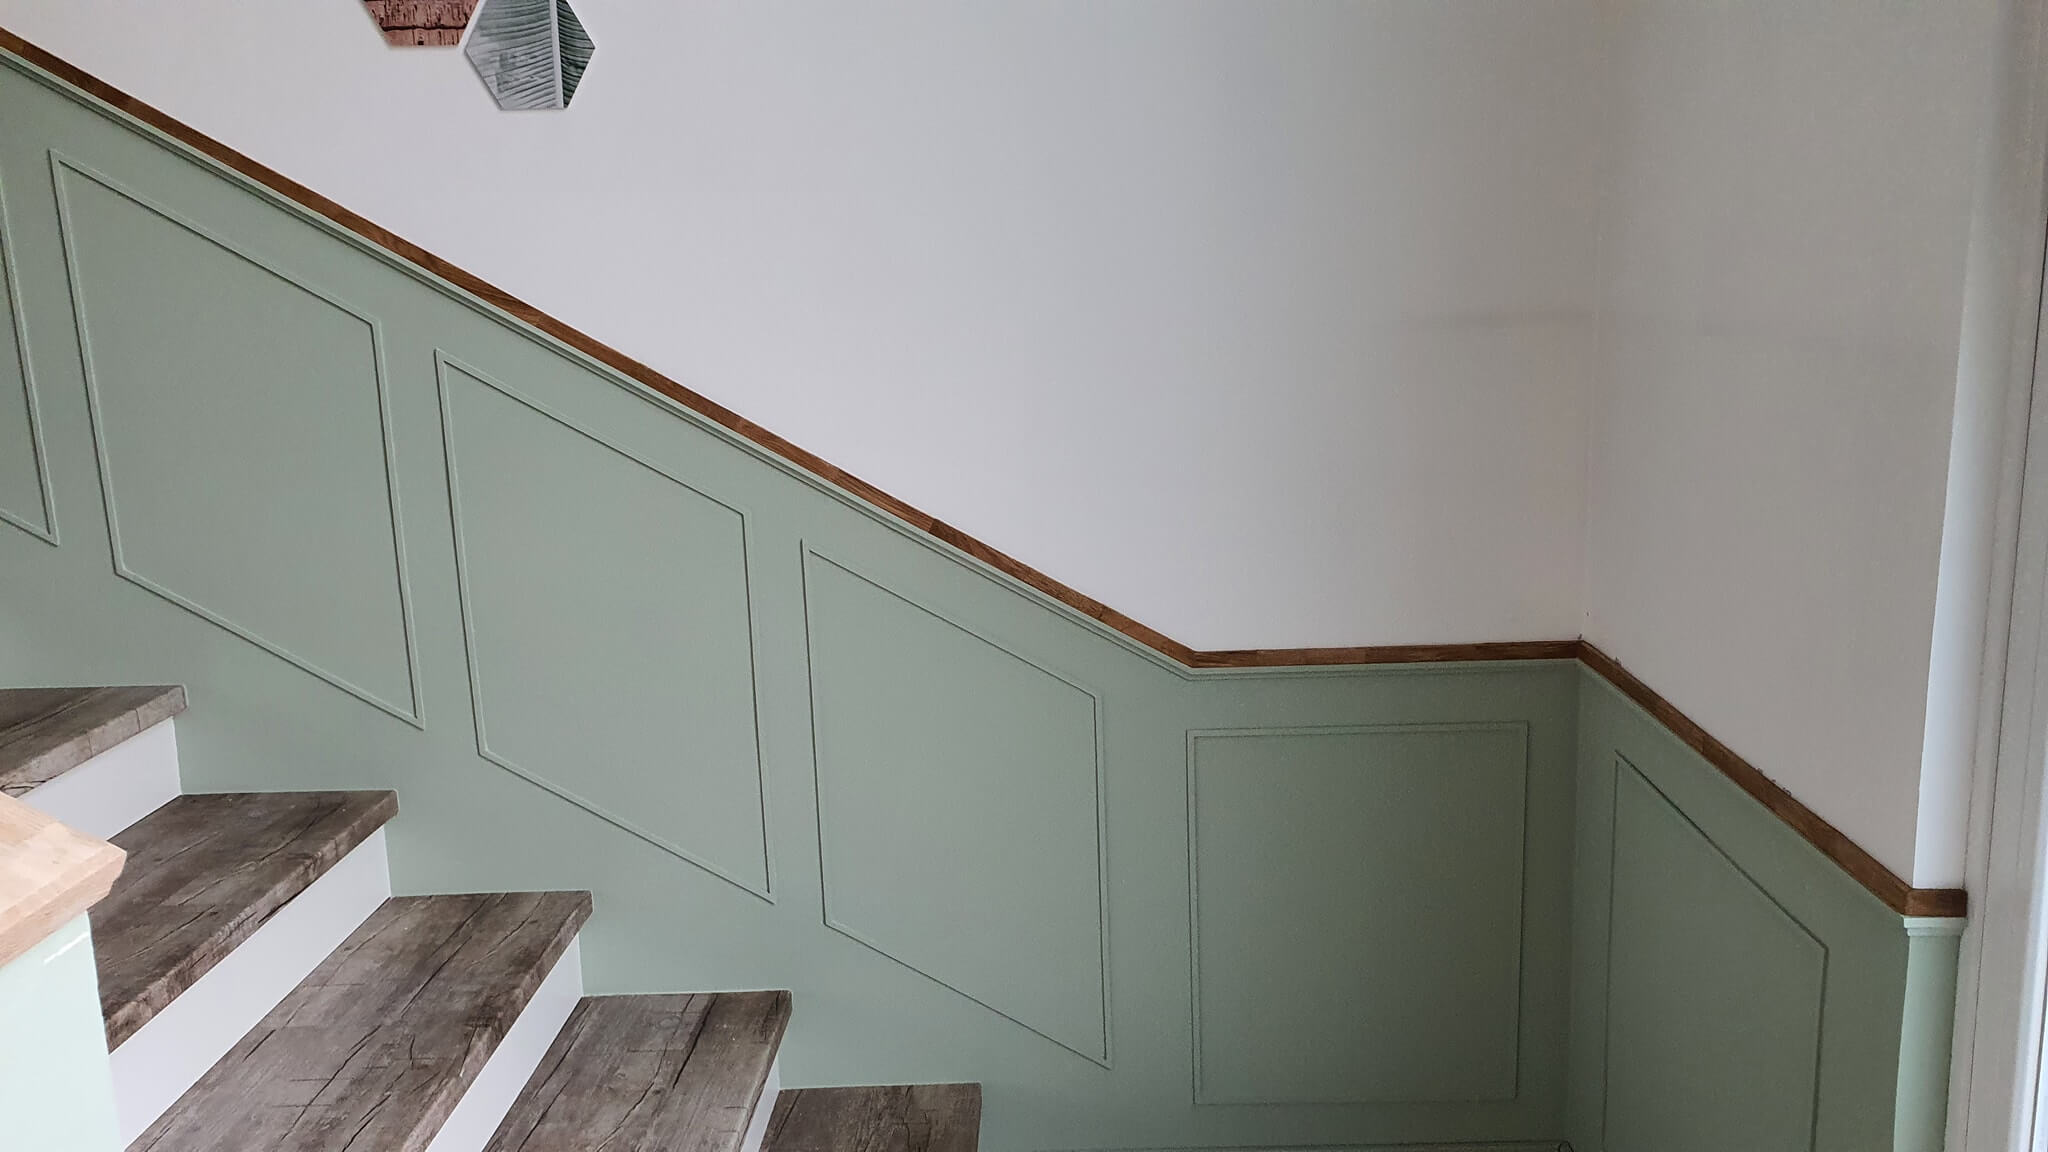
Classic wall panelling?
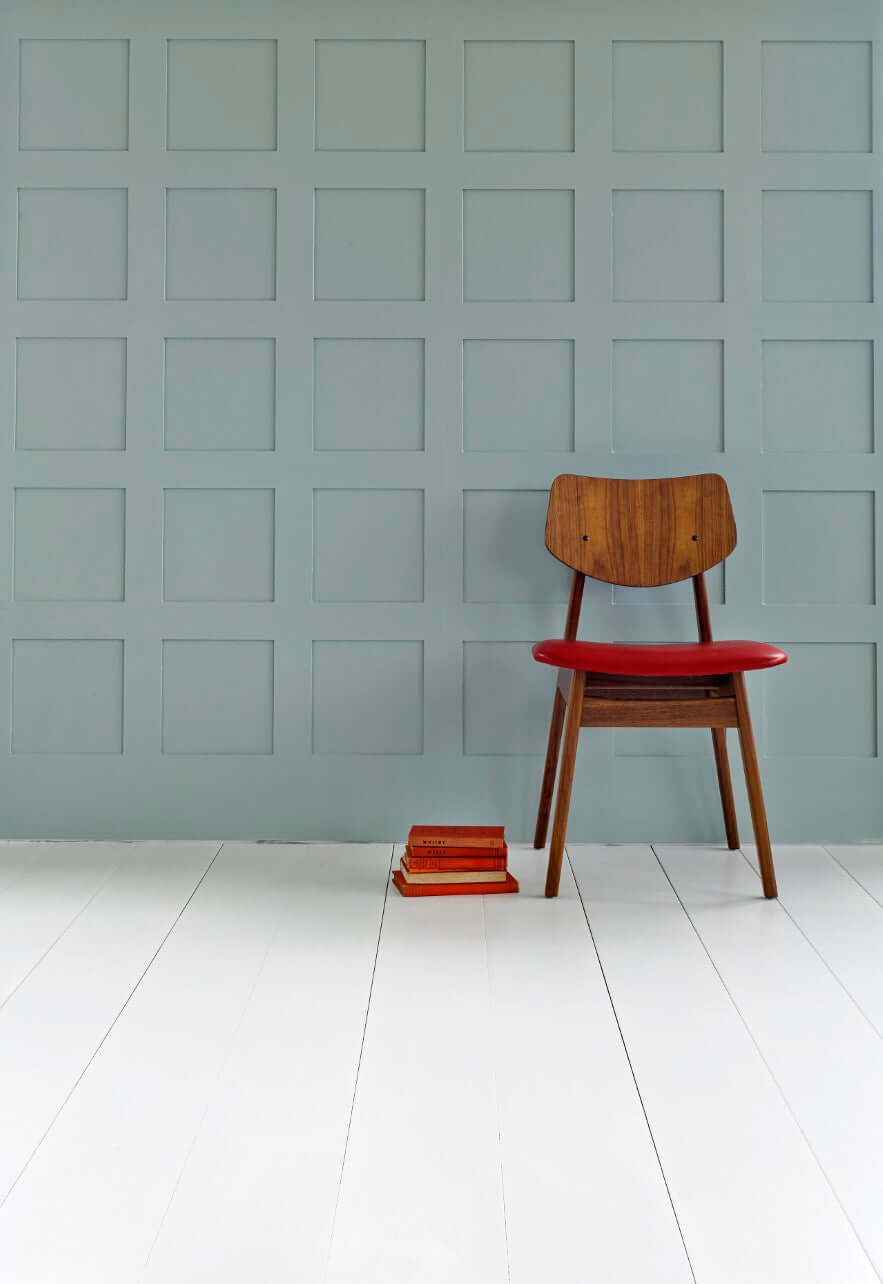
Or do you prefer modern? What suits you?
Wall panelling - here you will find more ideas
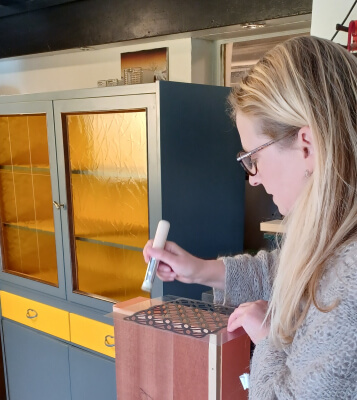
What you'll need for your wall panelling
- Sketches: Make a detailed plan!
- Wooden battens, cut to the correct length
- Mounting adhesive
- Cleaning cloths and a bucket: for thoroughly cleaning the surfaces first. The surface must be dust- and grease-free so your paint adheres well.
- Spirit level and set square
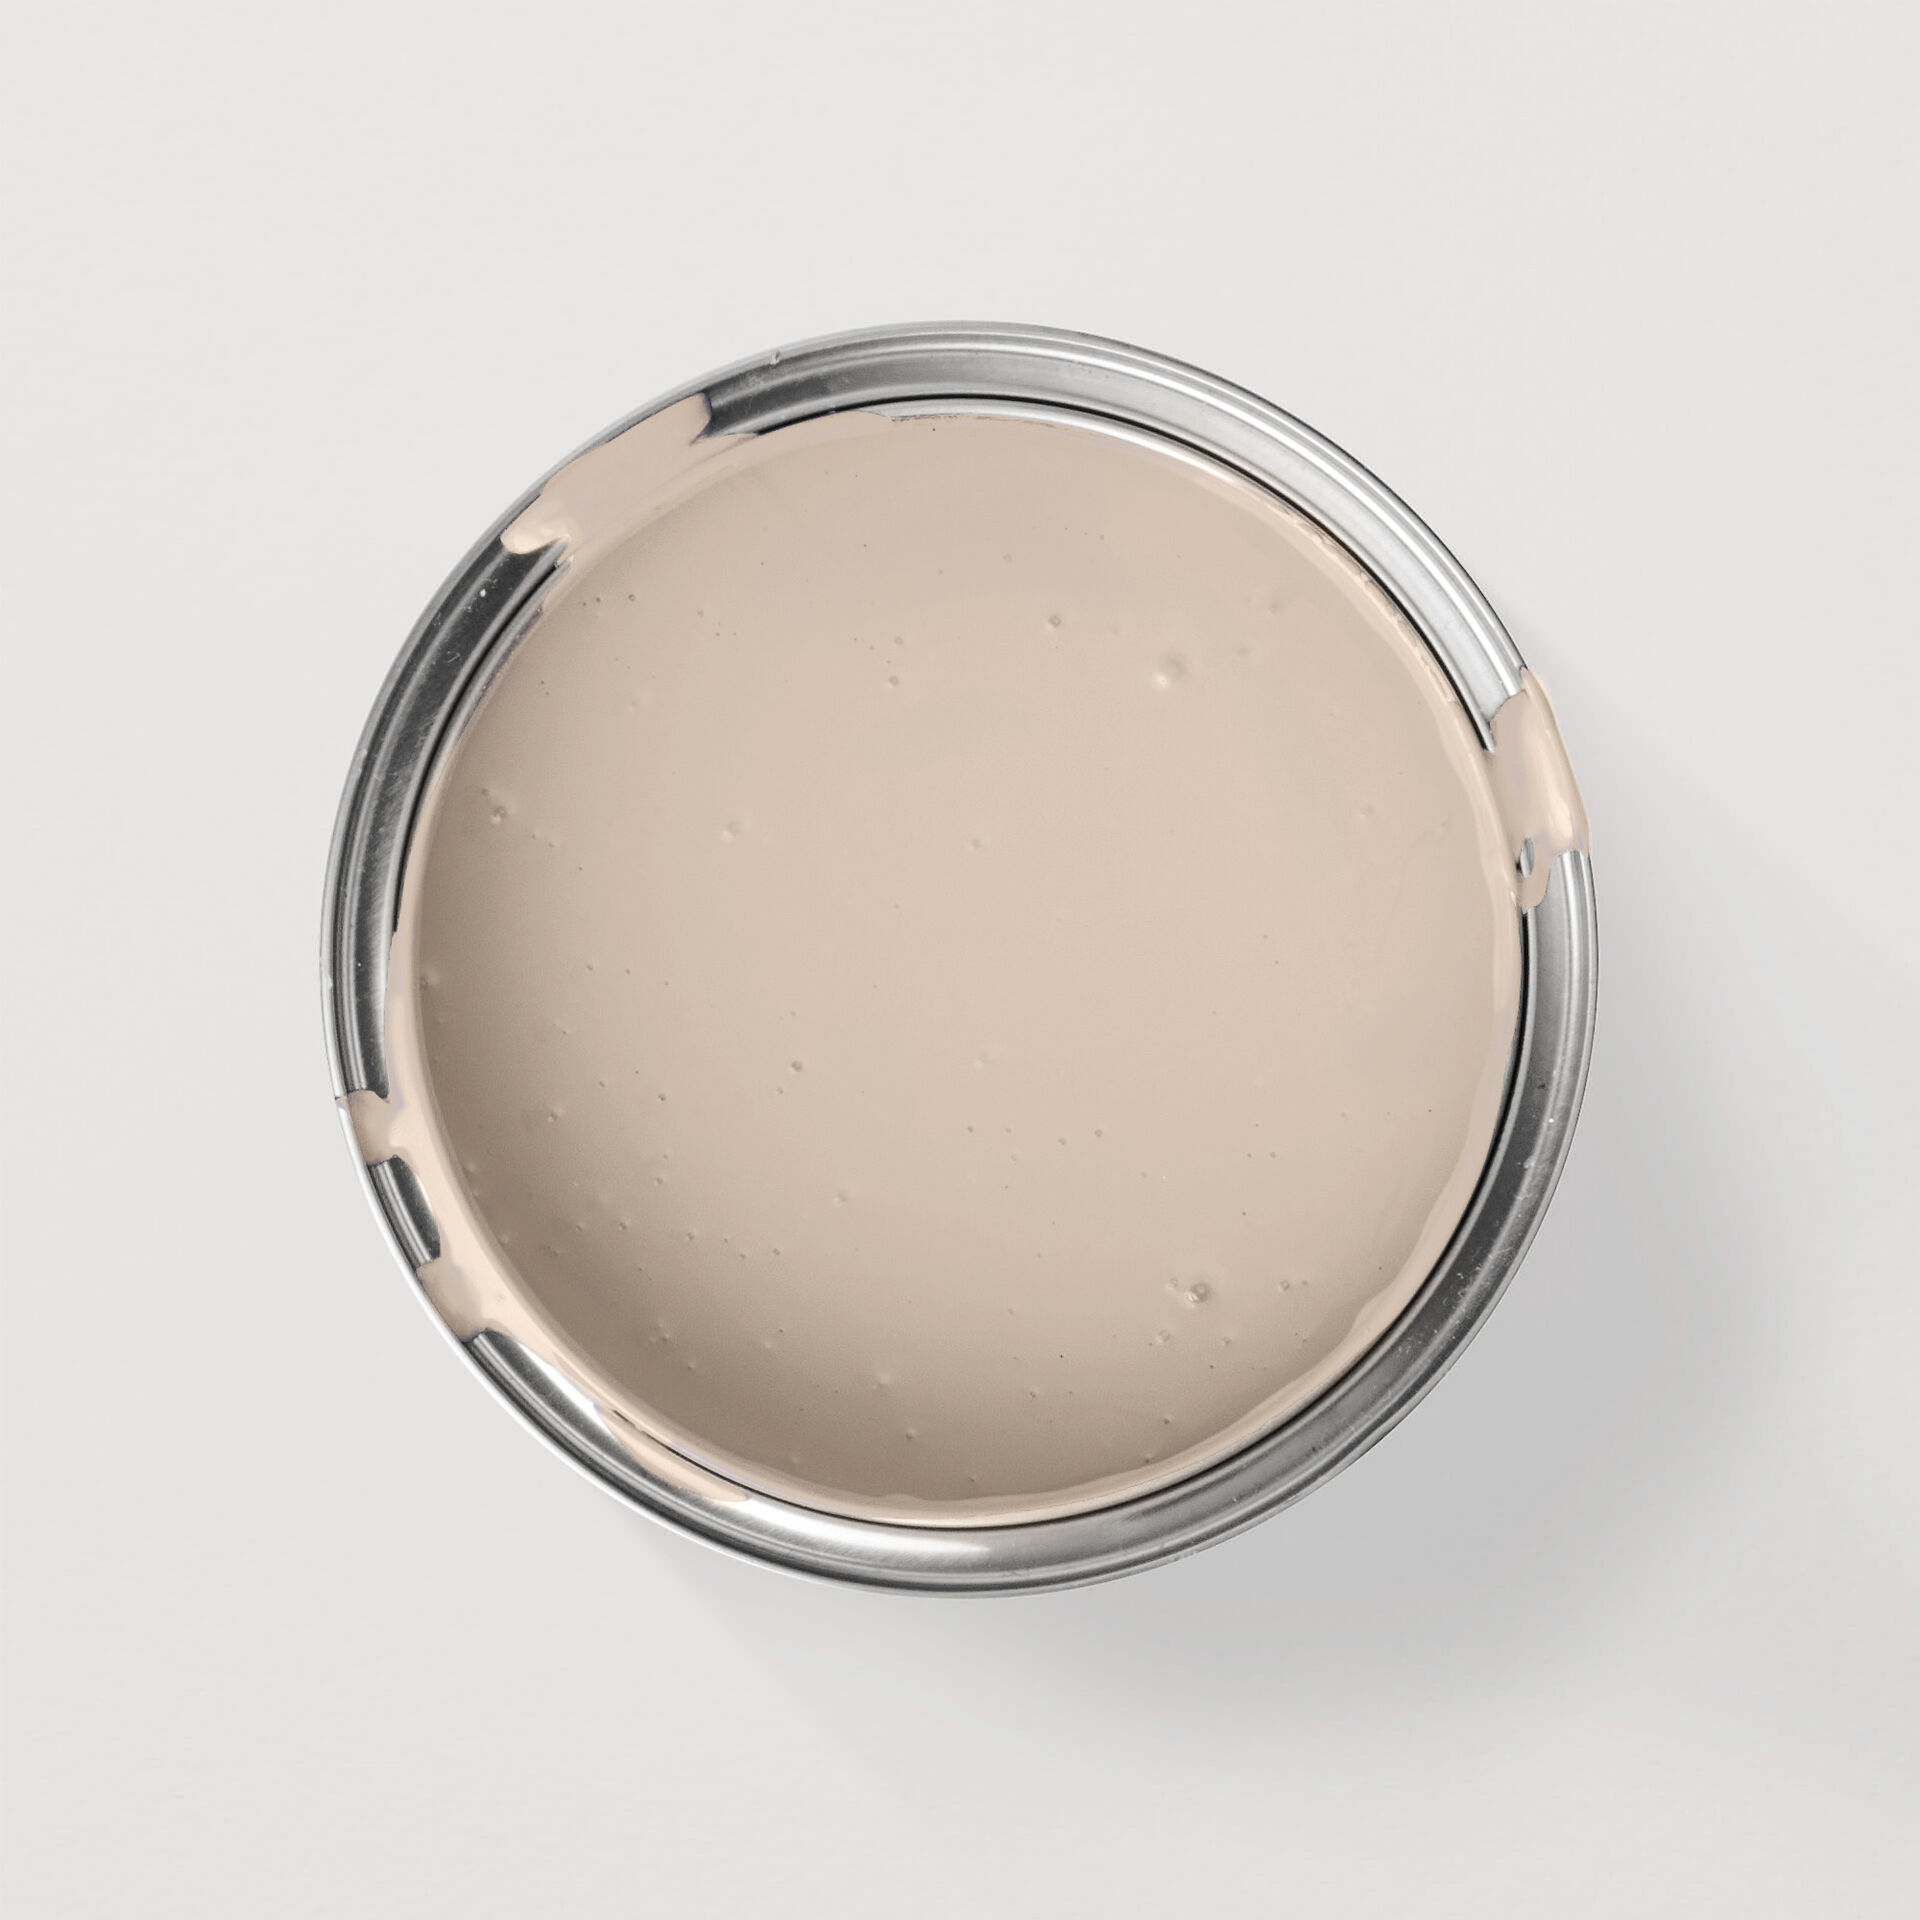
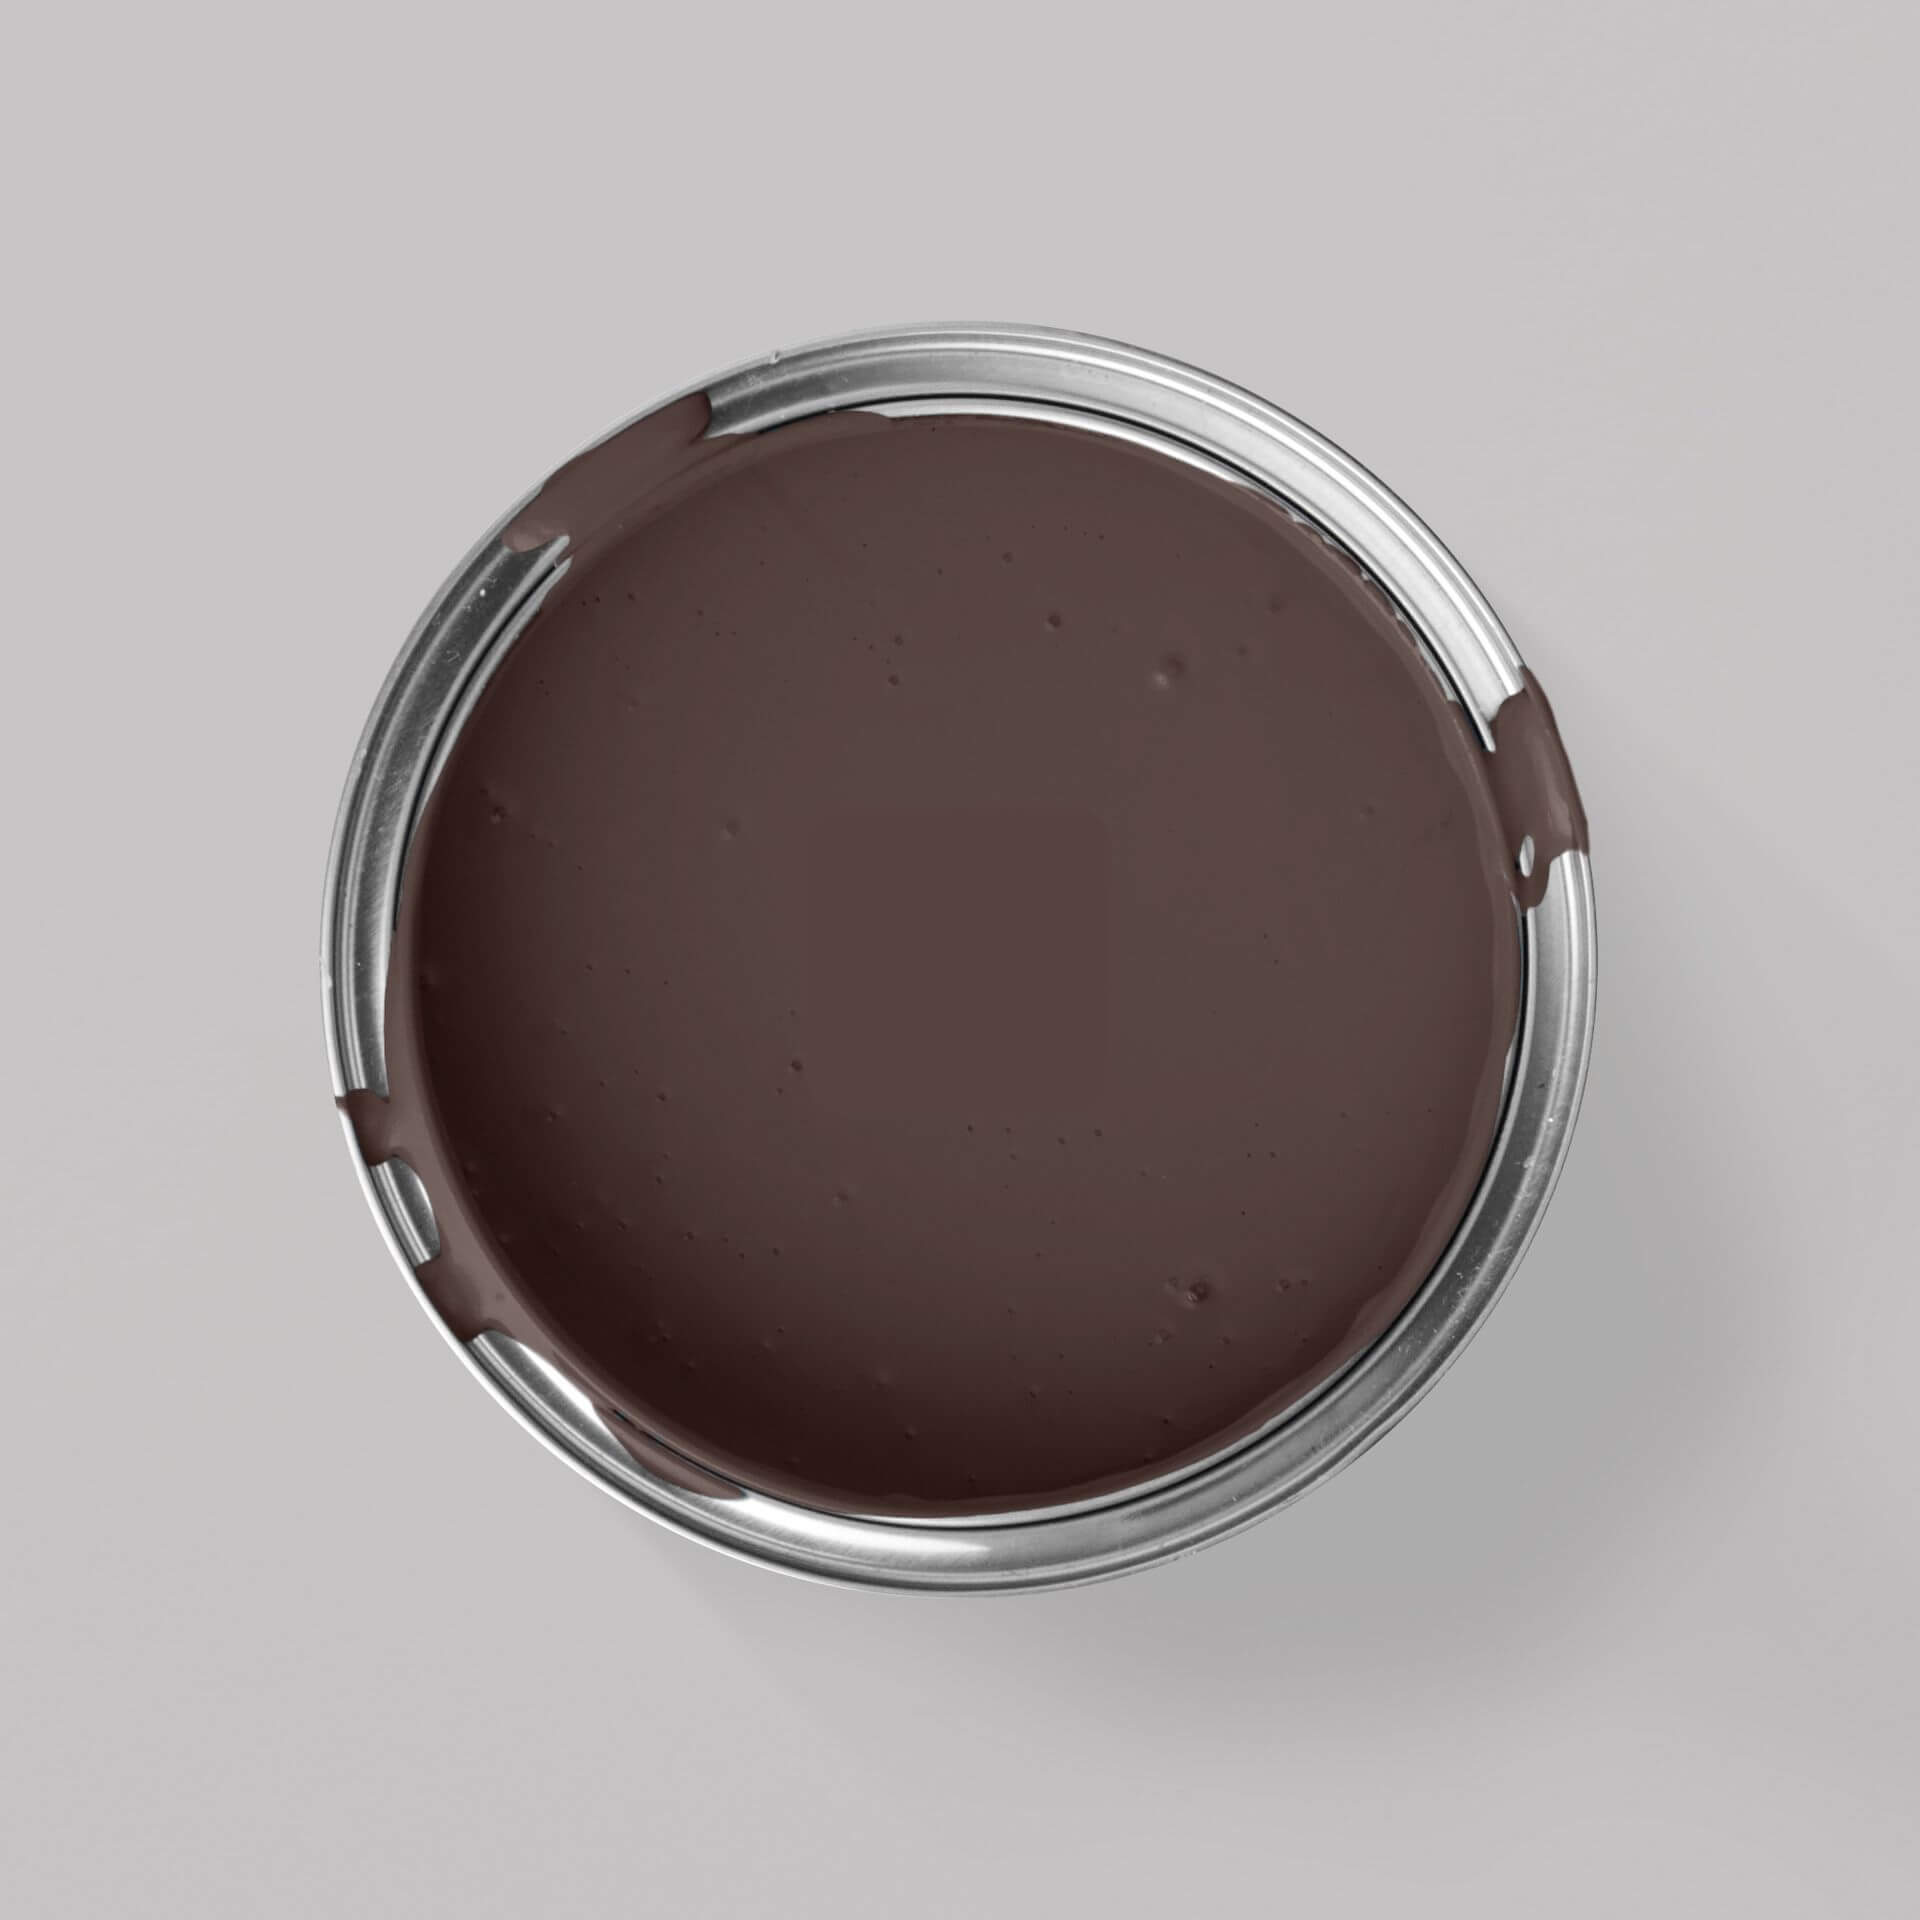
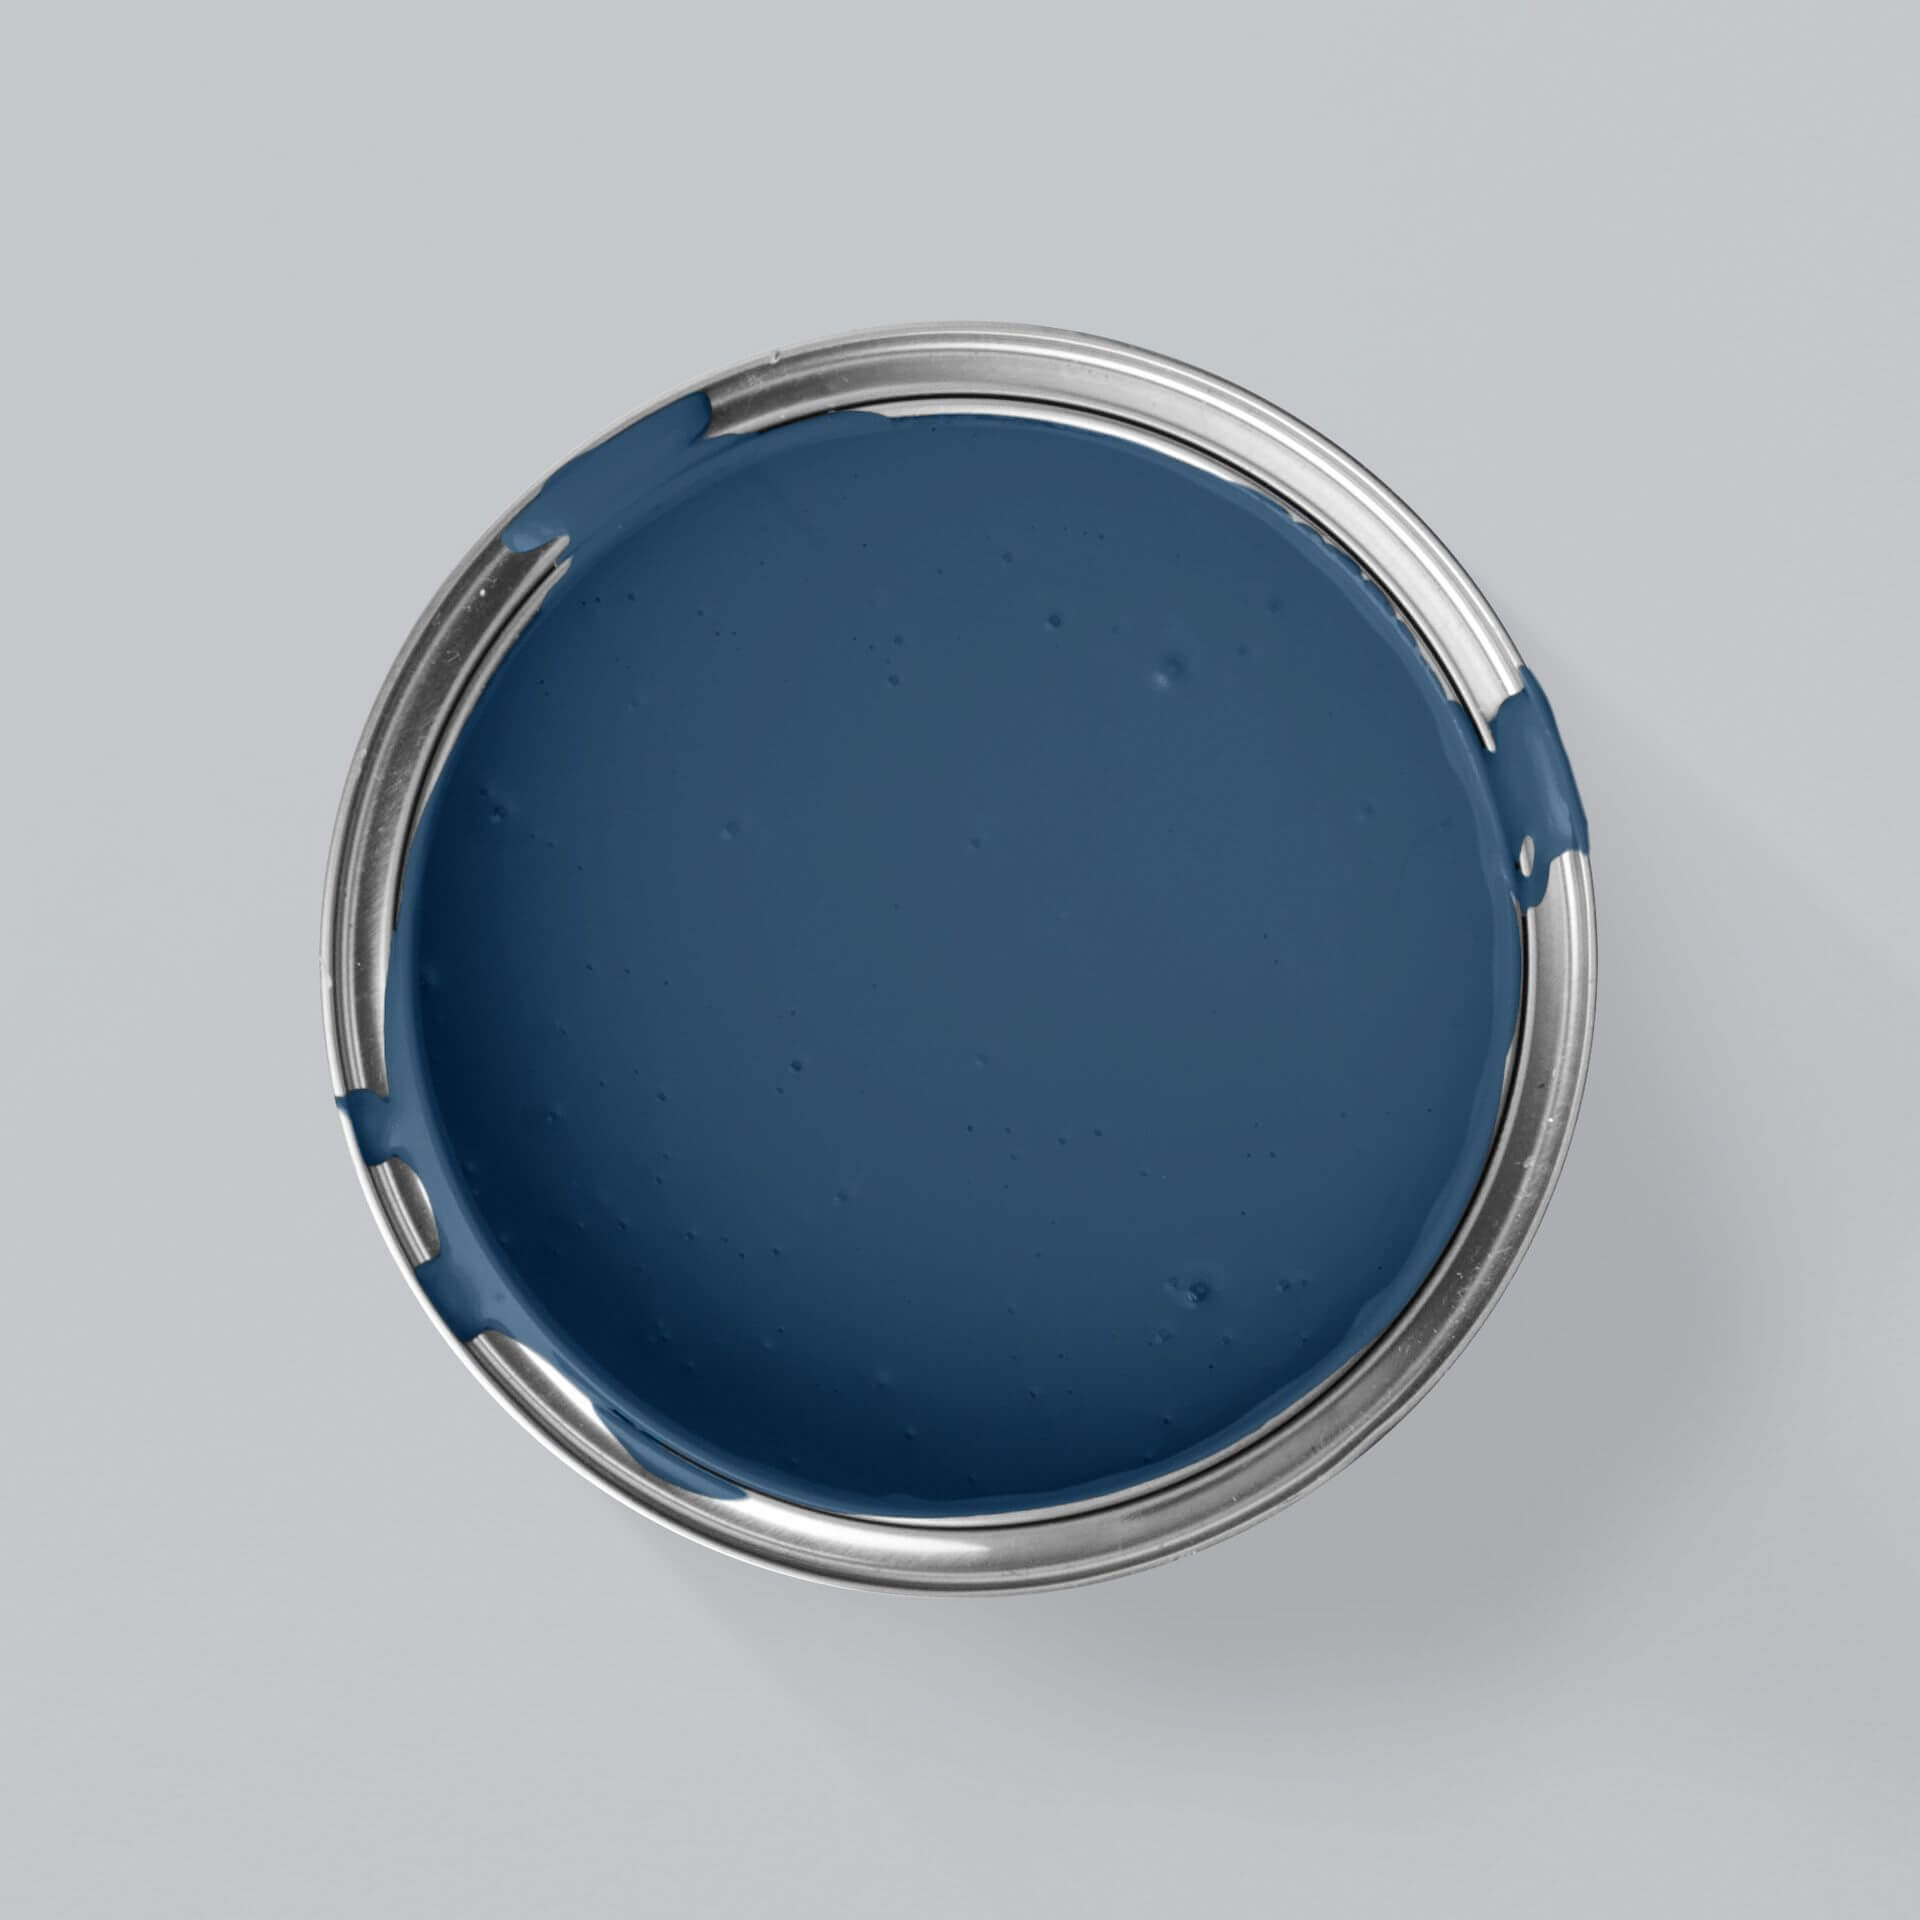
- Wall paint or wood lacquer
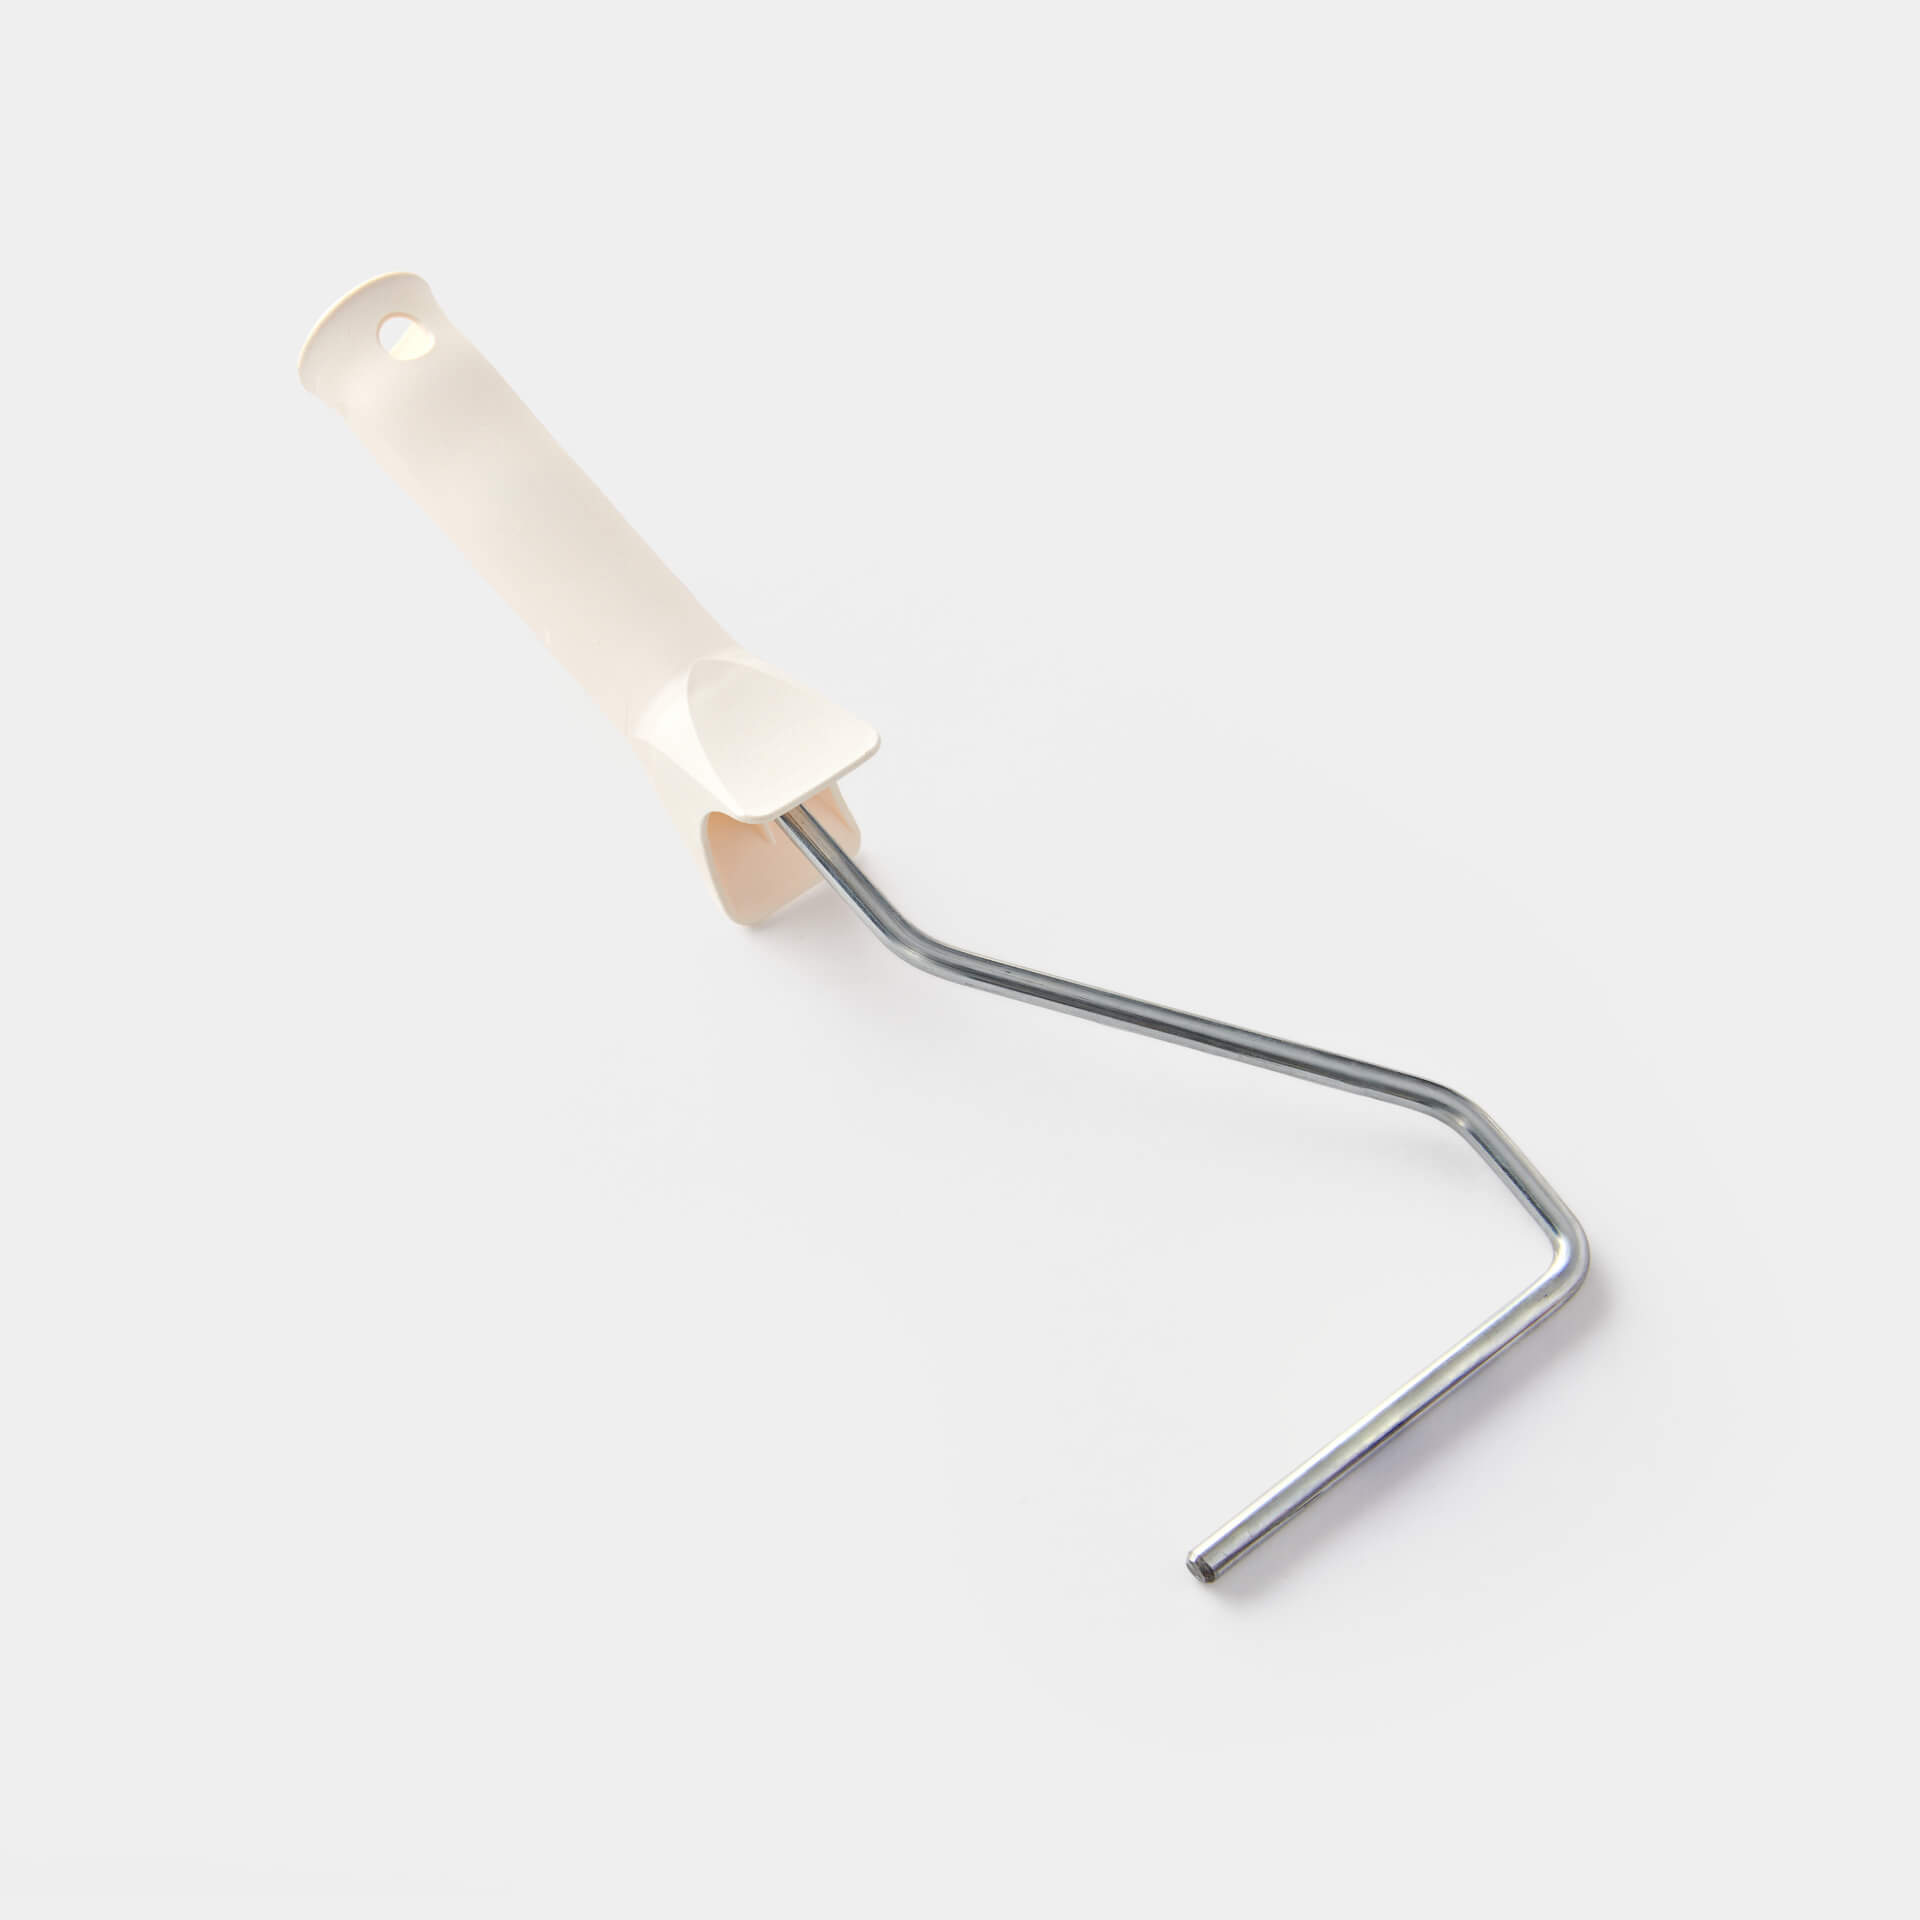
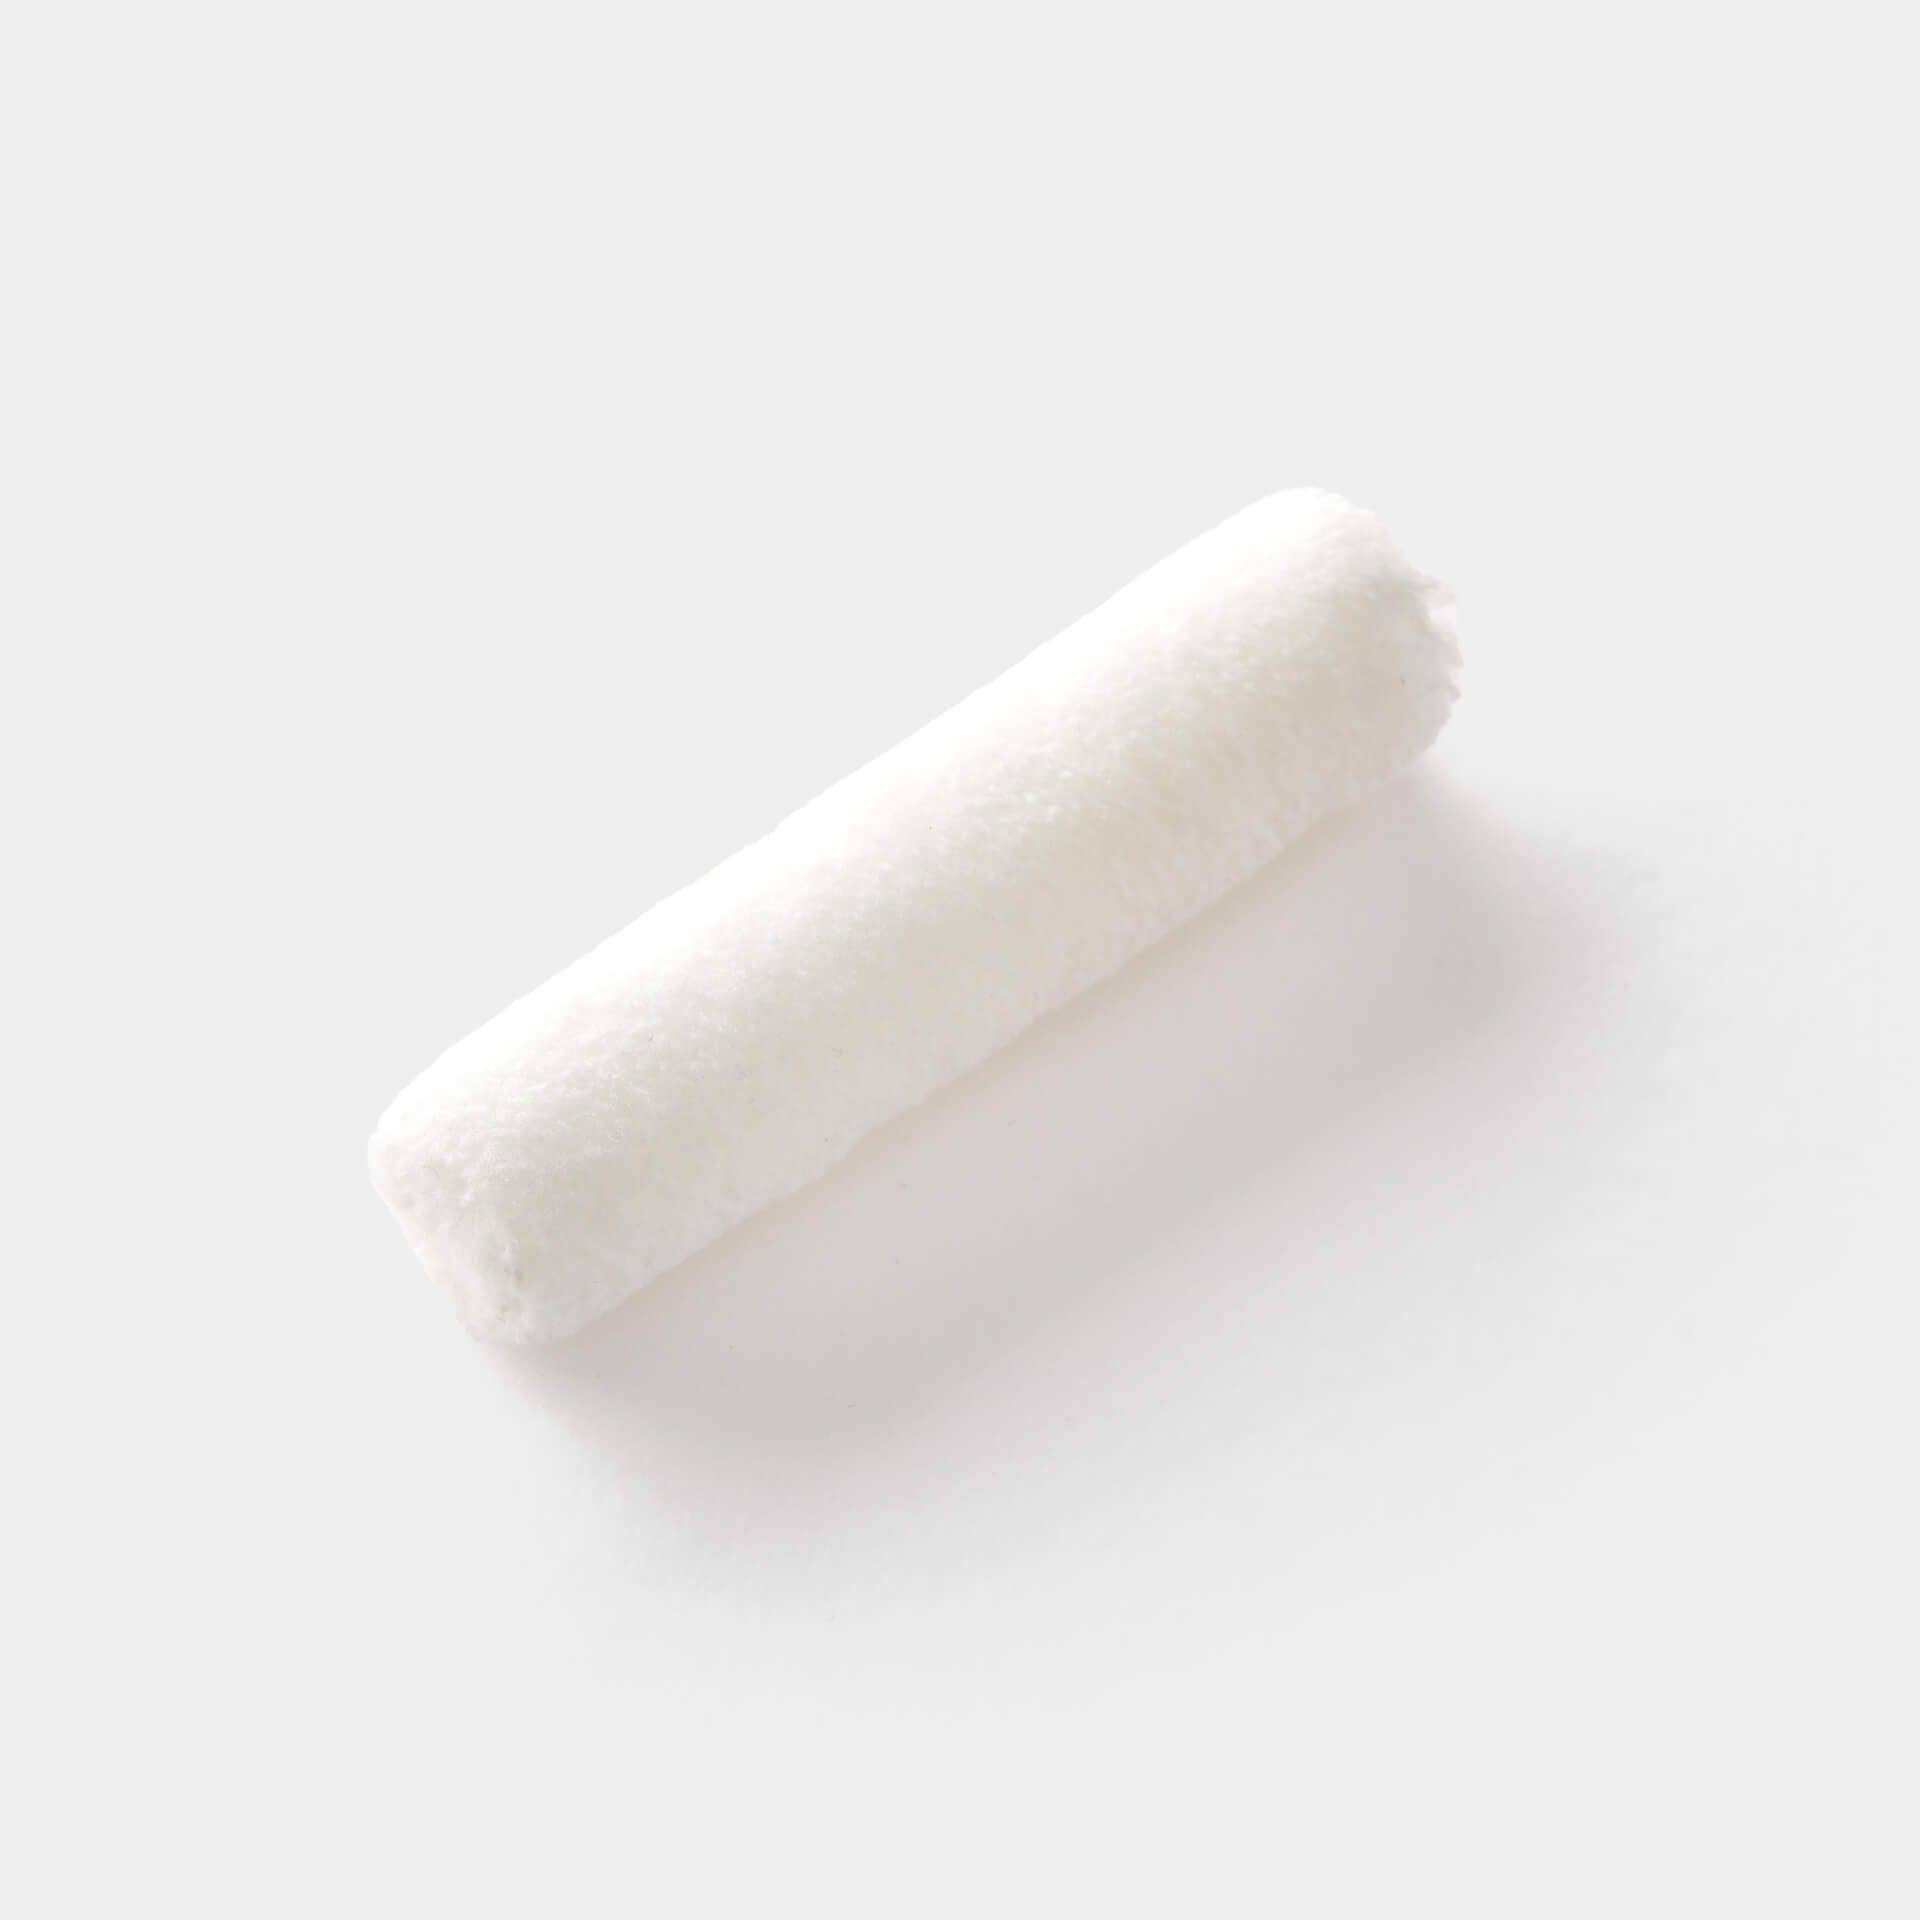
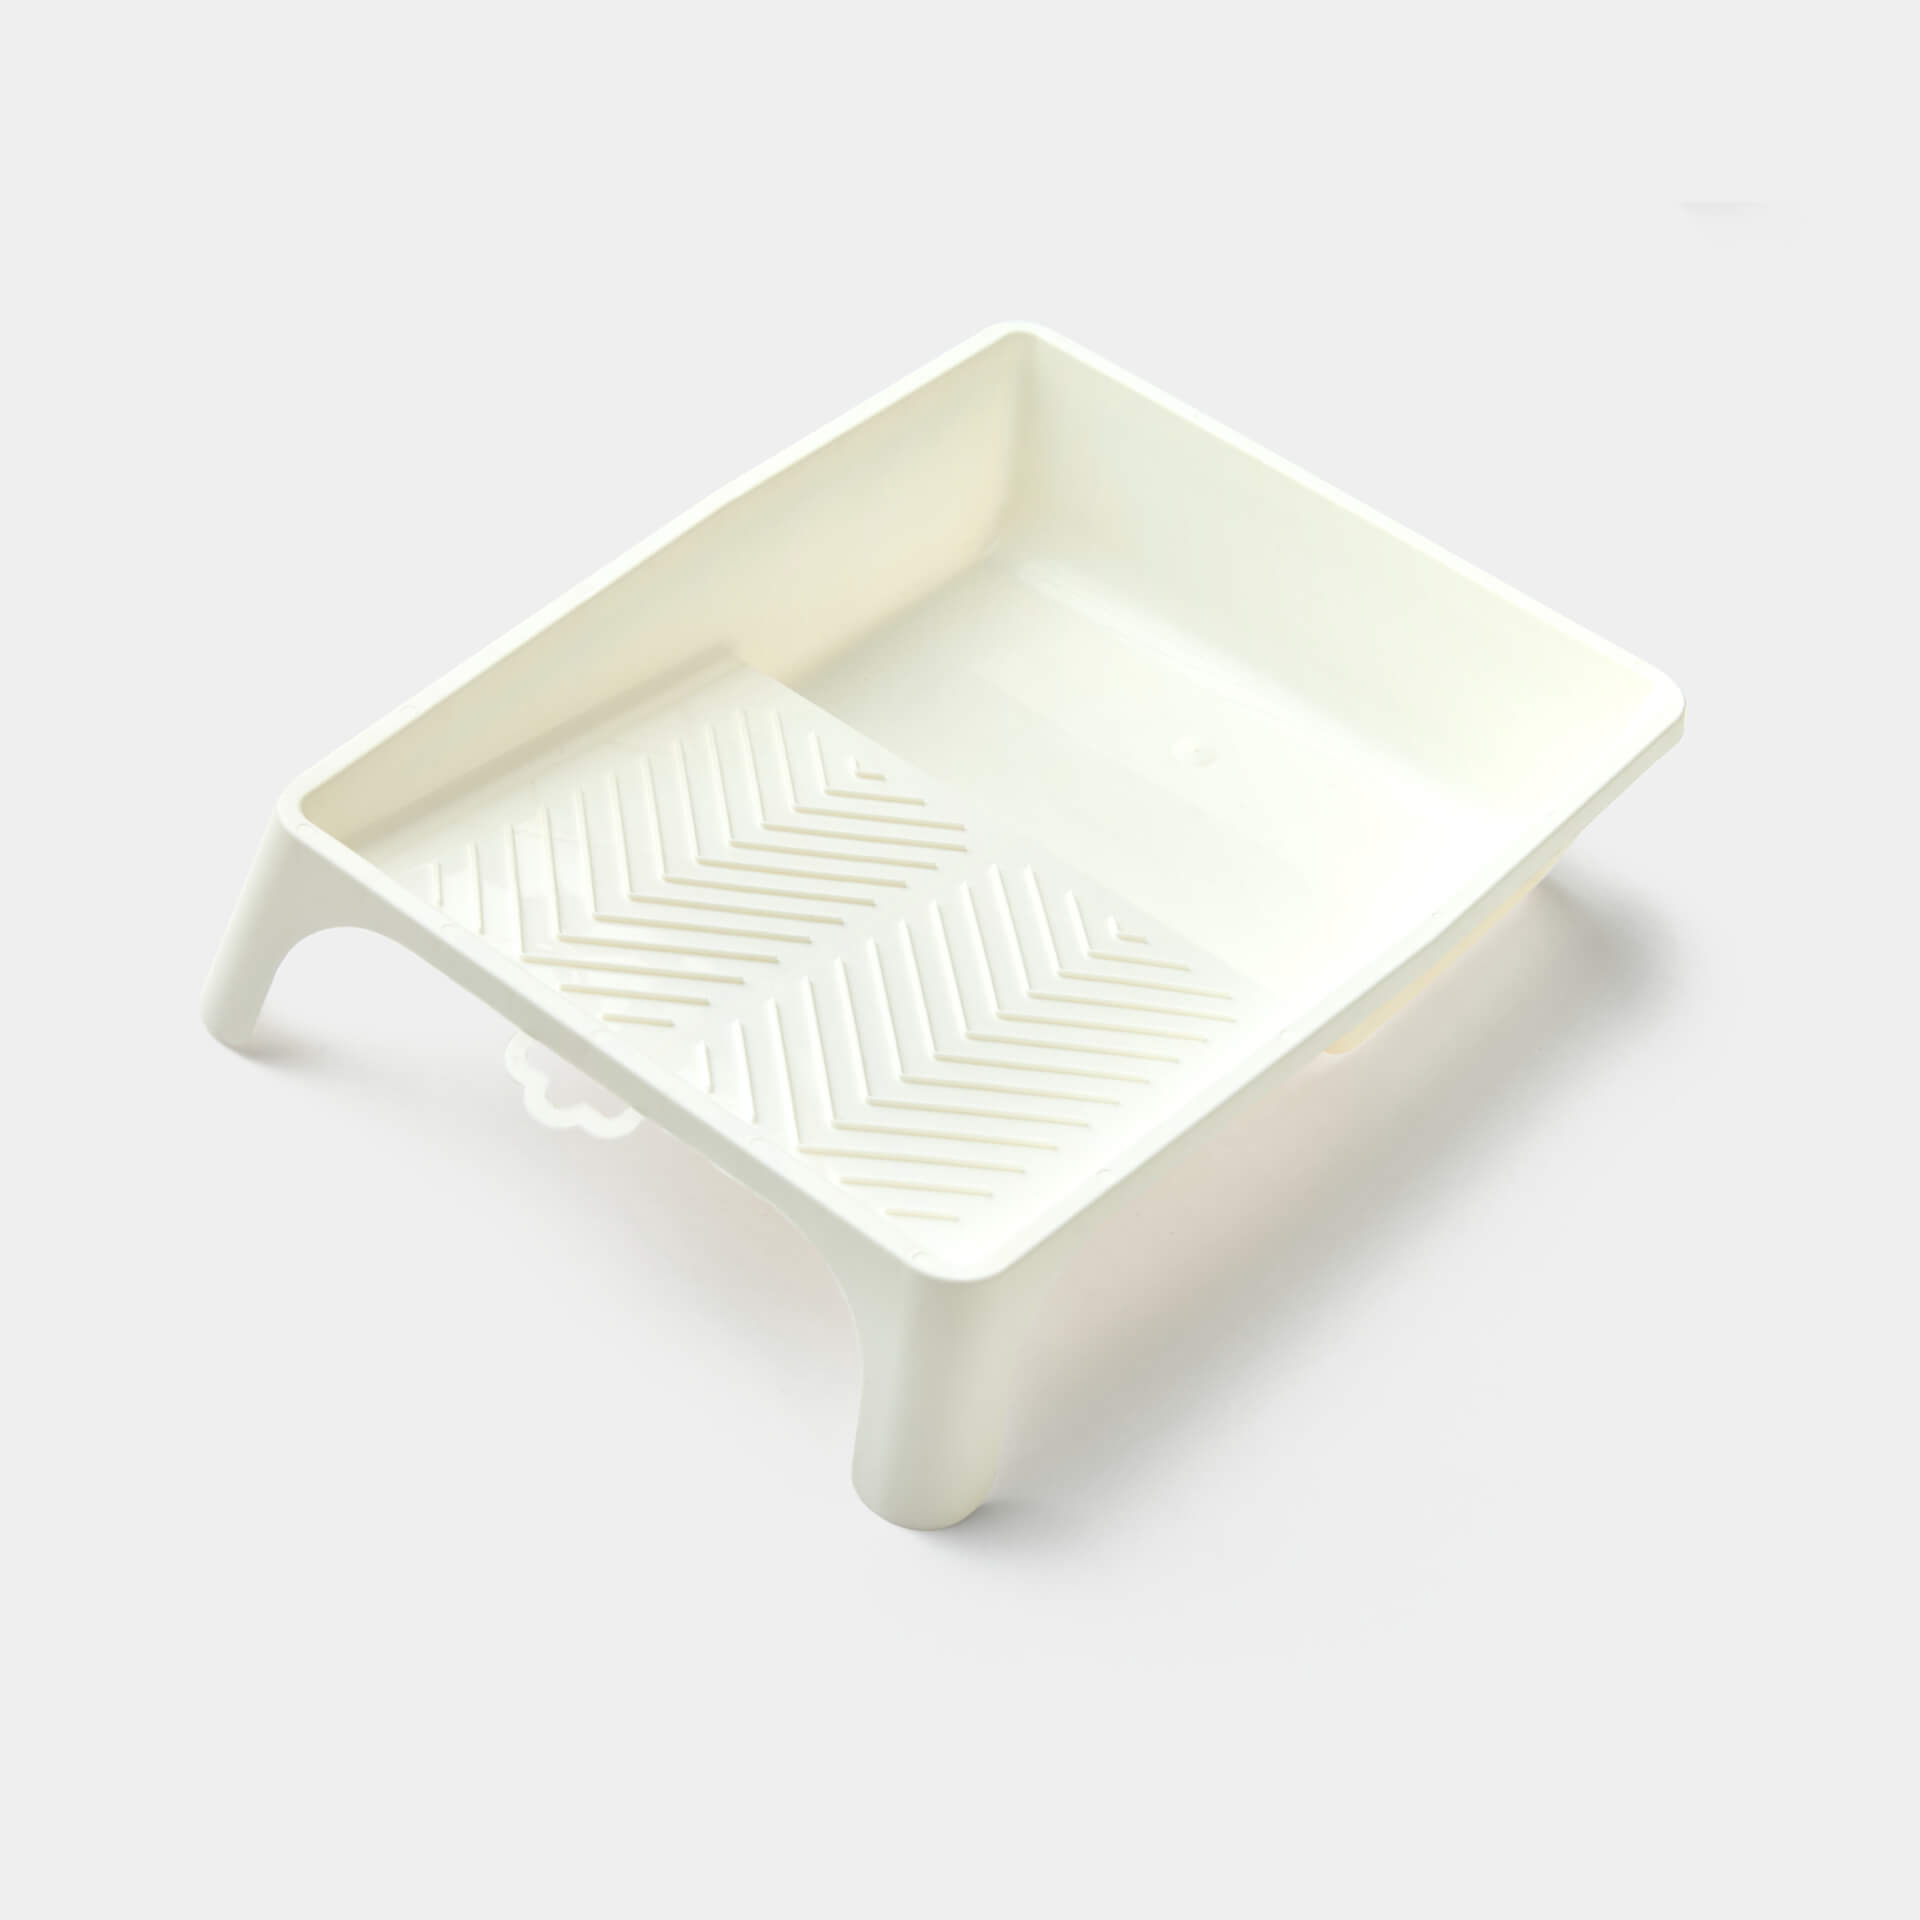
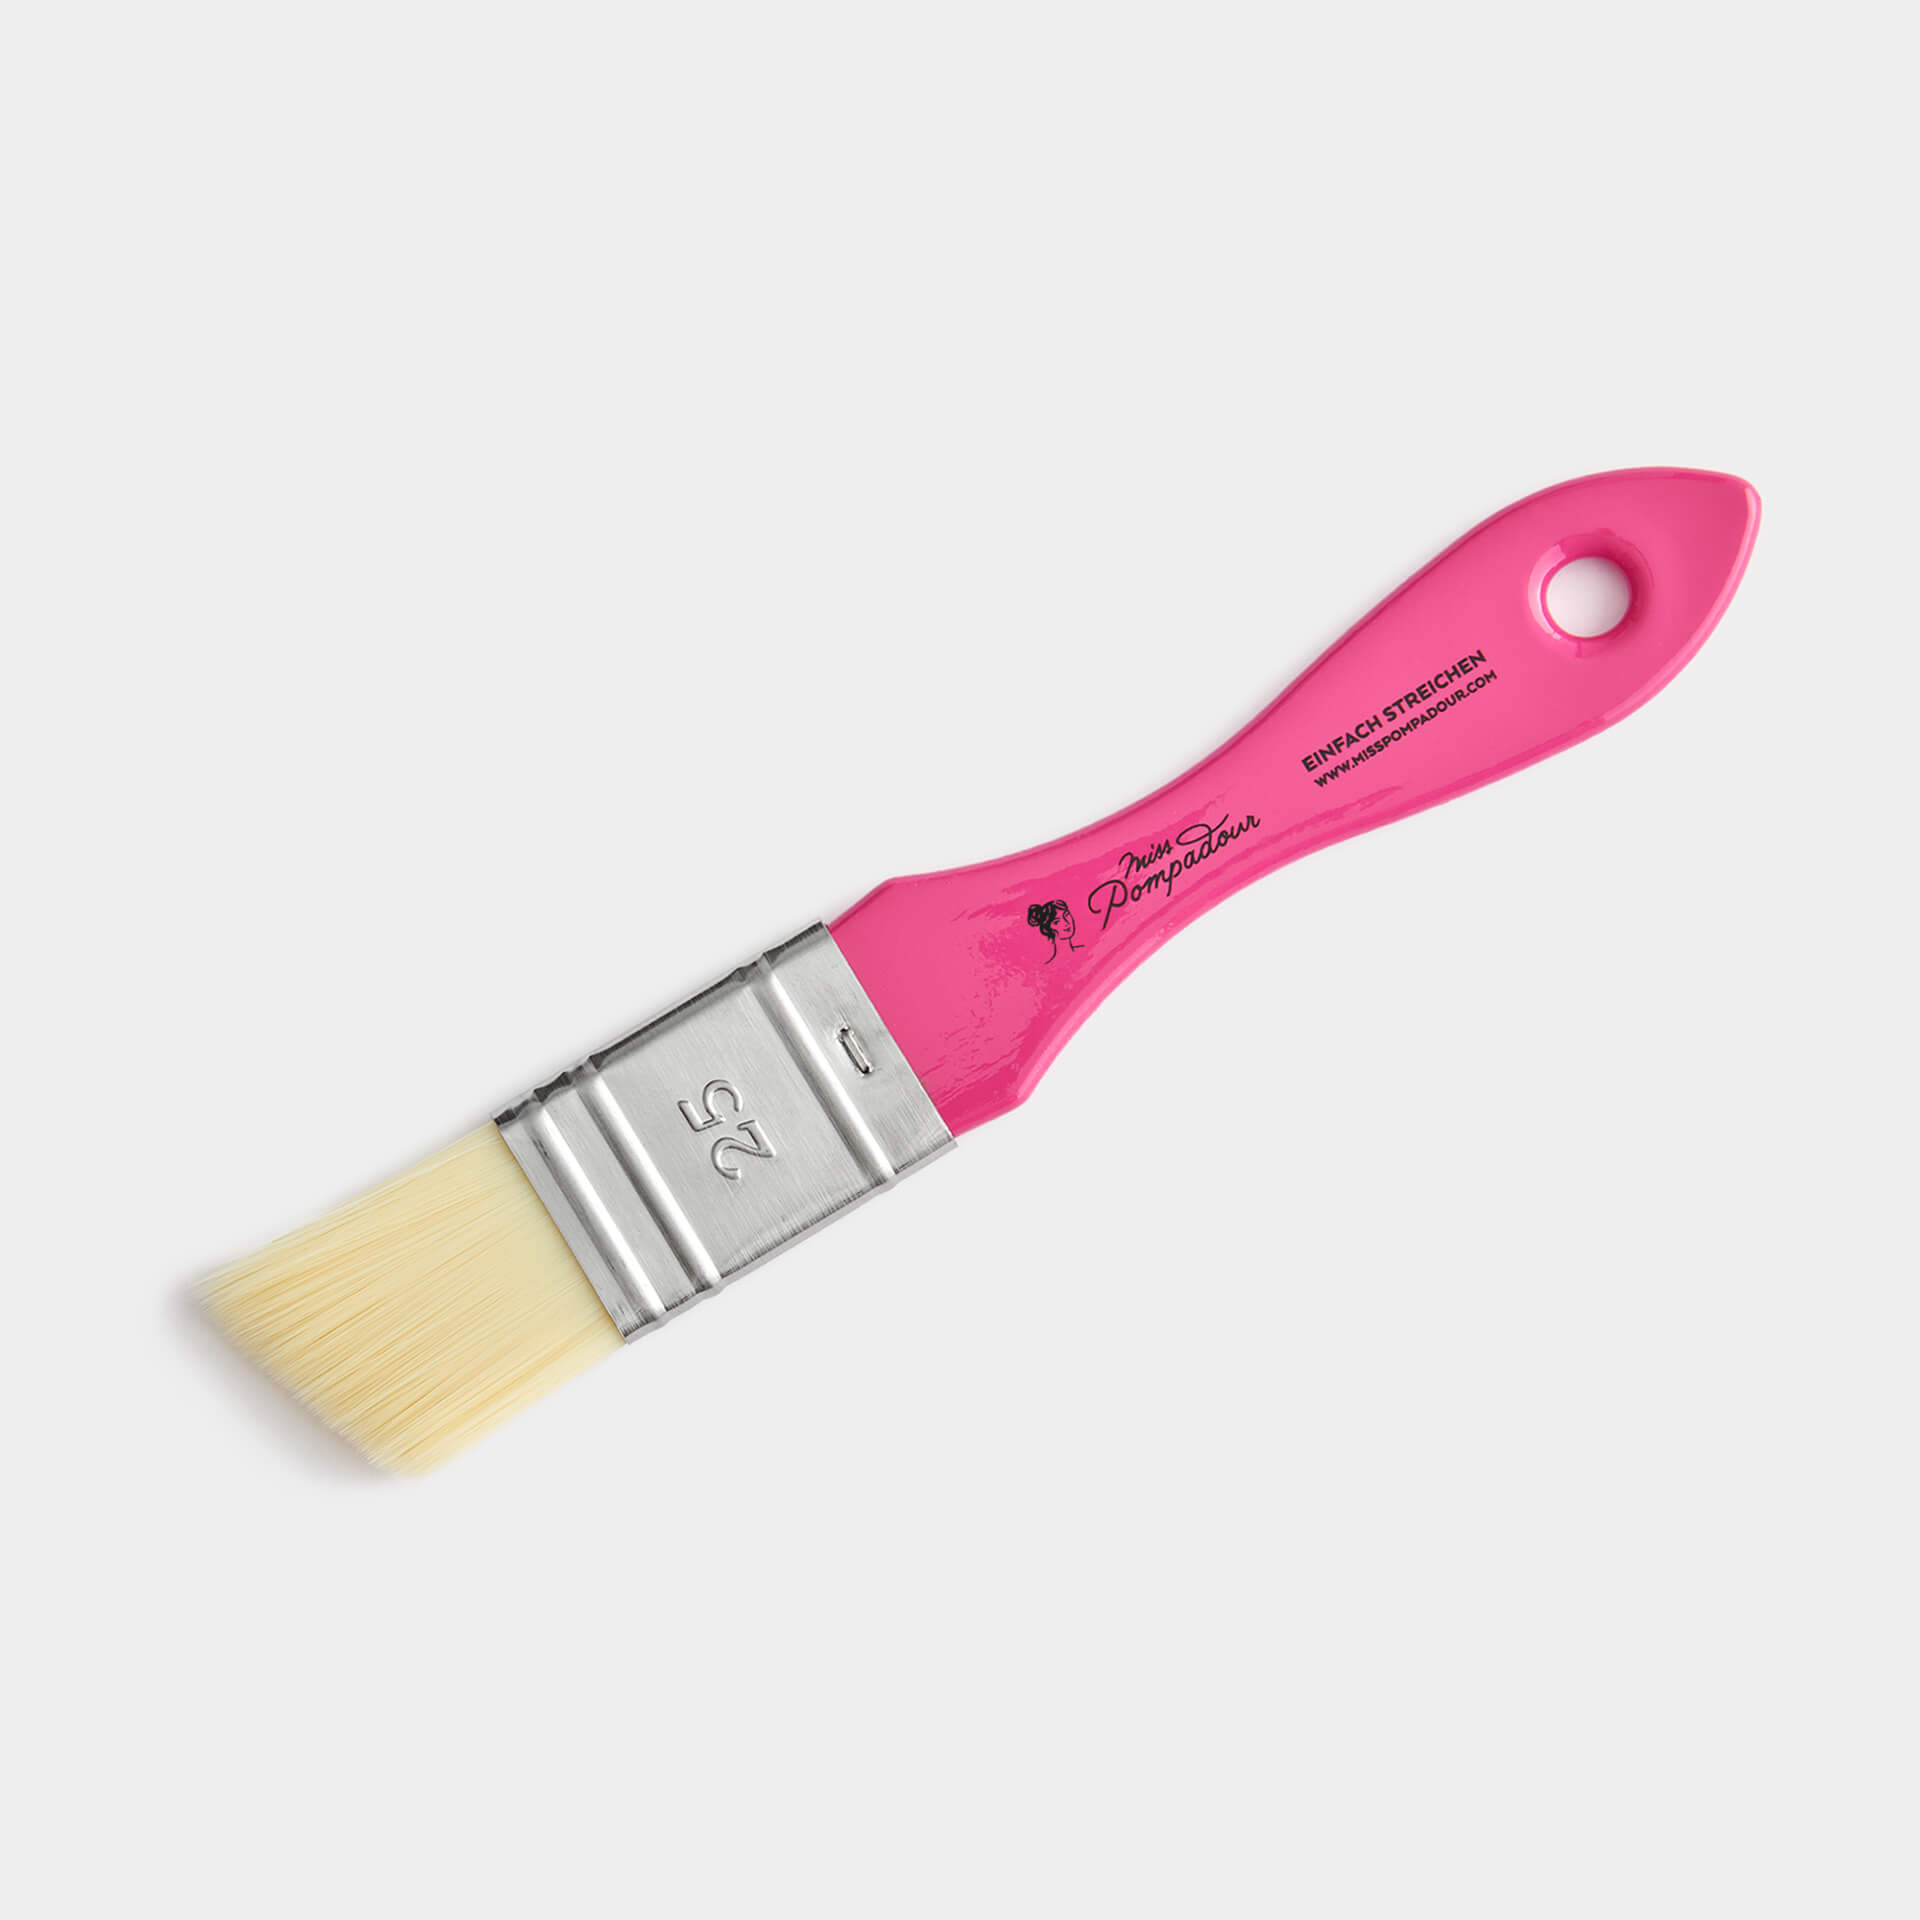
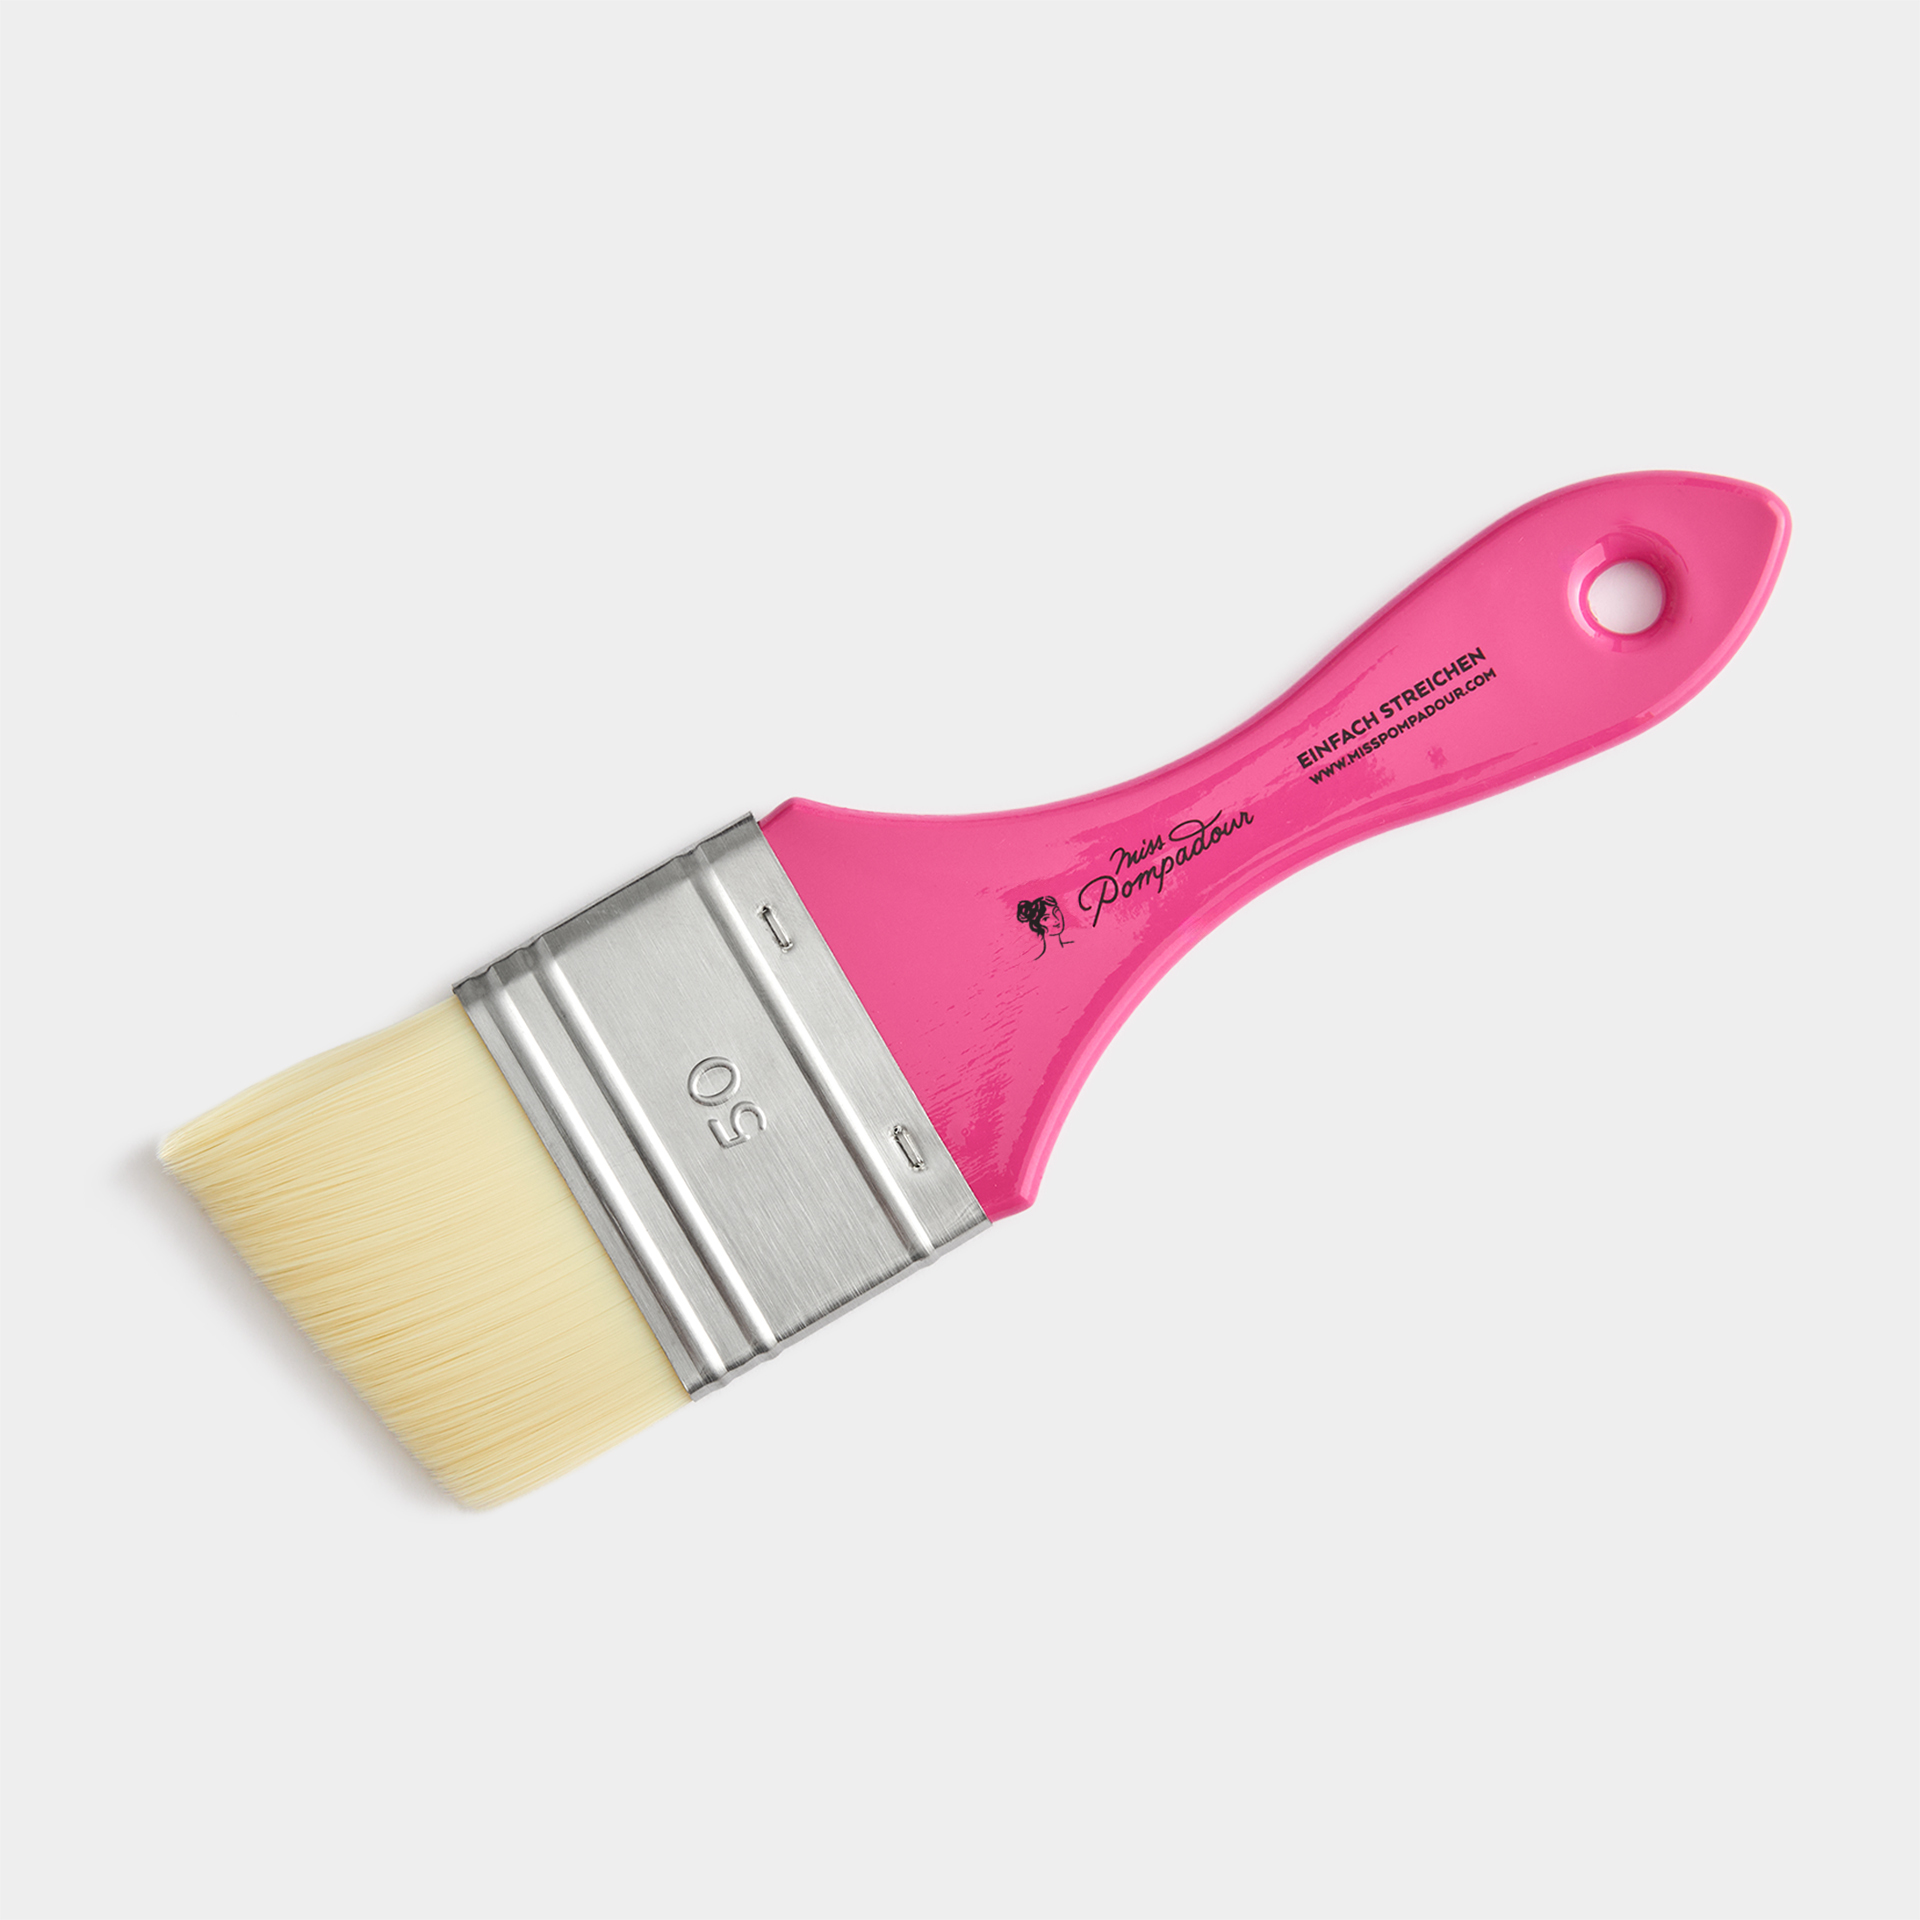
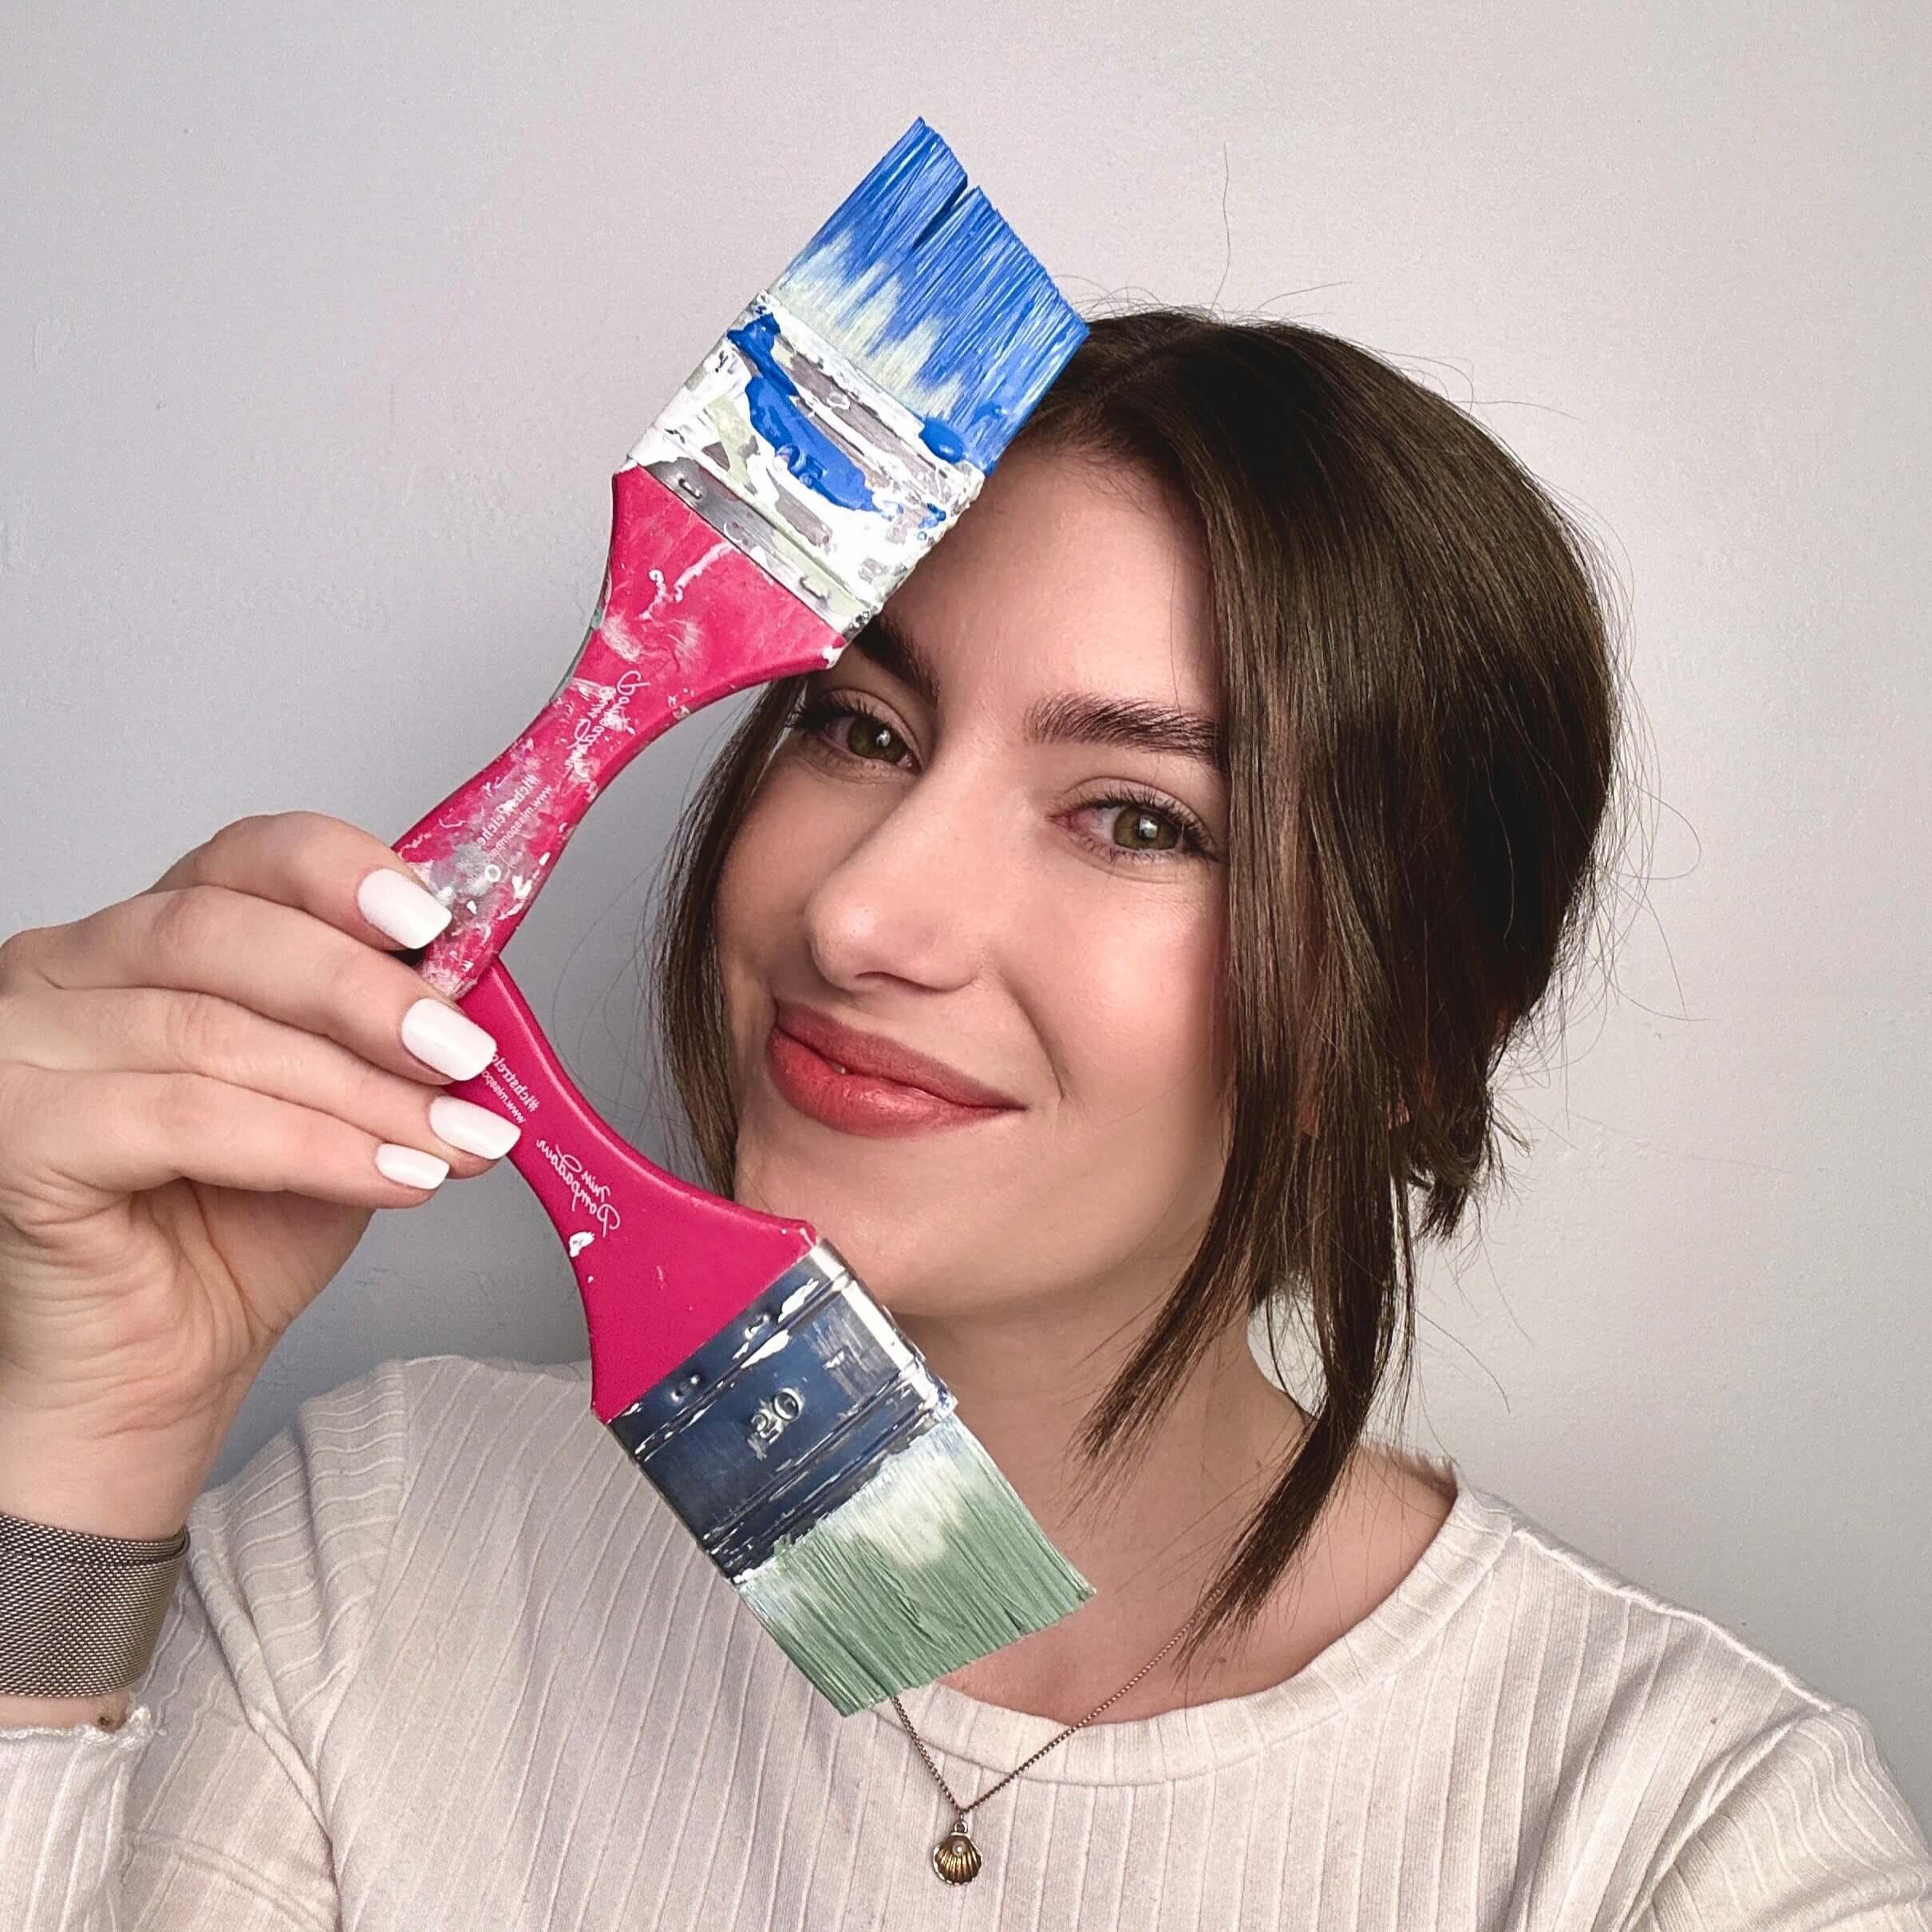
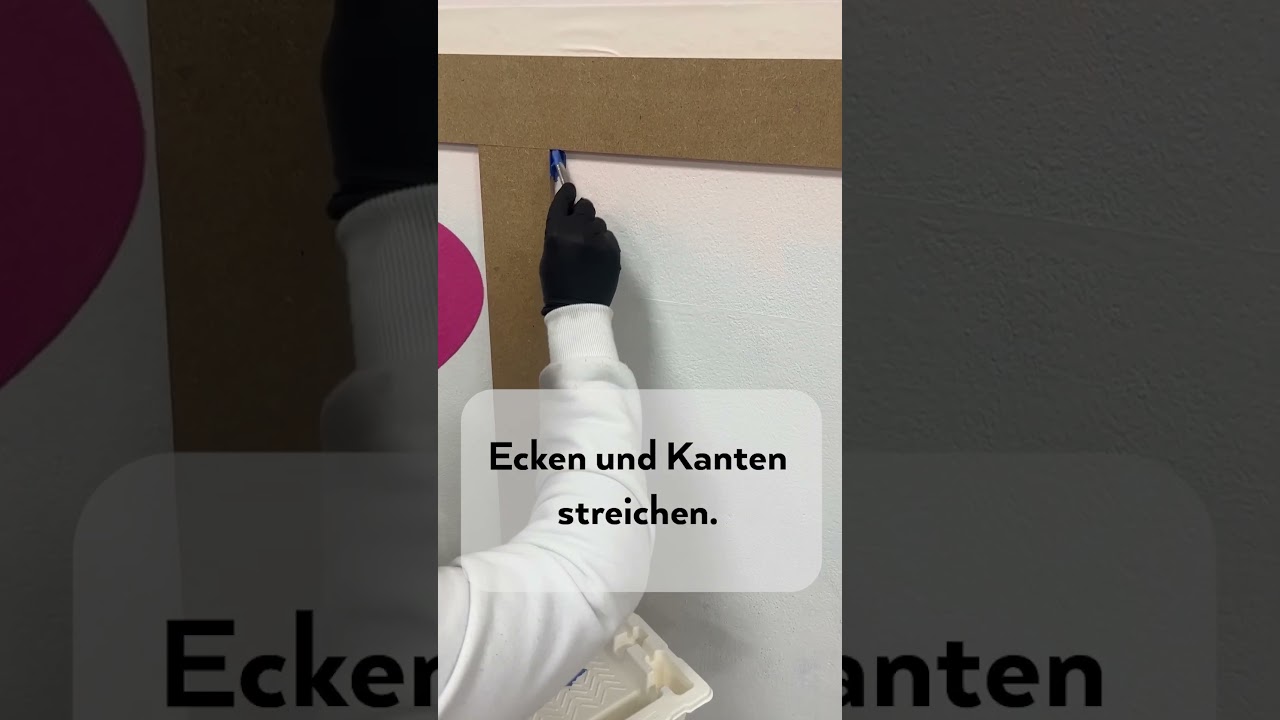
- Paintbrushes, roller and paint tray: It's best to pour the lacquer or paint into the paint tray. Use the paintbrush for corners, edges, and recesses, and the roller for the larger surfaces.
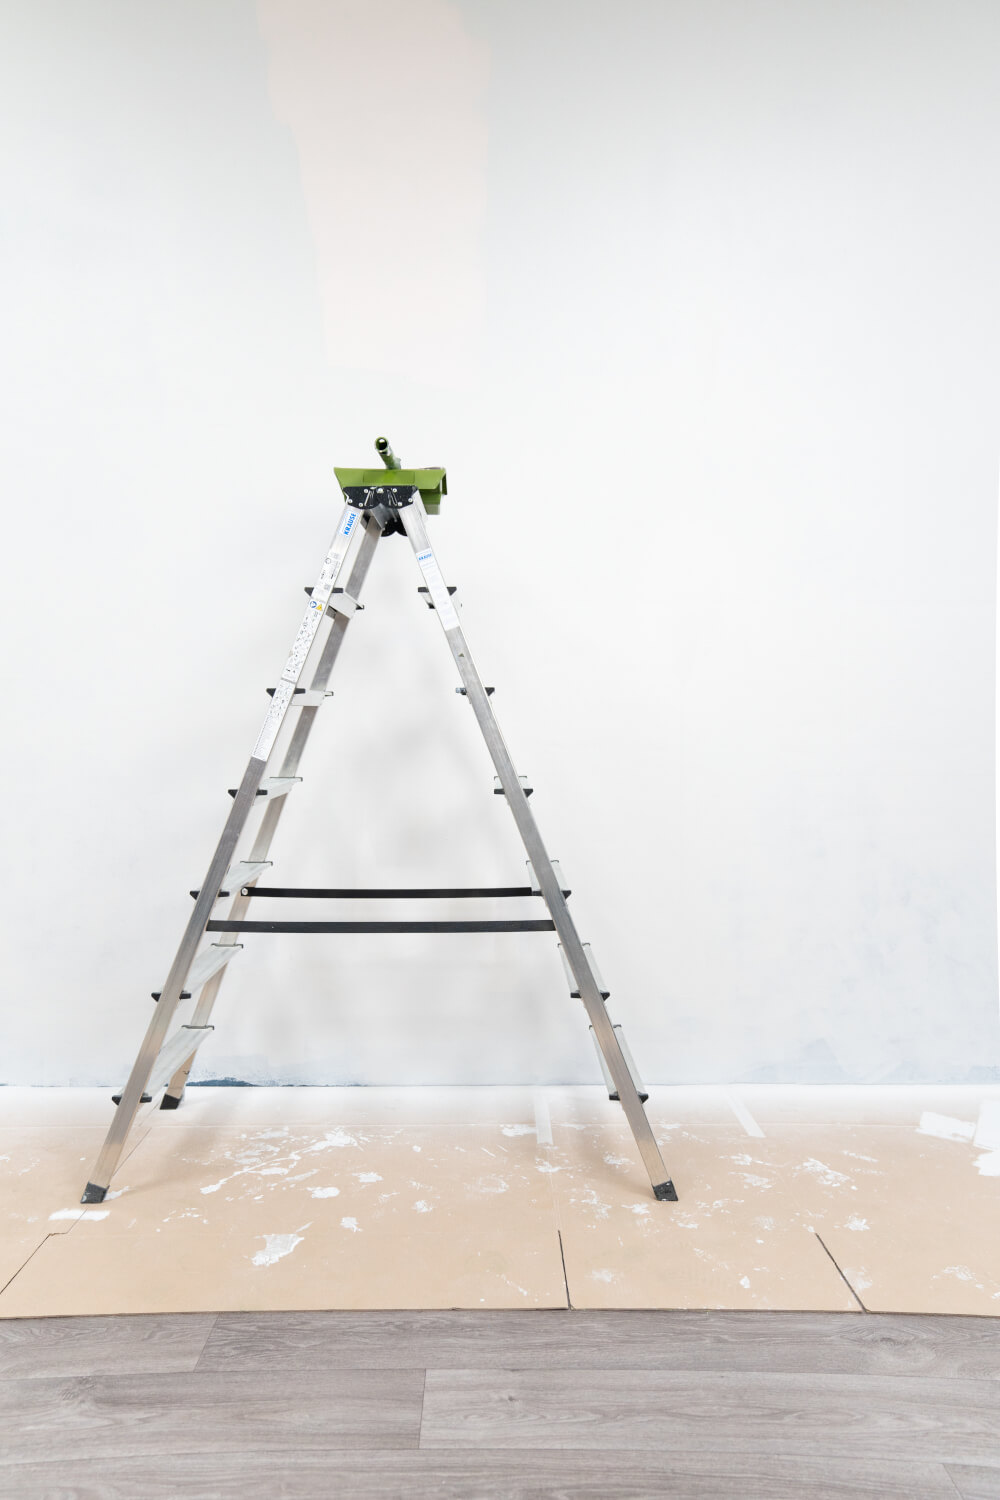
- Ladder or small work platform: to help you reach the ceiling more easily.
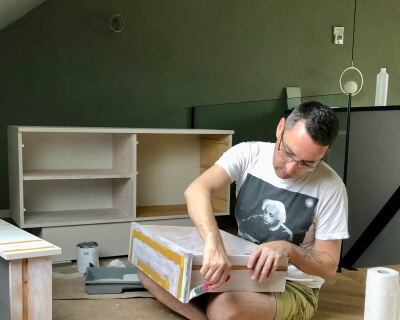
Step-by-step instructions for your wall panelling
Step 1: Preparation
After you have drawn up a design plan for your wall panels with the help of sketches, it is time to take exact measurements. Then you should get all the materials and prepare them.
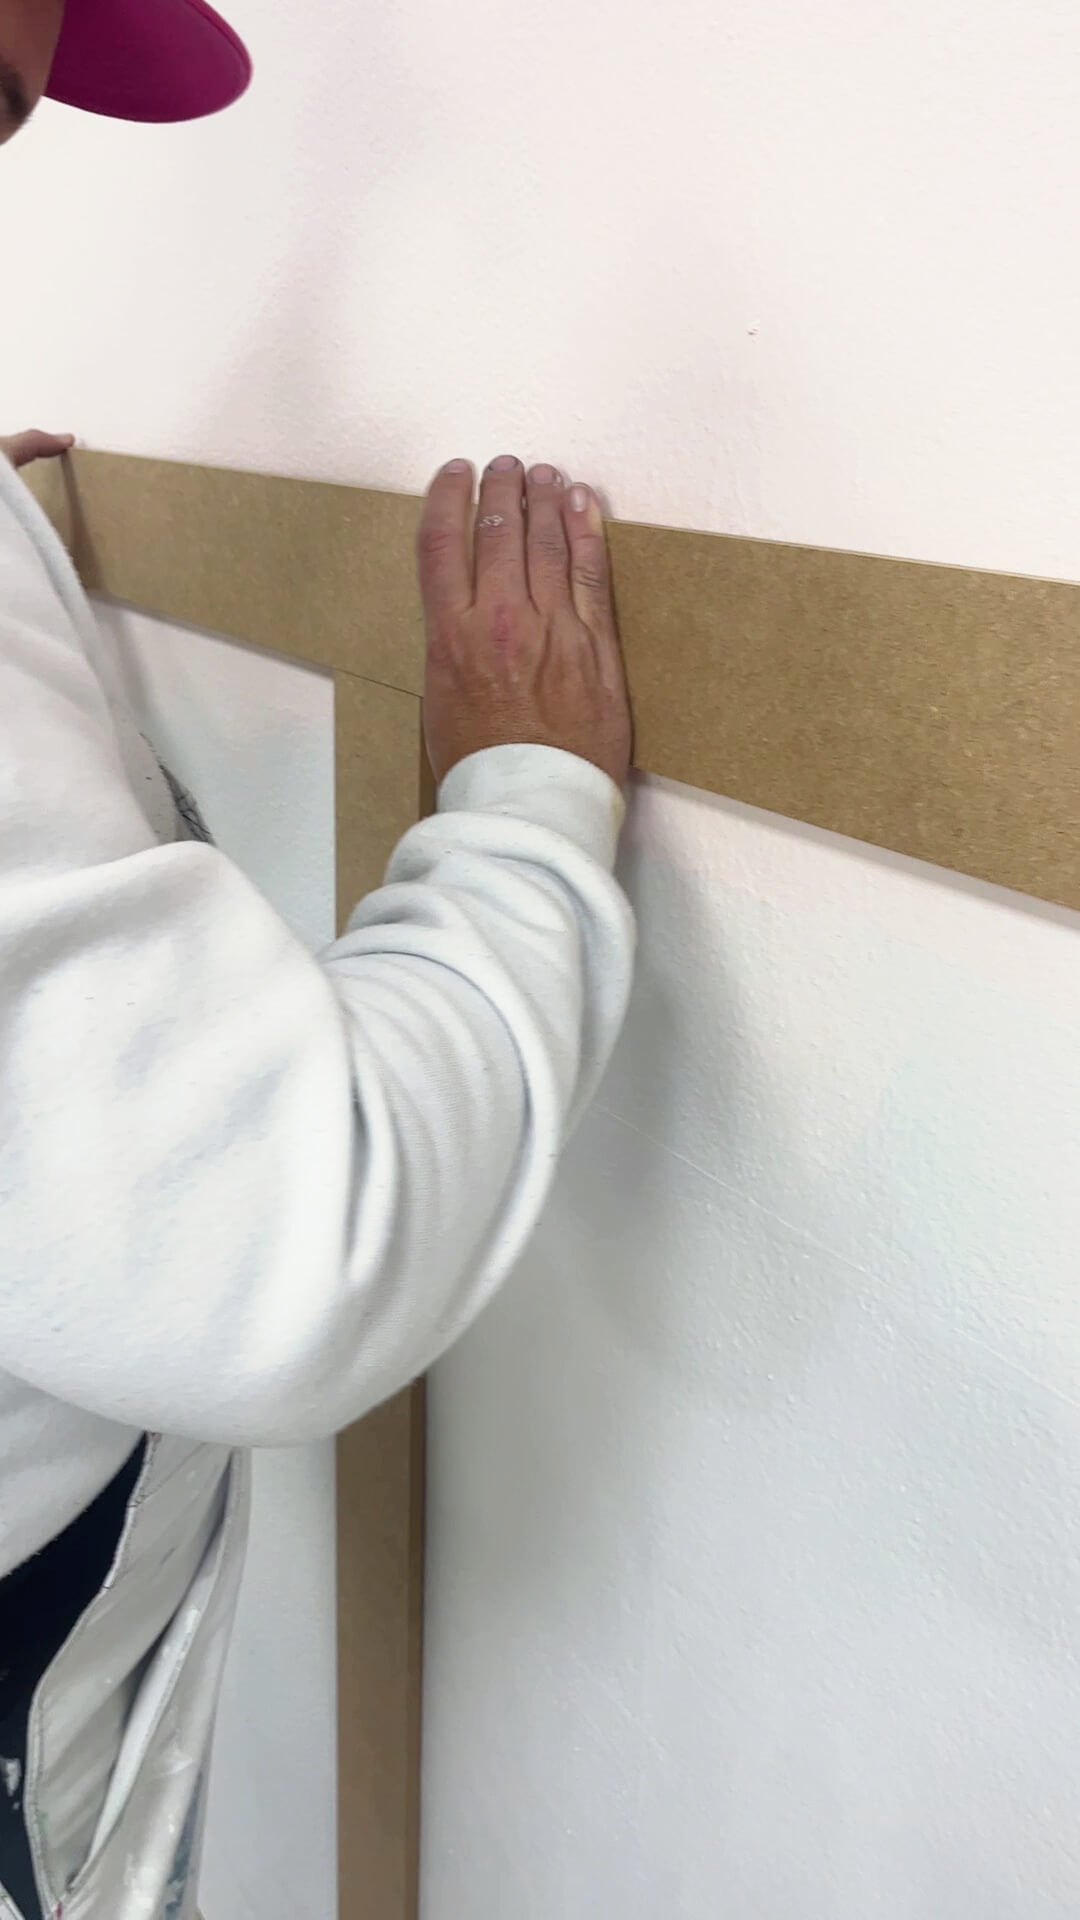
Step 2: Marking out
Be sure to use a level and square when drawing the outline with a pencil.
Step 3: Cutting to size
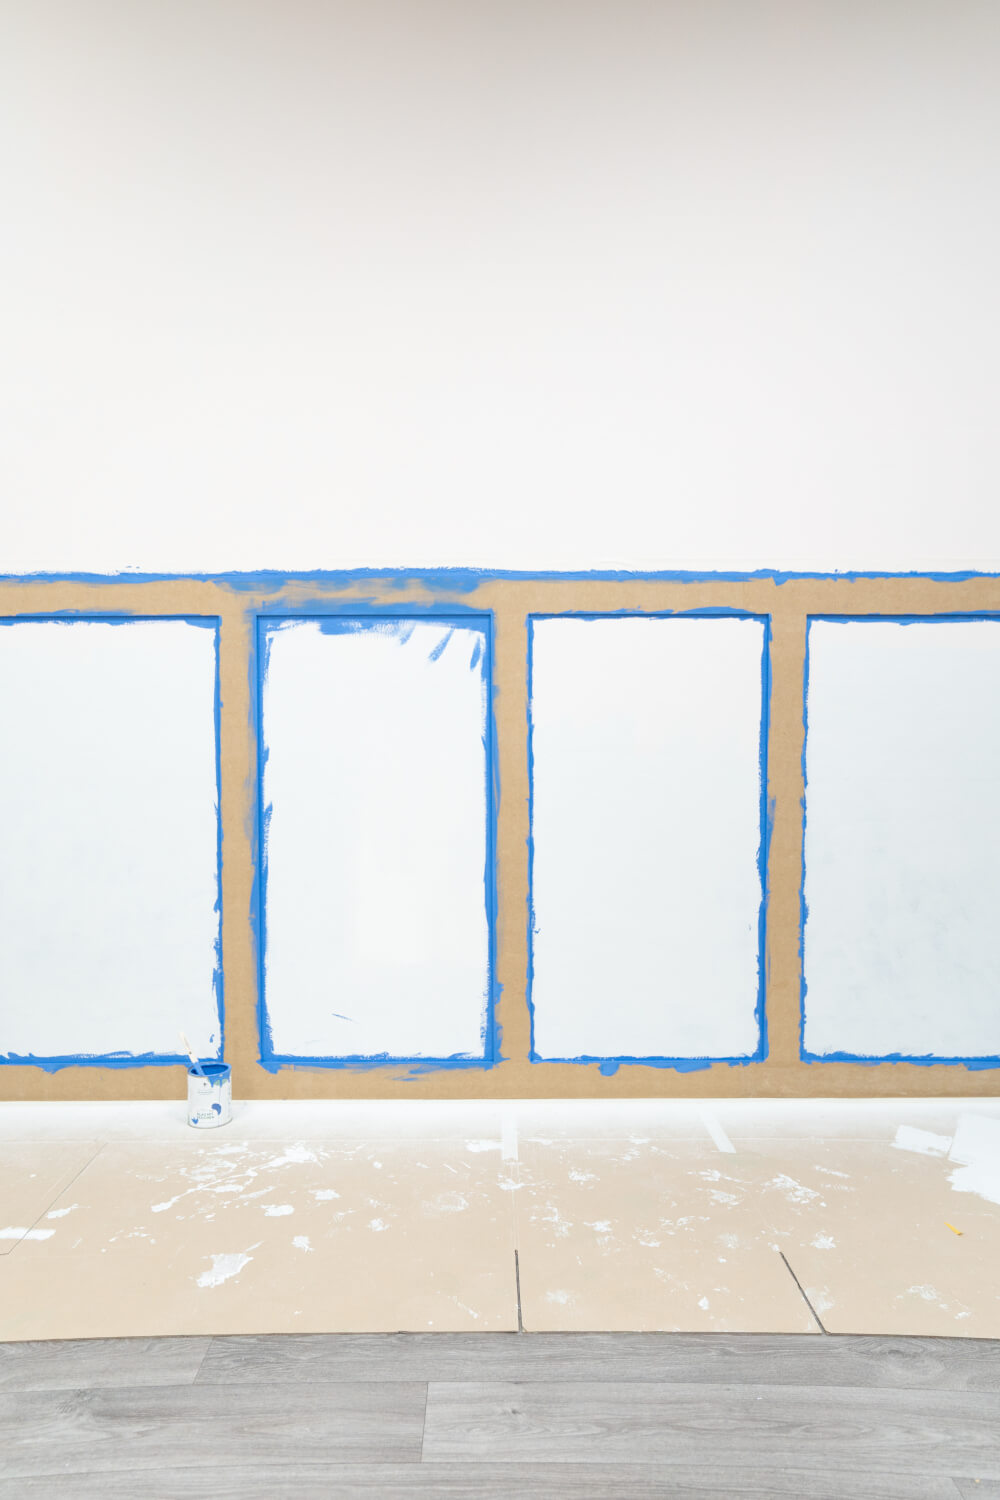
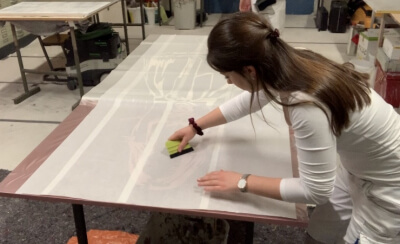
Step 4: Paint the wall
Then paint the wall above the wall covering with the desired colour.
Step 5: Attach the skirting boards
Step 6: Touch up any unevenness & paint
Video tutorial
Simple Wall Panelling DIY Video
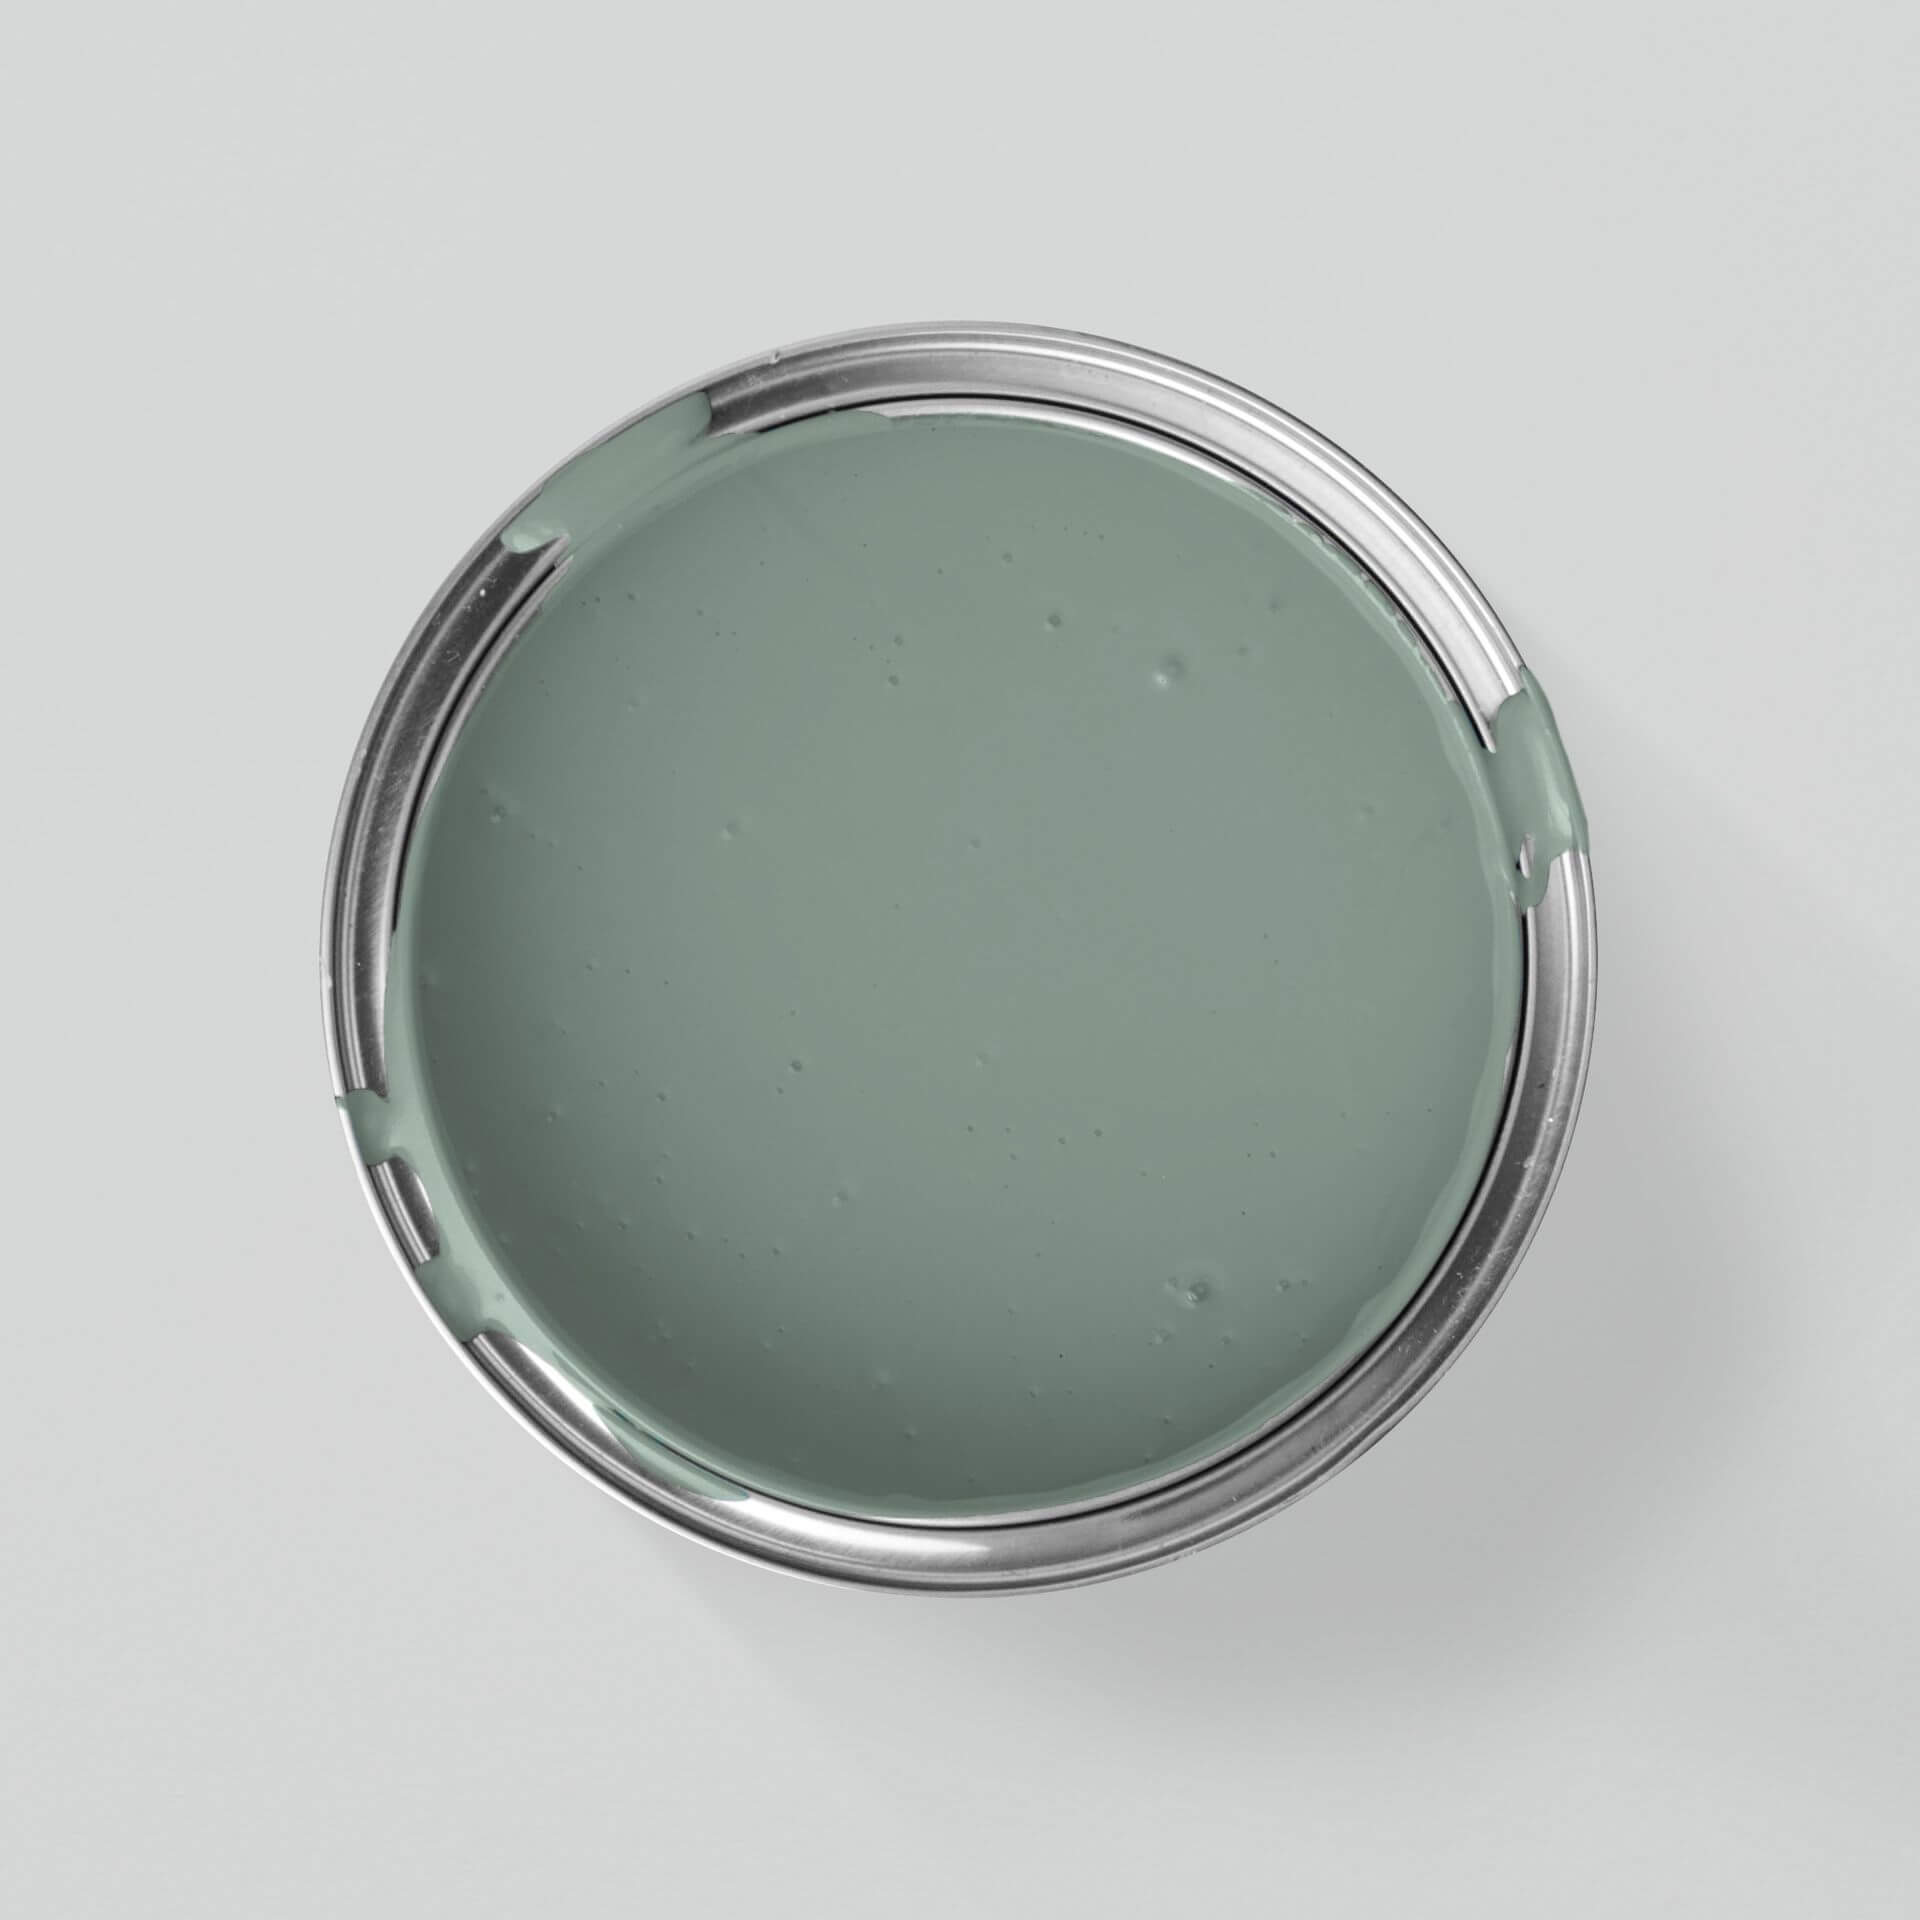
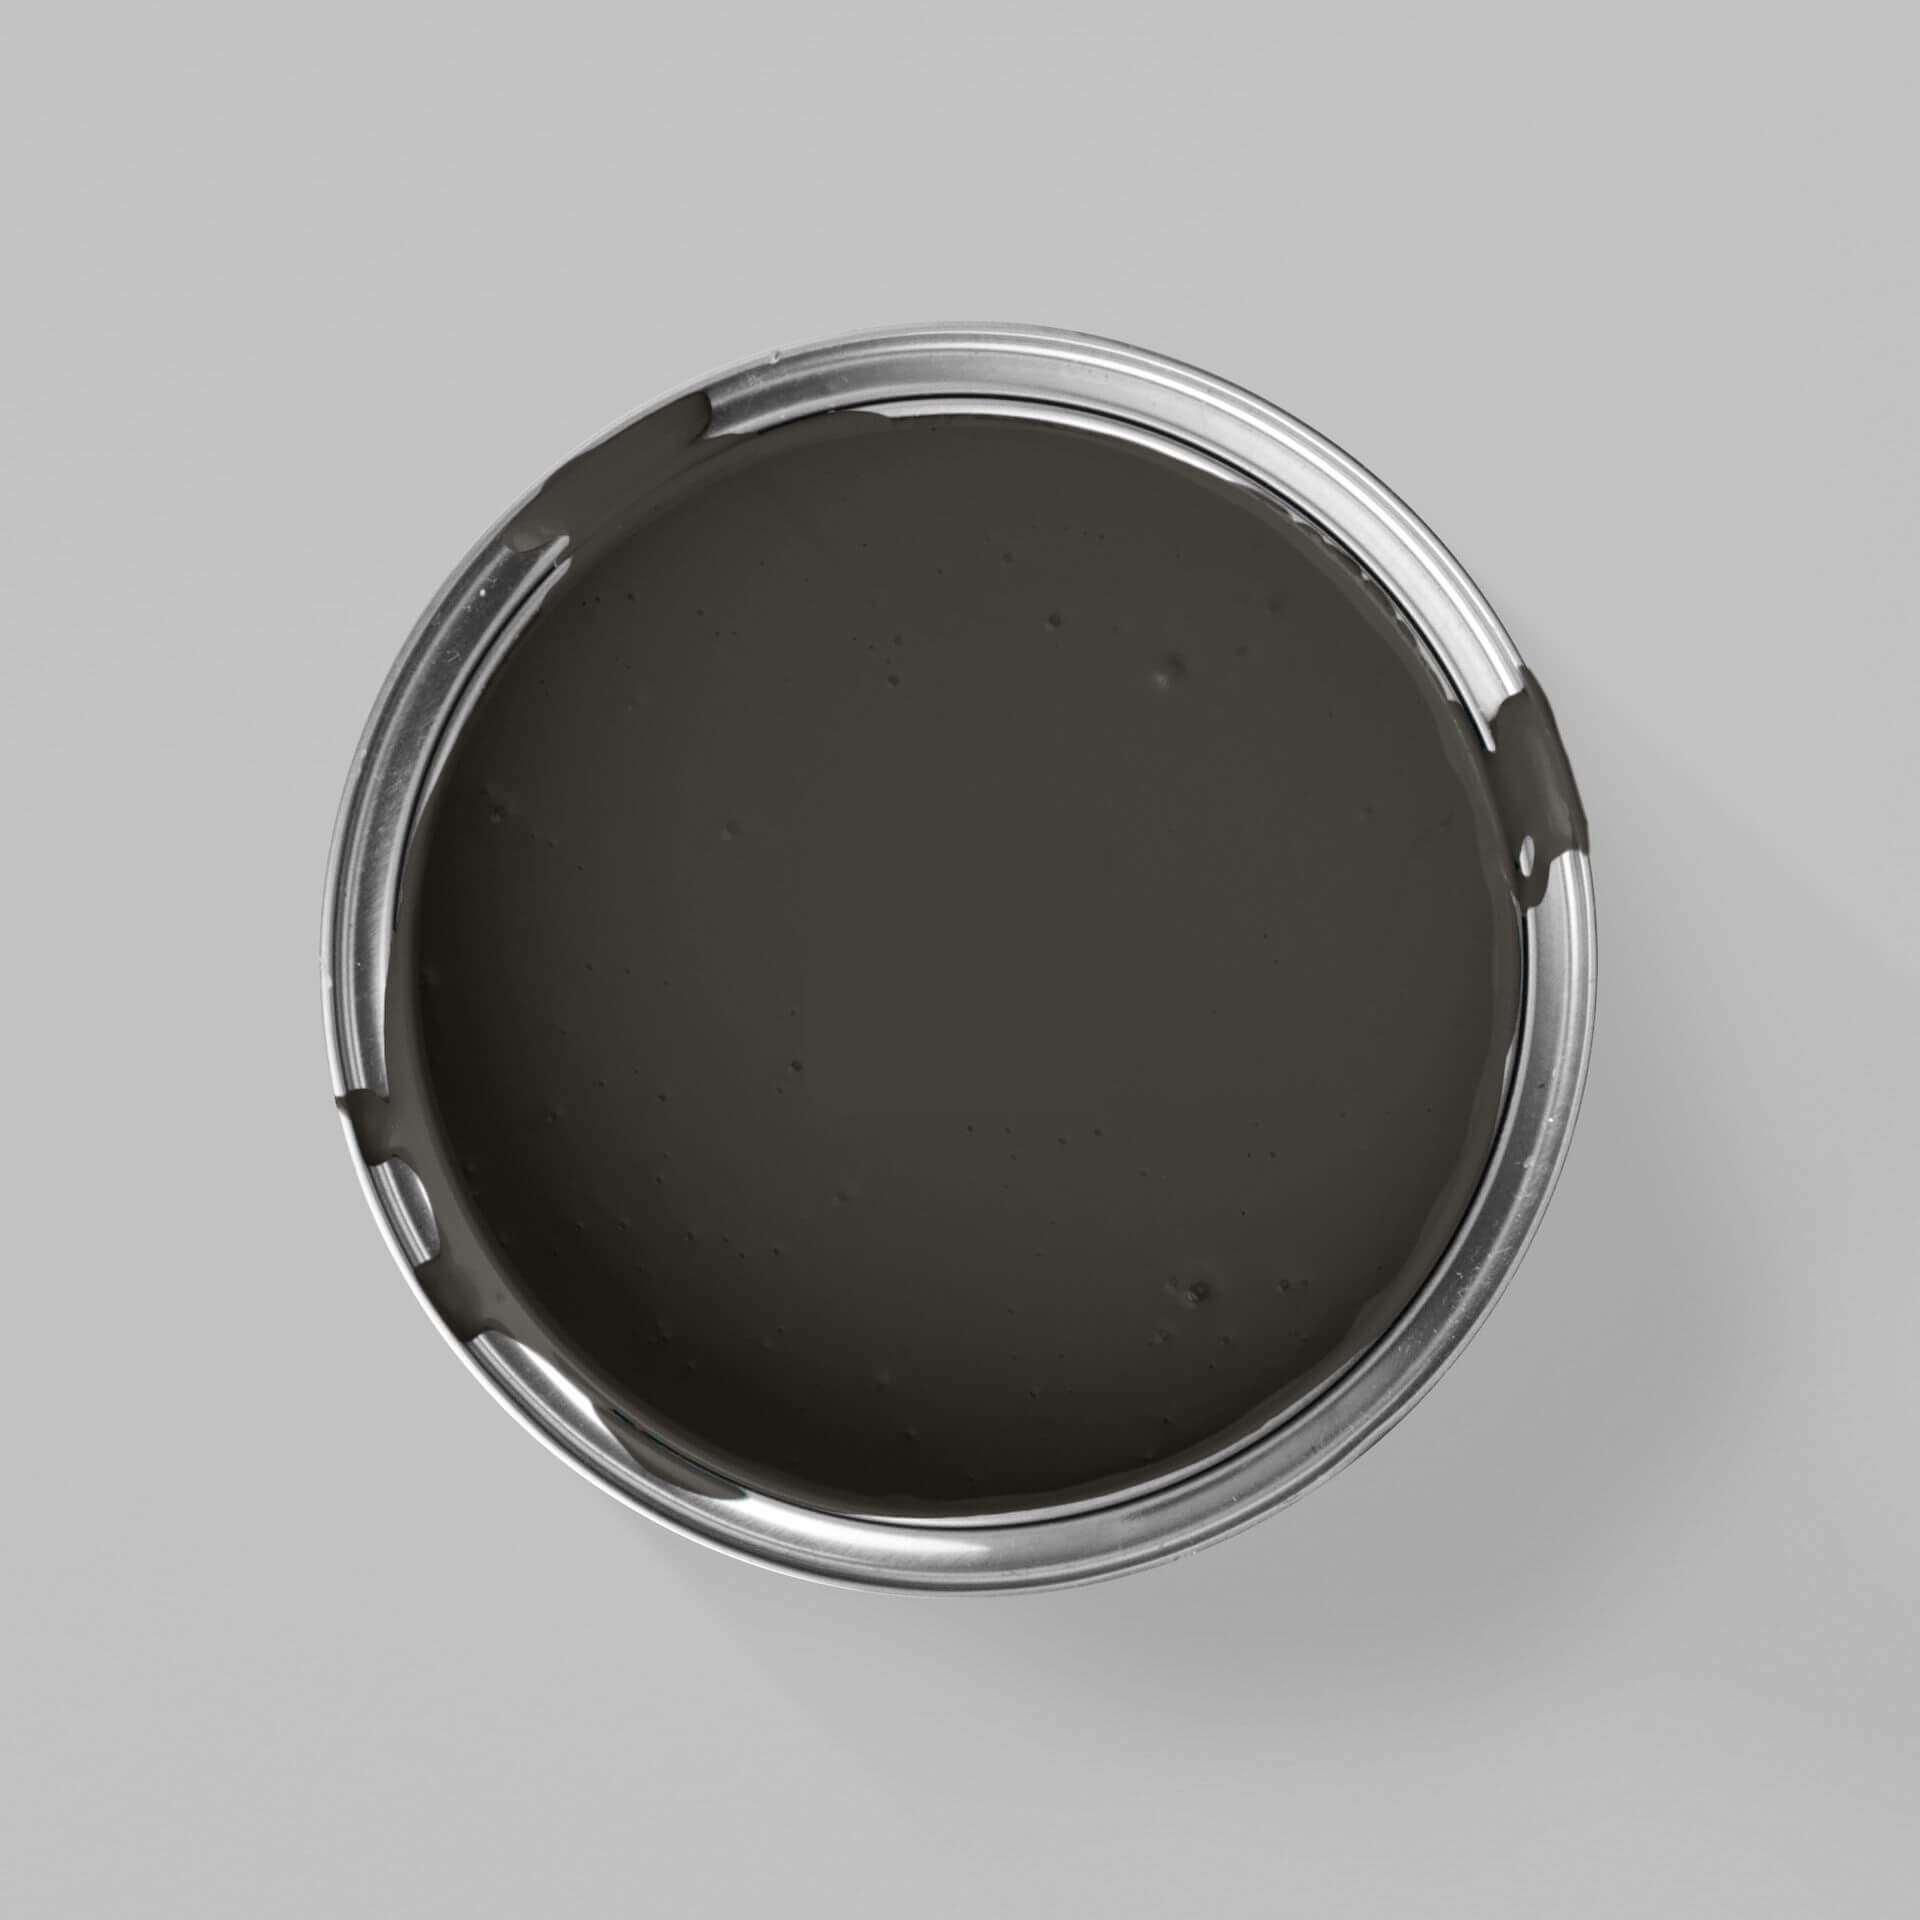
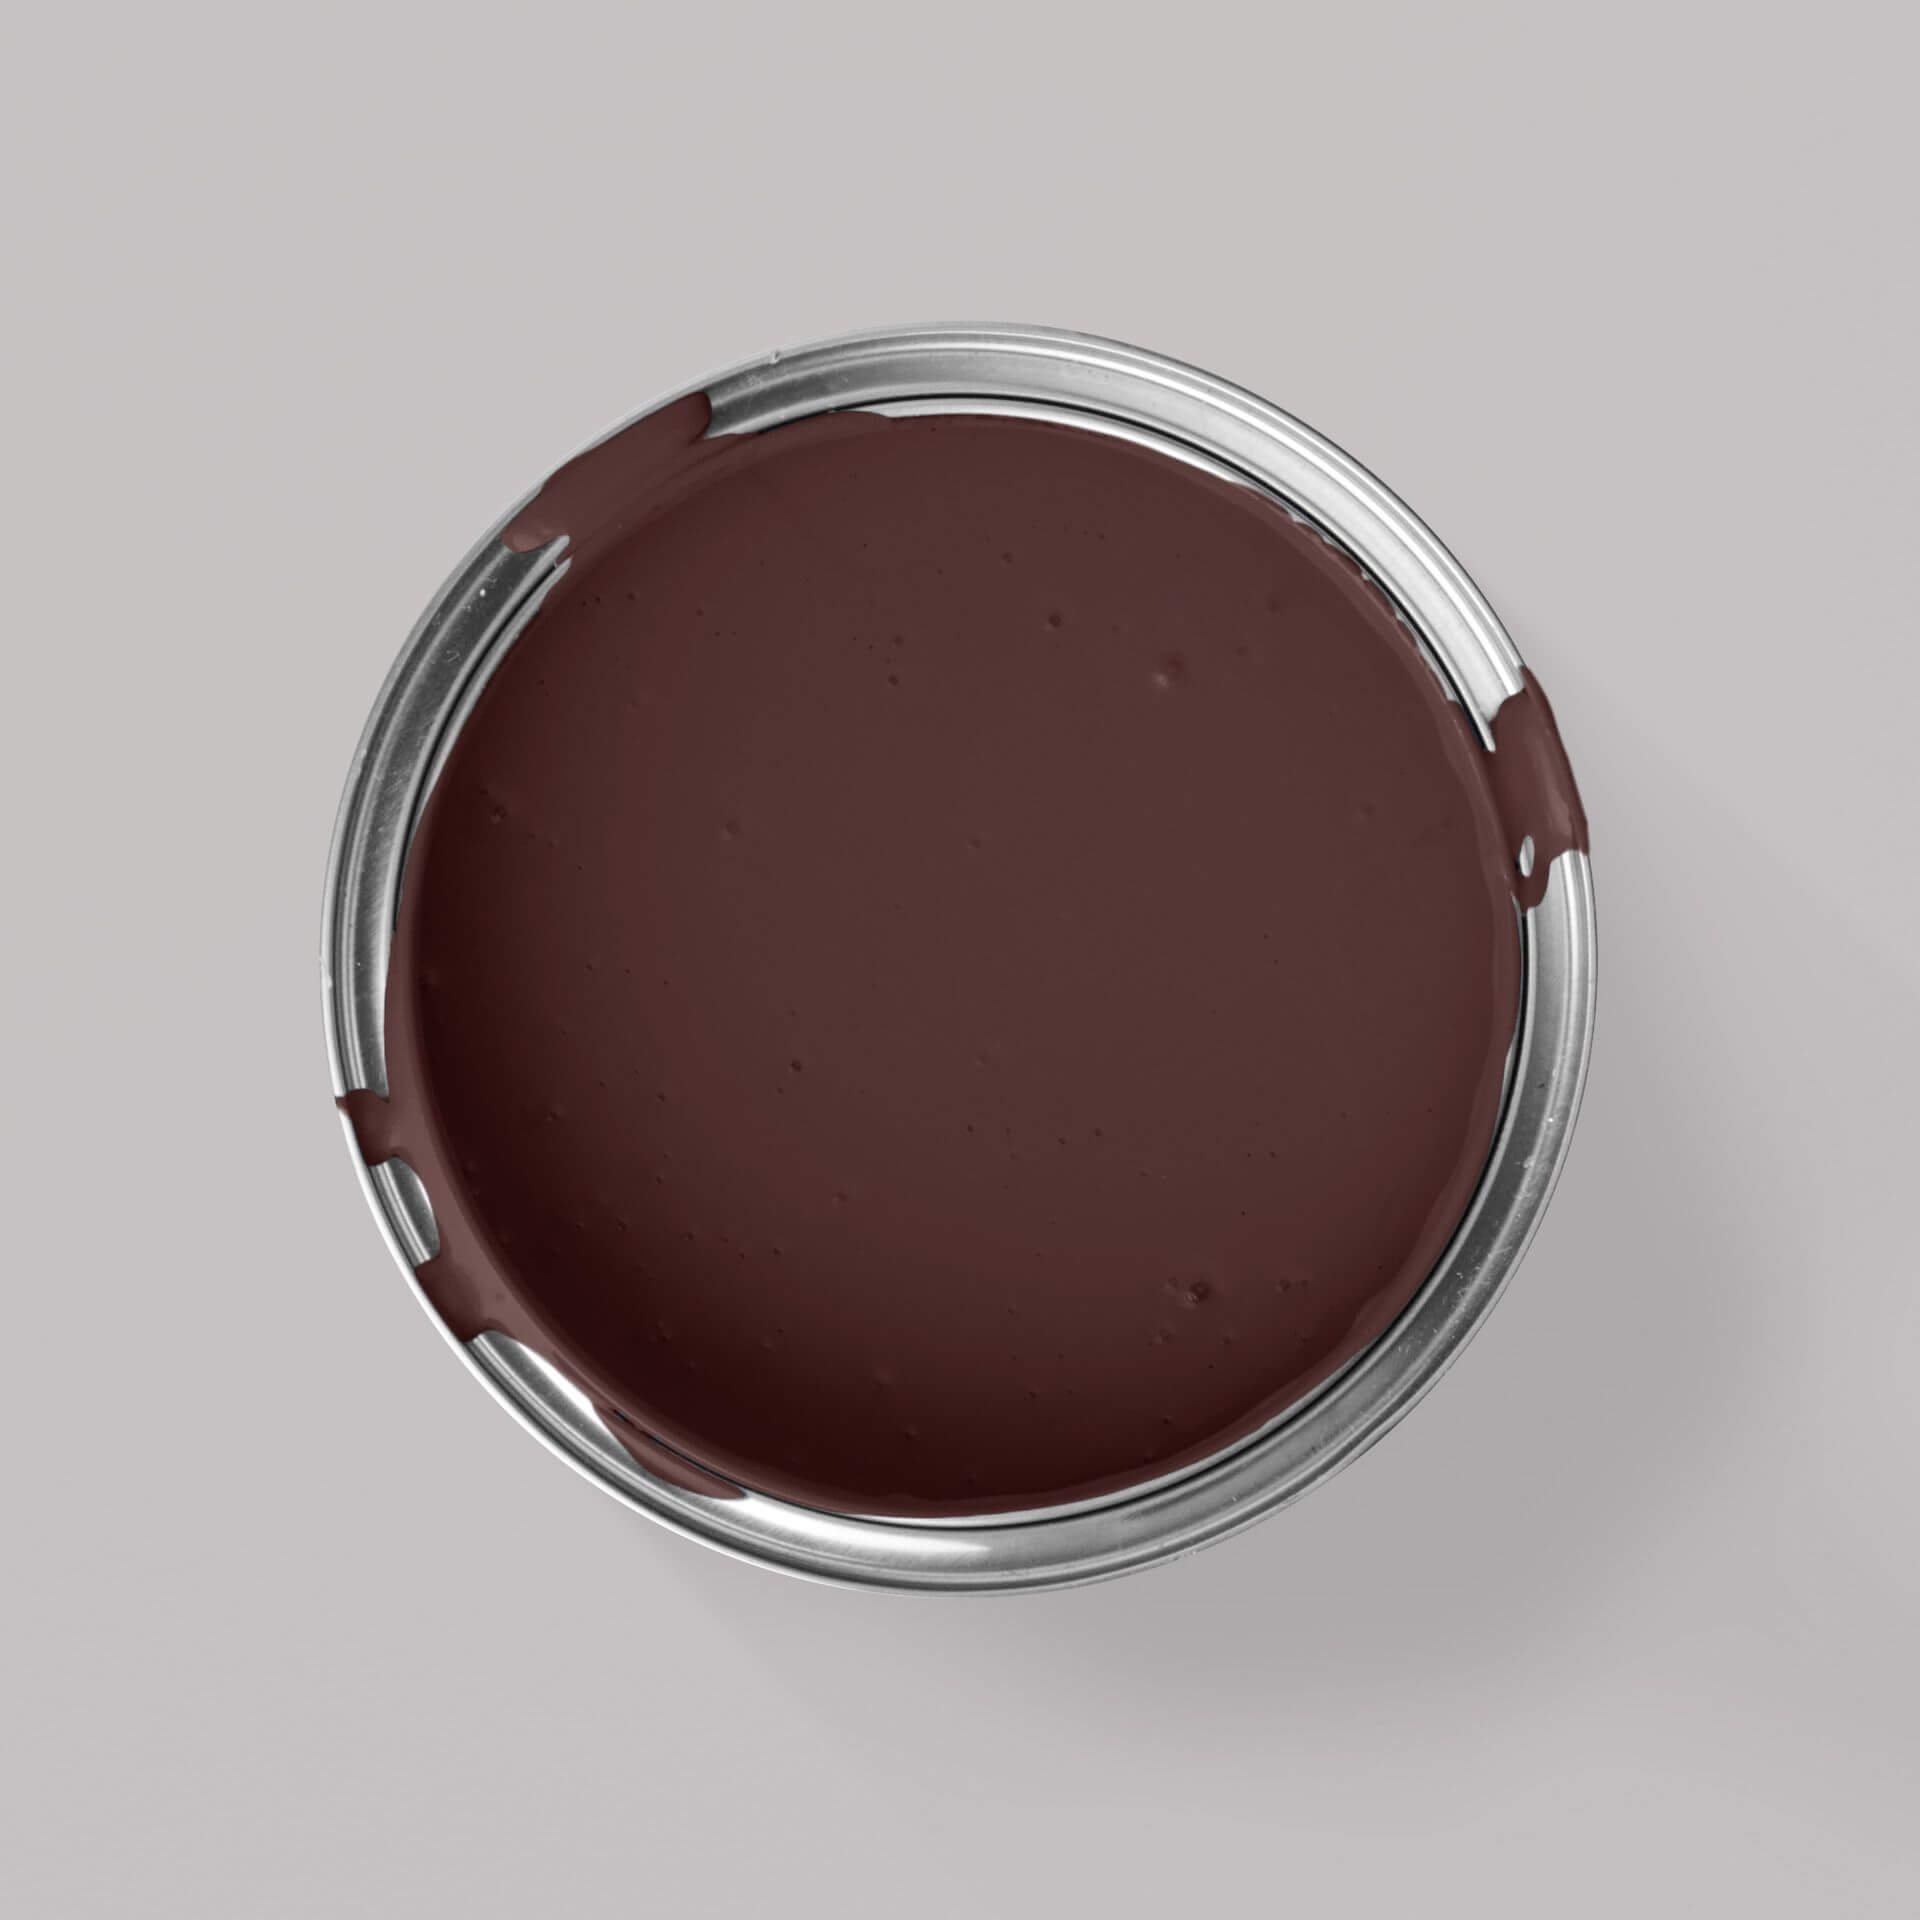
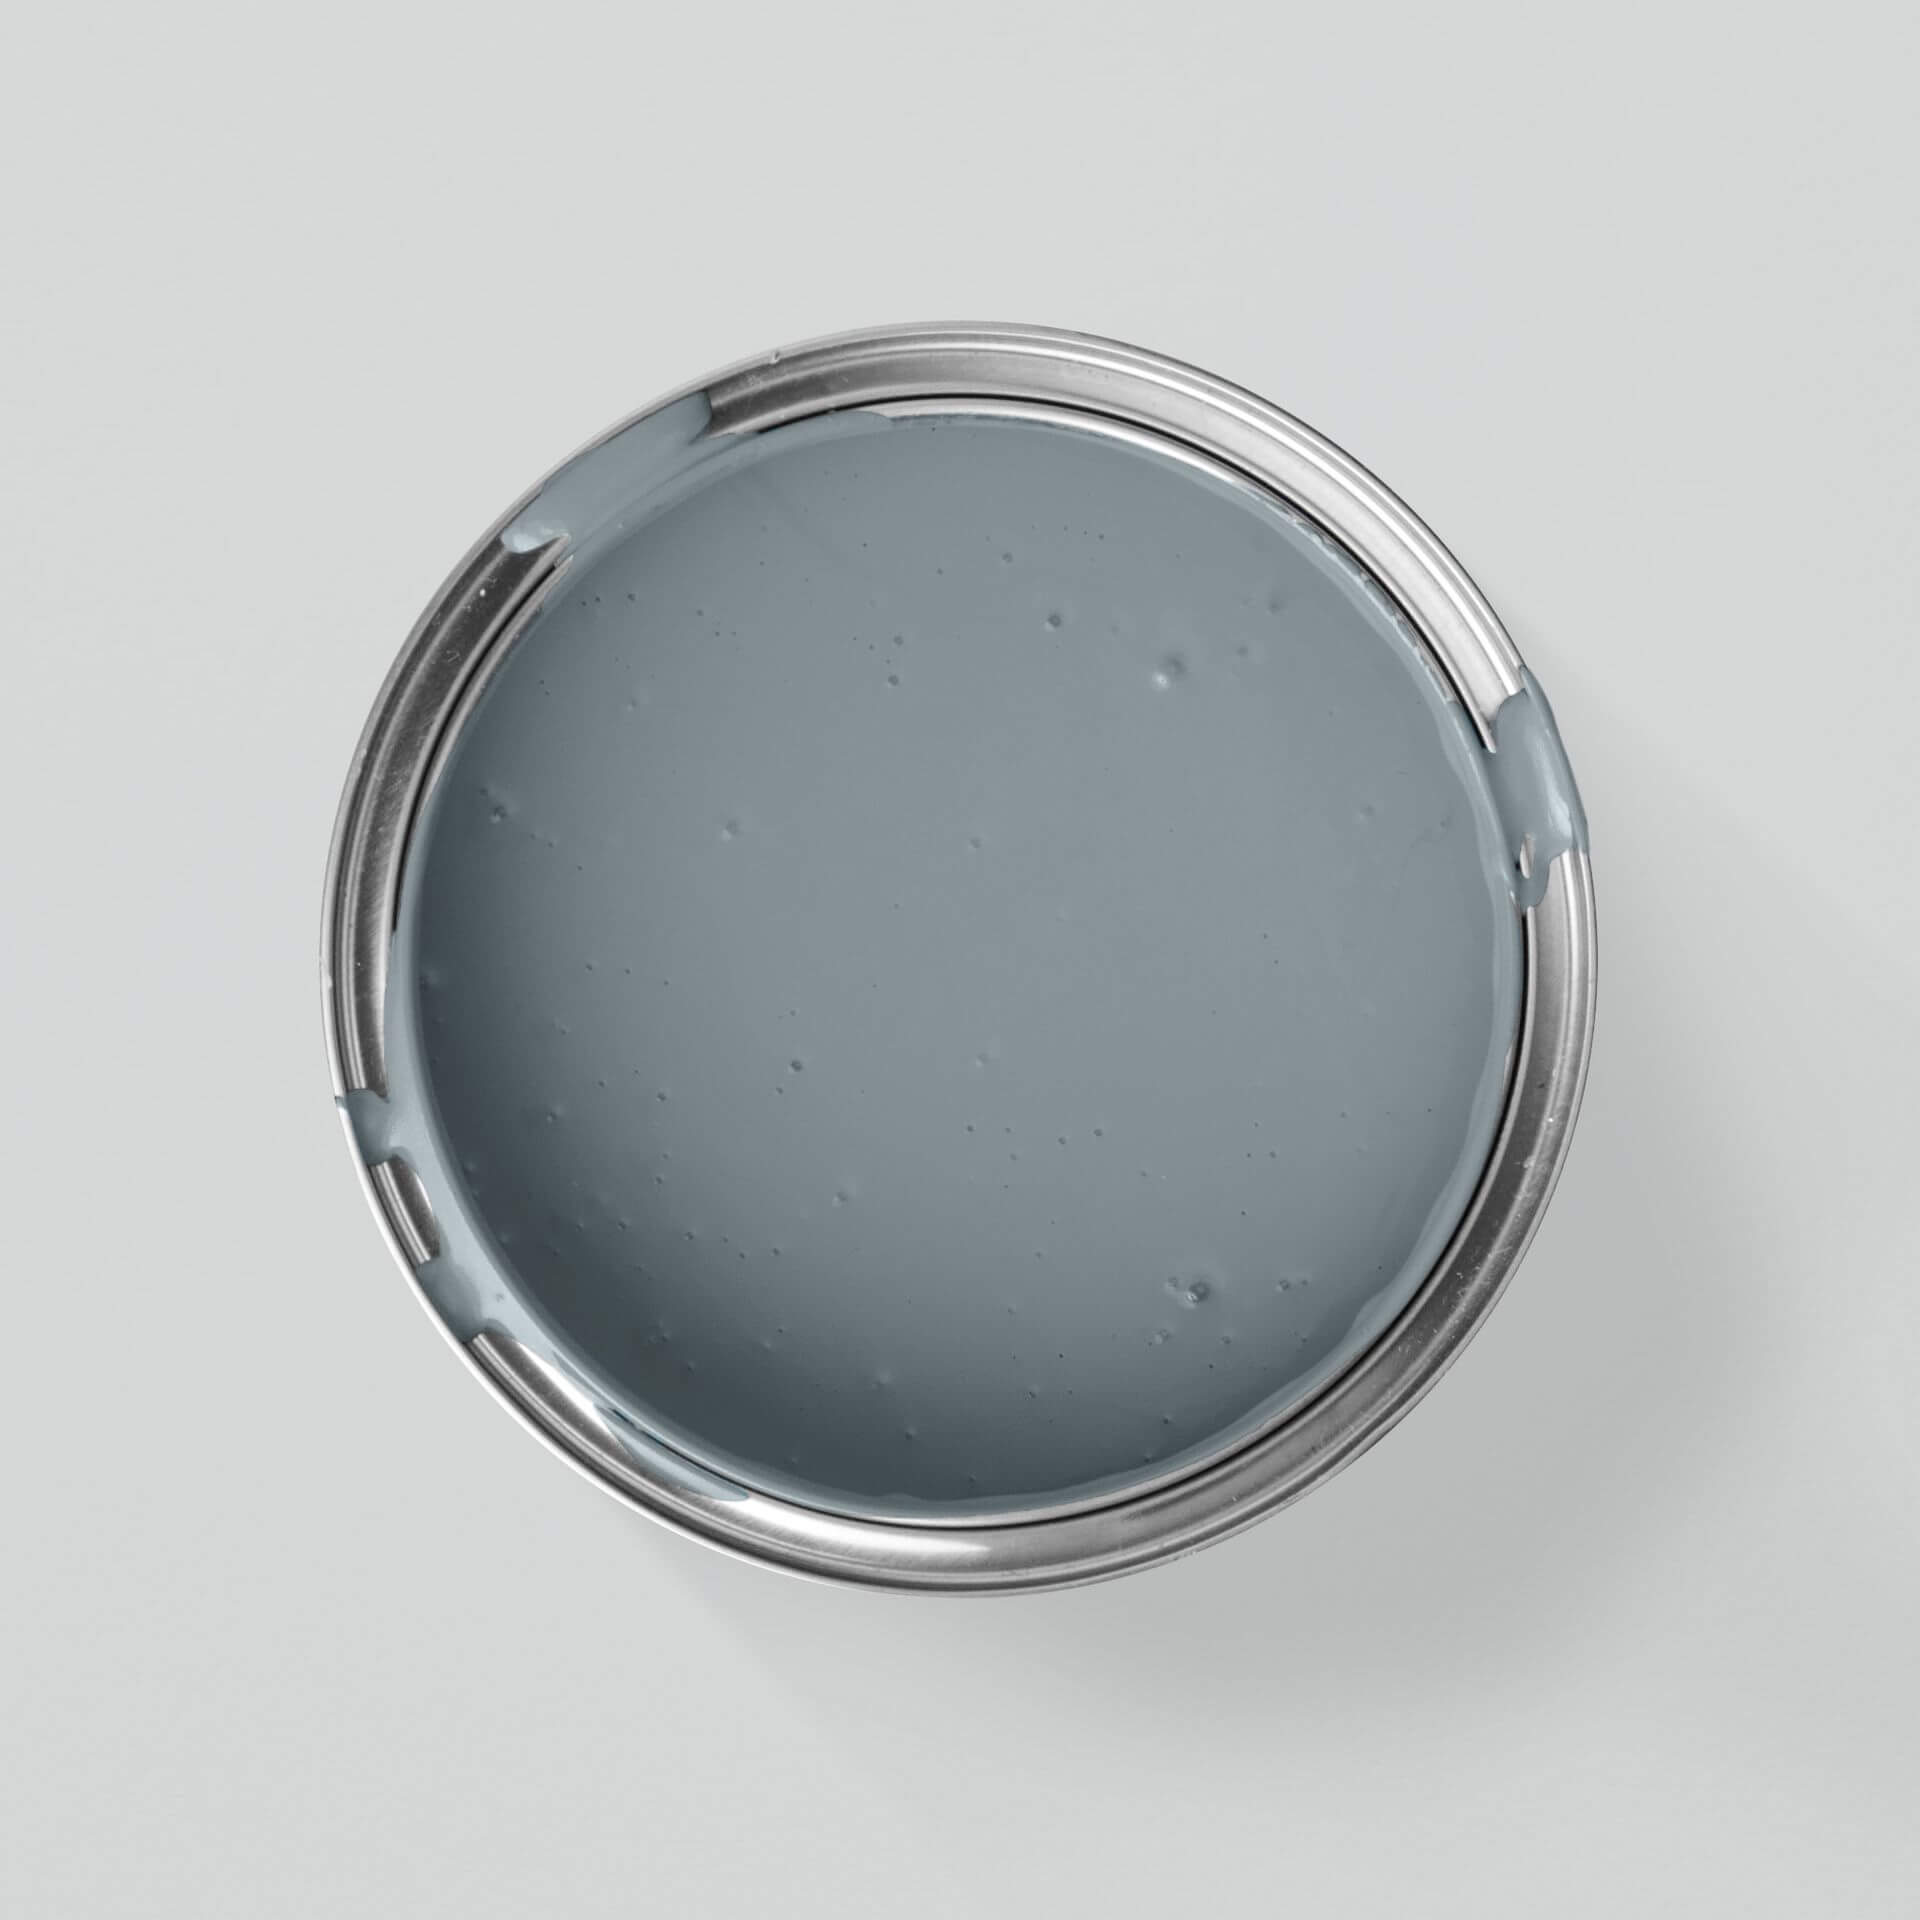
Wall Panelling in White or Colourful Shades: Tips for Choosing the Right Paint
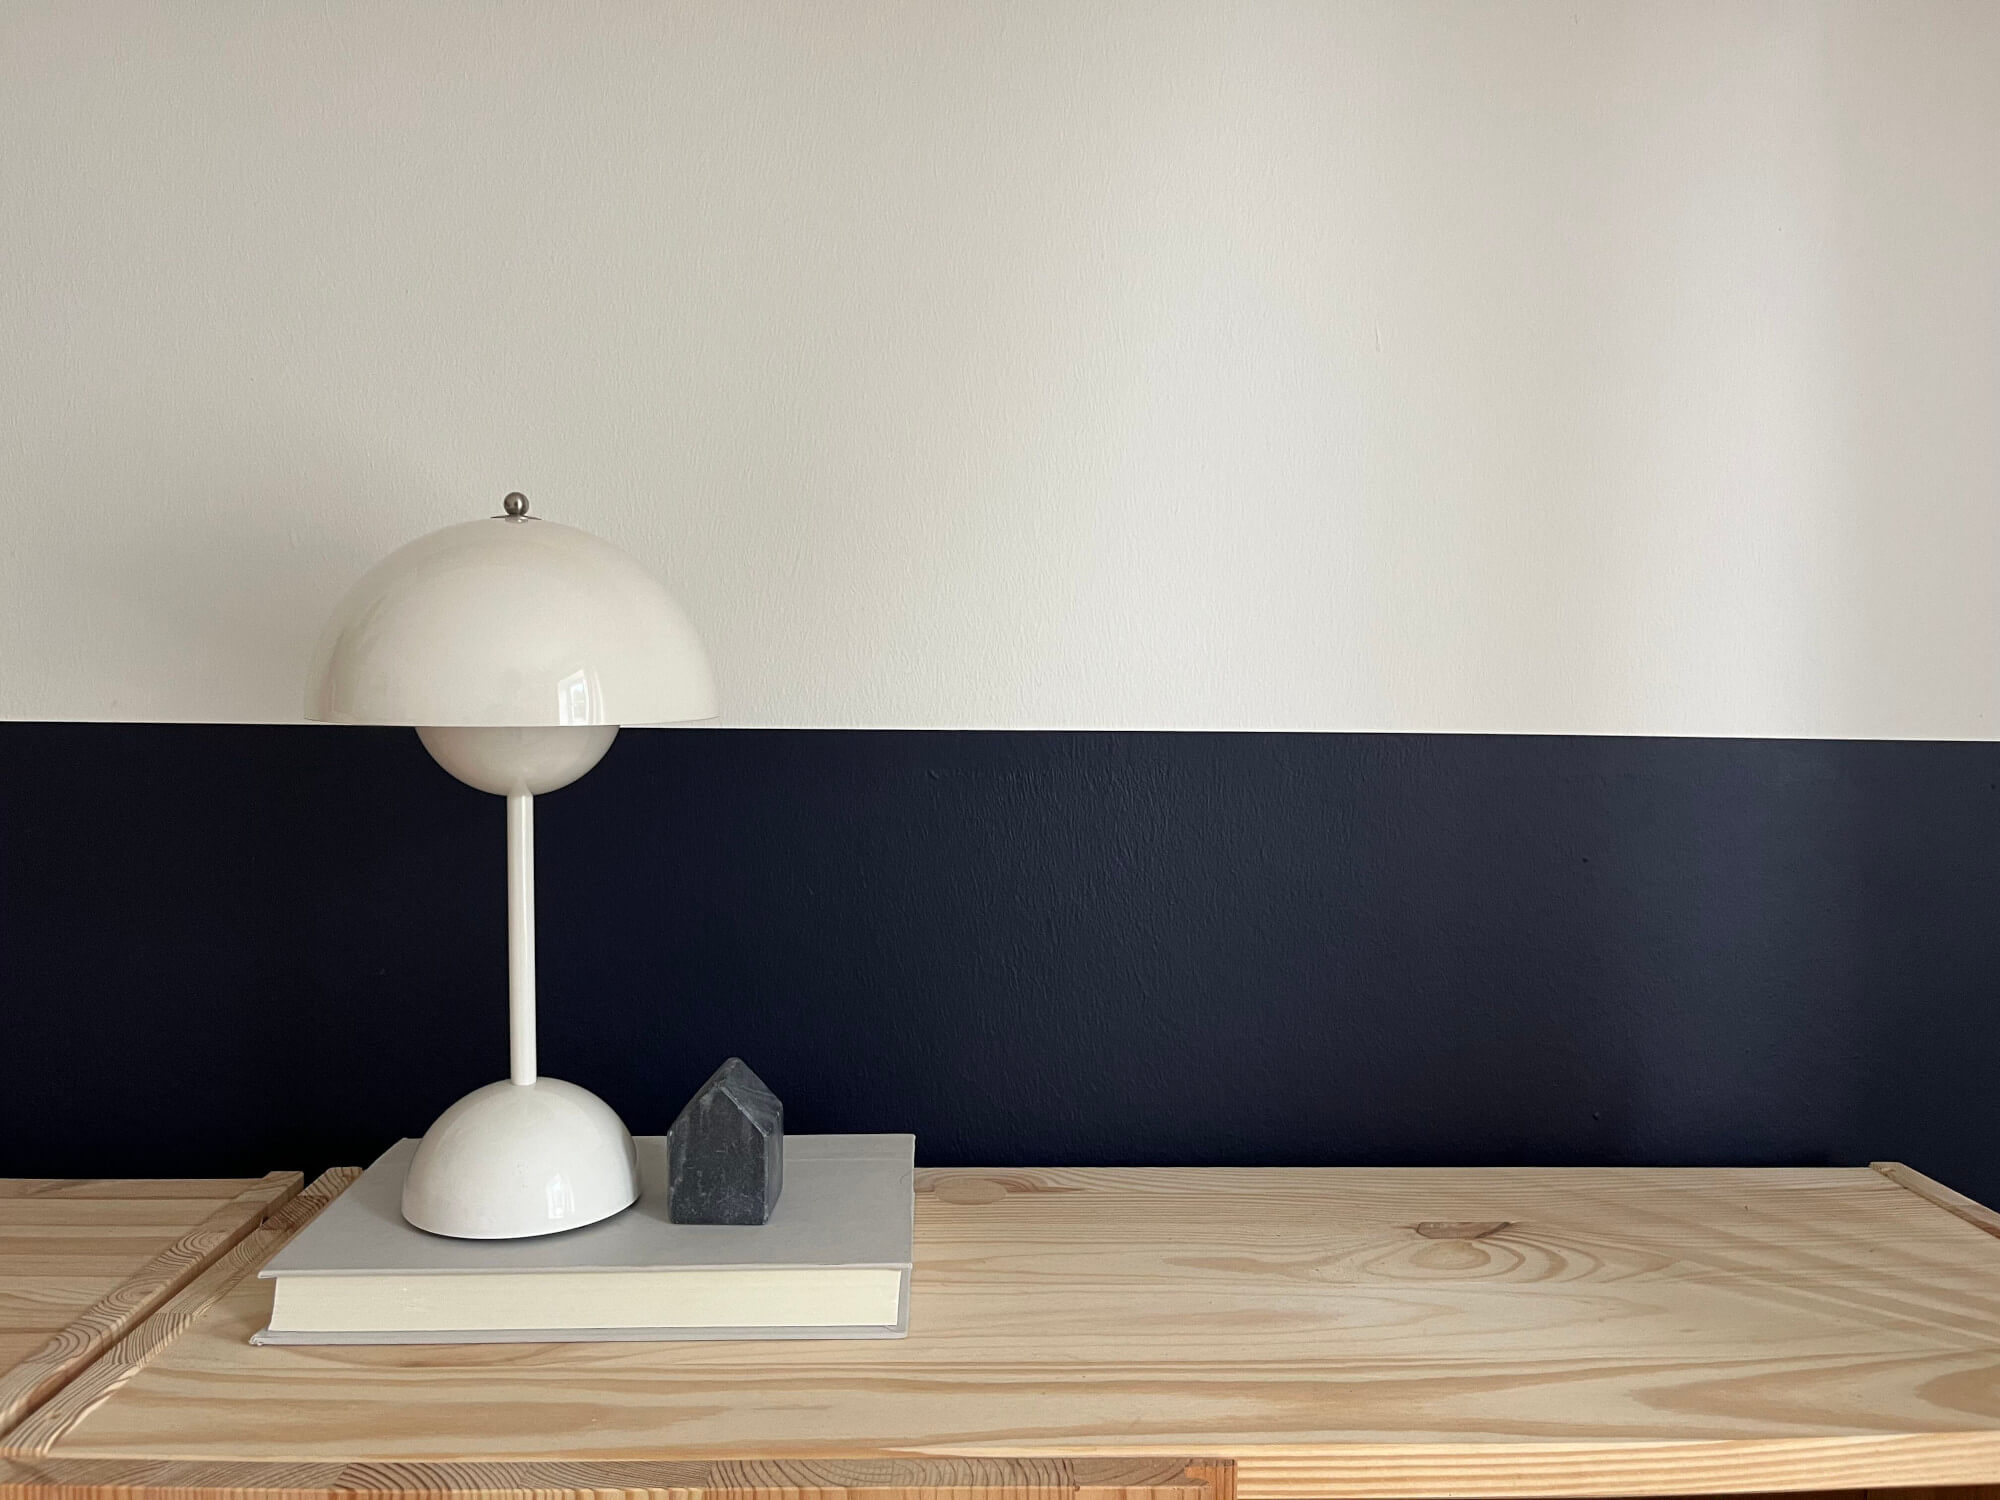
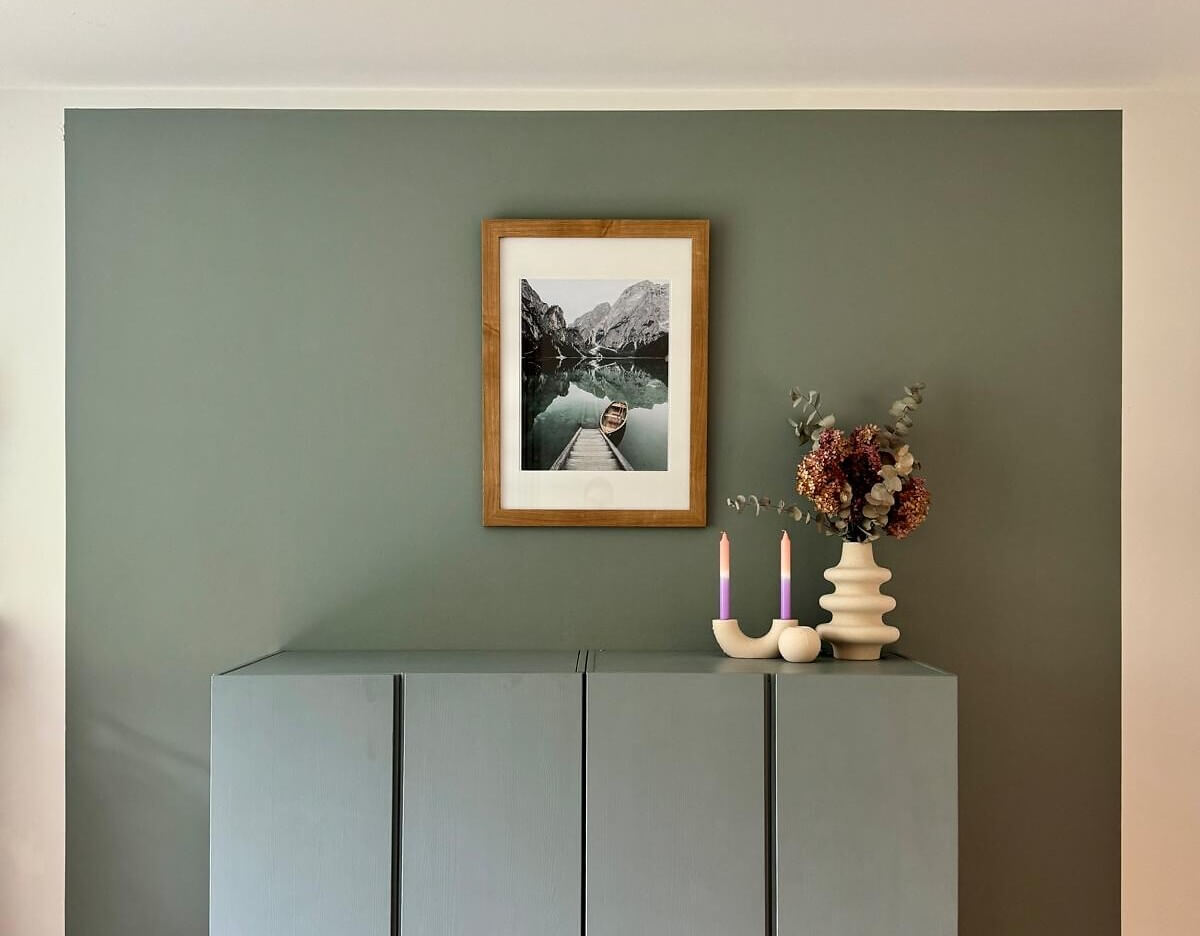
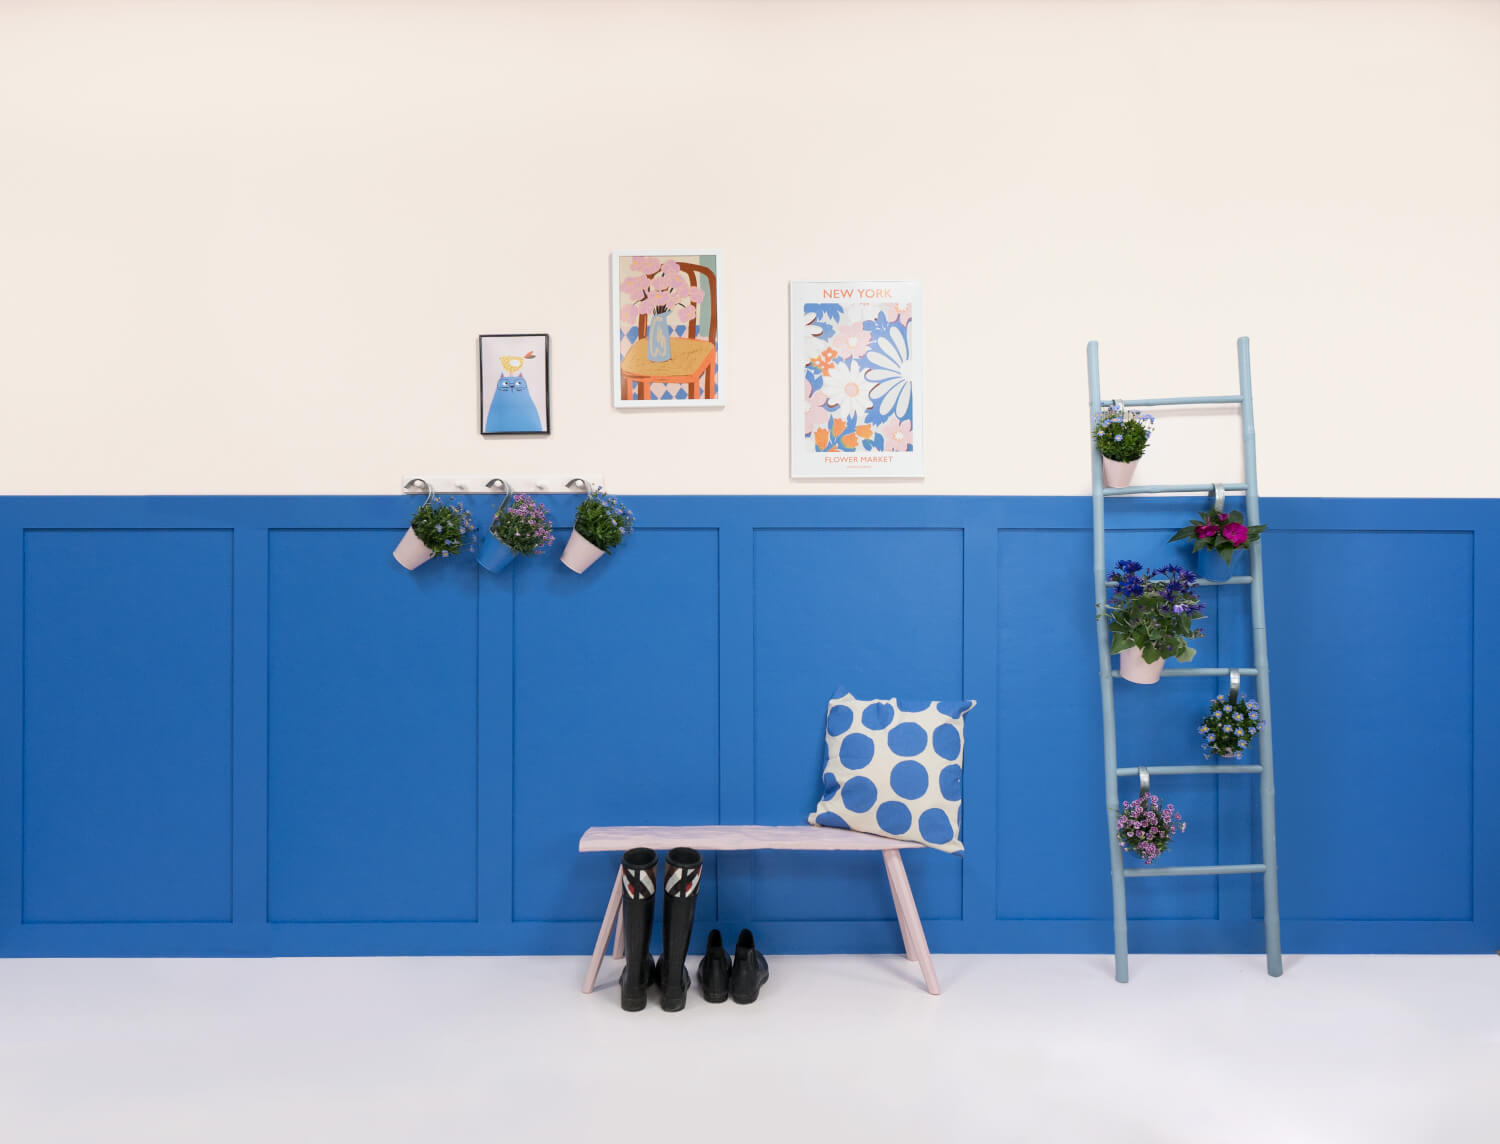
The shade you choose for your panelling totally depends on how you want to style your room and what other shades it needs to complement. However, a general rule of thumb is that the lower section of a wall should be painted a darker shade than the upper. So, strong and intense hues should be used on the paneled section, with a lighter colour on the wall above.
Depending on how much wear and tear your wall panelling will experience, you can paint it with our MissPompadour wall paints or paints. Easy Eggshell! is definitely the right choice. If your wall panelling is primarily for decoration, you can simply paint it with our wall paints.
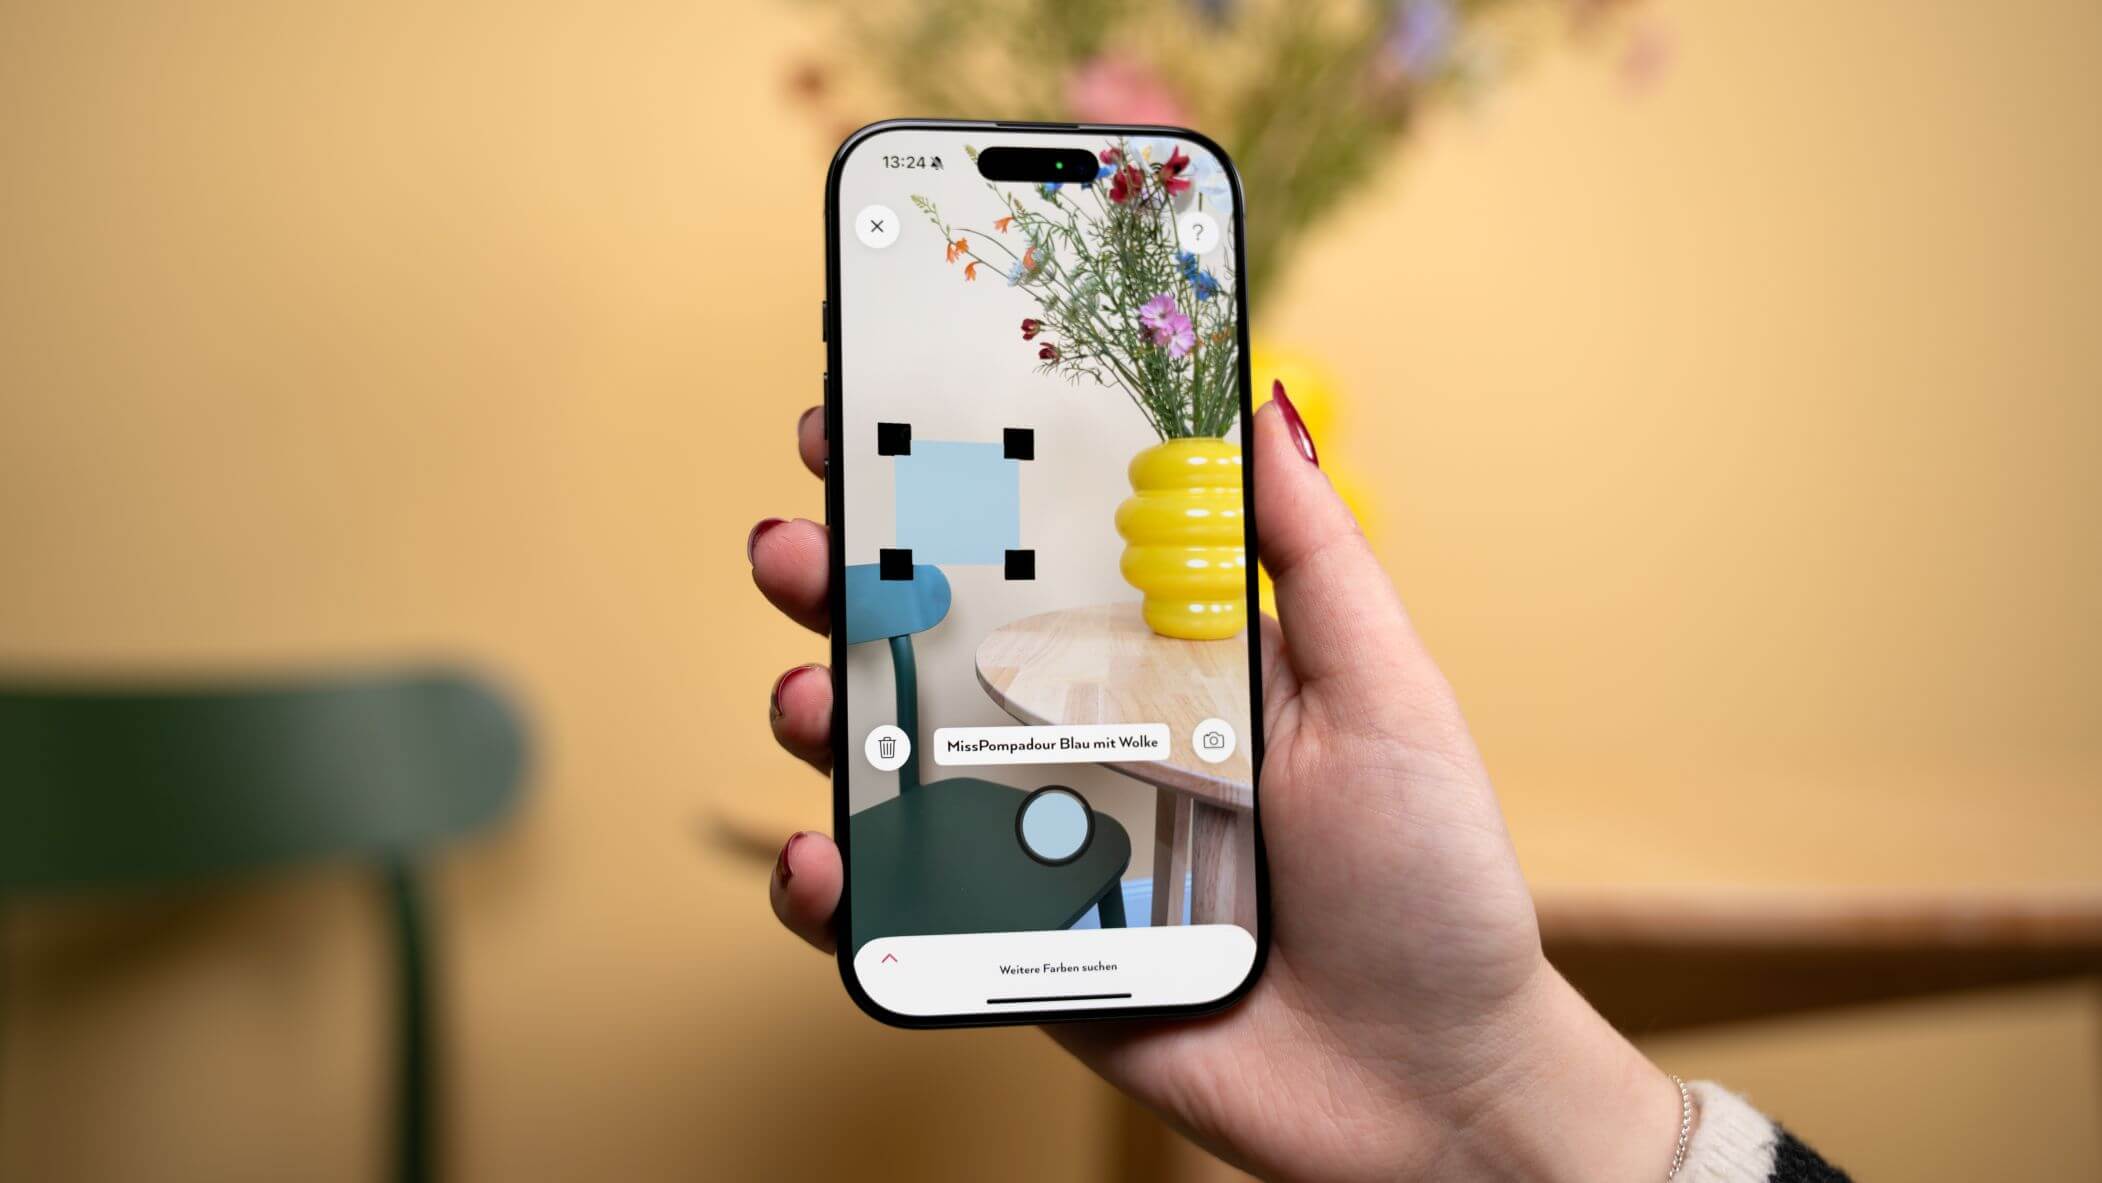
Tip: When planning, use coloured pencils for your initial sketches to get a good feel for your colour scheme before you start.
Frequently asked questions
Which wood is suitable for wall panelling?
What is available for wall cladding made of wood?
What other wall coverings are there?
Questions ?
We're here to help
We'll help you anytime, via Phone (Mo-Fr 09-18, Sa until 16 Uhr), via WhatsApp or directly via our Contact Form.