


Painting a raised bed: it's that easy!
5 min reading time
True to our motto #simplypaint, you can turn any boring wooden box into an eye-catcher. It's really quite simple.
Painting a wooden raised bed: Ideas from our community
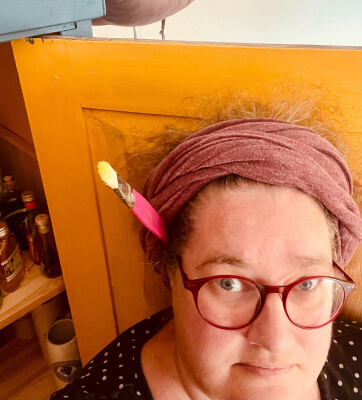
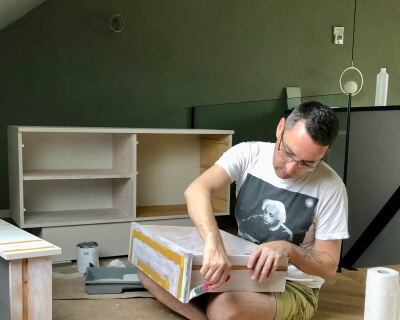
There are many different ways to change the elements in your garden to suit your taste. Our community members have also unleashed their creativity and spruced up their gardens! Be inspired by their creative works and Before and After pictures.
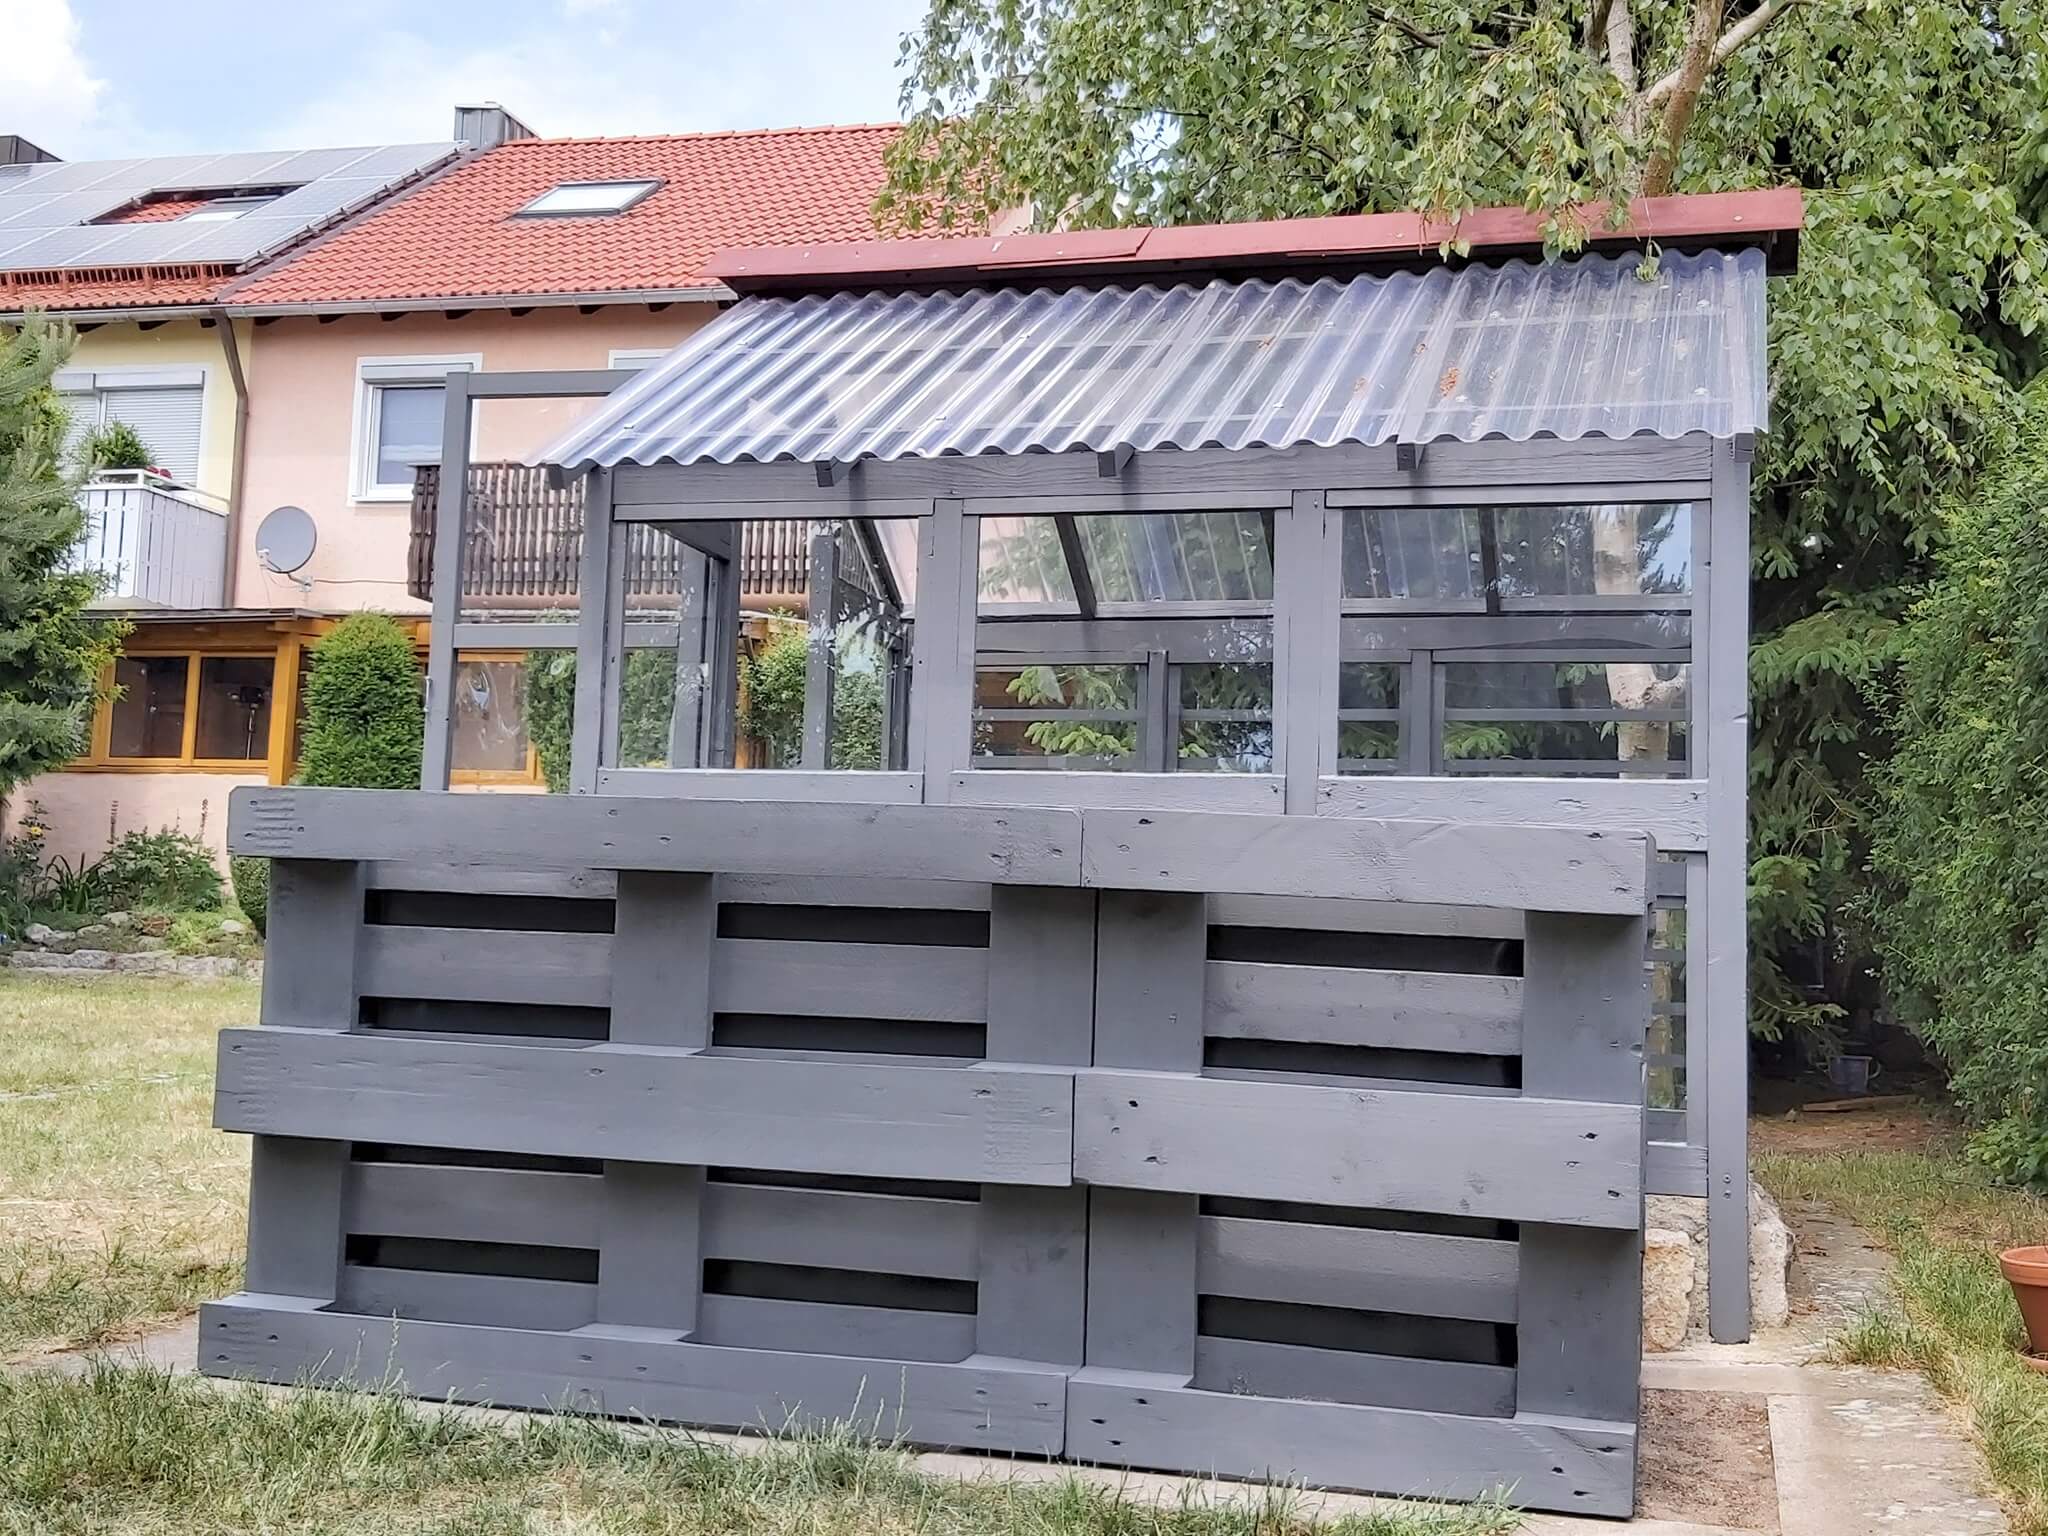
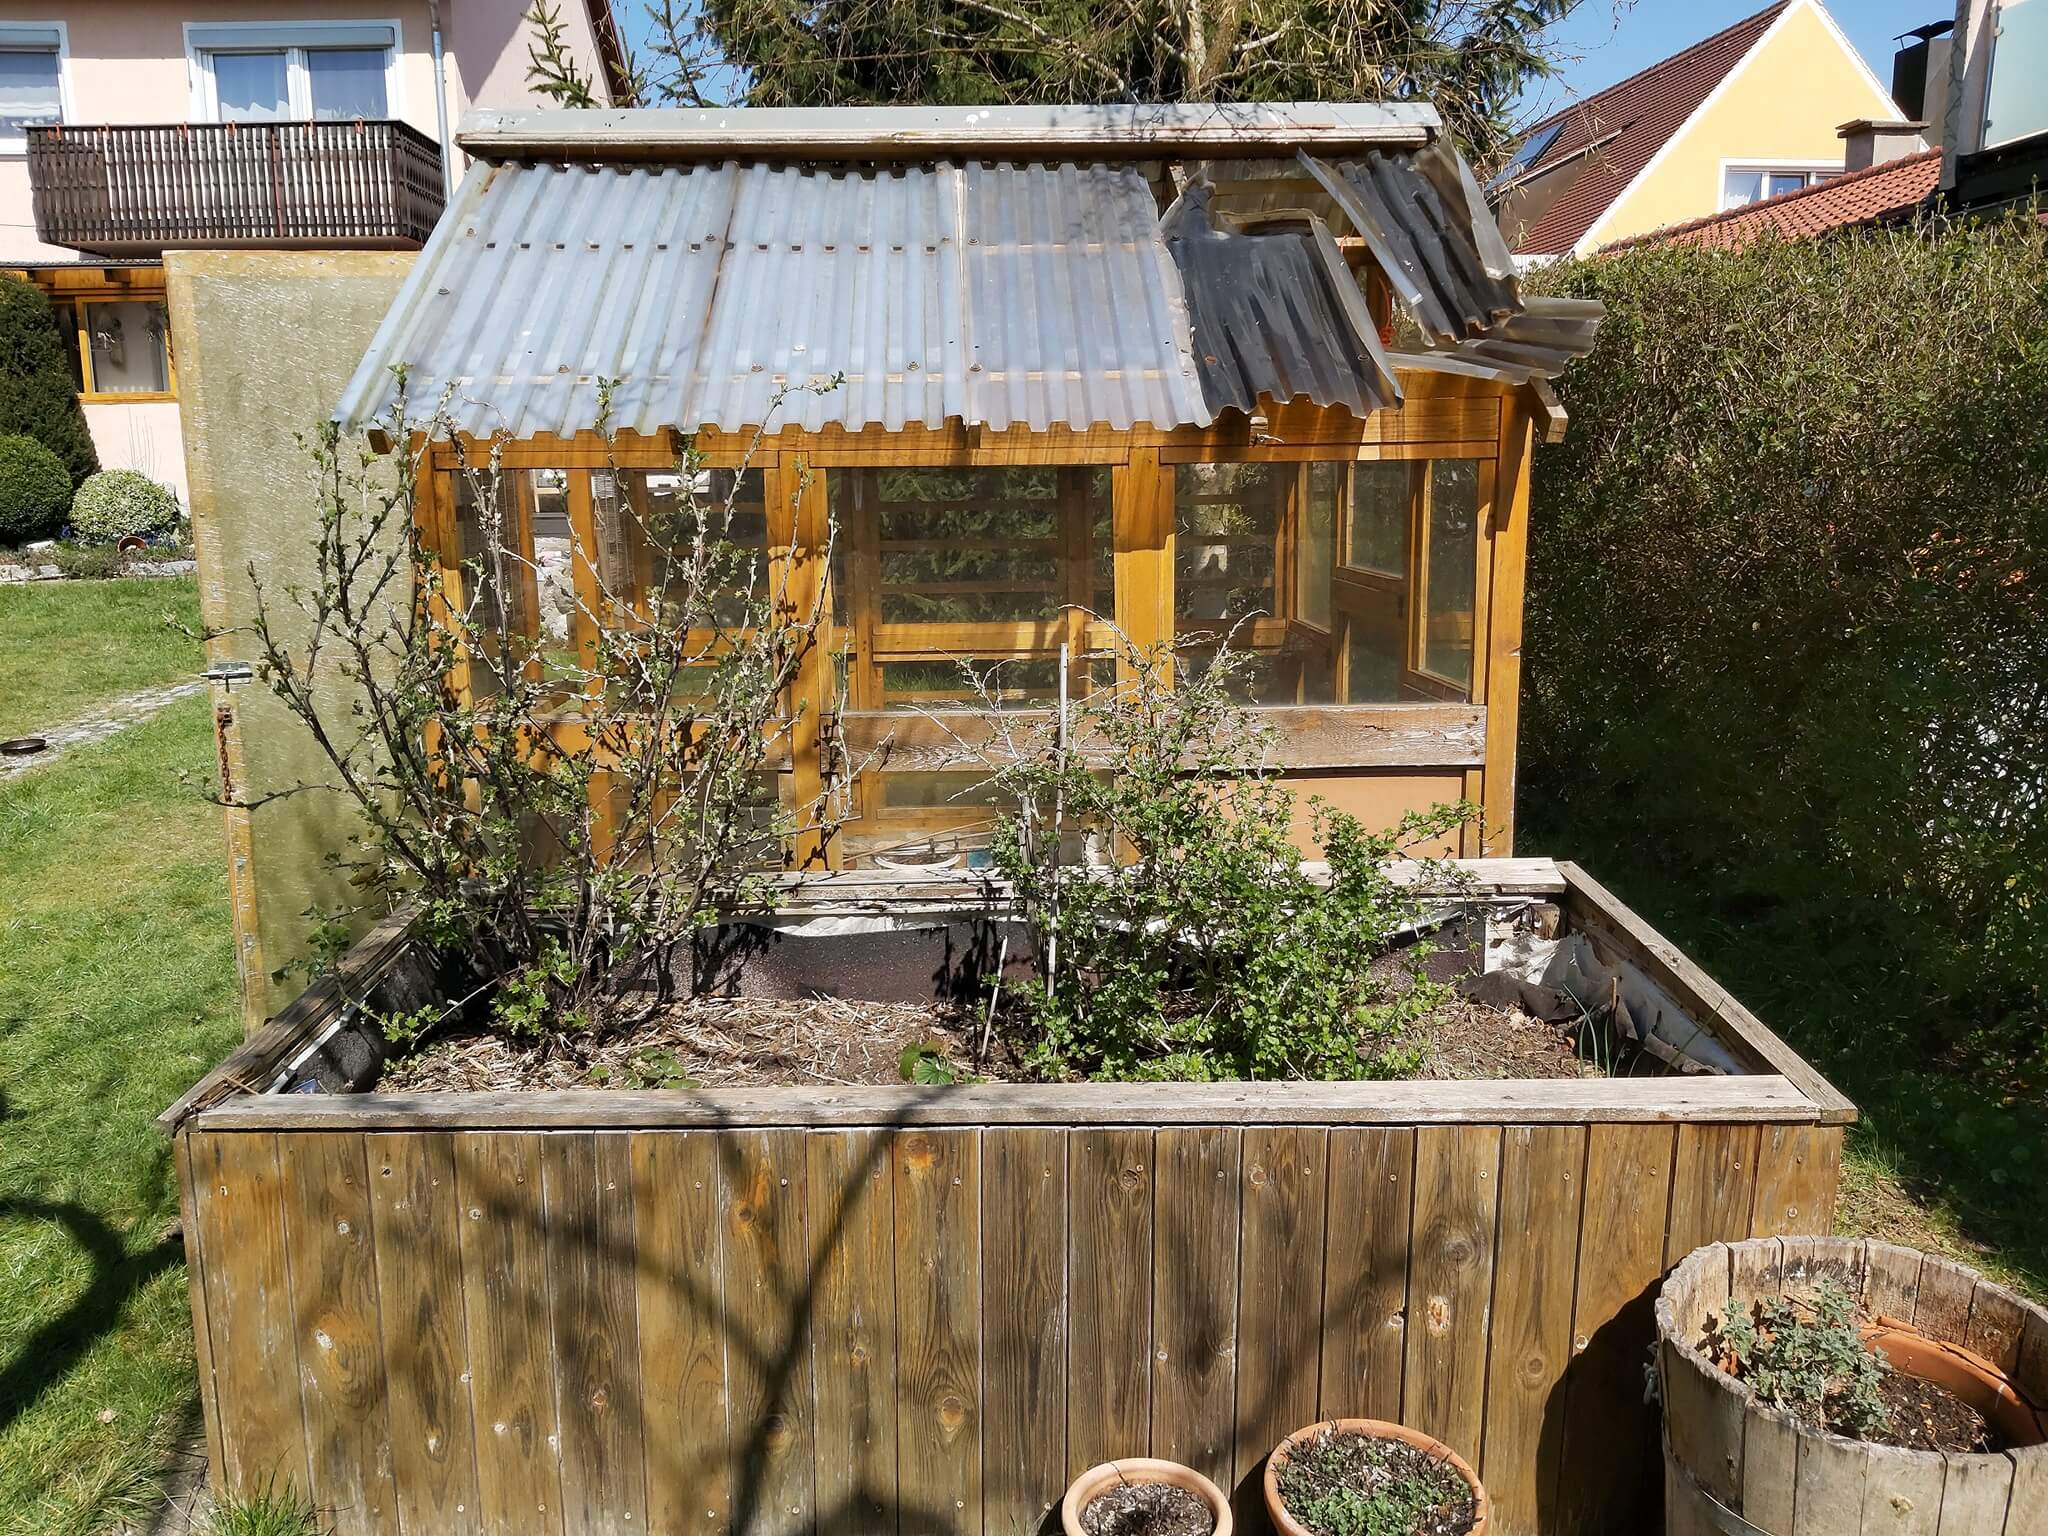
Refreshed
- With a little colour, not only the bed but even the garden shed will look like new again.
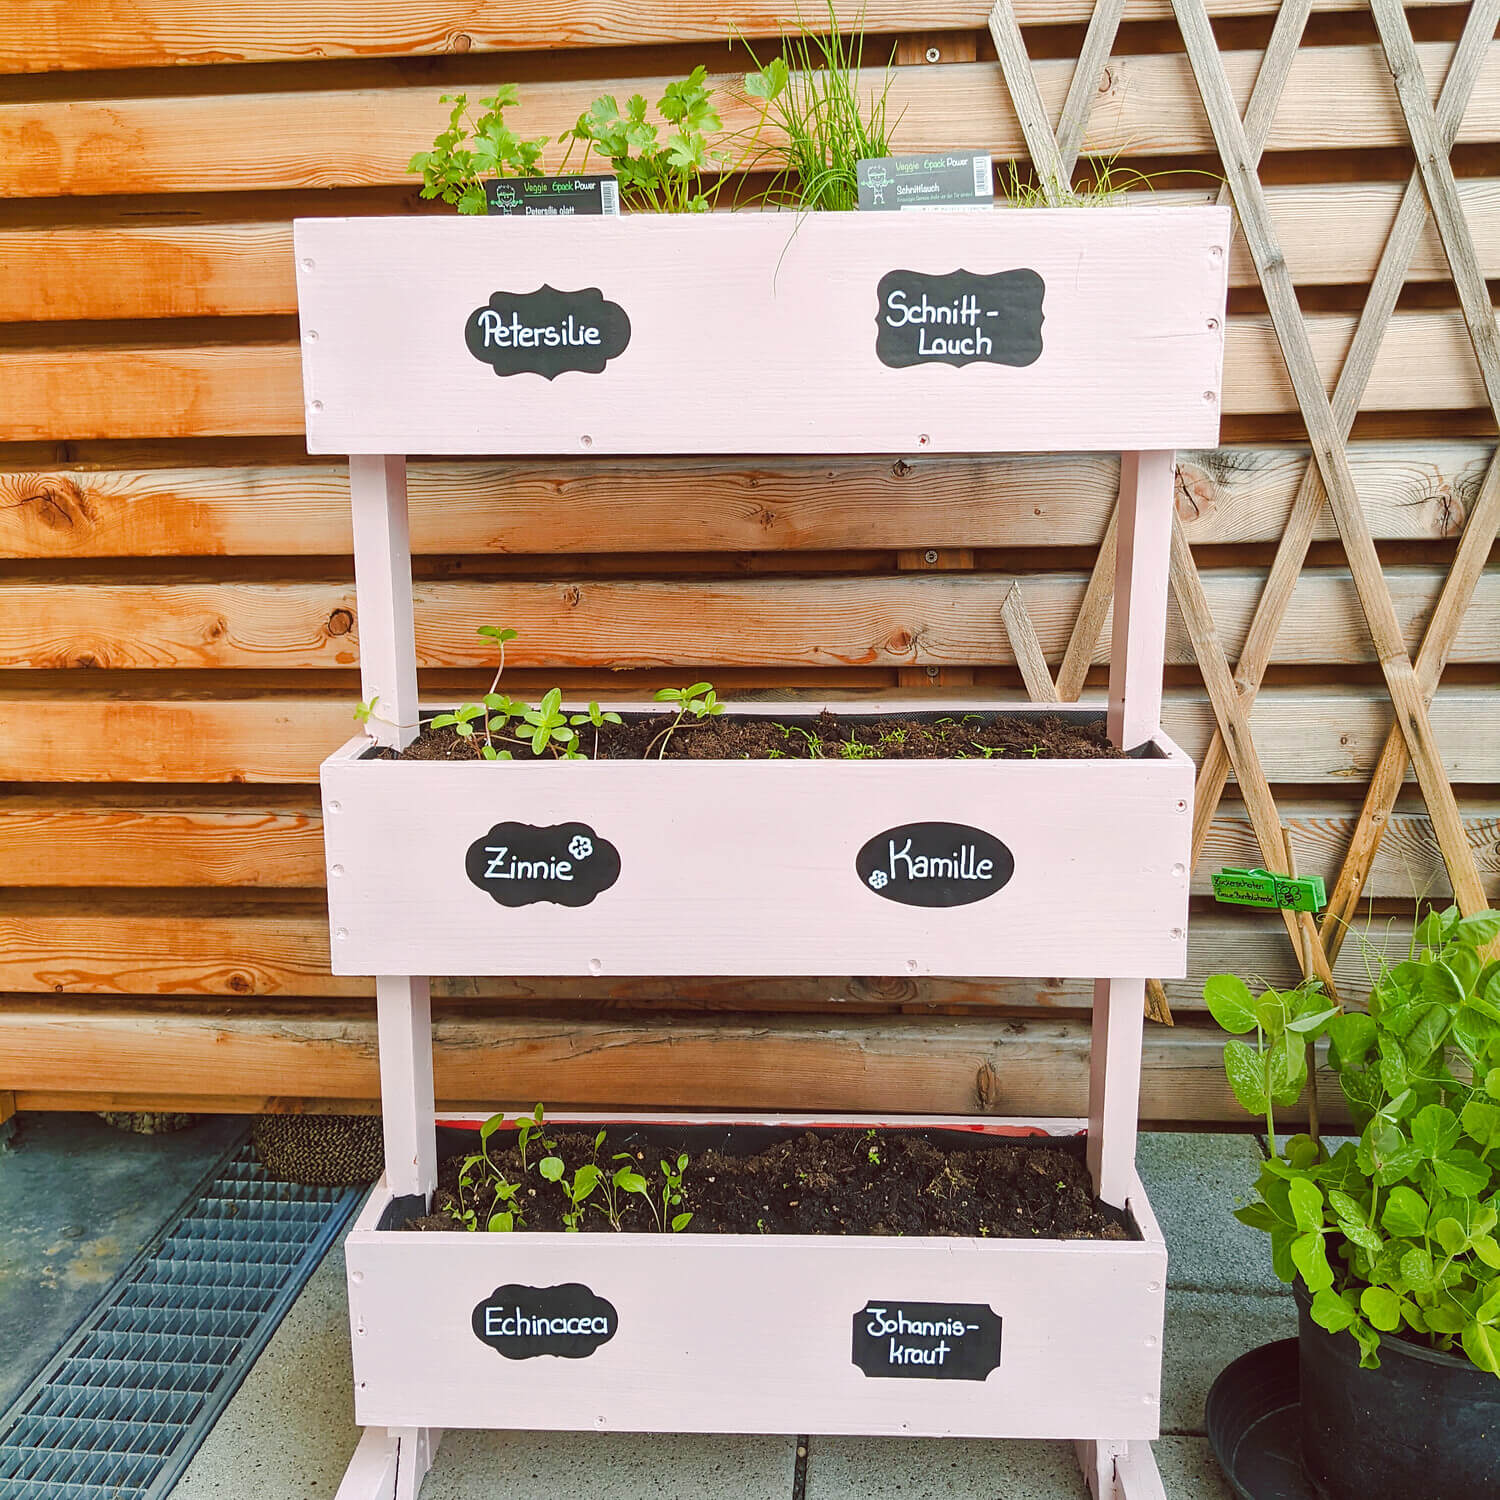
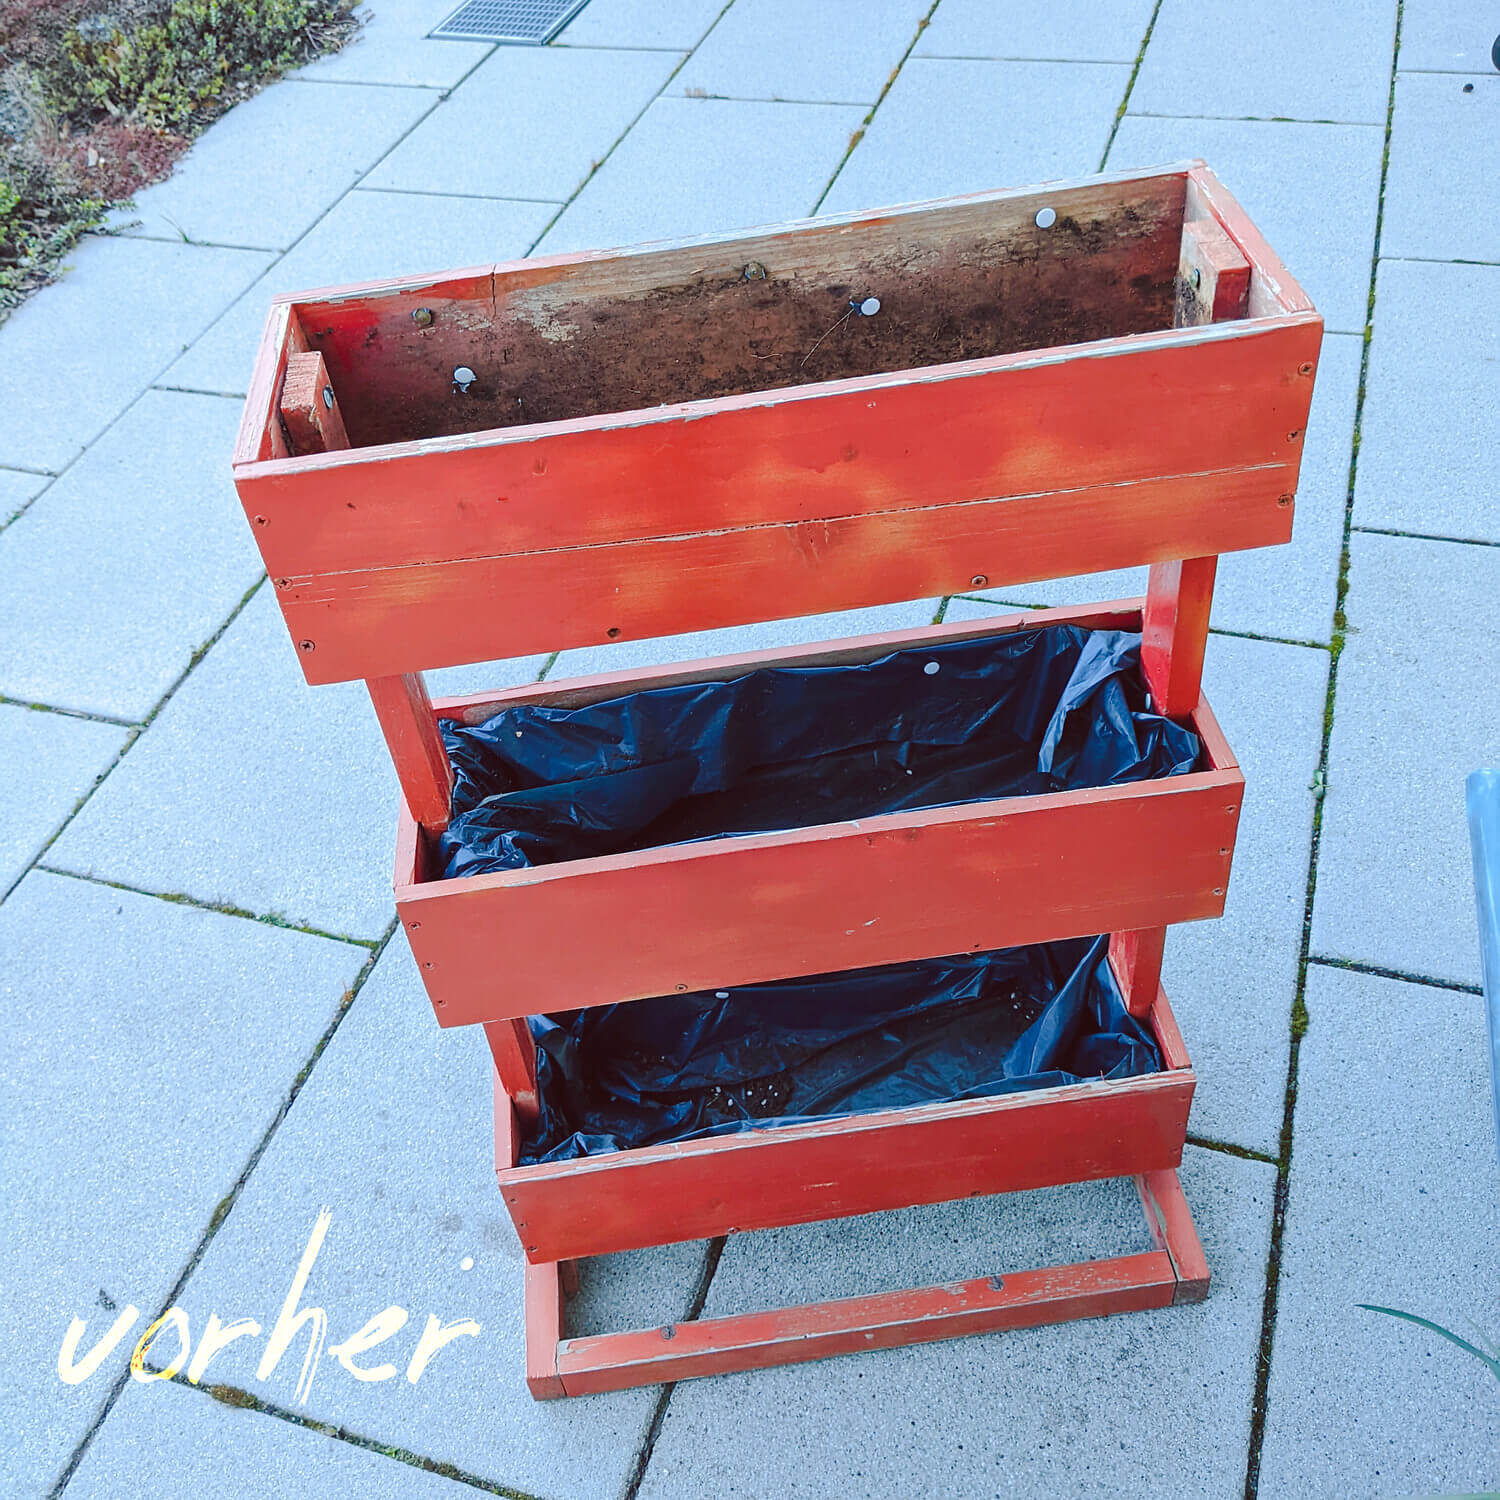
Like new
- This old vertical bed is now a real eye-catcher.
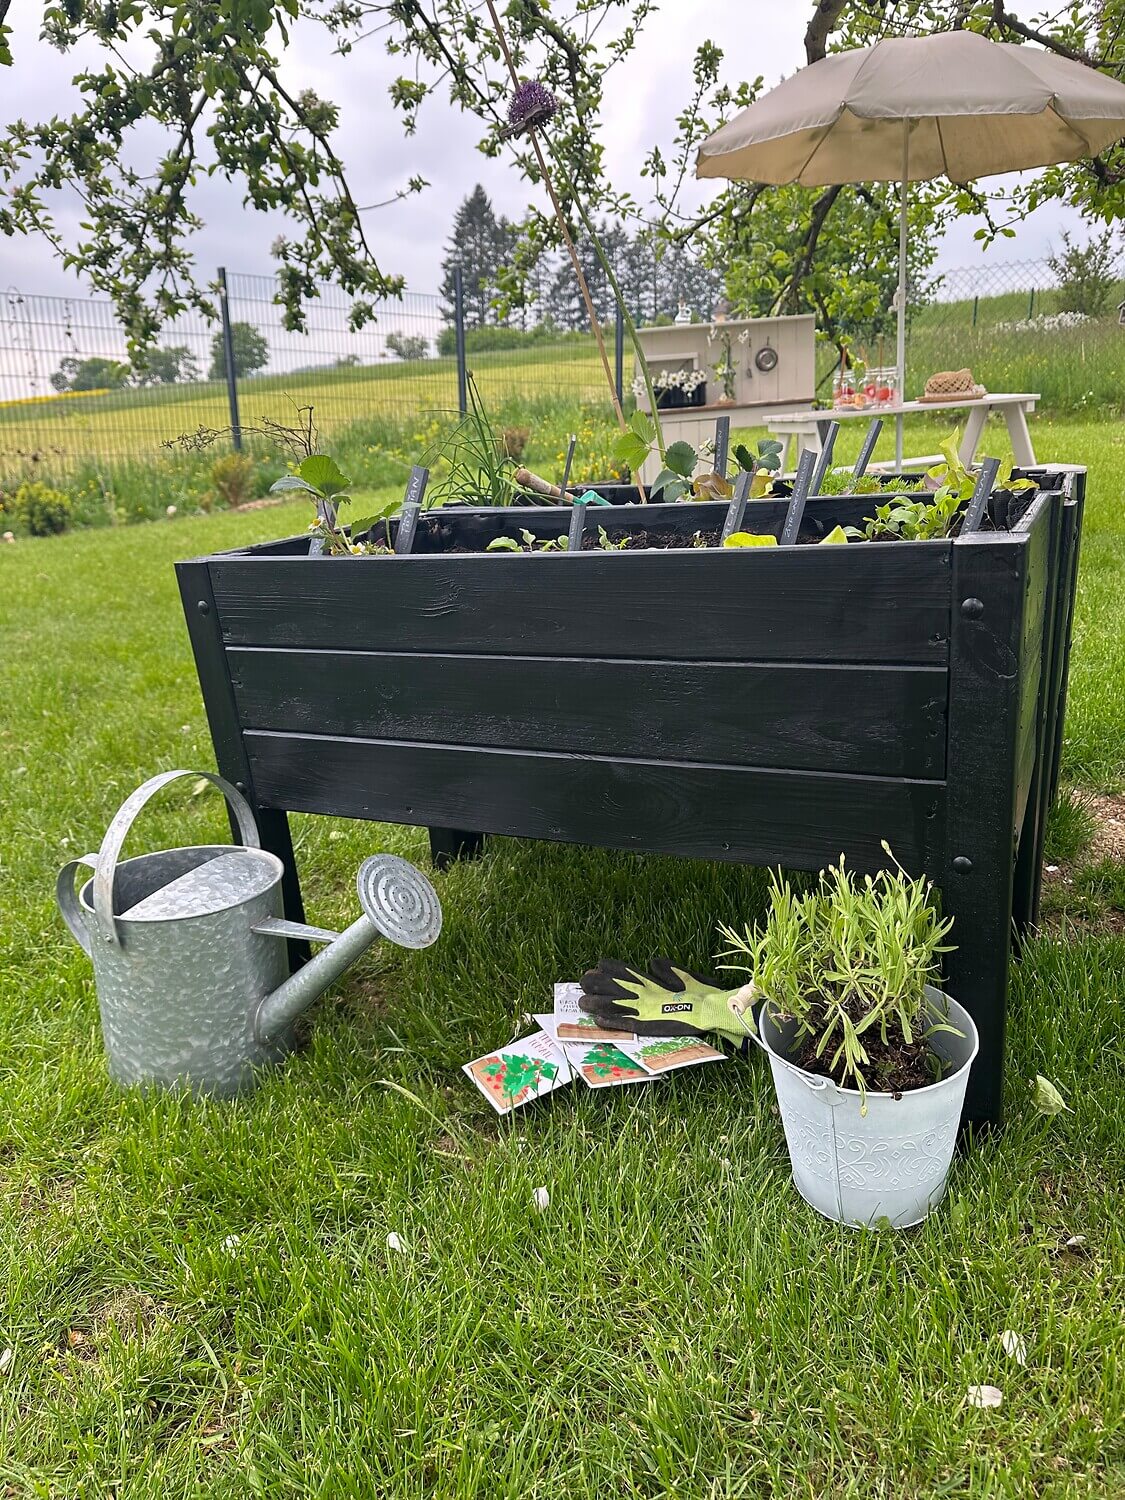
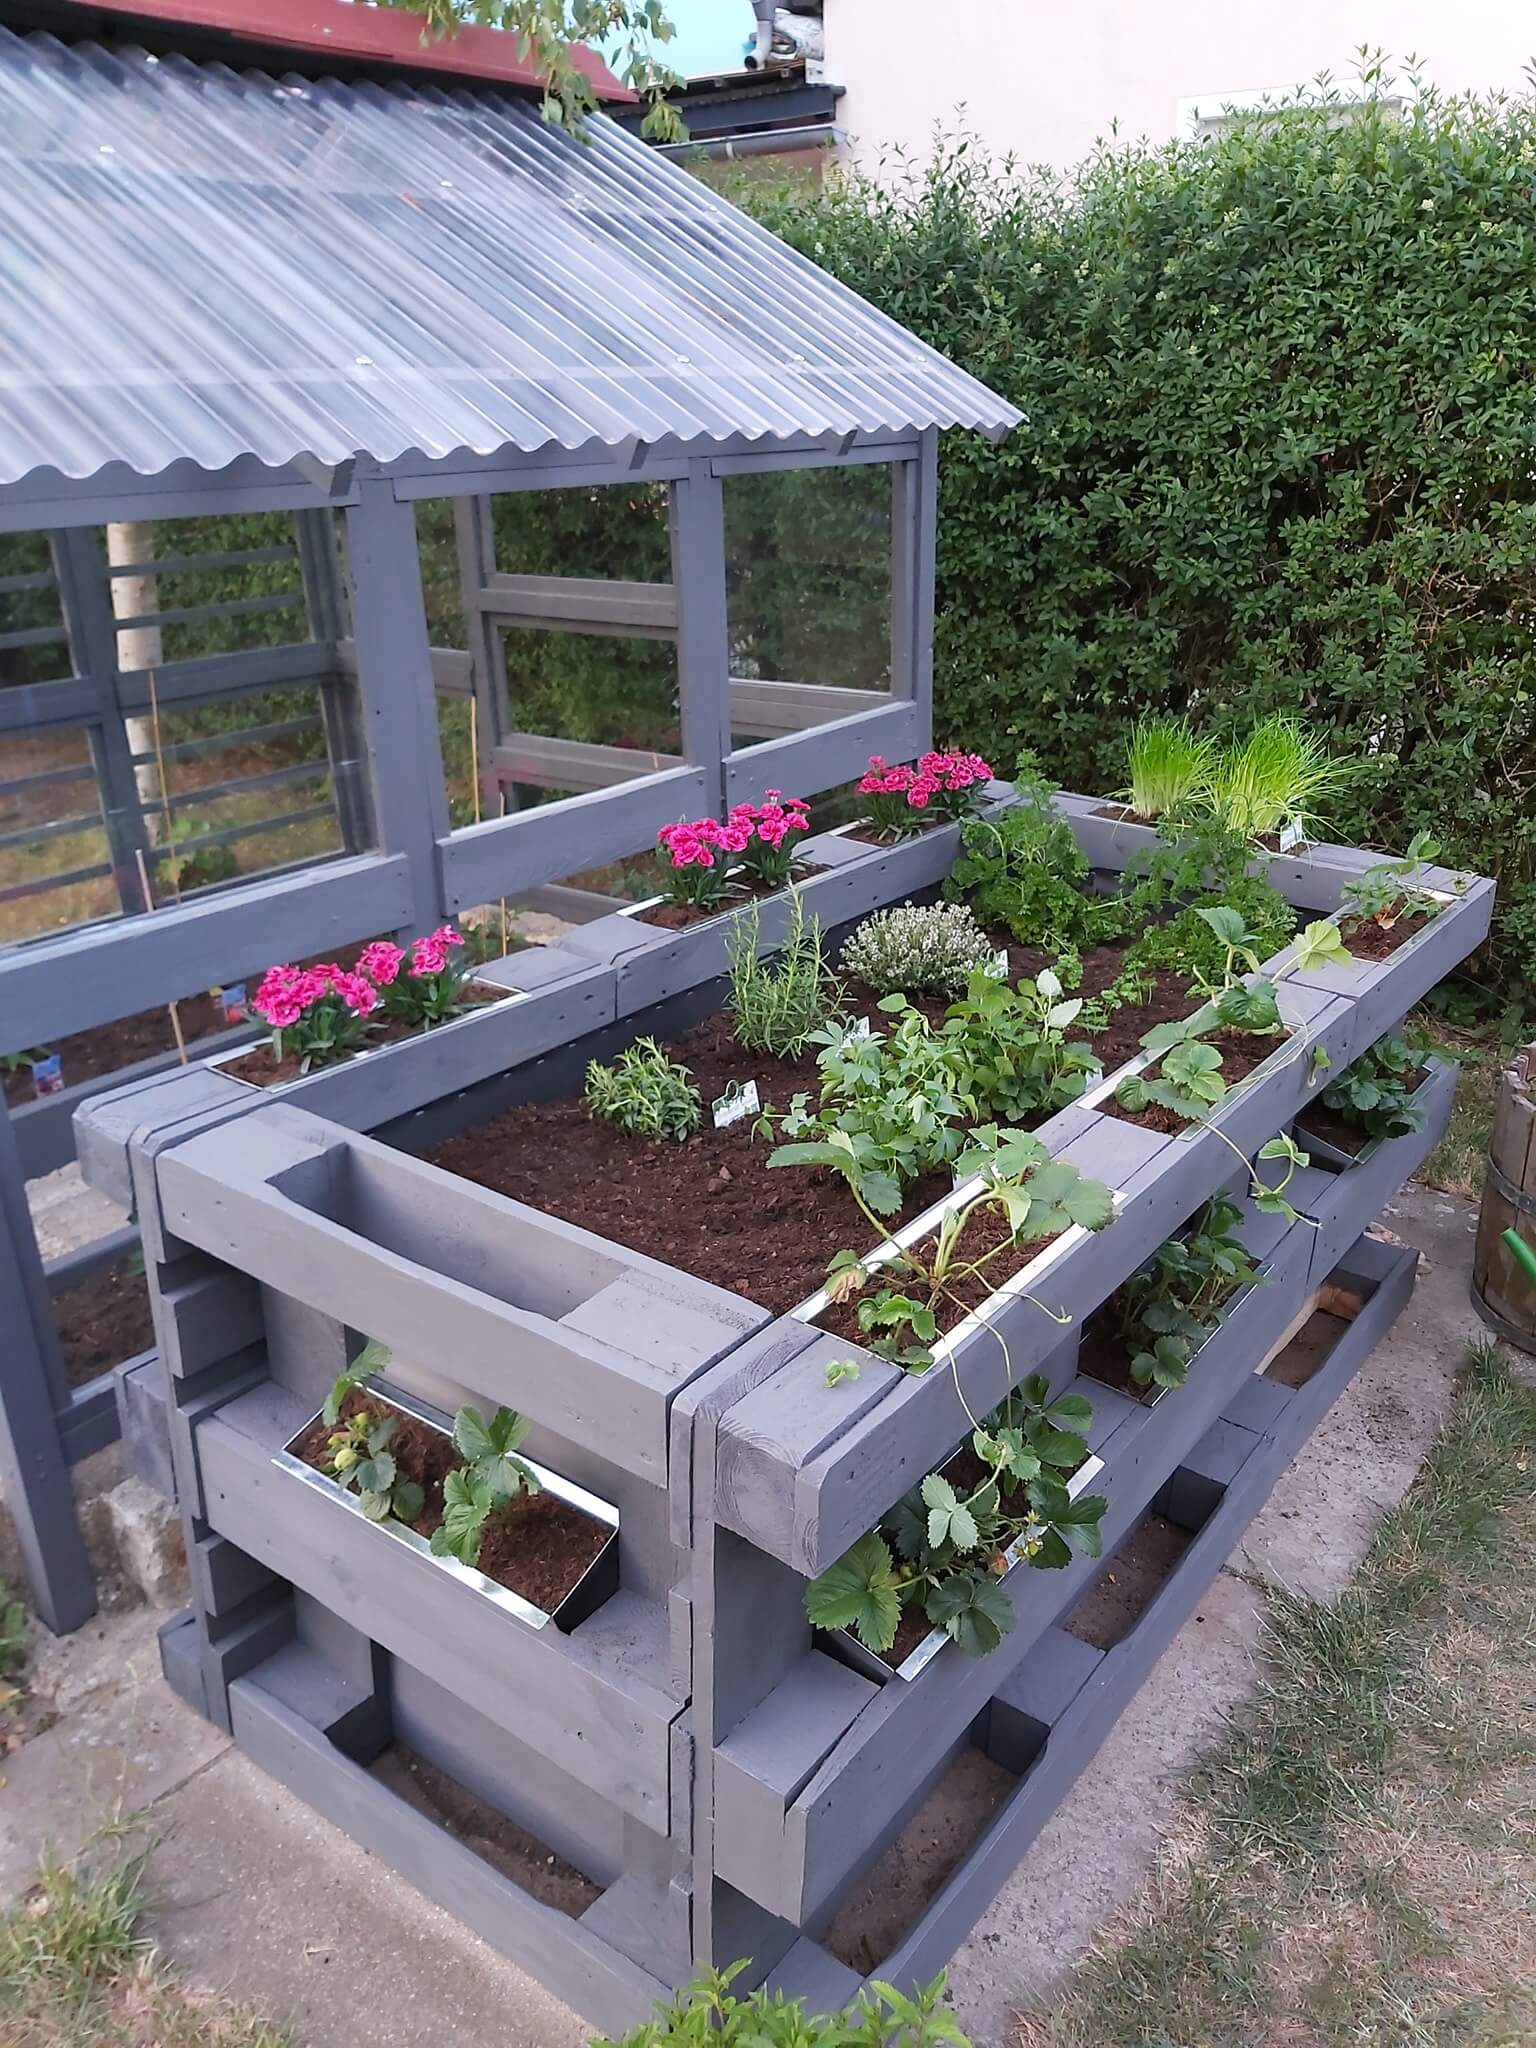
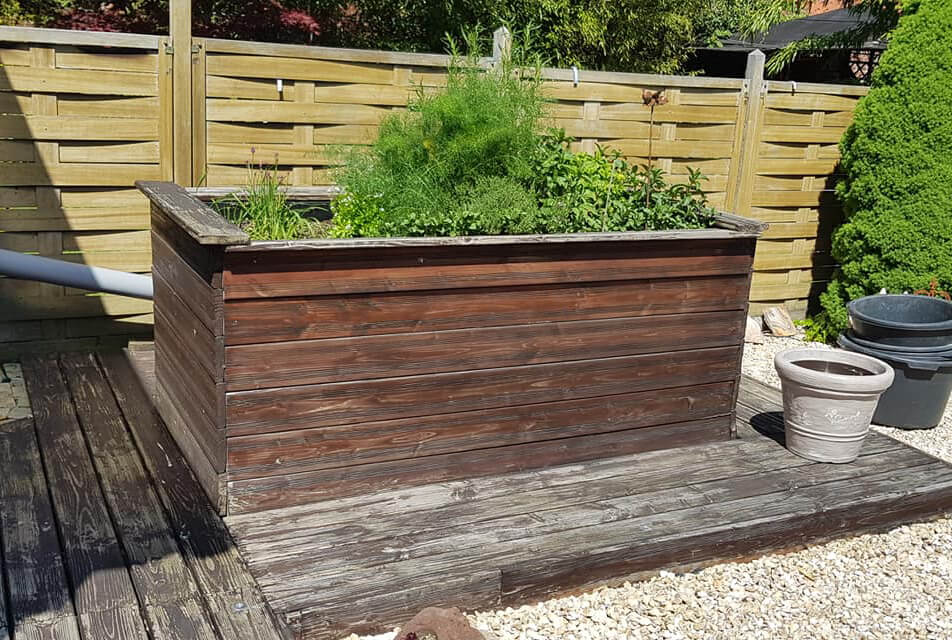
Chic
- This makes gardening twice as much fun!
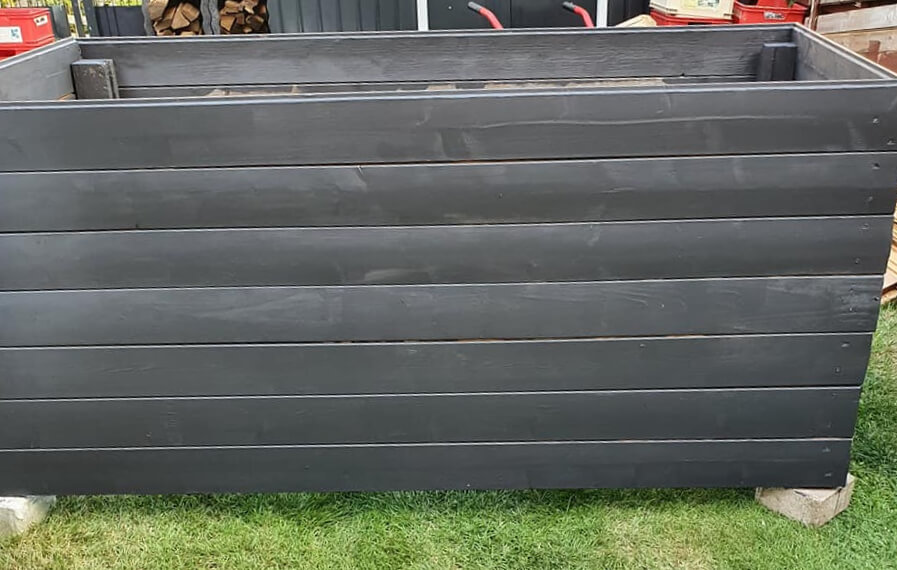
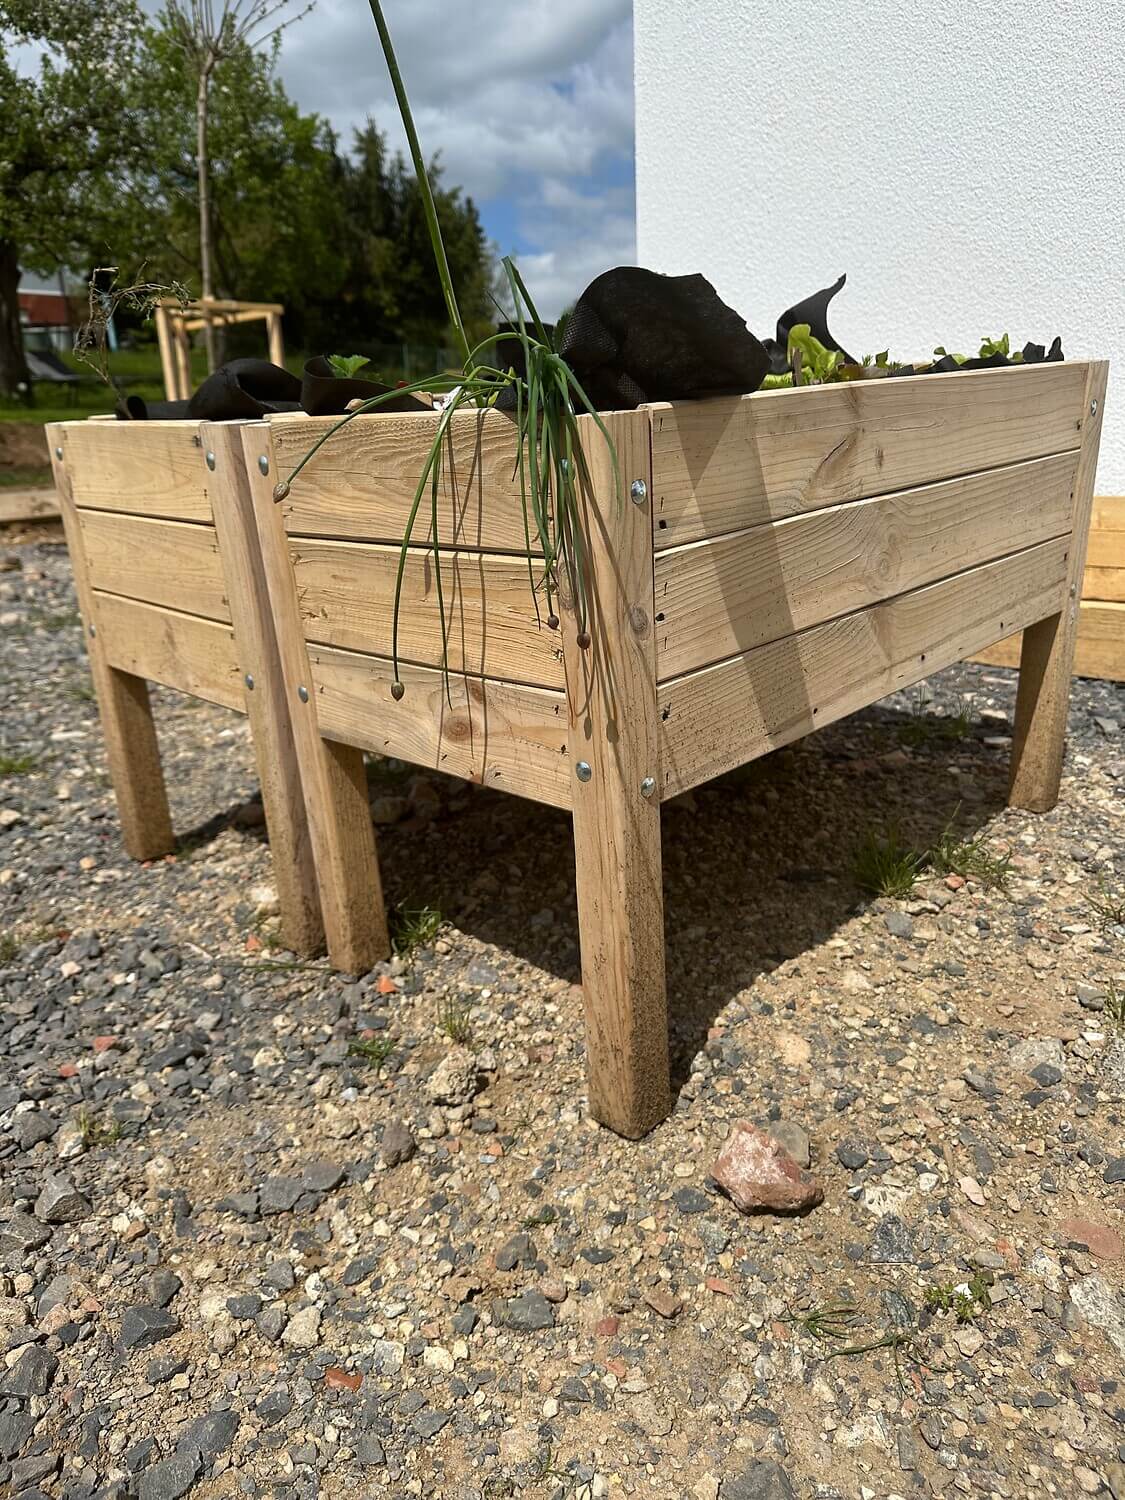
Impressive
- Not quite finished yet, but you can definitely already see the stylish raised bed.
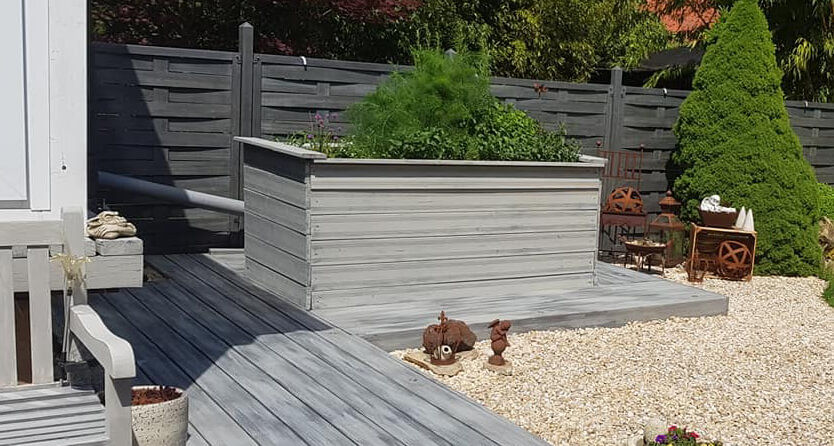
Light
- Matching the fence, the old wood now looks modern and fresh again.
How to Paint a Raised Bed
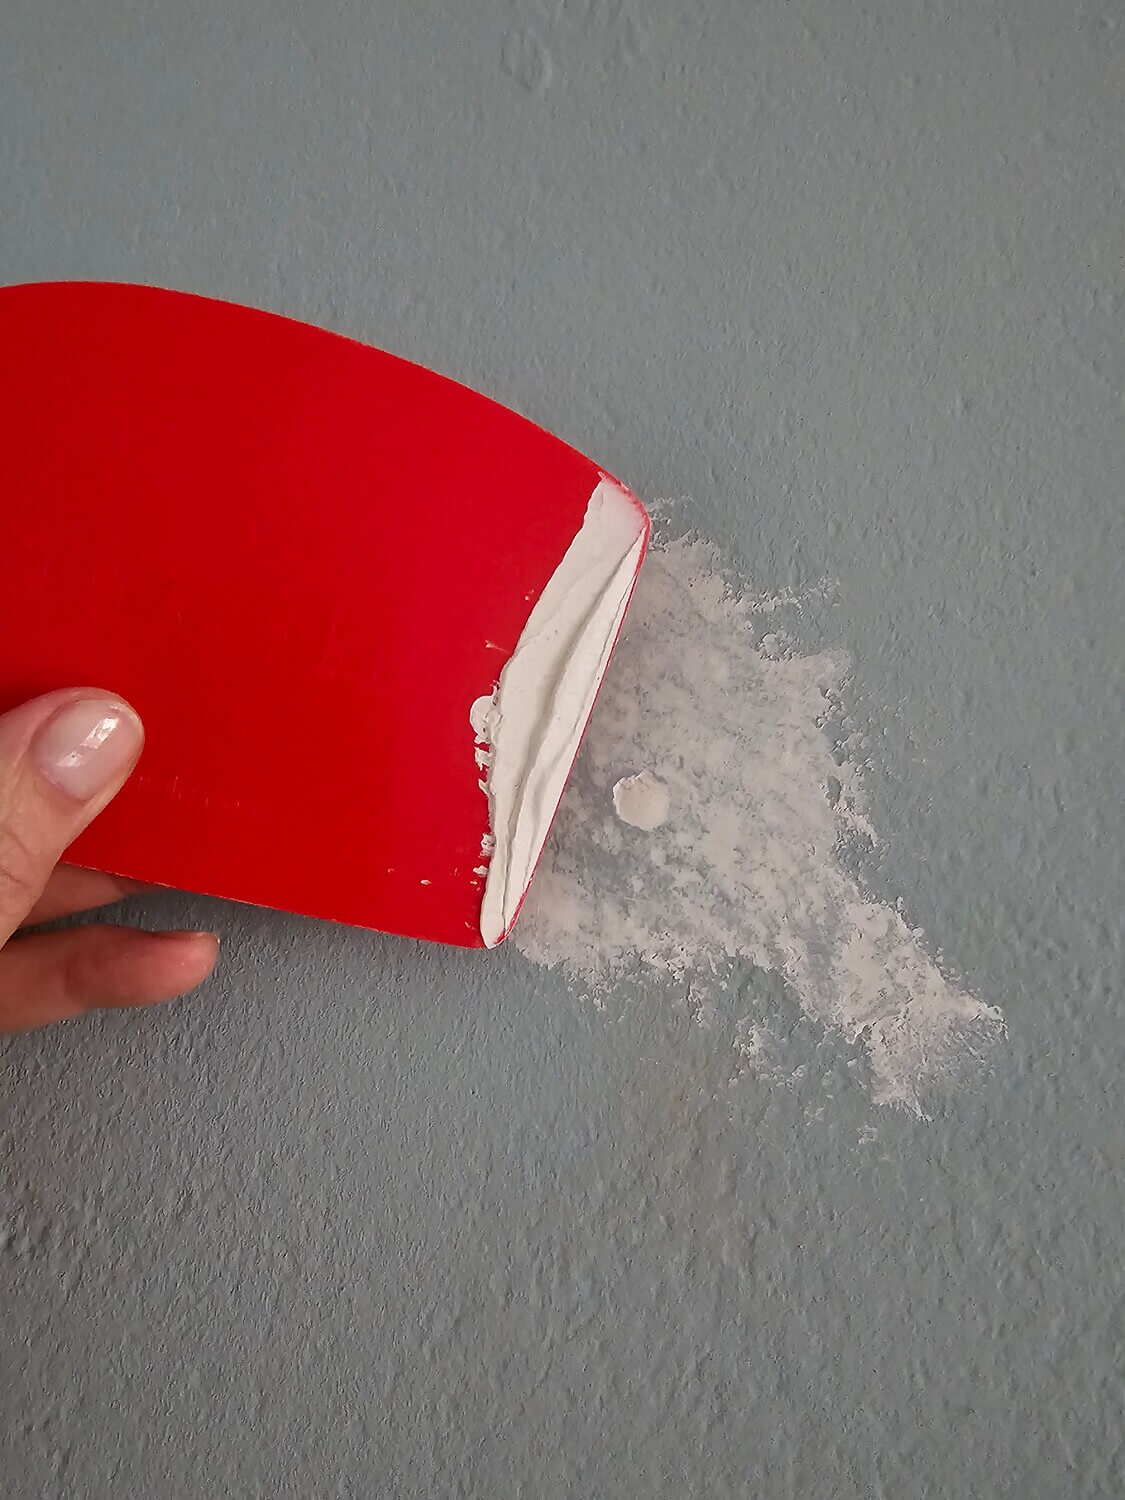
Step 1: Preparation
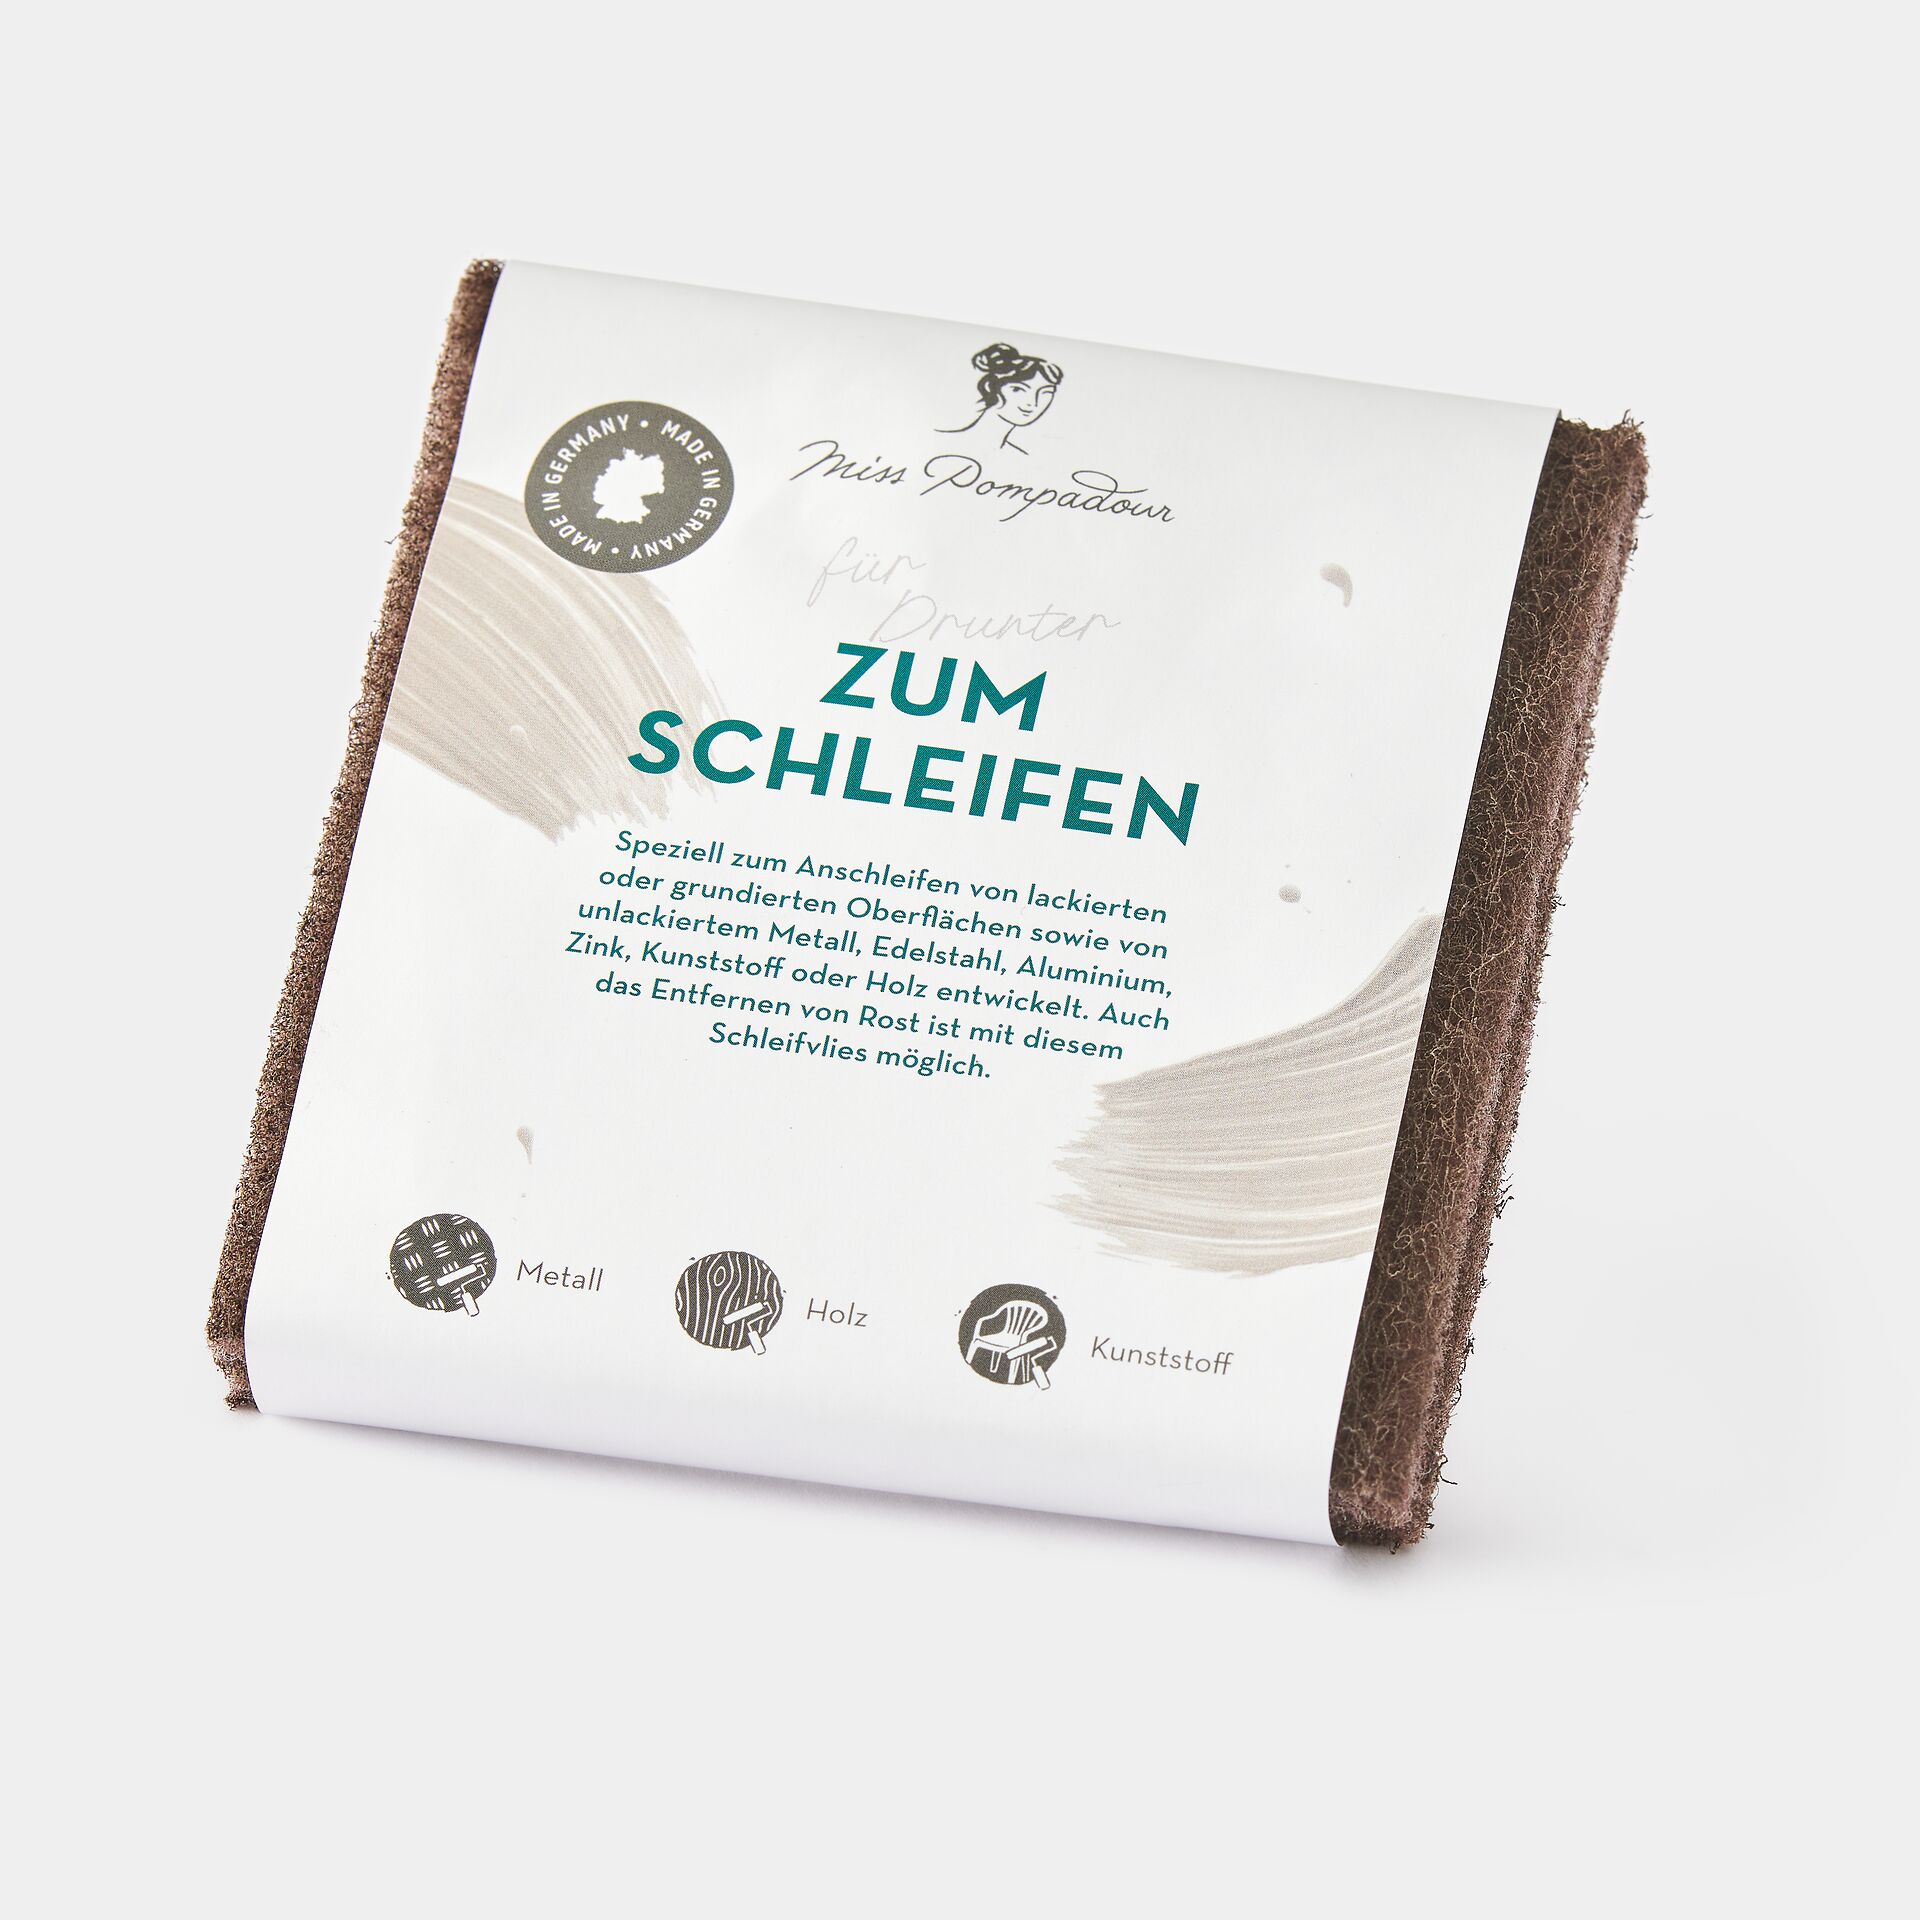
Make sure the wood is dry and clean. If the surface of the outside is very rough and uneven, simply sand it smooth. This not only saves paint, but also makes it adhere better. If your raised bed has been painted before or the wood has old paint residue, you should also sand and remove old paint residue.
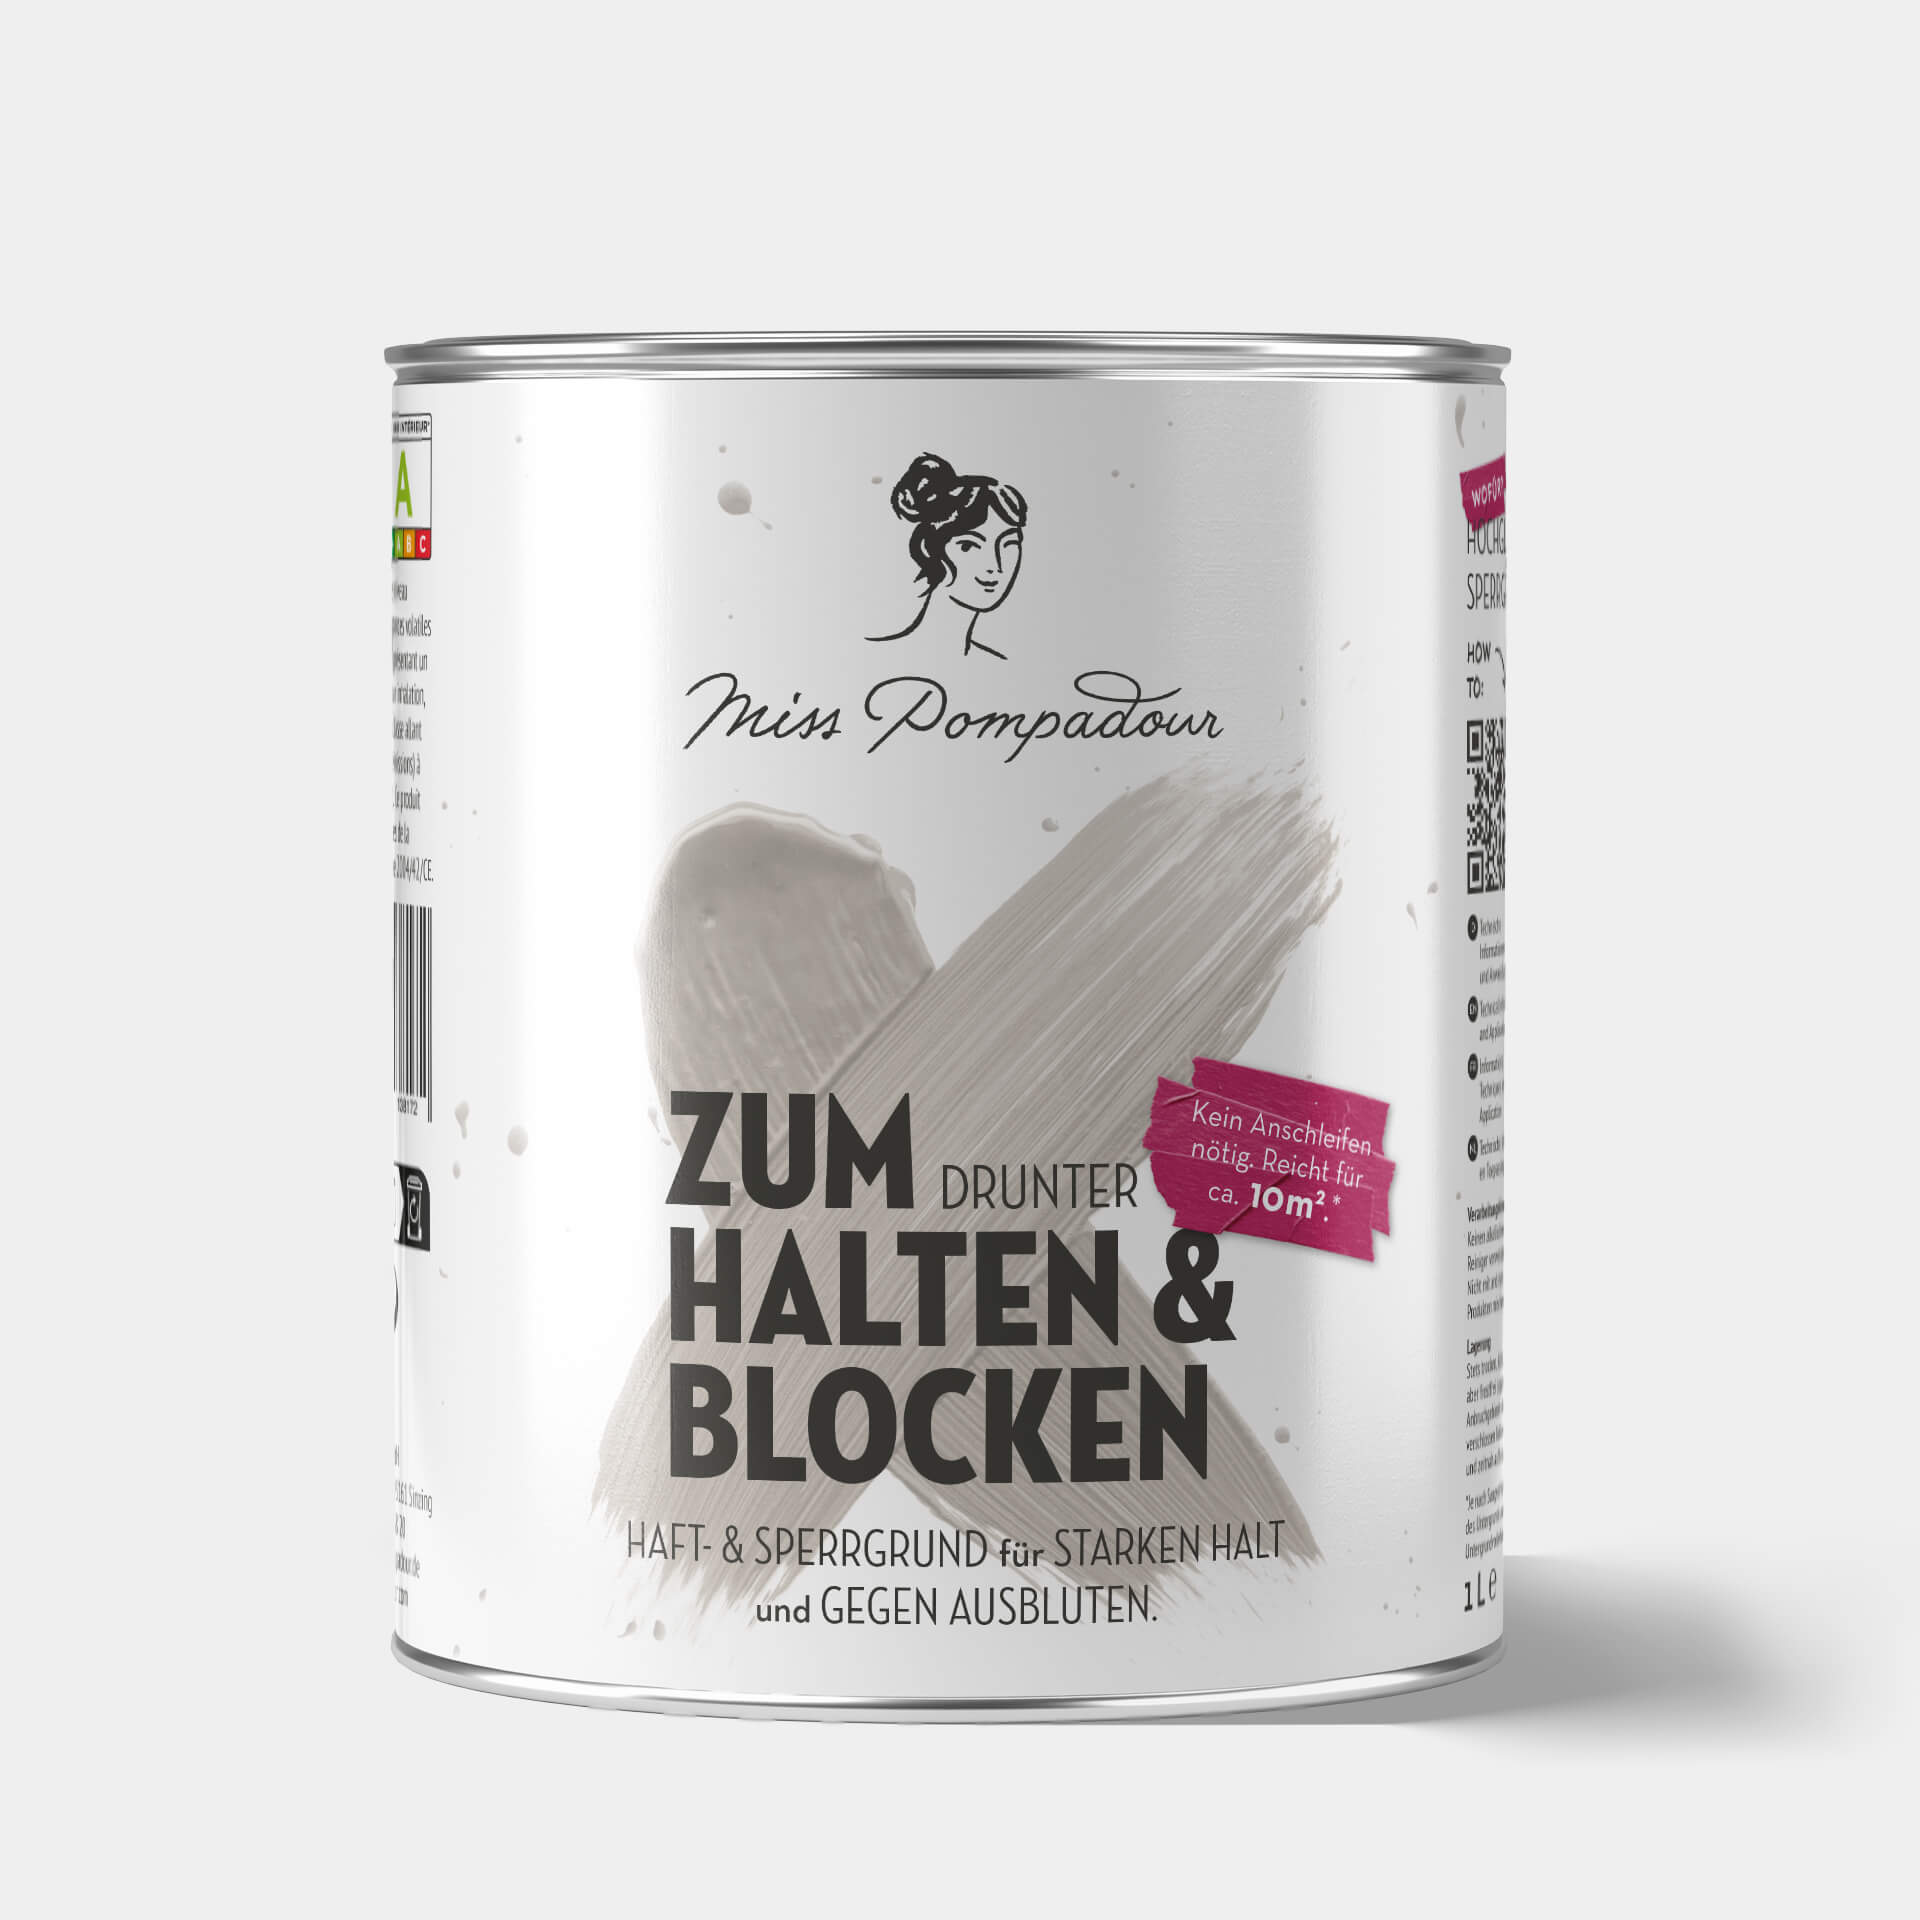
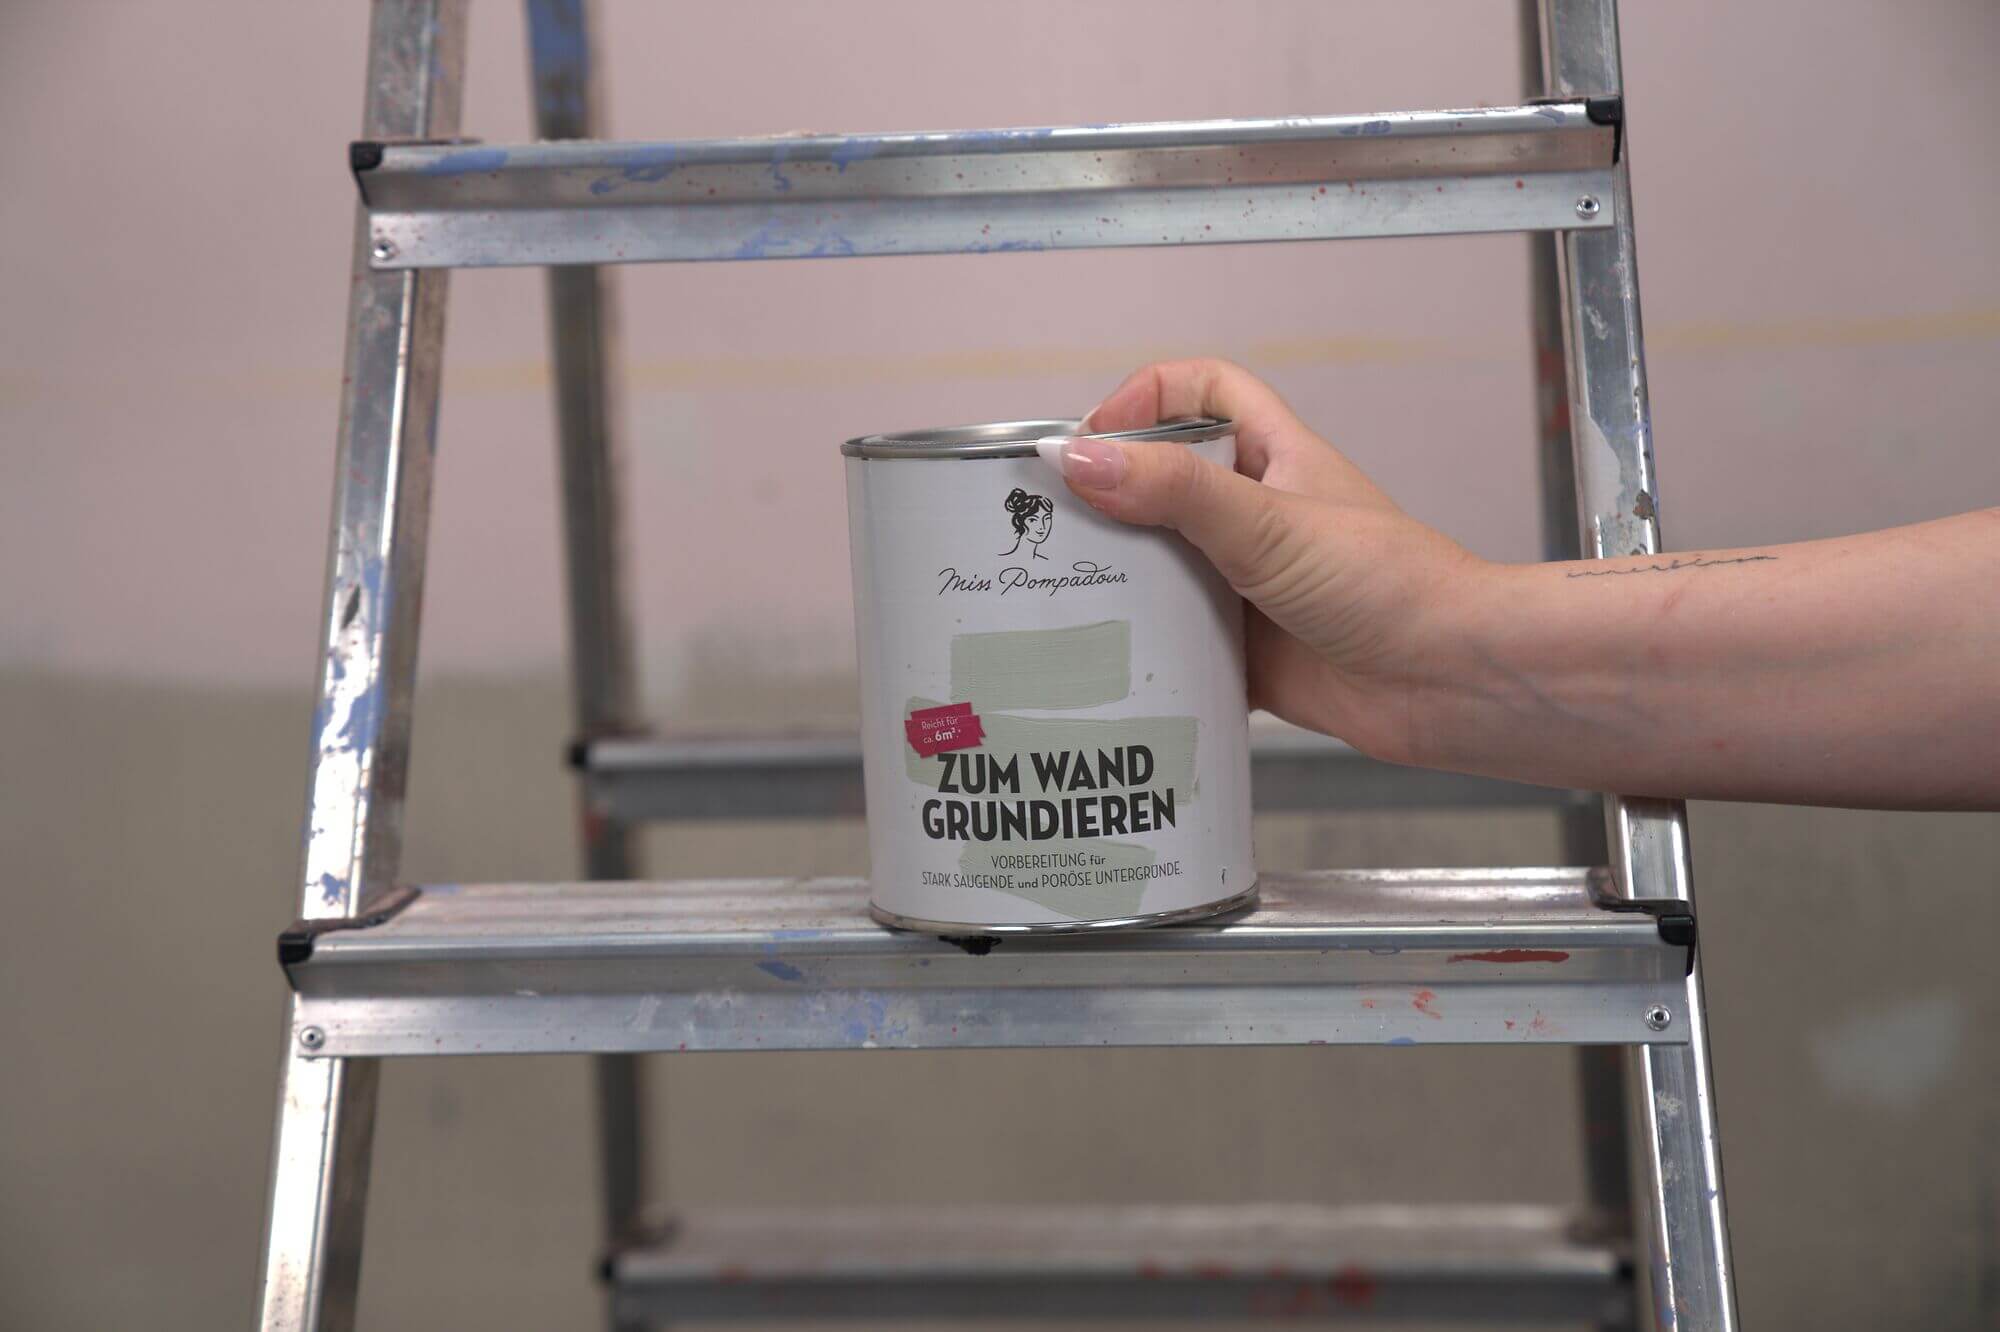
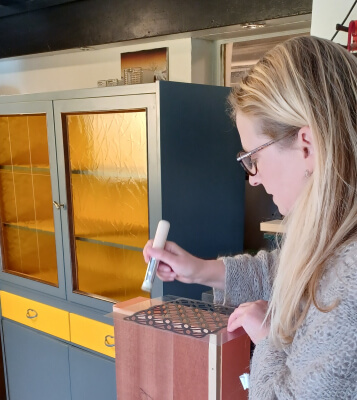
Step 2: Prime the wood
The material for raised beds is often made of Douglas fir, robinia and similar tropical woods. It is therefore essential to prime with the To Bond & Block - MissPompadour Primer. This not only prevents the wood from bleeding into your colour, but also creates a particularly stable, even surface for the final coat of paint.
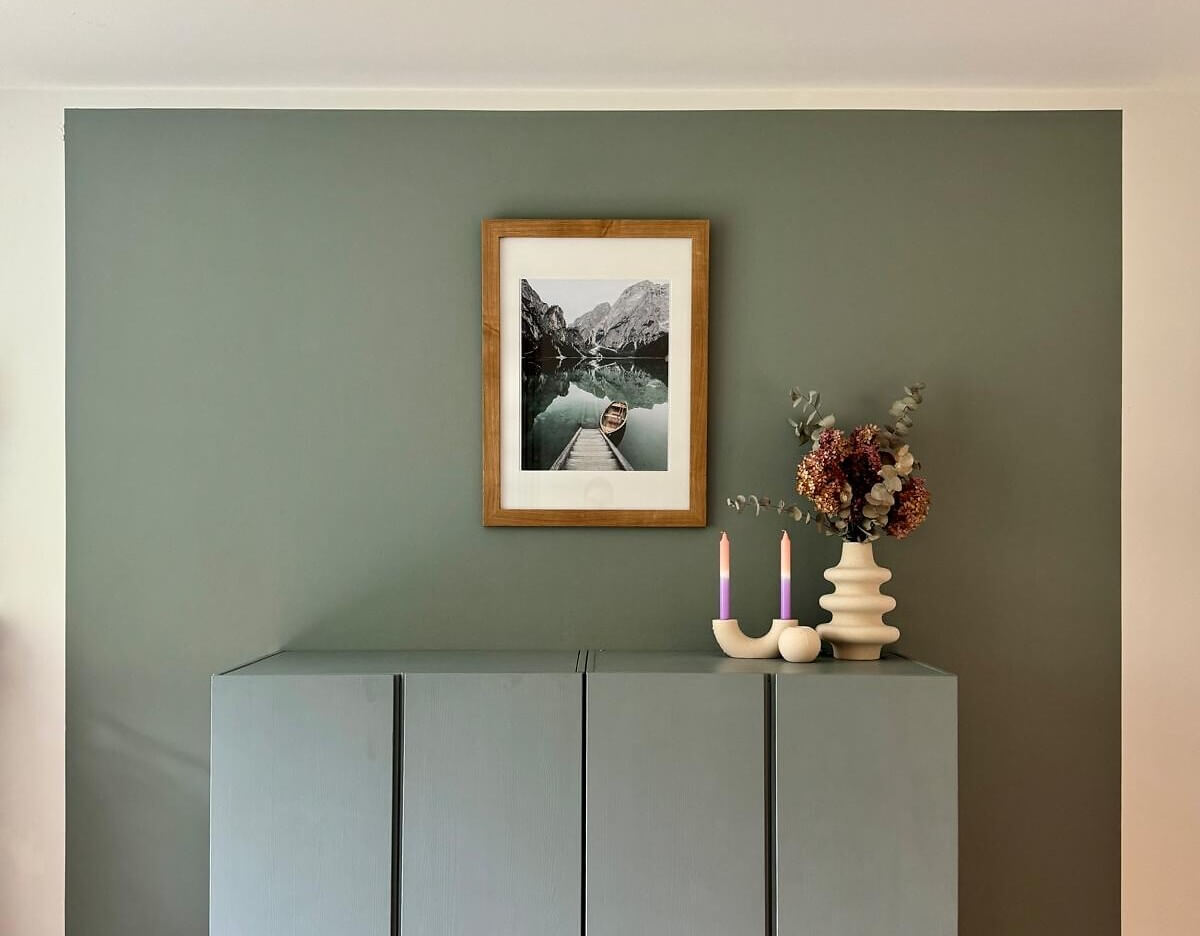
Step 3: Painting
Time to apply your chosen shade. Our Balkon & Garten paint is best for this. It is UV and weather-resistant, durable, and won't yellow, making it ideal for outdoor use. However, please bear in mind that even this paint cannot tolerate standing water.
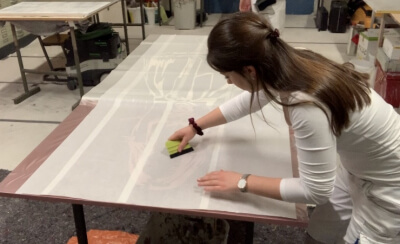
Step 4: Apply protective film
Now line the inside of the raised bed with foil. Make a few holes in the bottom of the foil so that the rainwater or water cannot accumulate in the soil but runs off through the bottom. The foil also protects the wood from getting wet and prevents the wood from rotting, so that you can enjoy your raised bed for longer.
Make your project a success with this selection
FAQ: Frequently asked questions about building a raised bed yourself
If you build and paint your raised garden bed yourself, you are bound to have one or two questions. You can find answers to the most frequently asked questions here.
Why does a raised bed need to be lined with foil?
When should I paint my raised bed?
Ideally, you should paint the raised bed before you fill it with foil and soil. However, if you don't like the look of your existing raised bed and want to finish it, you can paint it later. The important thing is that the wood is dry and the weather forecast does not call for rain.
Do I also have to paint the inside of my raised bed?
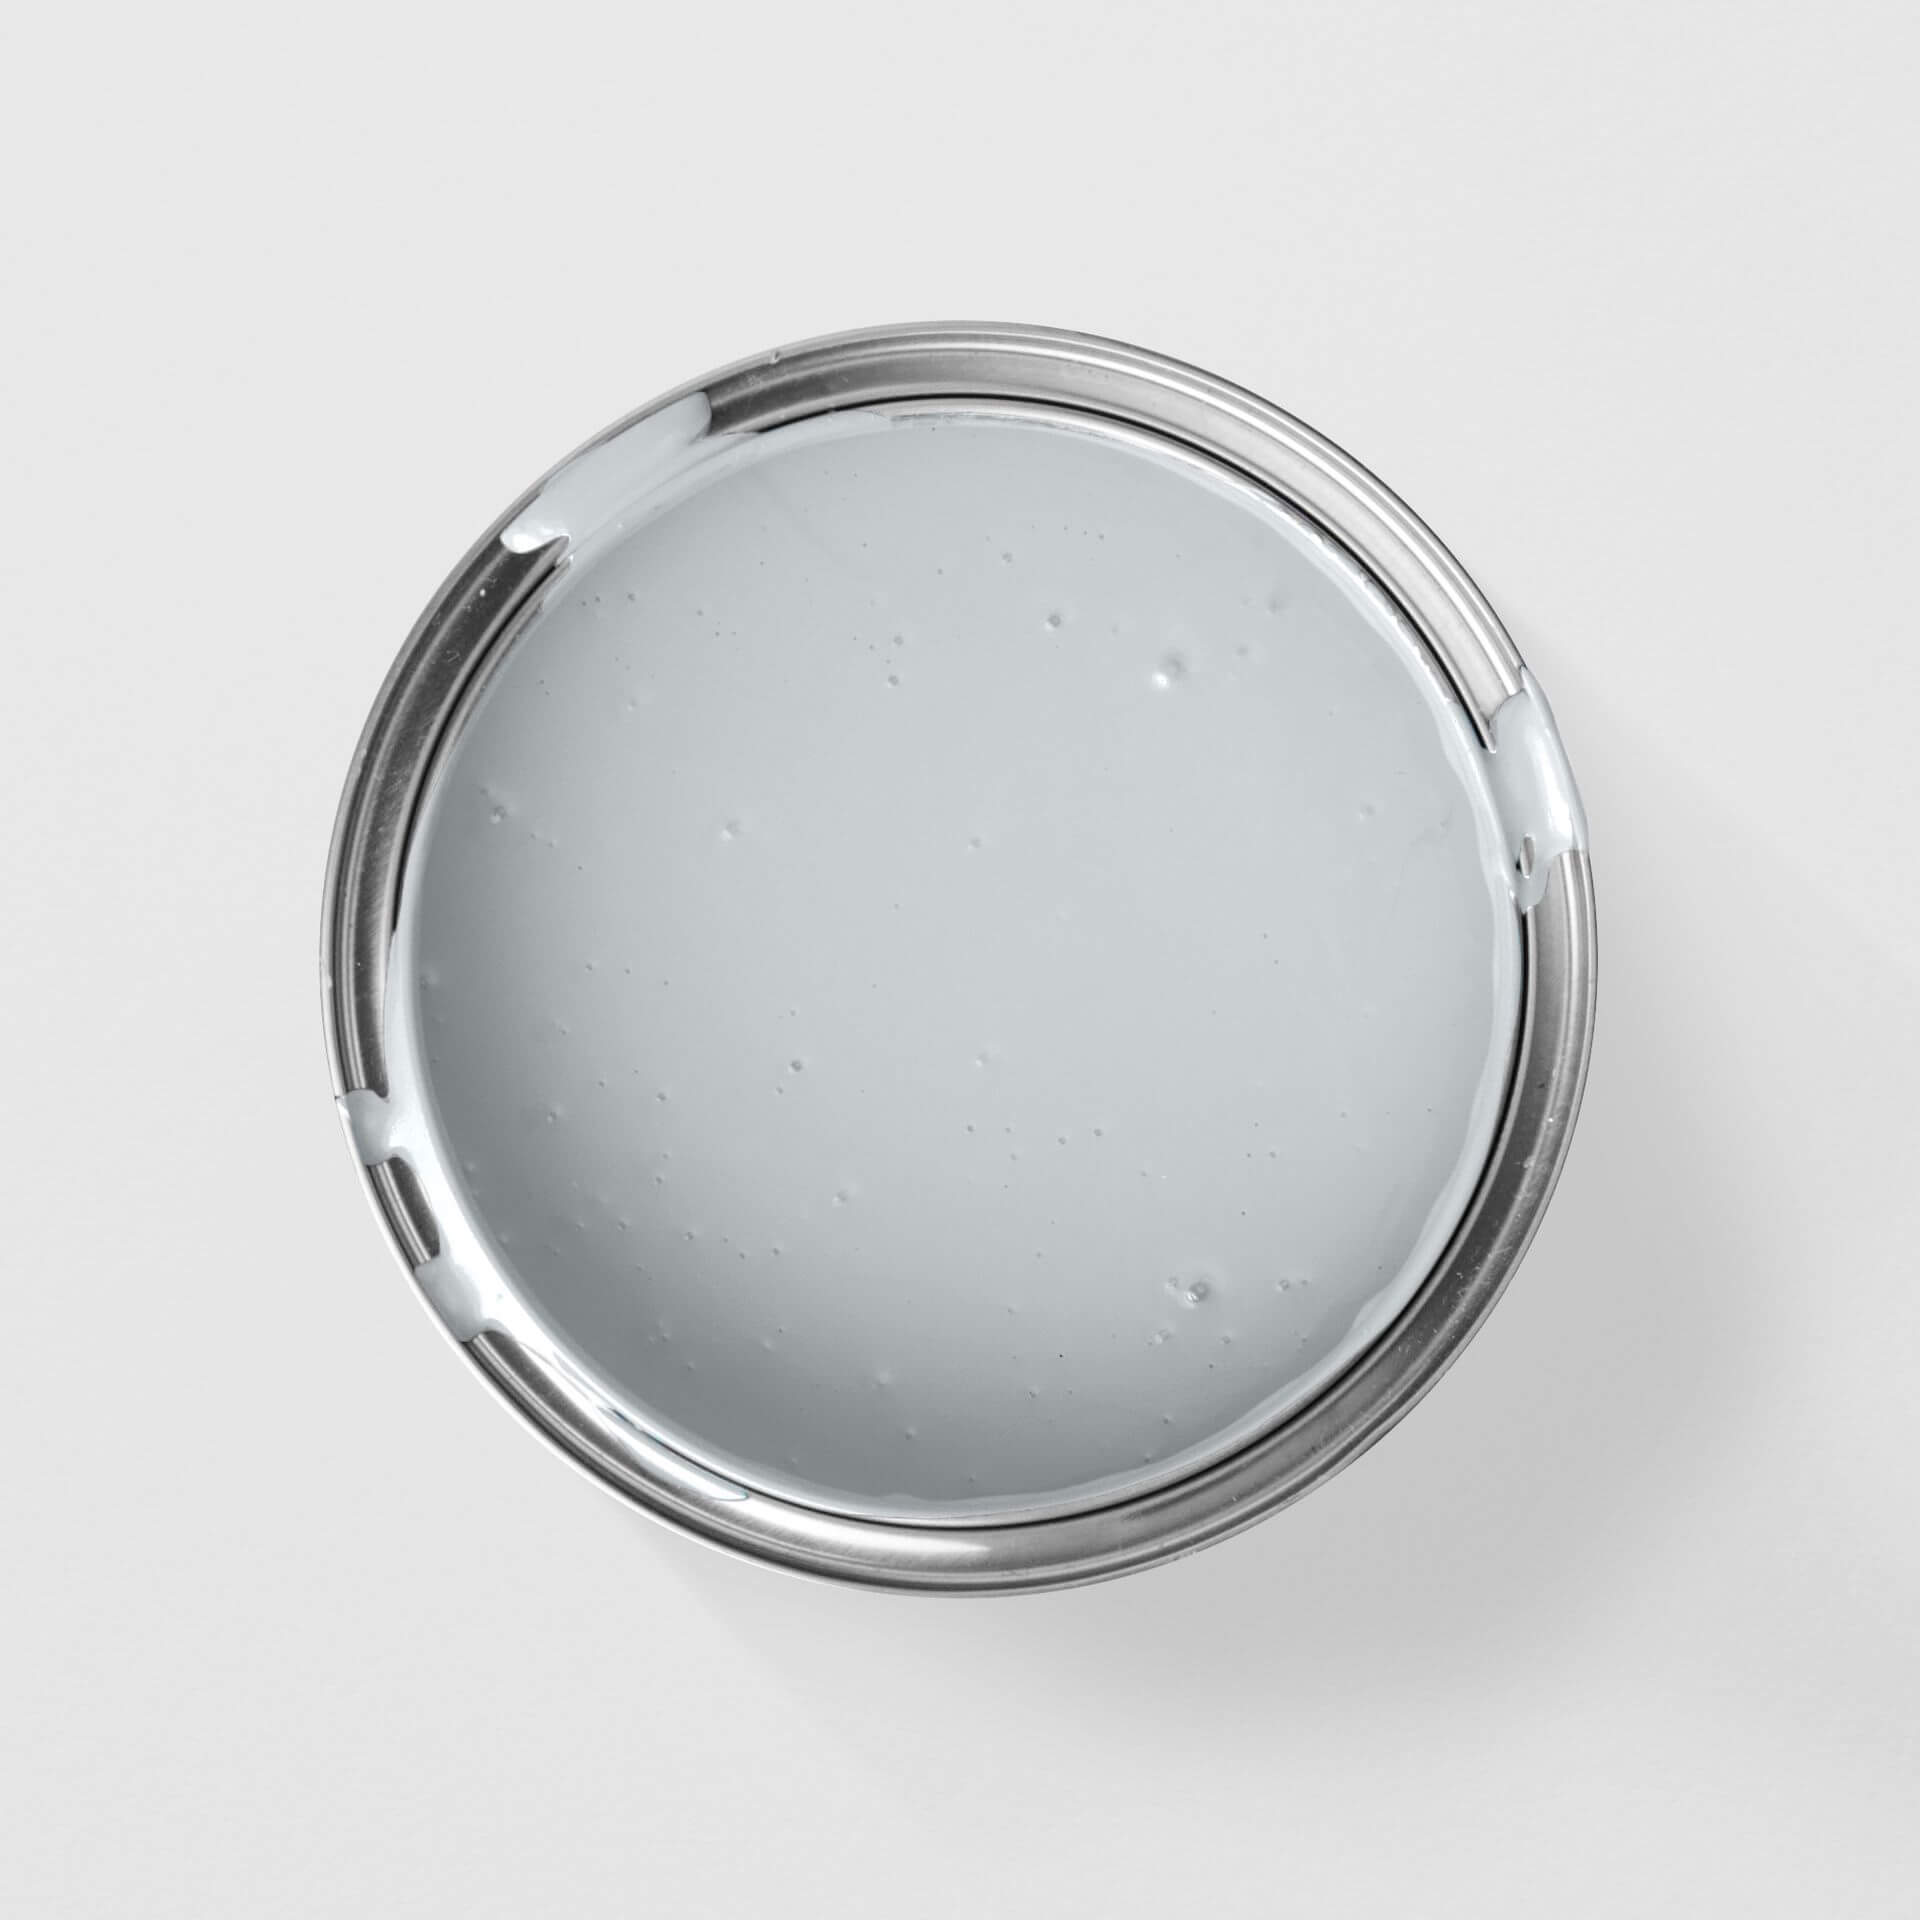
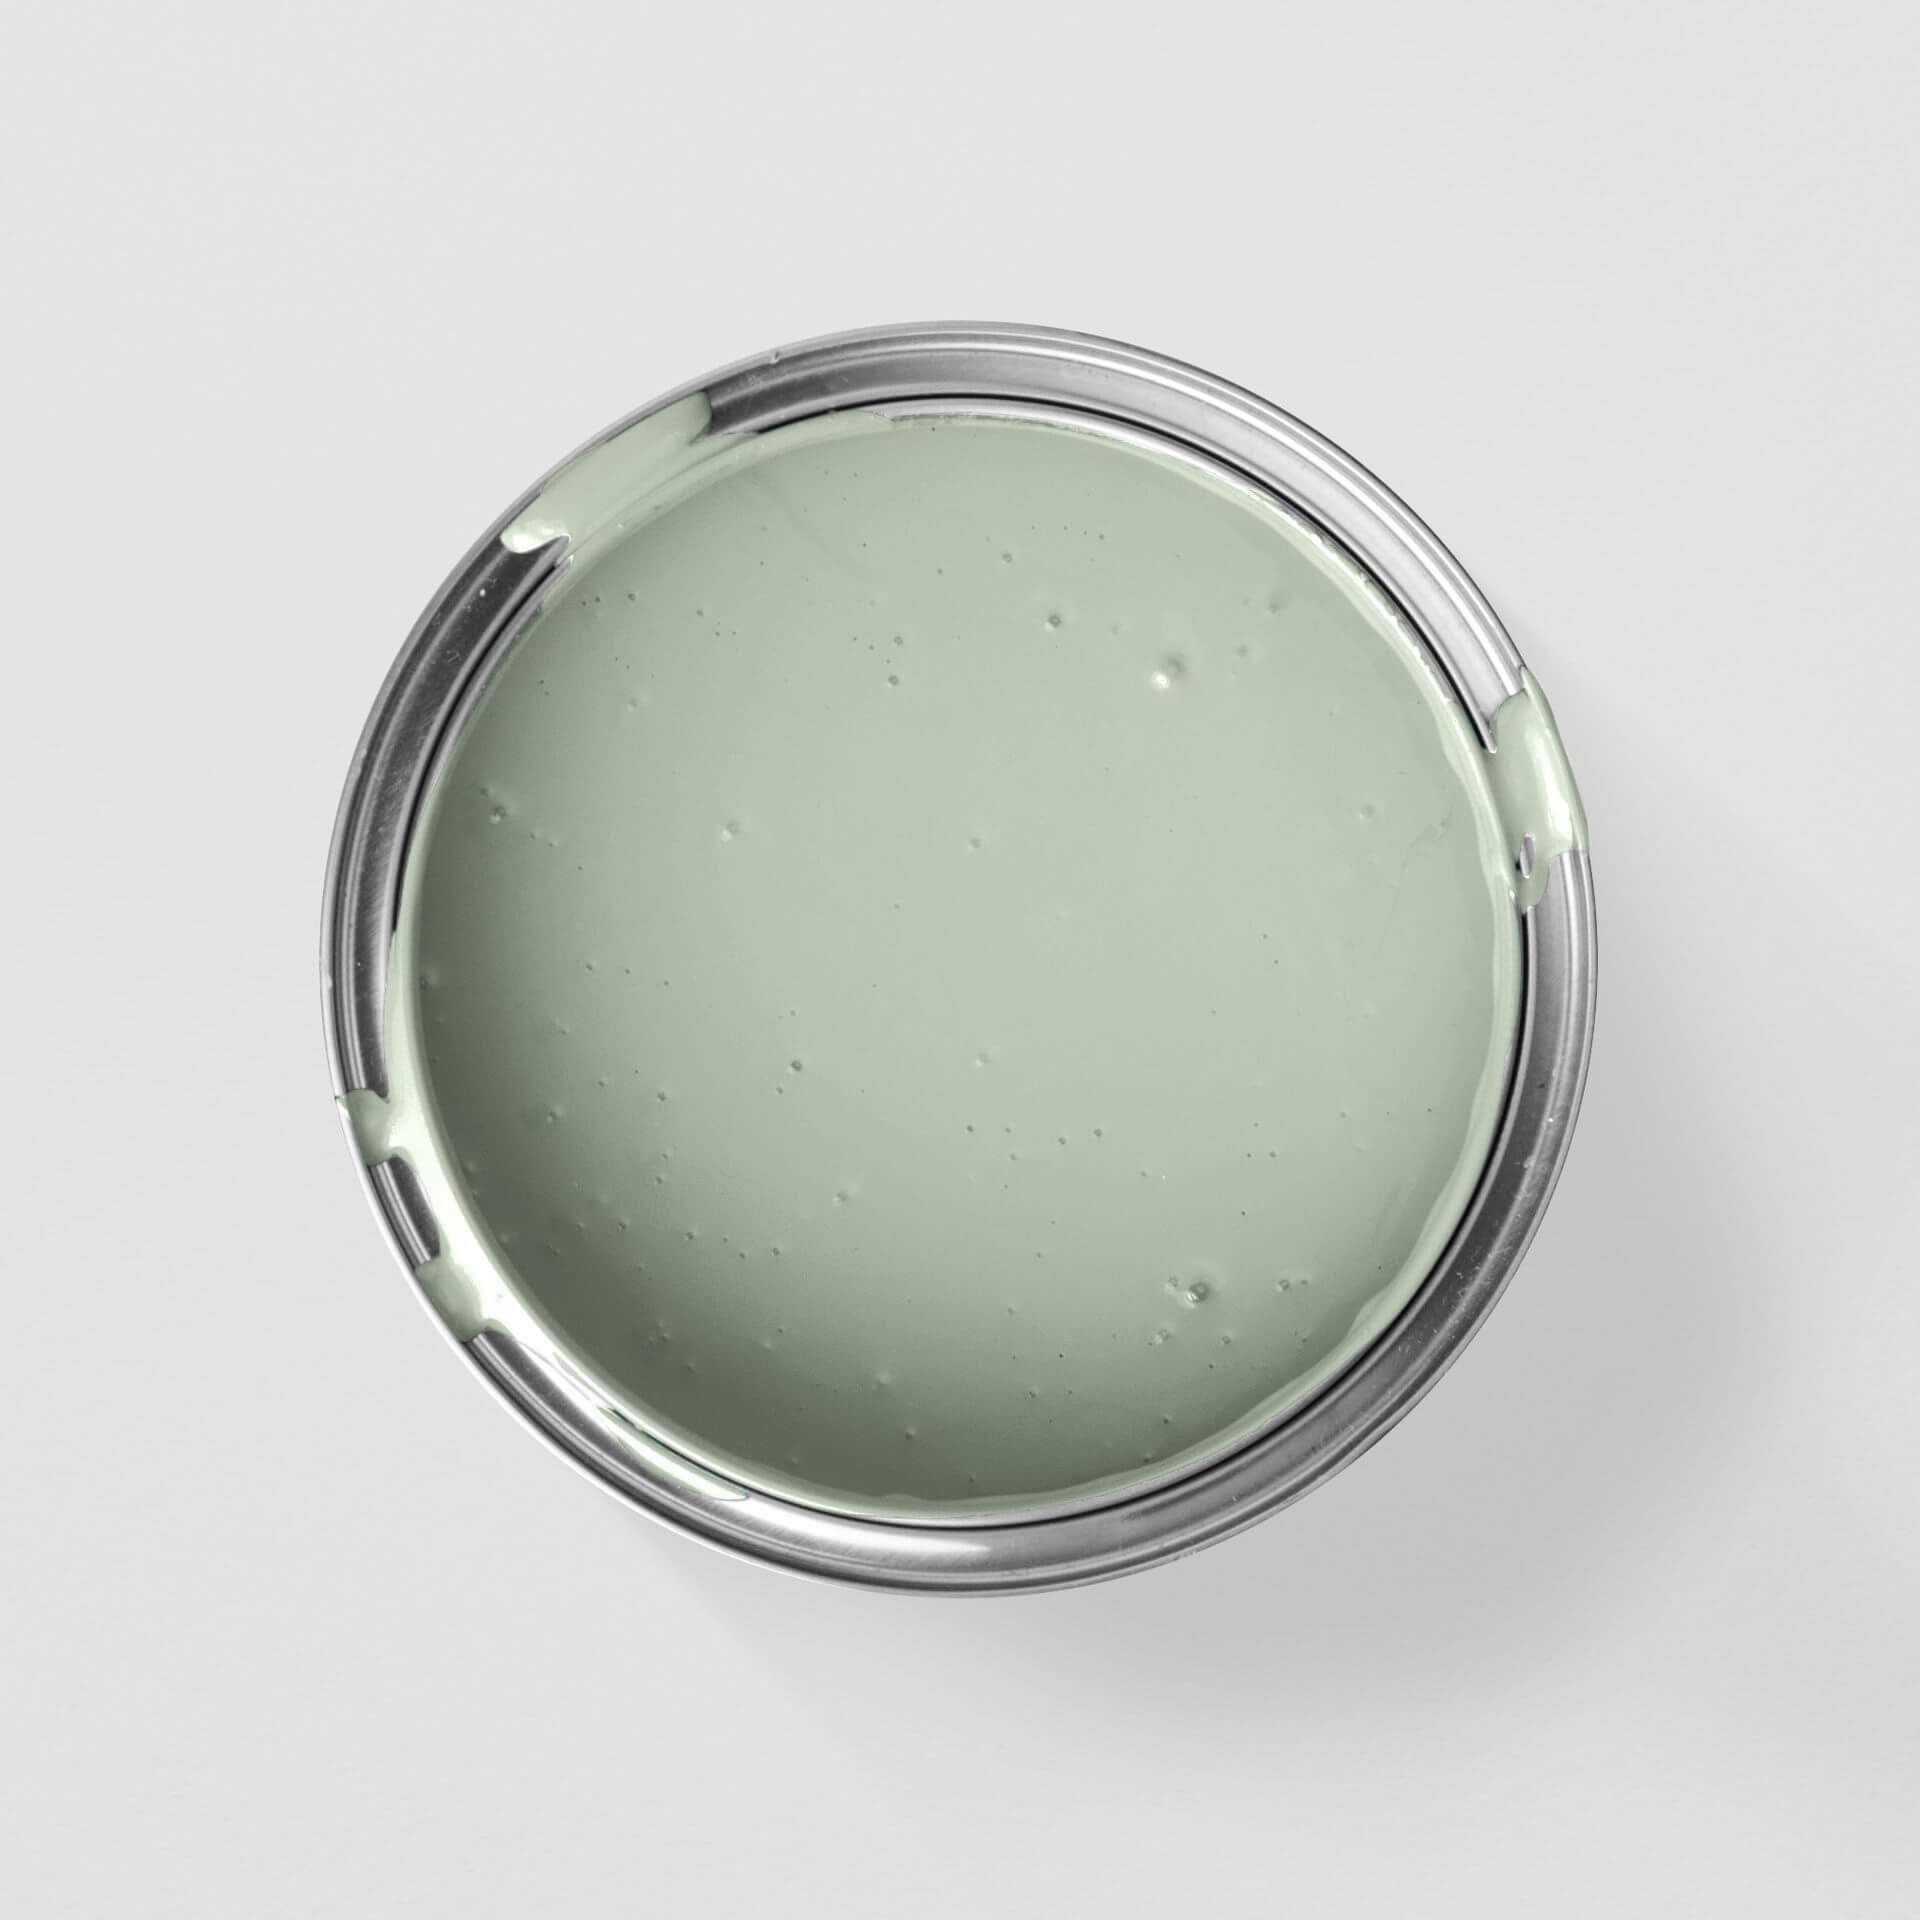
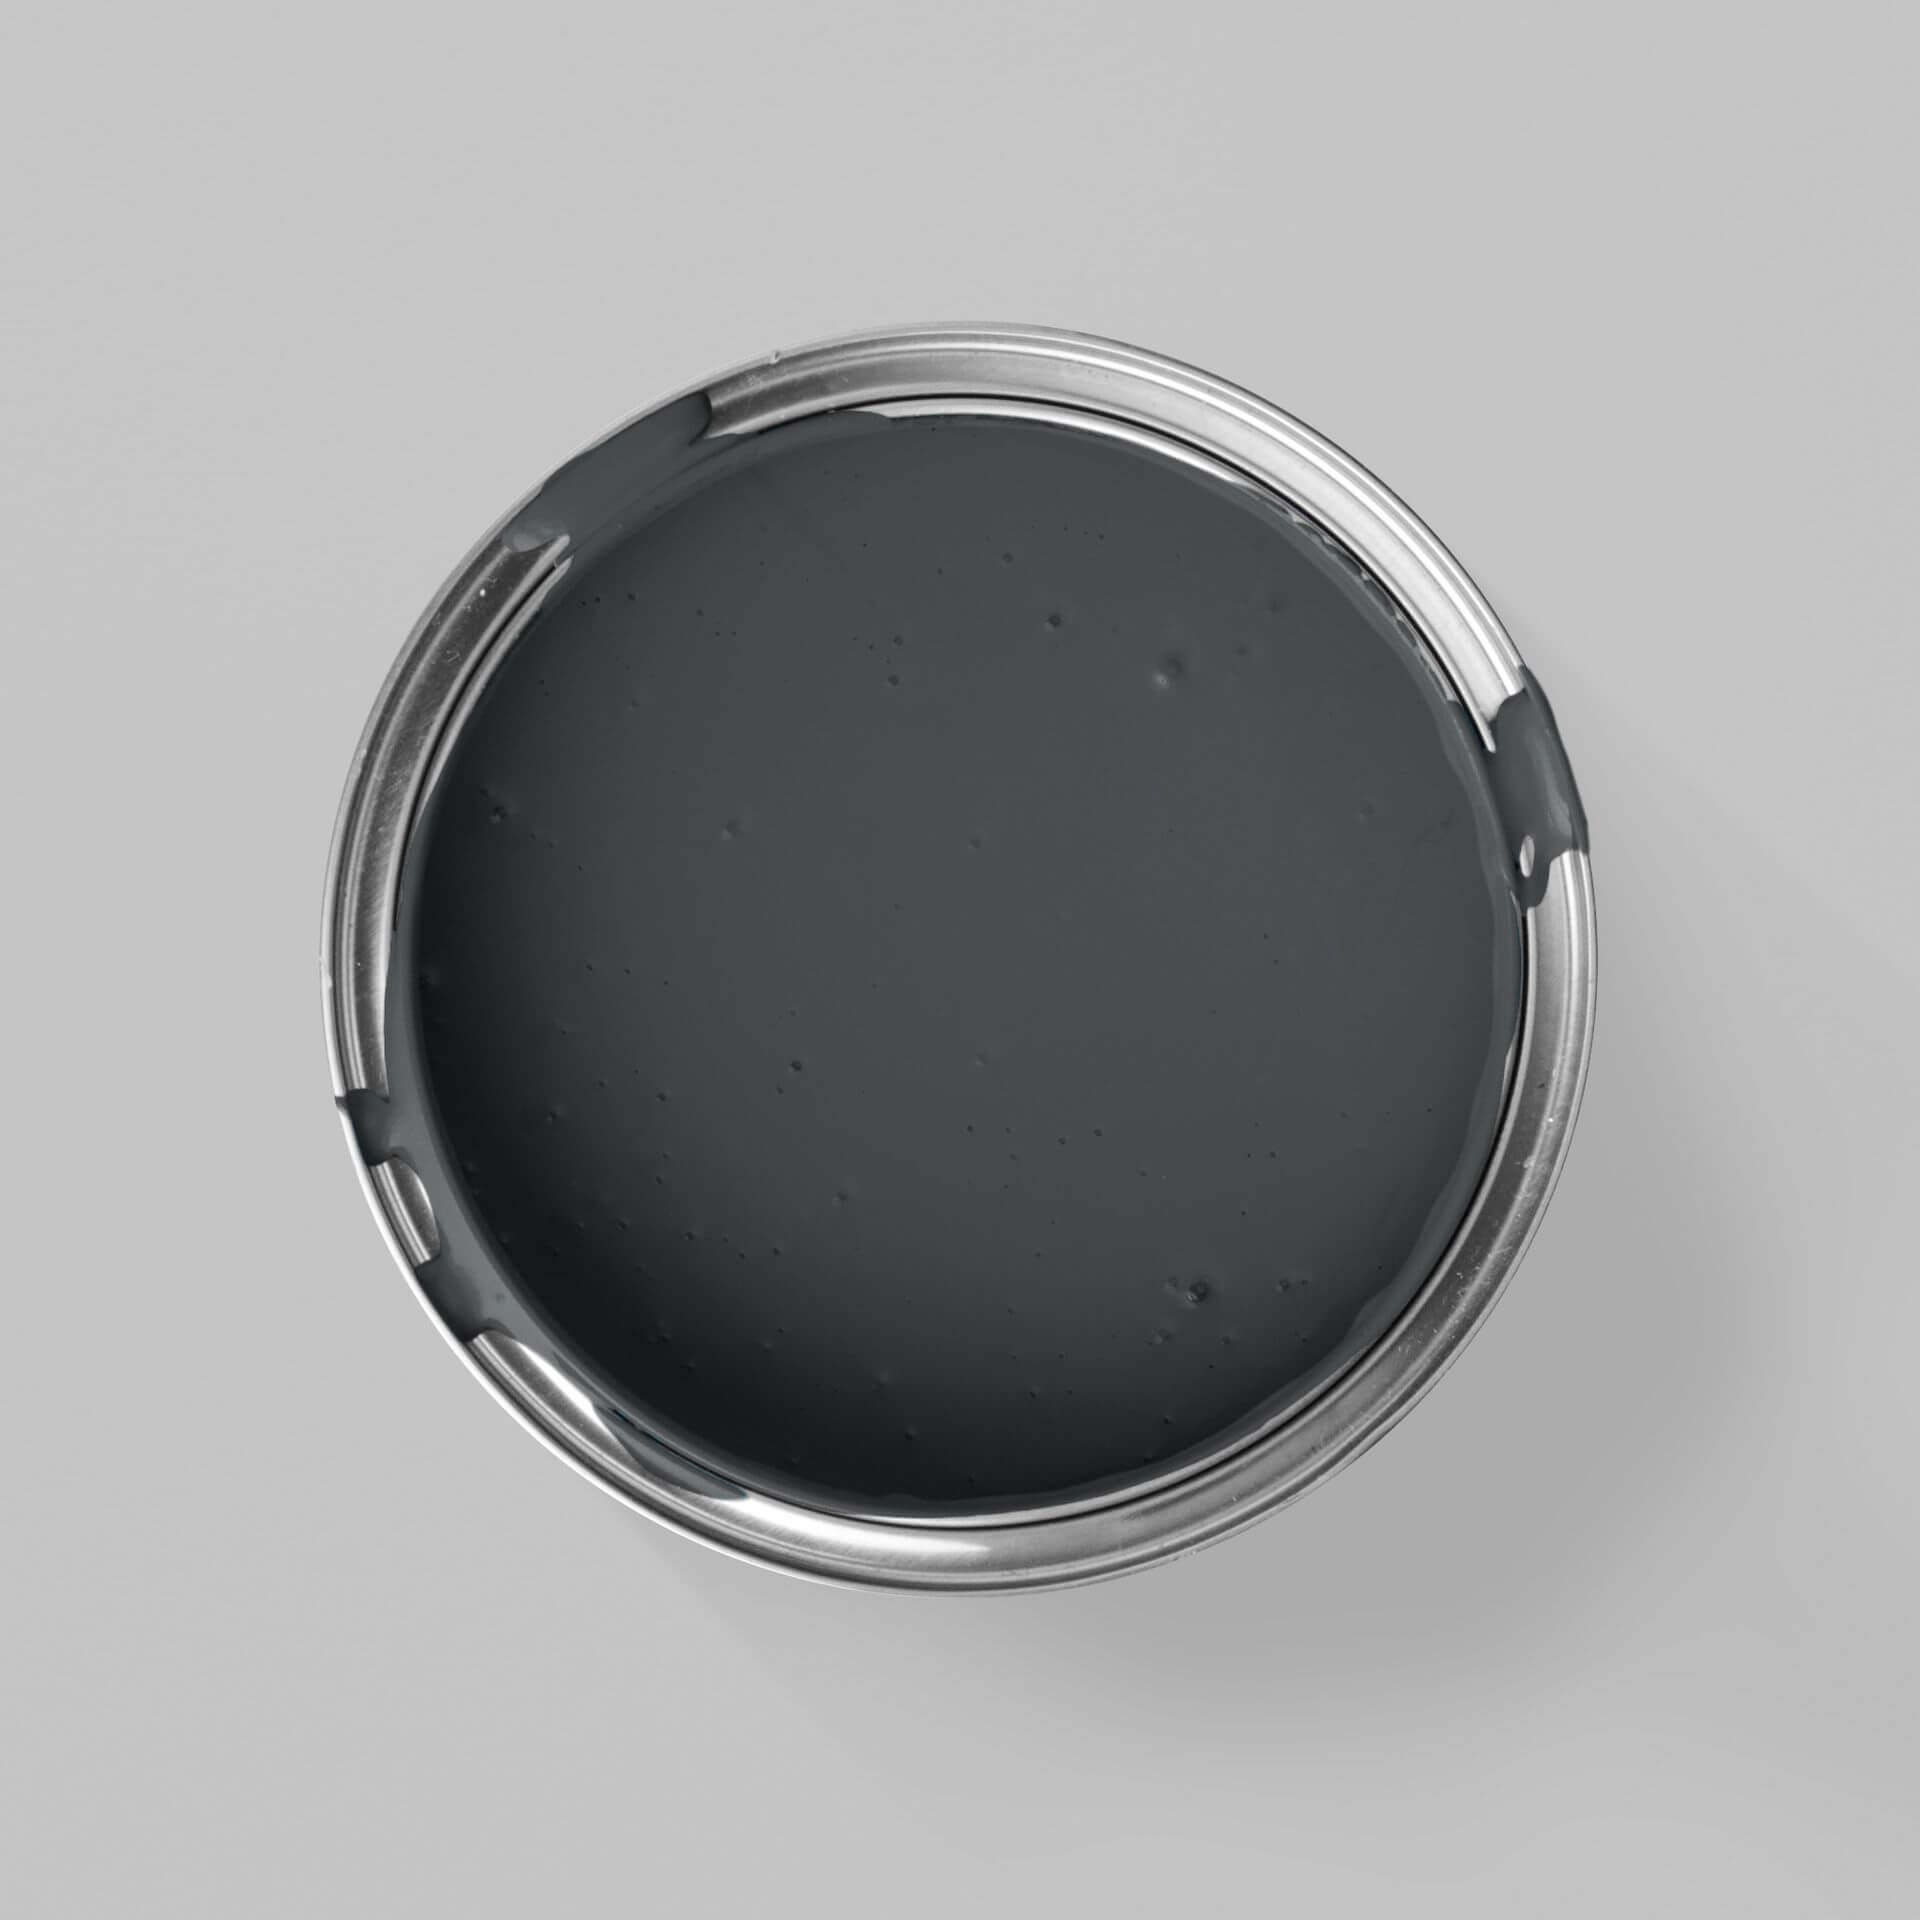
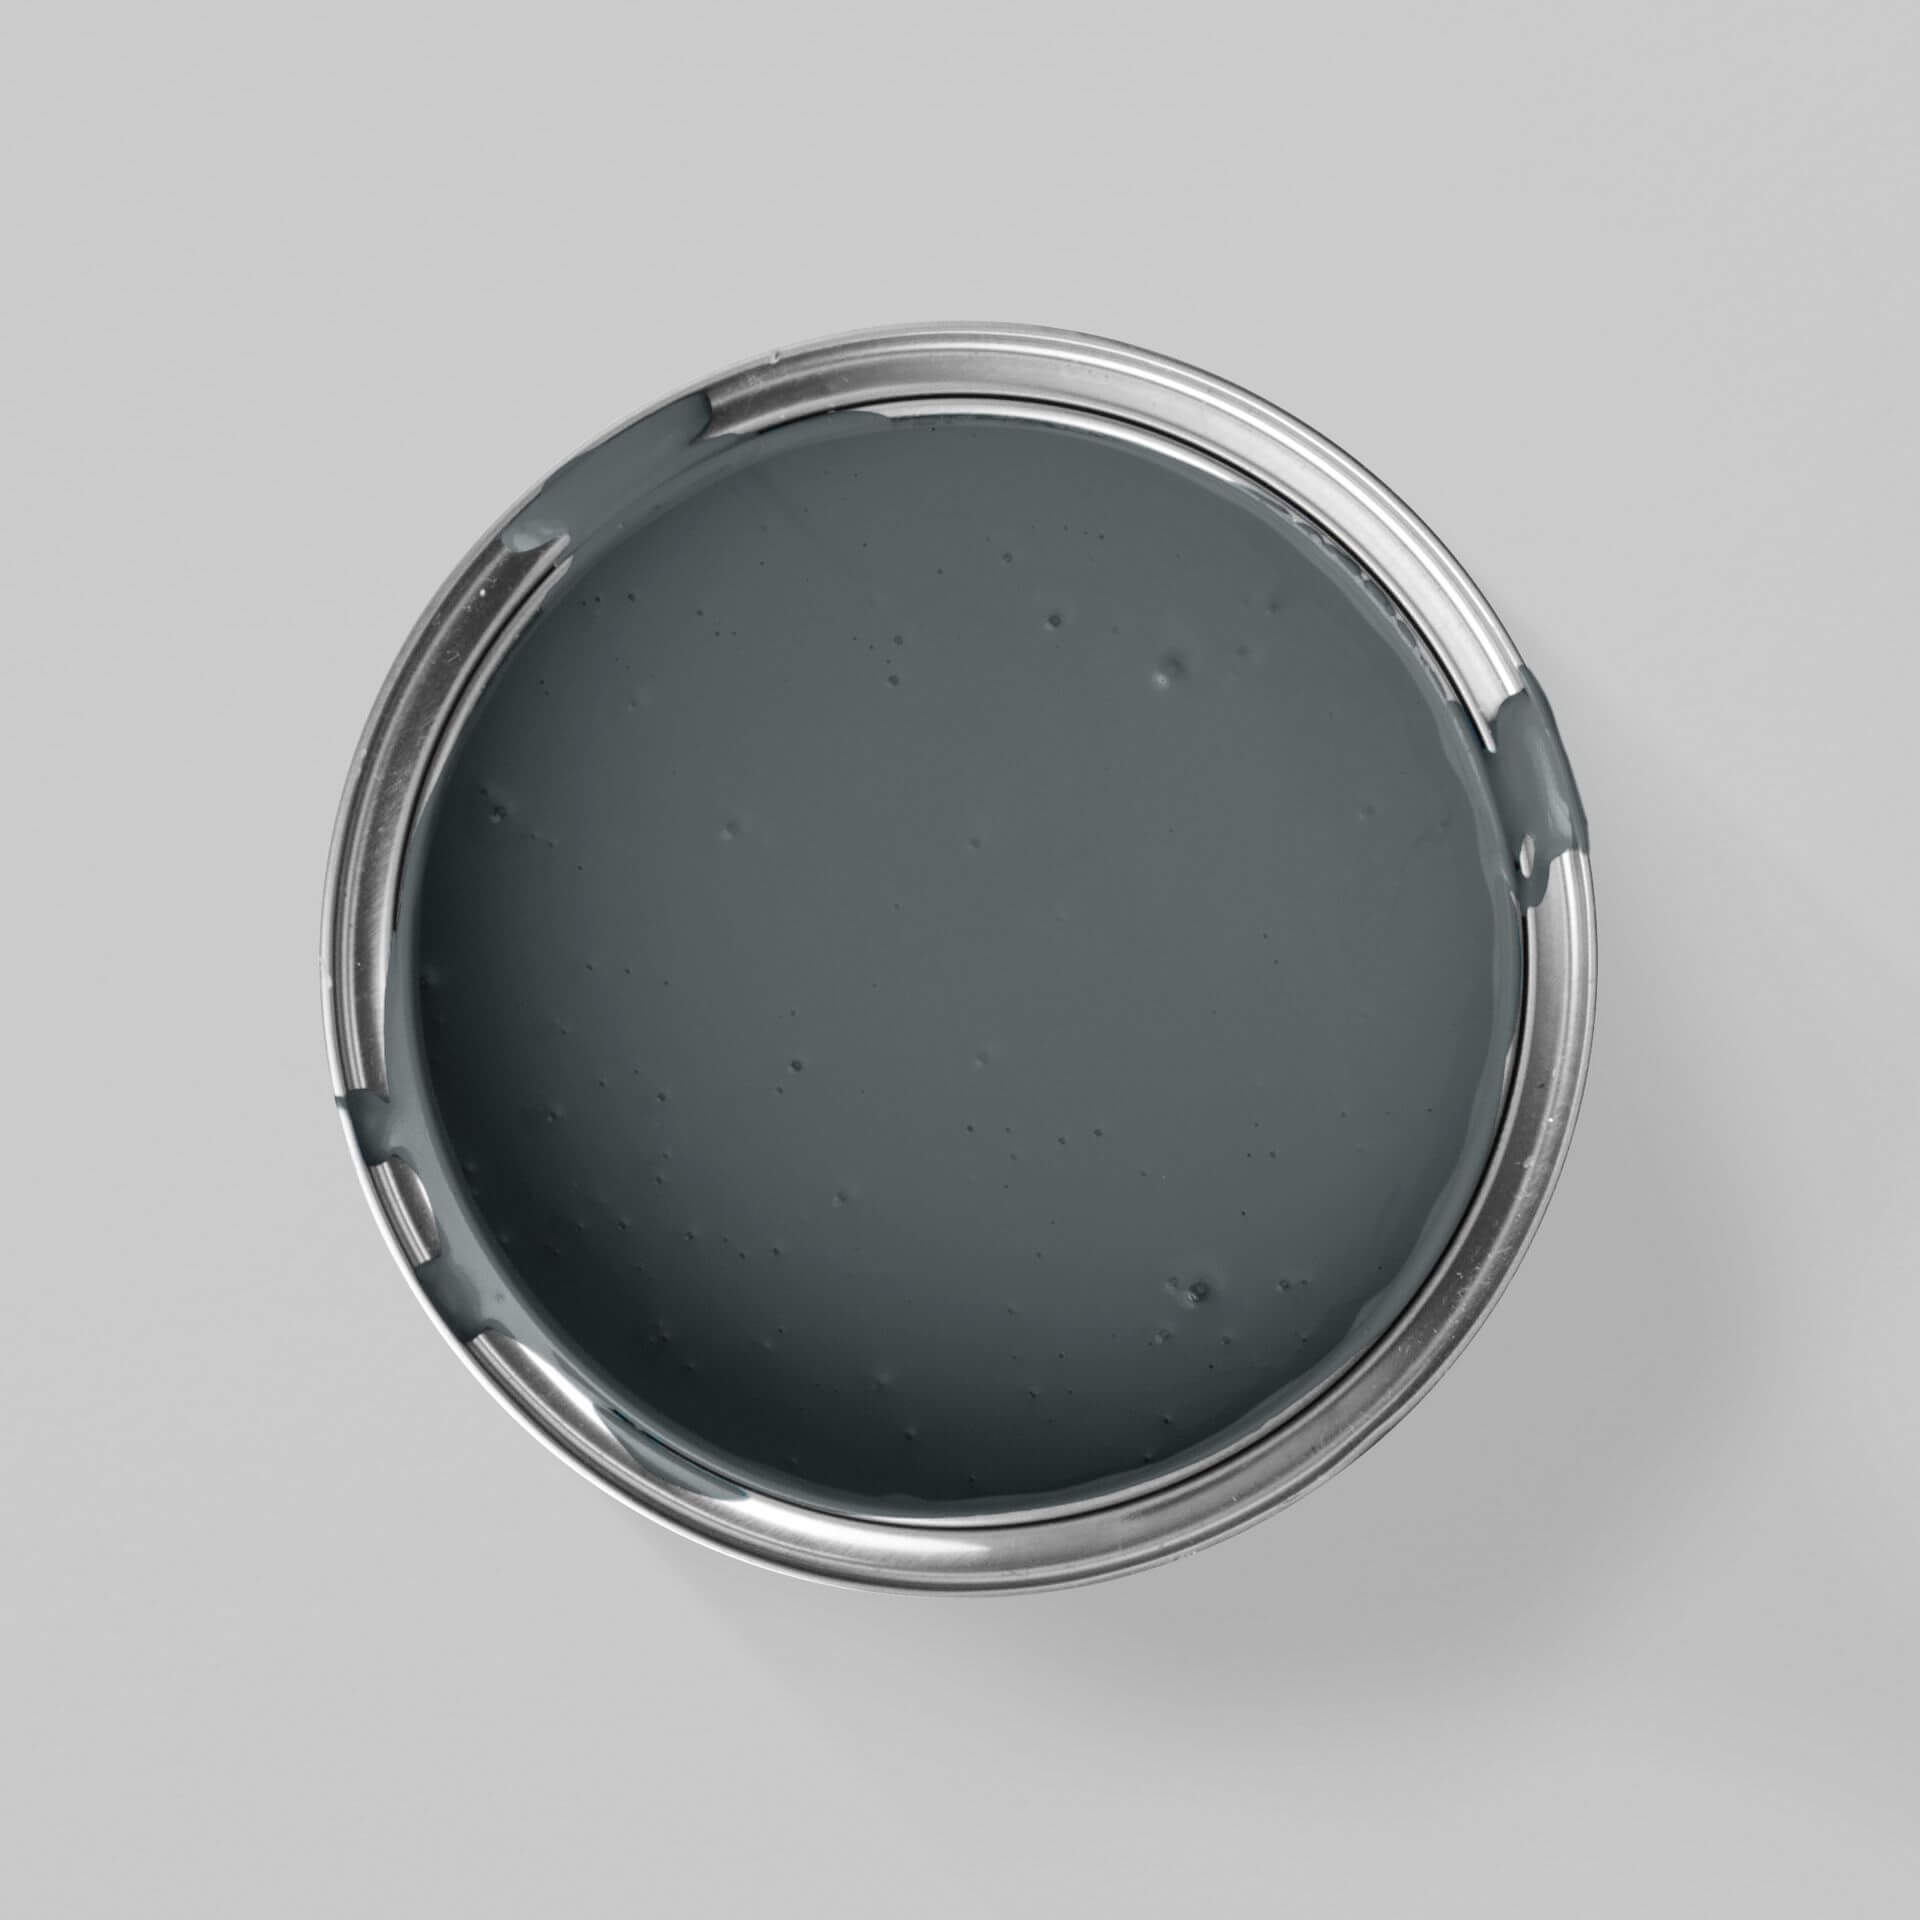
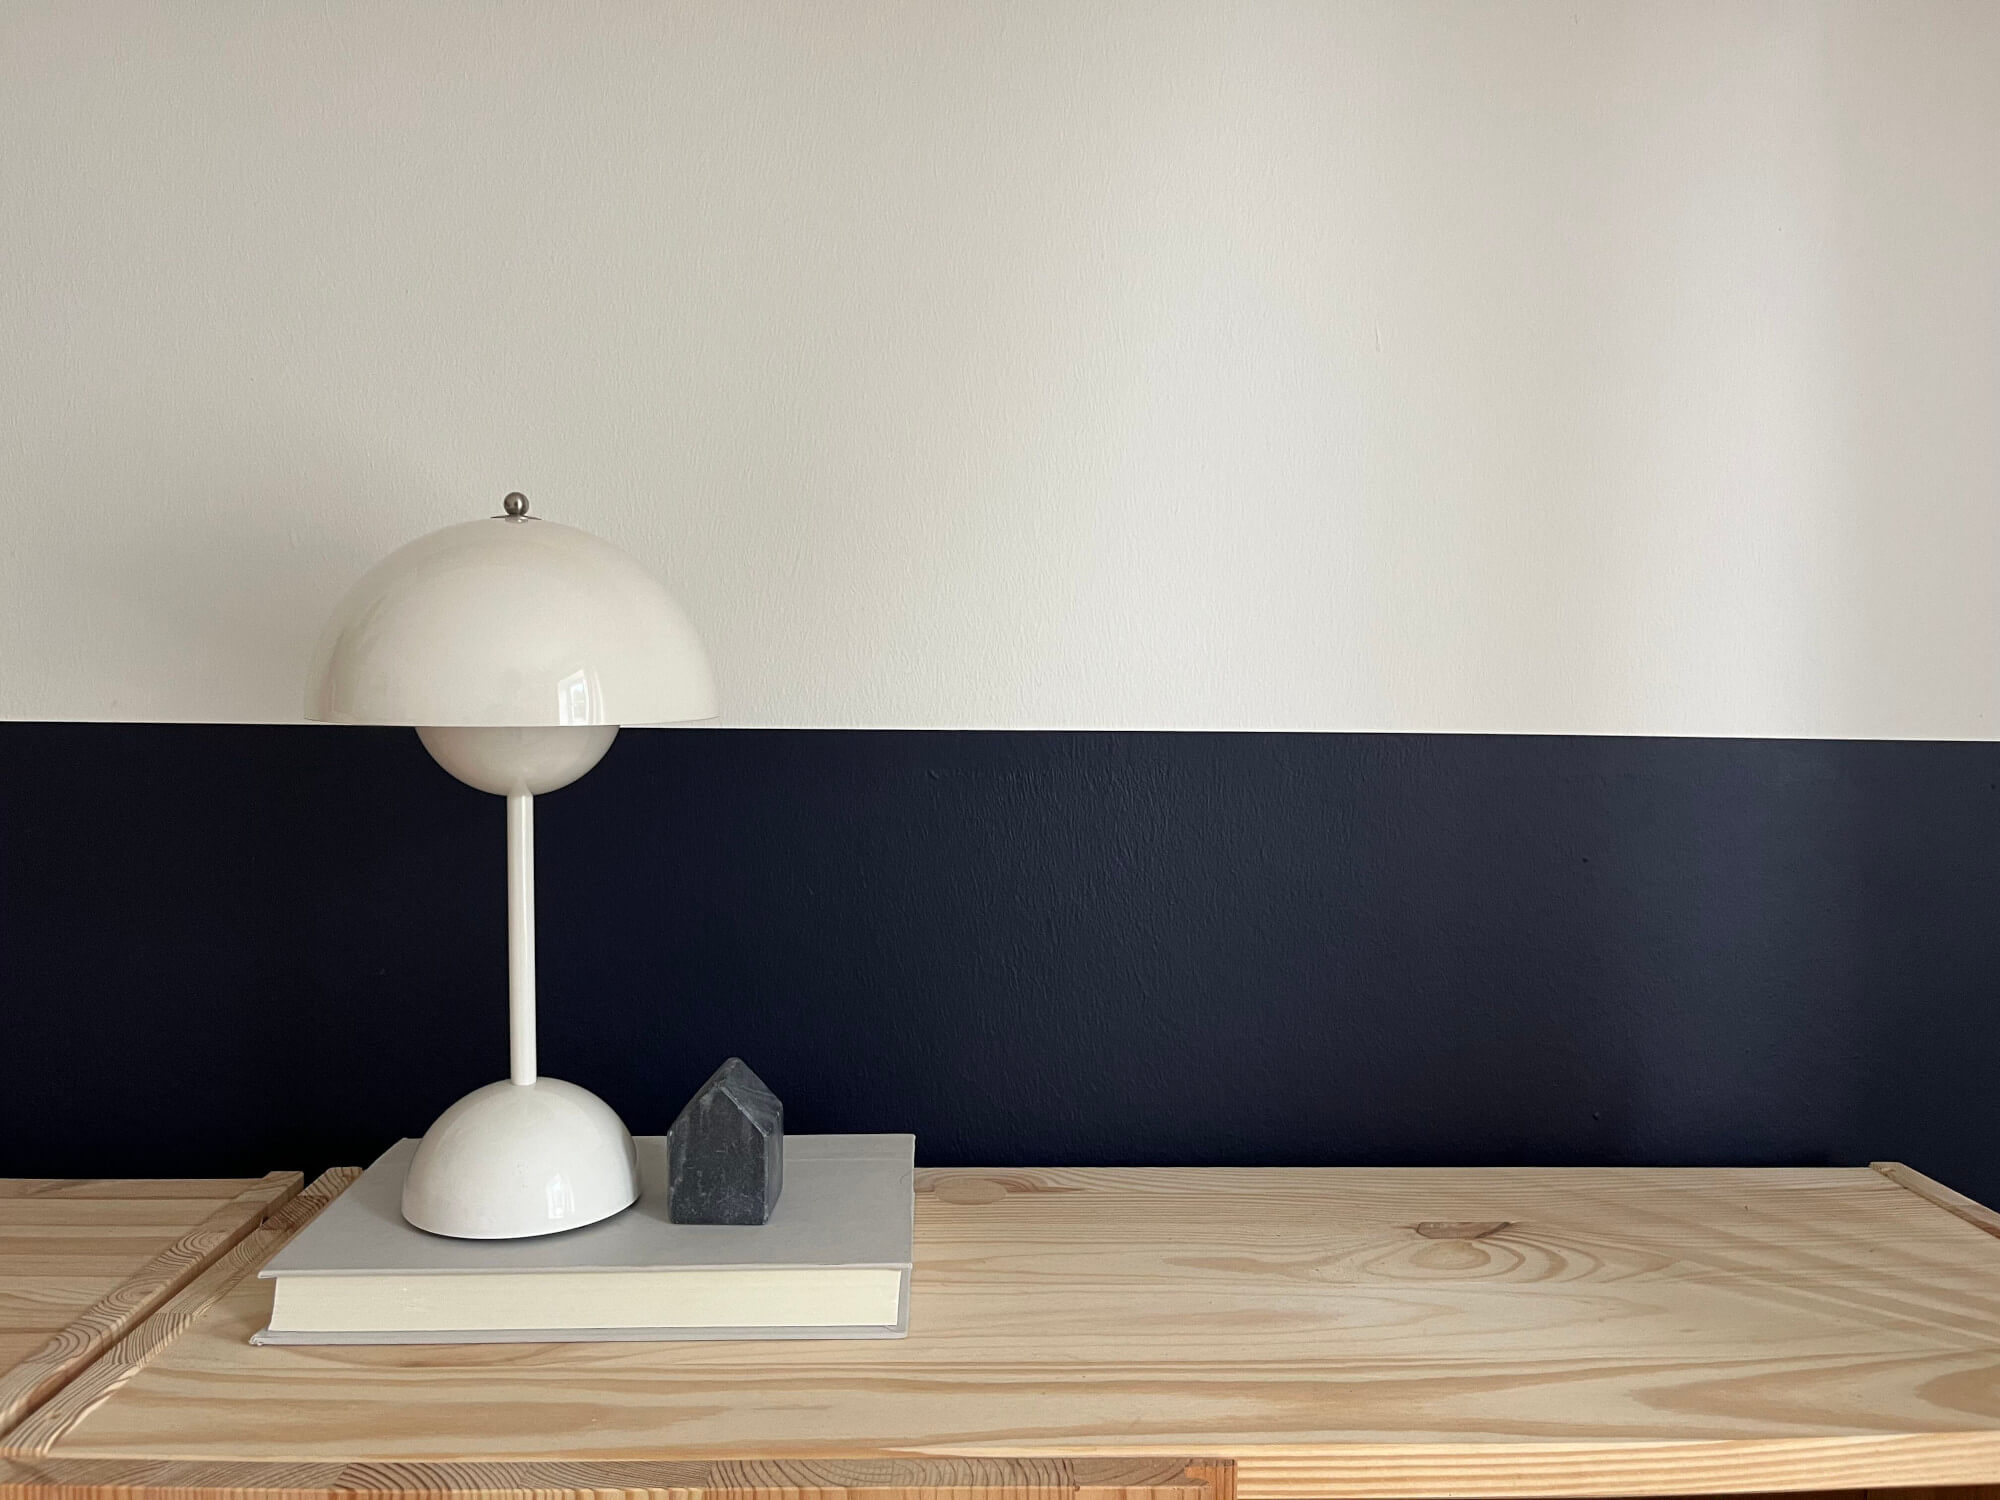
What colour should I use for my raised bed?
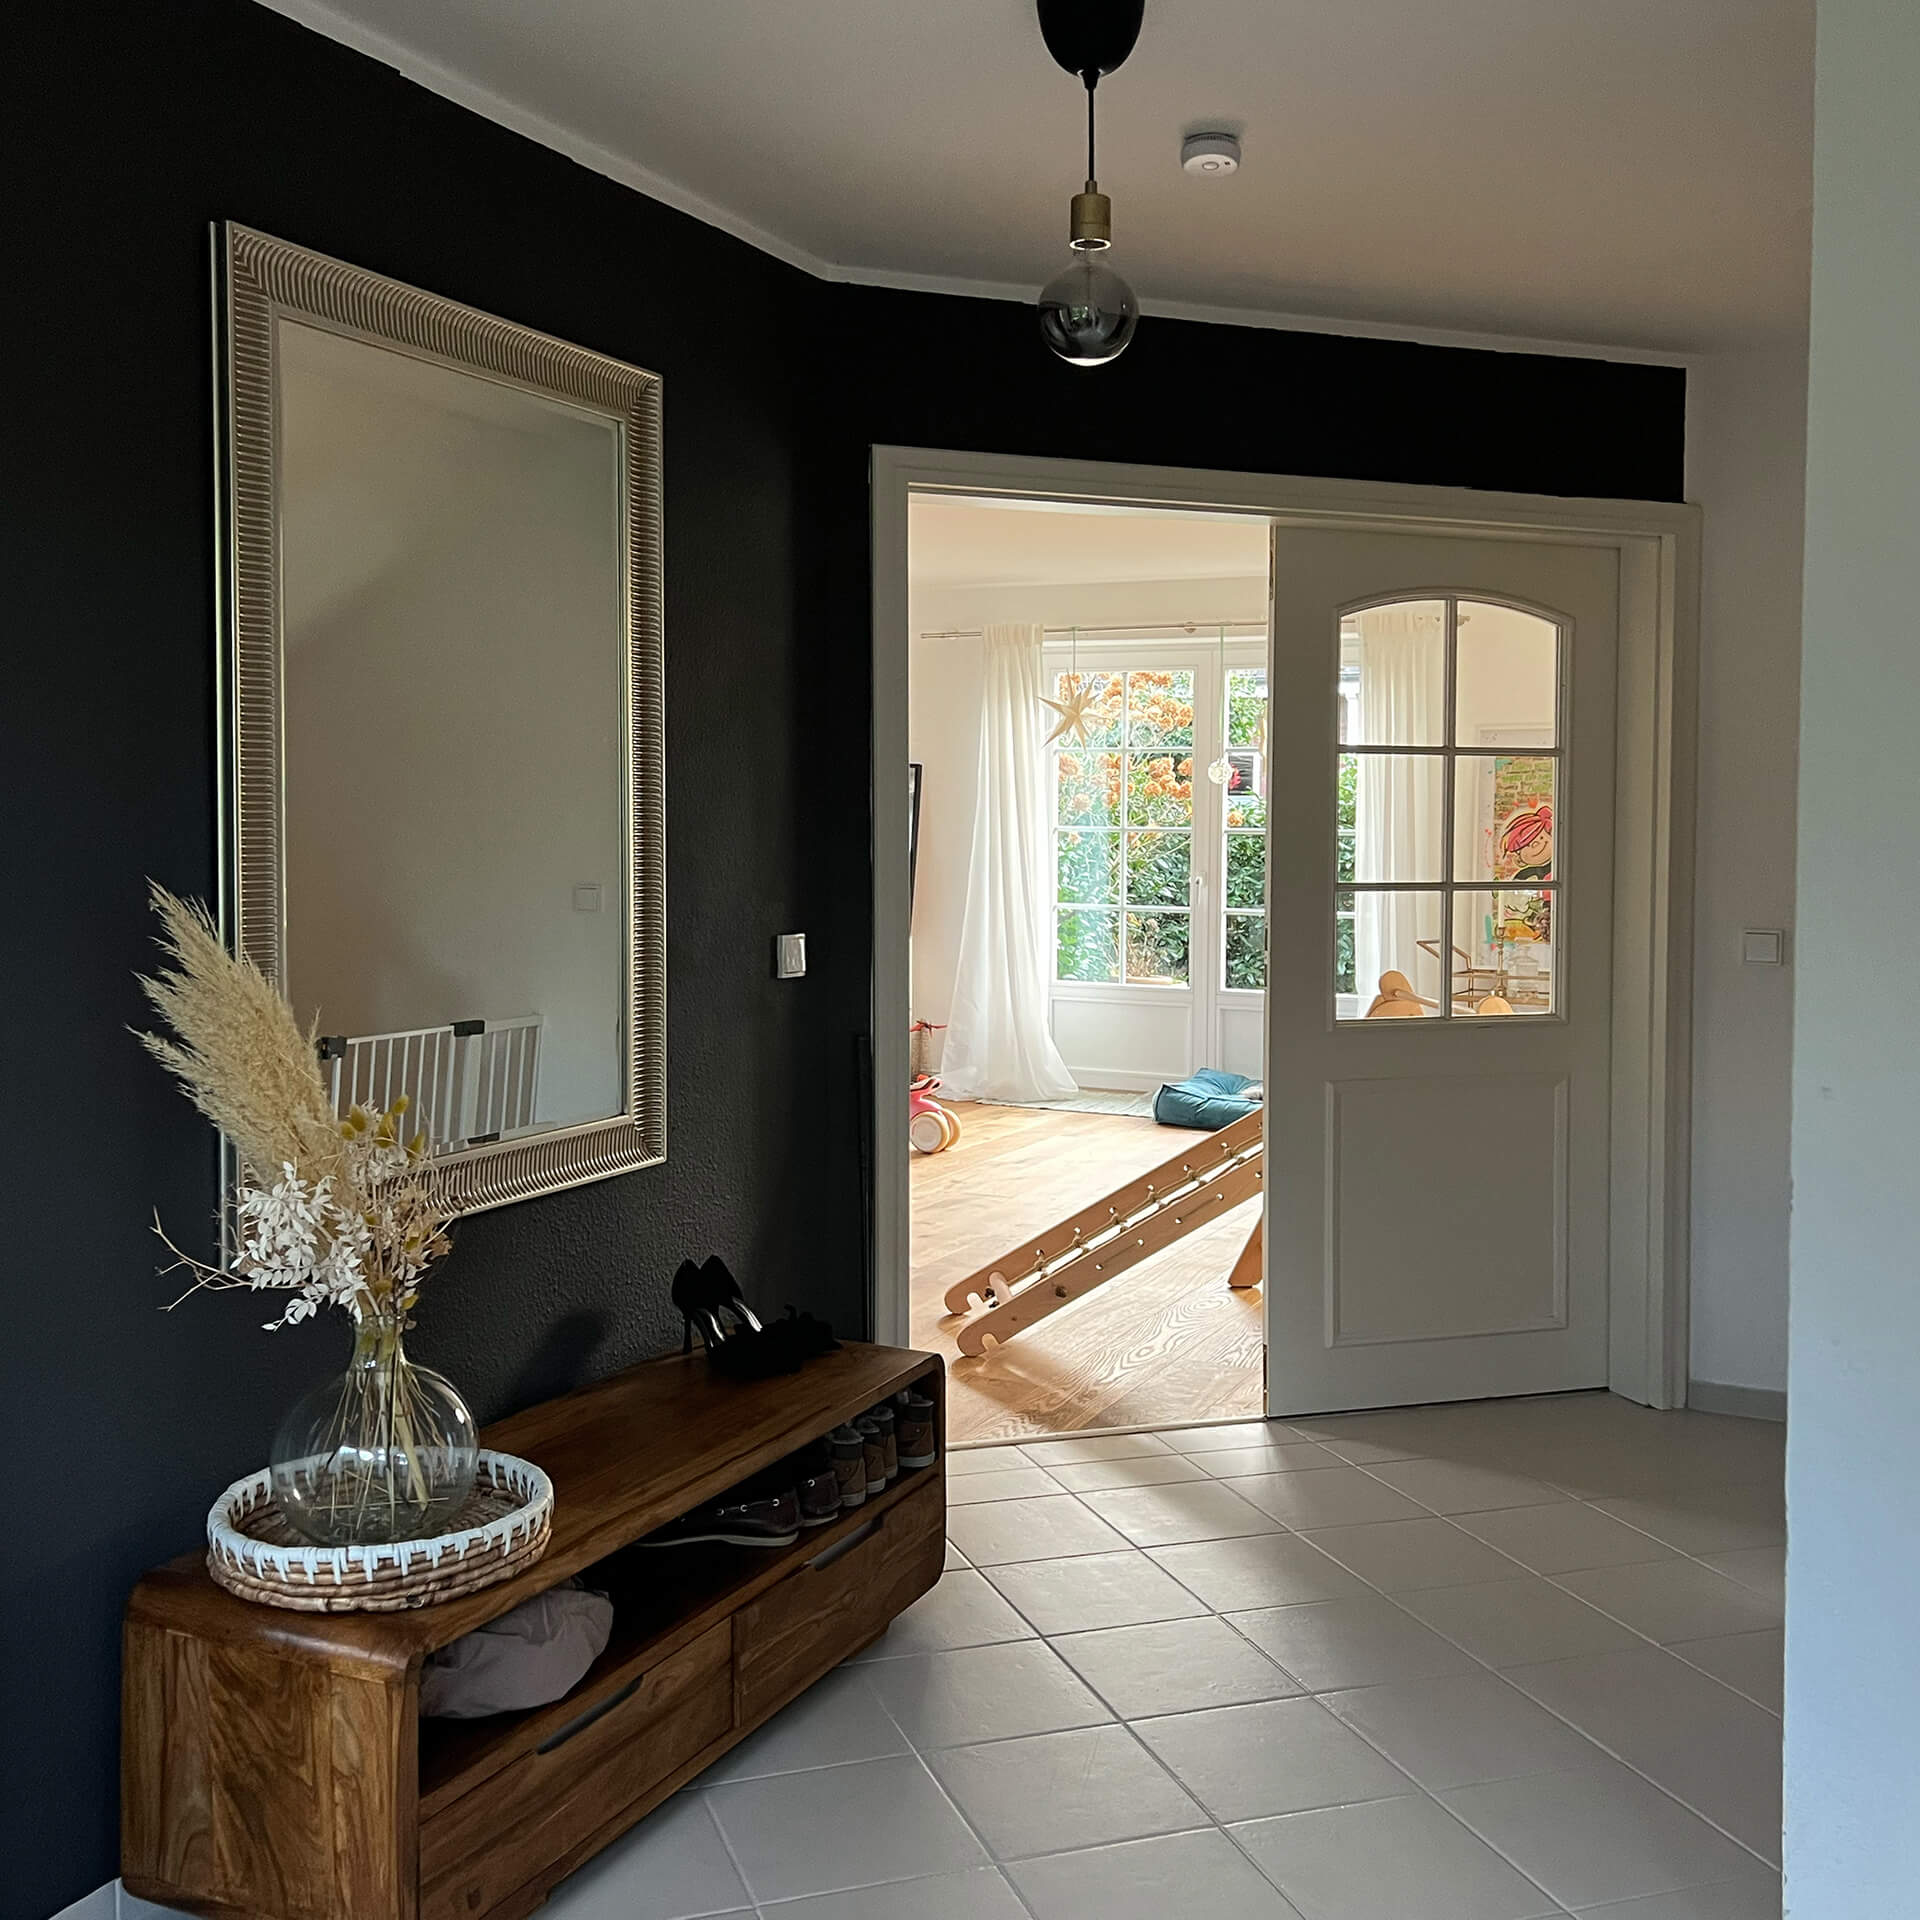
Colour shades that fit in well with nature are always beautiful.
But maybe you already have a garden shed or a fence that matches the colour. Read our guide on how to paint your garden shed. You can also use the colour of your garden furniture as a guide. We don't recommend an overly colourful coat of paint, as you certainly want to give flowers and plants a chance to unfold their full effect.
Materials and accessories To Paint Your Raised Bed
- Sandpaper or a sanding block: Remove the old paint and irregularities from the wood to achieve a fresh and stable coat.
- Paint tray: Use a paint tray into which you can simply pour the required amount. This way you can easily wipe off Rollers and brushes without having to handle the heavy paint can. The paint tray is a valuable aid here.
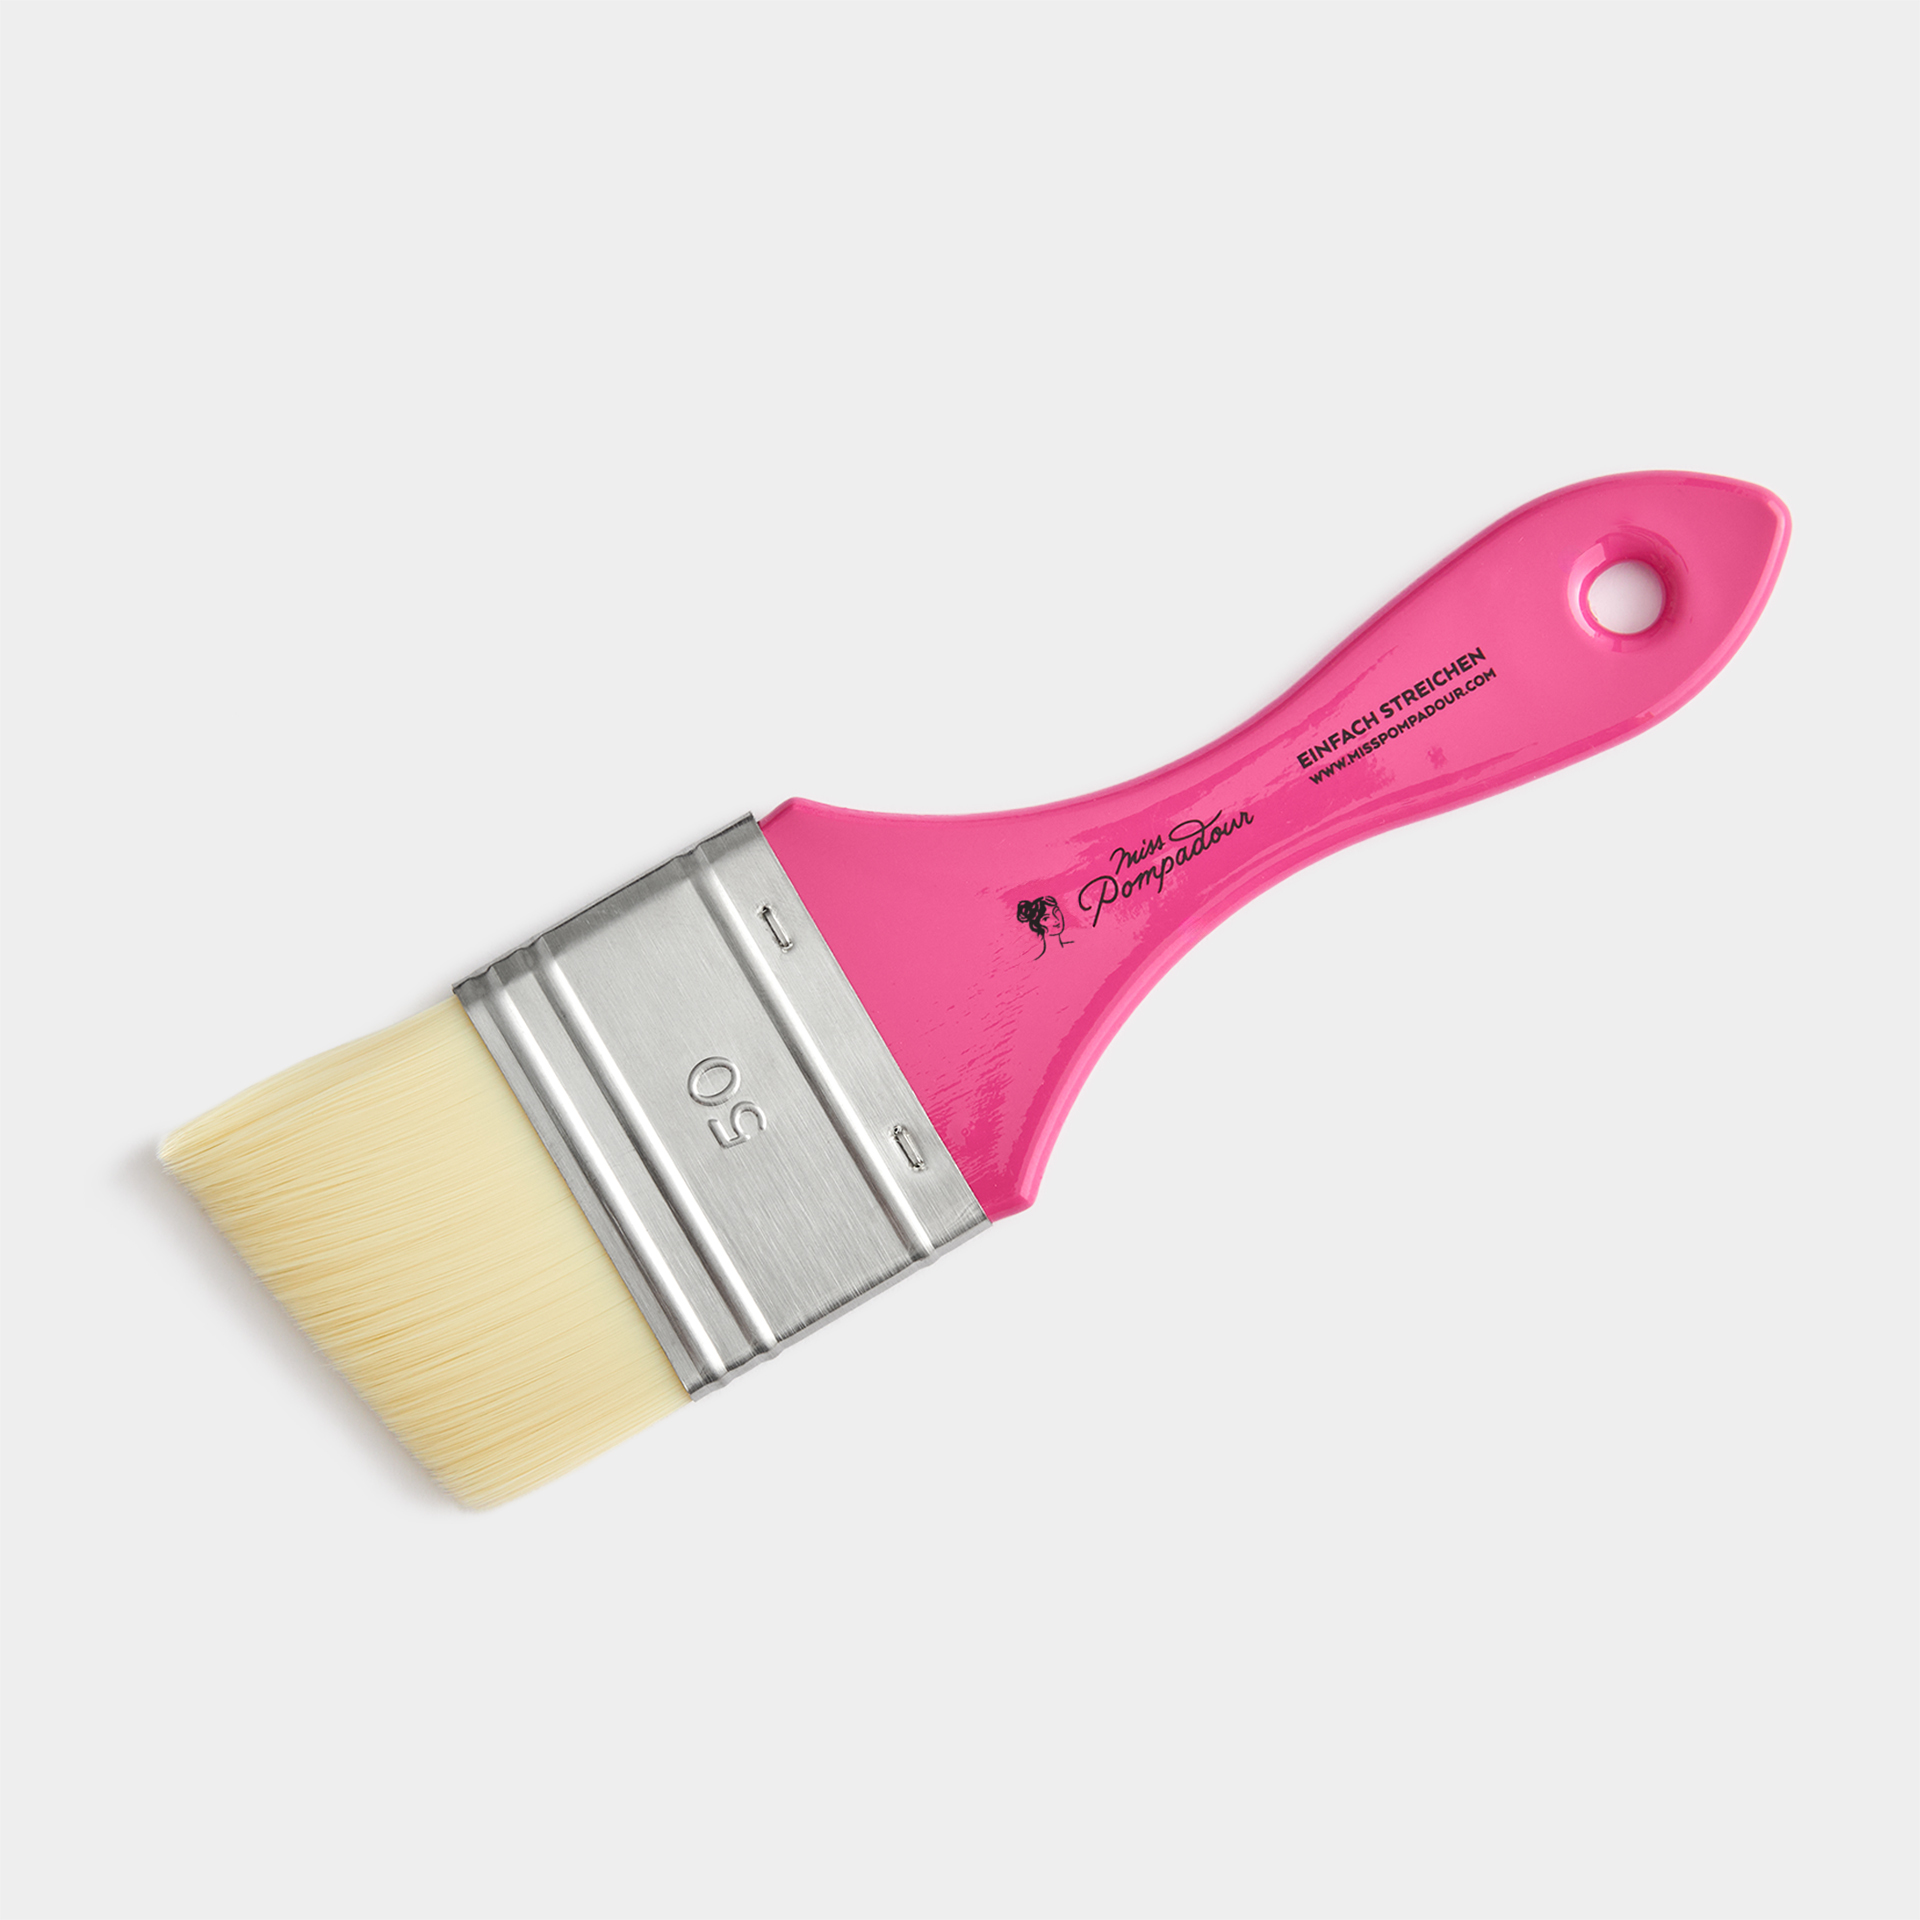
- Brushes or Rollers: Especially for priming, it pays to work fast - just use a small paint roller. You can also use this afterwards for the colour varnish. Alternatively, use our brushes to reach all corners and crevices. This works perfectly with our bevelled To Paint - MissPompadour Fine MissPompadour Brush.
Finished reading yet?


Questions ?
We're here to help
We'll help you anytime, via Phone (Mo-Fr 09-18, Sa until 16 Uhr), via WhatsApp or directly via our Contact Form.