


Varnish: Painting for beginners | First steps
5 min reading time
Have you been admiring our customer projects on Instagram, or perhaps even had a browse around our site? If so, you've probably already seen countless brilliant DIY and painting ideas, with our customers transforming their homes using paint.
Feeling inspired to try it yourself now? Then we have some great news for you: Painting furniture, tiles & more is super easy! Here we've put together all our top tips for beginners on painting with paint – from choosing your colour to mastering the right technique!

The right preparation
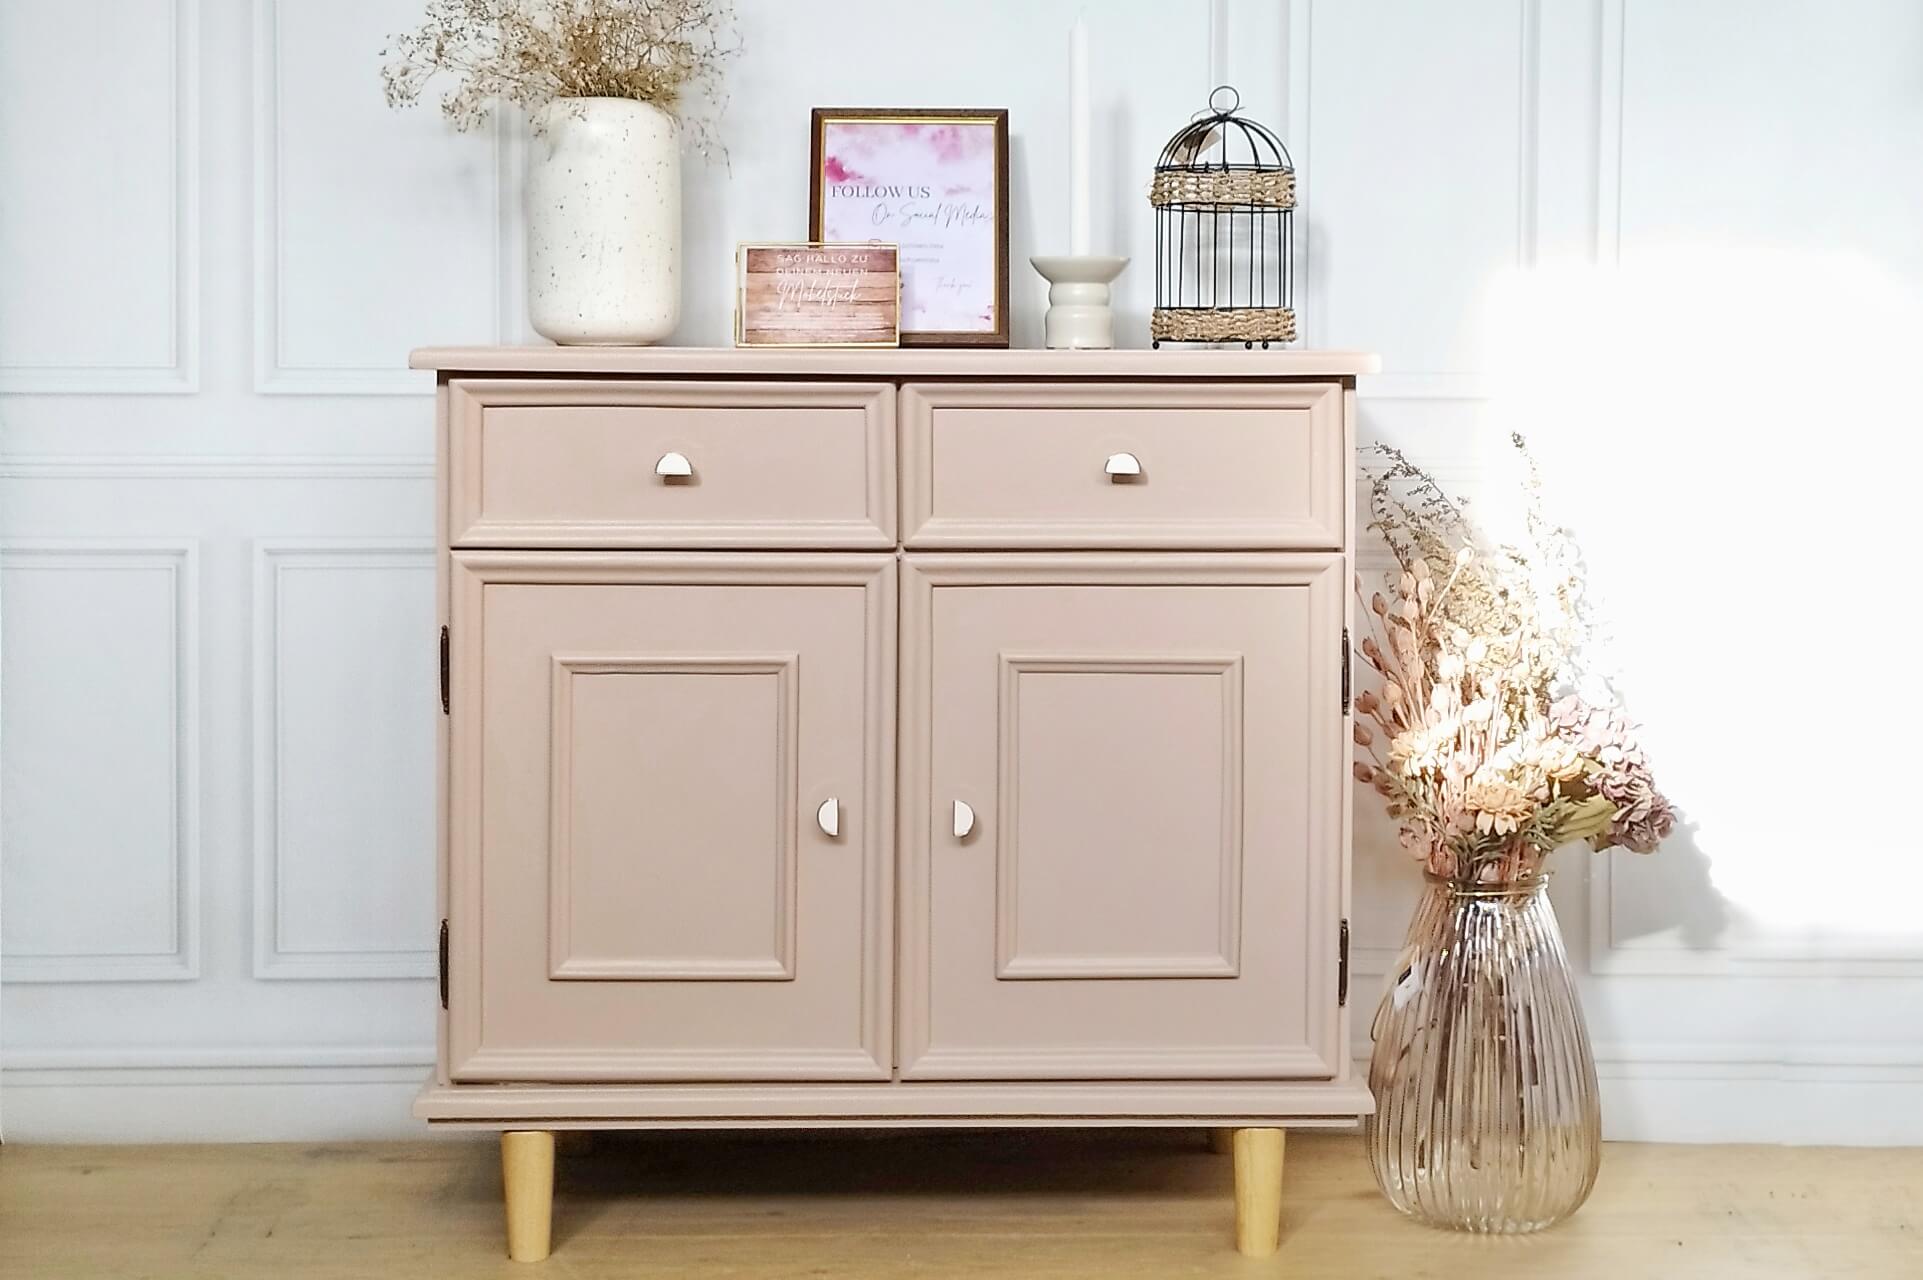
Choose your perfect shade
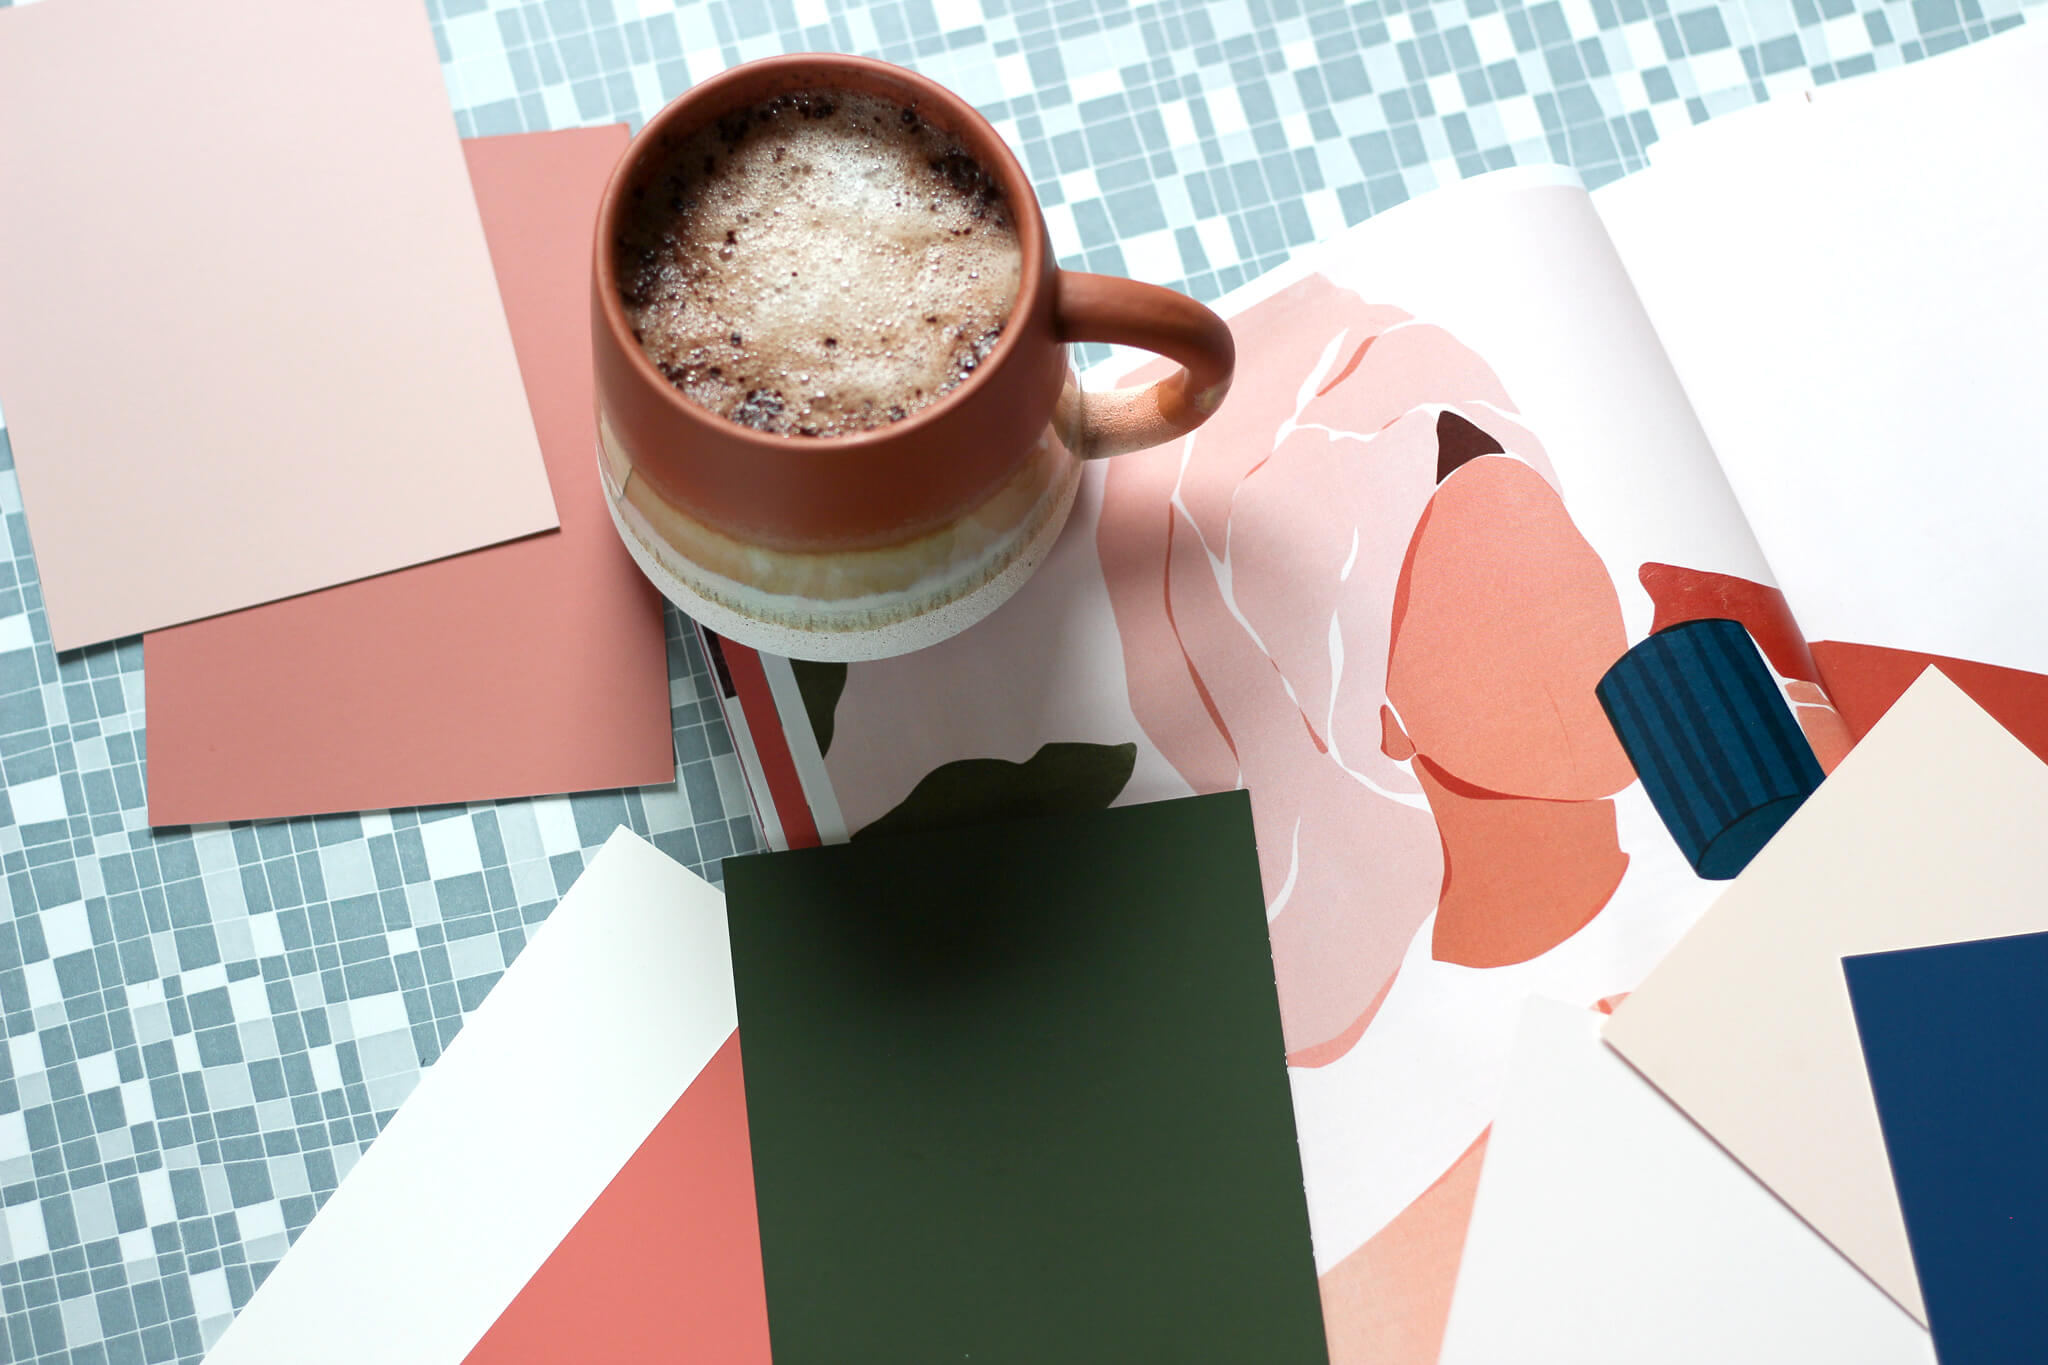
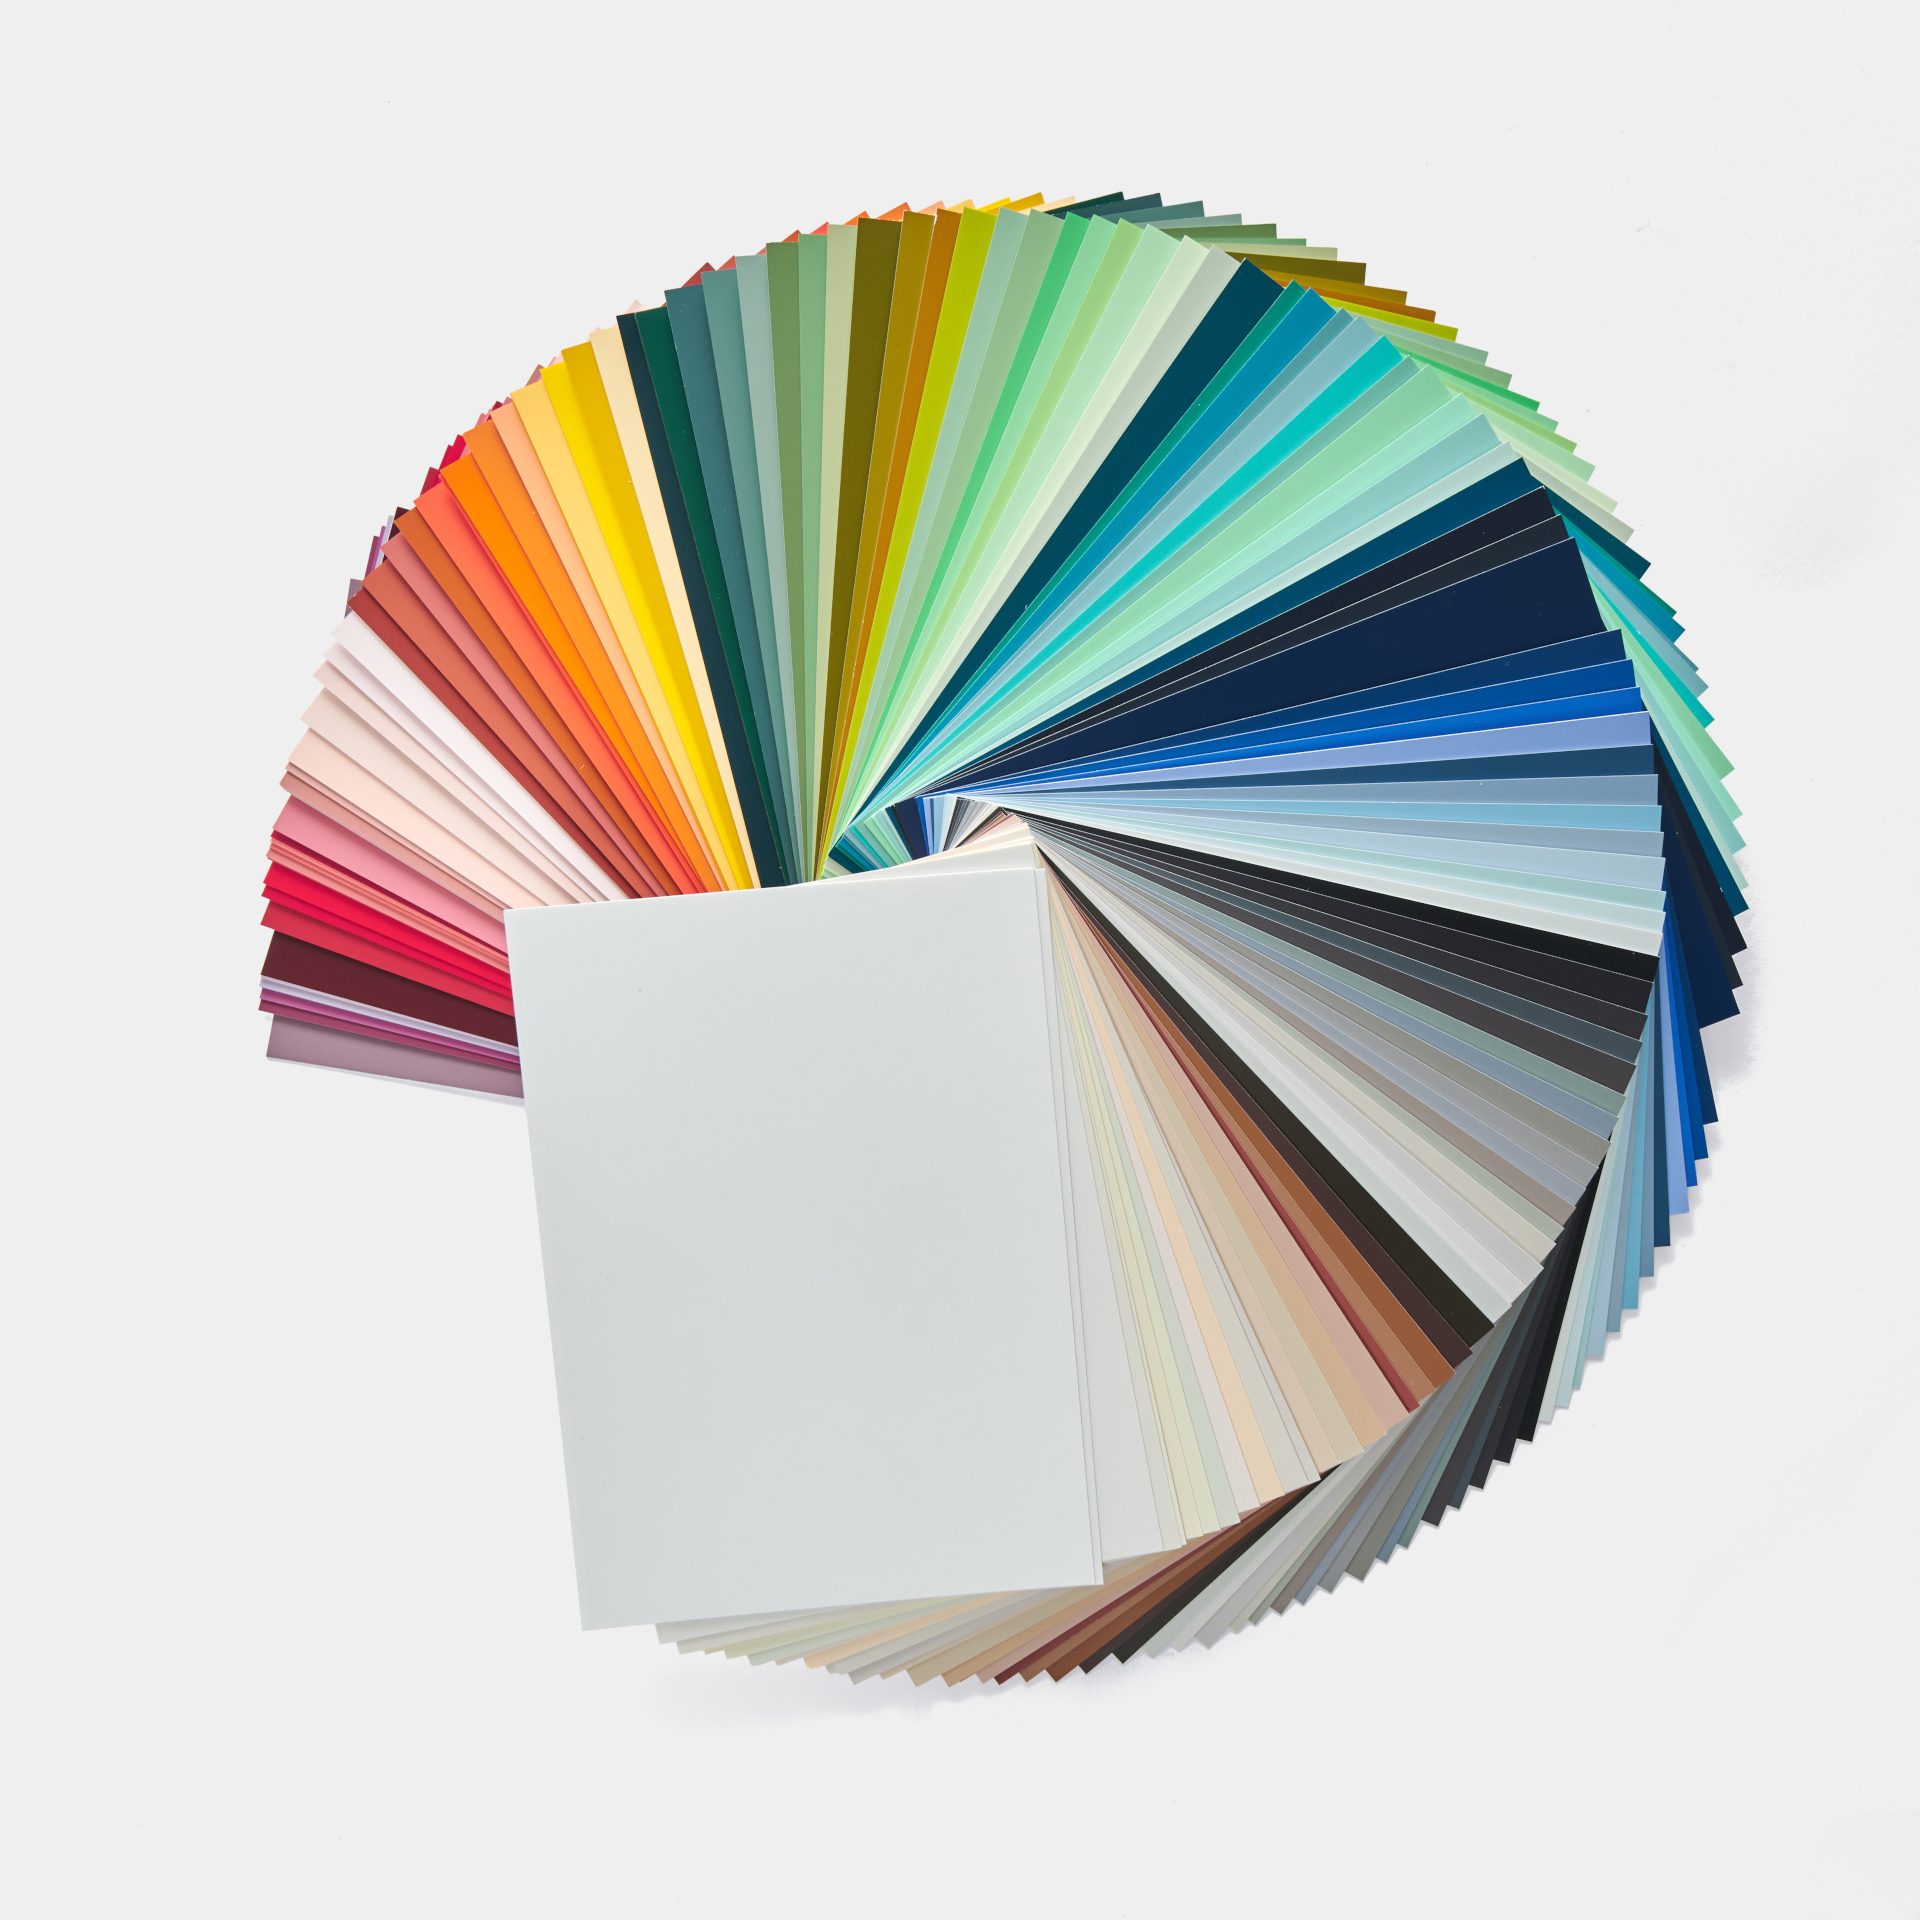
Naturally, your first priority is finding the perfect colour. It's difficult to choose a colour from a screen, as the quality, colour reproduction, and lighting vary from device to device. That's why you'll find our colour cards in our shop. They're postcard-sized and come as a set.
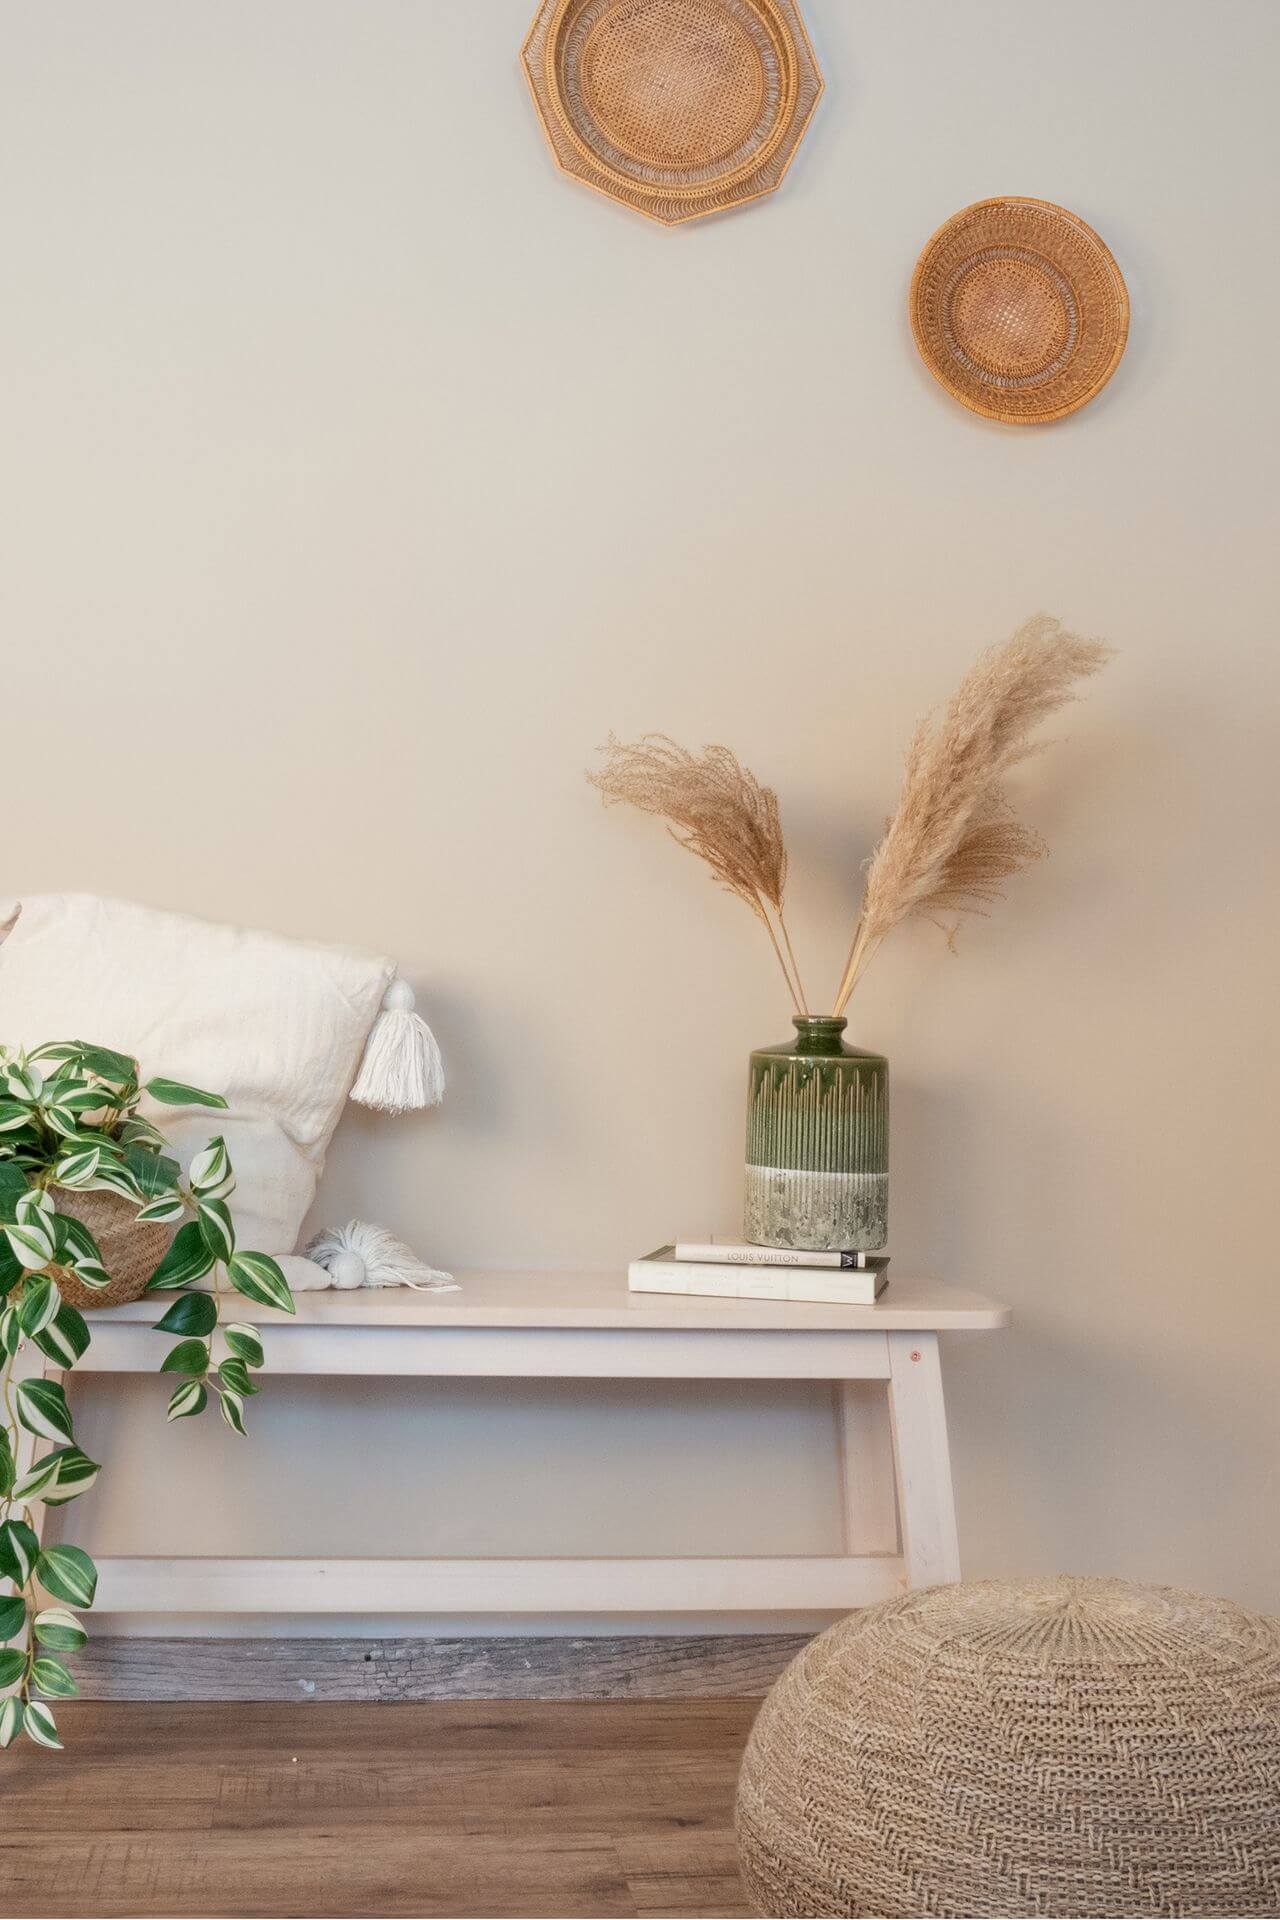
So, you've ordered your colour cards and they've arrived. Now, how do you find the perfect shade? Most importantly, you need to love the colour. But it should also complement the rest of your décor. Consider whether your painting project should be a real highlight, drawing attention with an intense shade, or if you'd prefer to let something fade into the background with a more subtle hue.
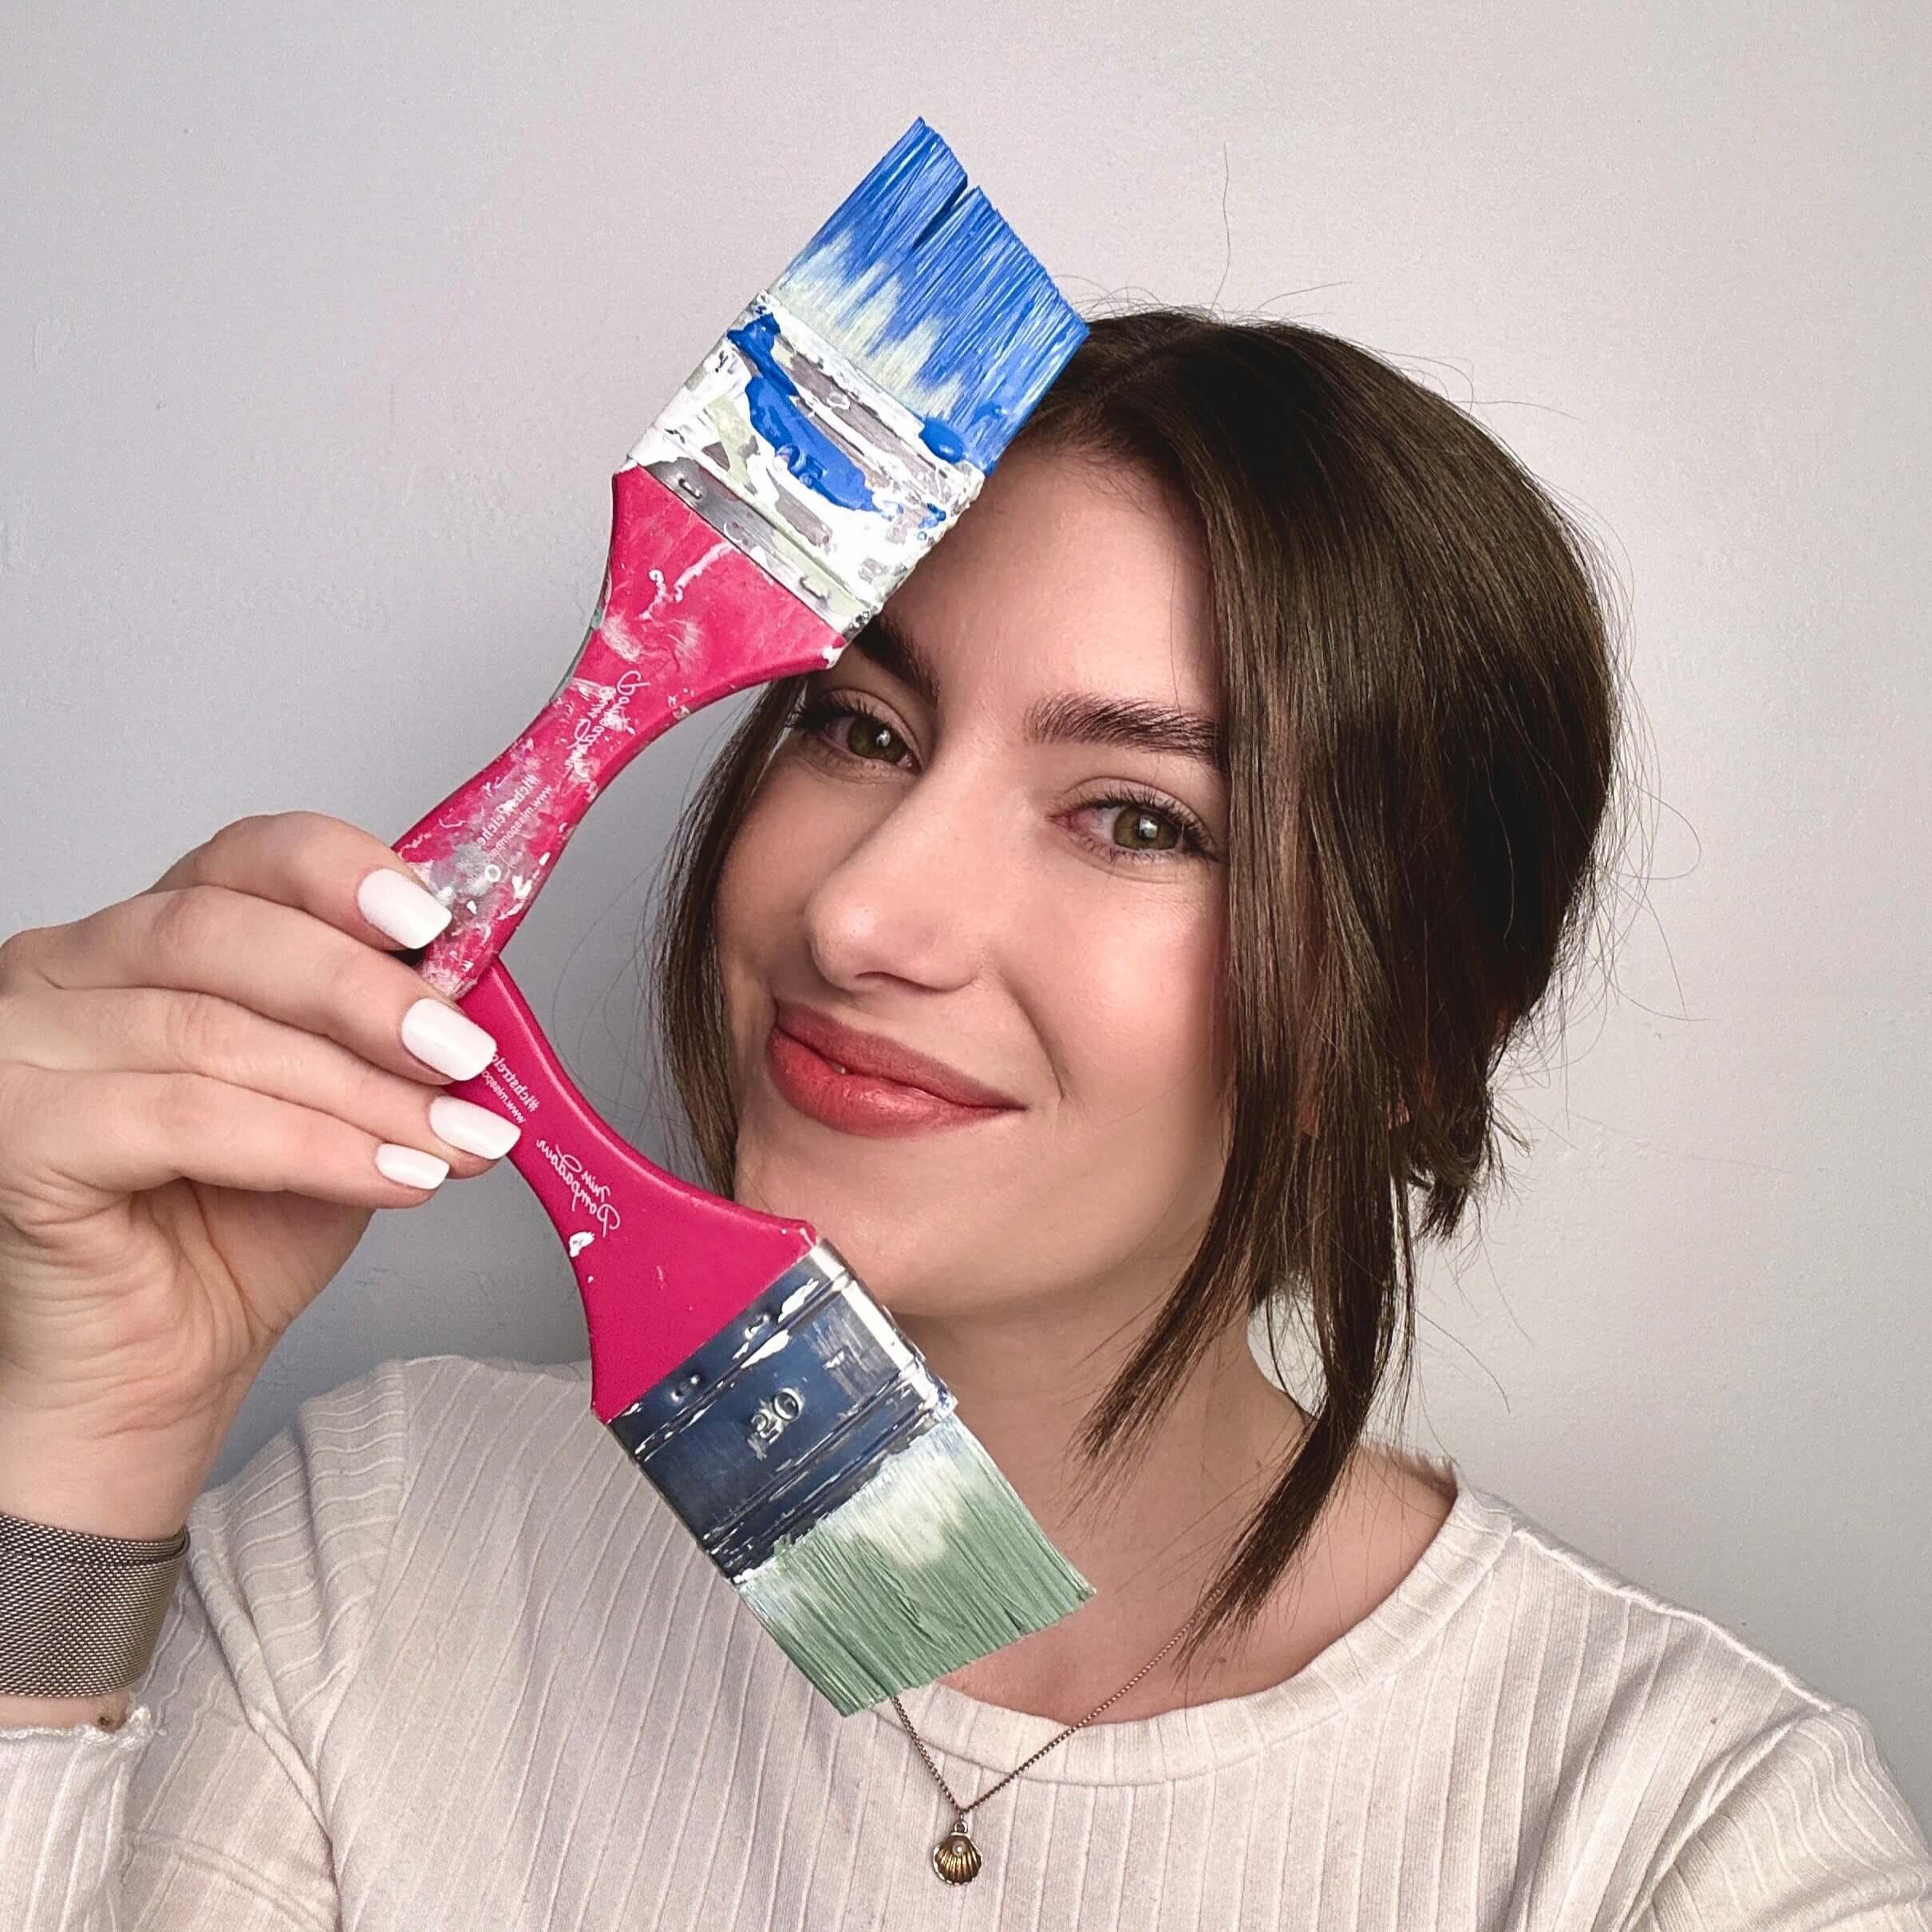
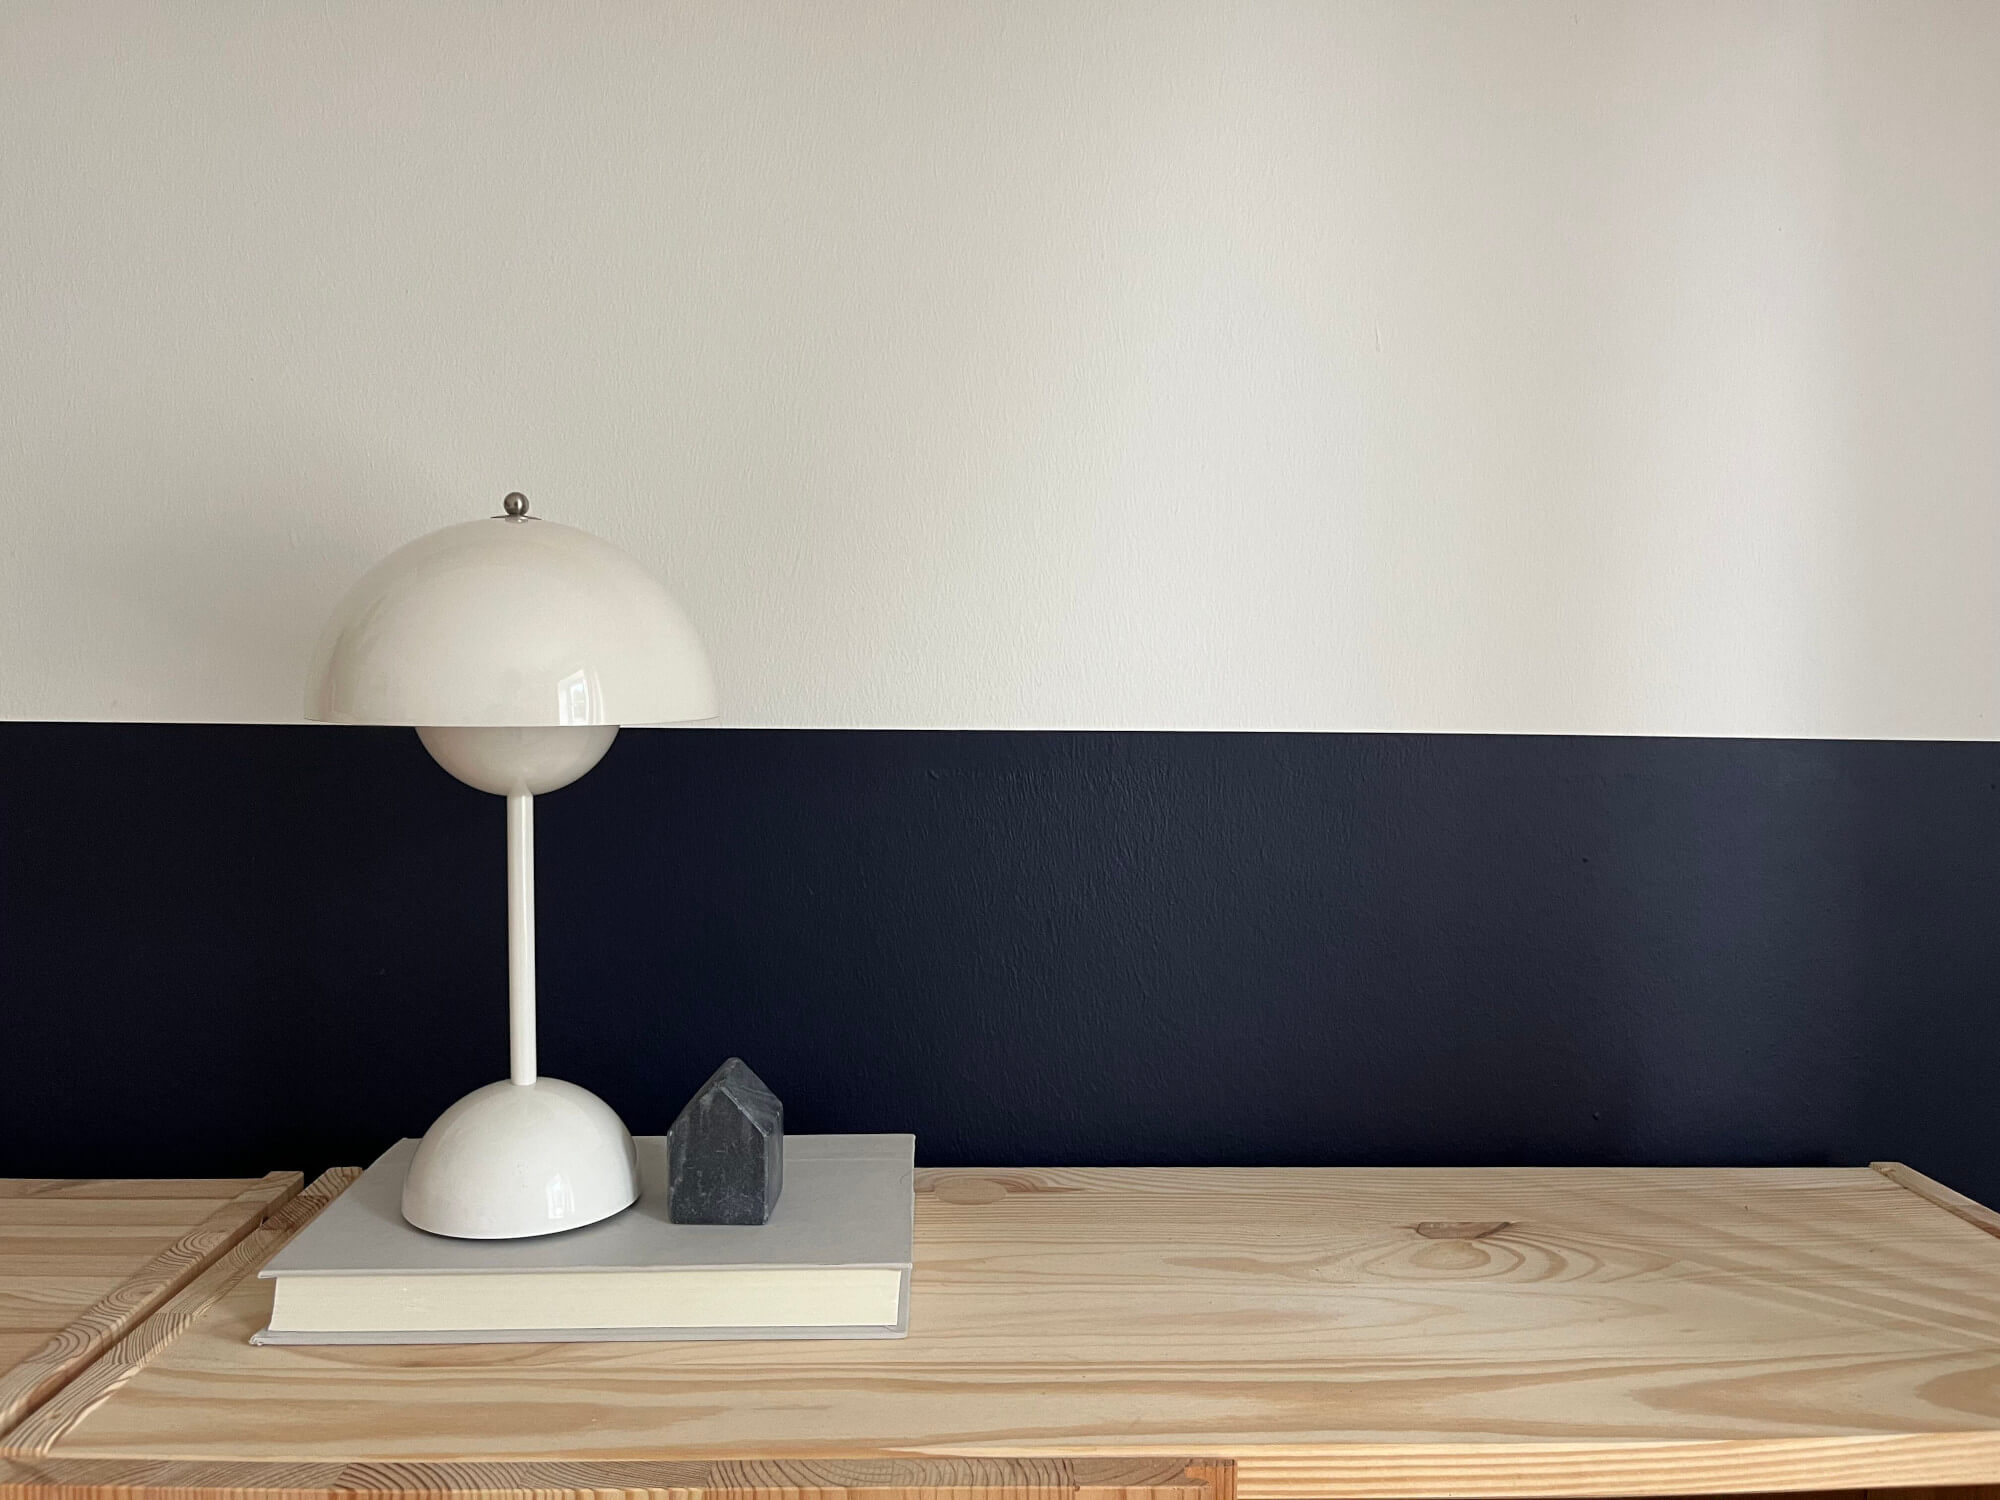
The best way is to hold the colour card against the piece of furniture or tiles you plan to lacquer. Make sure to view the colour card under the various lighting conditions that occur in the room! Colours are very vibrant and look different in every light. After all, your new shade should always look good and you love it, whether in twilight or under bright illumination.
How to Choose the Right Paint Quality
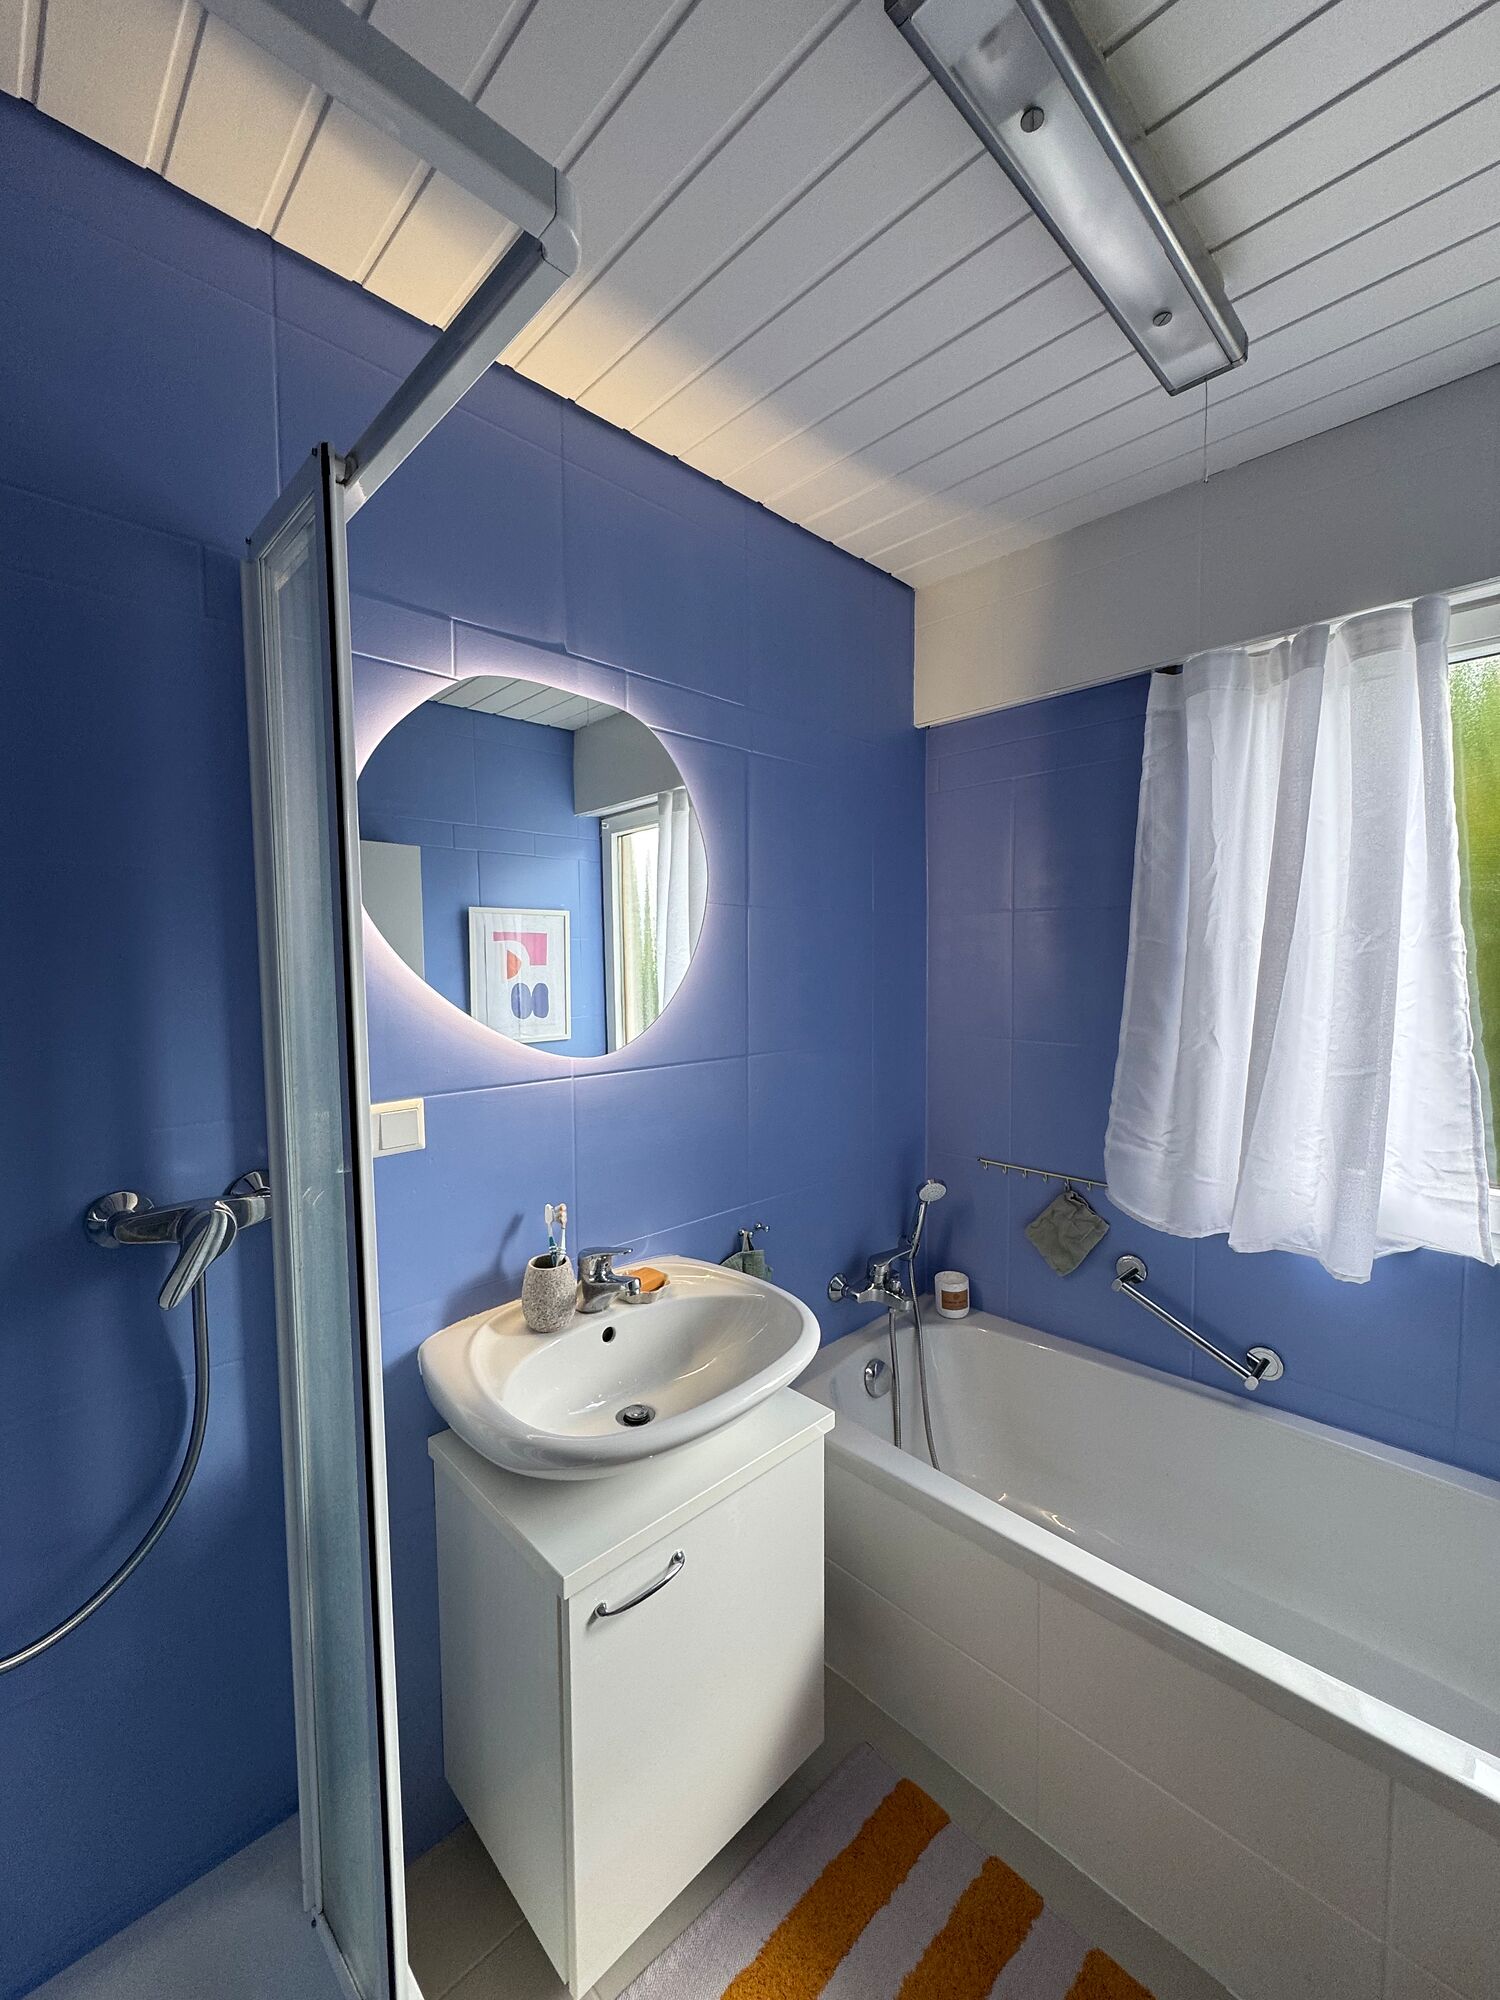
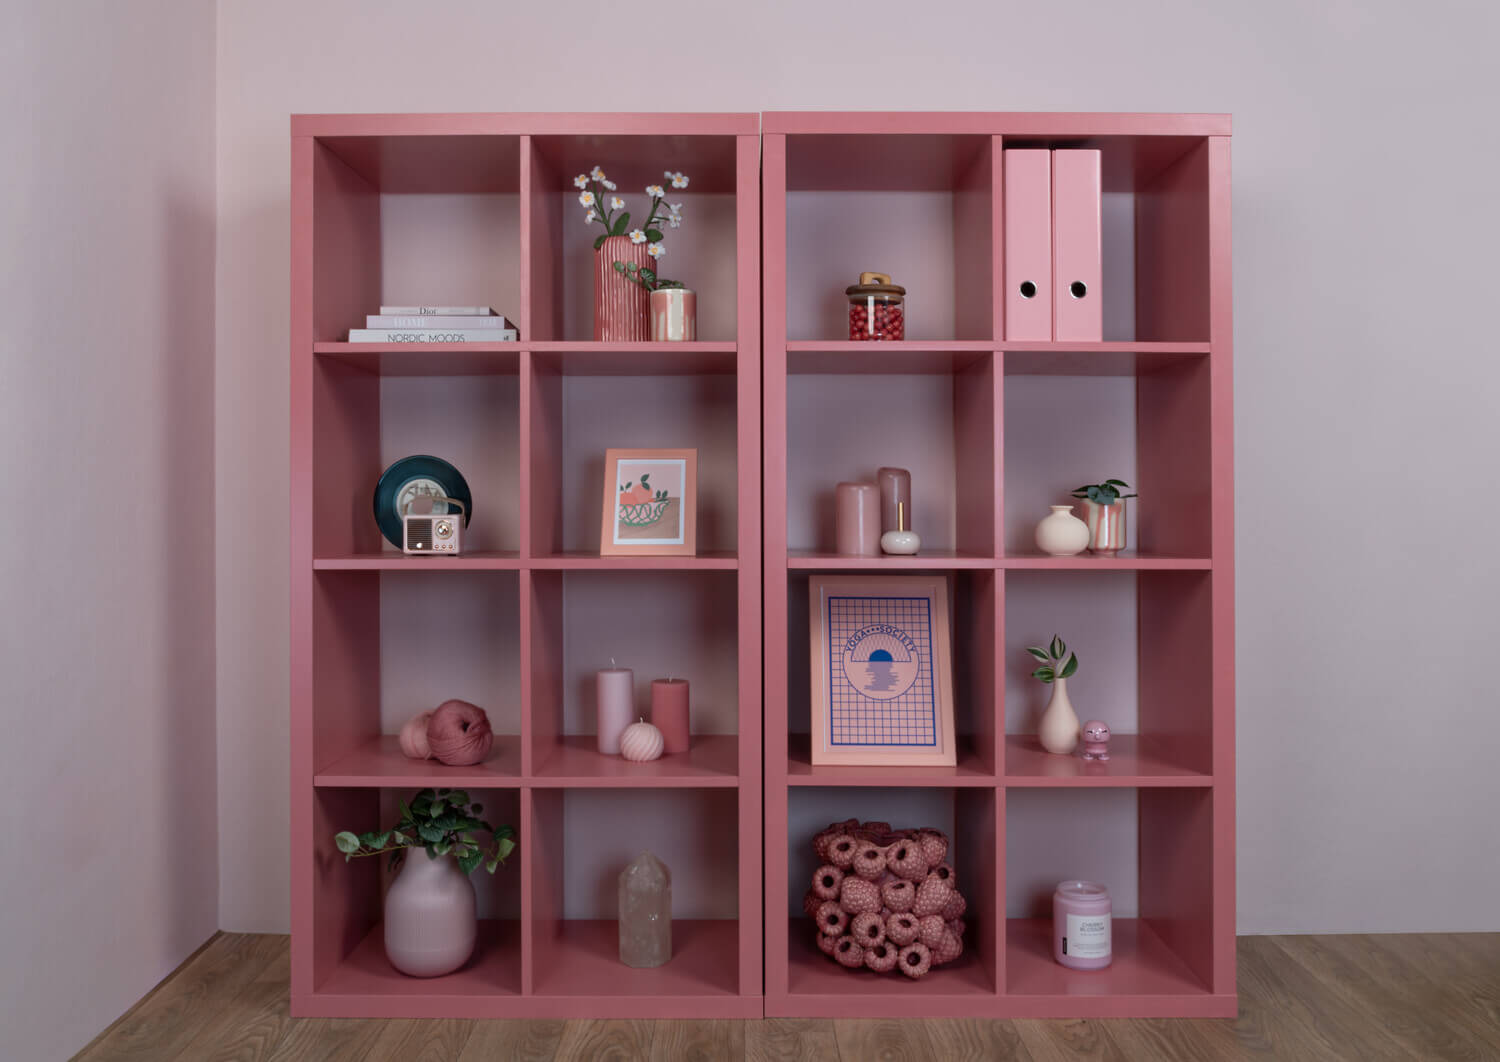
Paints are used to coat wood, metal, stone, concrete, and tiles, whether on walls or floors.
In the MissPompadour Just Paint Collection, you'll find Easy Eggshell!, which we'd particularly like to recommend. It impresses with its subtle shimmer and wide range of applications. Use Easy Eggshell! for all heavily used surfaces, such as tiles, kitchen fronts, tables, and floors. Easy Eggshell! can also be used outdoors.
MissPompadour products make painting easy for beginners – our paints don't drip and are simple to use thanks to their creamy consistency. So go on, give it a try! We've put together the most important painting tips for beginners in this blog.
Calculate paint quantity
Once you have decided on the colour shade, you now need to find out how much paint you need
To do this, you can simply add up the individual surfaces. Once you have calculated the area to be painted, you can enter it into the quantity calculator for the respective colour shade. This will show you the average paint quantity required.
Please note that this is only a guide value! Depending on the nature and absorbency of the surface, you may need more or less paint. On average, 1 litre of varnish is enough for 8 - 10m2. If you are unsure, please contact our customer service team with your project. They can give you a more precise assessment of whether your project needs more or less paint.
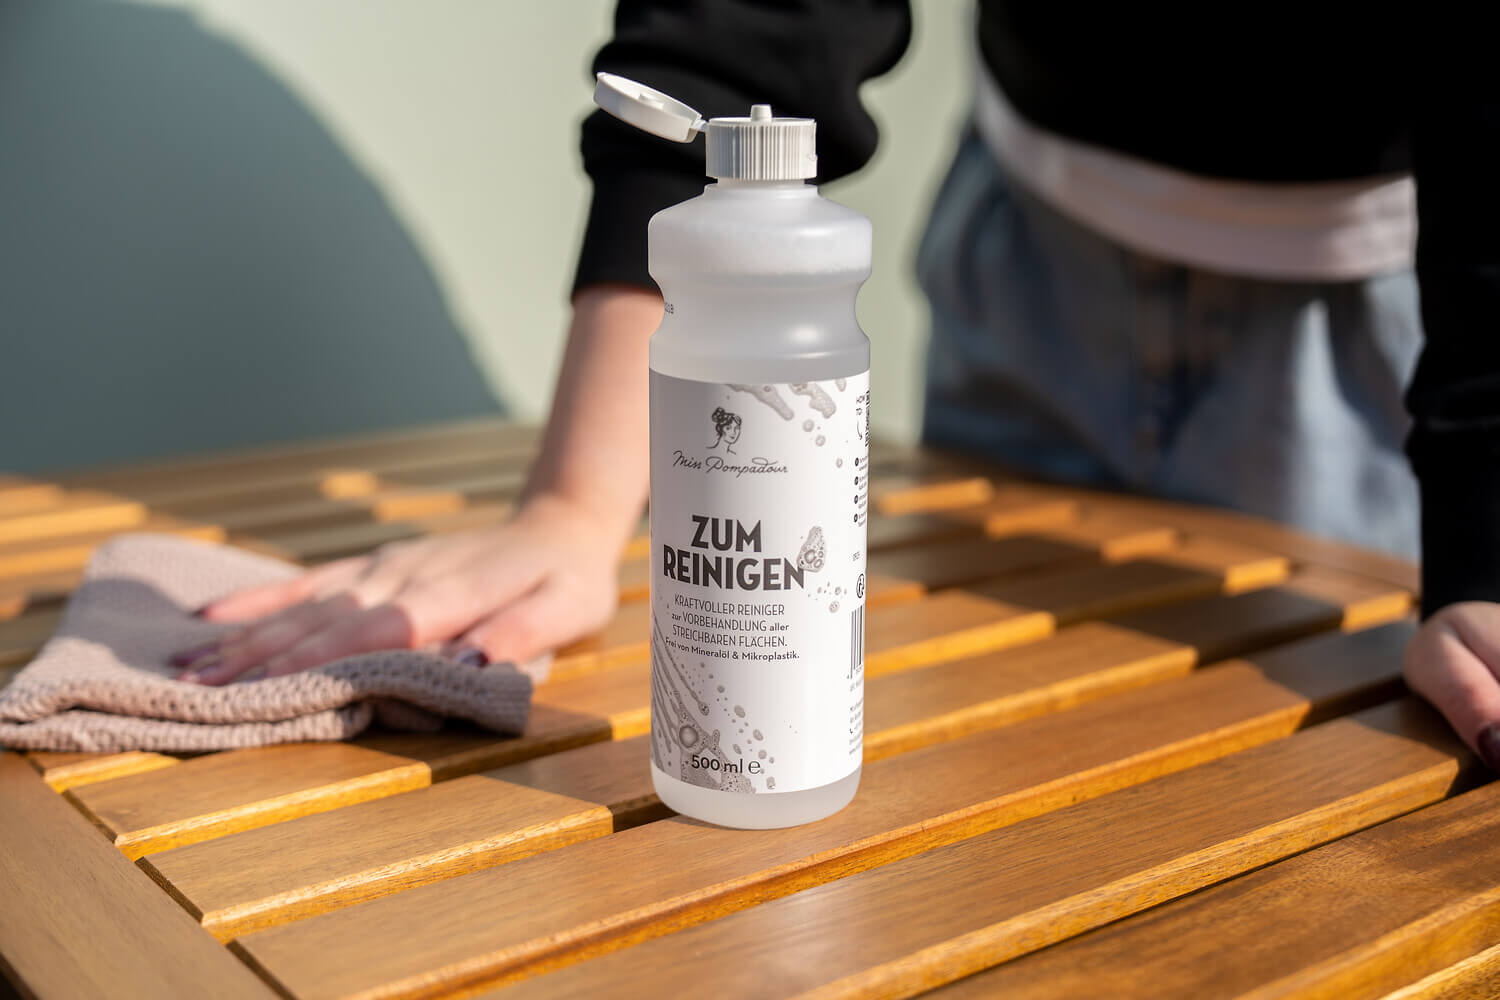
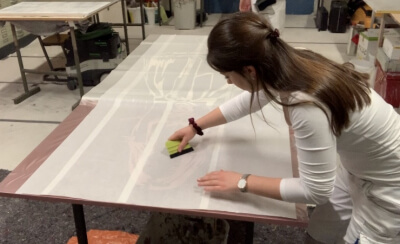
Clean properly
Even if it seems like a trivial and negligible step at first, correct cleaning before painting is often the most important pillar for your perfect painting result.
Because even if the surface appears clean at first glance, there may be wax, traces of silicone or dust on it. However, this doesn't just affect old furniture from the flea market. Even most new furniture, fresh out of the box, needs to be cleaned well. This is because it is often coated for a better grip.
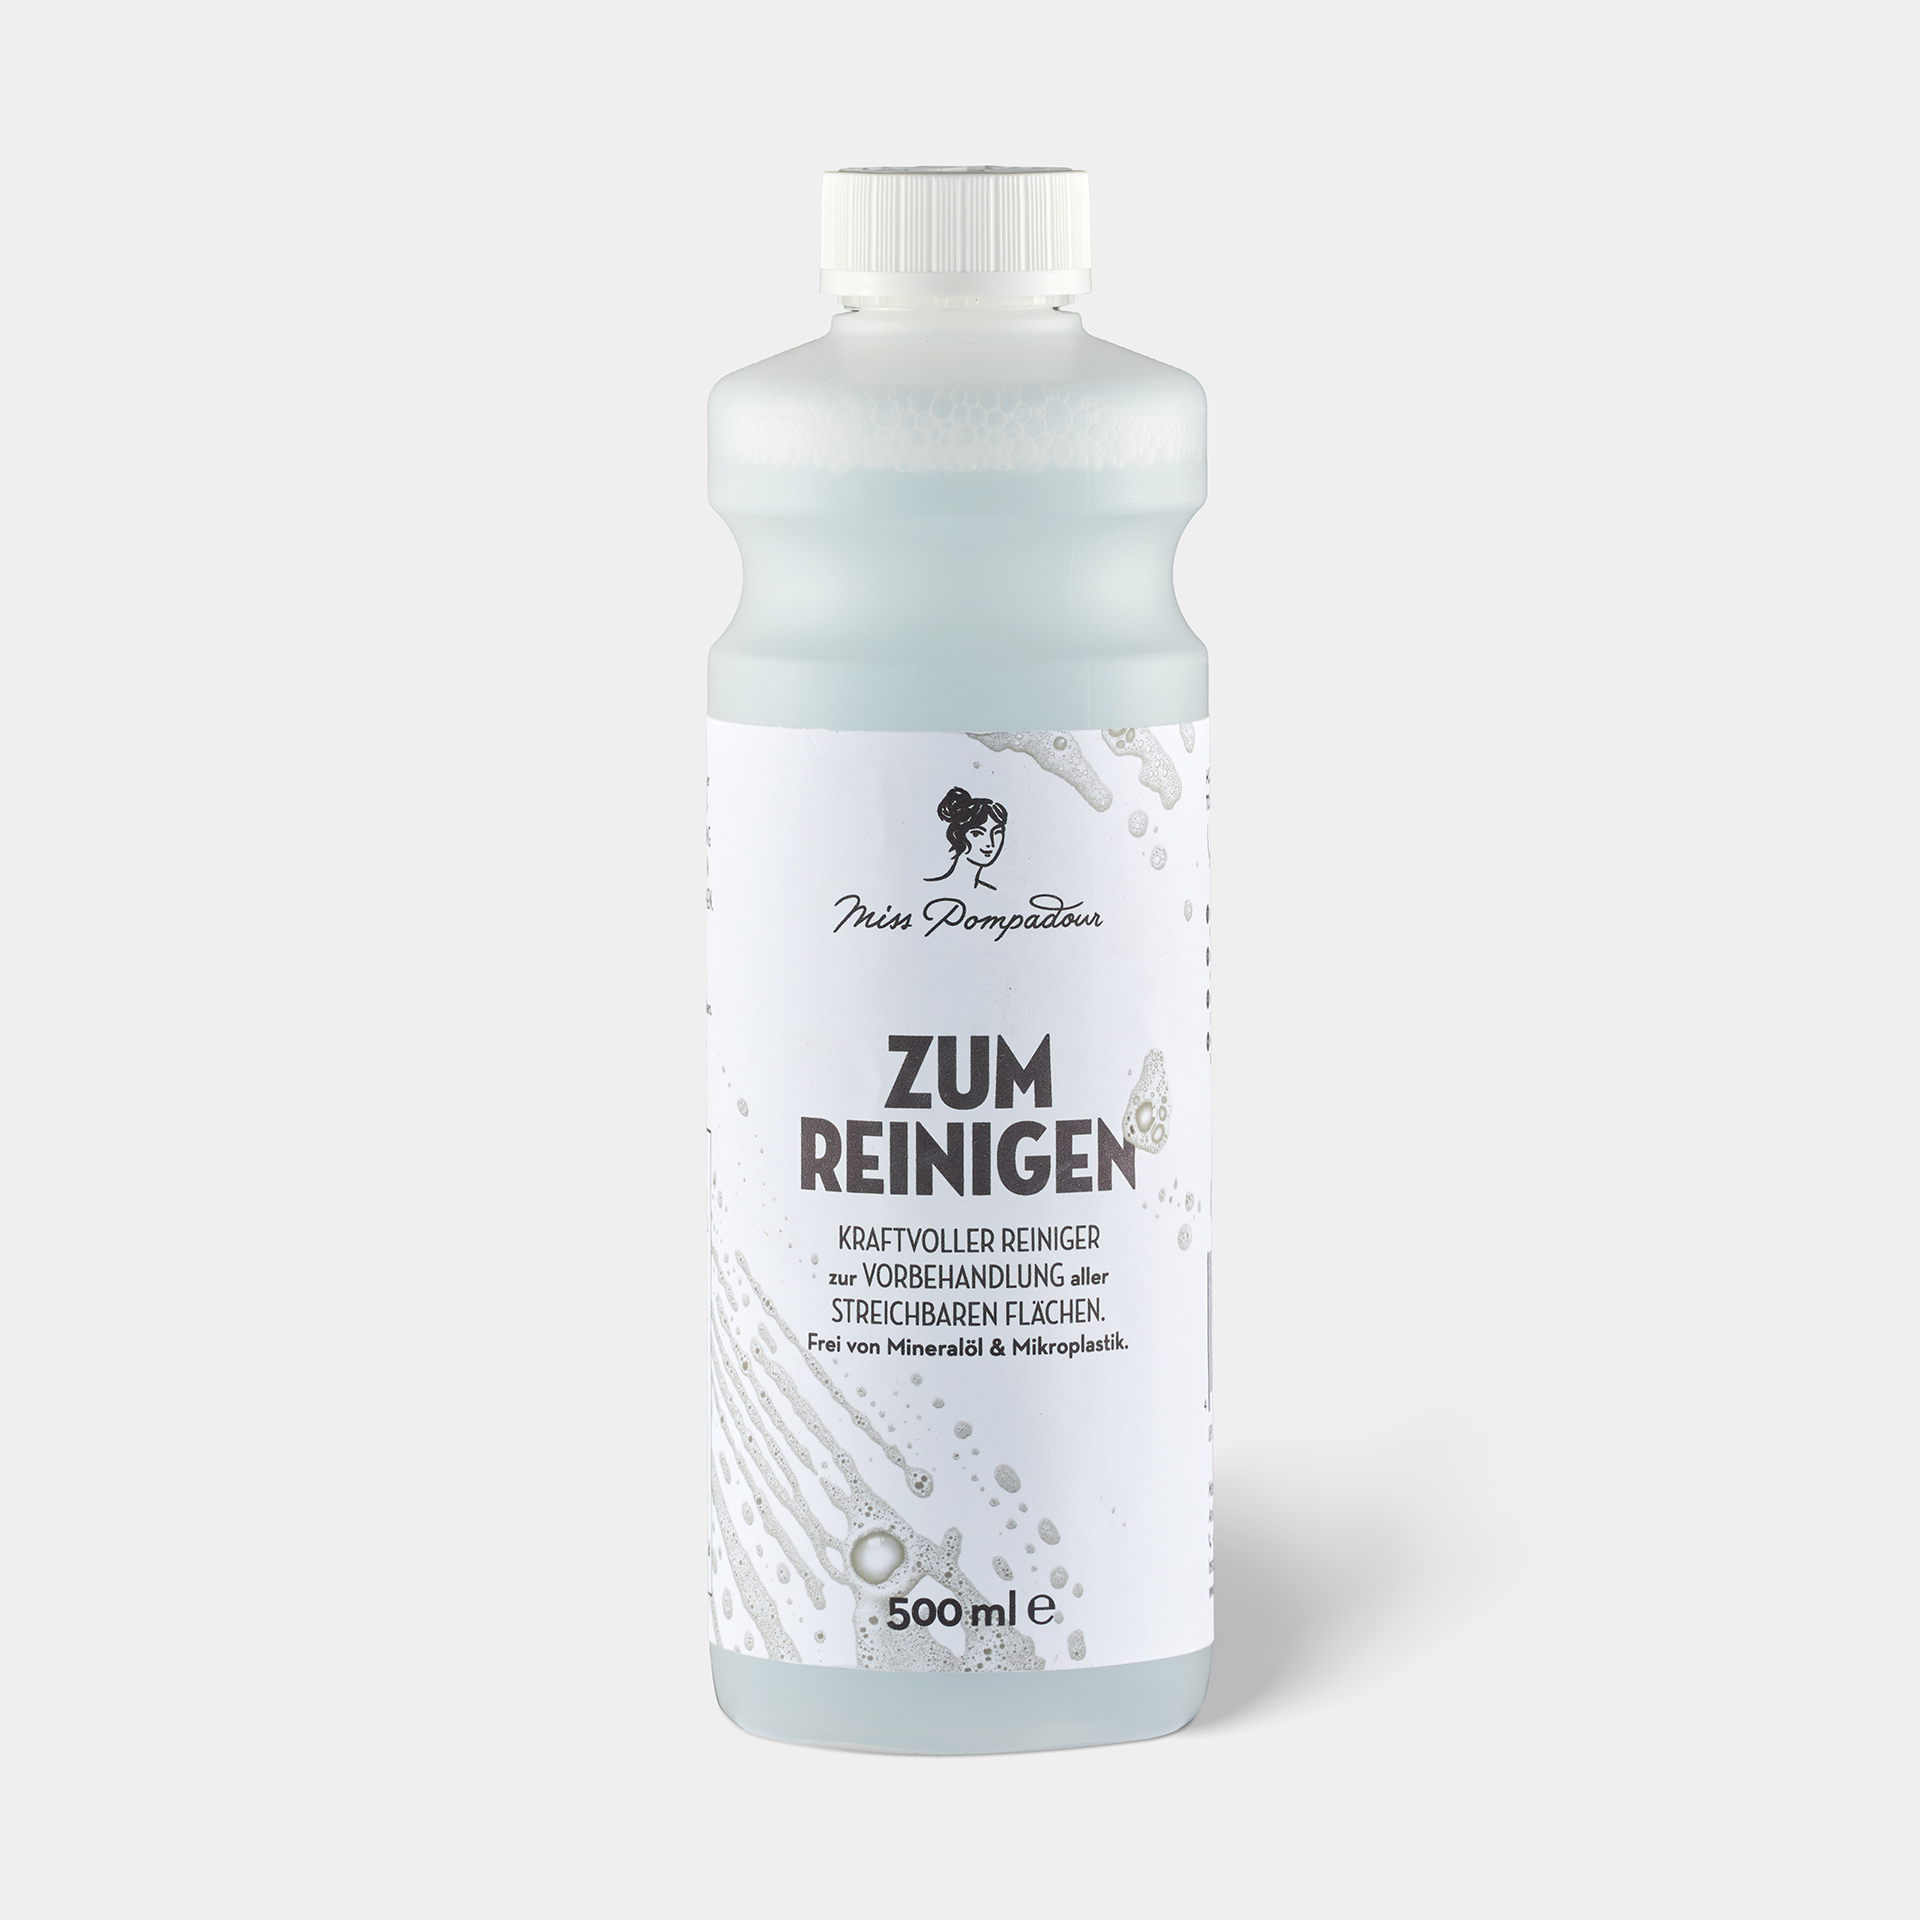
So before you paint your furniture, it must be completely free of dust and grease! Of course, this also applies to all other materials such as tiles and plastic surfaces, especially in kitchens. You can use our To Clean cleaner for this purpose
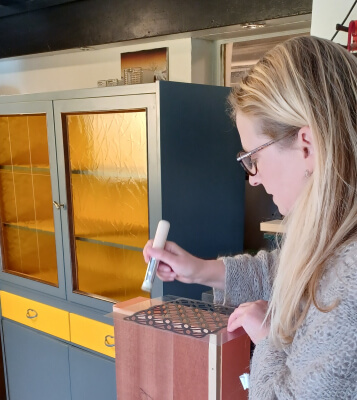
Primer - yes or no?
You do not normally need a primer on surfaces that have already been painted.
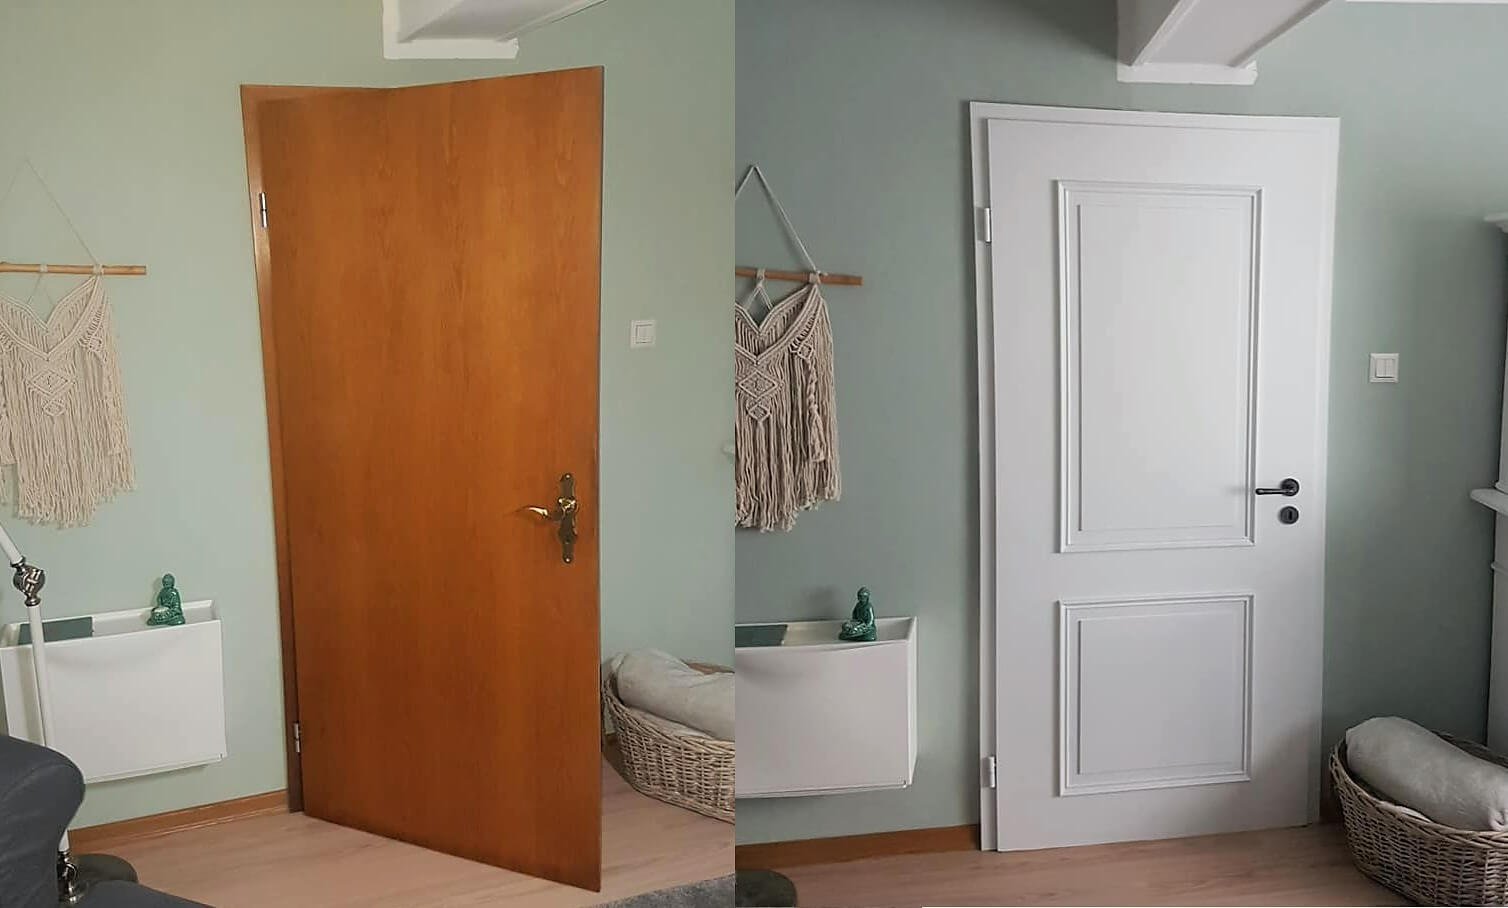
The situation is different with unpainted, untreated wood. It absorbs a lot of varnish colour. It is therefore worth priming with MissPompadour To Bond & Block to close the pores. There are also woods, such as oak, where tannins can still be released from the wood after years of painting. Priming with To Bond & Block is recommended here. Even if there are old stains such as ink or soot on a wooden surface, it must be primed before varnishing
Priming is very important on smooth surfaces such as plastic veneer, metal or tiles. By priming, the varnish will also adhere securely to very smooth surfaces
The right coating technique
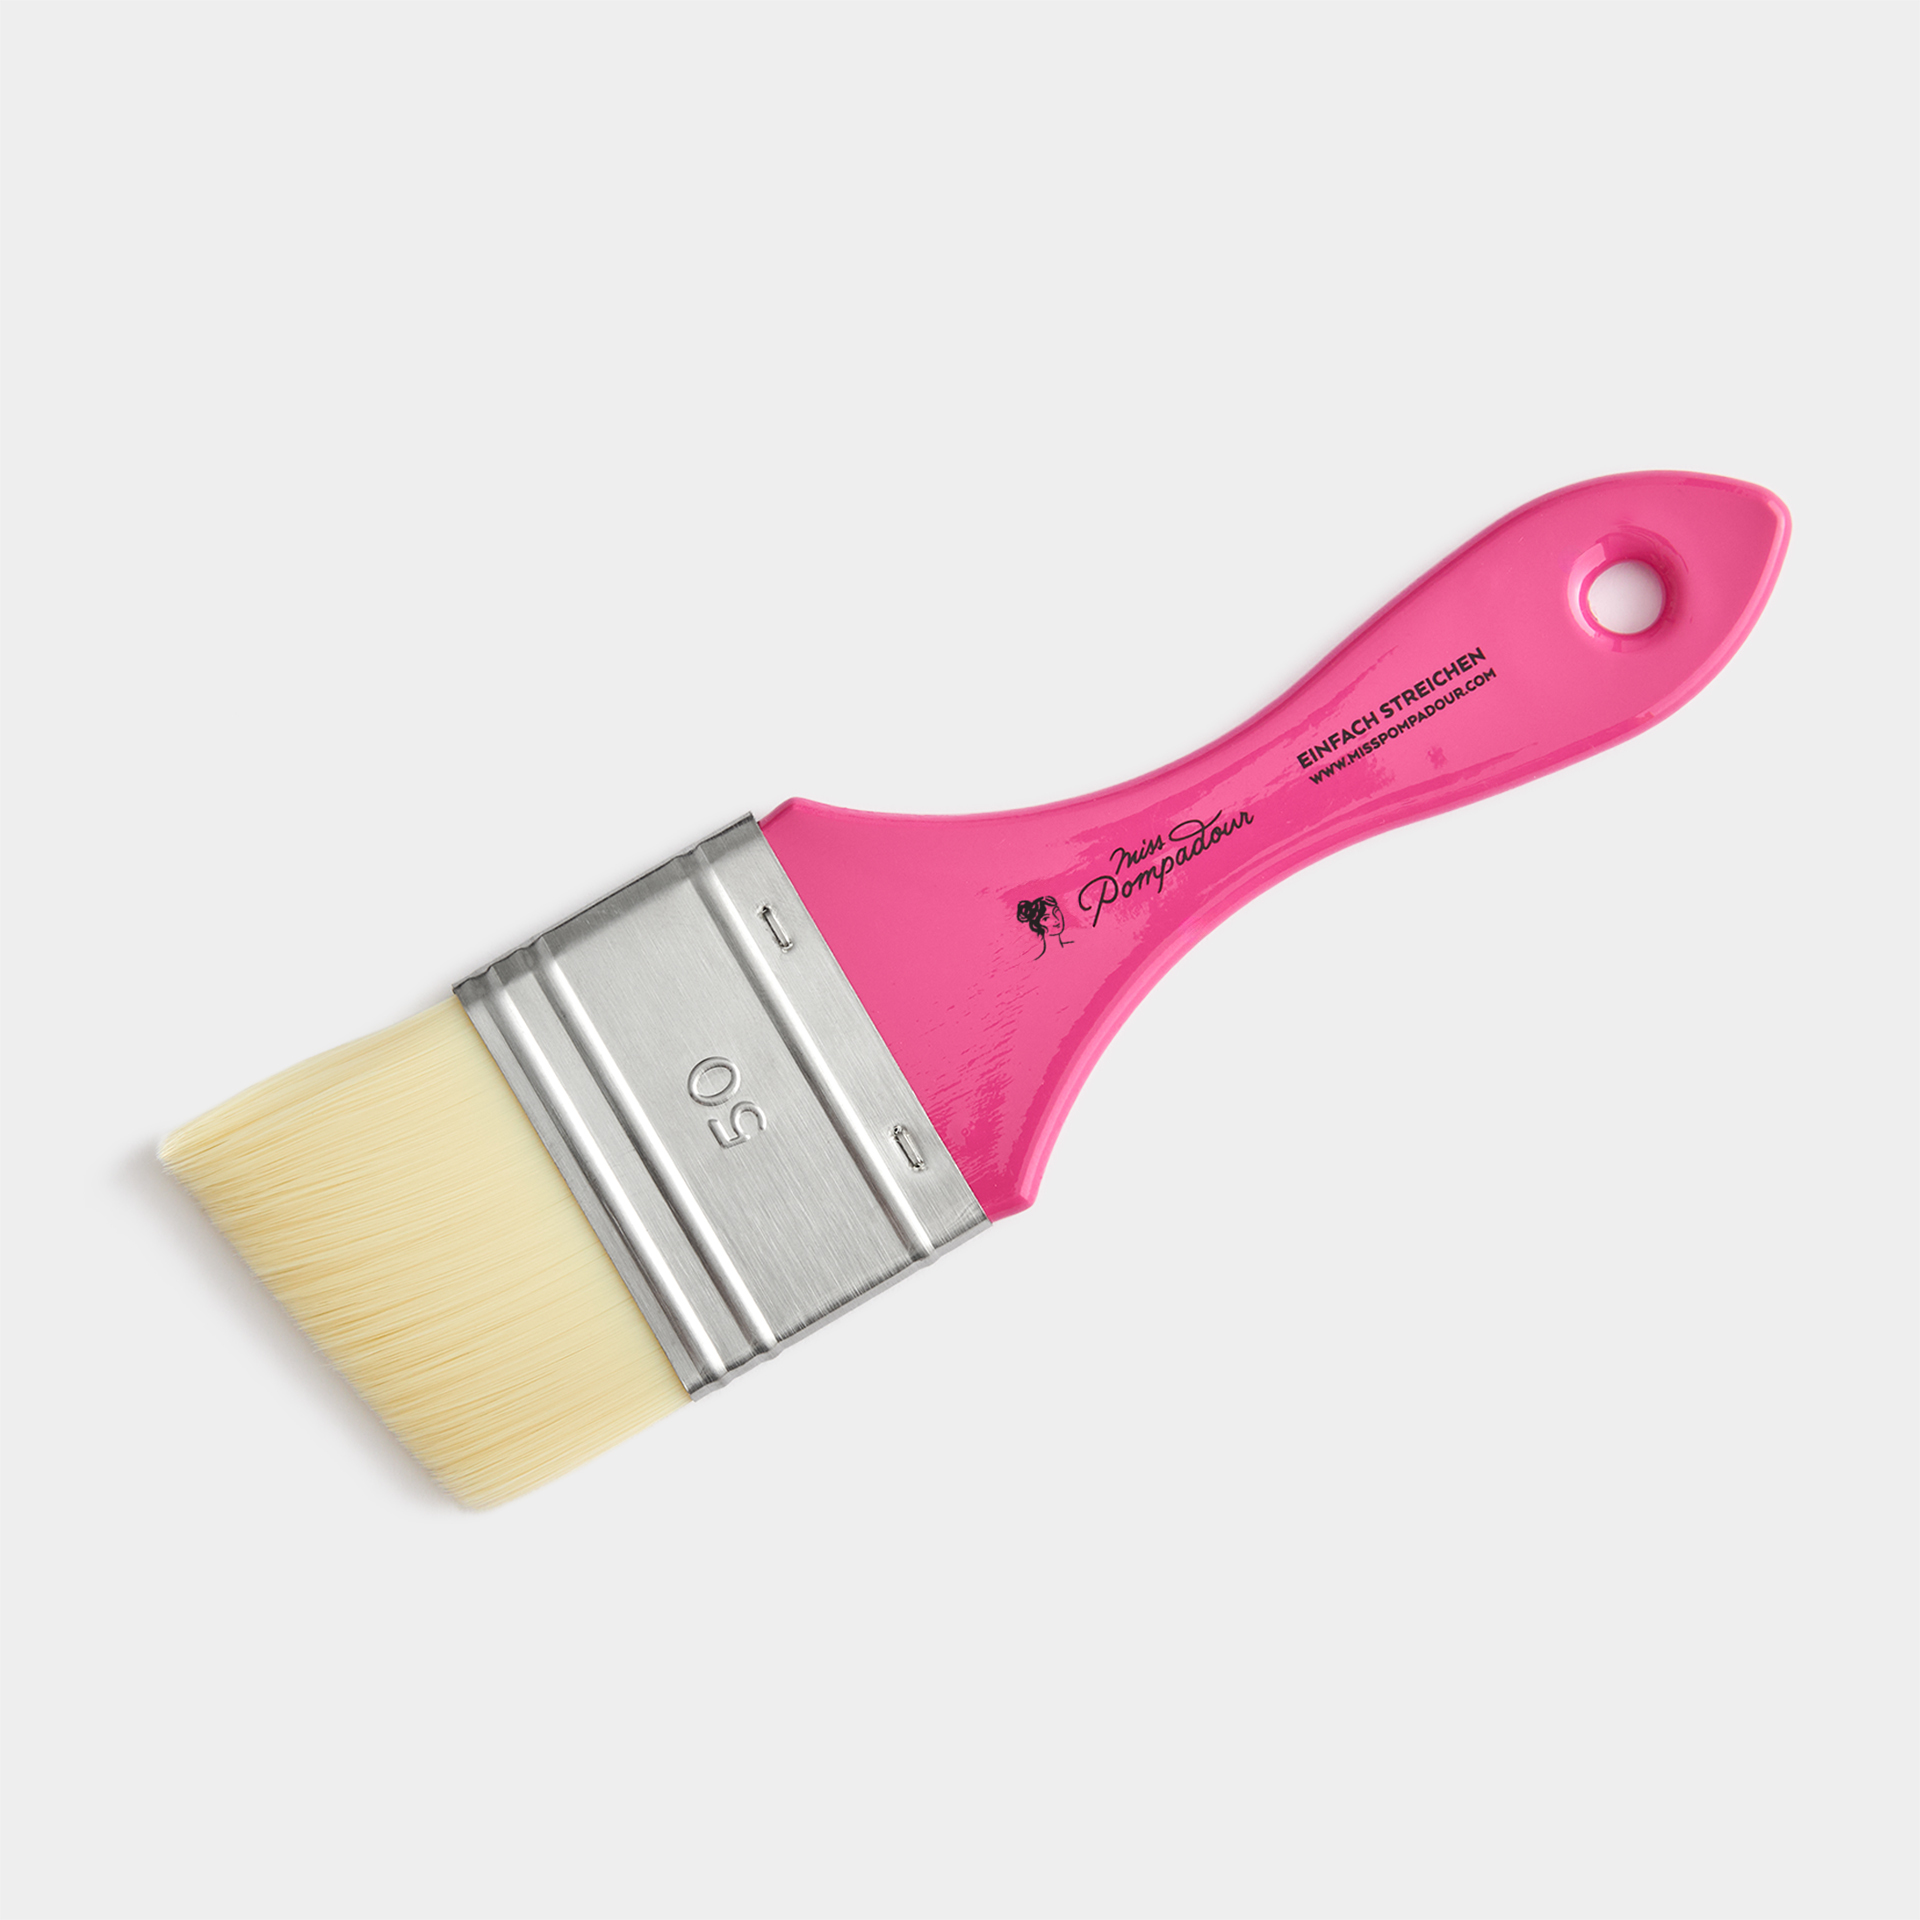
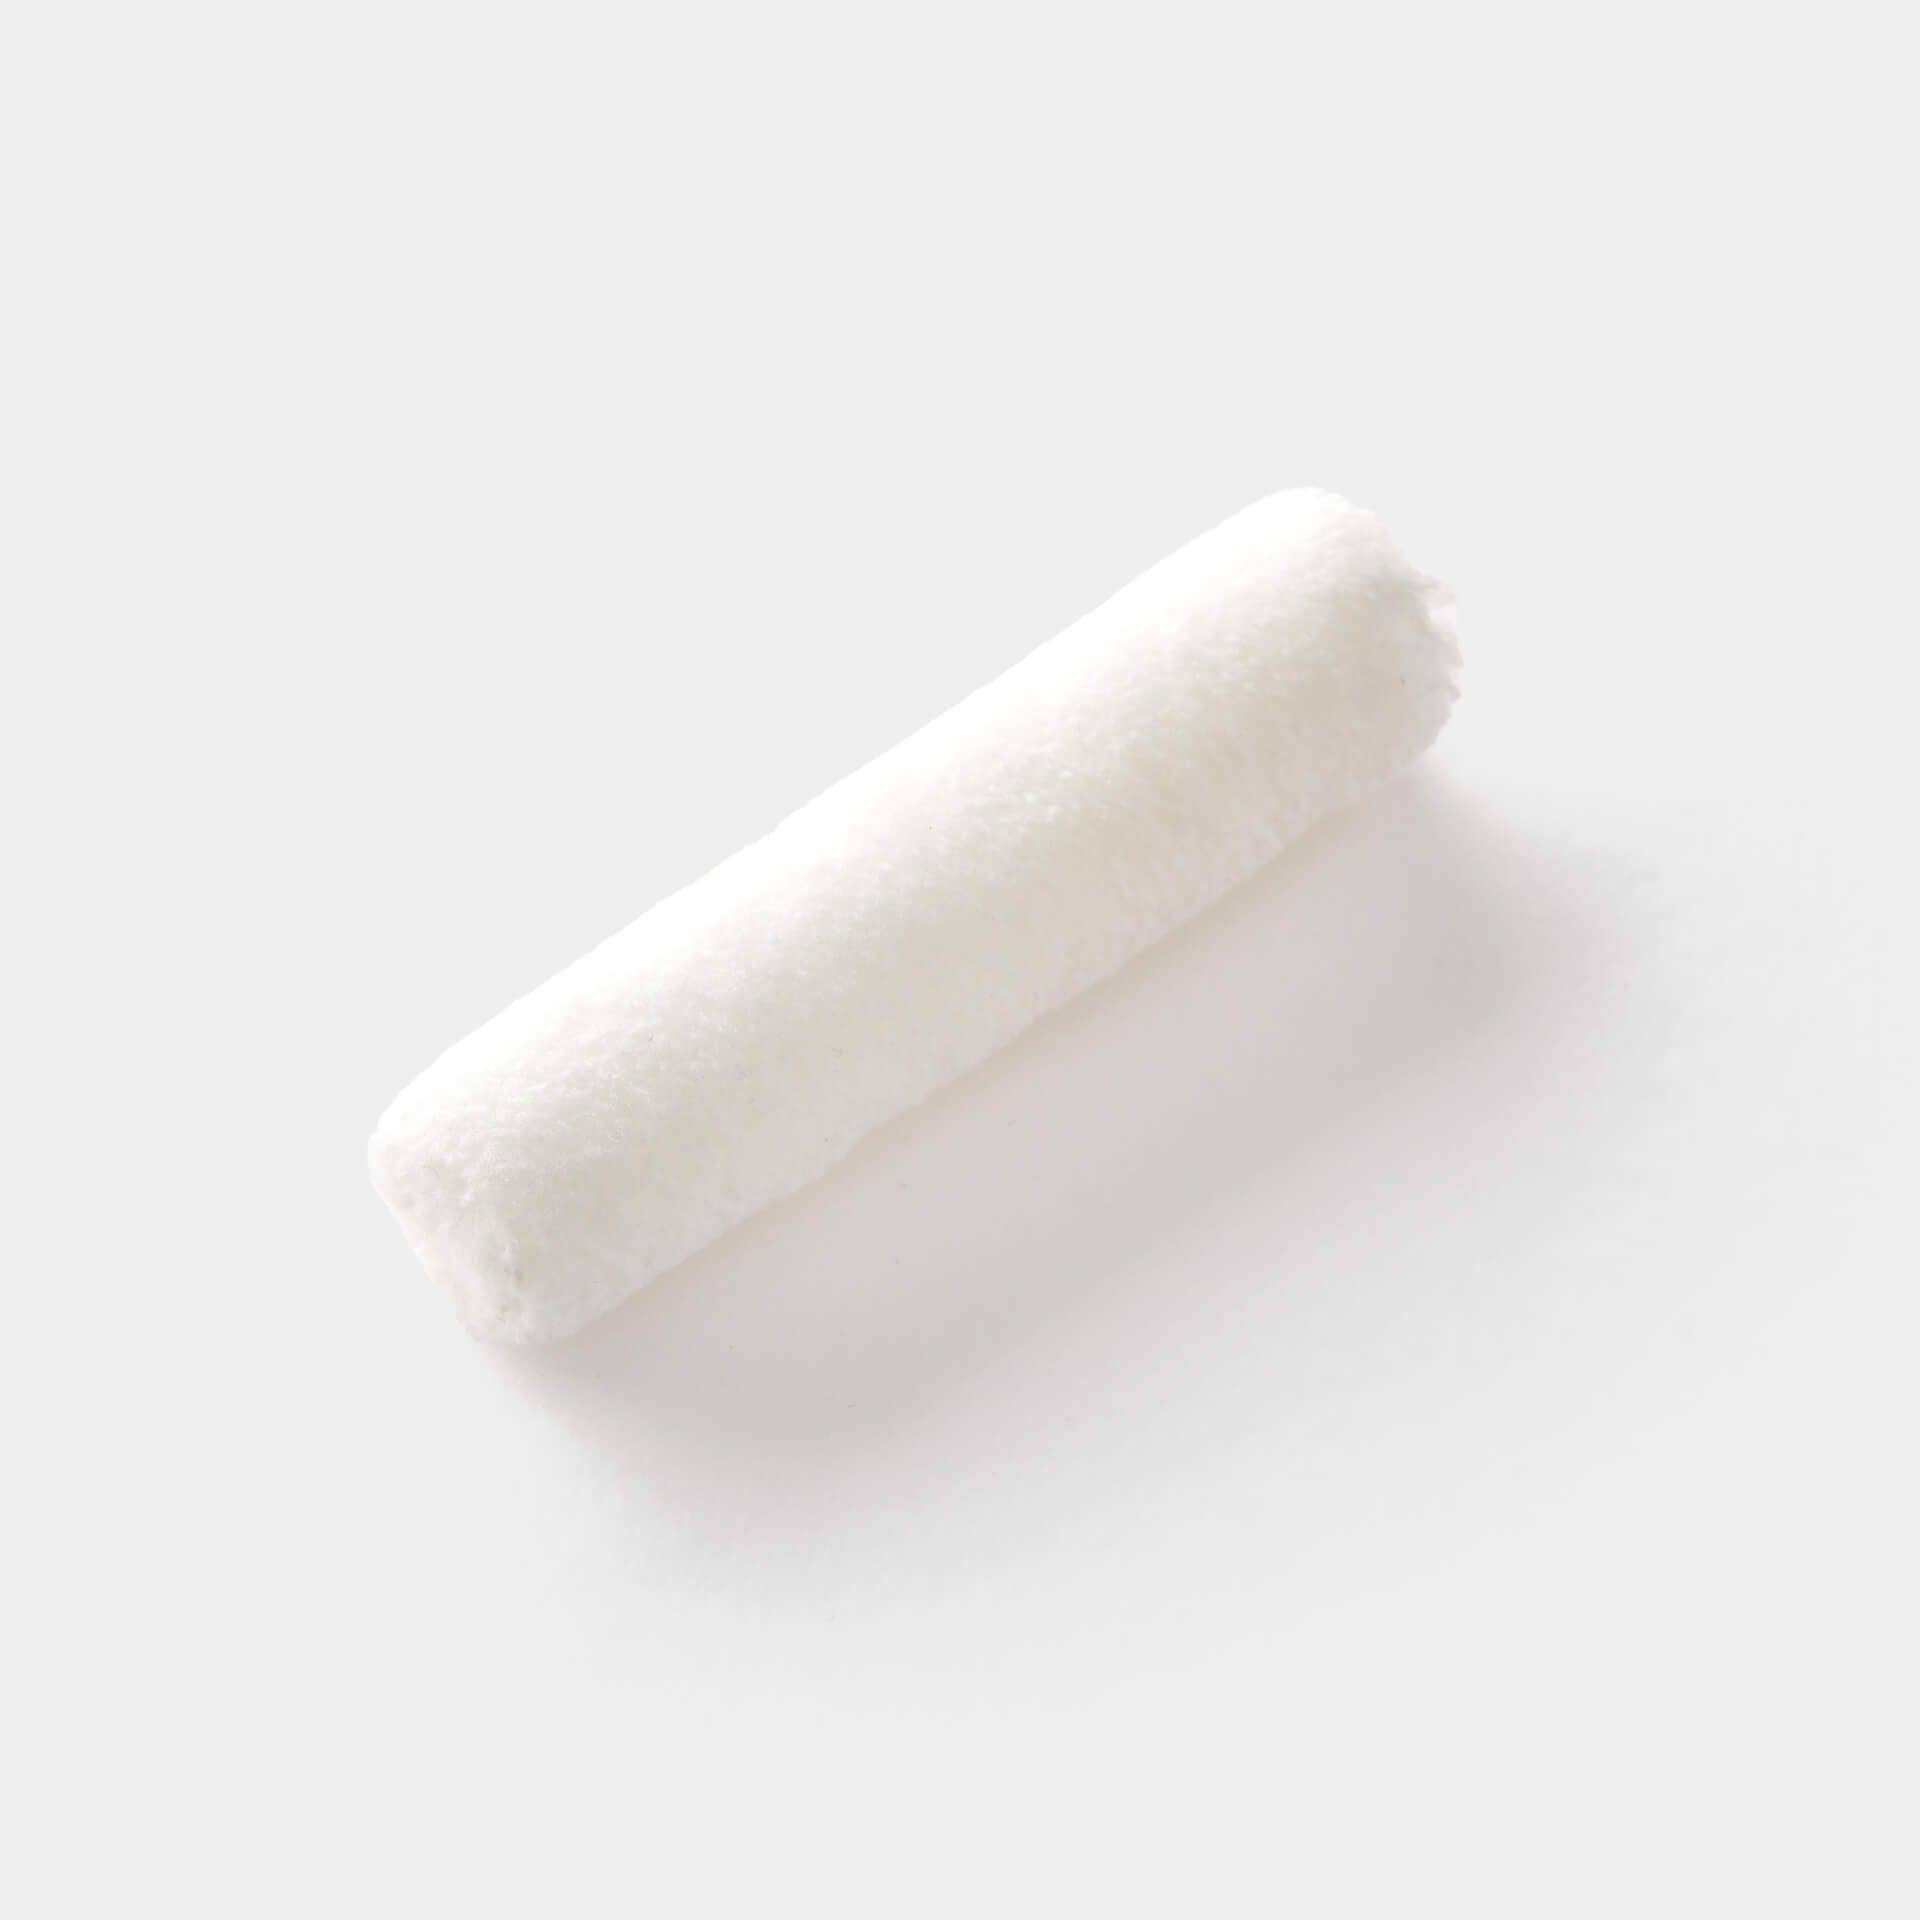
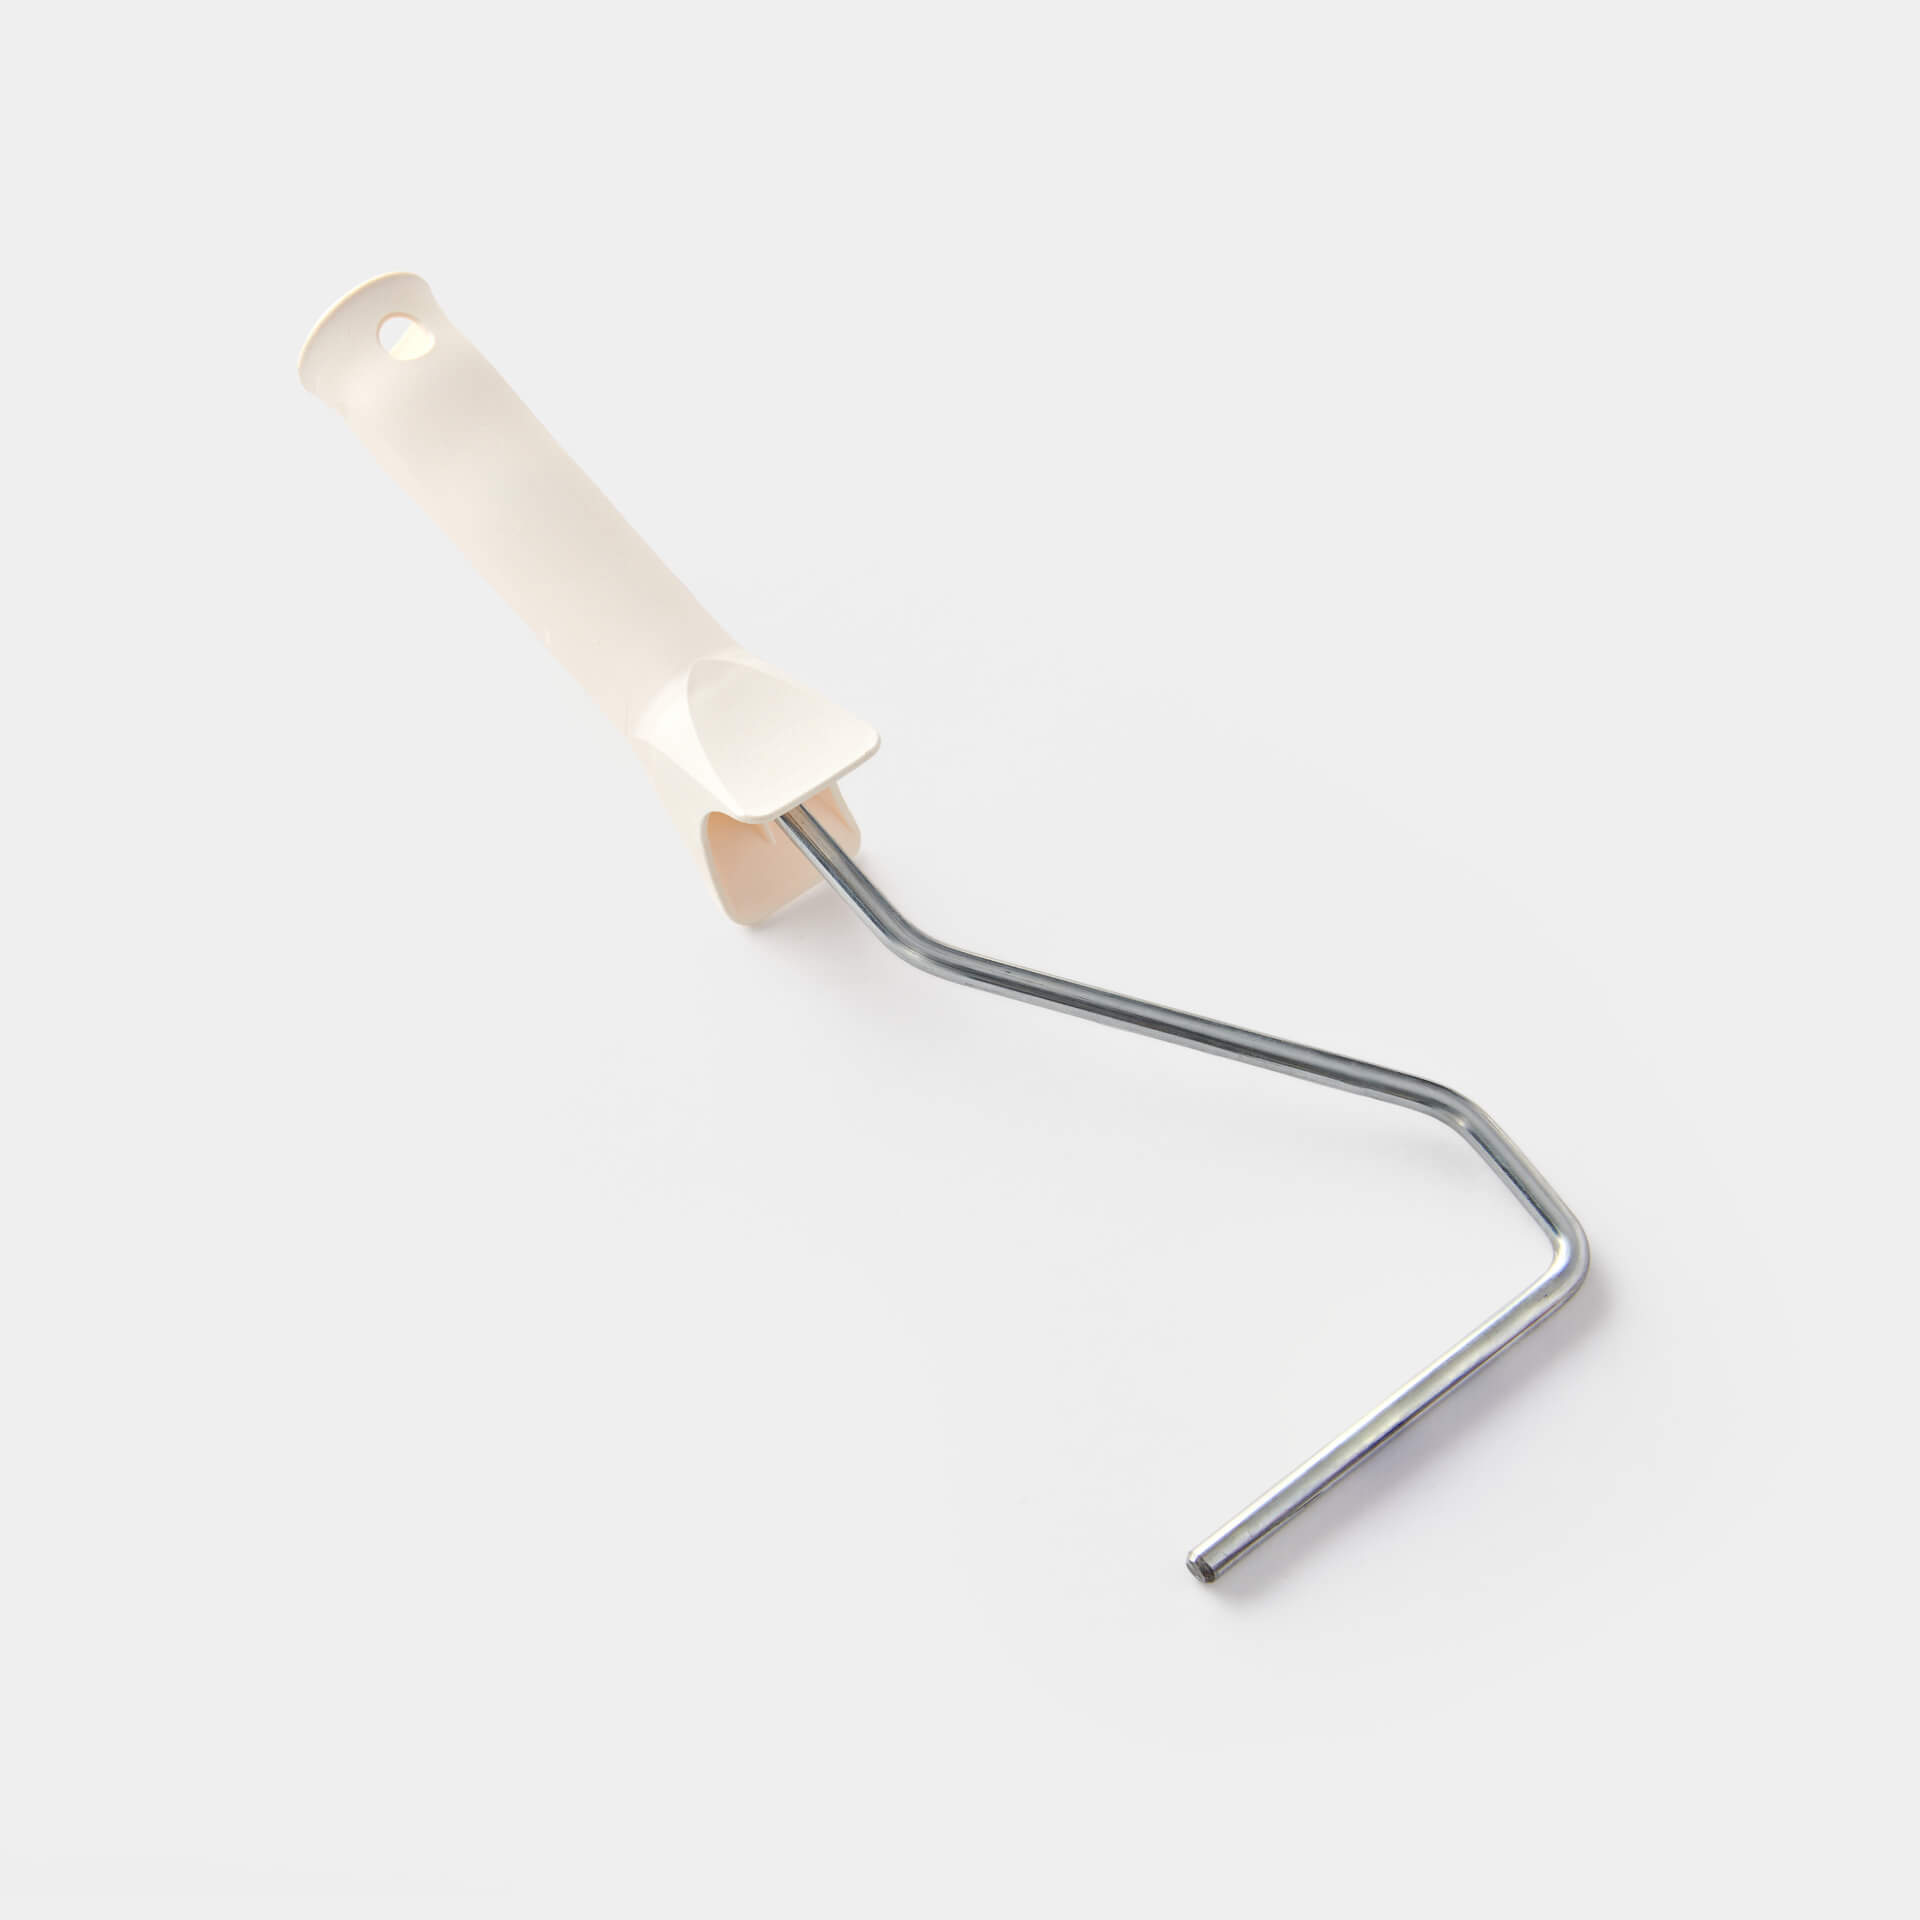
The right tool is important. It's best to use one of our great MissPompadour brushes with the fine bristles and bevelled edge. This makes it easy to reach all corners and angles when painting. For larger areas, use a paint roller
Now it's time to paint
- First, you should mix the paint well with the supplied stirring stick so that the pigments are evenly distributed in the paint.
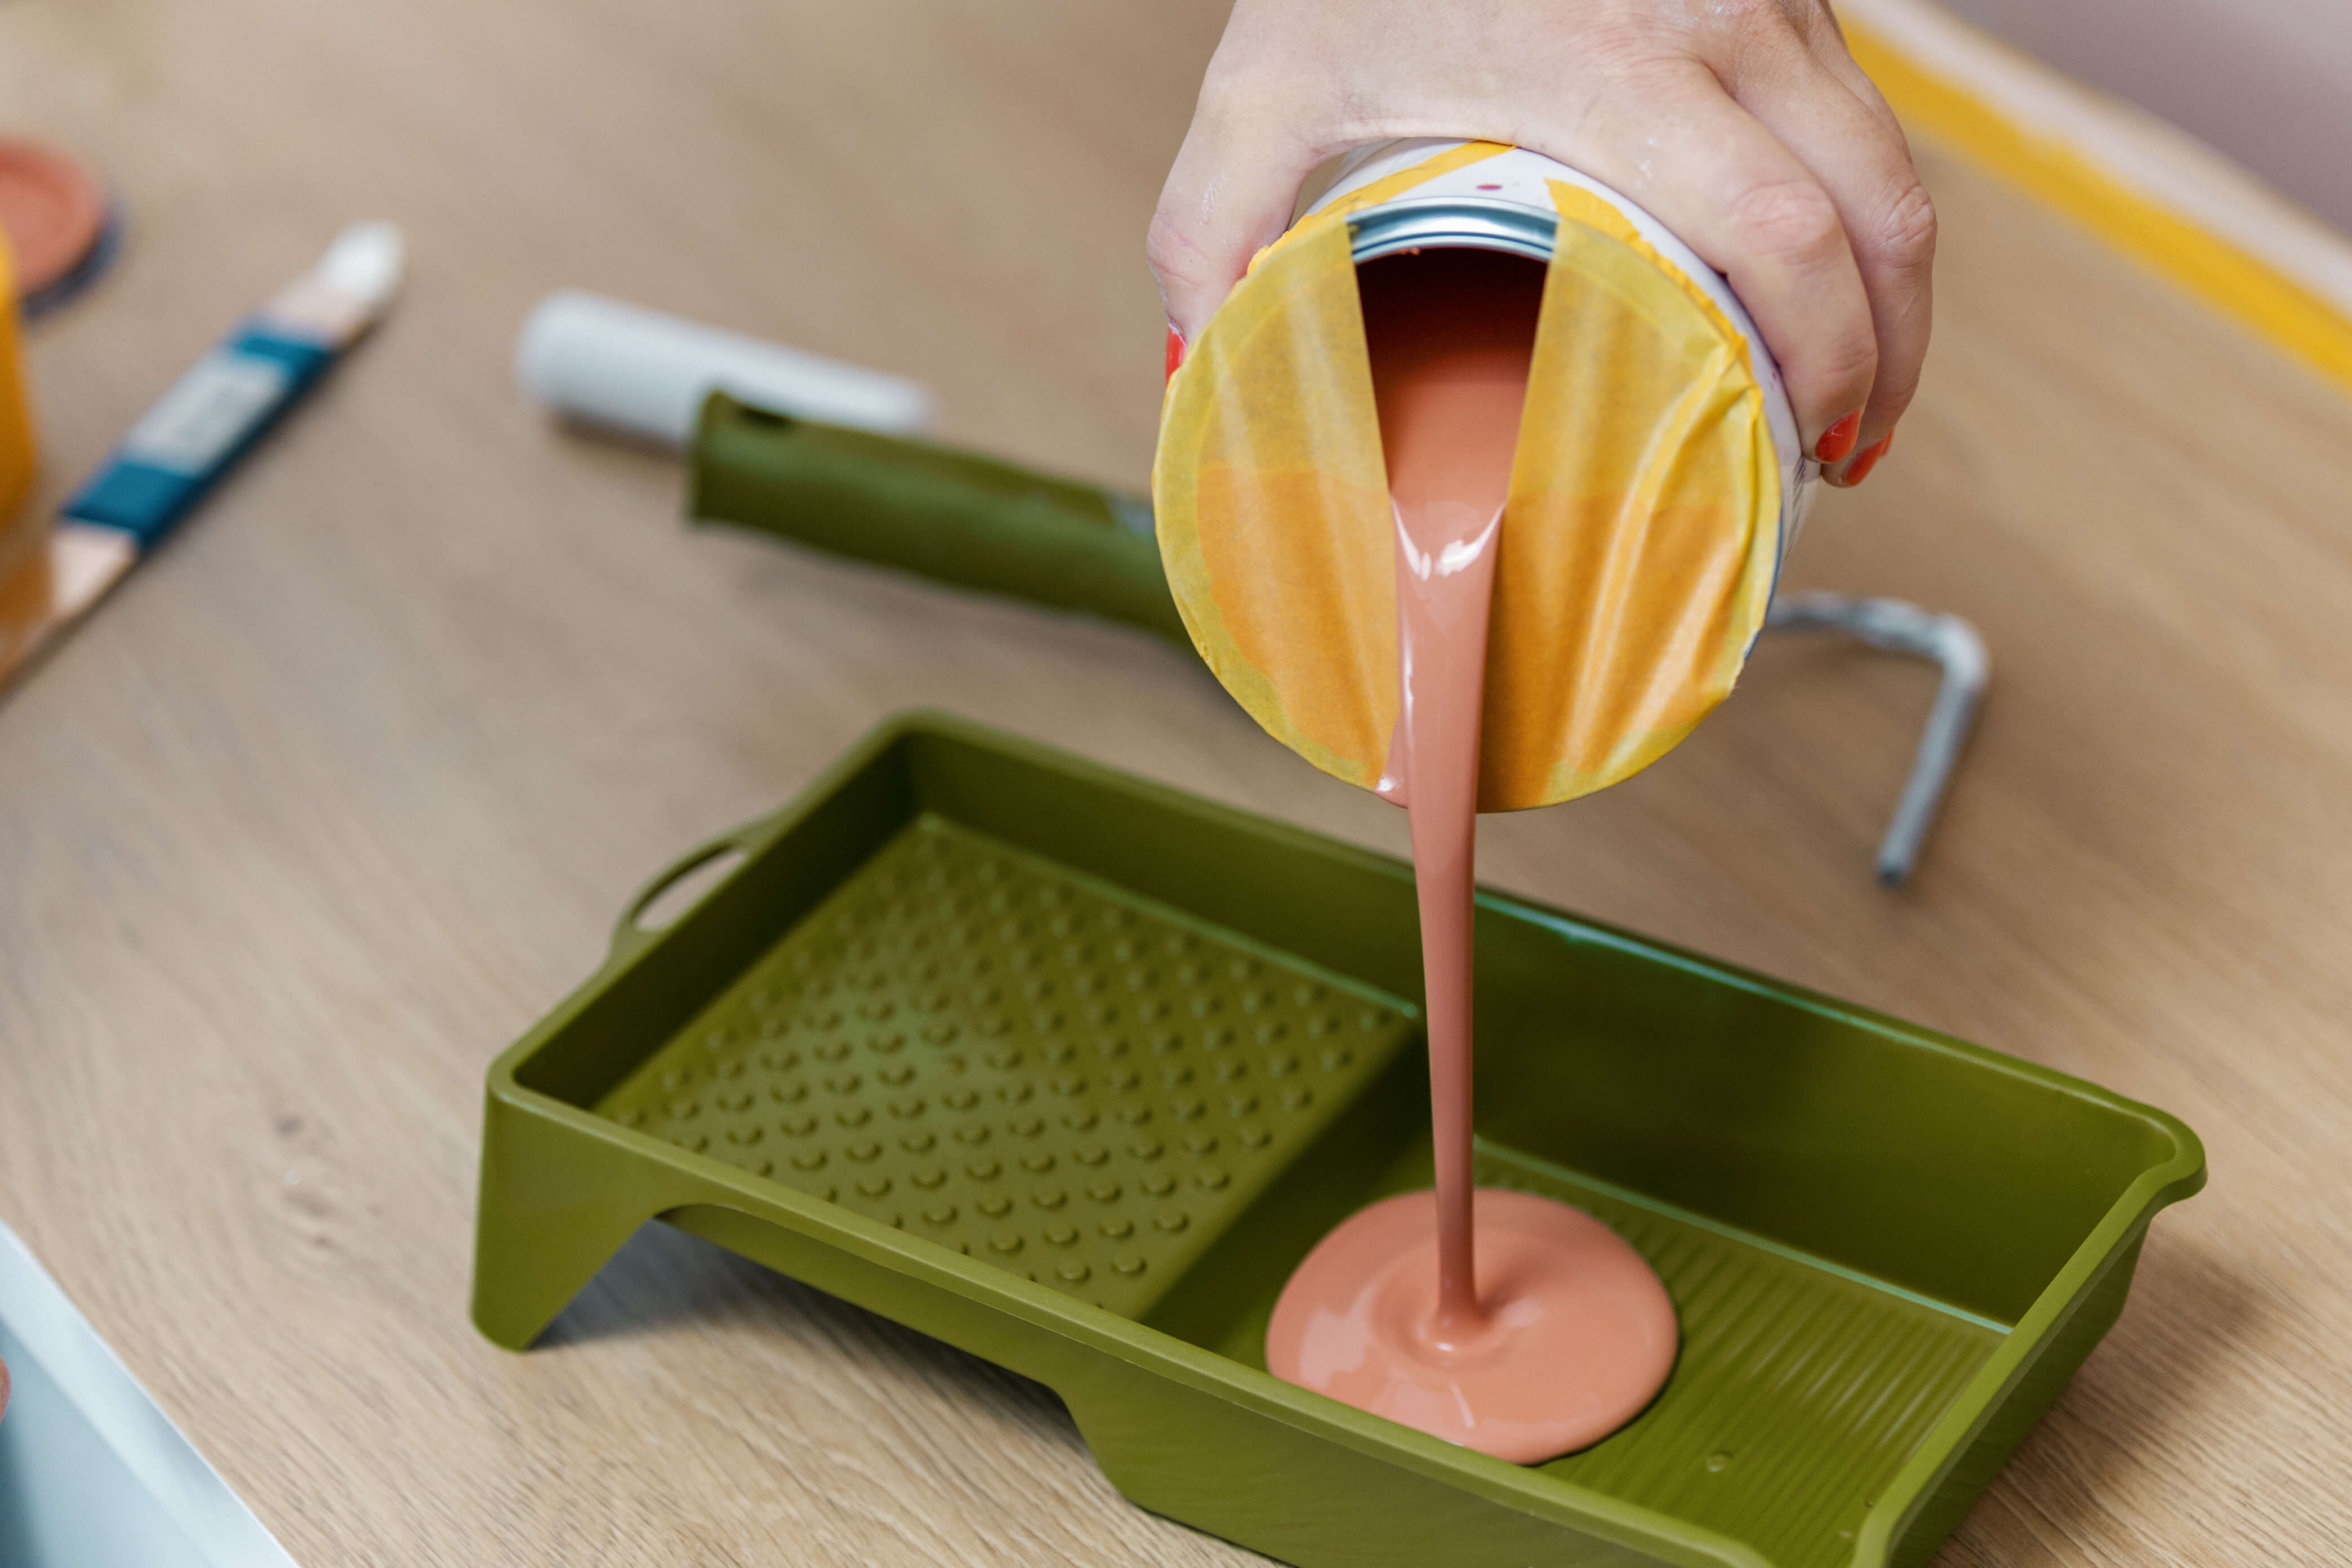
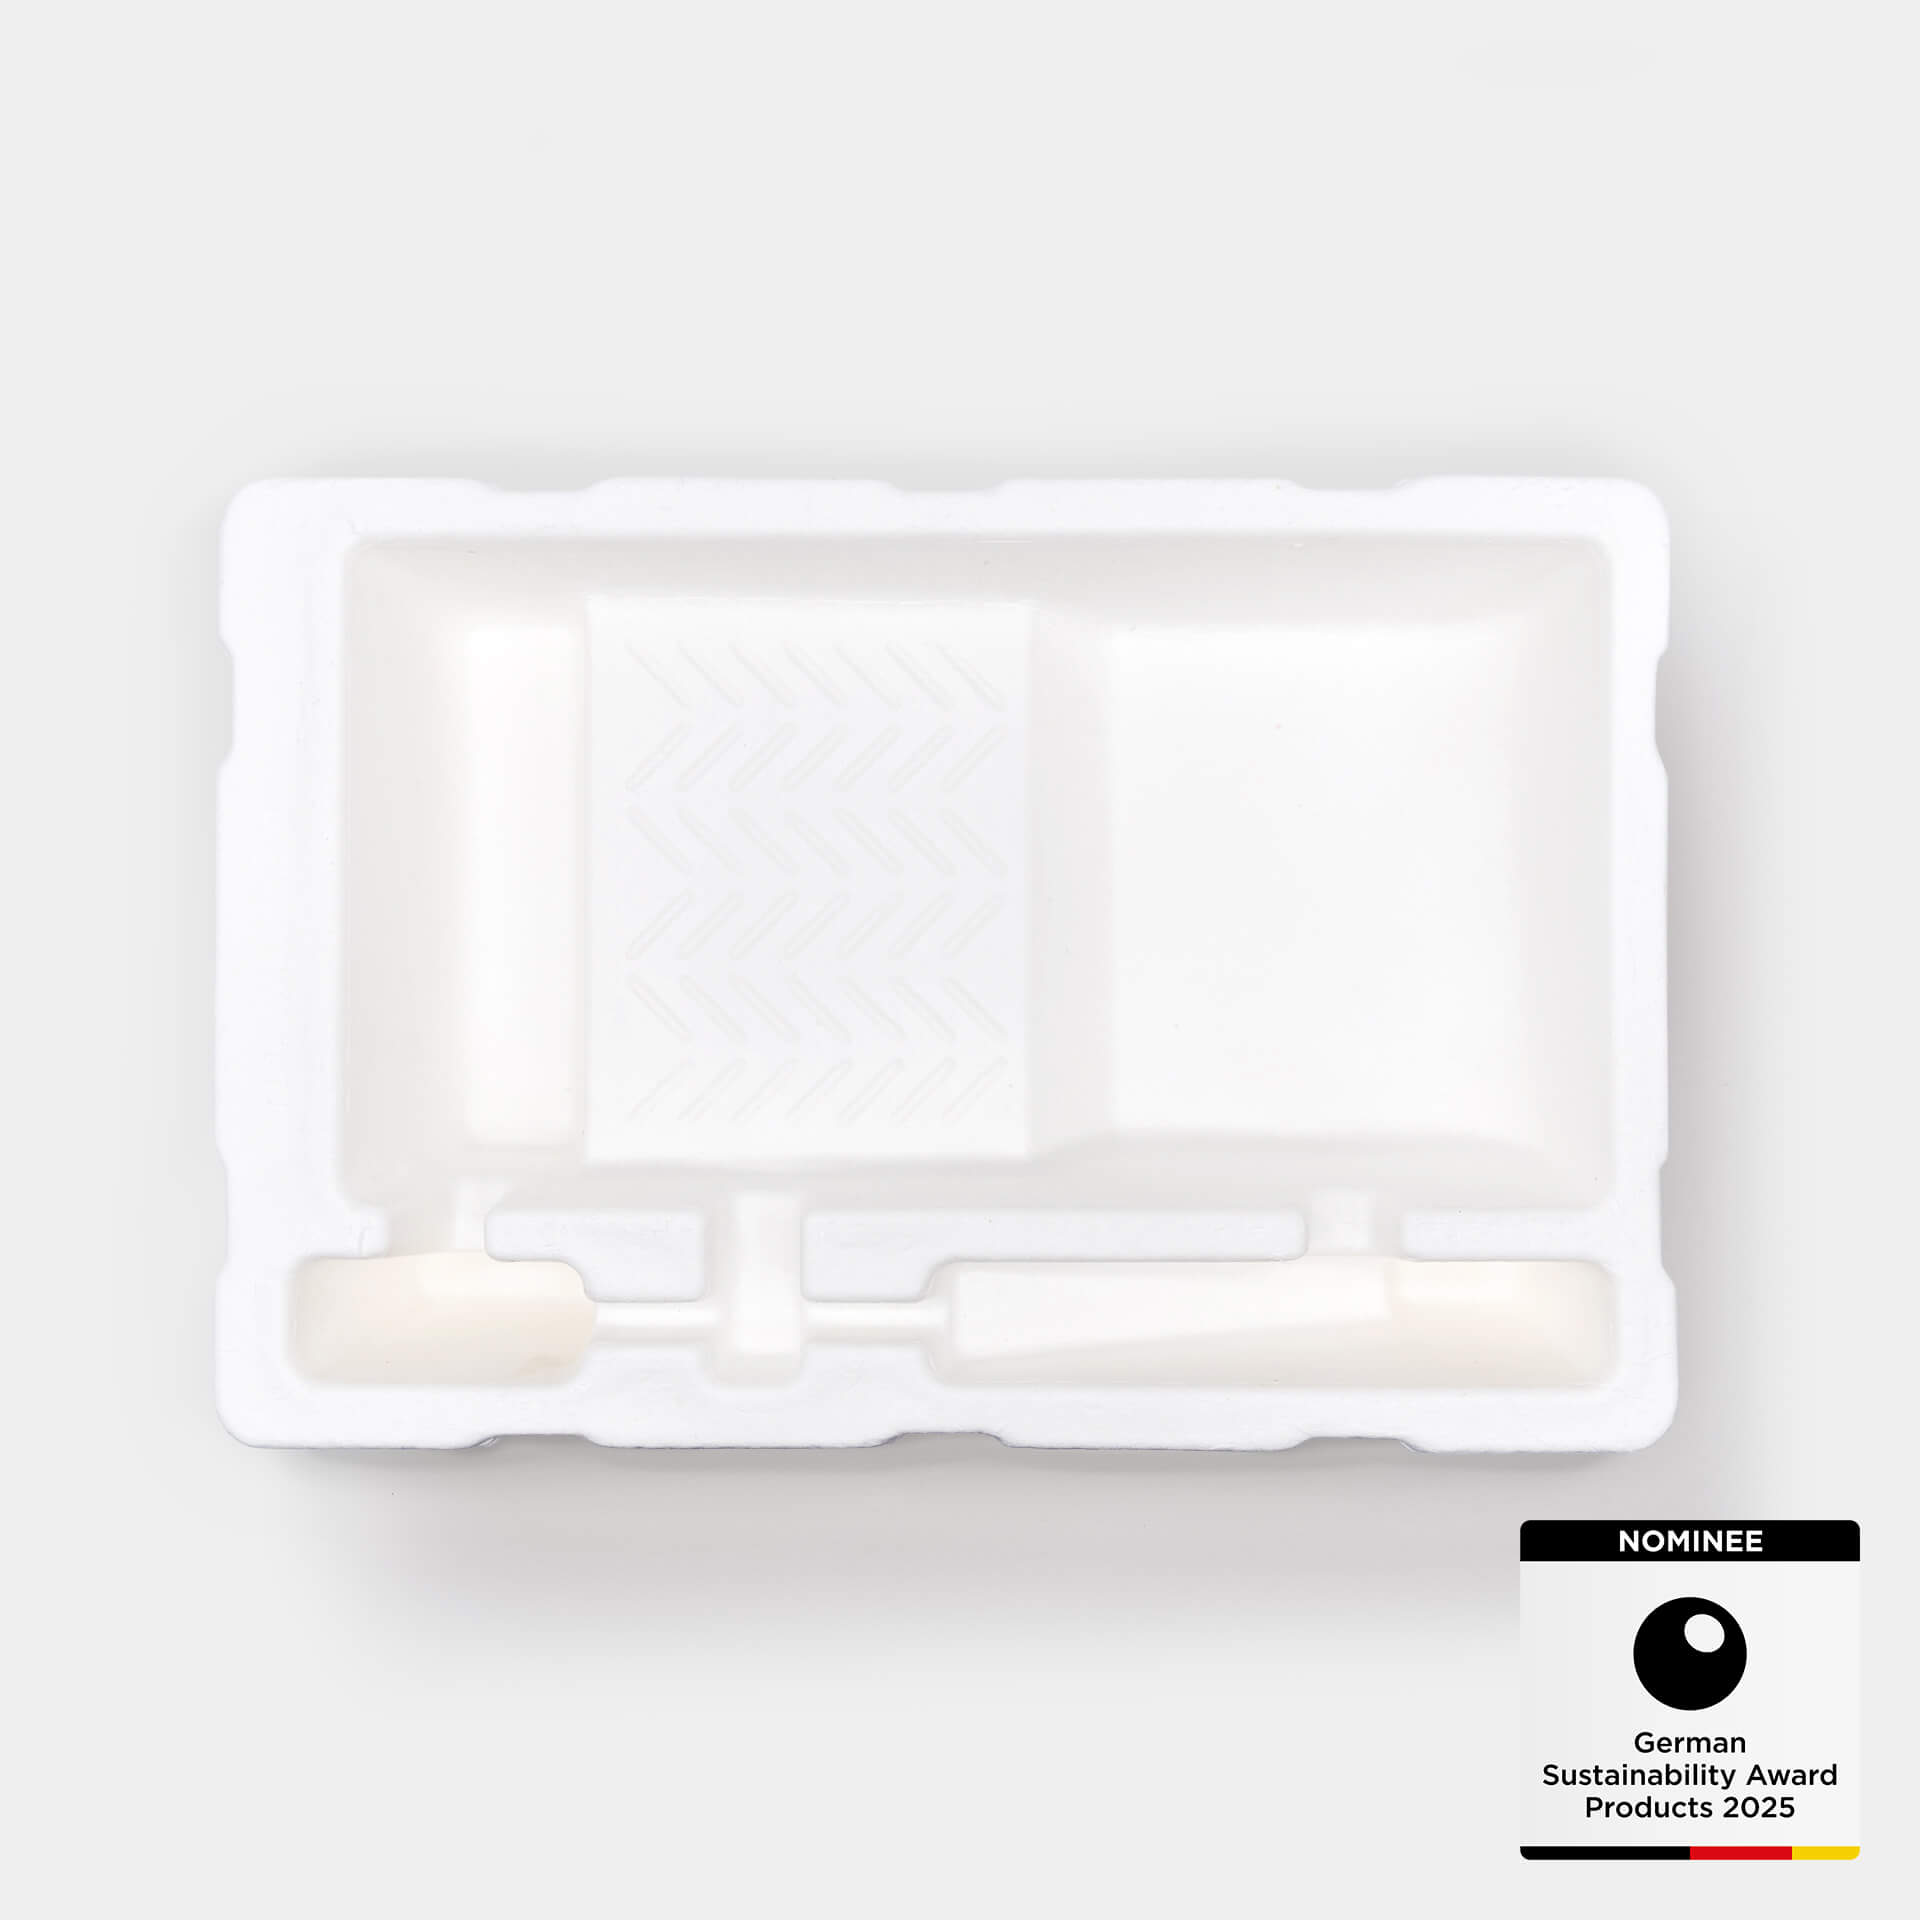
- Pour the paint into the ingenious compostable MissPompadour The paint tray! Wet the brush or roller well with the paint and spread the paint well over the entire Roller on the unrolling part of the paint tray. Do not press too hard so that the colour is not squeezed out of the Roller.
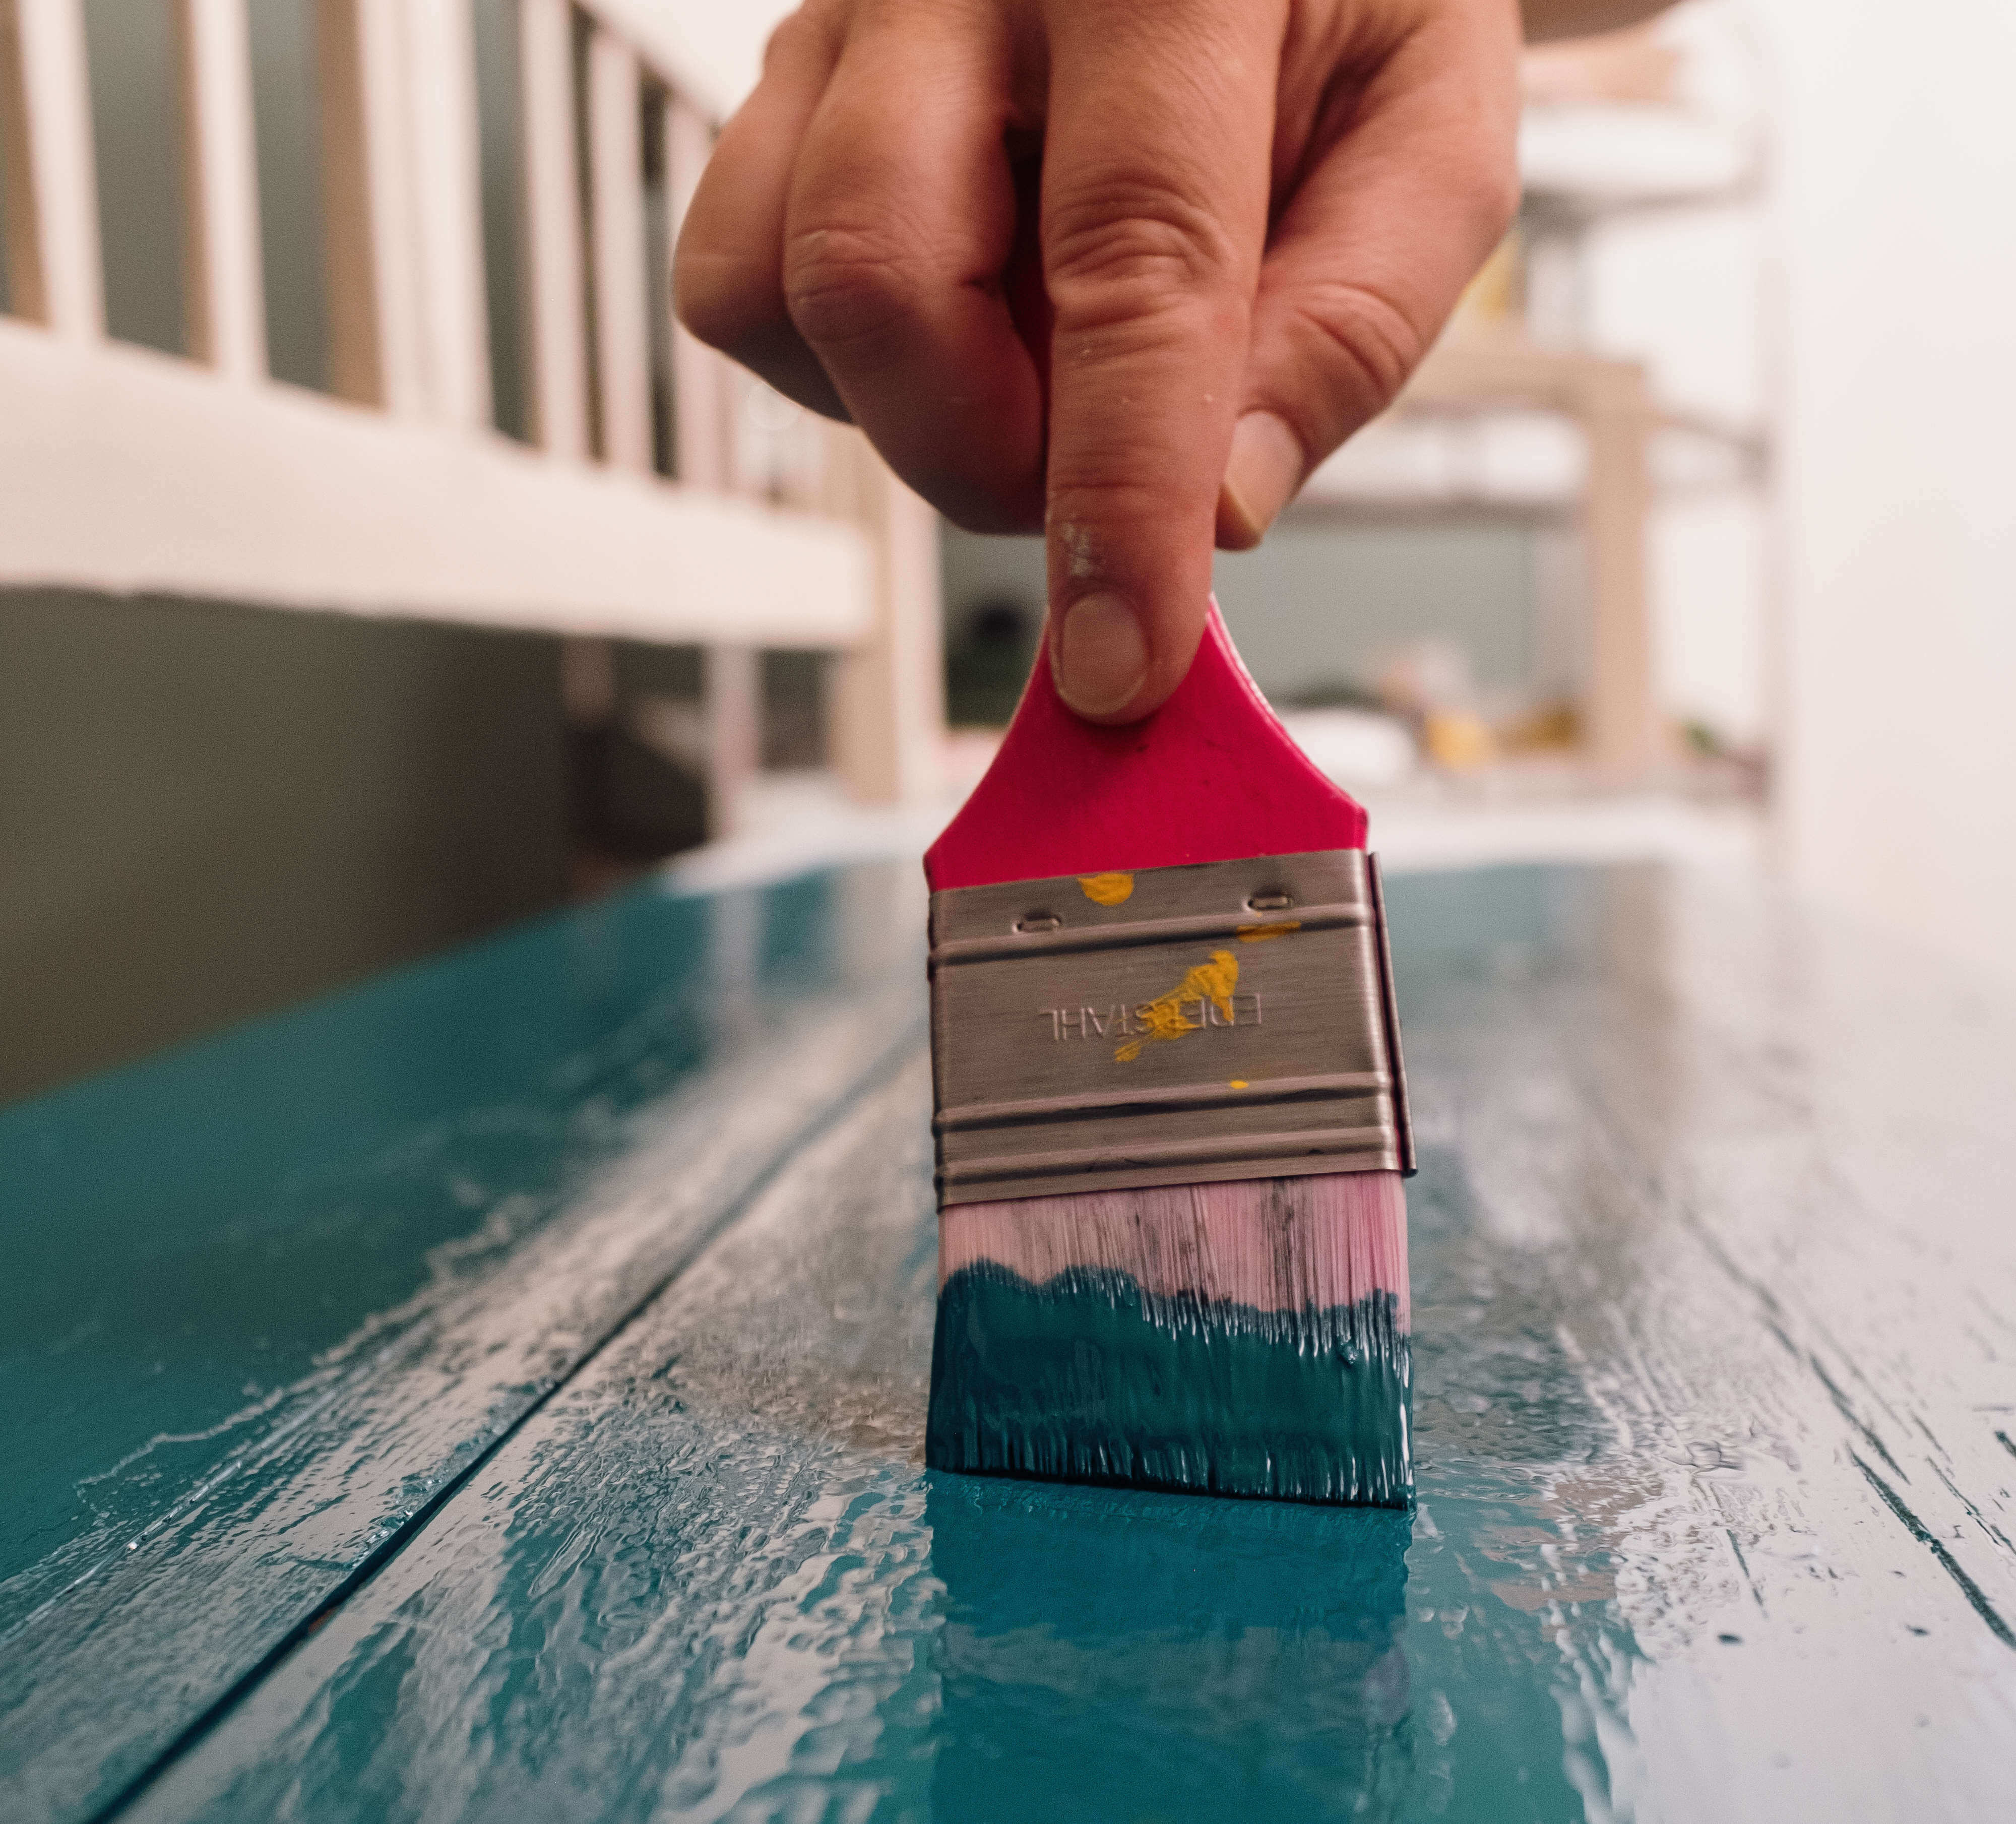
- Do not apply the paint too thickly and evenly to a section of the surface to be painted. Rollers loosely and without pressure from the wrist and brush over the area with the wet paint a maximum of 2-3 times so that the slightly dried paint is not torn open again
- Wet the Roller again and paint the neighbouring area. Always paint wet-on-wet and overlap as little as possible. The paint is already partially dry in the previously painted parts - if you roll over it again, you will pull off the dry layer again. This common mistake results in the various glossy spots, streaks and orange peel effect.
- The varnish will smooth itself out if you use enough paint.
- Paint once and leave the paint to dry for approx. 4-5 hours. Then apply a second coat of paint. In the meantime, you can wrap the brush or Roller in cling film to keep the tools moist.
After painting
Applying a Topcoat
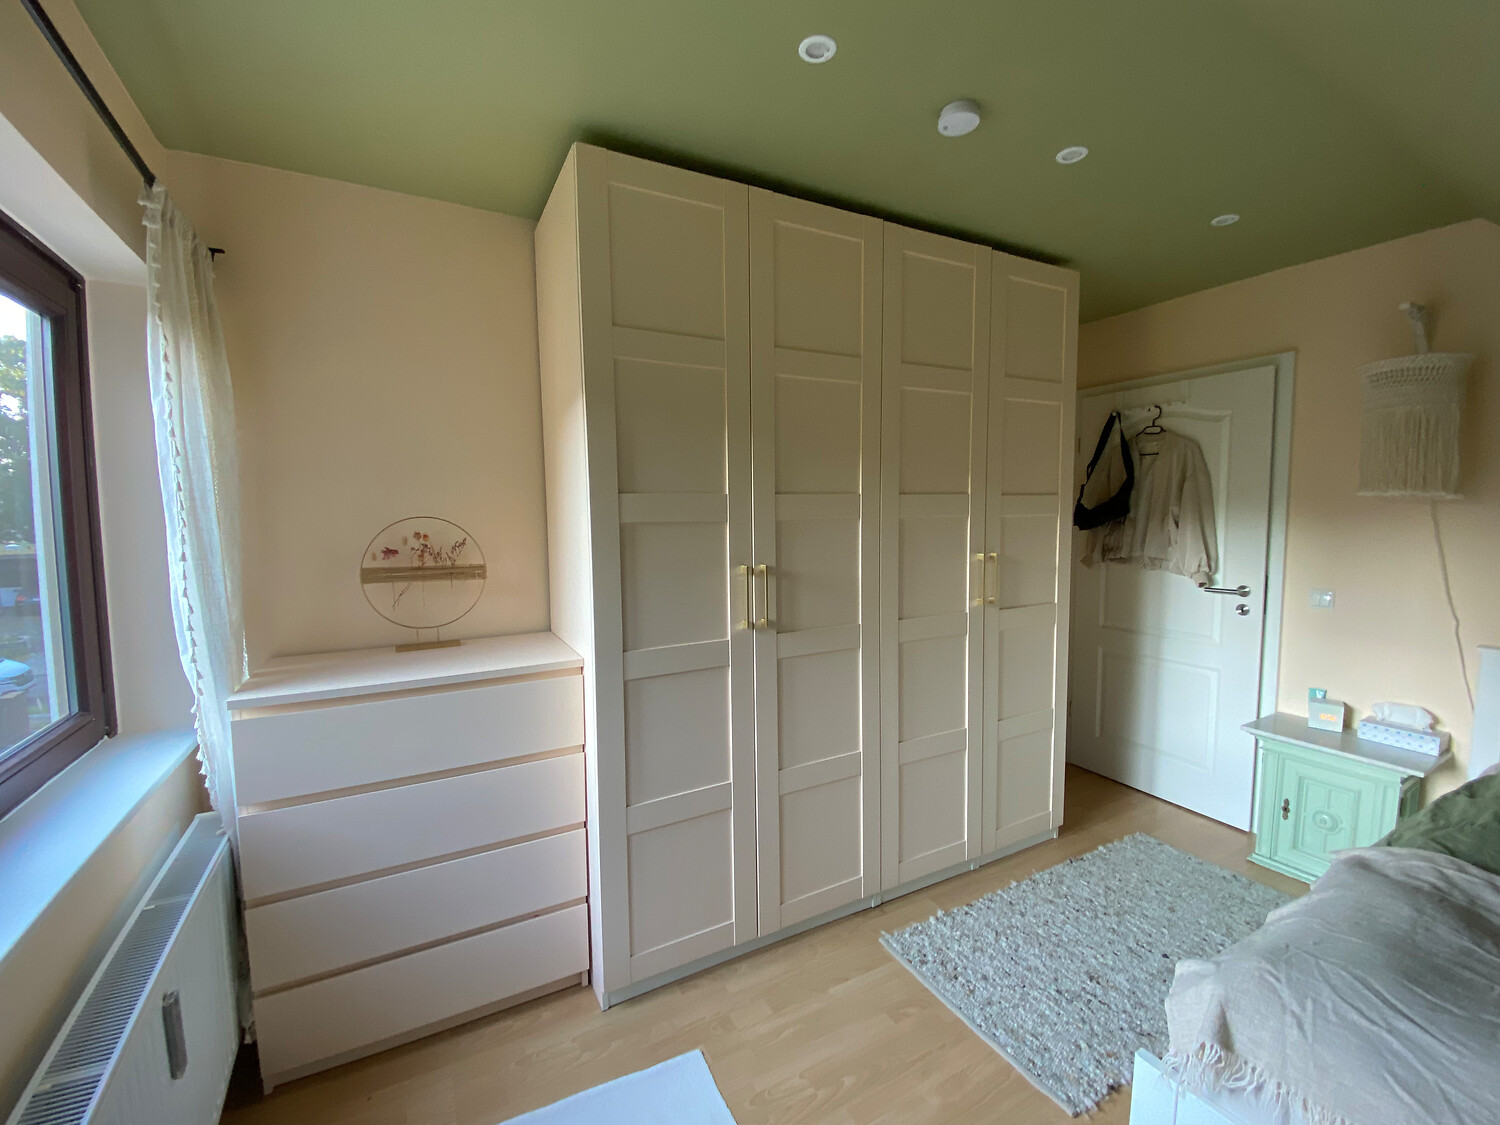
To give your painted furniture extra durability, you can apply a topcoat afterwards. Floor tiles, kitchen cabinets, and other high-traffic surfaces should always be topcoated.
Allow the paint to dry for 24 hours, then use MissPompadour To Seal. This topcoat has a satin finish and forms an additional protective layer over your paintwork. It's especially important to prepare the room where you're painting during the heating season. As the topcoat has a strong static attraction, we recommend you thoroughly remove dust and hang up damp towels before application. Otherwise, dust particles will be stirred up by the warm air in the room and settle in the topcoat. Always use a new, unused roller and wash it out thoroughly before the first use.
Allow to dry and cure
Another step that is often underestimated and requires particularly little effort is to allow the paint and topcoat to cure sufficiently. As our wall paints and varnishes are all water-based, they dry from the outside in. This means that although they look finished, they are not yet, because the varnish has not yet bonded to the surface. But don't worry, because it continues to harden every day.
After around 14 days - depending on the humidity and room temperature - the varnish will have hardened to the point where you can put normal weight on it.
Pro tip: Please do not carry out any scratch tests with the varnishes! For one thing, they will not pass the tests before the drying time has elapsed. On the other hand, all our varnishes and colours are stable enough for everyday use and will withstand it perfectly.
Do you already have a specific project and are looking for the perfect instructions? Then take a look at our blogs with step-by-step instructions! There you'll find how-tos that are already tailored to painting projects!
Step-by-step instructions

Questions ?
We're here to help
We'll help you anytime, via Phone (Mo-Fr 09-18, Sa until 16 Uhr), via WhatsApp or directly via our Contact Form.