


Painting the Inside of a Caravan: How to Pimp Your Old Motorhome
6 min reading time
For many, their caravan is practically a second home. But giving it a fresh look often seems trickier than redecorating a flat or house. Or is it really?
We'll show you how to paint the interior ofyourcaravan, easily and without sanding. After just a few hours, the surfaces will be dry to the touch, developing their full durability during the curing time of around 10-14 days. You'll then have robust, everyday surfaces you'll adore!
Table of content
2. Painting your caravan interior
3. Guide: How to paint your camper interior (incl. video)
4. FAQ: Frequently asked questions about motorhome renovation
5. At a glance: All our caravan interior makeover tips
6. Conclusion: It's well worth the effort
New paint for your old caravan and inspiration
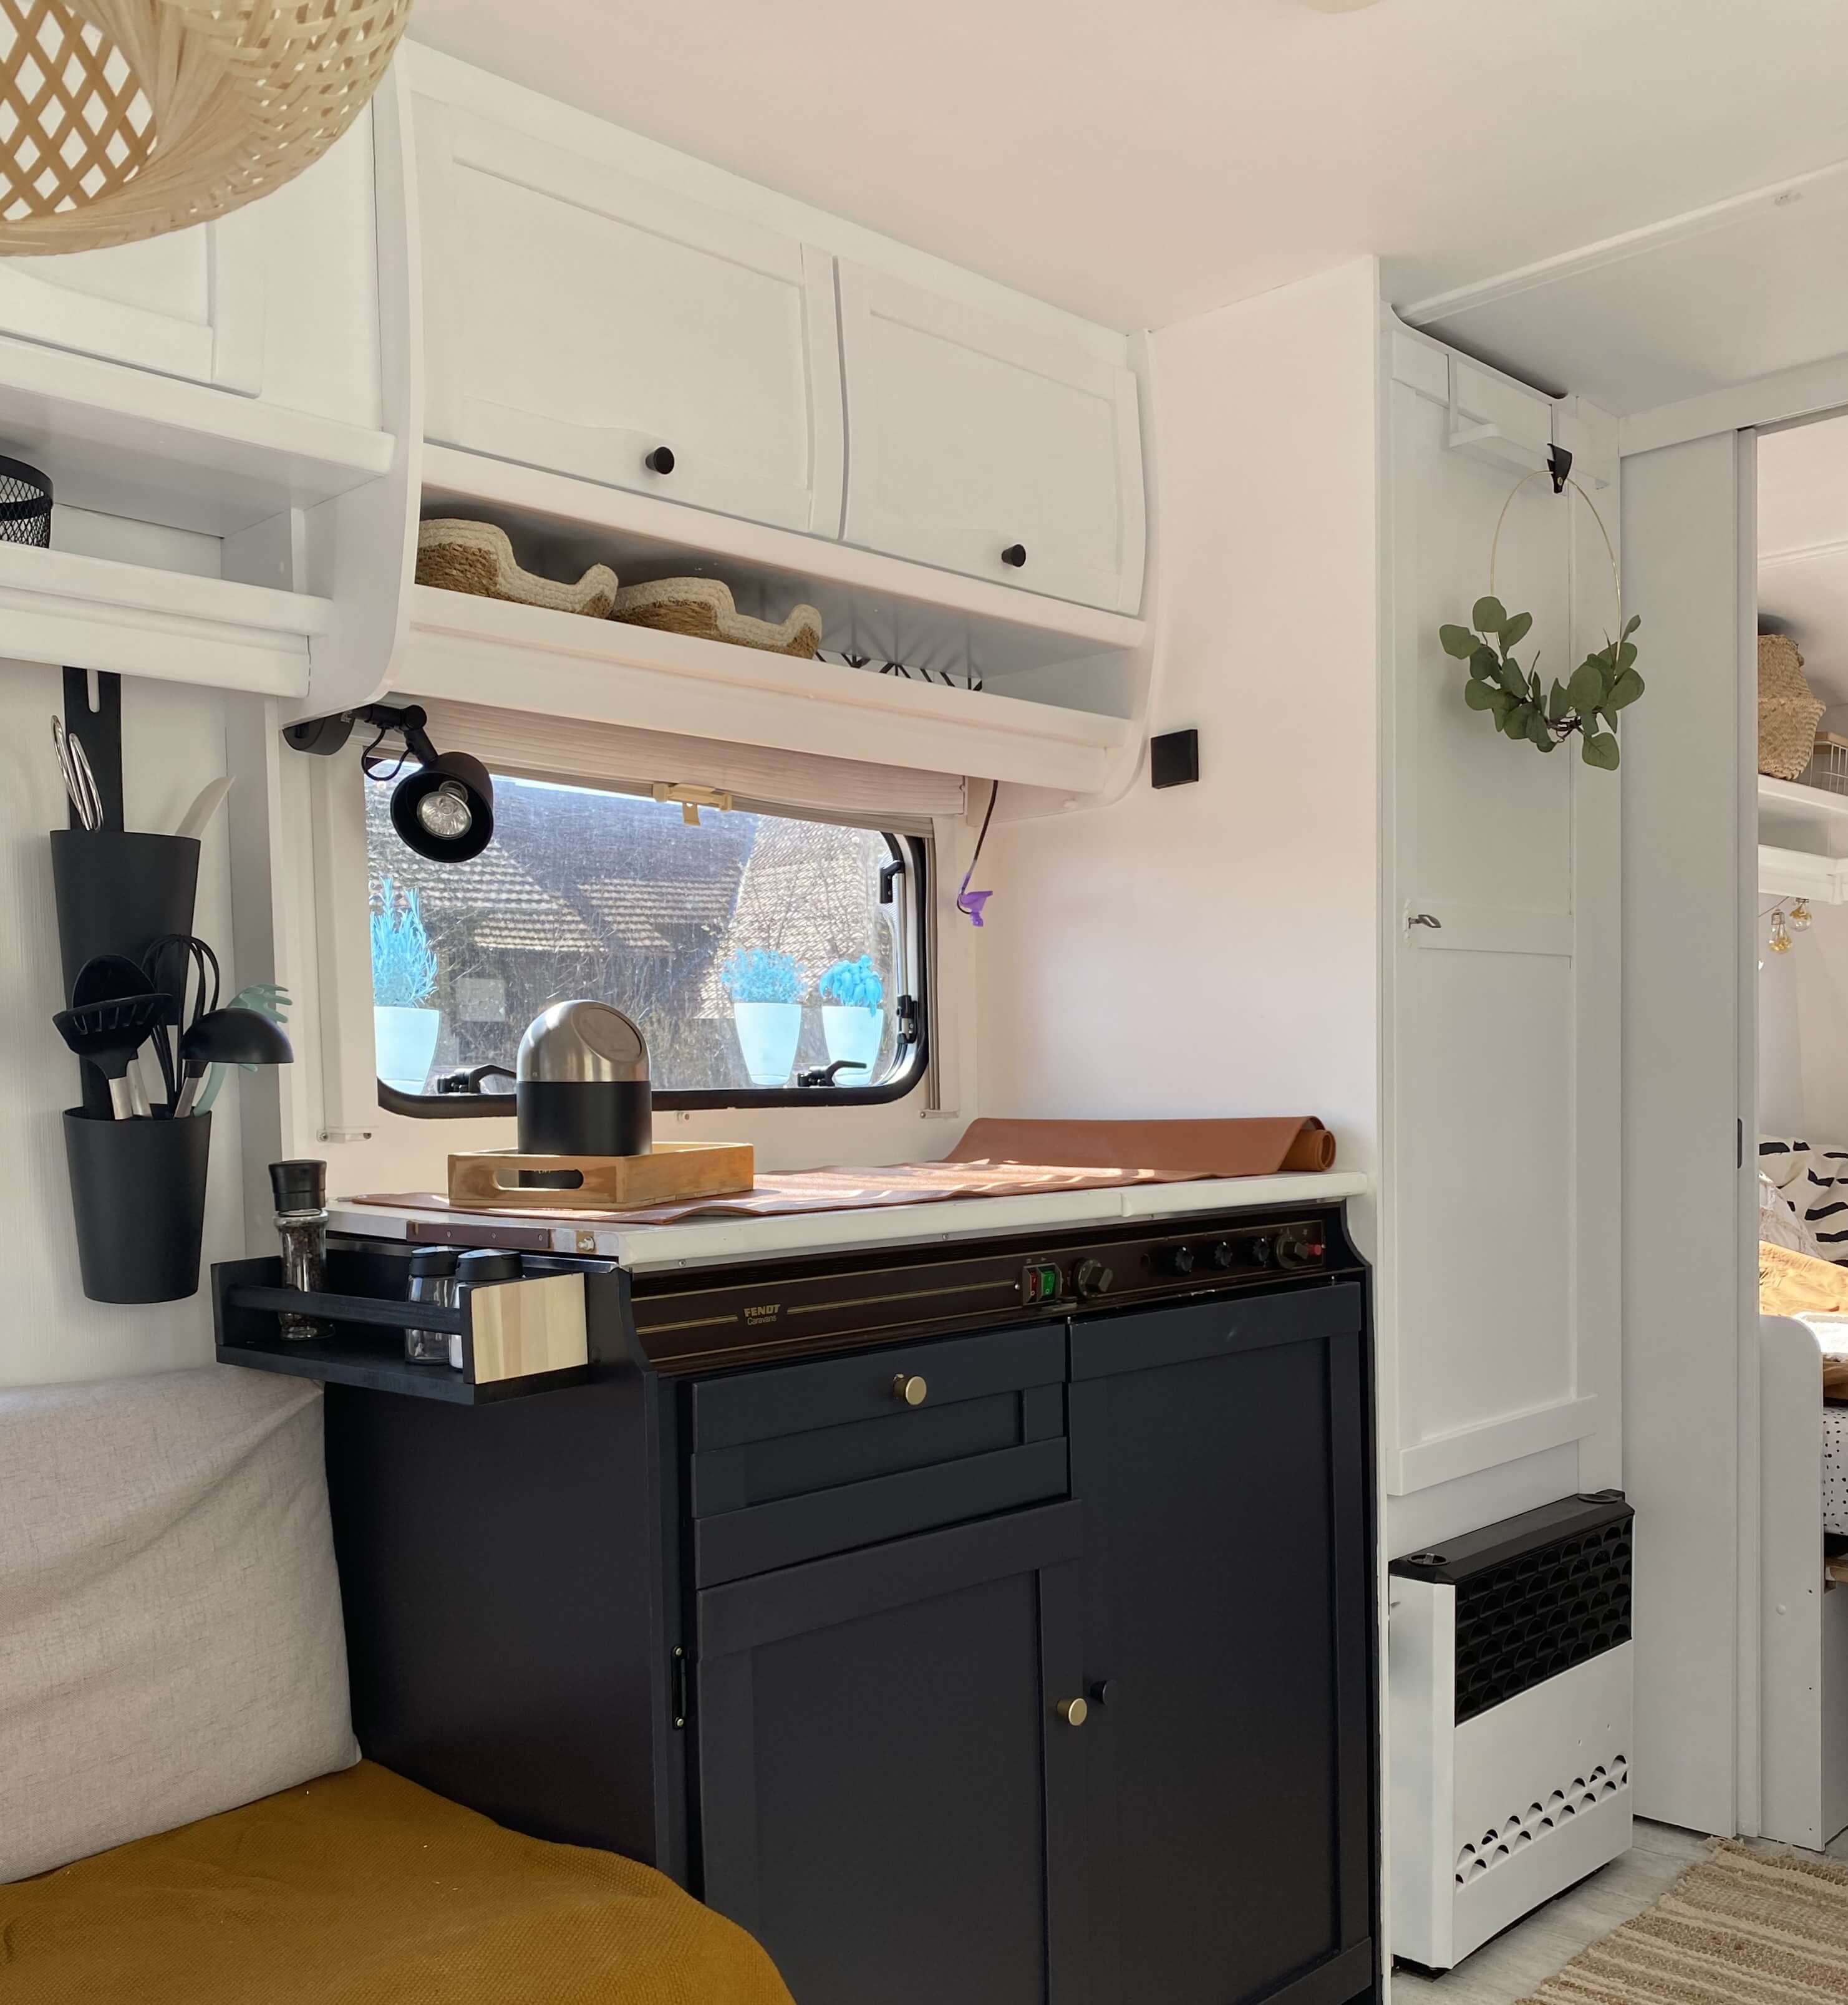
Motorhomes are no longer just for the older generation – more and more young people are discovering the joys of camping and everything it has to offer. However, many find the standard wooden fronts a bit dated and not quite to their taste, racking their brains over how to breathe new life into their caravan.
Perhaps you've already tried using adhesive vinyl to transform the surfaces. If so, you've probably noticed how tricky it can be to get a neat cut around curved edges and achieve a flawless finish. The thought of doing this on every single surface isn't exactly appealing. But that doesn't mean you have to give up on your camper van makeover!
Simply paint it with a water-based paint that saves you the hassle of sanding first. Our paints and wall paints are also eco-friendly and low-VOC. If you want to renovate your caravan and give it a whole new look, you've come to the right place for the best tips and tricks.
Paint the inside of the caravan or paint it with chalk paint?
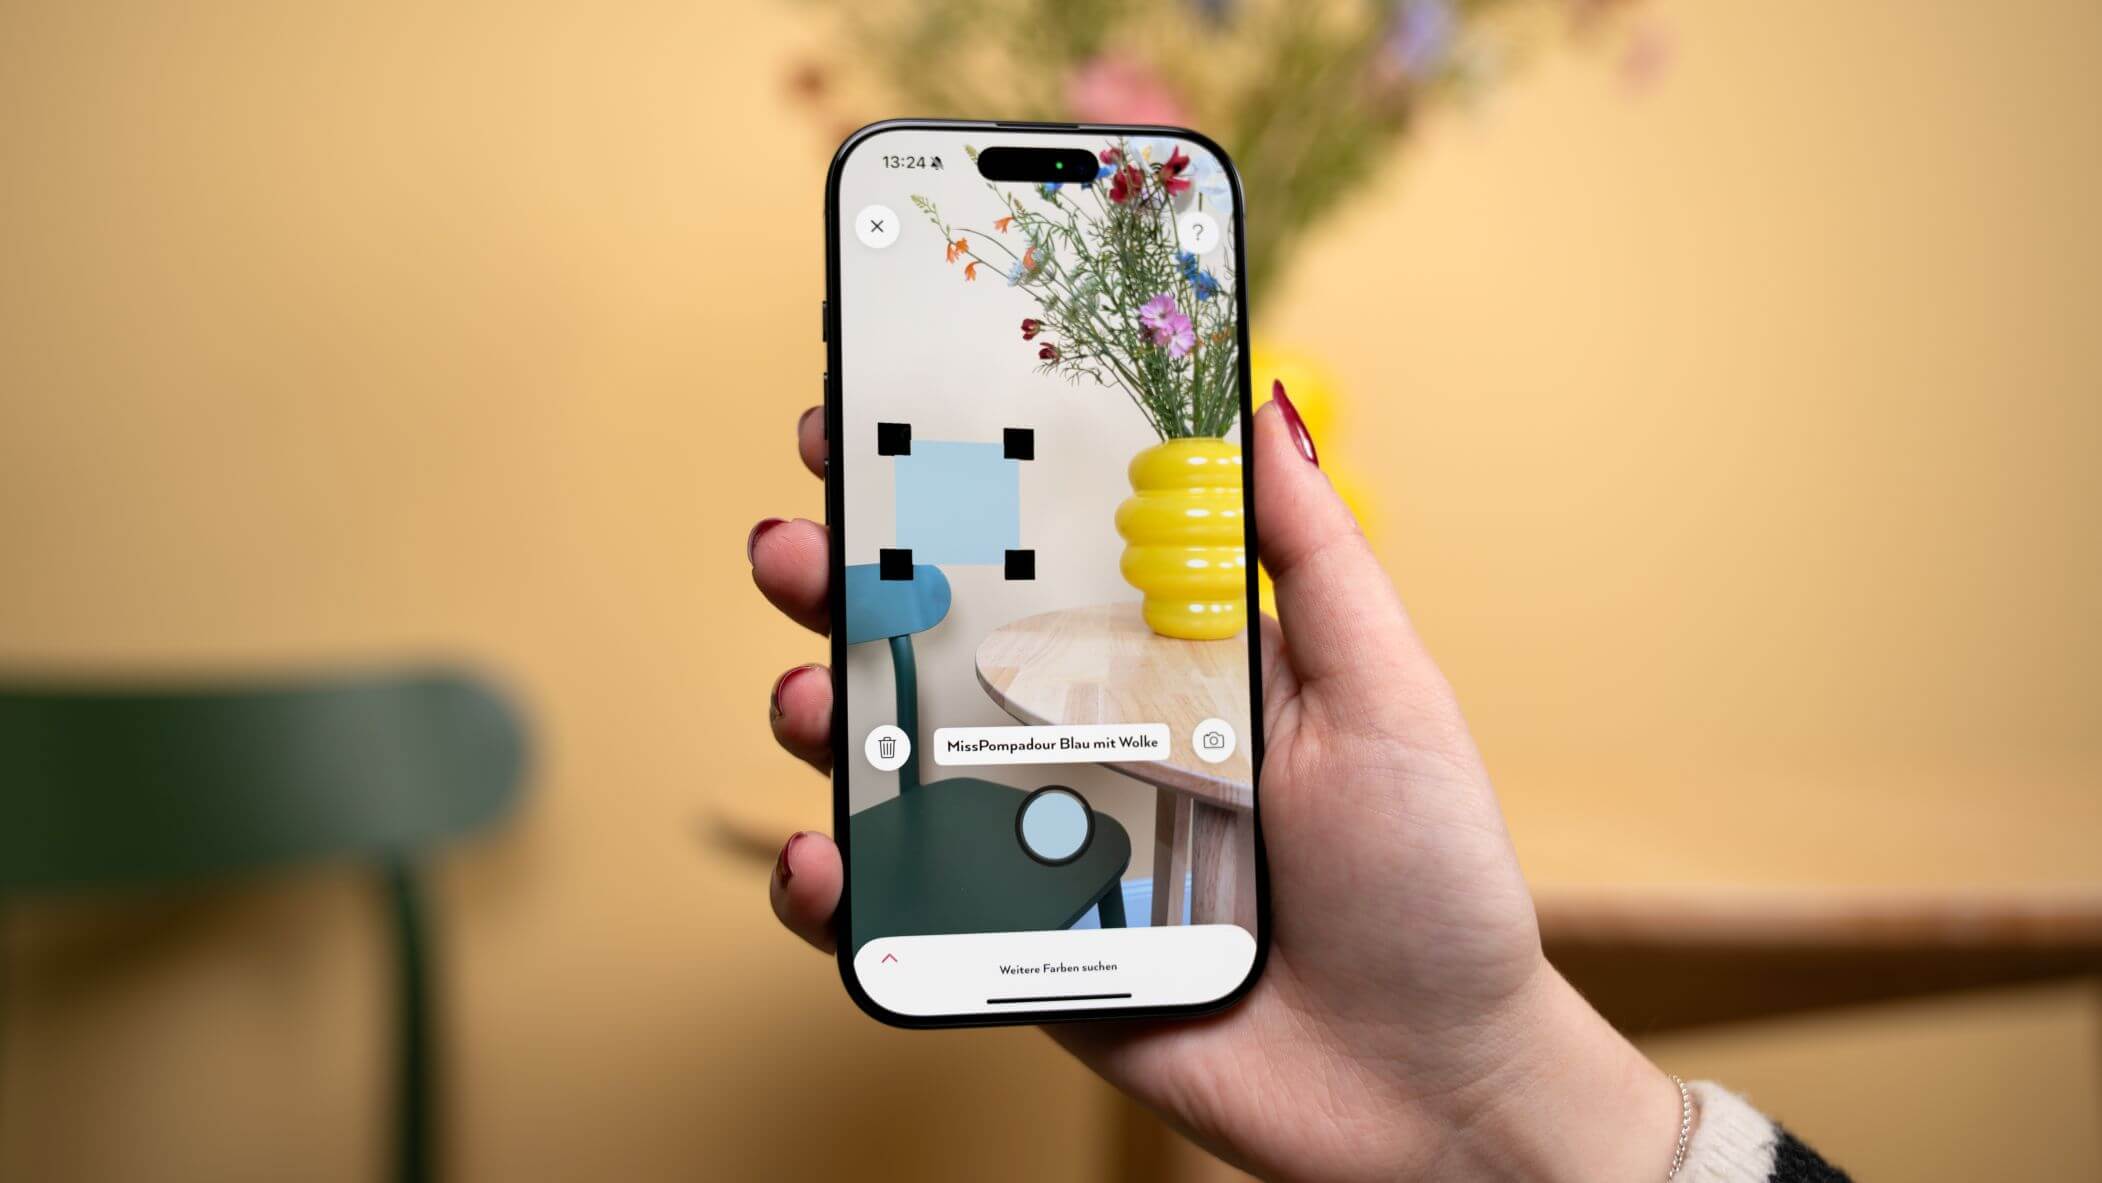
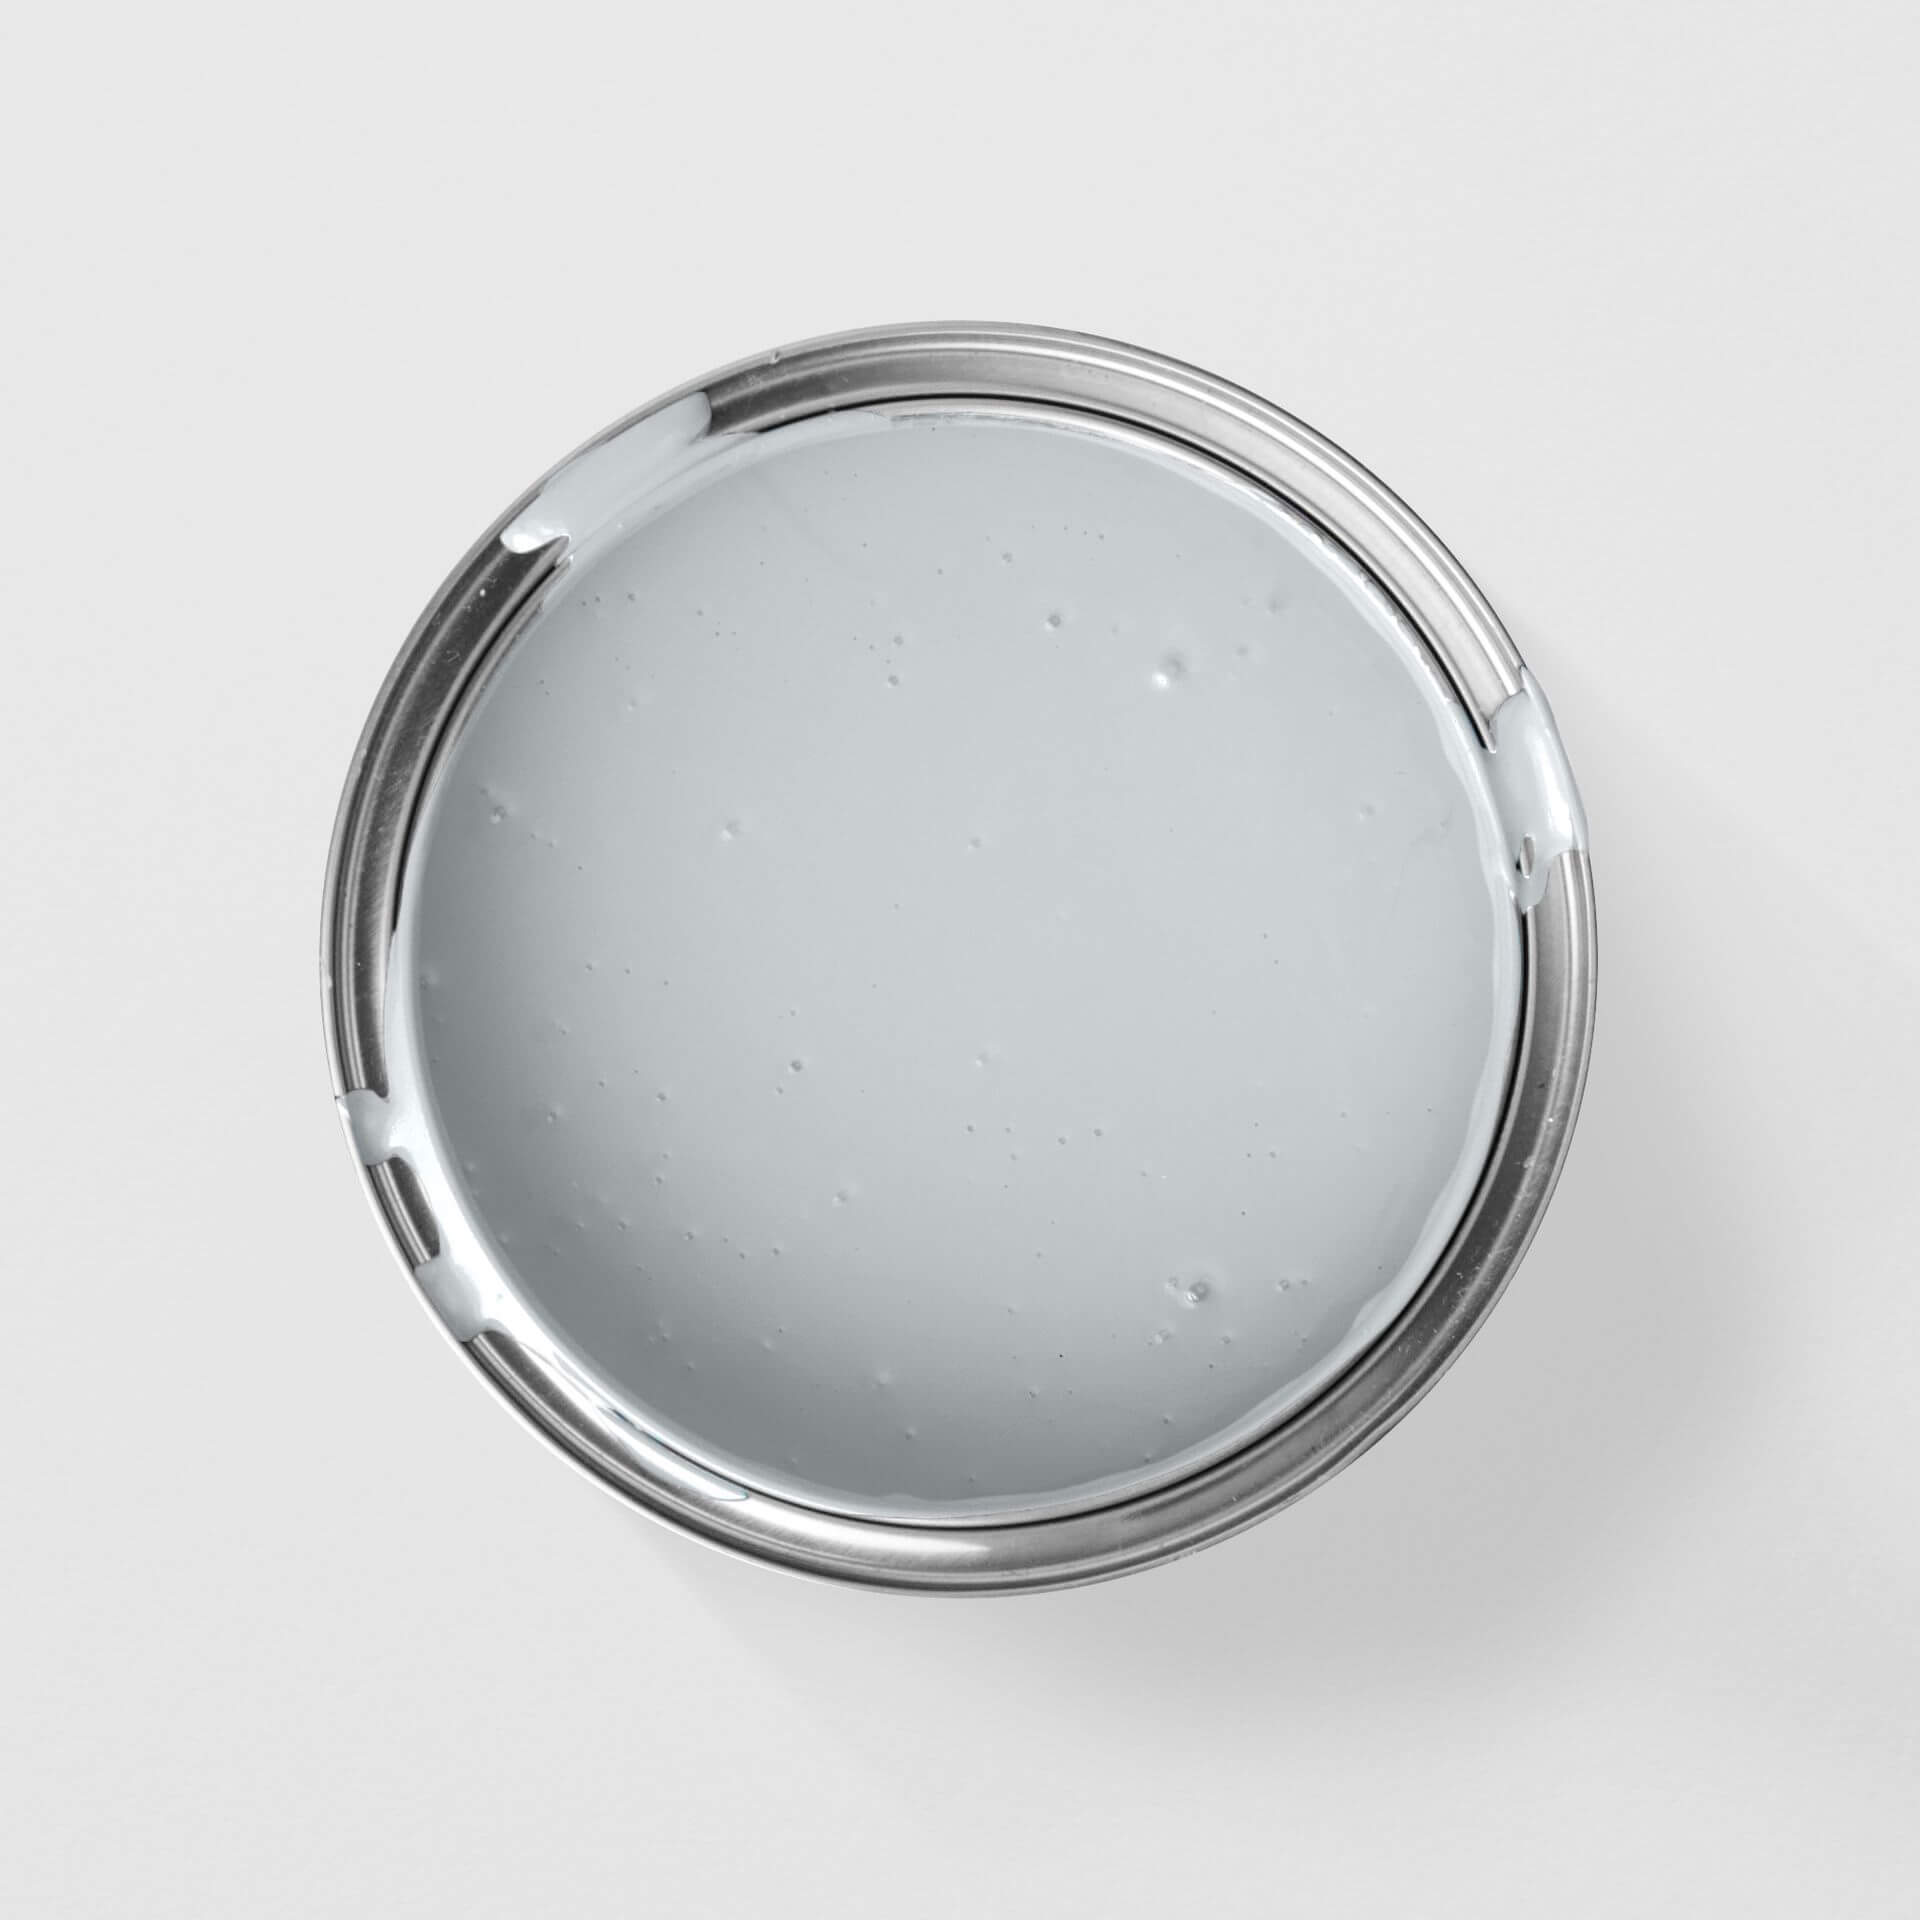
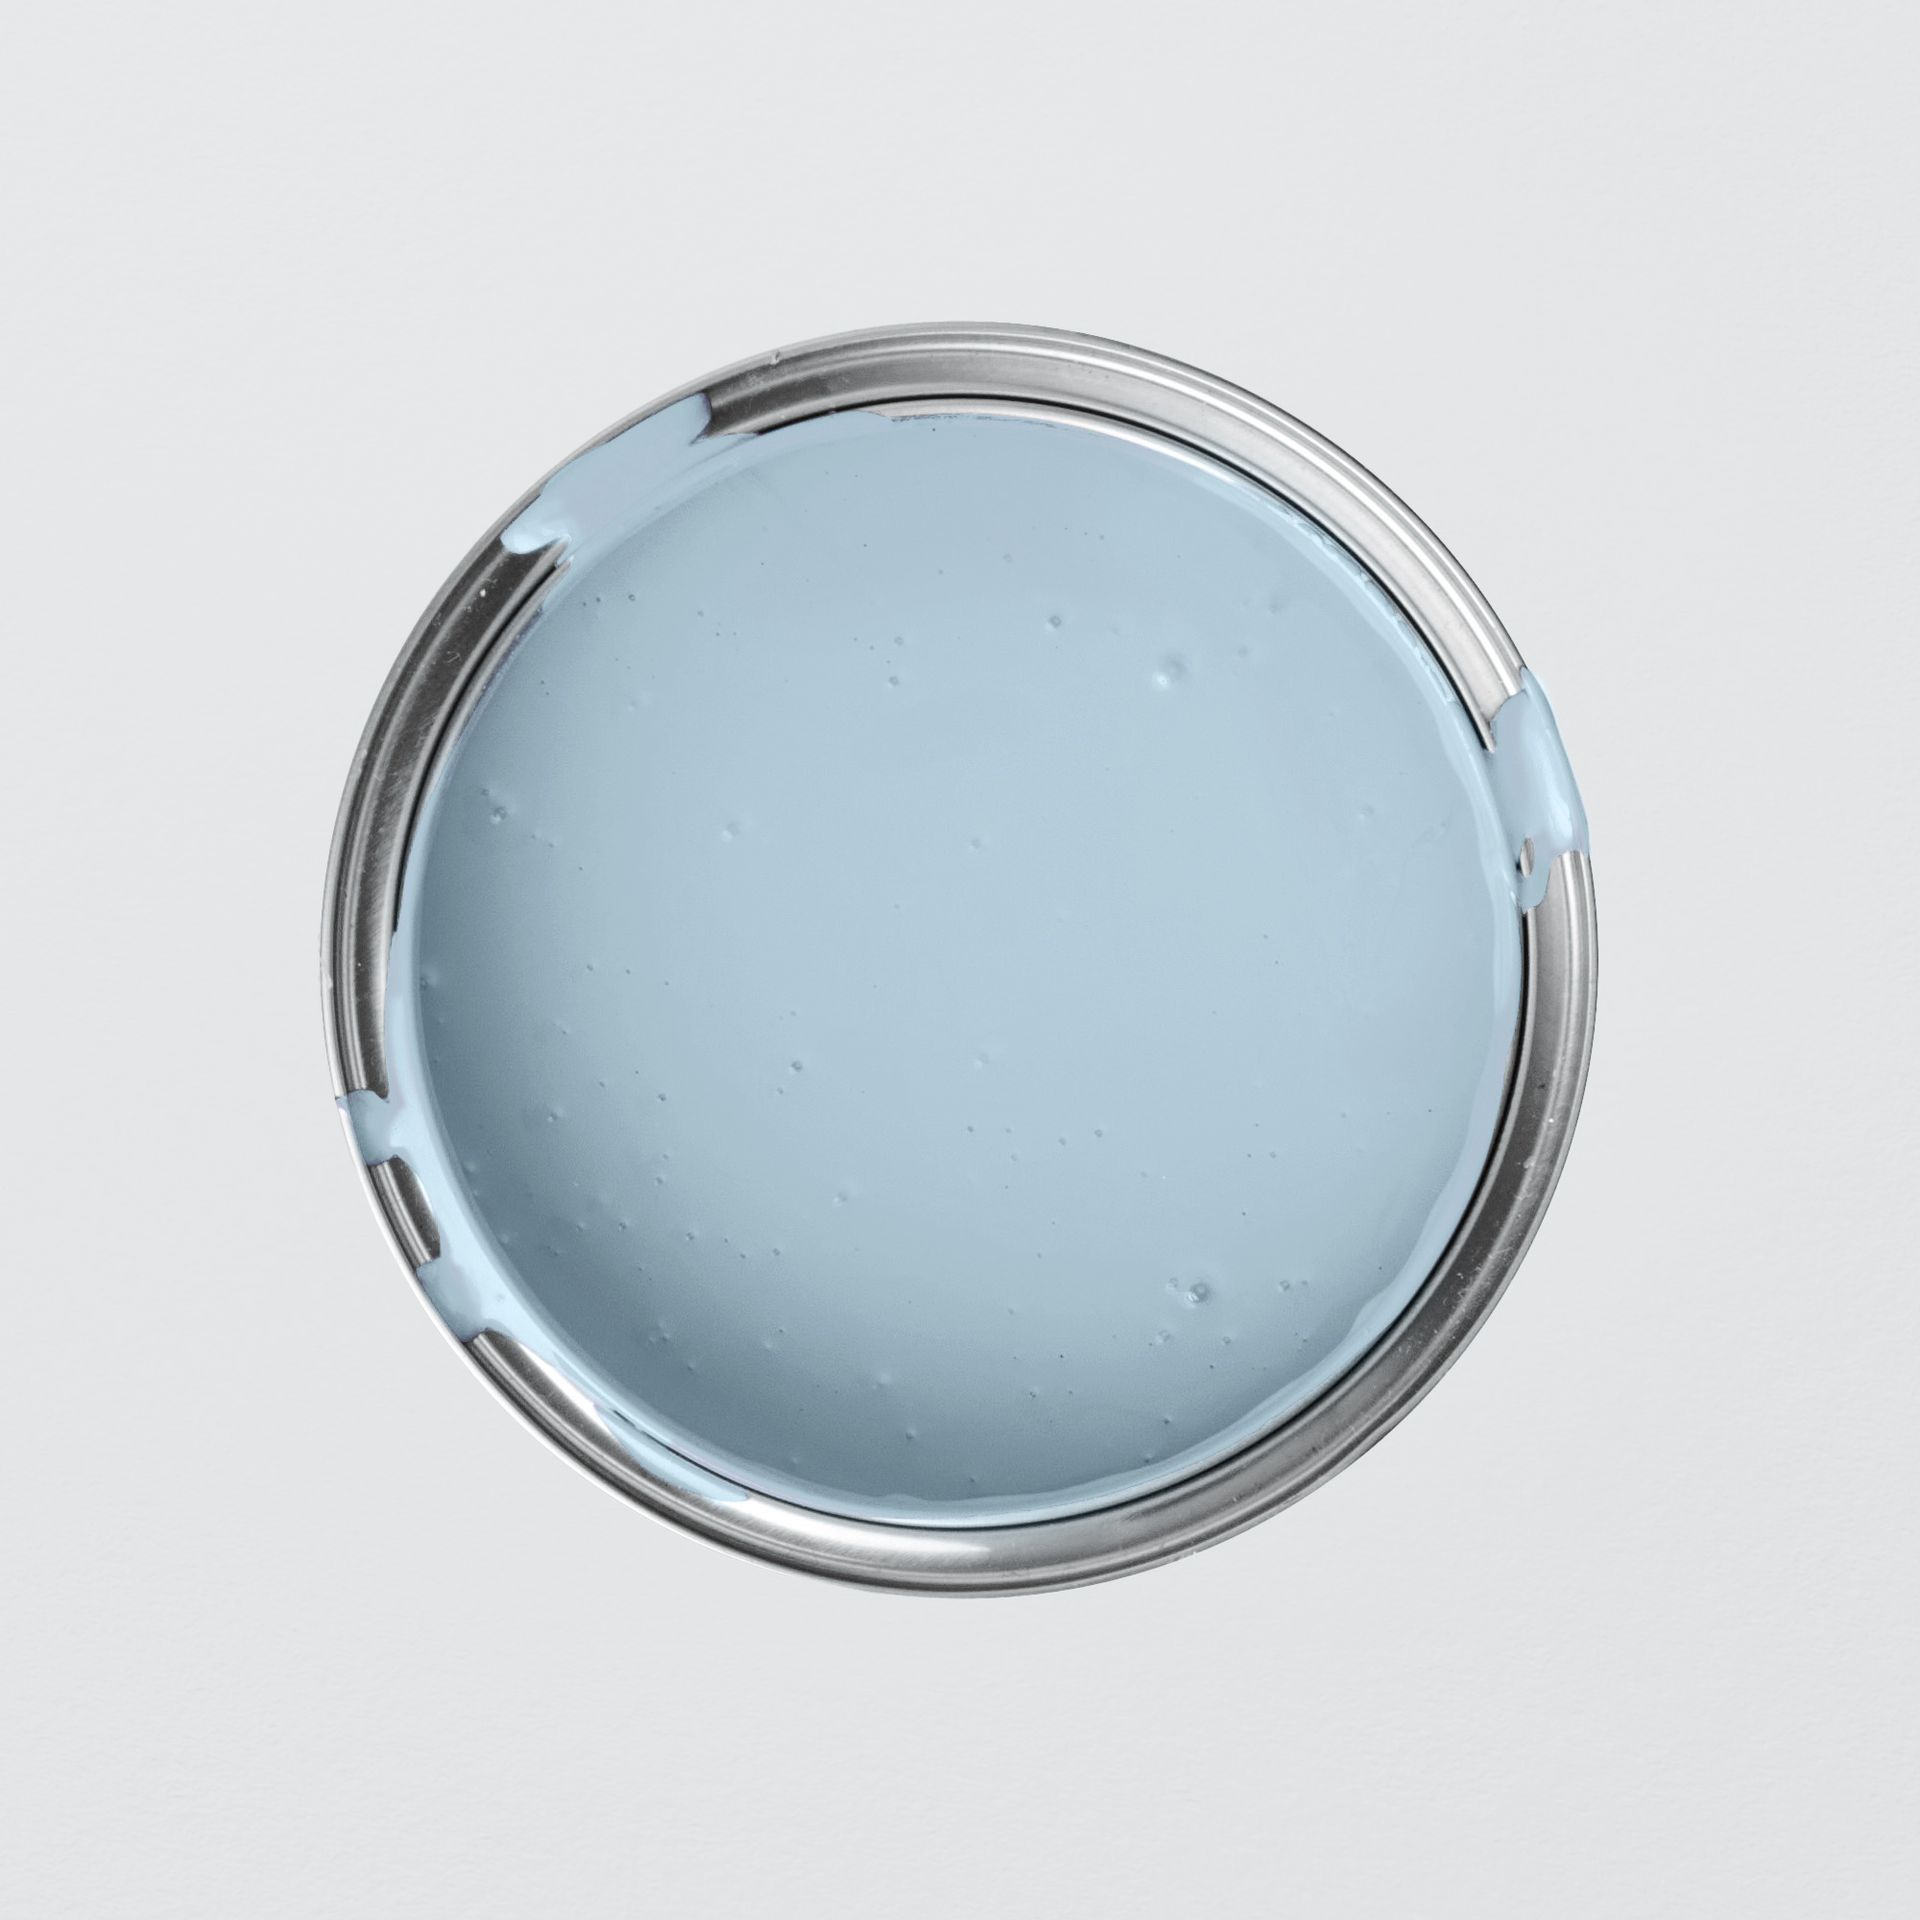
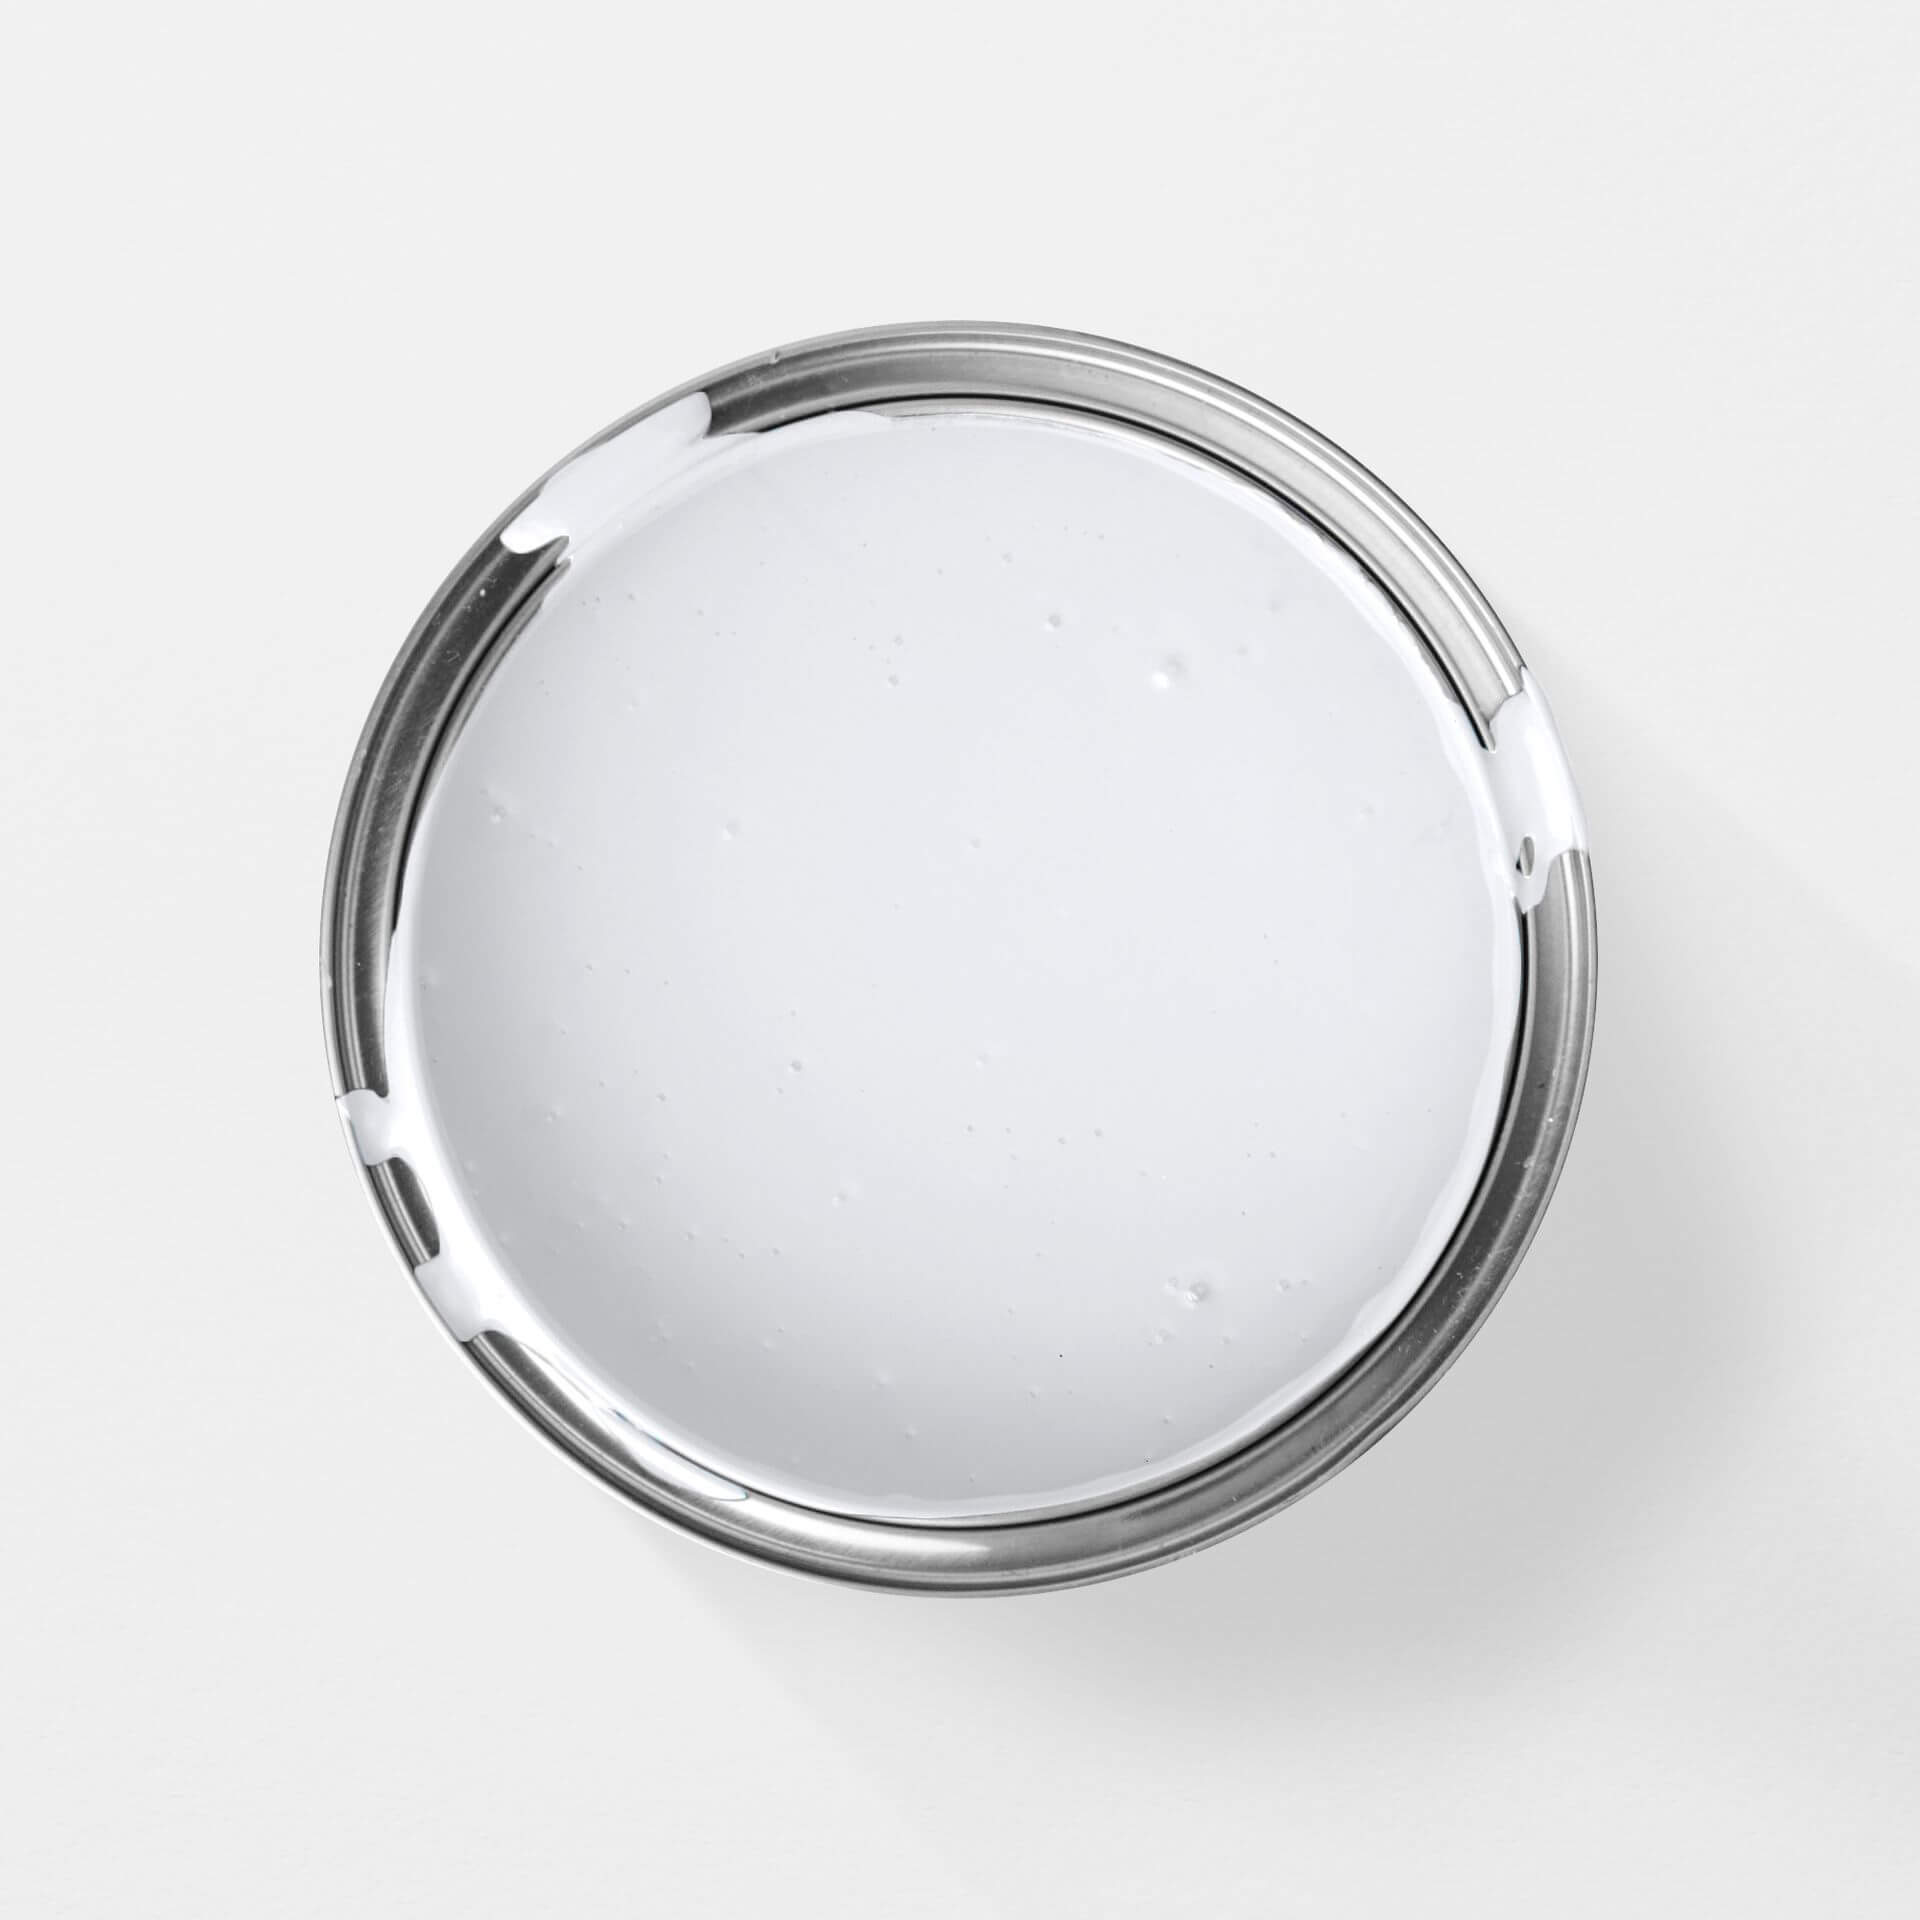
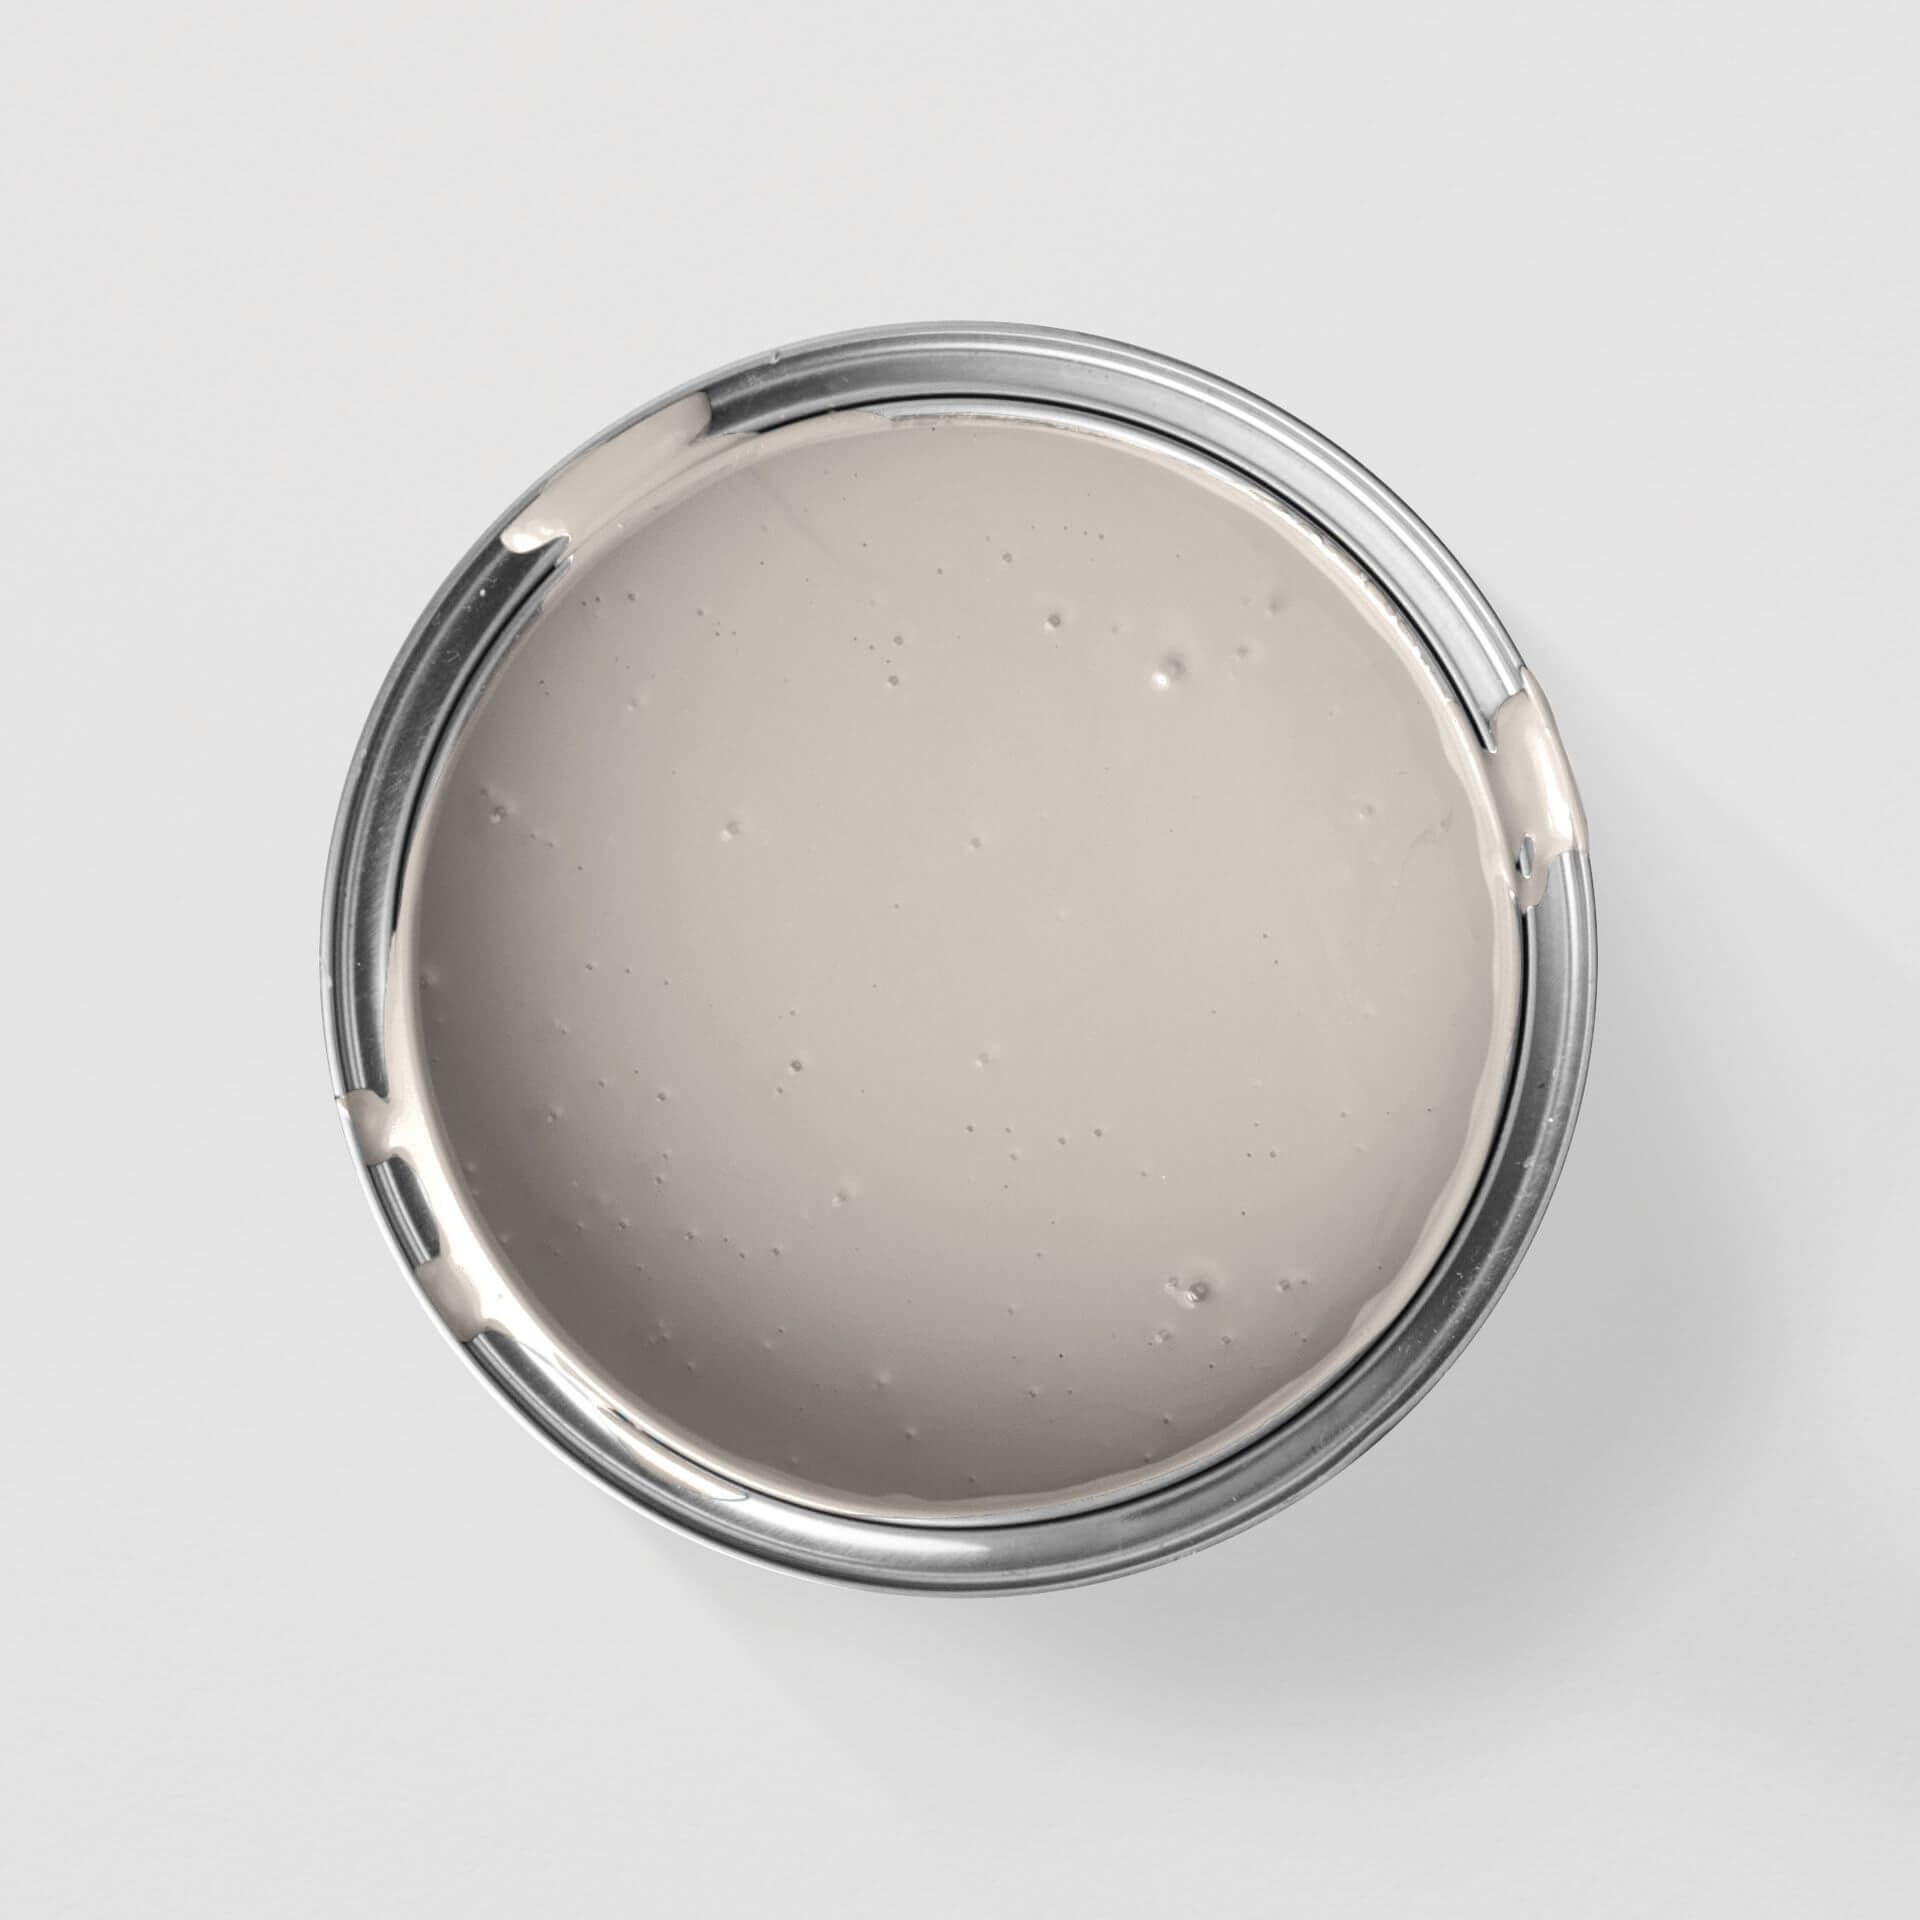
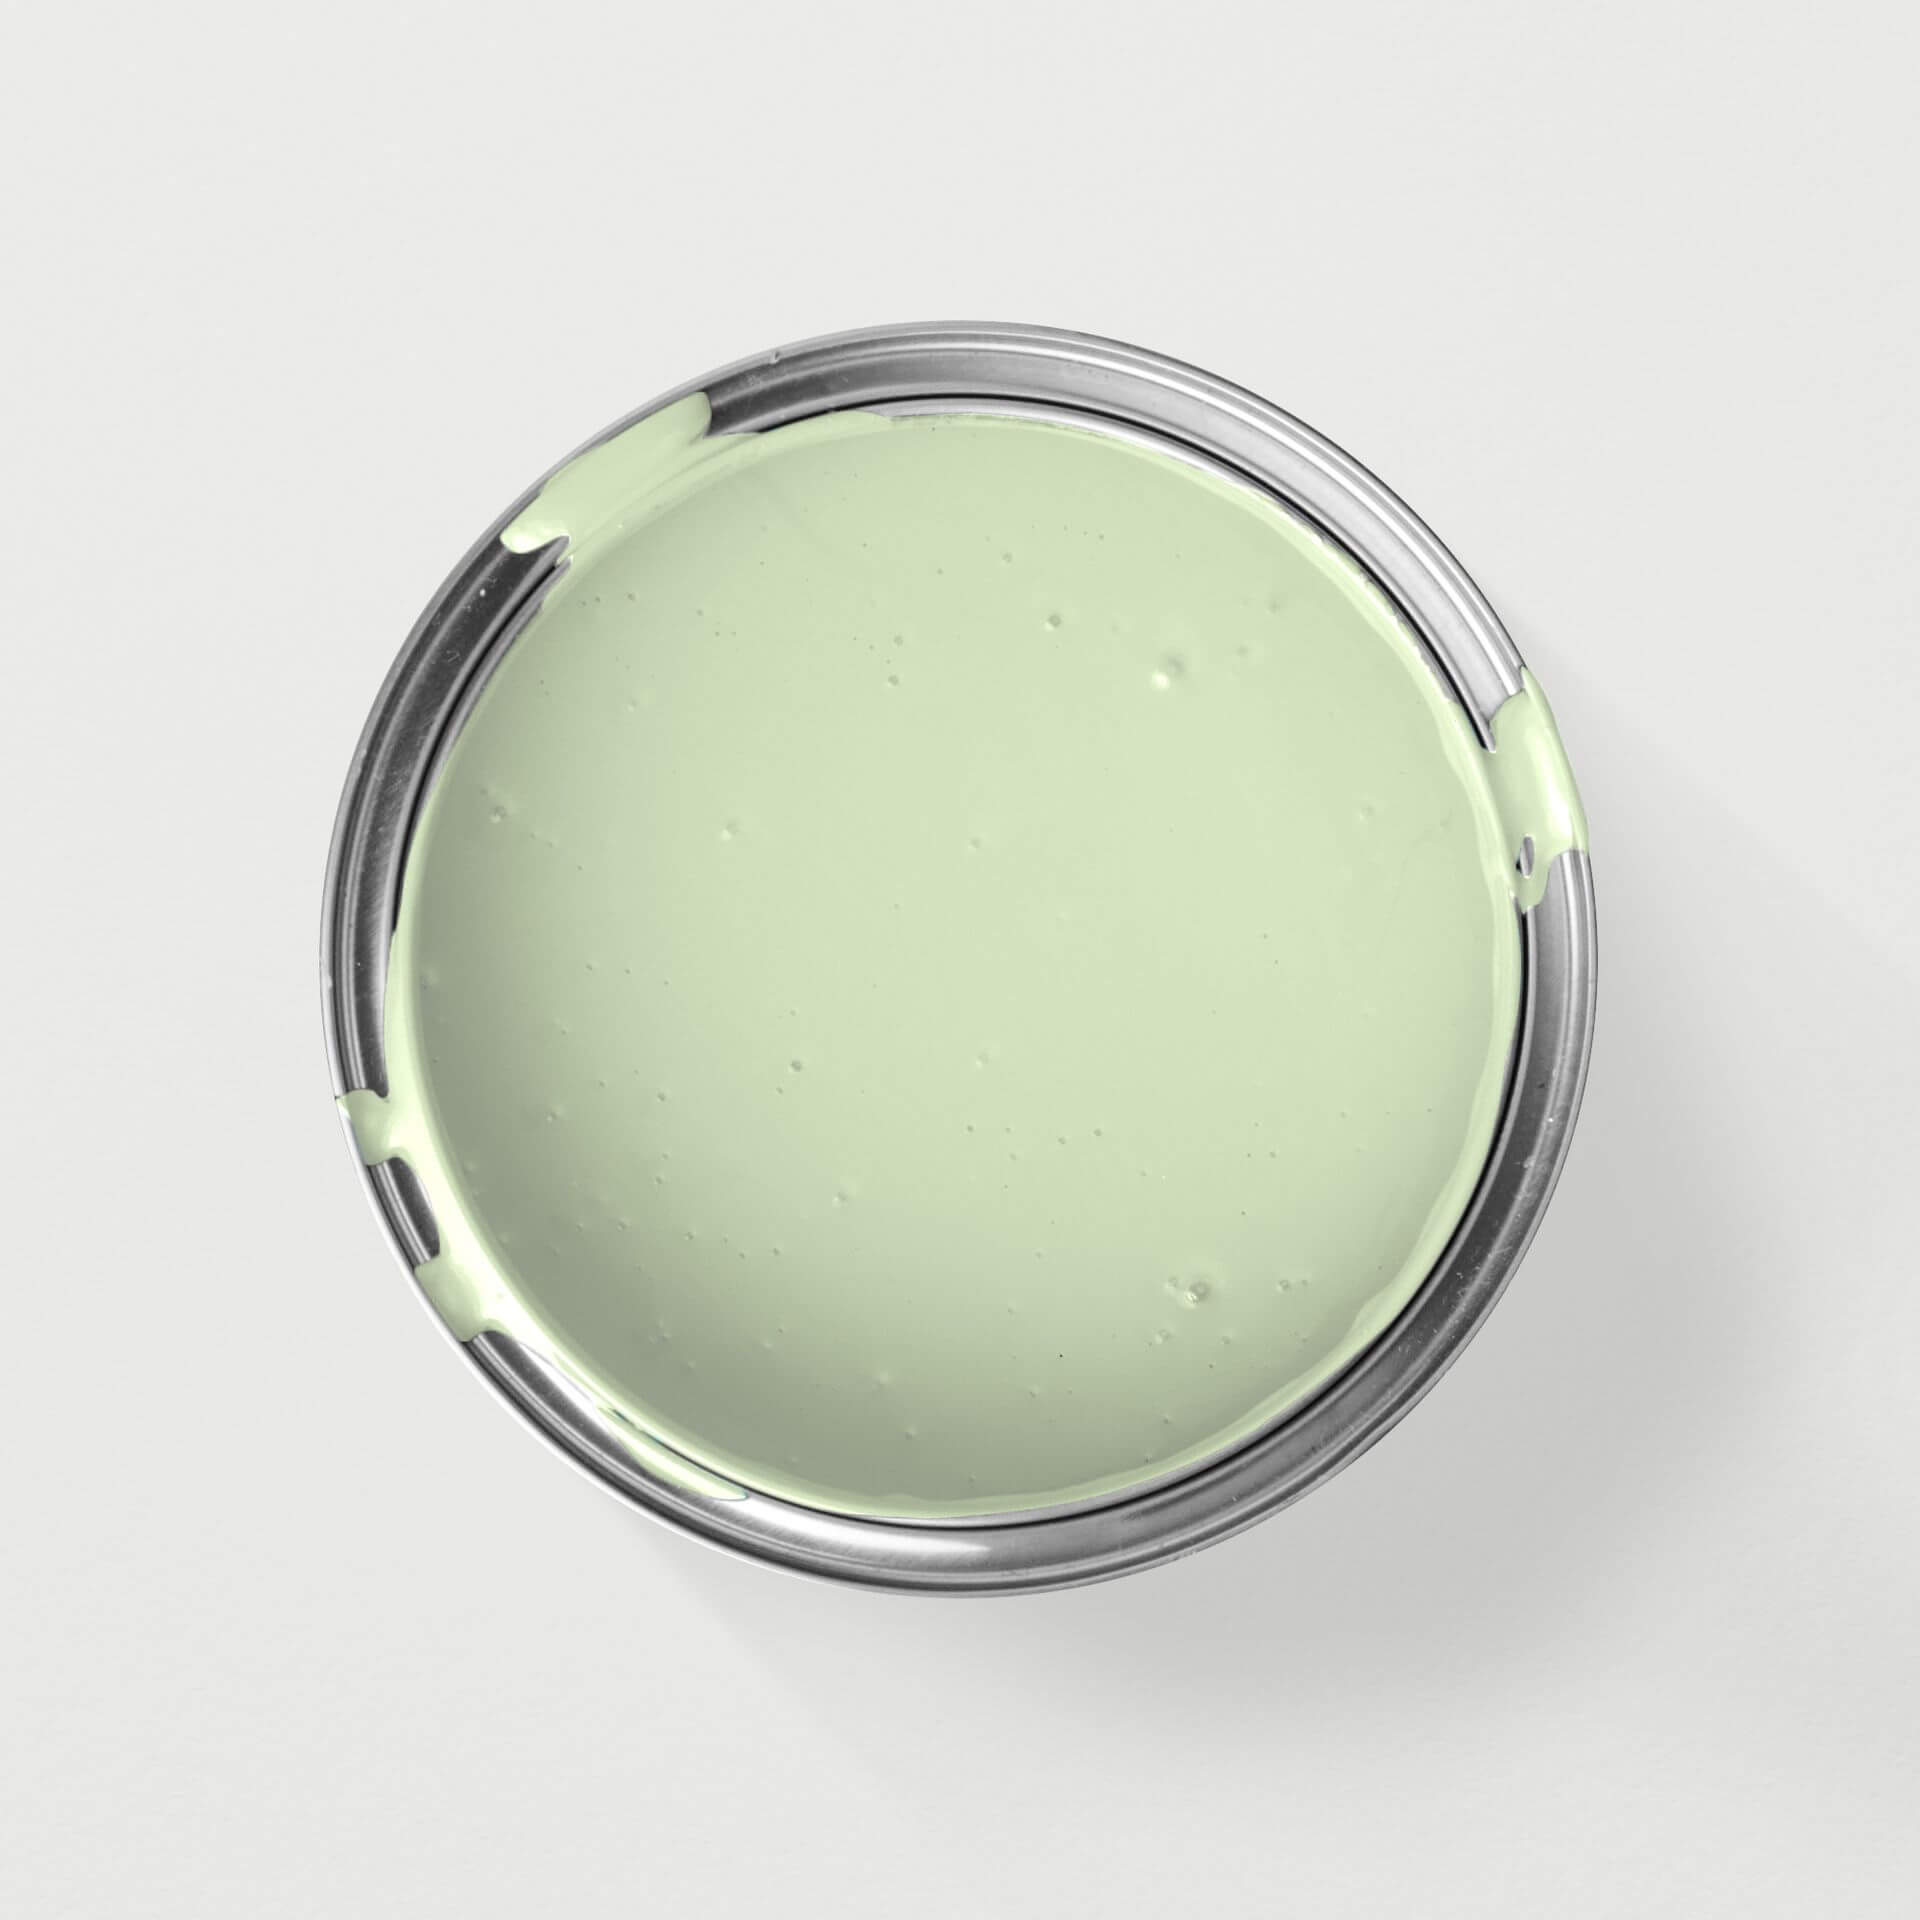
Want to renovate your camper, but struggling to choose the right shade? Discover the benefits of our paints here. Simply choose the shade that best suits you and your needs!
The benefits of paint
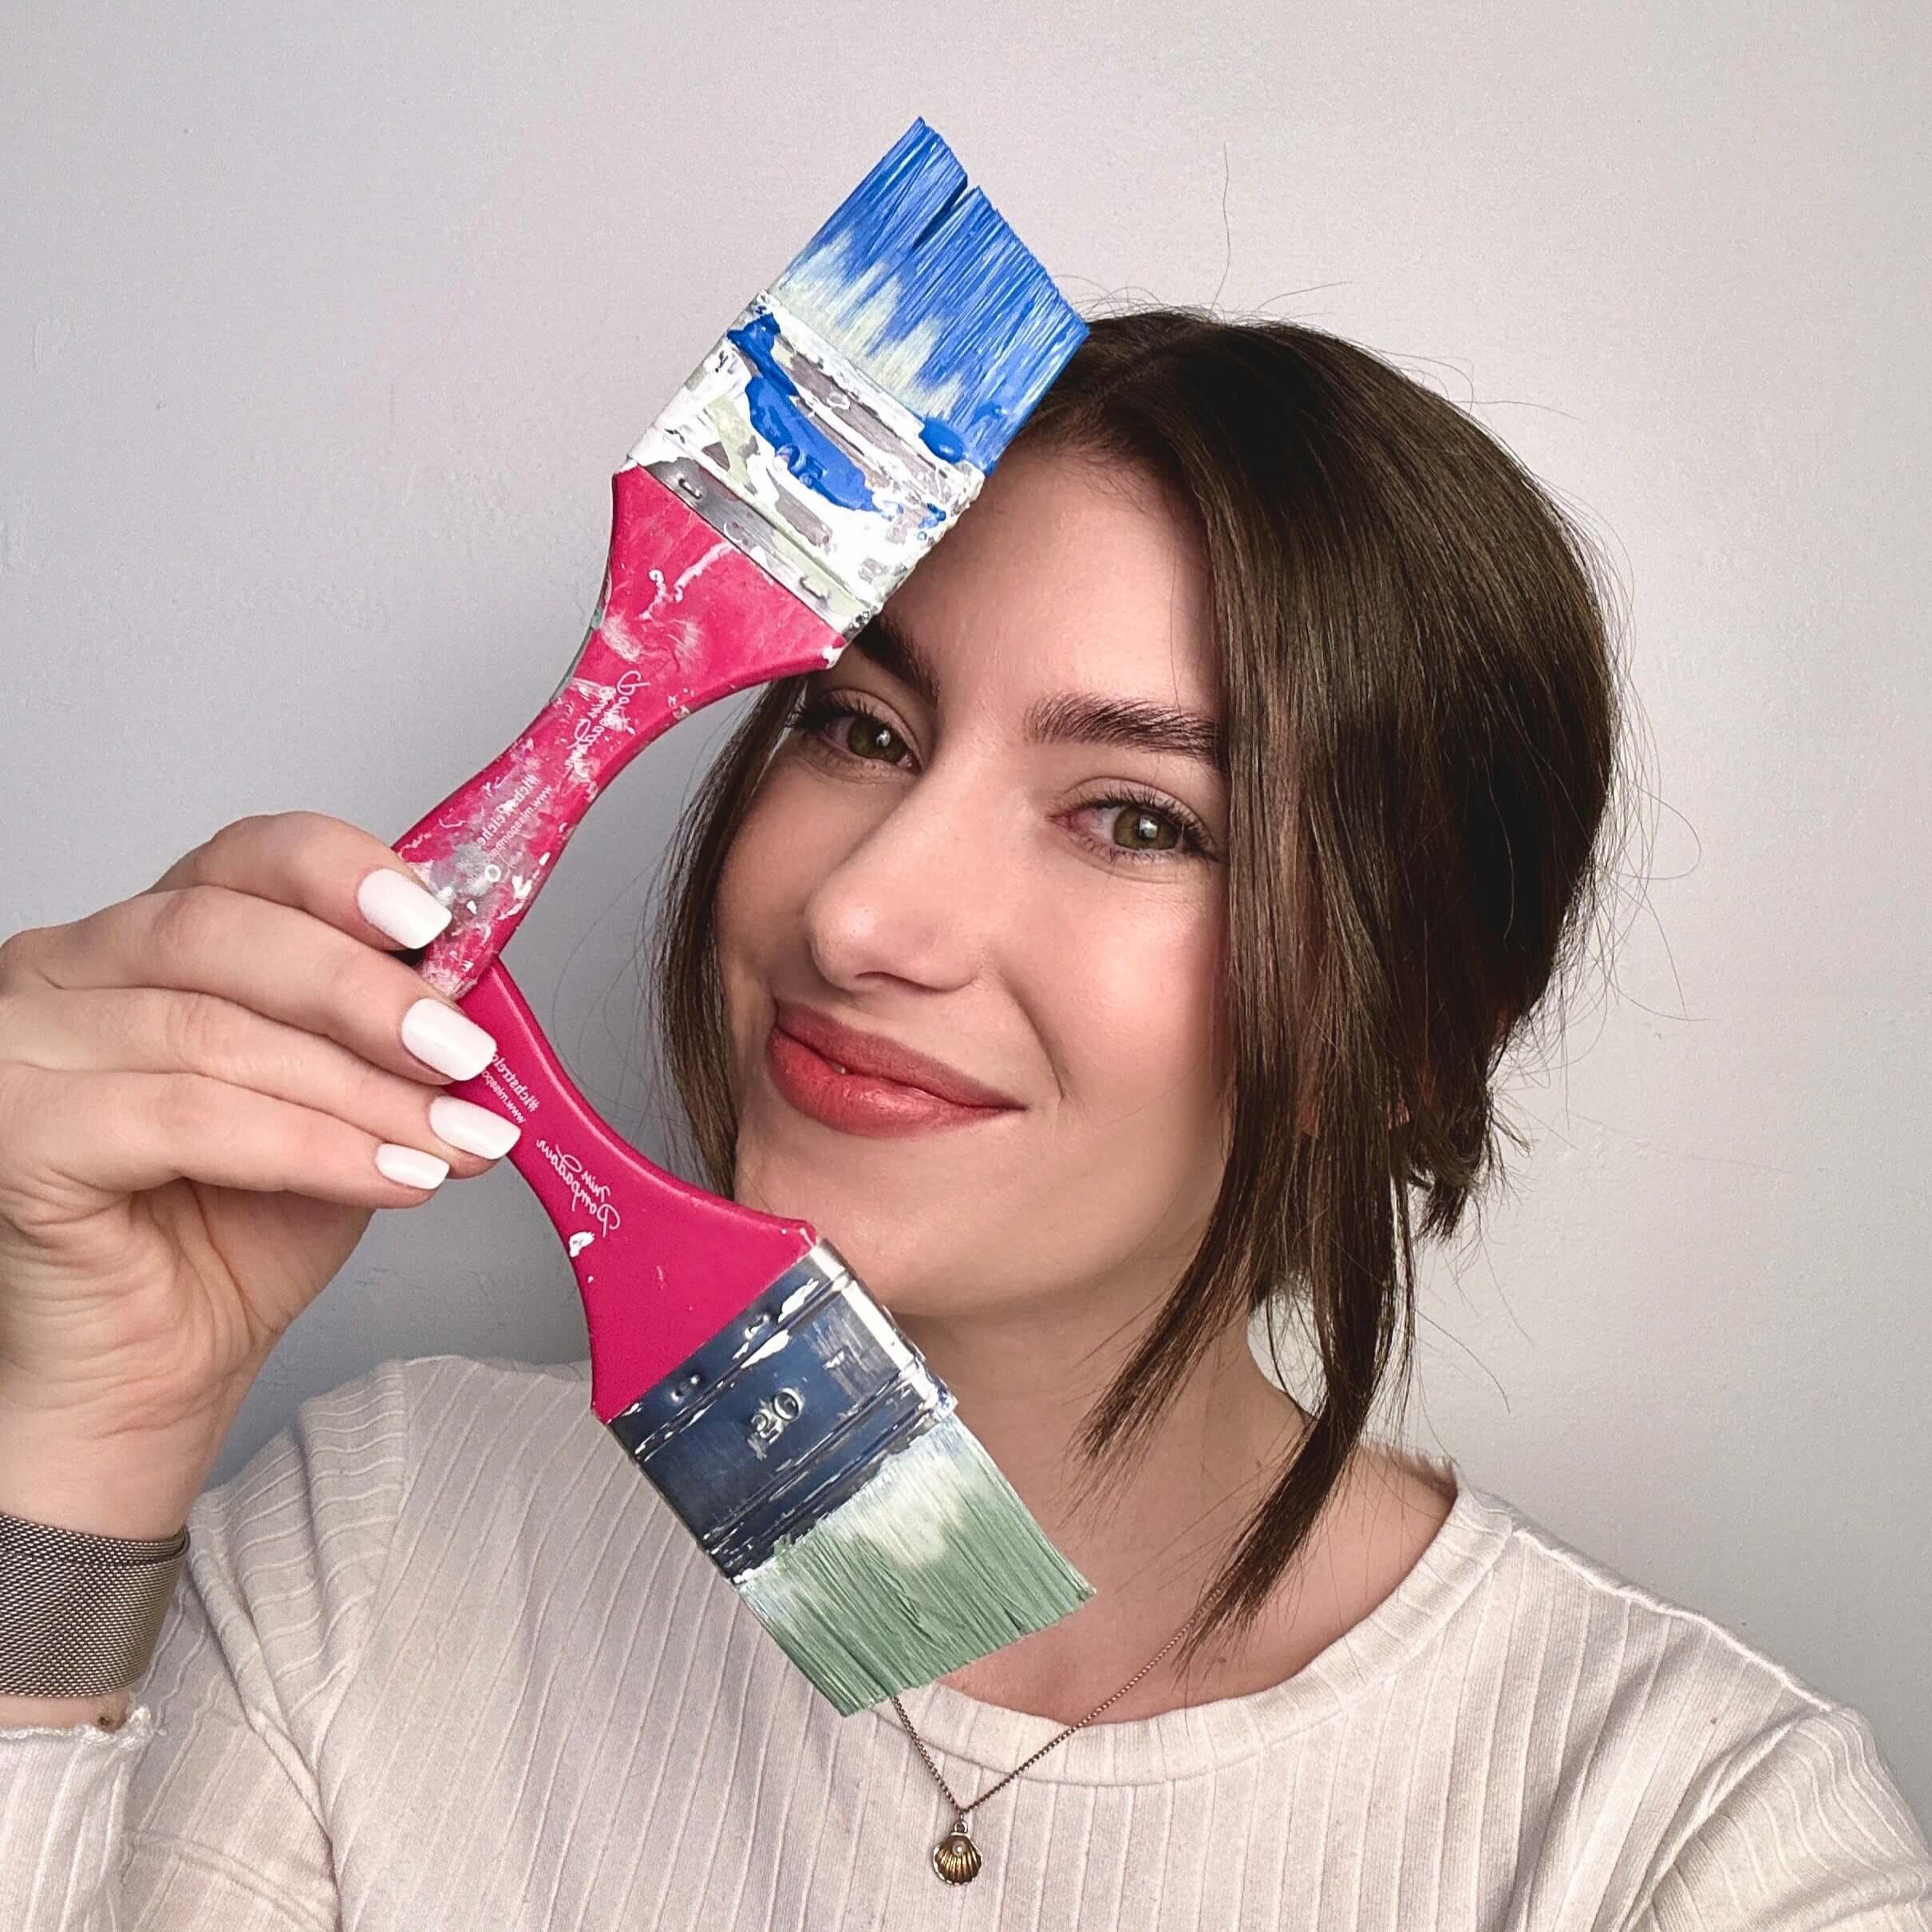
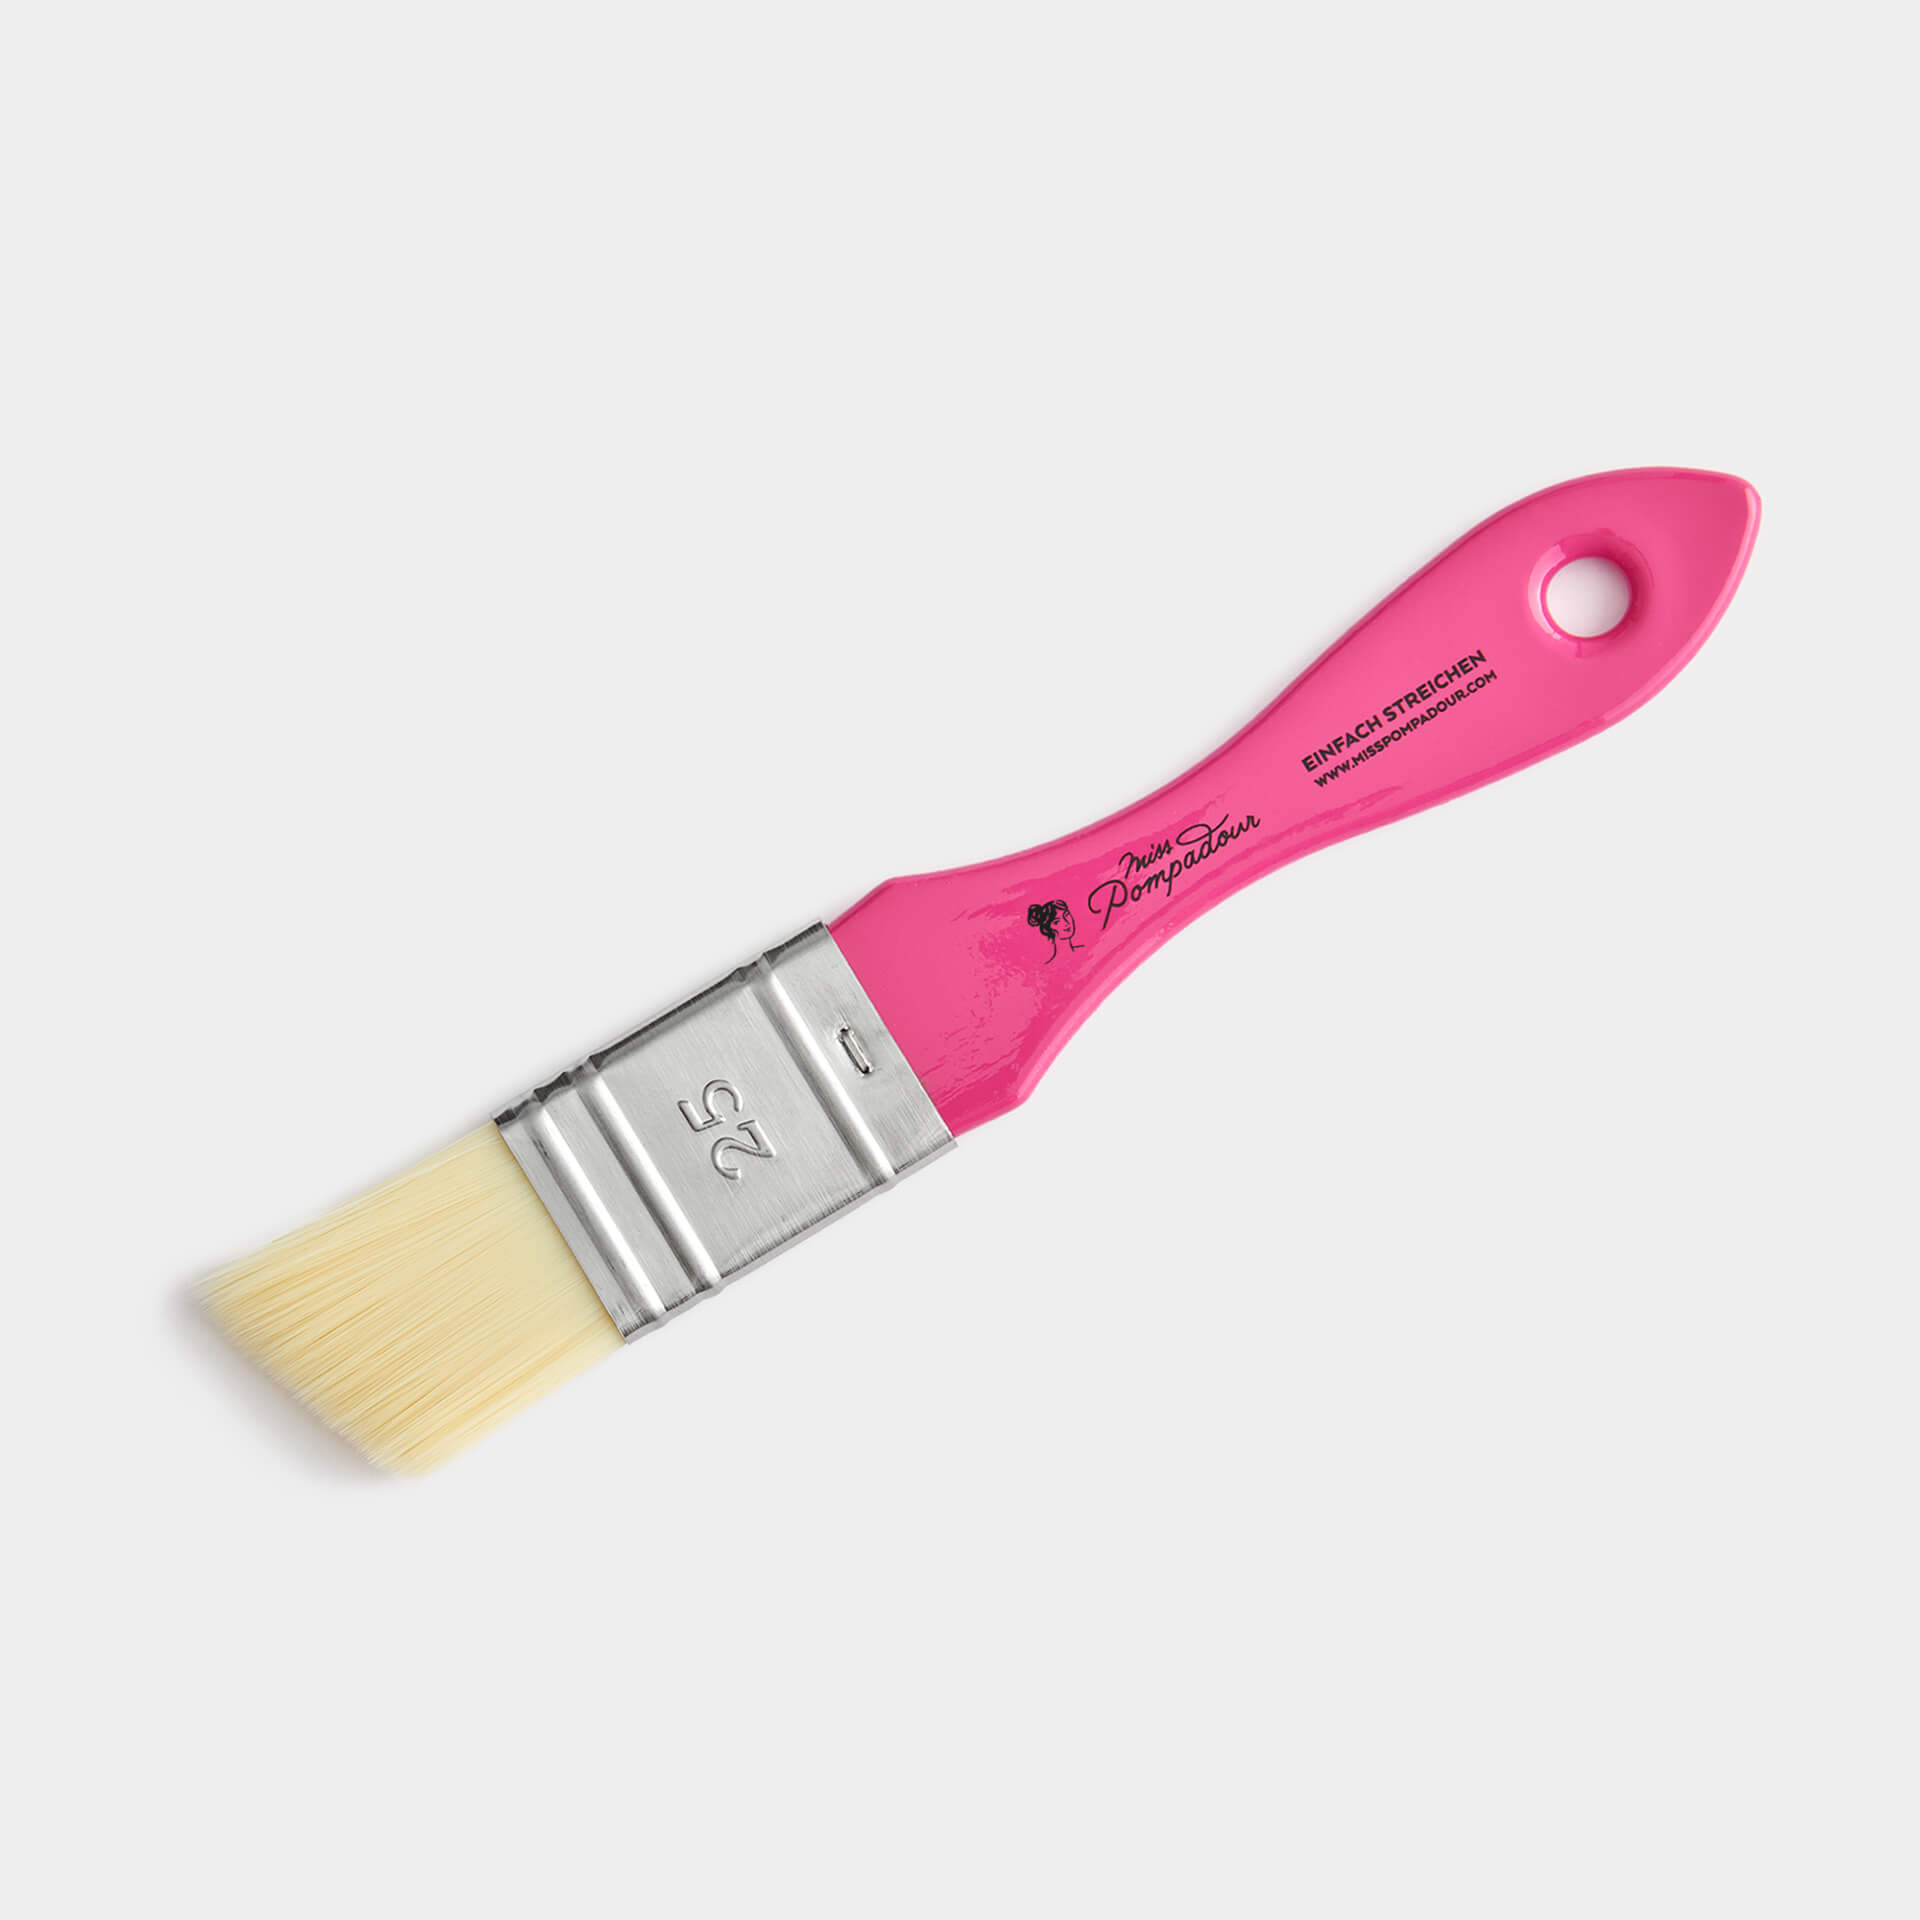
There are many ways to transform your caravan. But in such a tight space, many of them quickly reach their limits. Wrapping it in vinyl requires a lot of patience and quite a bit of know-how, and even wallpapering can be a real hassle when space is tight. If you paint the surfaces, however, a beautiful finish is guaranteed with just a few tools. Our narrow brushes, especially our slim angled brush, easily get into every corner. You can sometimes even skip the masking tape altogether.
Because our paints are low-emission, you can even use them in poorly ventilated spaces. This makes them absolutely perfect for your motorhome's interior.

Instructions: How to paint the interior of your camper van
DIY: Painting the Interior of Caravans with Paints and Chalk Paints
With our step-by-step guide, you’ll have no more unanswered questions! Find out how to paint your caravan effectively and durably.
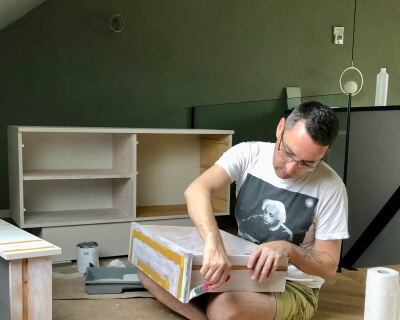
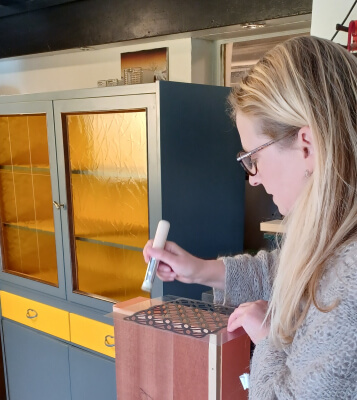
Step 1: Dismantling and Masking
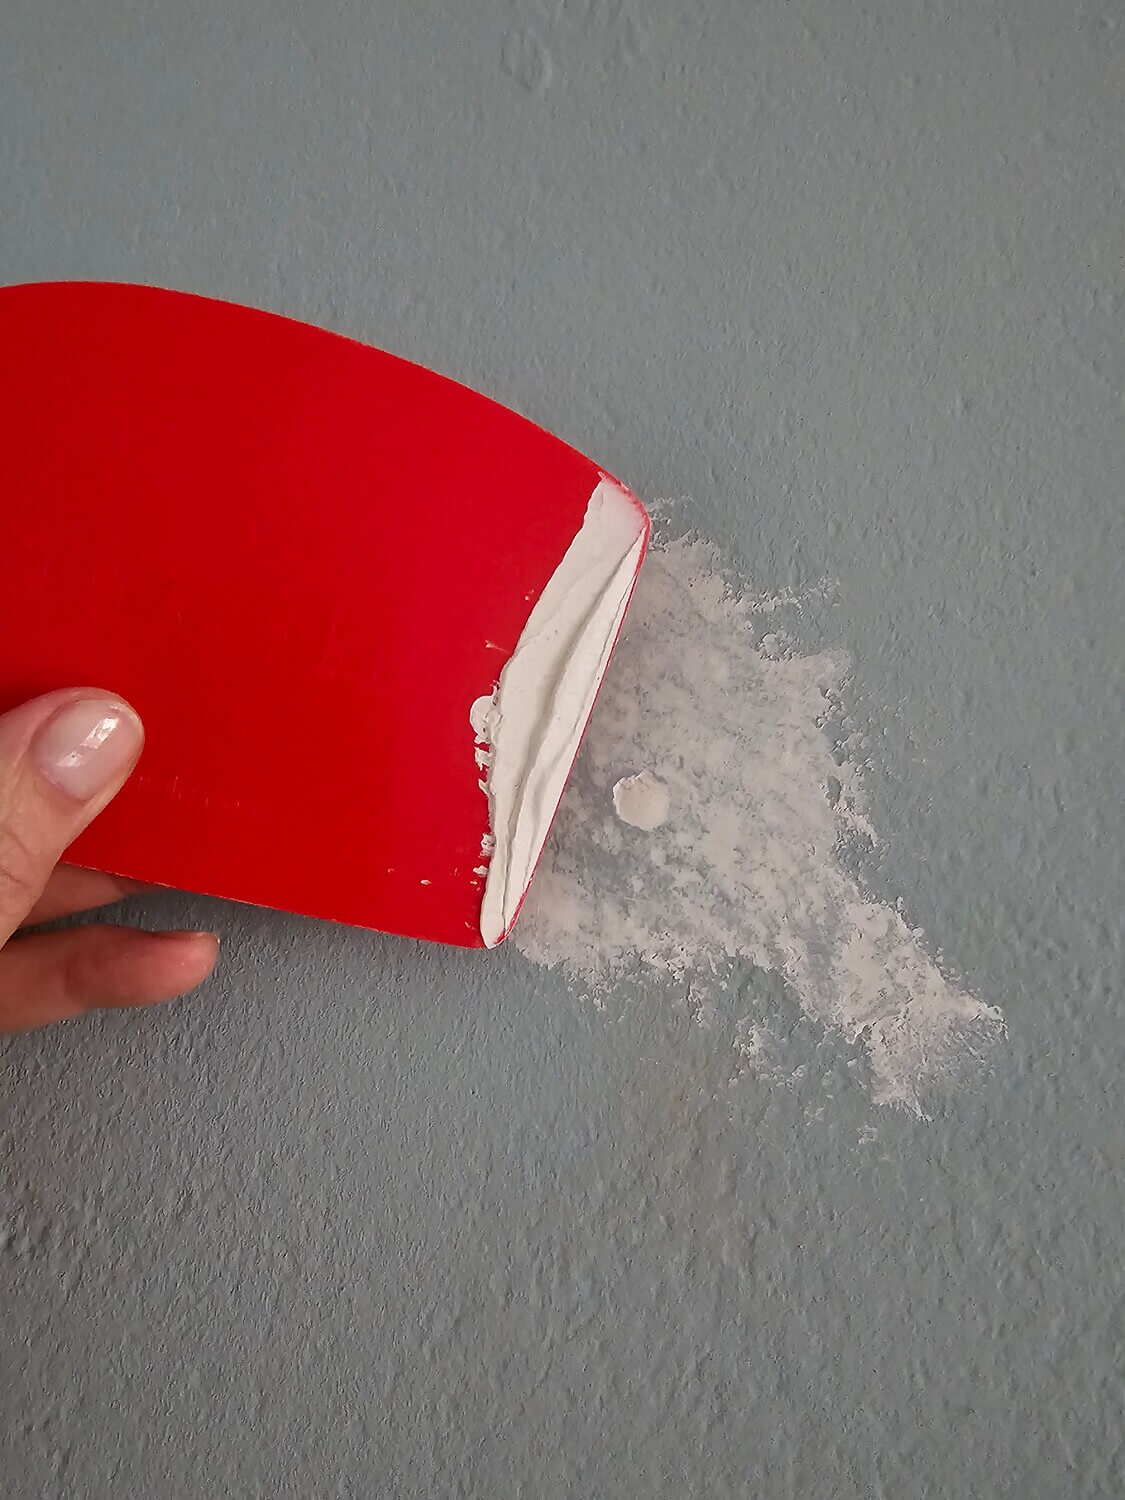
Preparing your project is just as important as the renovation itself. First, remove all the doors from your furniture that you plan to paint. The same applies to any small parts you can dismantle. Simply tape and cover any areas you don’t want to paint and can’t remove. Always remove the tape immediately after painting, while the paint is still wet. This prevents dried paint from being torn off when you peel it away. Then, re-tape for the next coat of paint.
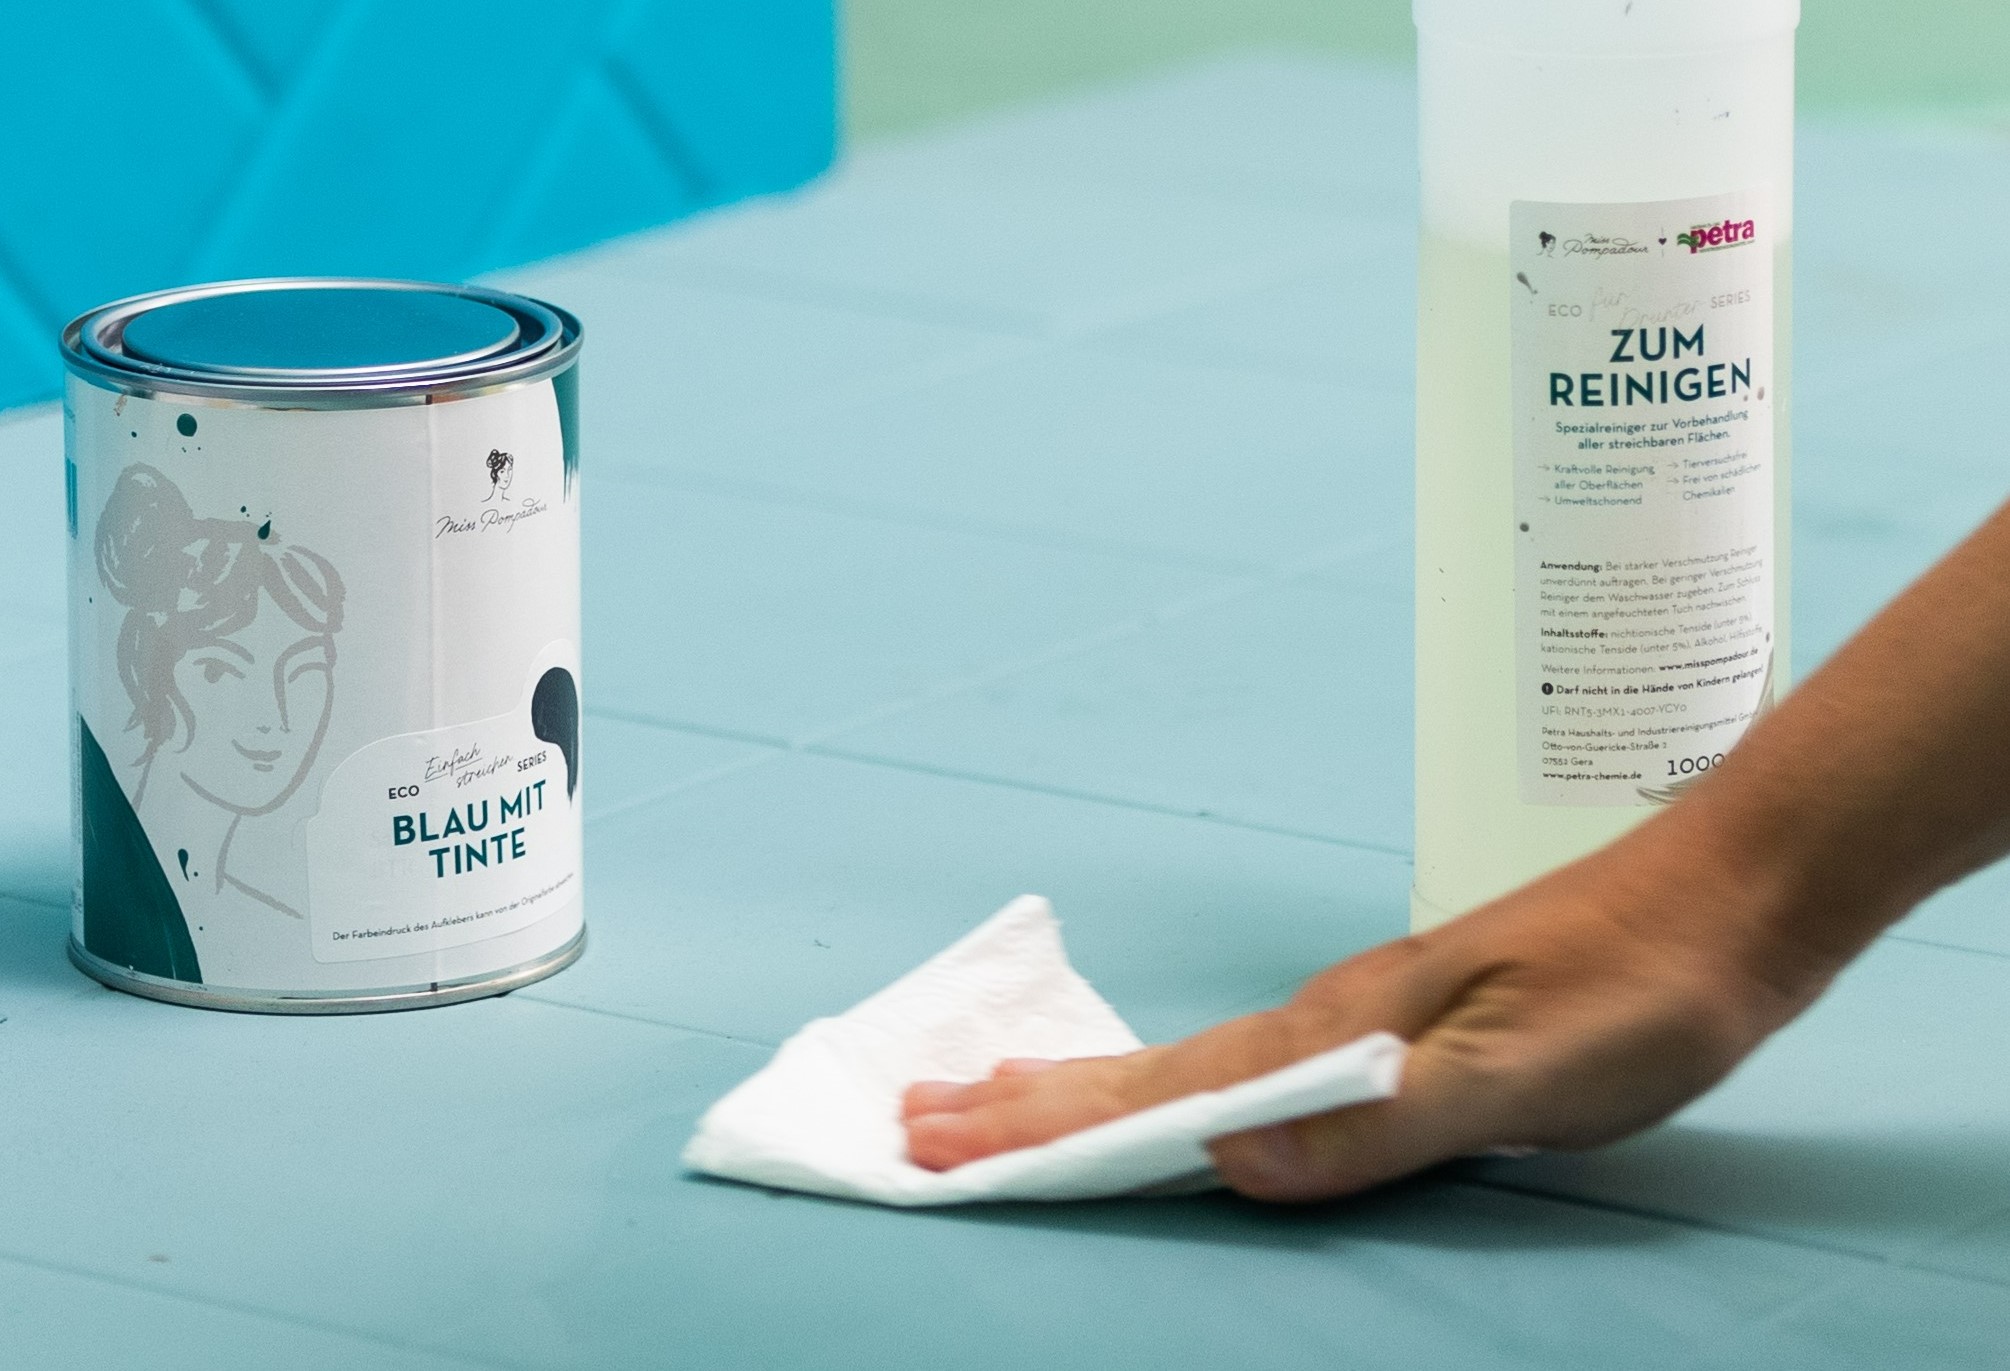
Step 2: Cleaning
Now, clean all surfaces to be painted thoroughly. They must be free of dust and grease before you start painting. Use our To Clean for this, as you can also use it for the painted furniture and other areas in your caravan.
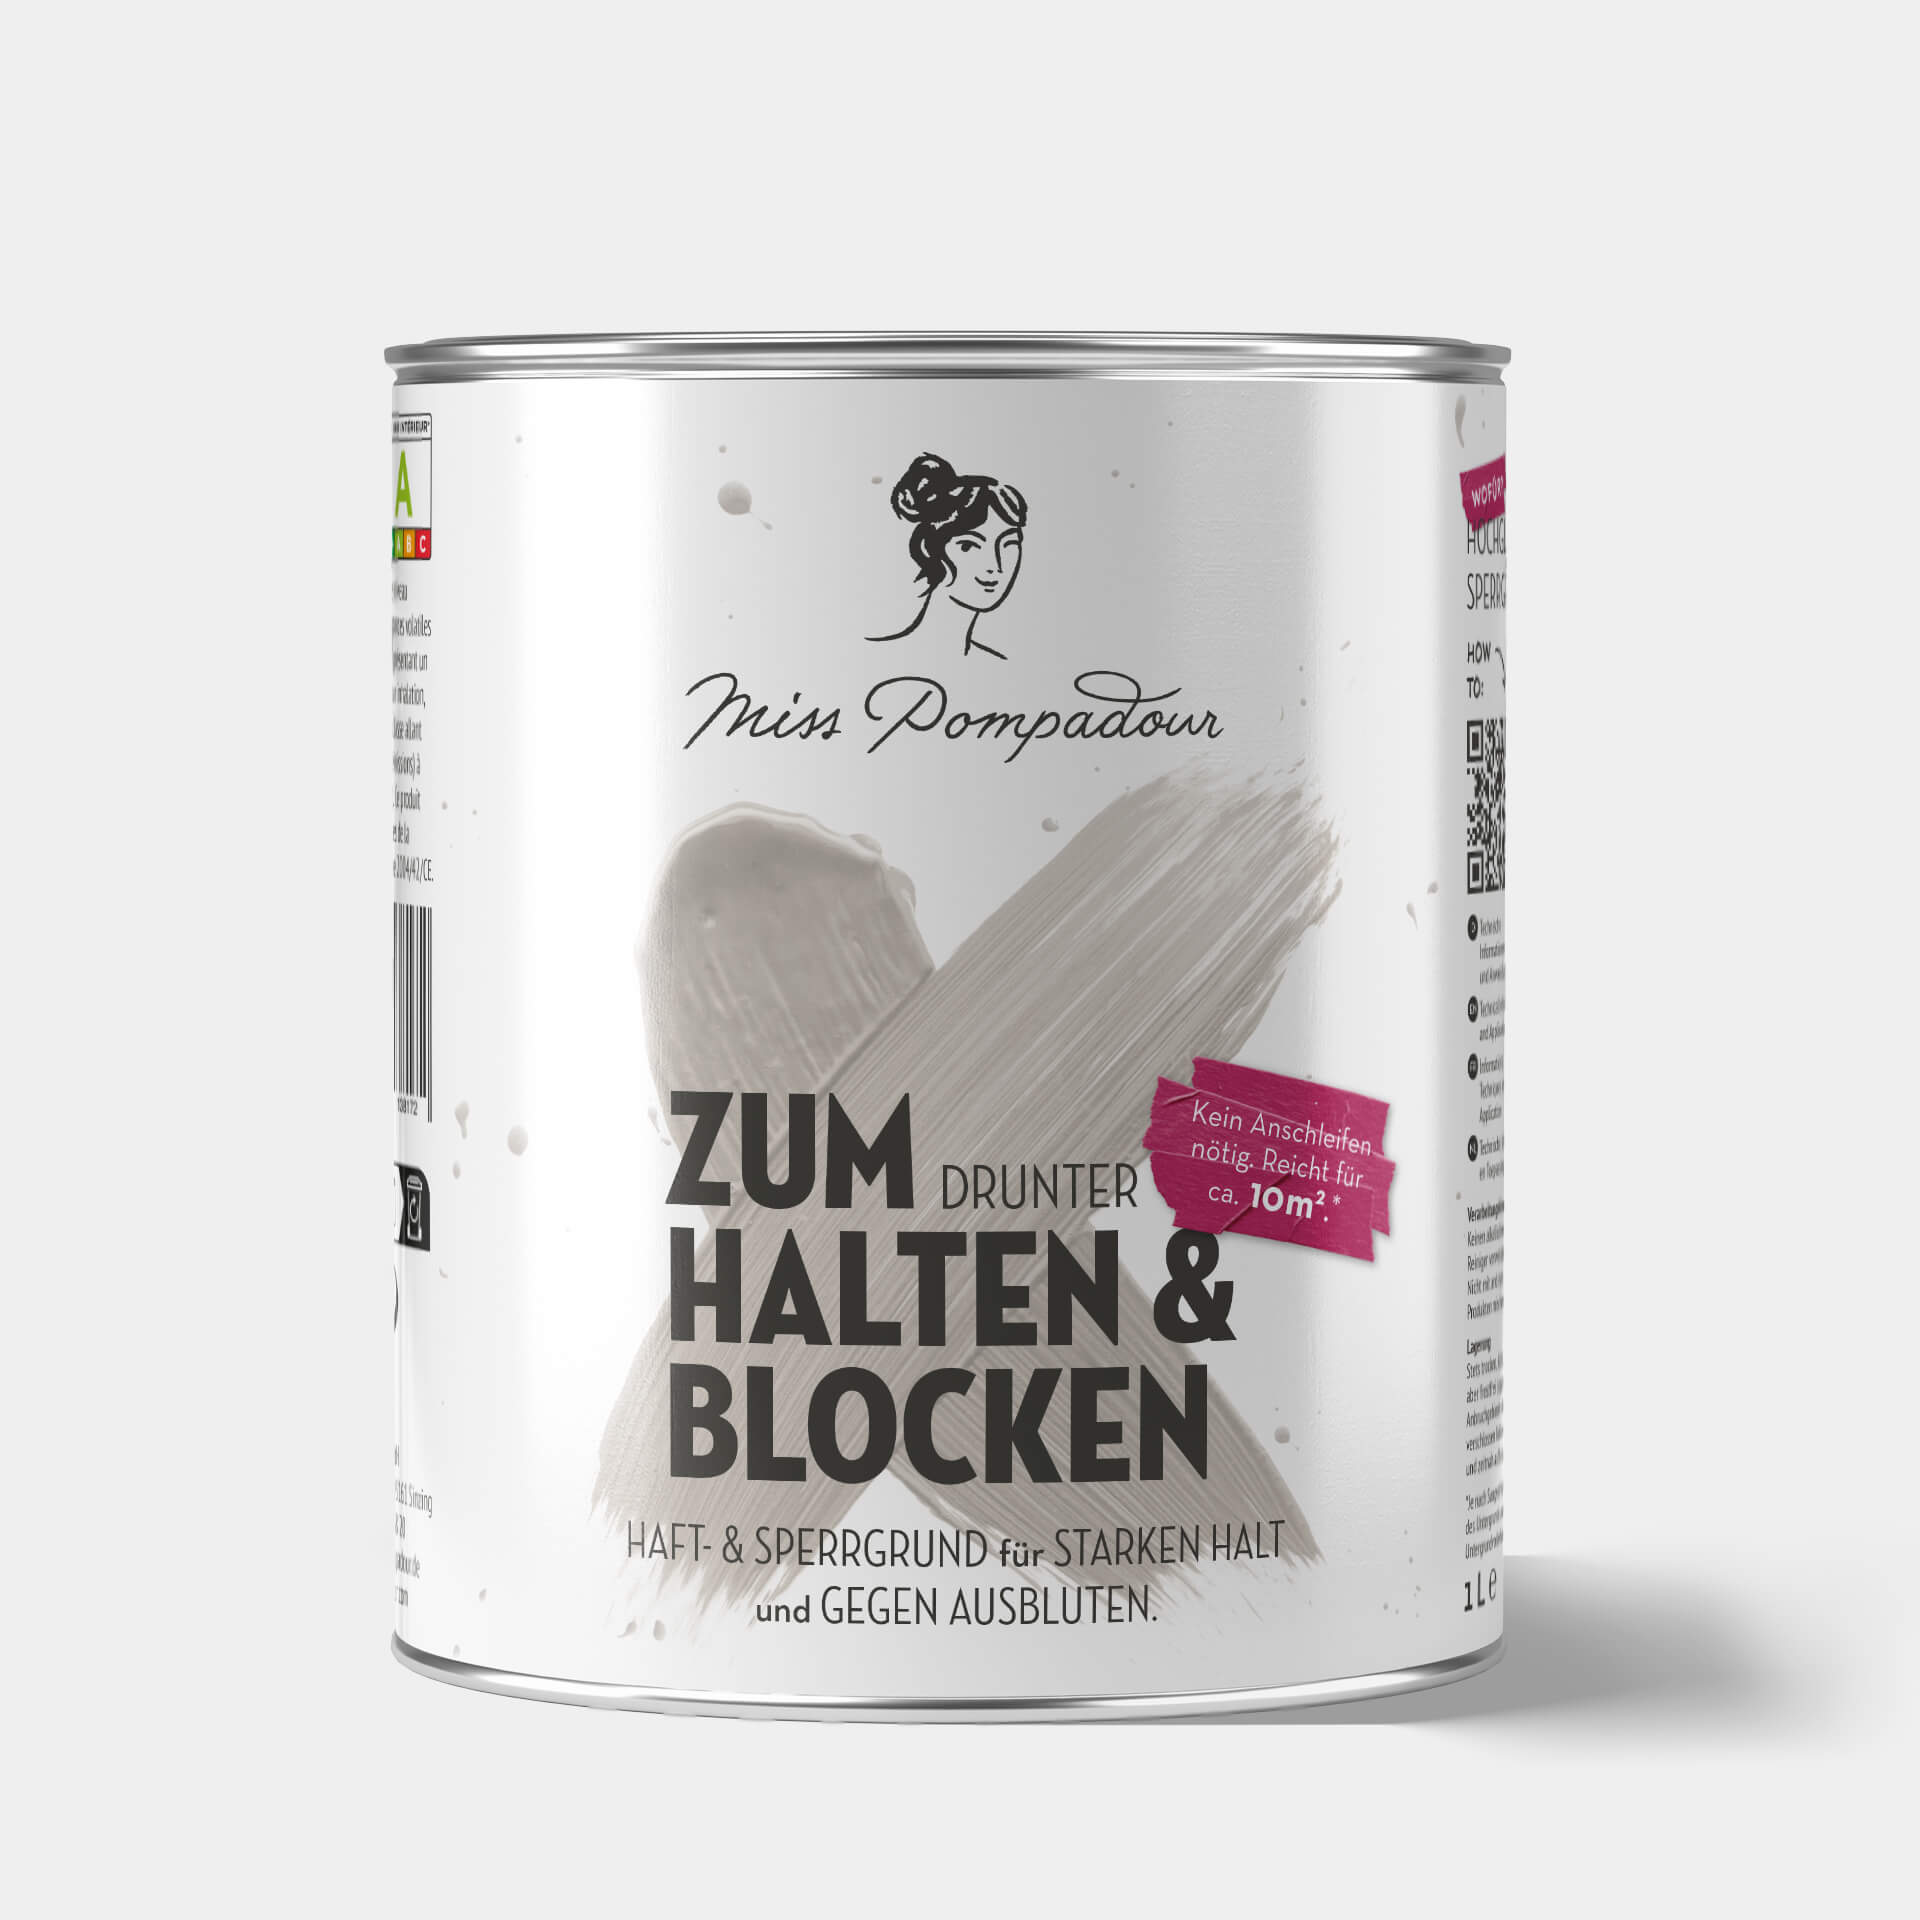
Step 3: Priming Surfaces
For foiled or veneered surfaces, a thick layer of MissPompadour To Bond & Block ensures your paint adheres well to the surface. This insulating primer prevents substances from the wood bleeding into the paint and simultaneously ensures optimum adhesion. Allow this coat to dry for around 3-8 hours, depending on the surface.
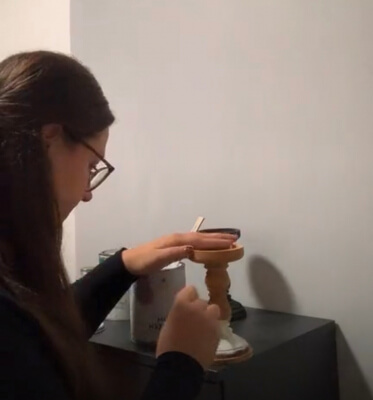
Step 4: Applying the Colour
Now the big moment has arrived: it's time for your coat of paint. It’s best to paint with a paint roller or brush. Our MissPompadour paint brushes are particularly suitable for corners and small areas. They allow you to paint corners without needing to mask them off. Give the paint 4-6 hours to dry after each coat. You can then apply another coat of paint. Don't be fooled by the first coat – after 2-3 more coats and proper curing, you will achieve a perfect result that is guaranteed to impress you.
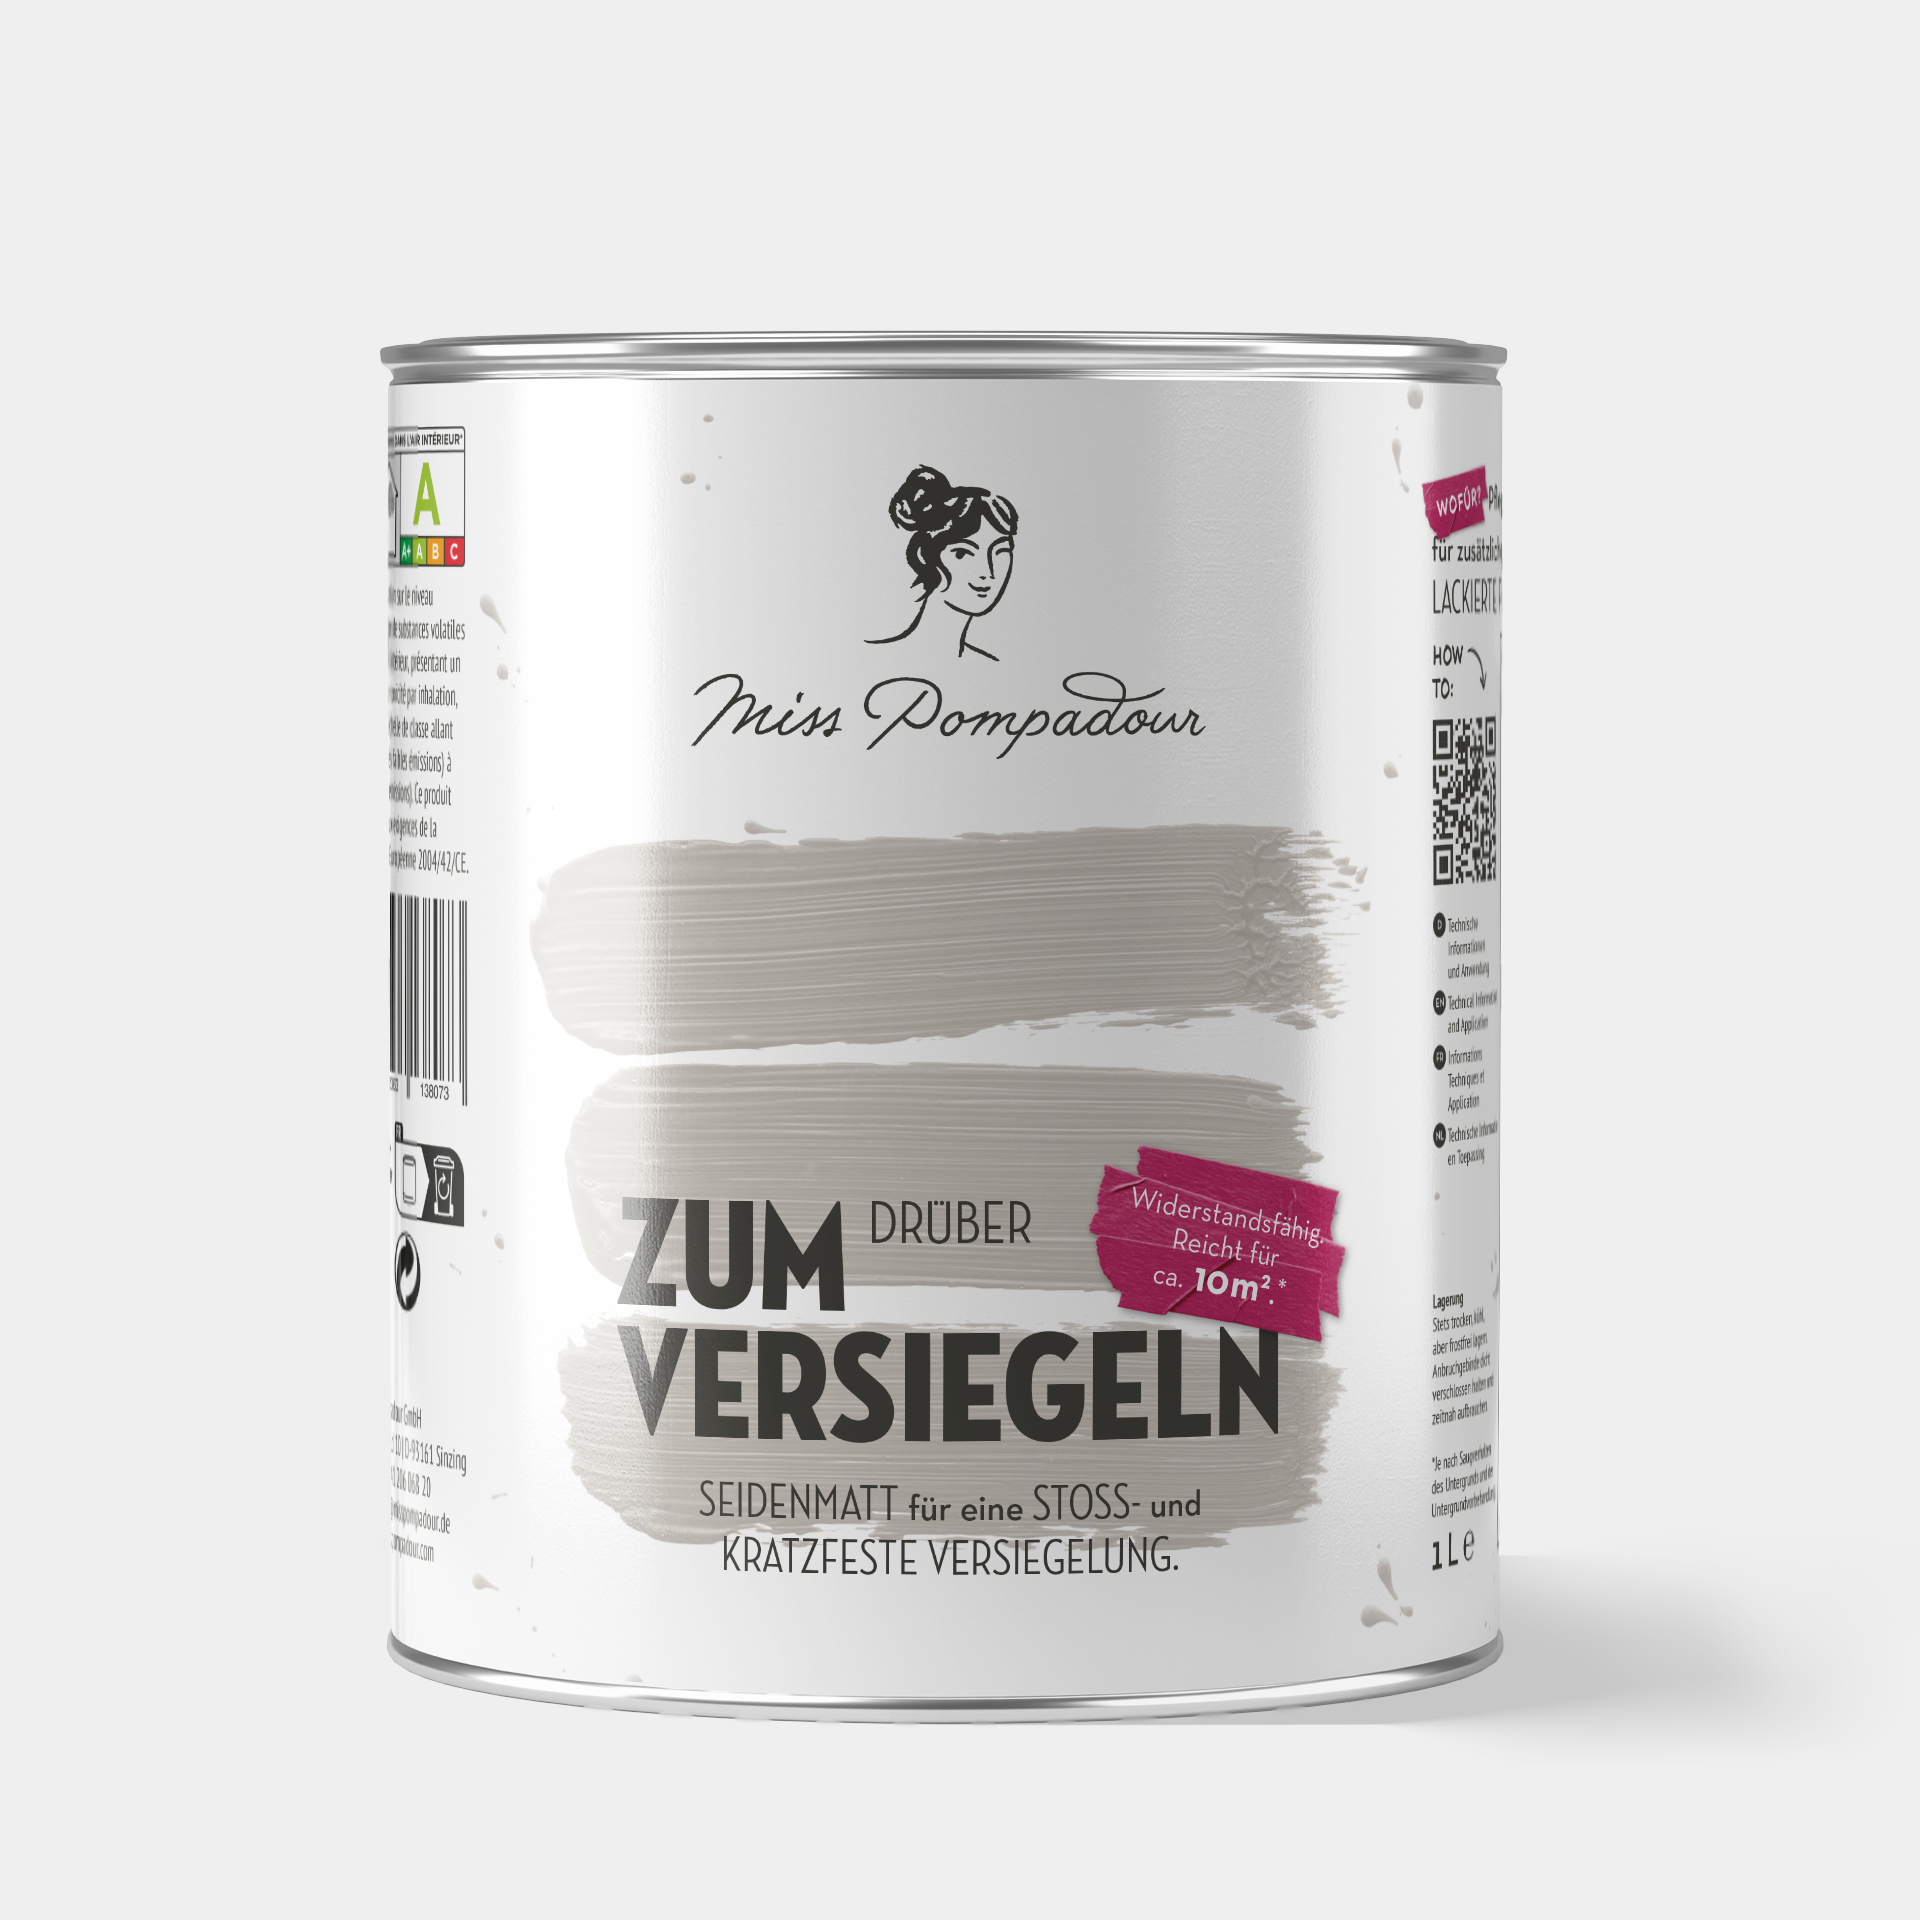
Step 5: Sealing
Additional sealing is particularly useful in motorhomes. In confined spaces, it’s possible to accidentally knock a pan or edge against the painted surface. Protect your new coat of paint with MissPompadour To Seal.
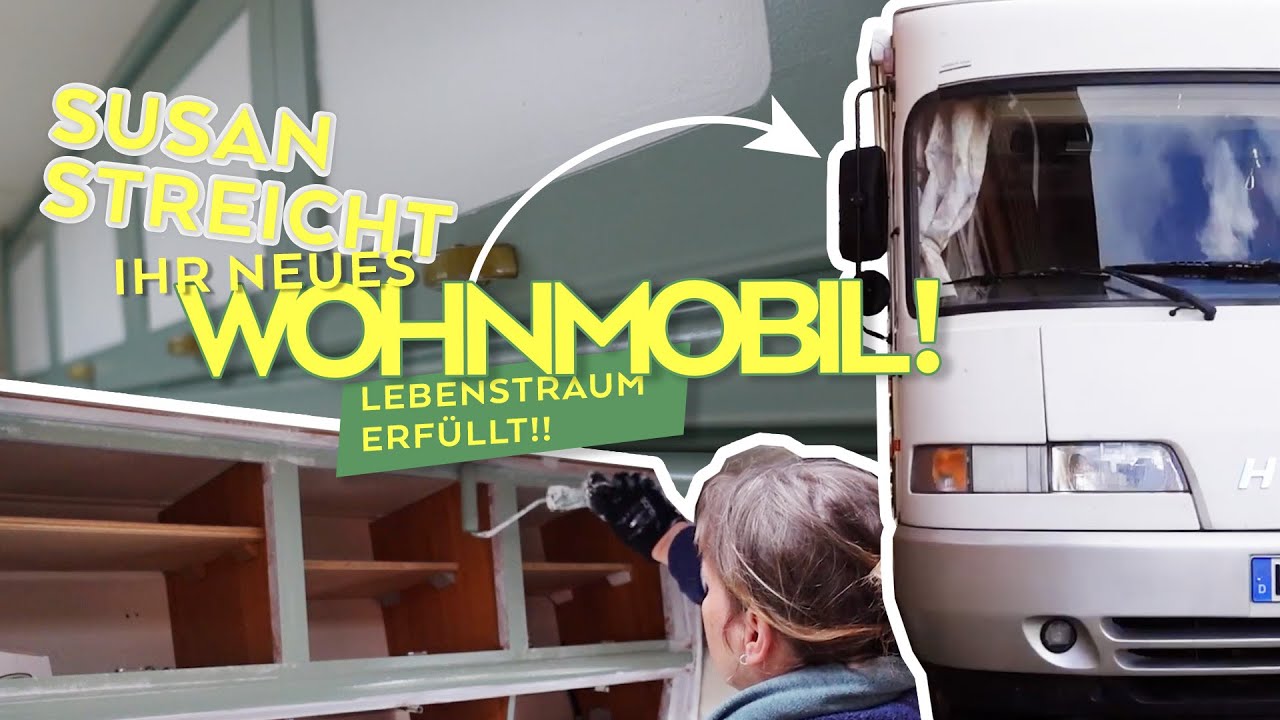
Video: Project camper van paint: MissPompadour Suitcase Camera - Susan paints her new motorhome!
FAQ: Frequently asked questions about motorhome renovation
What other colours are suitable for painting the inside of motorhomes?
We highly recommend our Easy Eggshell!. With over 100 shades to choose from, you can get started straight after cleaning.
Can I paint the inside of my caravan without sanding beforehand?
With our paints, you don't need to sand surfaces first. You only need to tackle scuffs and stubborn dirt beforehand and remove them. After that, simply apply a coat of To Bond & Block to smooth surfaces.
Can I also wallpaper and paint the inside of my caravan?
You can wallpaper the walls inside your motorhome before painting the furniture. Vinyl and non-woven wallpapersare best suited for this. Make sure that you use a stable adhesive for the wallpaper, because compared to a plastered wall, the wall in the caravan is very smooth.
All our tips for your caravan interior makeover at a glance
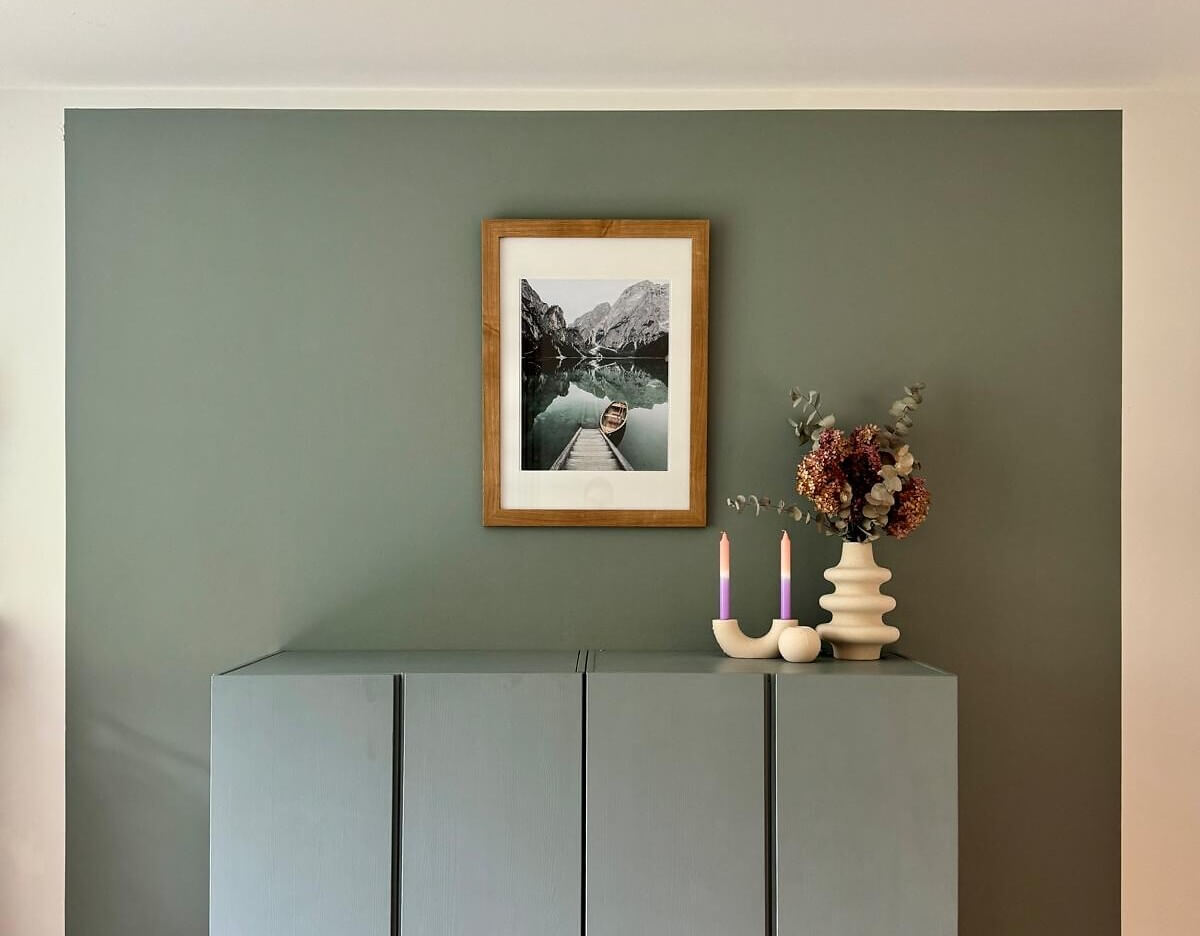
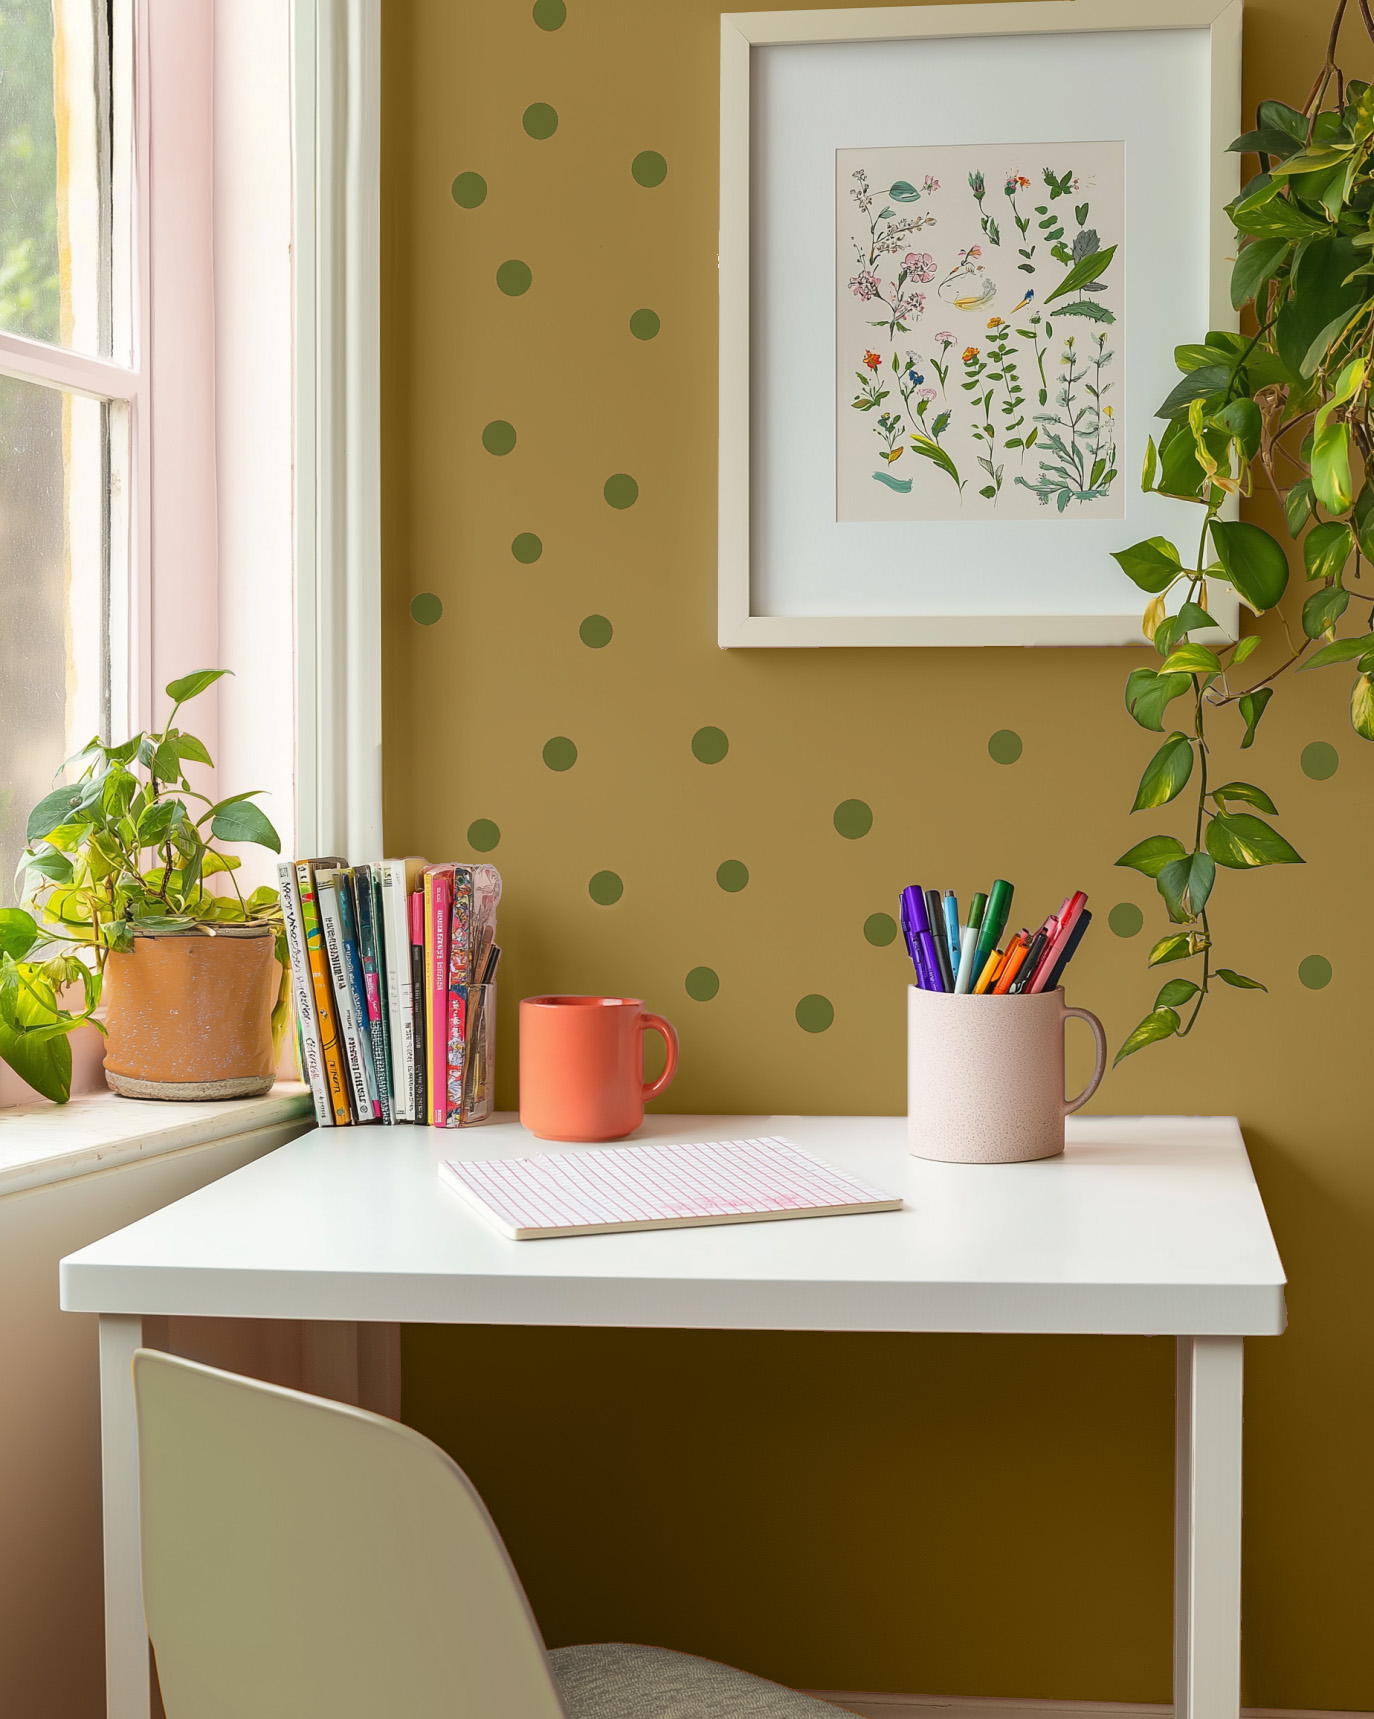
Choose a soft shade that isn't too overpowering. This will create an open and cosy atmosphere when you paint the interior of your caravan. Finally, add the finishing touches with some matching decor.
Conclusion: The work is worth it
And if the colour shade eventually goes out of fashion, choose a new colour.
Because with our colours, you can just paint!
Finished reading yet?

Your new favourite colour


How to make your project perfect

Questions ?
We're here to help
We'll help you anytime, via Phone (Mo-Fr 09-18, Sa until 16 Uhr), via WhatsApp or directly via our Contact Form.