


Painting Metal Garden Furniture
10 min reading time
Table of contents
But don't worry: with our tips for varnishing metal garden furniture, you can turn even battered pieces of furniture into graceful pieces again.
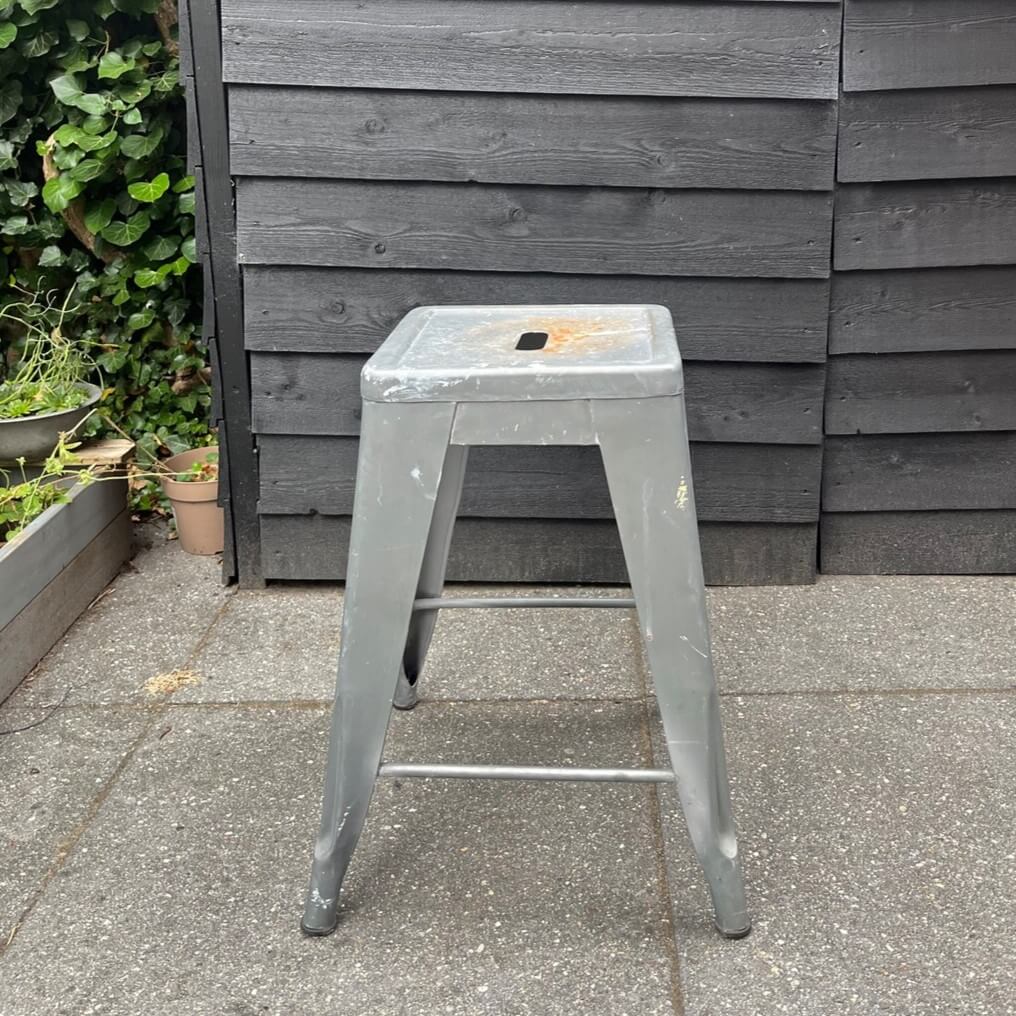
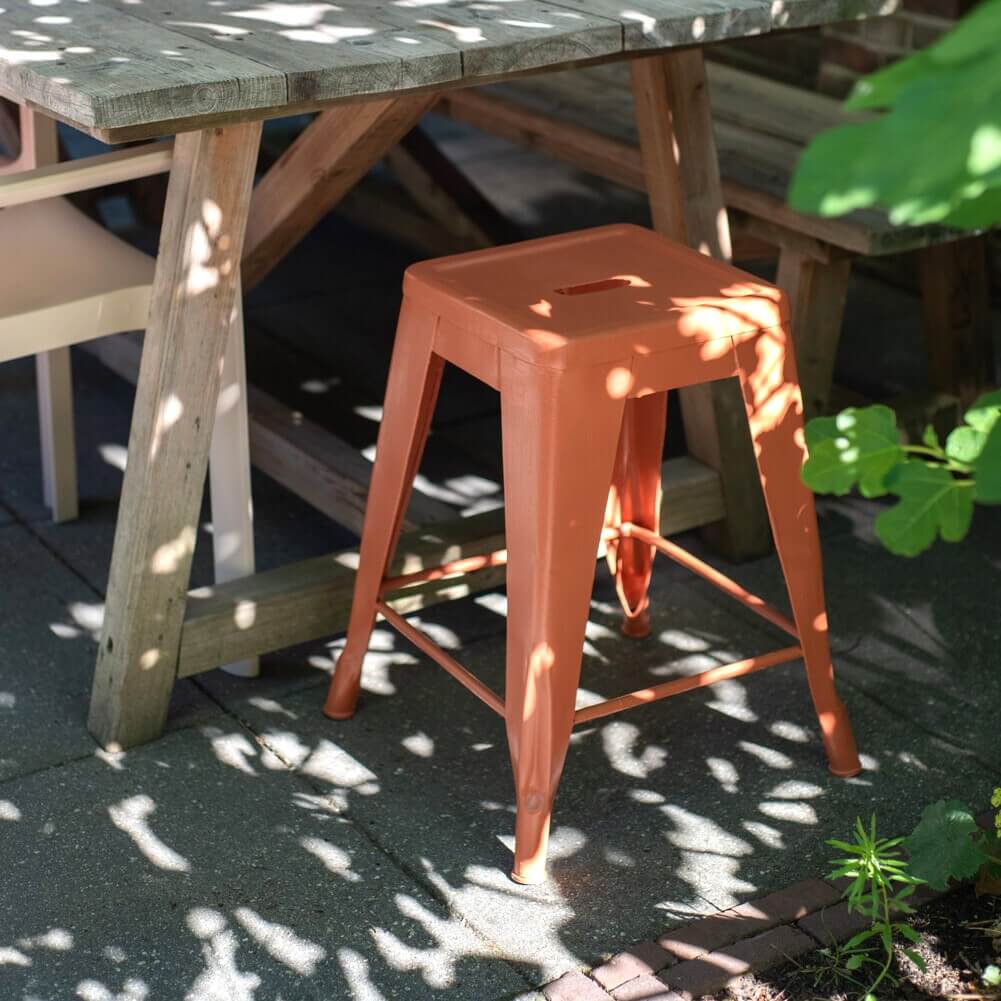
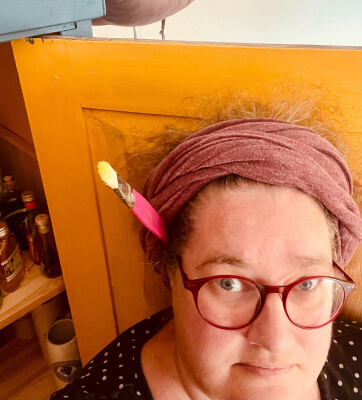
Vorher
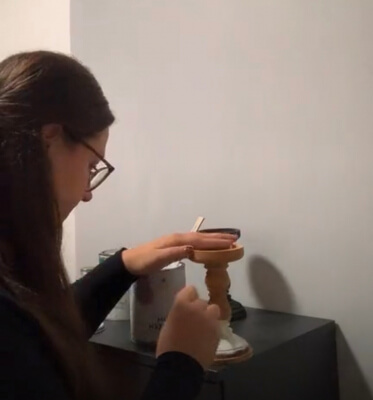
- The stool has not withstood the weather and needs a makeover.
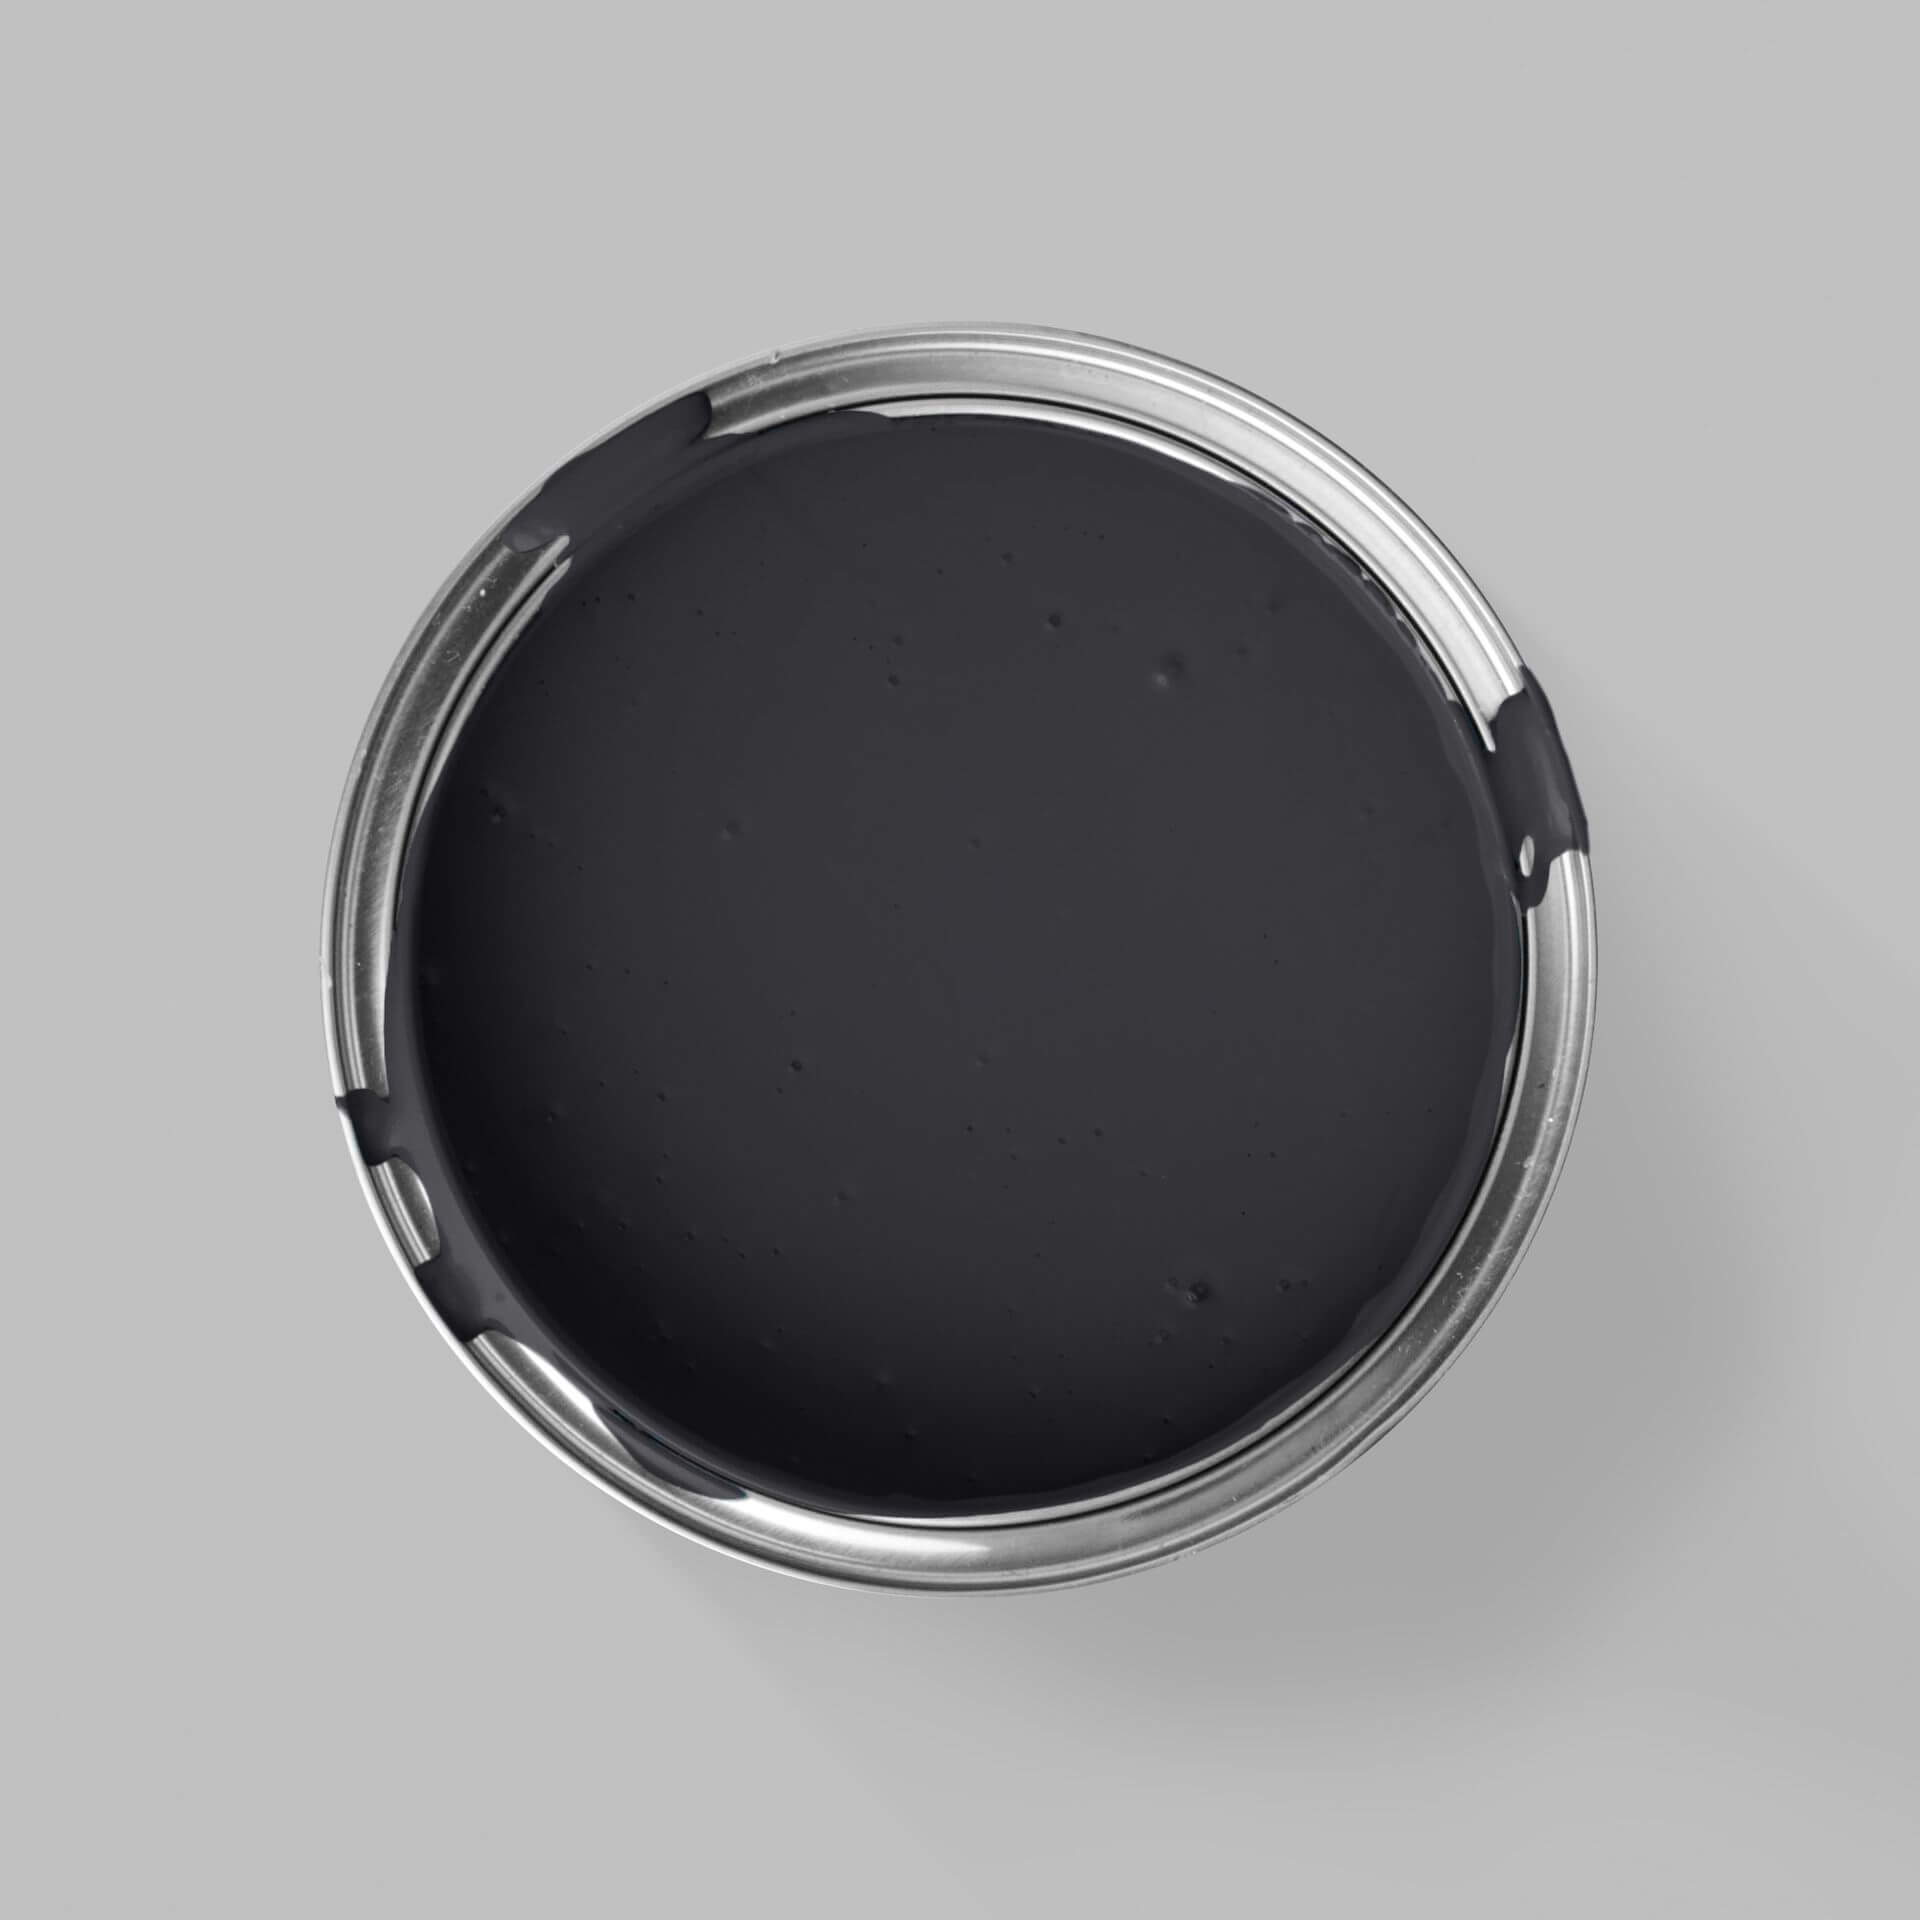
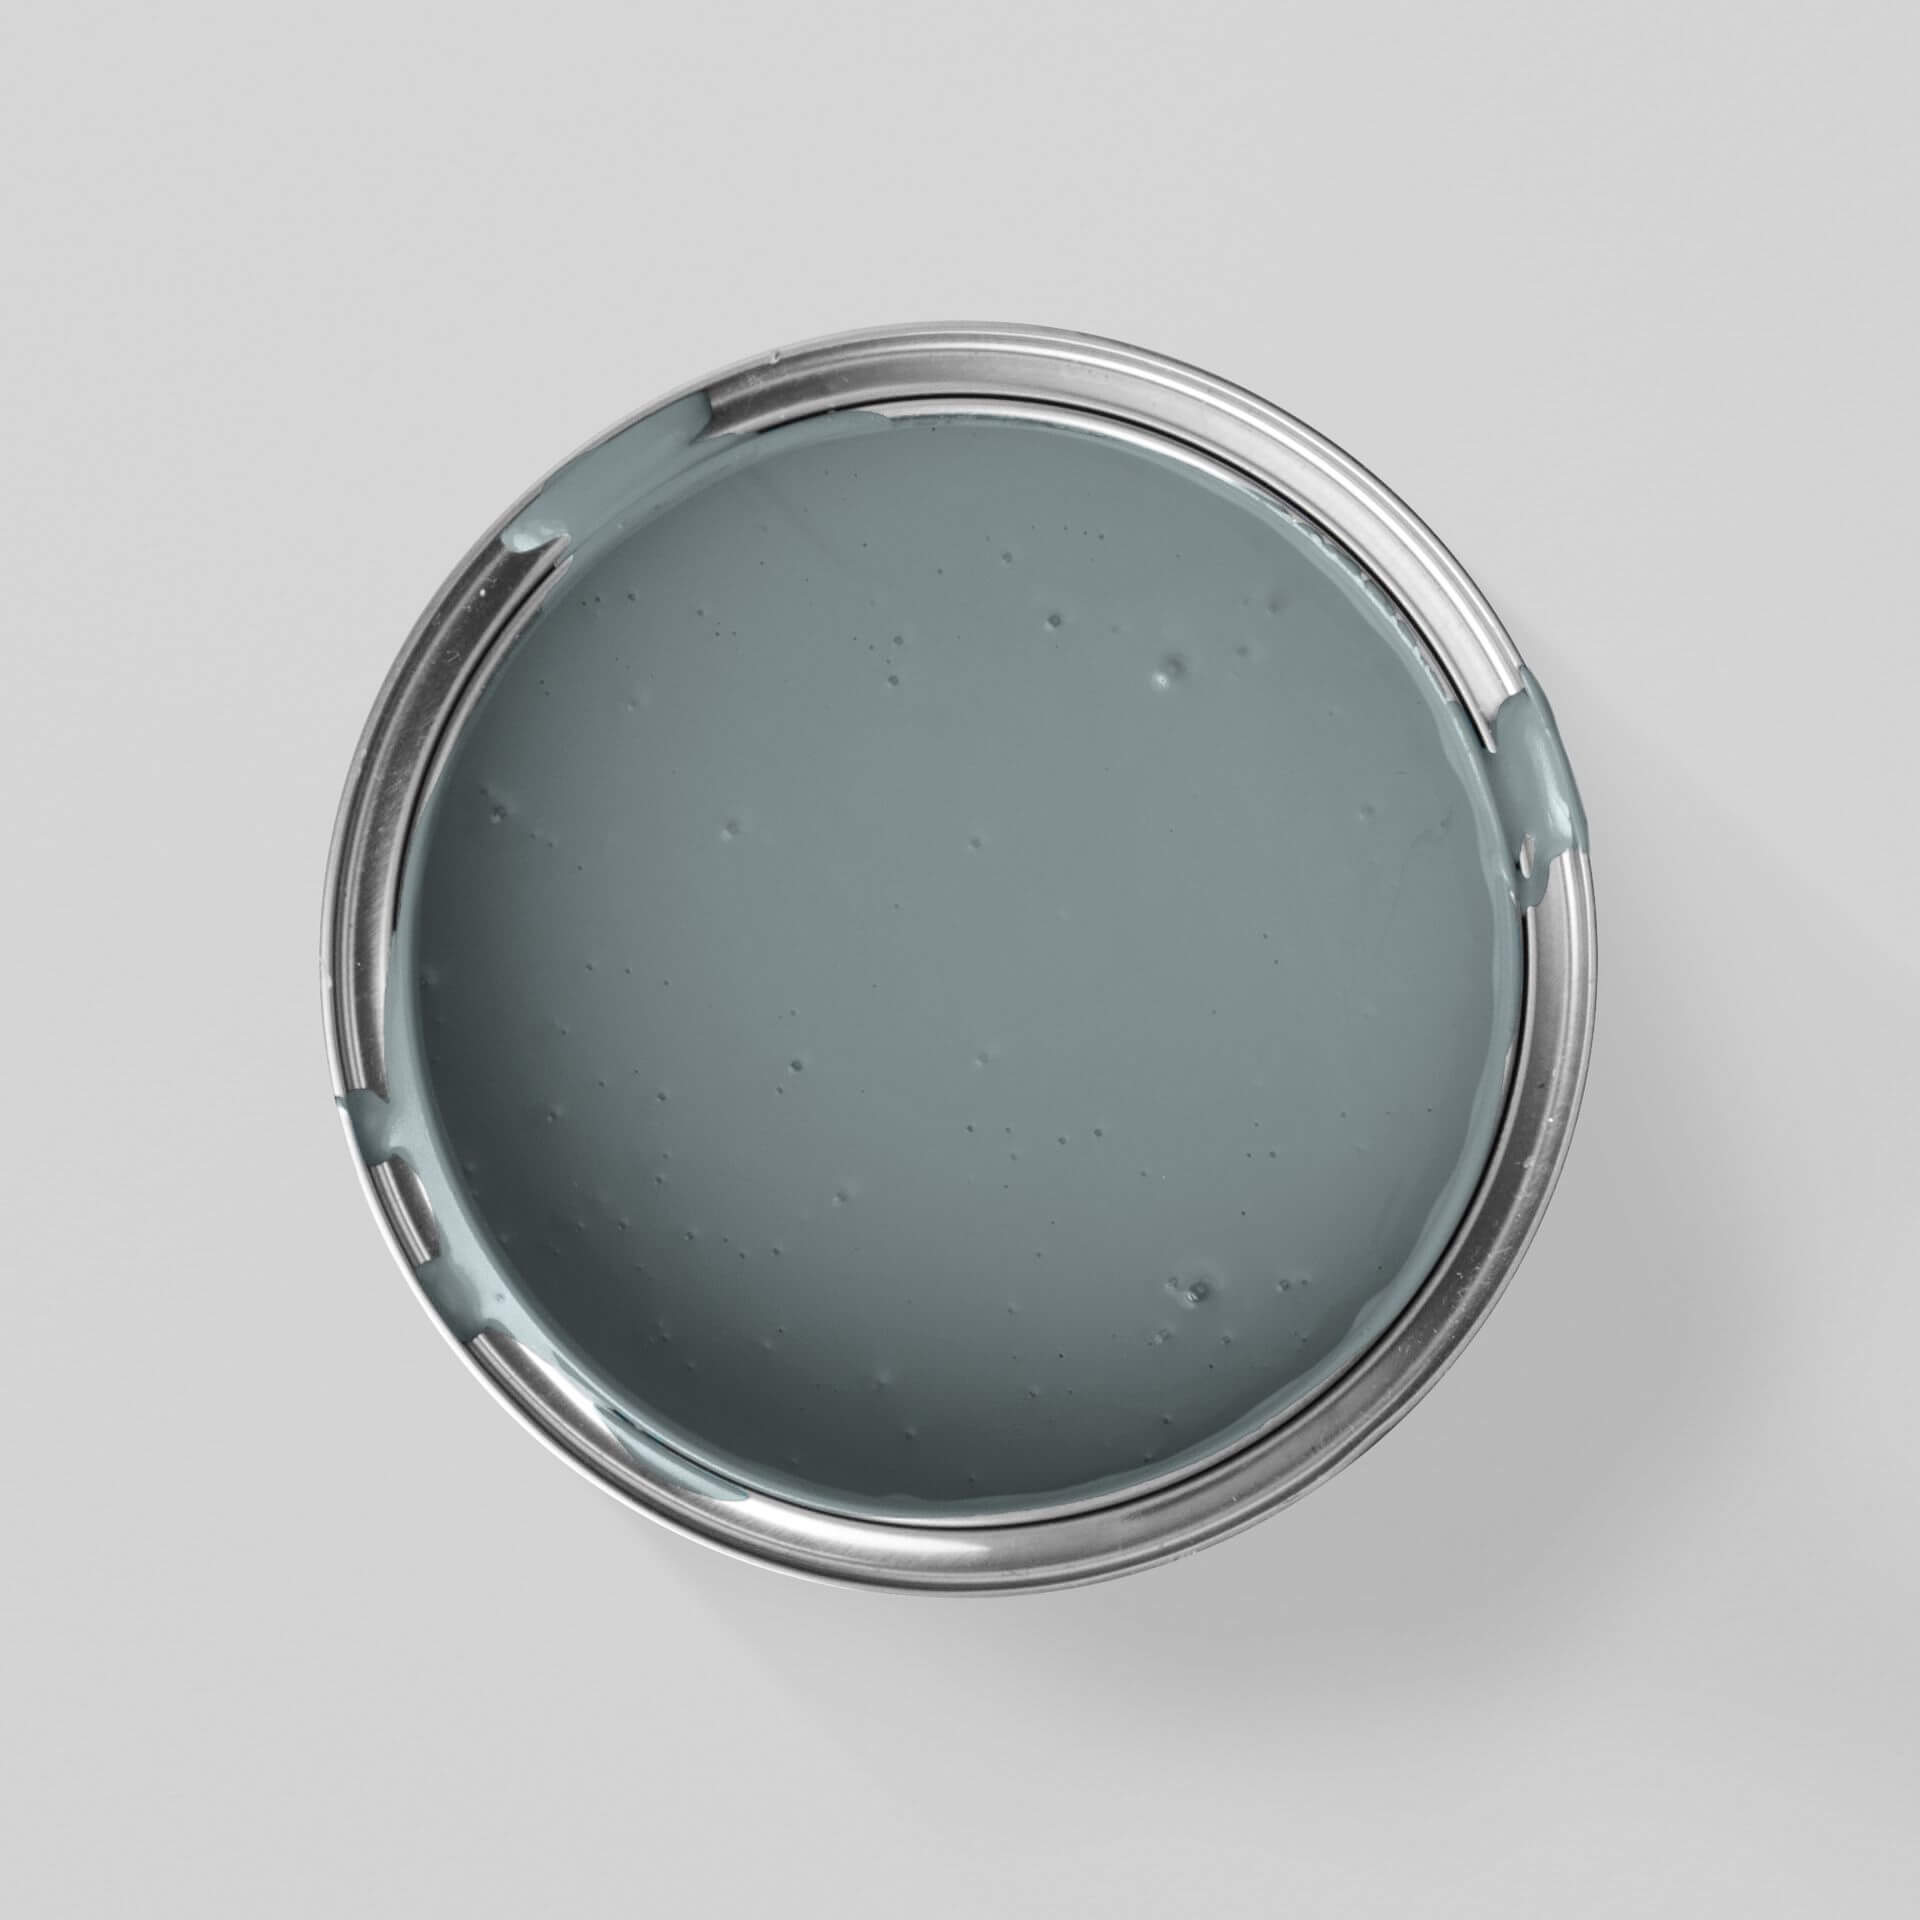
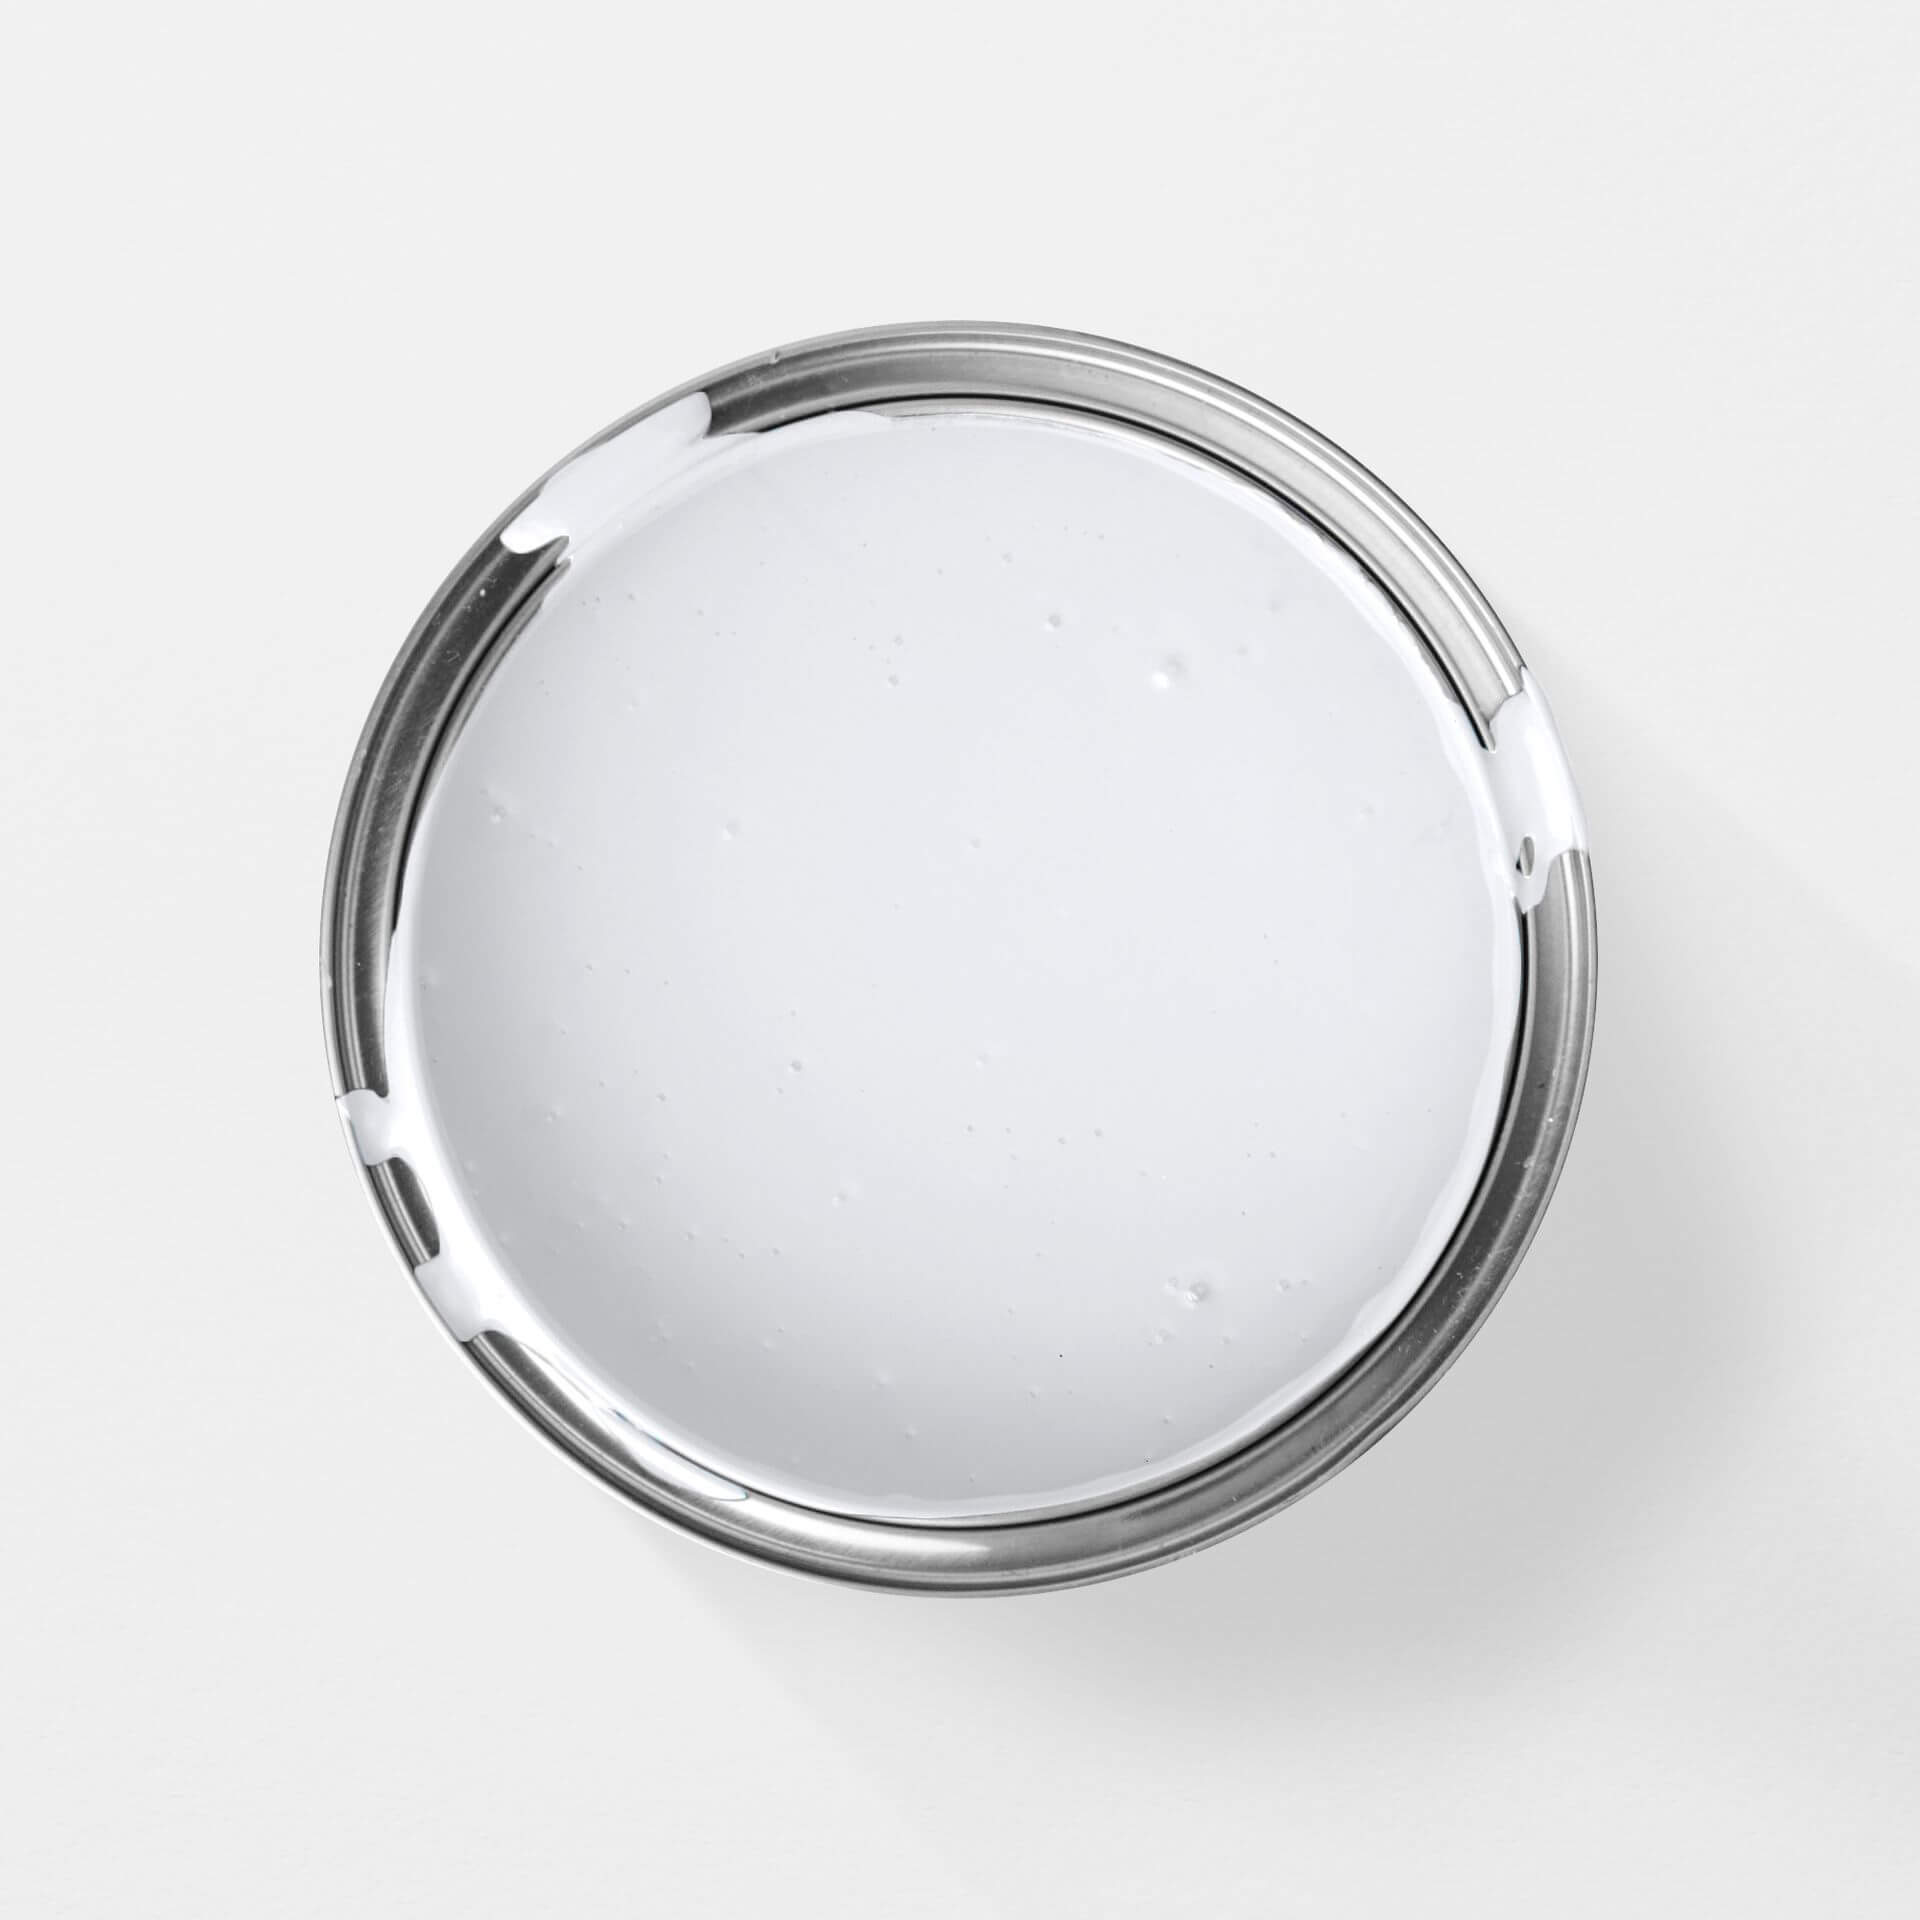
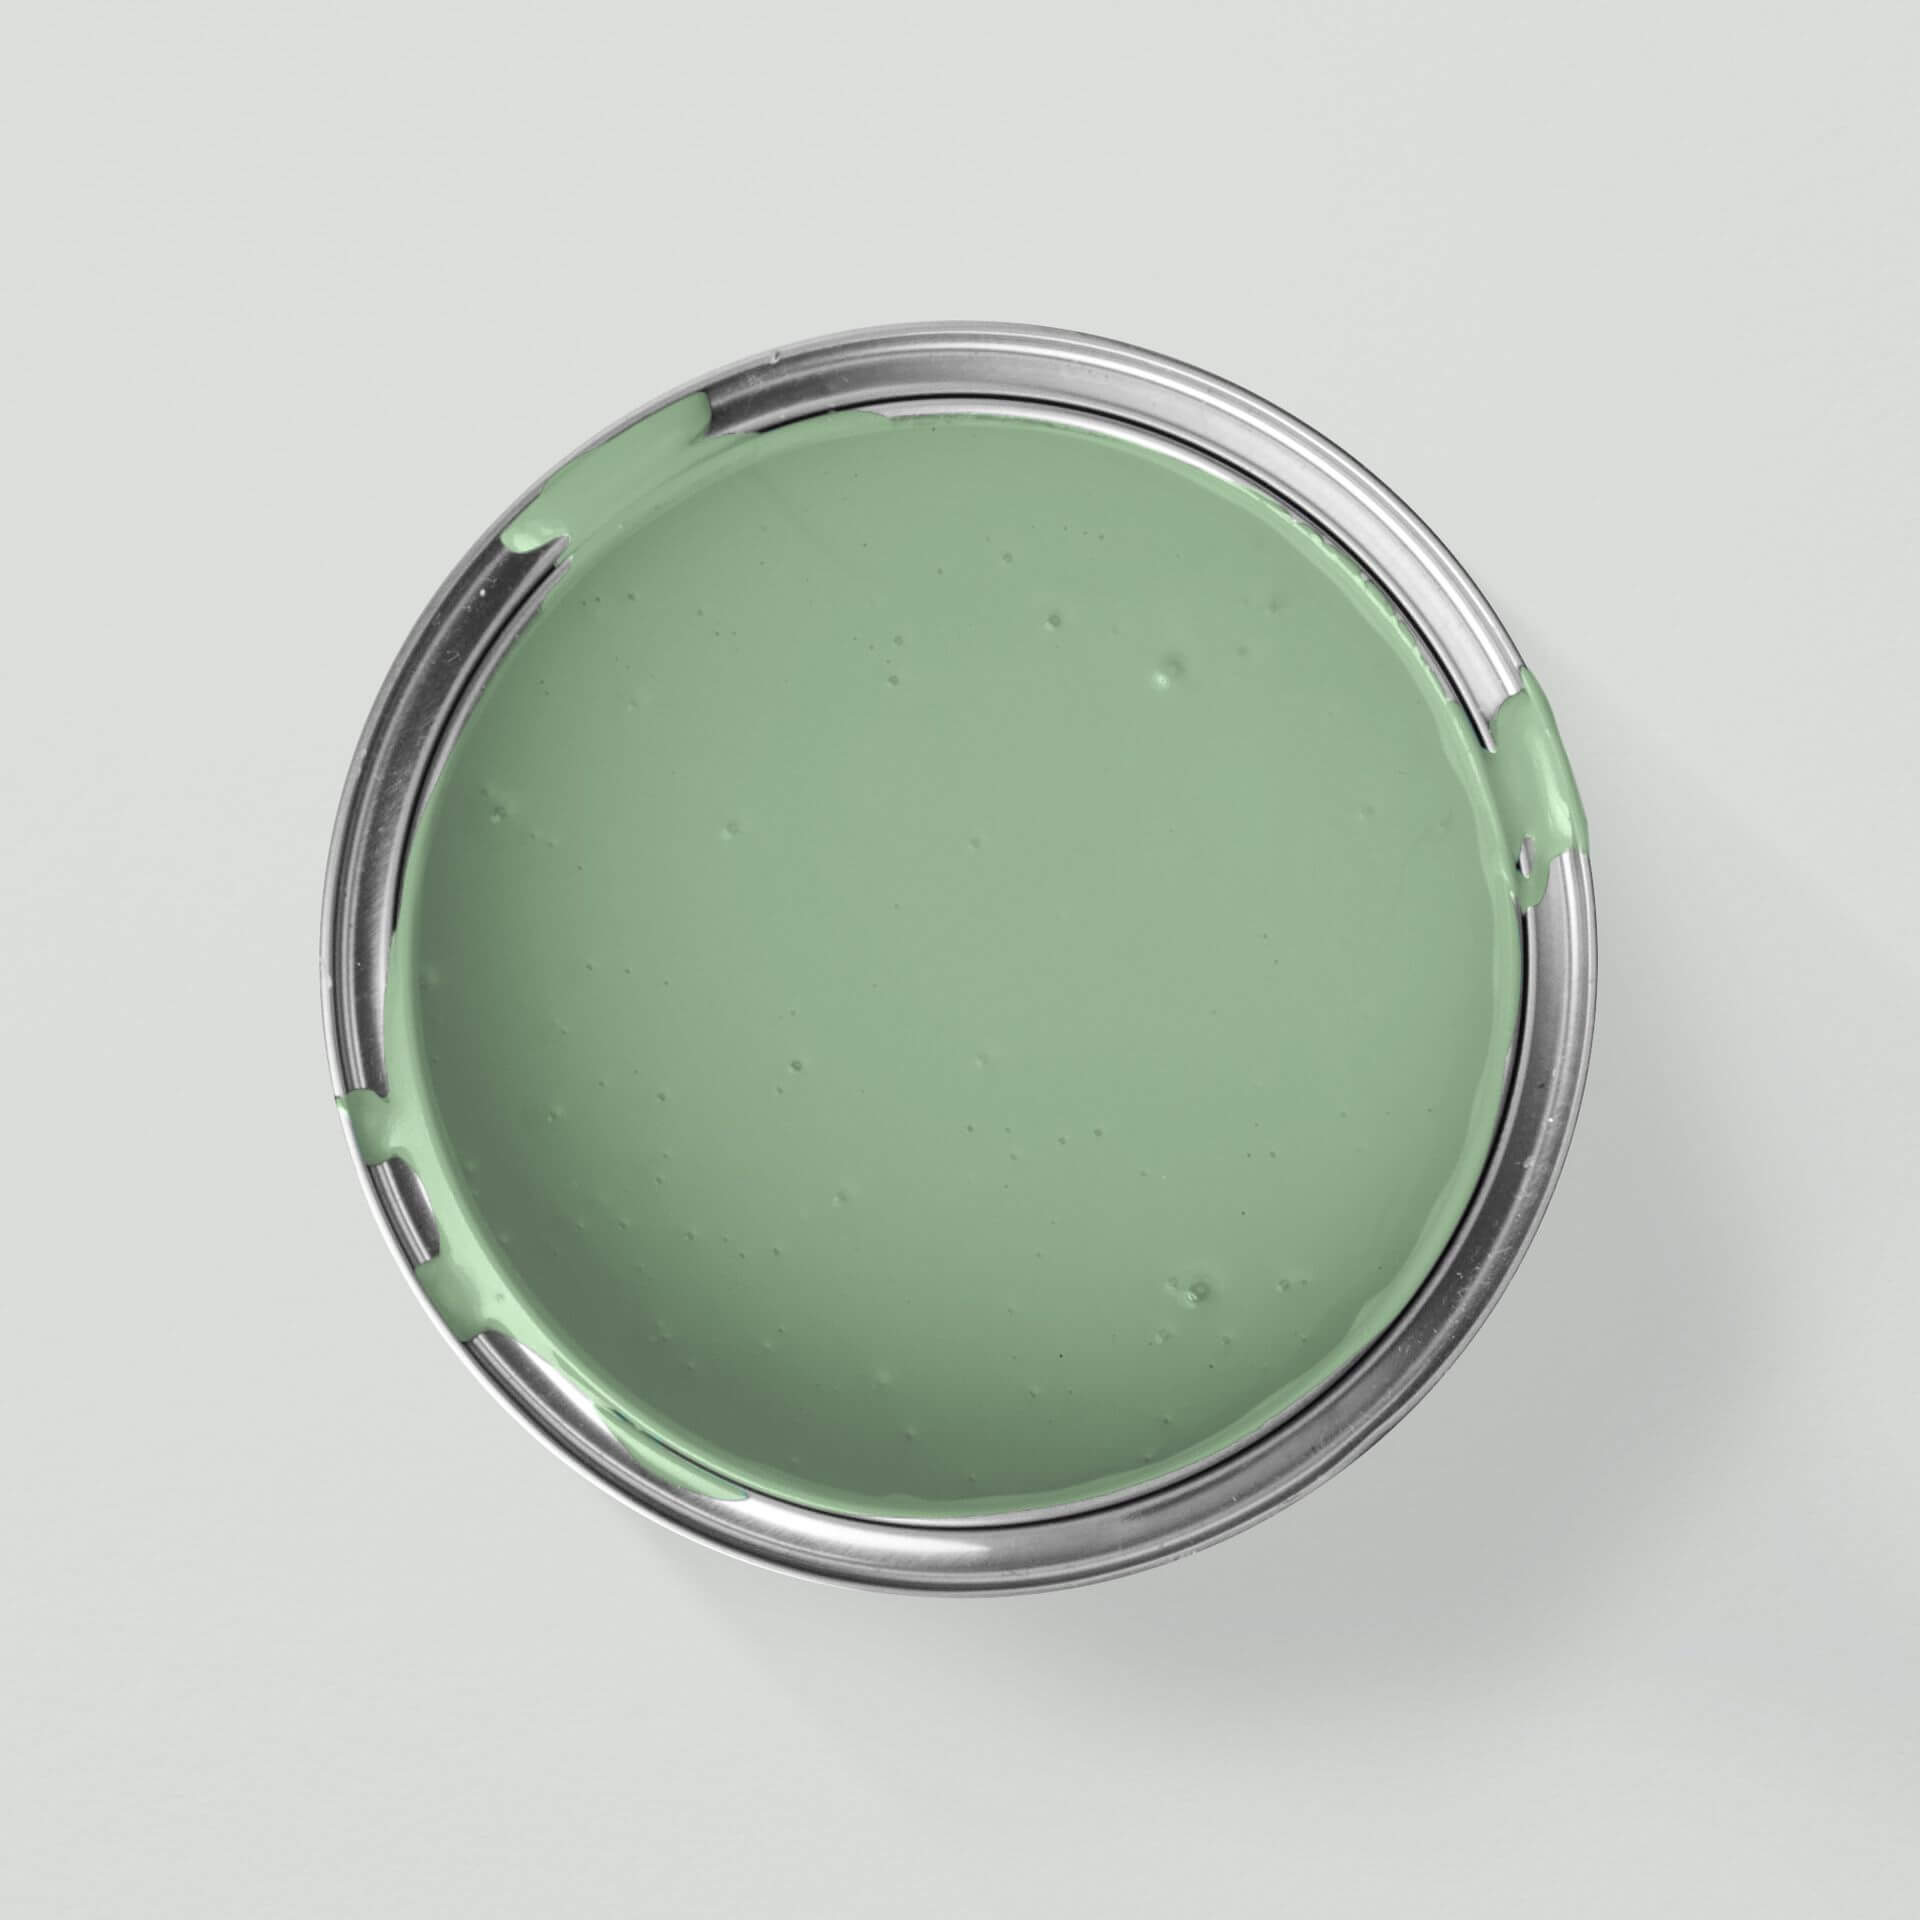
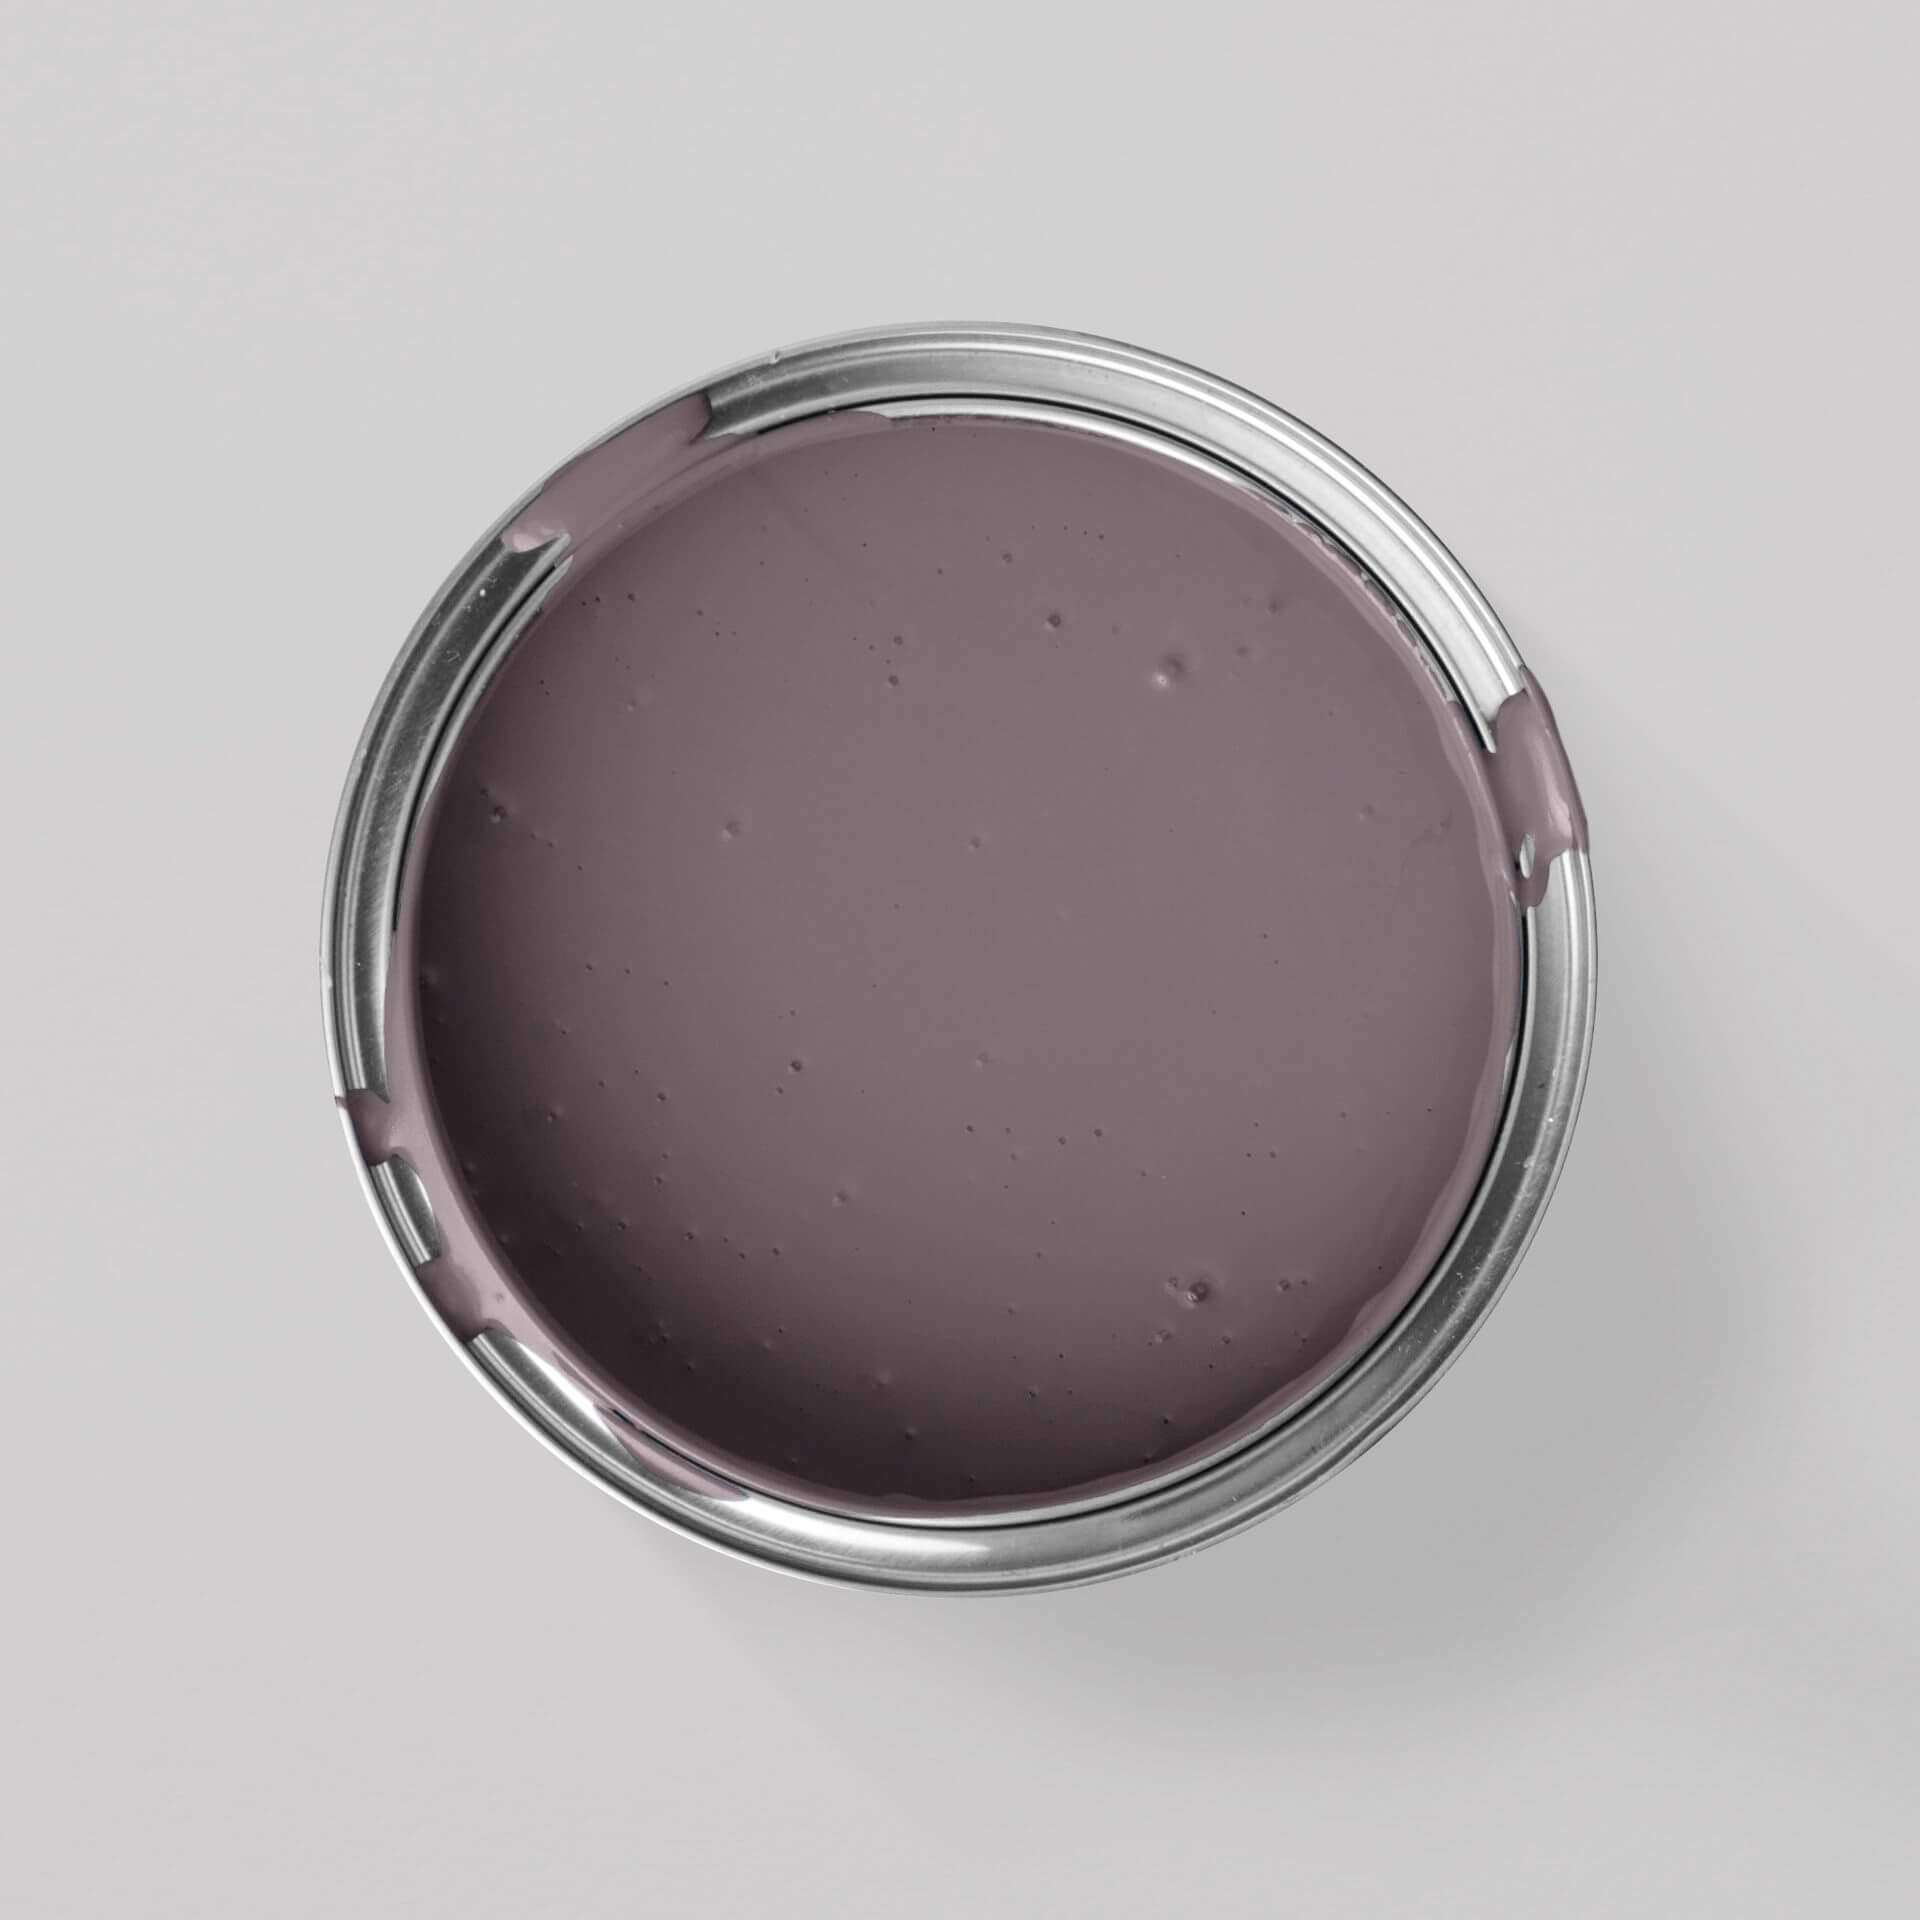
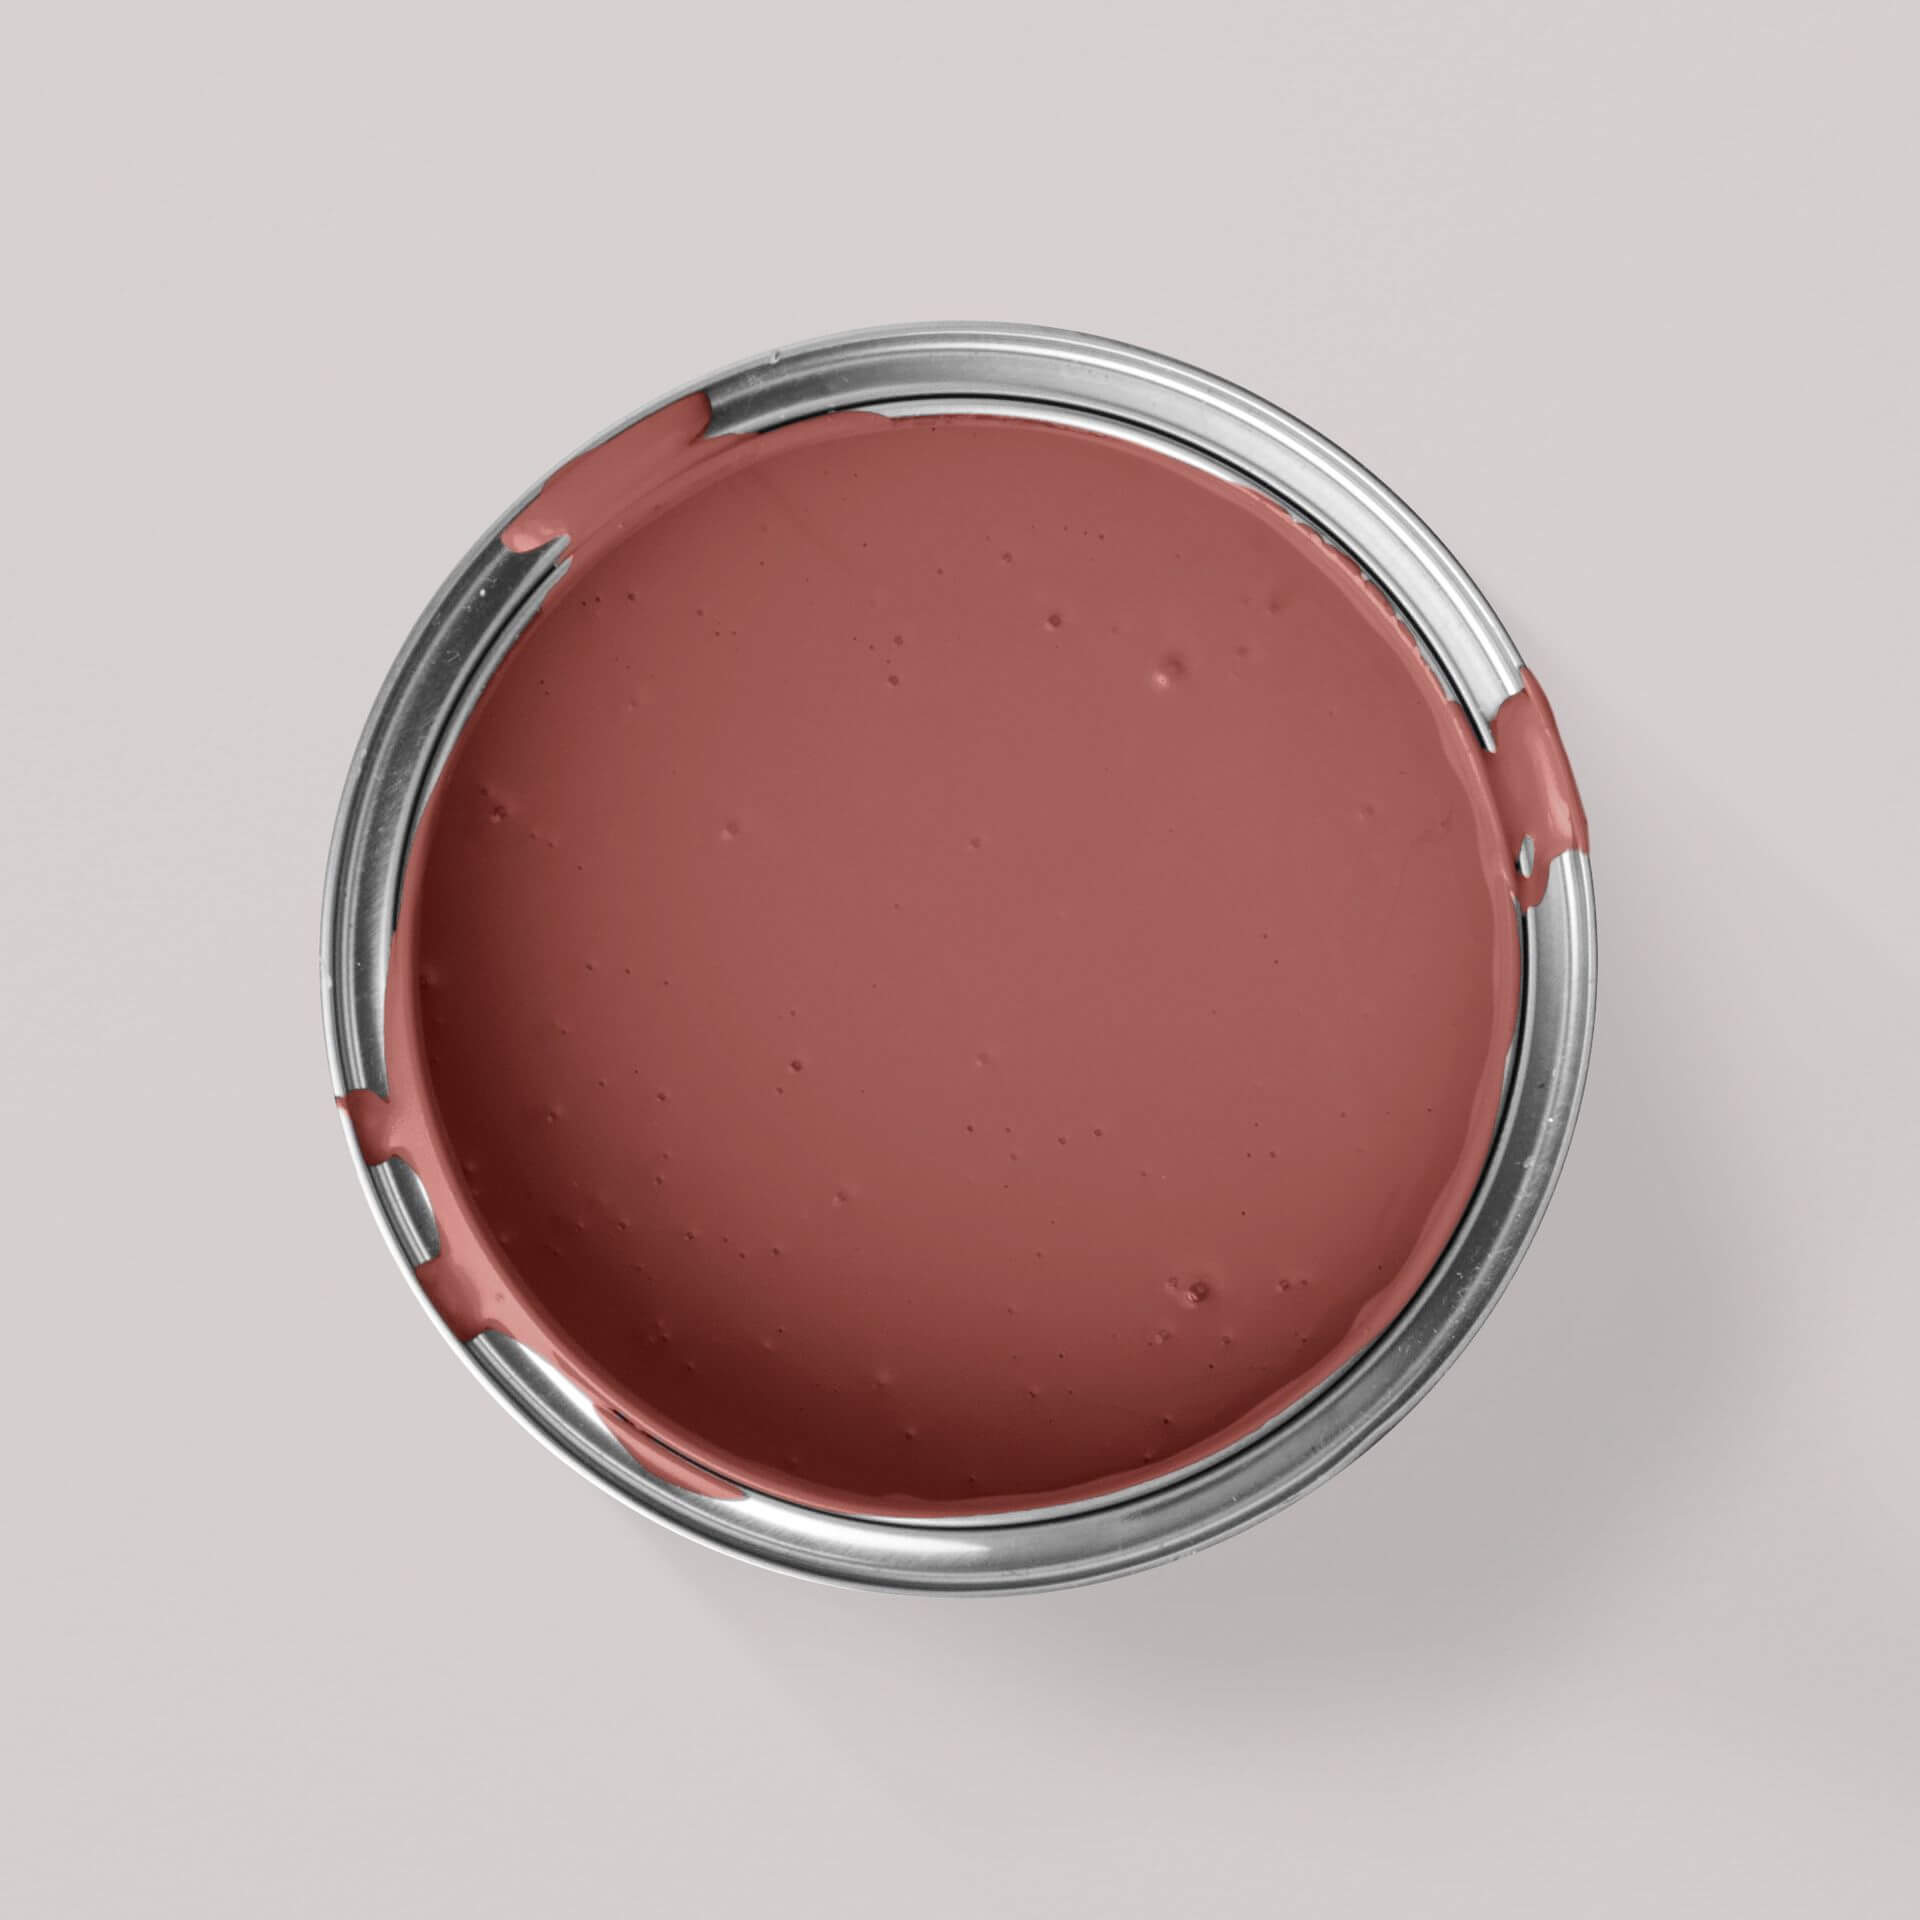
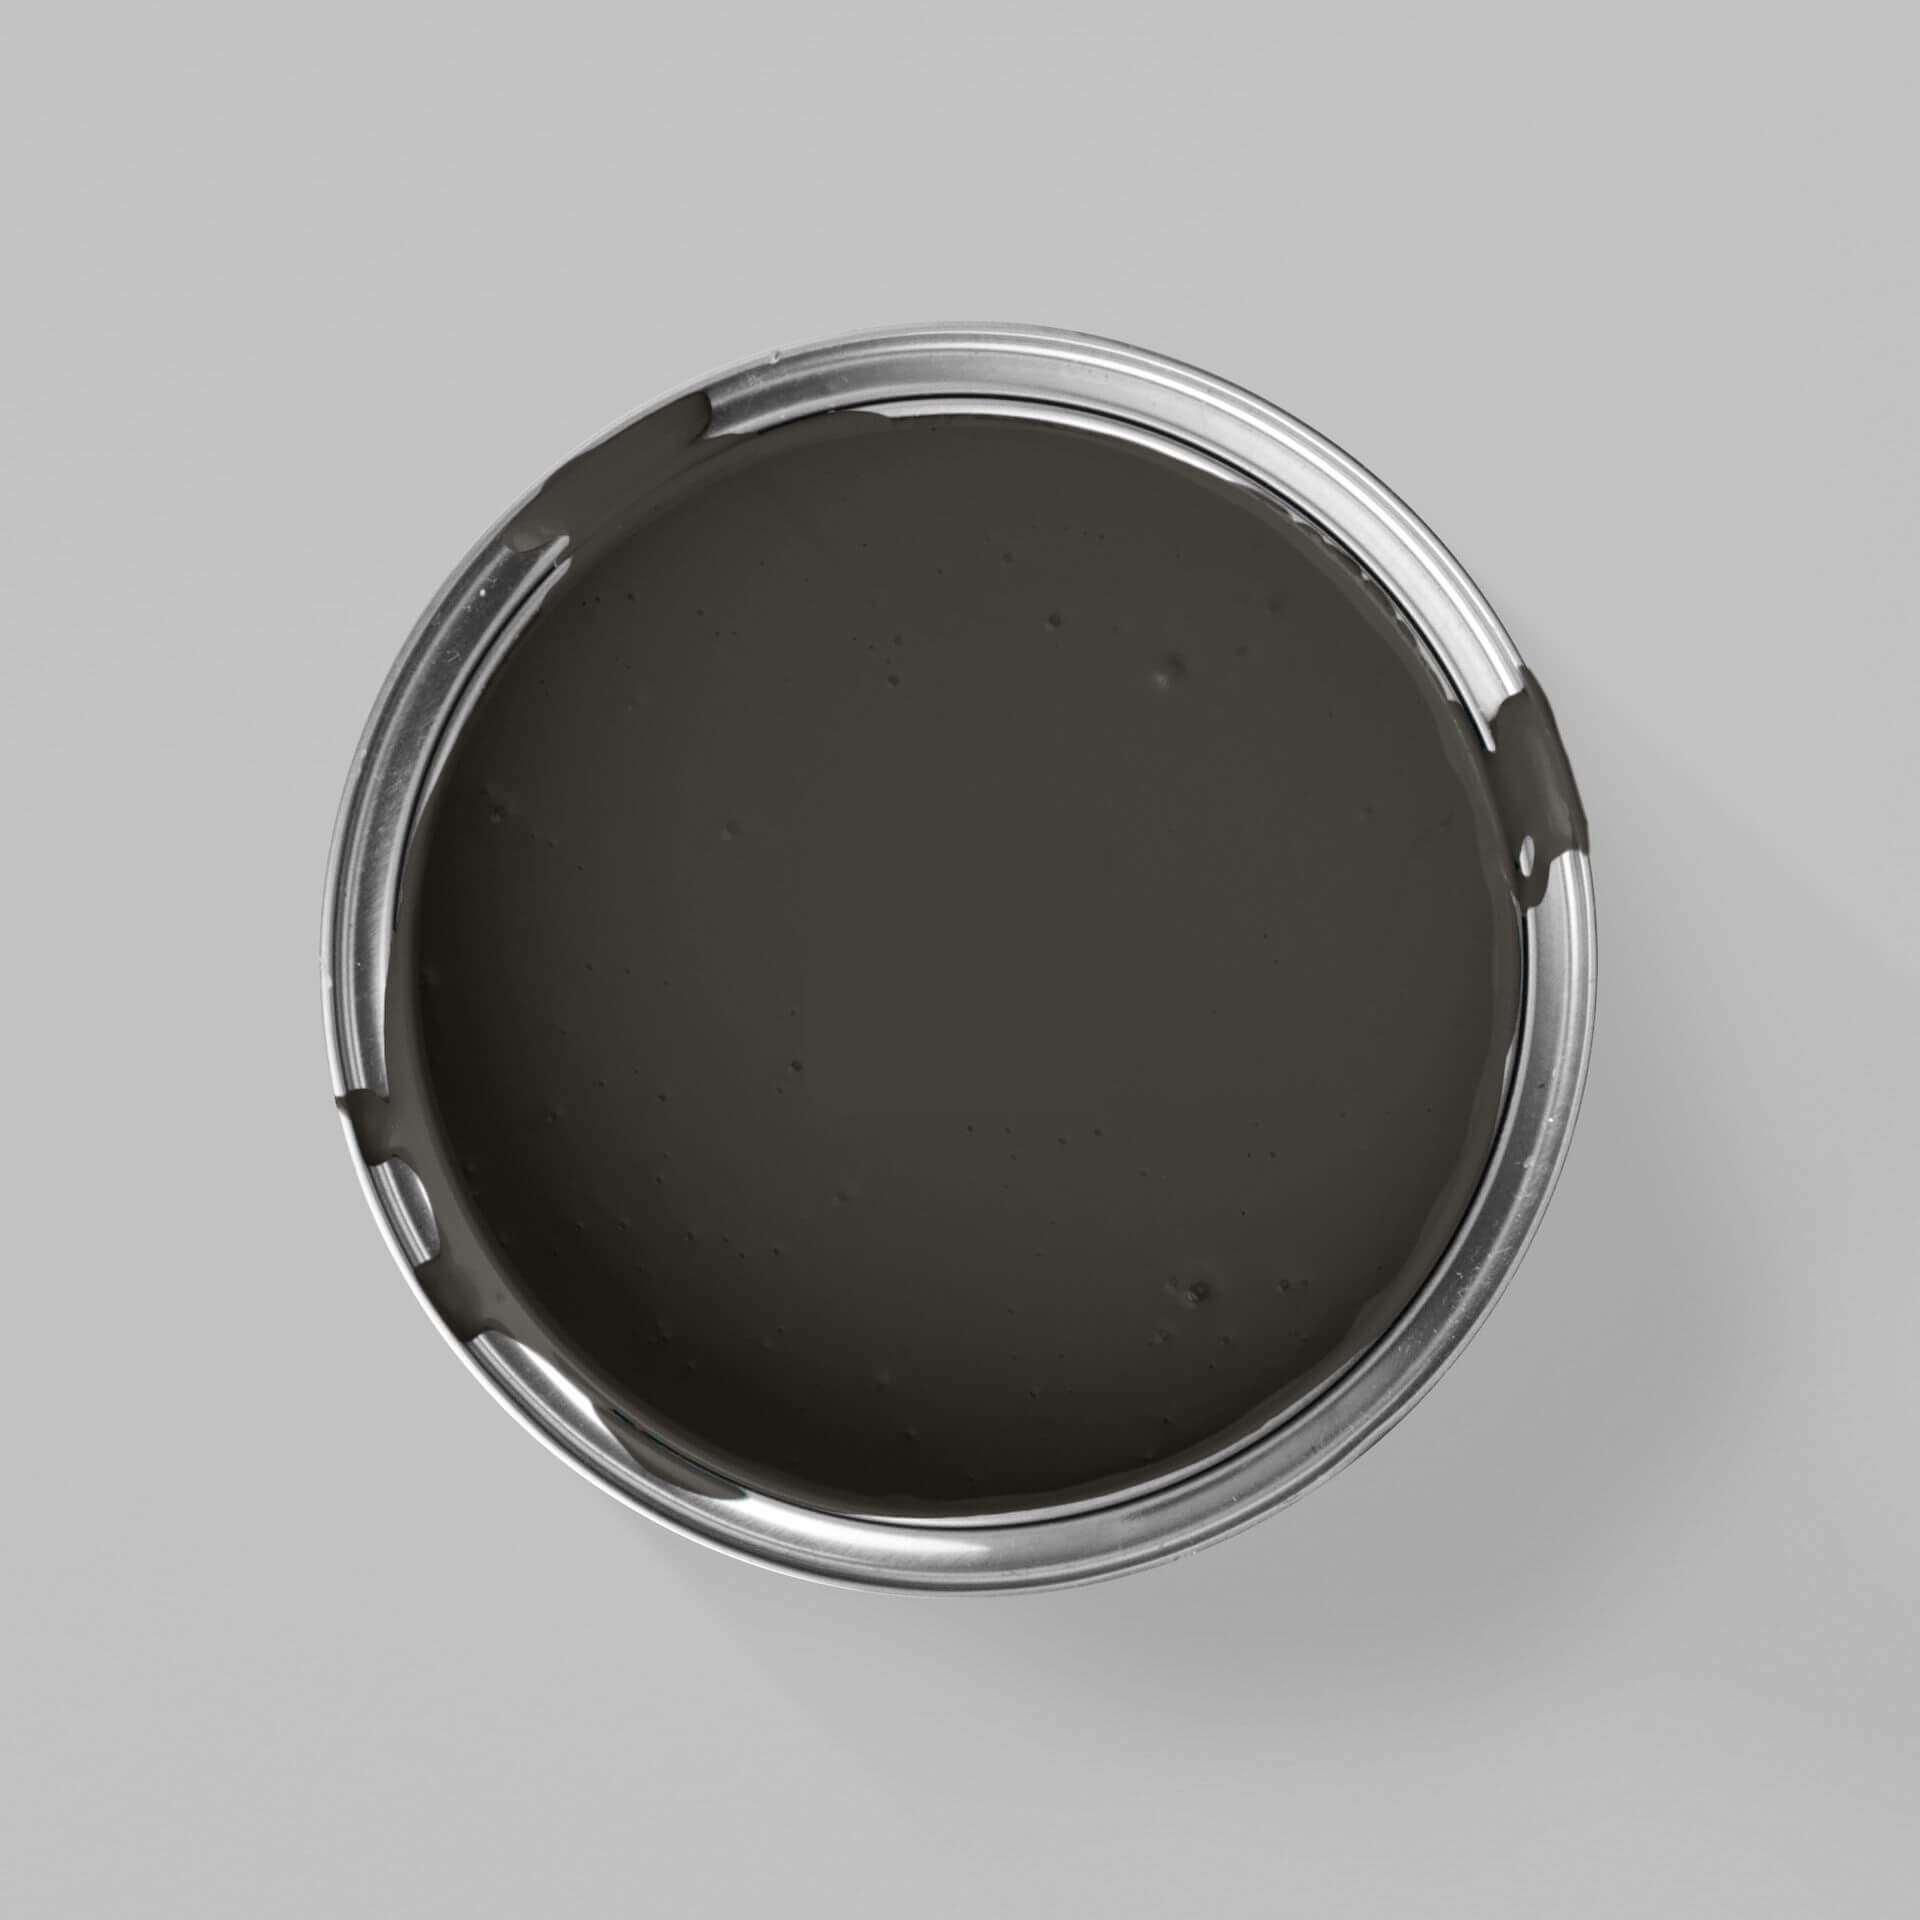
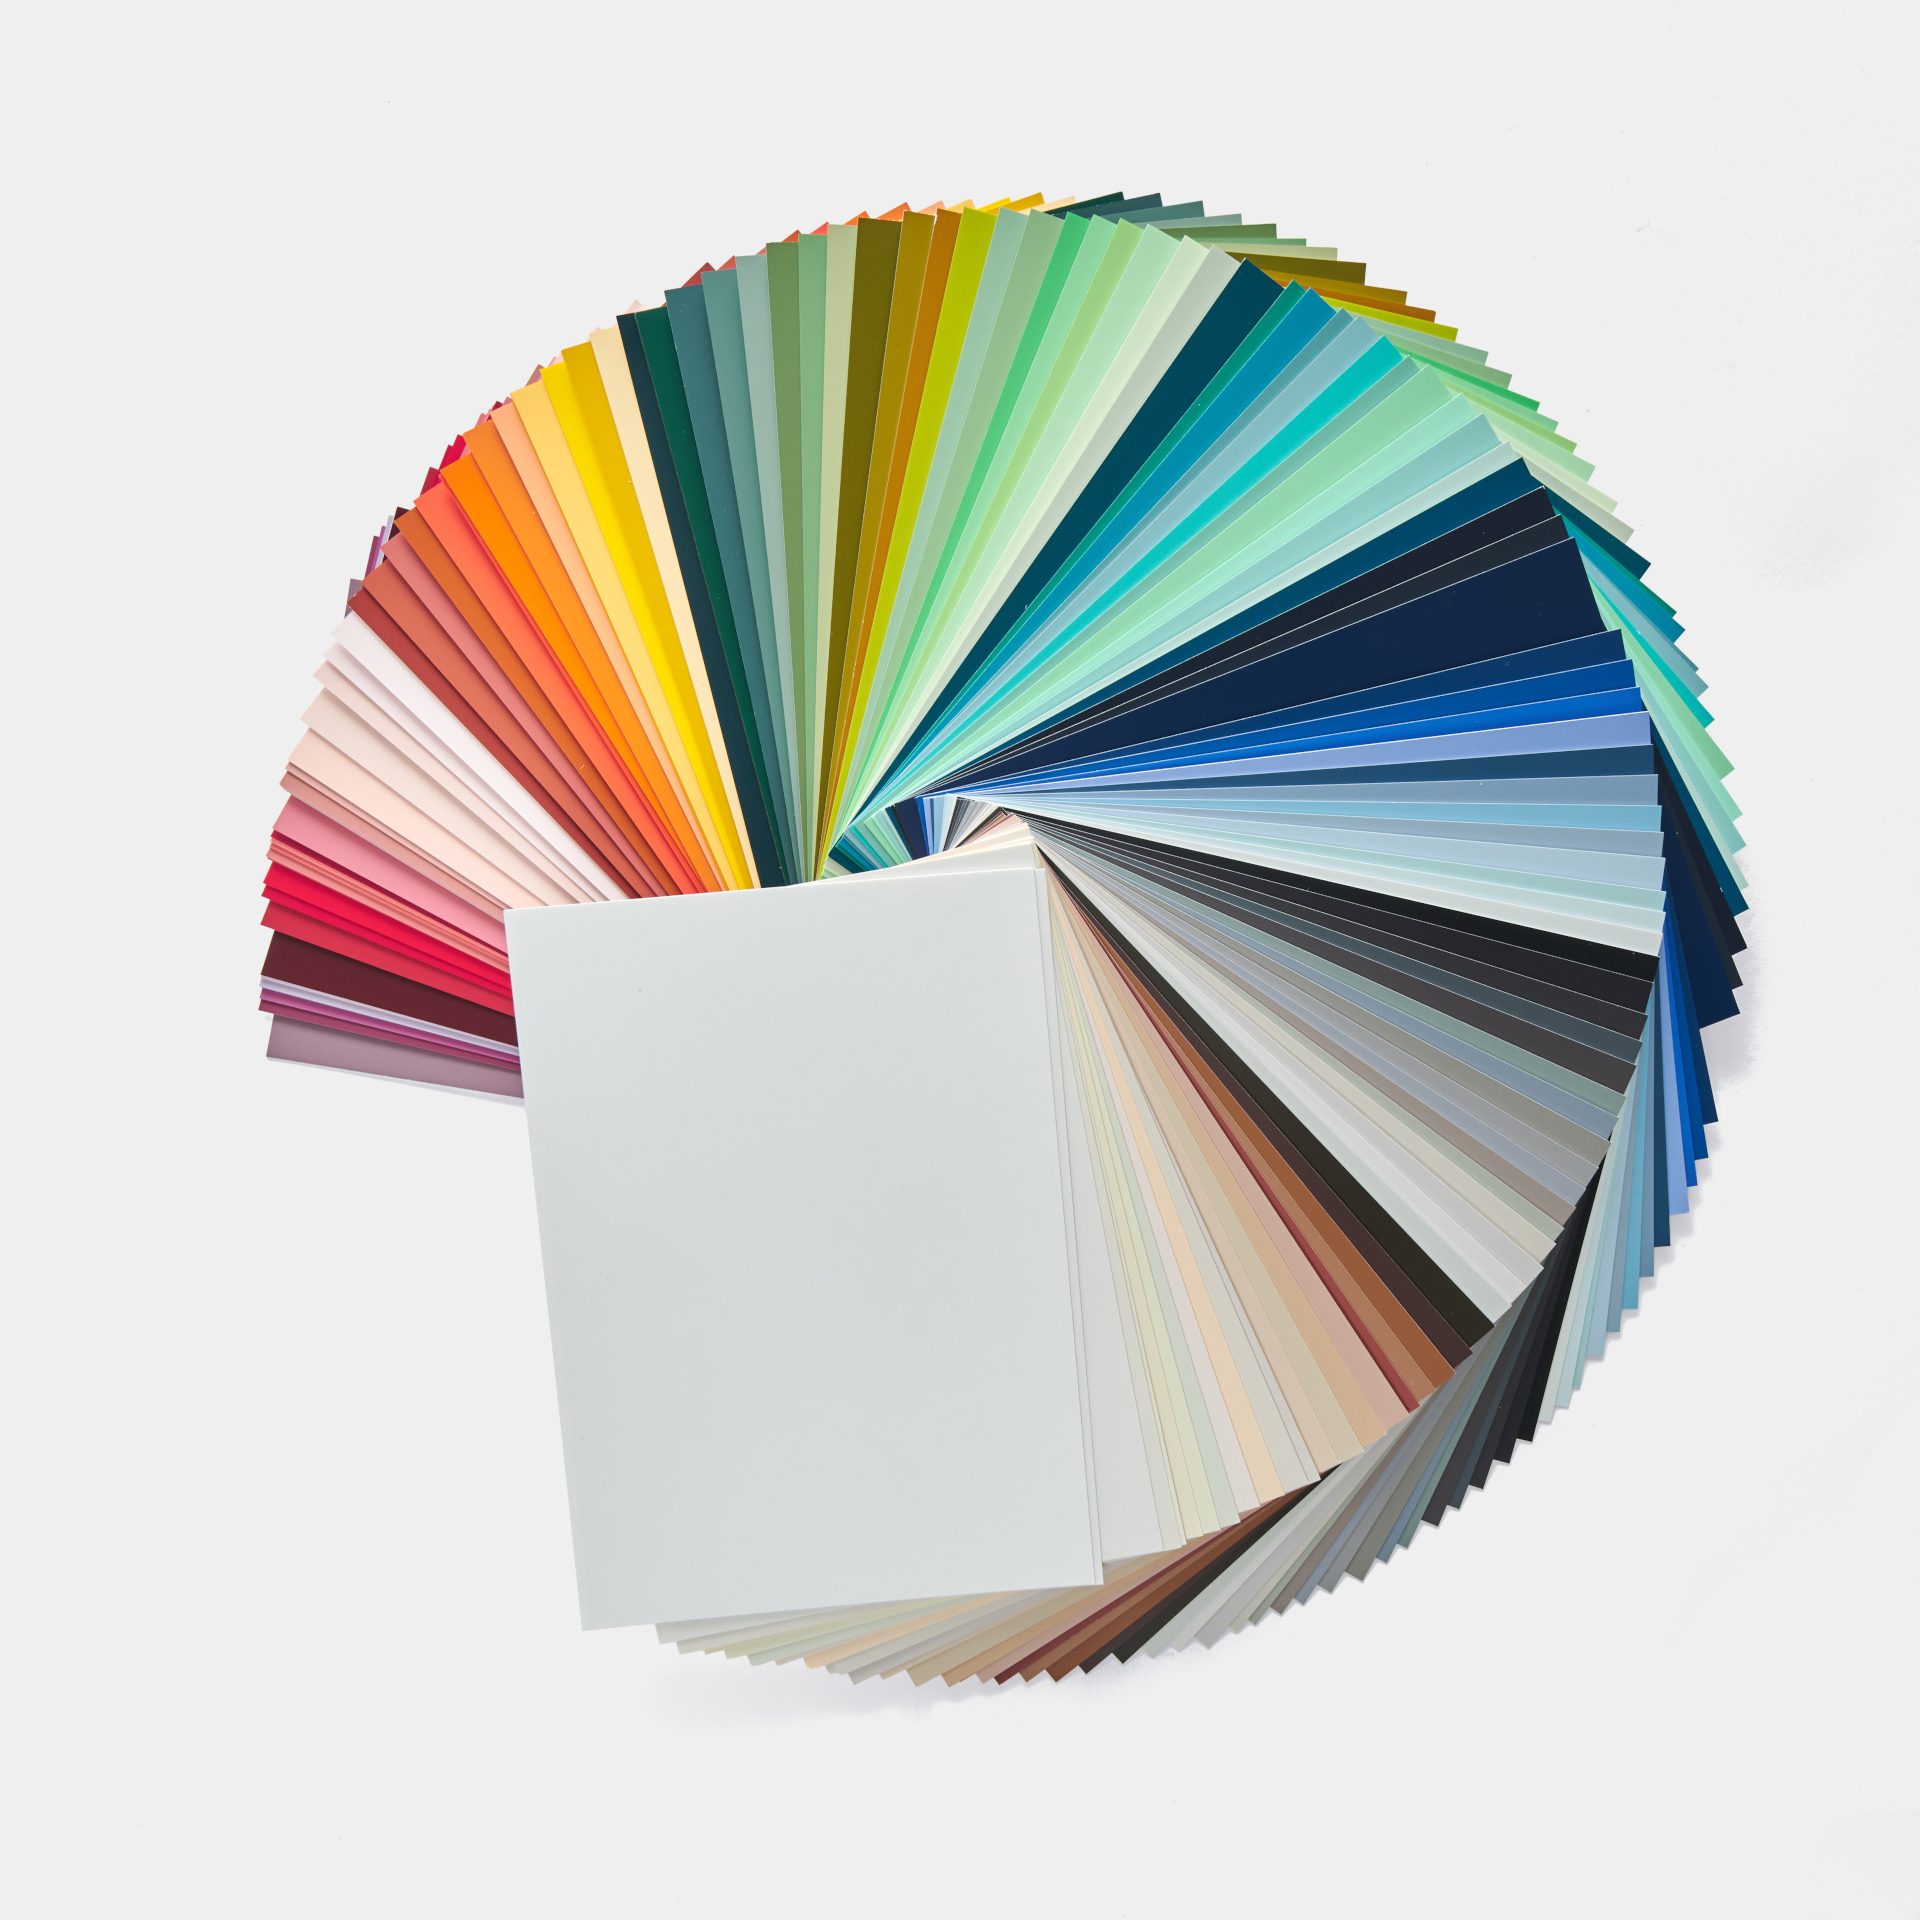
Garden Furniture Painting Ideas
Metal garden furniture often looks a bit plain, sometimes painted in white, sometimes in anthracite. But why not go for something a little more colourful or even really bold?
Just take a look at the outdoor paints. We recommend our Balcony & Garden Paint – it’s extra hard-wearing and UV and weather-resistant. Perfect for outdoors in 12 fantastic colours! You can also use our Easy Eggshell outdoors. Get creative with colours when painting your metal garden furniture.
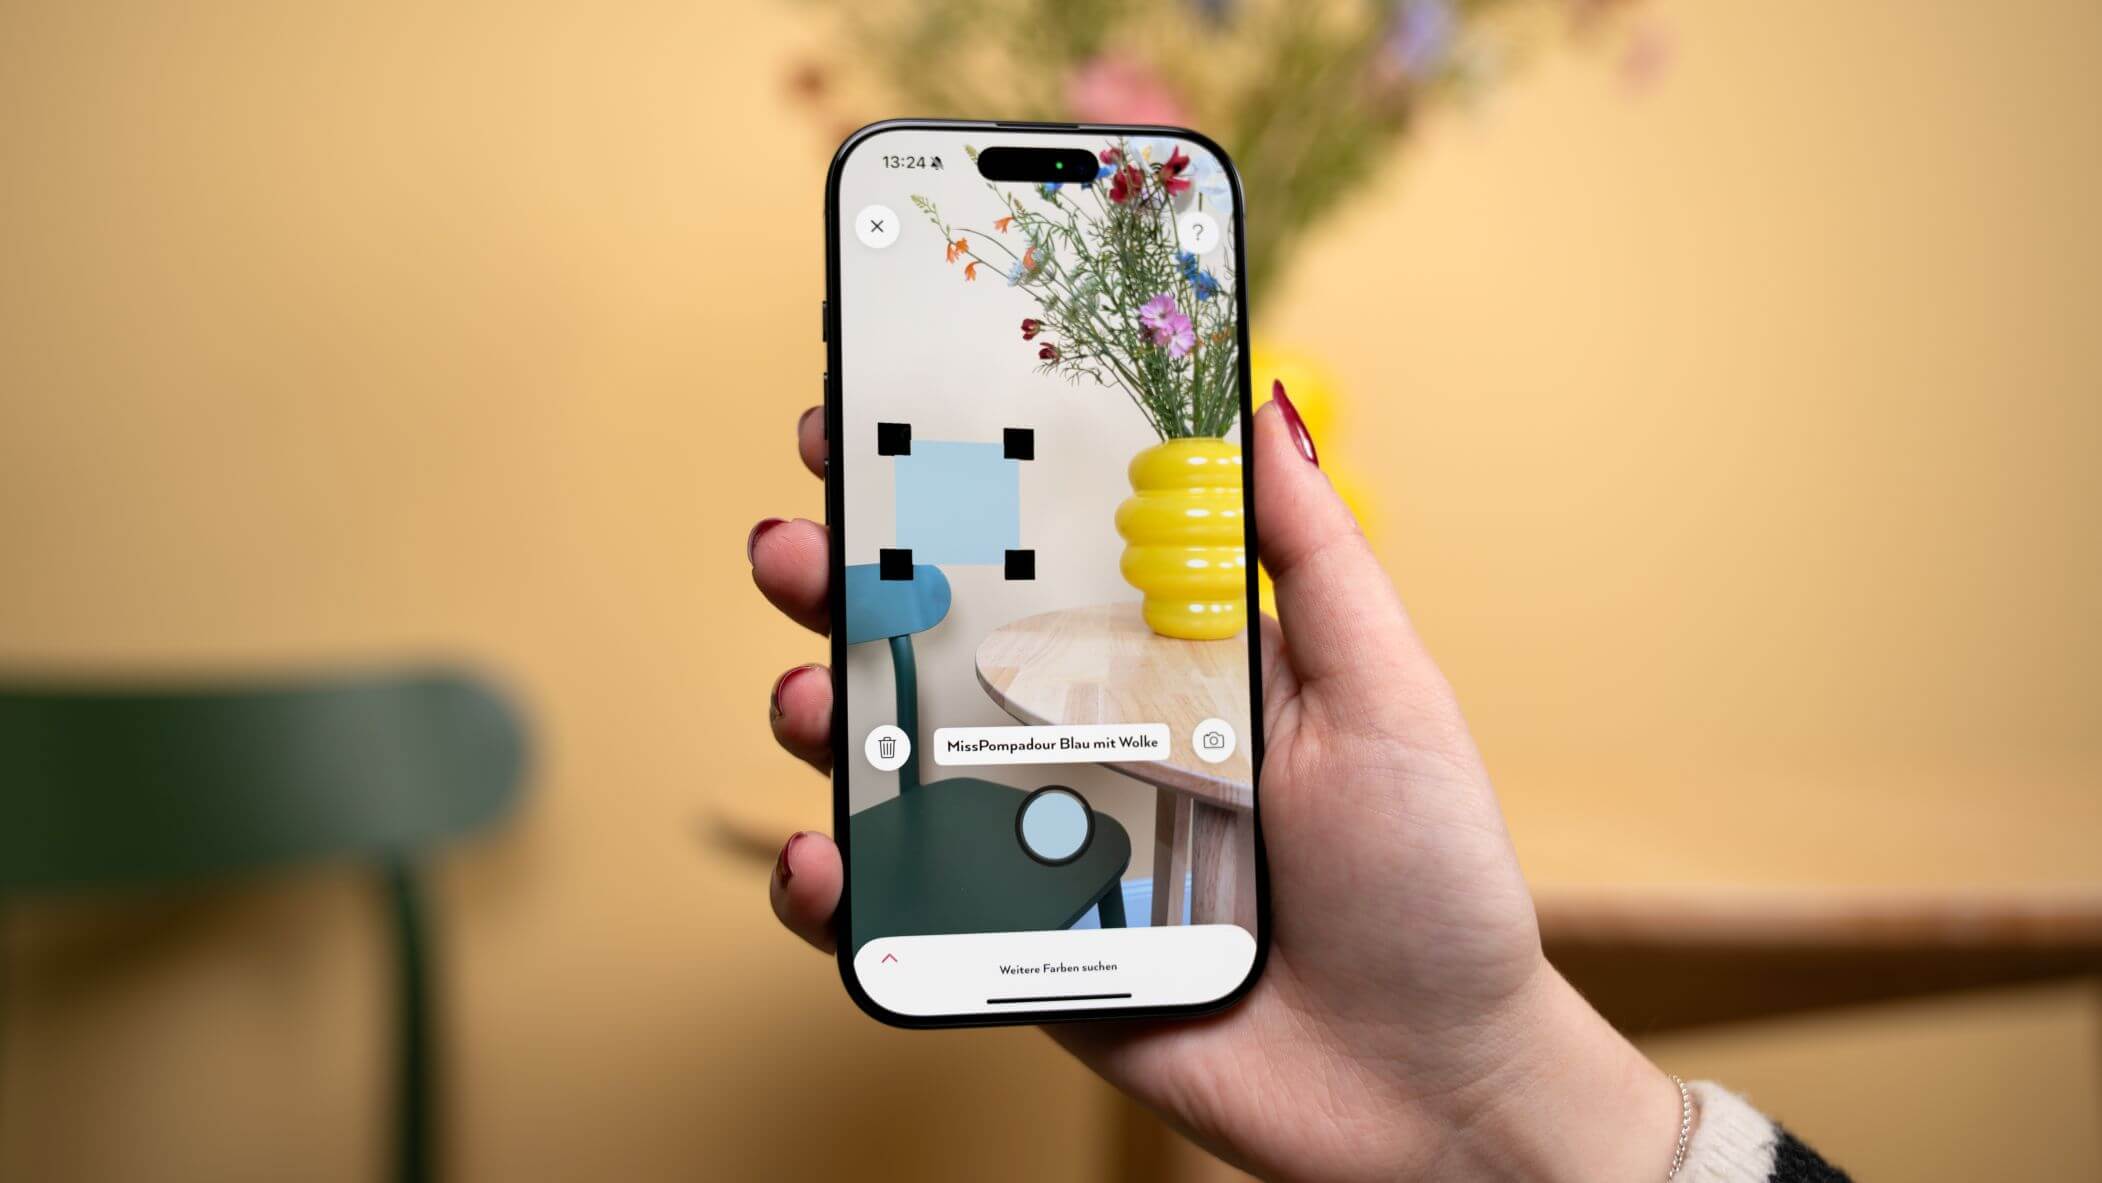
Preparation: How to choose the right shade for your metal furniture
Repaint your metal garden furniture using the same paints as for wood or plastic.
Isn't it practical when you want to give furniture made of different materials a new look? Our water-based and low-emission paints are also ideal for metal surfaces. You don't need an additional protective coating. Your first choice is our Balcony & Garden Paint.
Which metal do you want to paint?
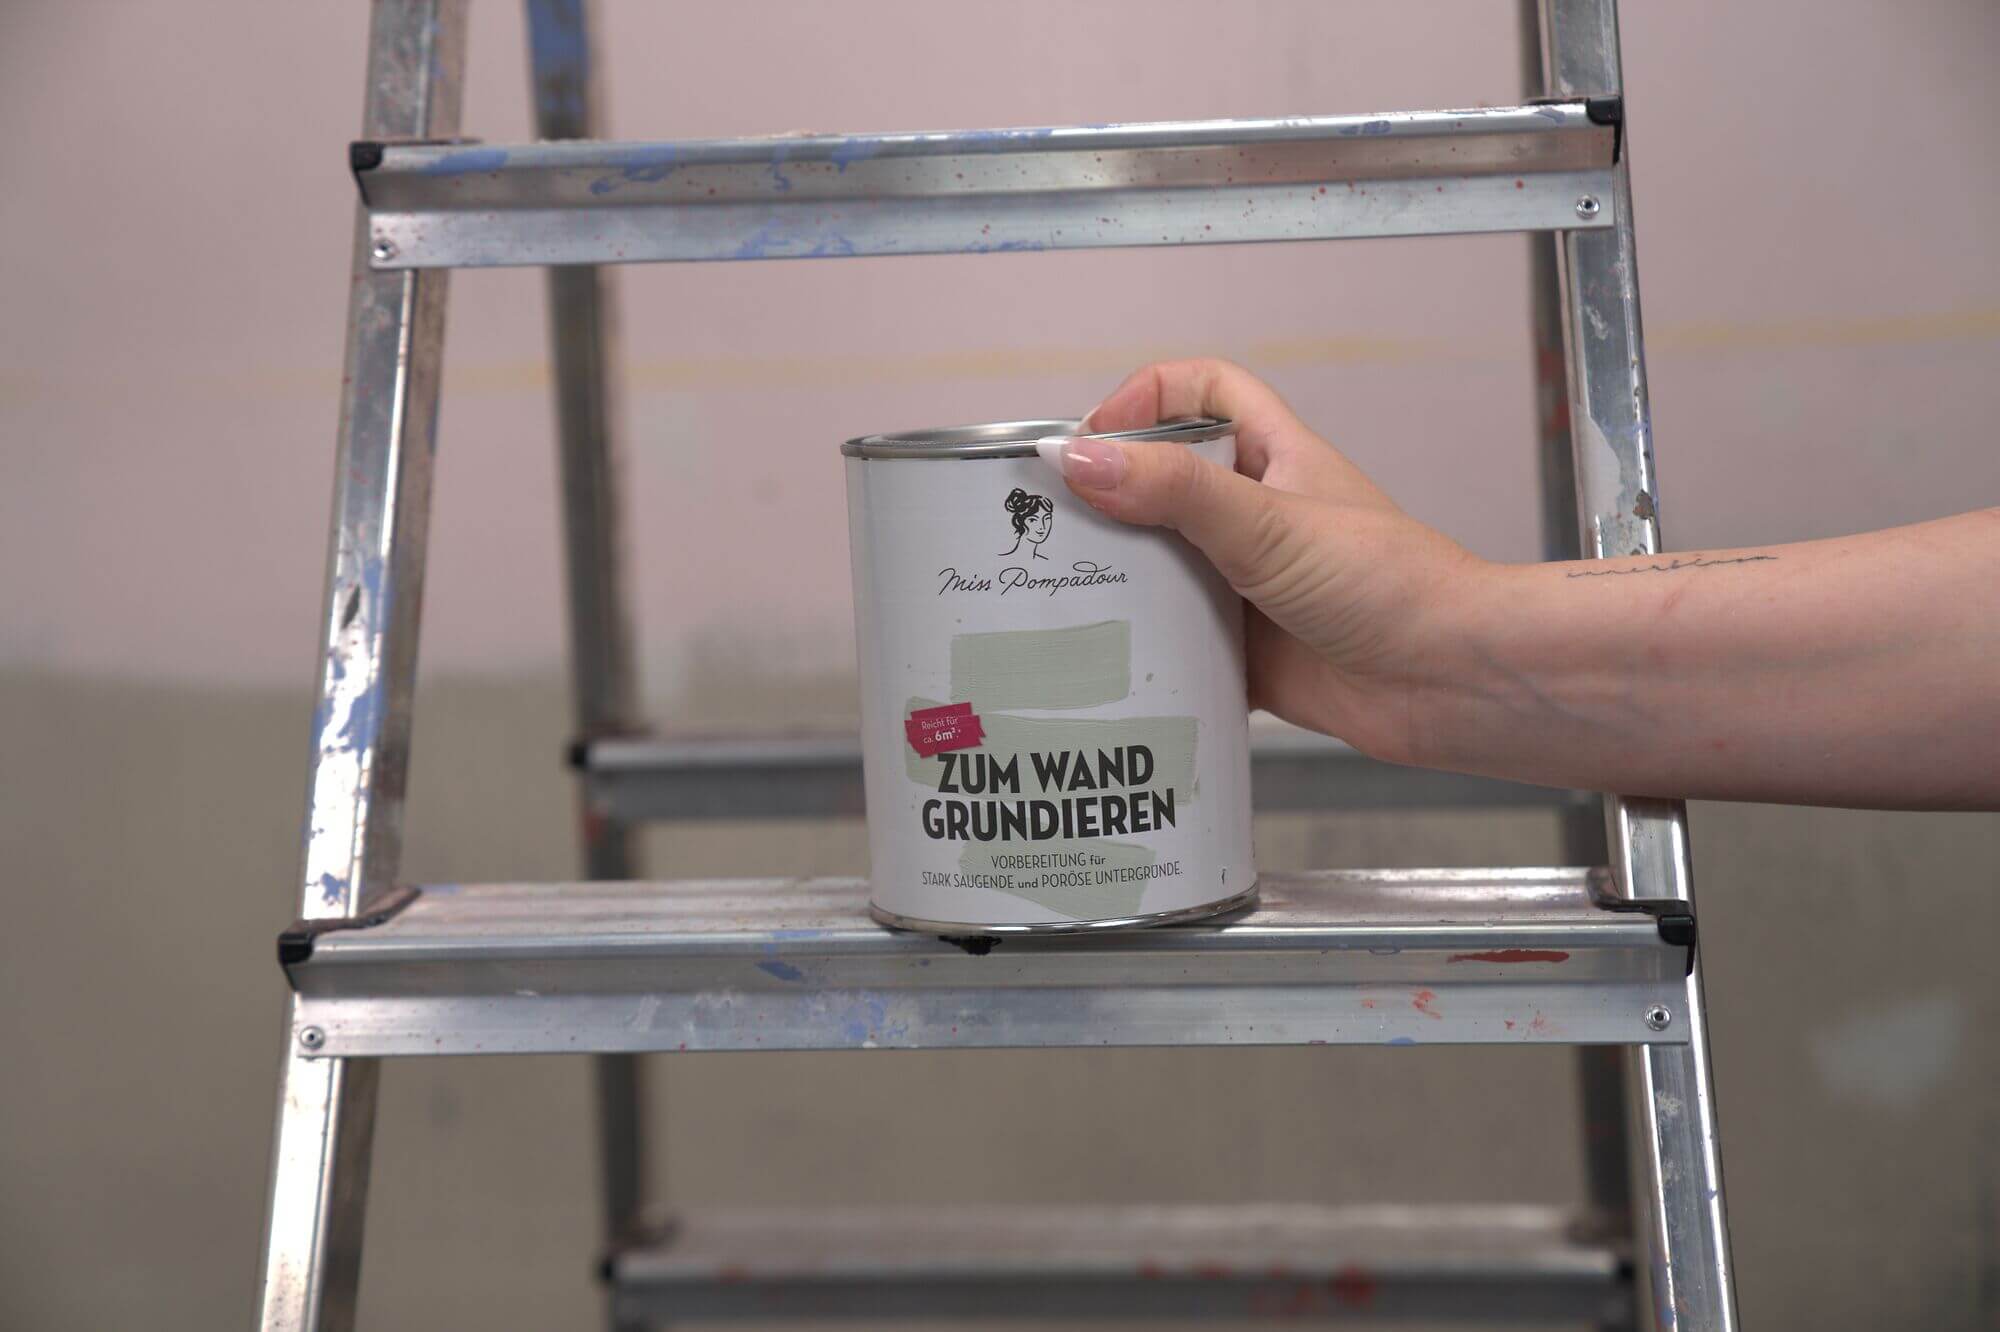
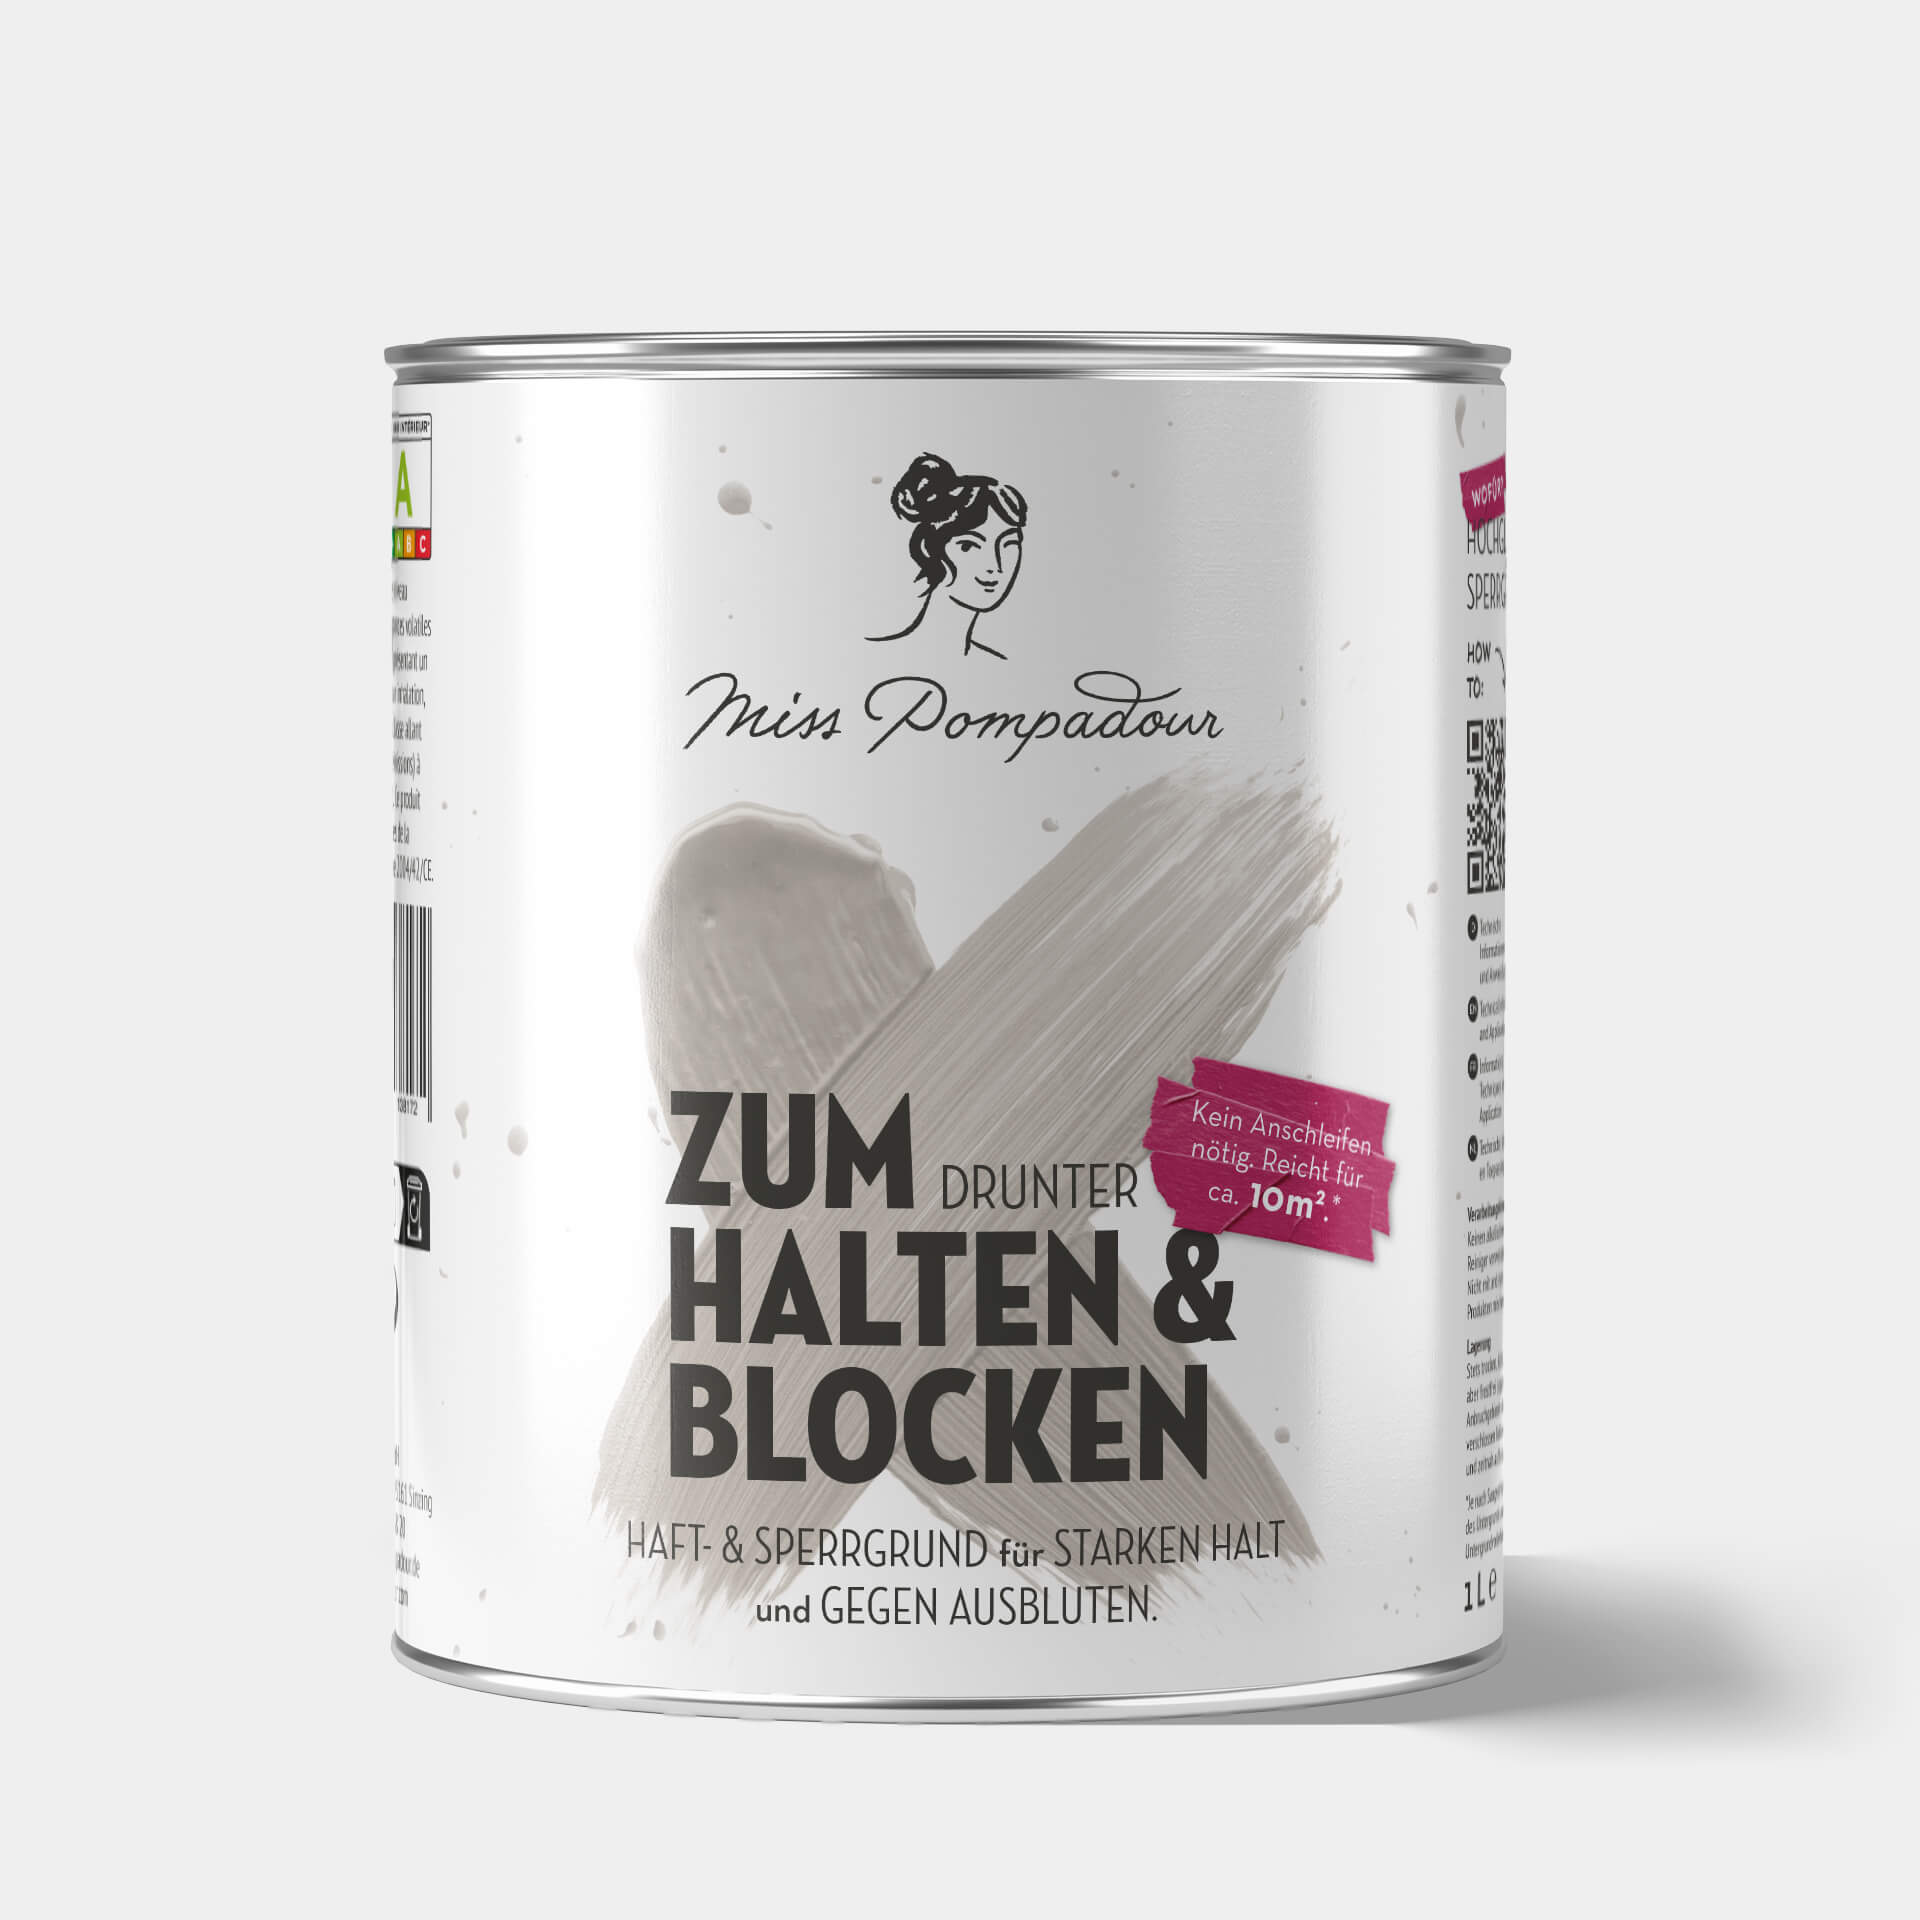
In principle, you can simply paint over the existing coating of any metal with a metal paint. It always makes sense to prime bare surfaces with Miss Pompadour To Bond & Block. Stainless steel and older galvanised sheet metal are uncomplicated. You should simply clean these thoroughly and then apply the primer. Bare iron and non-stainless steel should first be treated with a rust-inhibiting primer. If your metal already has rusty spots, sand them down well and also use a rust-inhibiting primer before priming.
No paint will really last on chrome-plated surfaces. Or on anodised aluminium.
Pro tip: Anodised means the metal has a protective coating that makes it much more robust. Best to take a coin and try to scratch the surface. If it scratches - no problem, you can paint it. However, if it doesn't scratch, the aluminium is anodised and therefore unfortunately cannot be painted. The protective layer simply won't allow any paint to adhere.
You can paint copper with our paints without any issues. If there's existing corrosion or verdigris, it's best to sand it down thoroughly. Don't forget a face mask!
Galvanised sheet metal should not be freshly galvanised. Older galvanised metals can be painted as normal.
What sheen level do you want for your furniture?
- Matt effect: Matt colours are less suited to painting metal garden furniture. Matt paints are naturally rougher and have a lower paint content. This makes them less robust and weather-resistant. They adhere less well than semi-gloss, gloss paints, or special outdoor paints. If you still want to go for matt effects, only use them on furniture that isn’t subject to much wear and tear and is well protected from rain and dust.
- Silk matt effect: Silk matt colours and outdoor lacquers are the most hard-wearing. As already mentioned, our Balcony & Garden Varnish is ideal.
Painting metal garden furniture the right way: Instructions from MissPompadour
Before painting
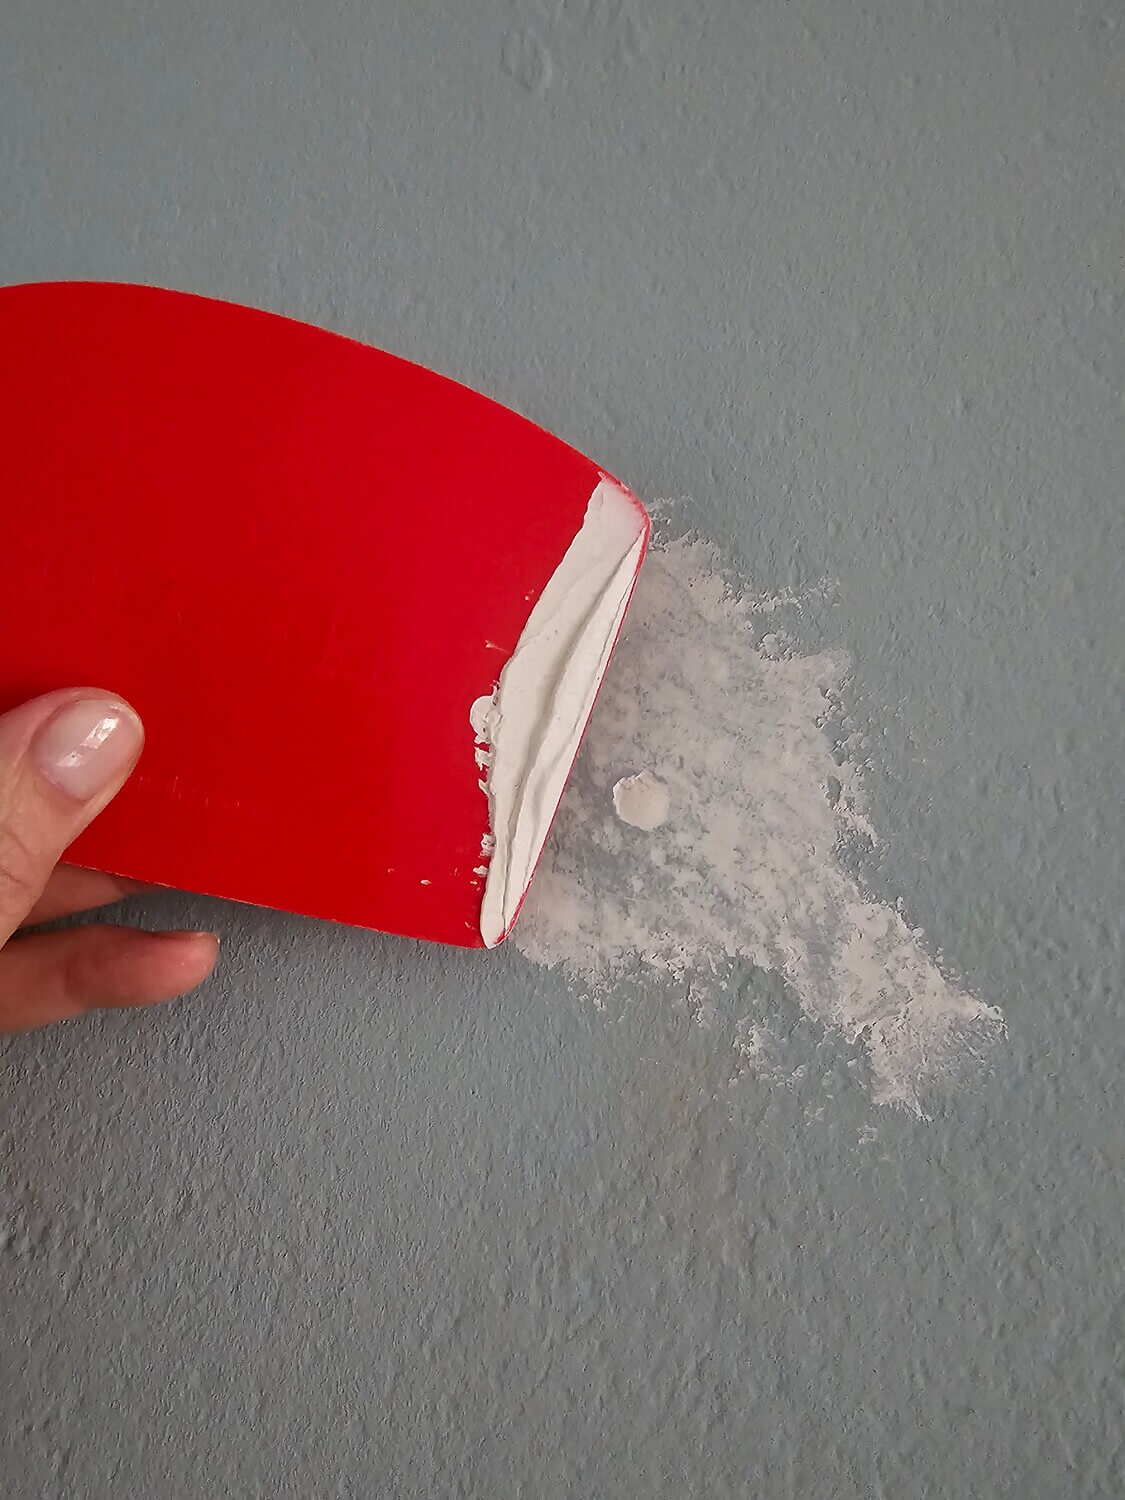
Step 1: Sanding down
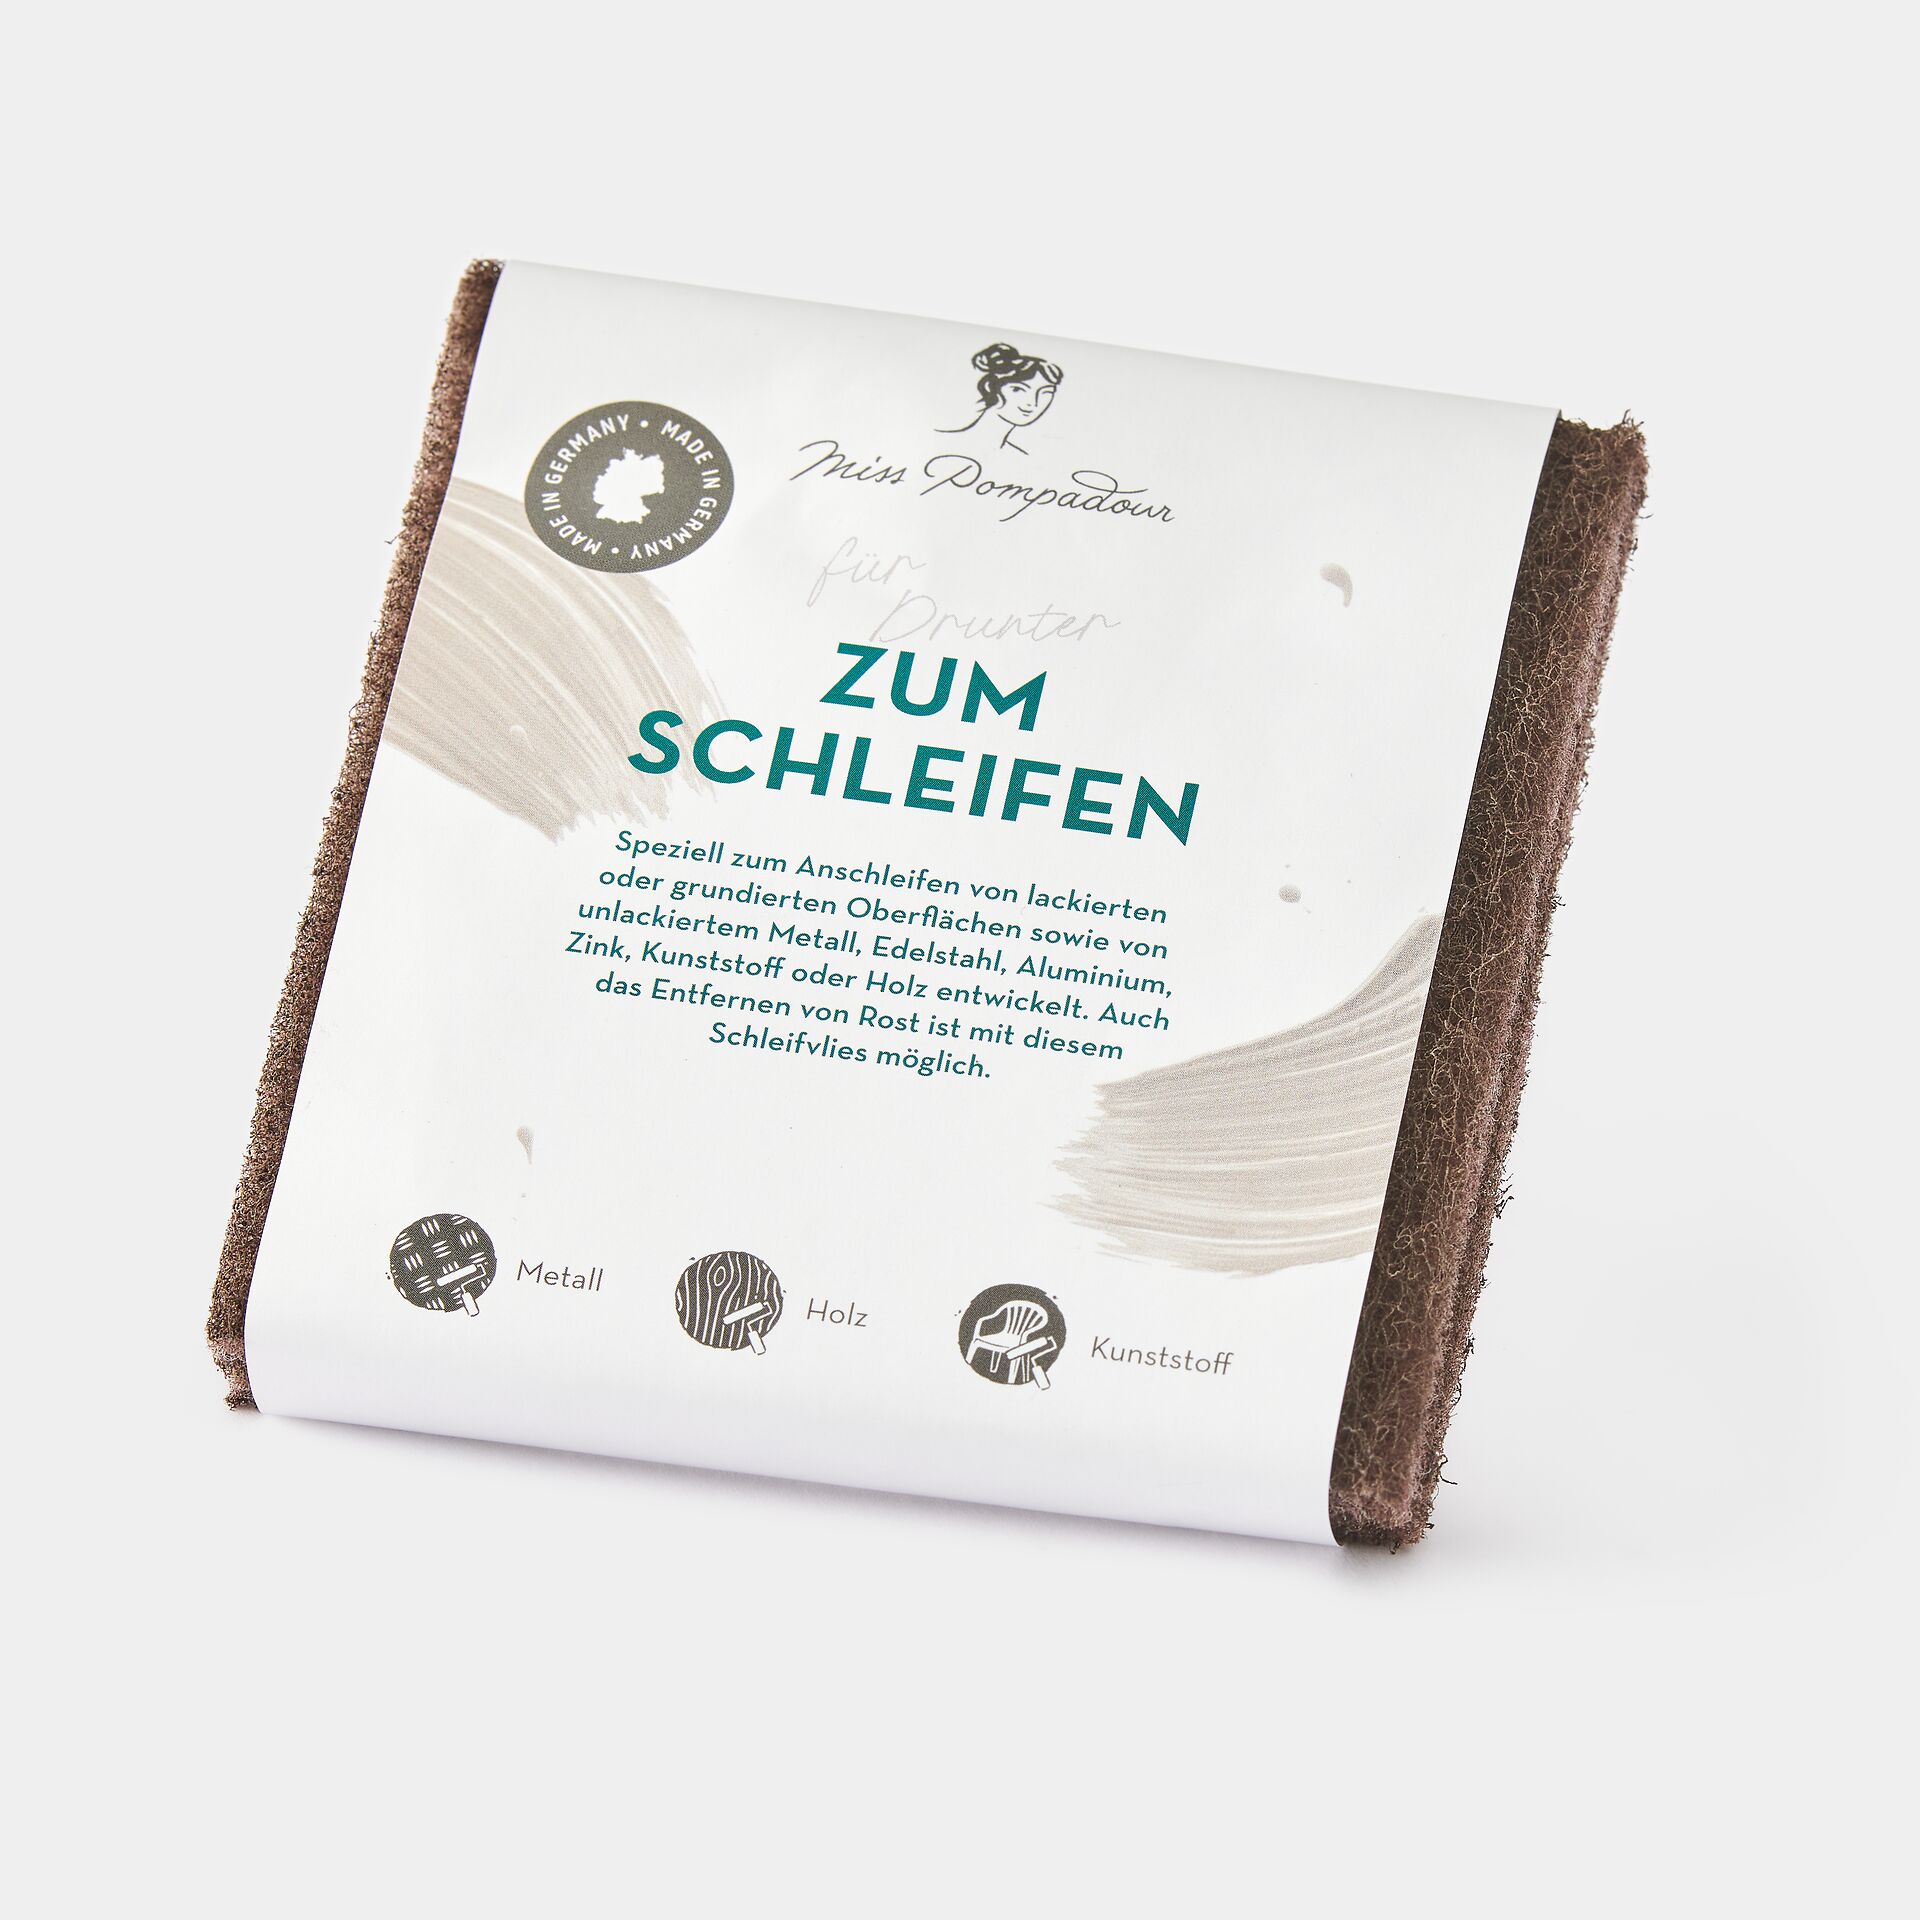
Painting metal garden furniture without sanding - is that possible?Remove rust particularly carefully. Otherwise the rust will continue to bloom under the varnish and soon flake off again. Use medium-grit sandpaper for the sanding work or our Sanding Pad To Sand on smooth surfaces. On heavily textured metal surfaces with lots of small bumps and indentations, a wire brush is a good choice. Of course, you can also use an electric sander with the appropriate attachments. Apply a rust protection primer after sanding.
Step 2: Cleaning
To be ready for the first coat of paint, you need to thoroughlyclean the garden furniture of oil and grease. To Clean from MissPompadour also creates a grease-free, absolutely clean surface on metal and is a great basis for an even and long-lasting coat of paint.What to consider when painting metal furniture
Step 3: Masking
Use masking tape and, if necessary, paper or foil to cover any parts that you don't want to paint or wish to paint in a different colour.
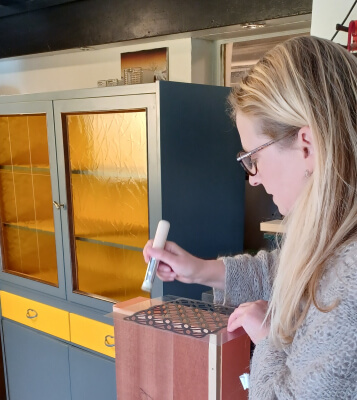
Step 4: Priming
First, treat bare iron and sanded rust spots with a rust protection primer. For most metals, our To Bond & Block - MissPompadour primer is ideal for preparing your metal furniture for painting. This ensures the paint will last as long as possible. Always apply the primer evenly and ensure you use clean tools. Unfortunately, no paint adheres well to anodised aluminium.
Step 5: Painting
Now apply your chosen colour. Make sure to apply the paint thinly. Allow the paint to dry thoroughly and apply a second coat after 4 hours. This ensures a beautiful, even finish.
If you're painting metal garden furniture outdoors with our Balcony & Garden Paint, you can paint when temperatures are from 5 degrees Celsius – just be sure it won’t drop below that overnight! The paint cures best at temperatures between 10°C and 25°C.
Step 6: Drying
You'll probably want to use your metal garden bench straight after painting. However, it's best to wait 1 to 2 weeks before putting the furniture to full use. Only then will the paints and colours be optimally dried and hardened.
Pro tip: Have you painted your metal table?
In the future, ensure no standing water forms on your garden furniture. Tilt the table and chairs after use. Otherwise, the paint may peel off over time.
Spray-on Metal Paint
It’s much quicker, easier, and, above all, more uniform if you spray the paintonto your freshly cleaned garden furniture using a paint spray system.
We’ll show you exactly how this works and what to look out for in the next few steps.
Before you start, cover the floor beneath your garden furniture with a sufficient drop cloth, such as our paint tarpaulin.
Step 1: Prepare the paint
All our water-based paints can be sprayed. First, stir the paint well in the tin. The paint is ready for spraying when it drips evenly from the stirring rod without leaving any residue. Now, fill the paint container with the desired amount of paint. Dilute the paint with a maximum of 15% water to make it easier to spray. Then, screw the paint container onto the spray head.Step 2: Adjust the paint spray system
As your garden furniture will be on the ground, you'll mainly be spraying downwards. Therefore, point the intake tube forwards. Now, simply adjust the spray pattern.You have three options for this:
- For spraying from left to right, set it vertically.
- If you are spraying from top to bottom, use the horizontal setting.
- For precise spraying, select the pinpoint detail jet.
Step 3: Test spray
To get a feel for the spray pattern, you should do a test spray. Simply grab a cardboard box and give it a try. You can now also adjust the paint flow until you achieve your desired spray.Pro tip: Spray at a steady pace and keep around 15 cm away from the surfaces. When you reach the end of the area you're spraying, release the trigger and only then change direction. The best results are achieved by spraying in overlapping strokes of about 30%.
Step 4: Painting the metal furniture
Now the anticipation is building: it’s time to get started. Turn the chair upside down so you can begin with the inside of the legs and the underside of the seat. Then, turn your piece of furniture upright and spray the legs first, followed by the seat, and finally the front and back of the backrest.Follow a similar process for the table: first, turn it upside down and spray the legs using the precise spray setting, then spray the underside of the tabletop.
To do this, switch to the horizontal or vertical spray setting. Now, turn the table upright and repeat the same steps, starting with the table legs.
To give your garden furniture the best possible protection against the elements for as long as possible, you could apply another coat after approximately 6 hours.
FAQ: Frequently Asked Questions about Painting Metal Garden Furniture
Do I need to sand metal garden furniture before painting?
If there are even small spots of rust or corrosion on the metal, there is no way around sanding. Only if the metal structure is still completely intact can you do without sanding.
Can I paint all the metal garden furniture?
Our outdoor-suitable, water-based paints adhere very well to most metal surfaces. Exceptions are anodised, non-colour-treated aluminium or freshly galvanised and untreated iron.
Can I also paint plastic garden furniture?
Yes, that is quite simple. Often you can even save sanding. To Paint you proceed in a similar way as when painting metal garden furniture. You can find out exactly how it works in "How to paint plastic garden furniture".
Can I paint over painted metal?
The speed at which weather-related damage appears depends not least on where you have placed your furniture. Standing water on surfaces always puts a lot of stress on it. That's why you should put your garden furniture out in the dry in bad weather. How often you need to glaze, oil or paint your garden furniture depends on several factors and can vary between 3 and 6 years.
Any questions about painting garden furniture?
A good opportunity to share your tips - for more colour in our gardens and in our lives.
You'll need these tools to paint metal garden furniture
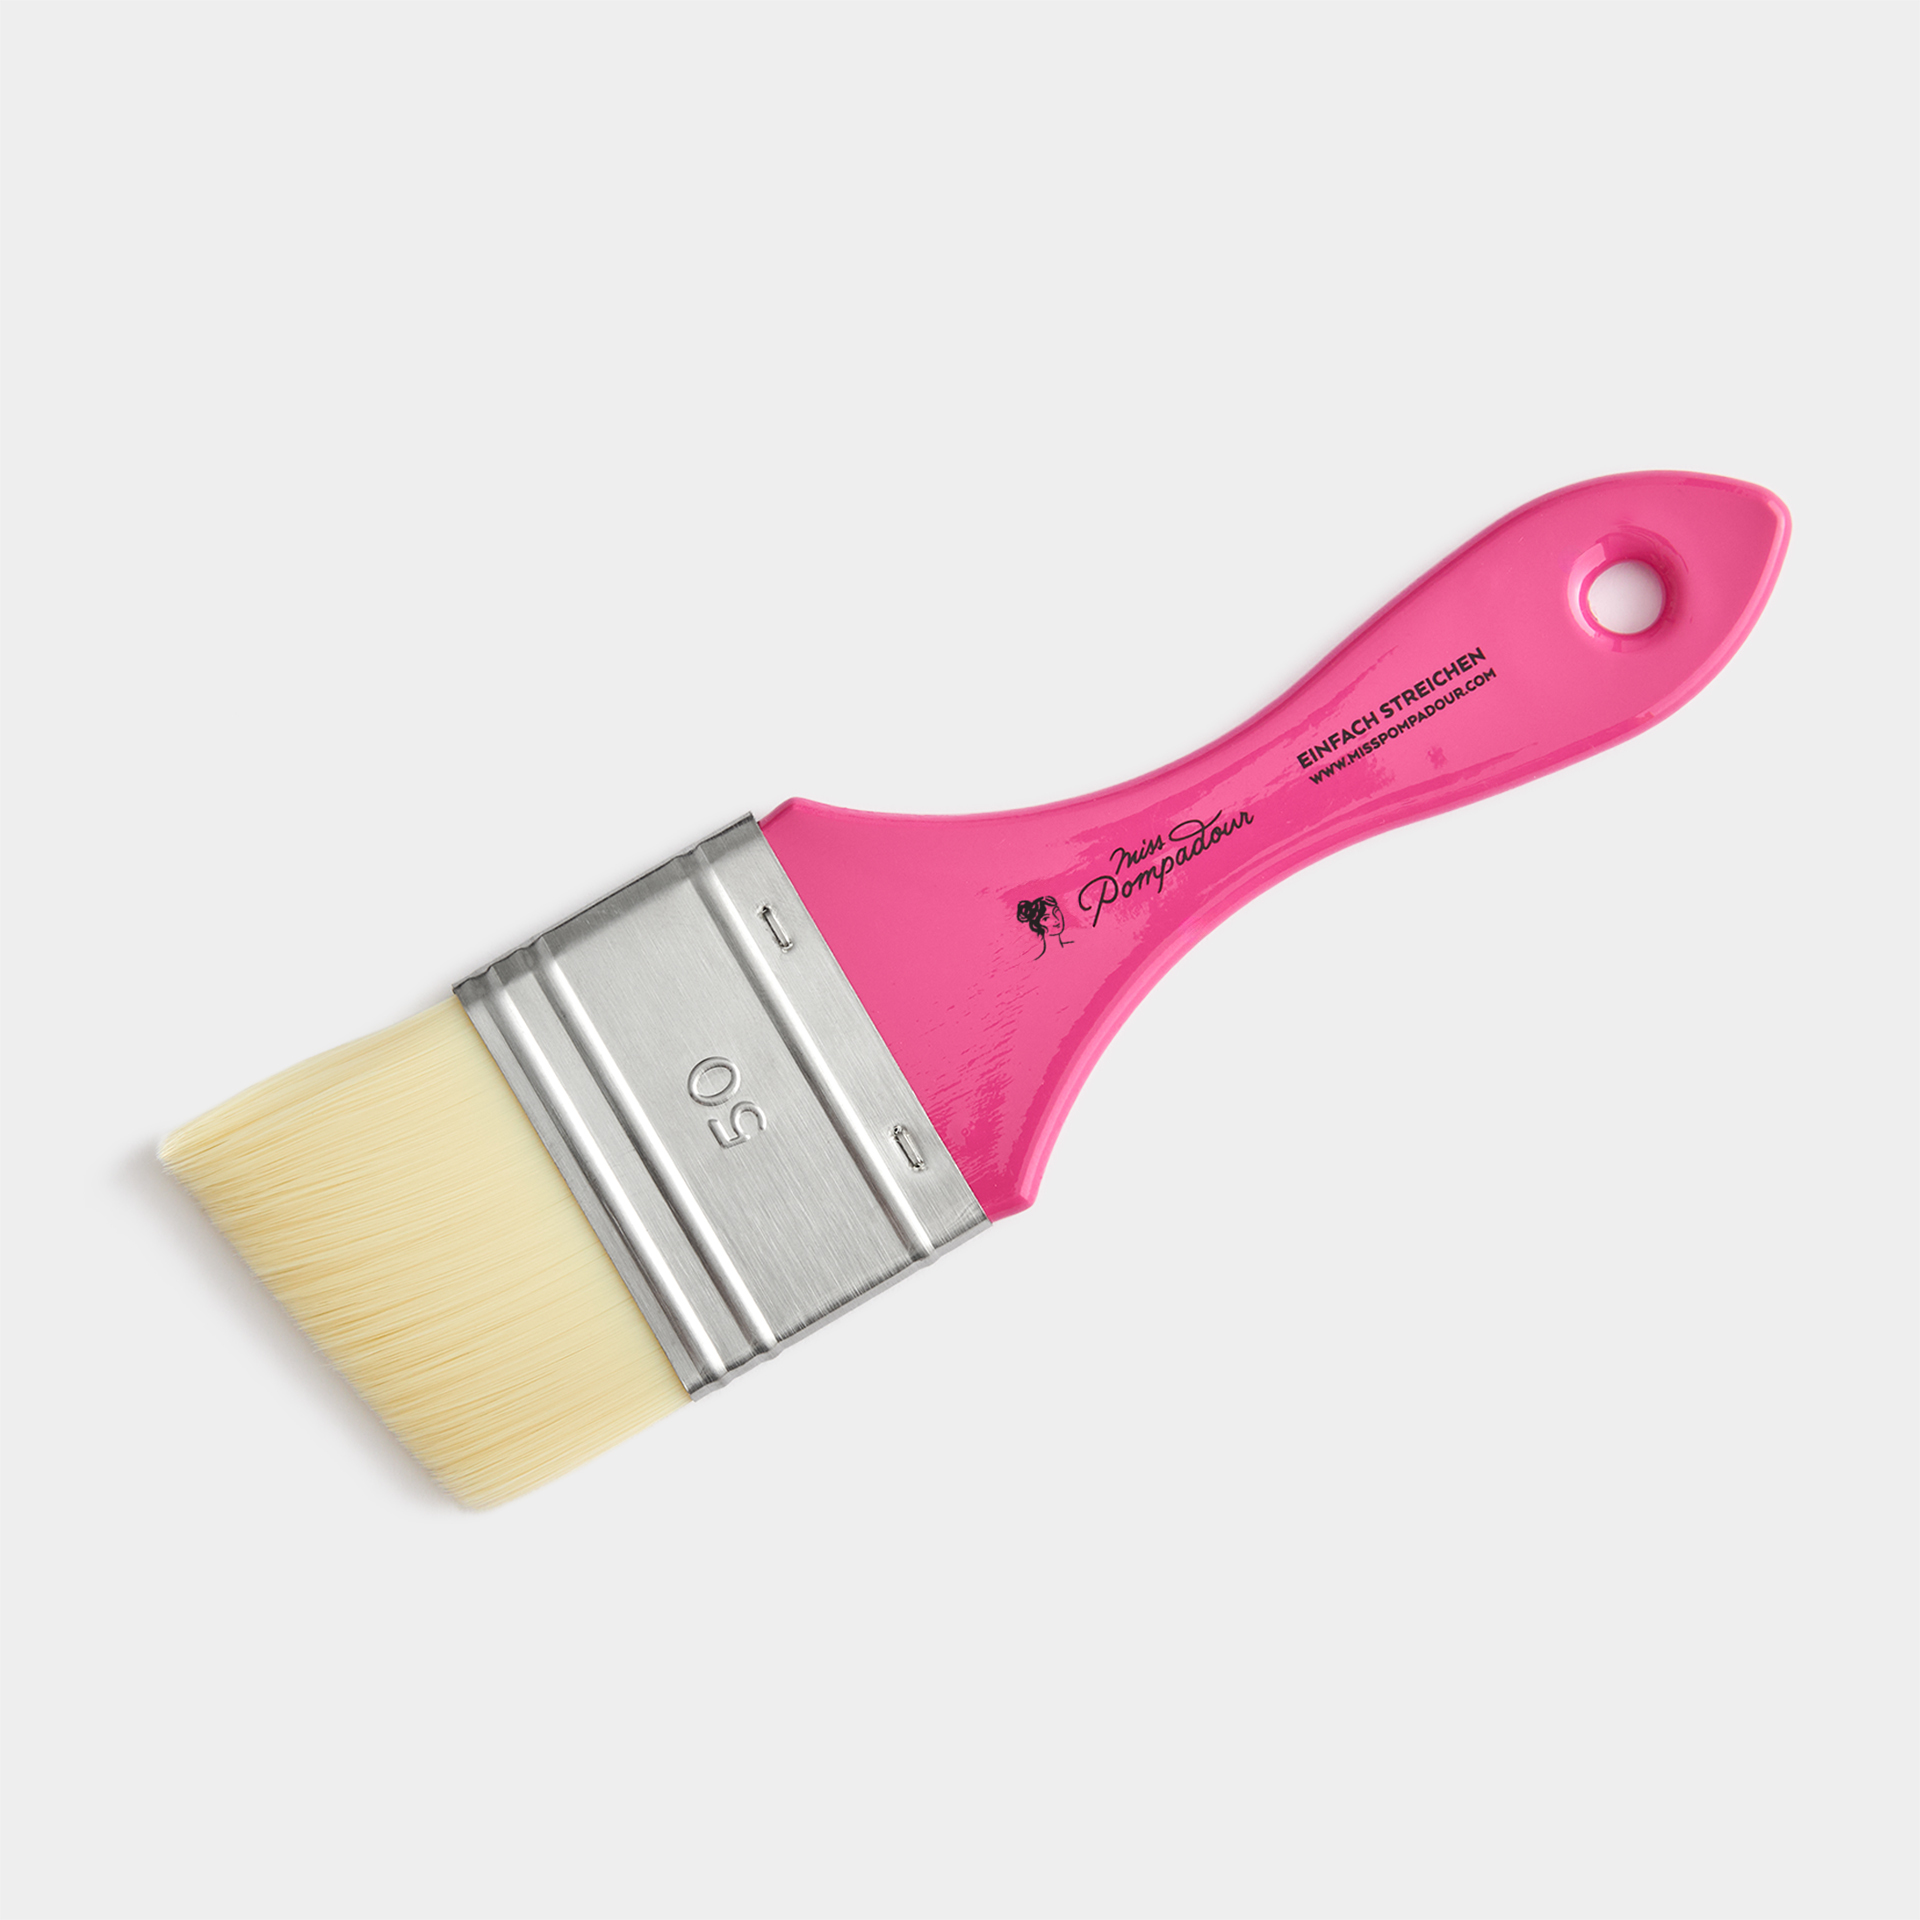
These tools will help you give your outdoor furniture a refresh:- Brushes: You’ll find the perfect brush for every job in our range of brushes. The slim angled brush is especially great for getting into corners and edges.
- Paint roller:Paint rollers are ideal for larger areas, like garden tables. They help you achieve a lovely, even coat of paint.
- Masking tape: High-quality masking tape that stops paint bleeding underneath is worth its weight in gold – our MissPompadour washi tape for masking paint is perfect for this. You'll find a great selection in various widths and types in our MissPompadour tools section.
- Sanding fleece: The MissPompadour Sanding Fleece is kind to your garden furniture while effectively removing old paint residue.
Finished reading yet?

Your new favourite colour
How to make your project perfect

Questions ?
We're here to help
We'll help you anytime, via Phone (Mo-Fr 09-18, Sa until 16 Uhr), via WhatsApp or directly via our Contact Form.