


Painting tiled stoves and fireplaces: Ideas & DIY instructions
5 min reading time
Is there anything more cosy than sitting in front of a warm tiled stove with a good book? A tiled stove is a source of heat, a piece of jewellery and an oasis of well-being in a living room. Proper care and regular painting are therefore important to ensure that you can enjoy your stove for a long time. It's easy with our varnishes.
Table of content
1. Before and After photos of painted tiled stoves and fireplaces from our community
2. Preparation: How to choose the right colour for tiled stoves and fireplaces
3. Painting tiled stoves and fireplaces professionally: Instructions from MissPompadour
4. FAQ: Frequently asked questions about painting hot surfaces
5. Materials and tools for painting tiled stoves and fireplaces
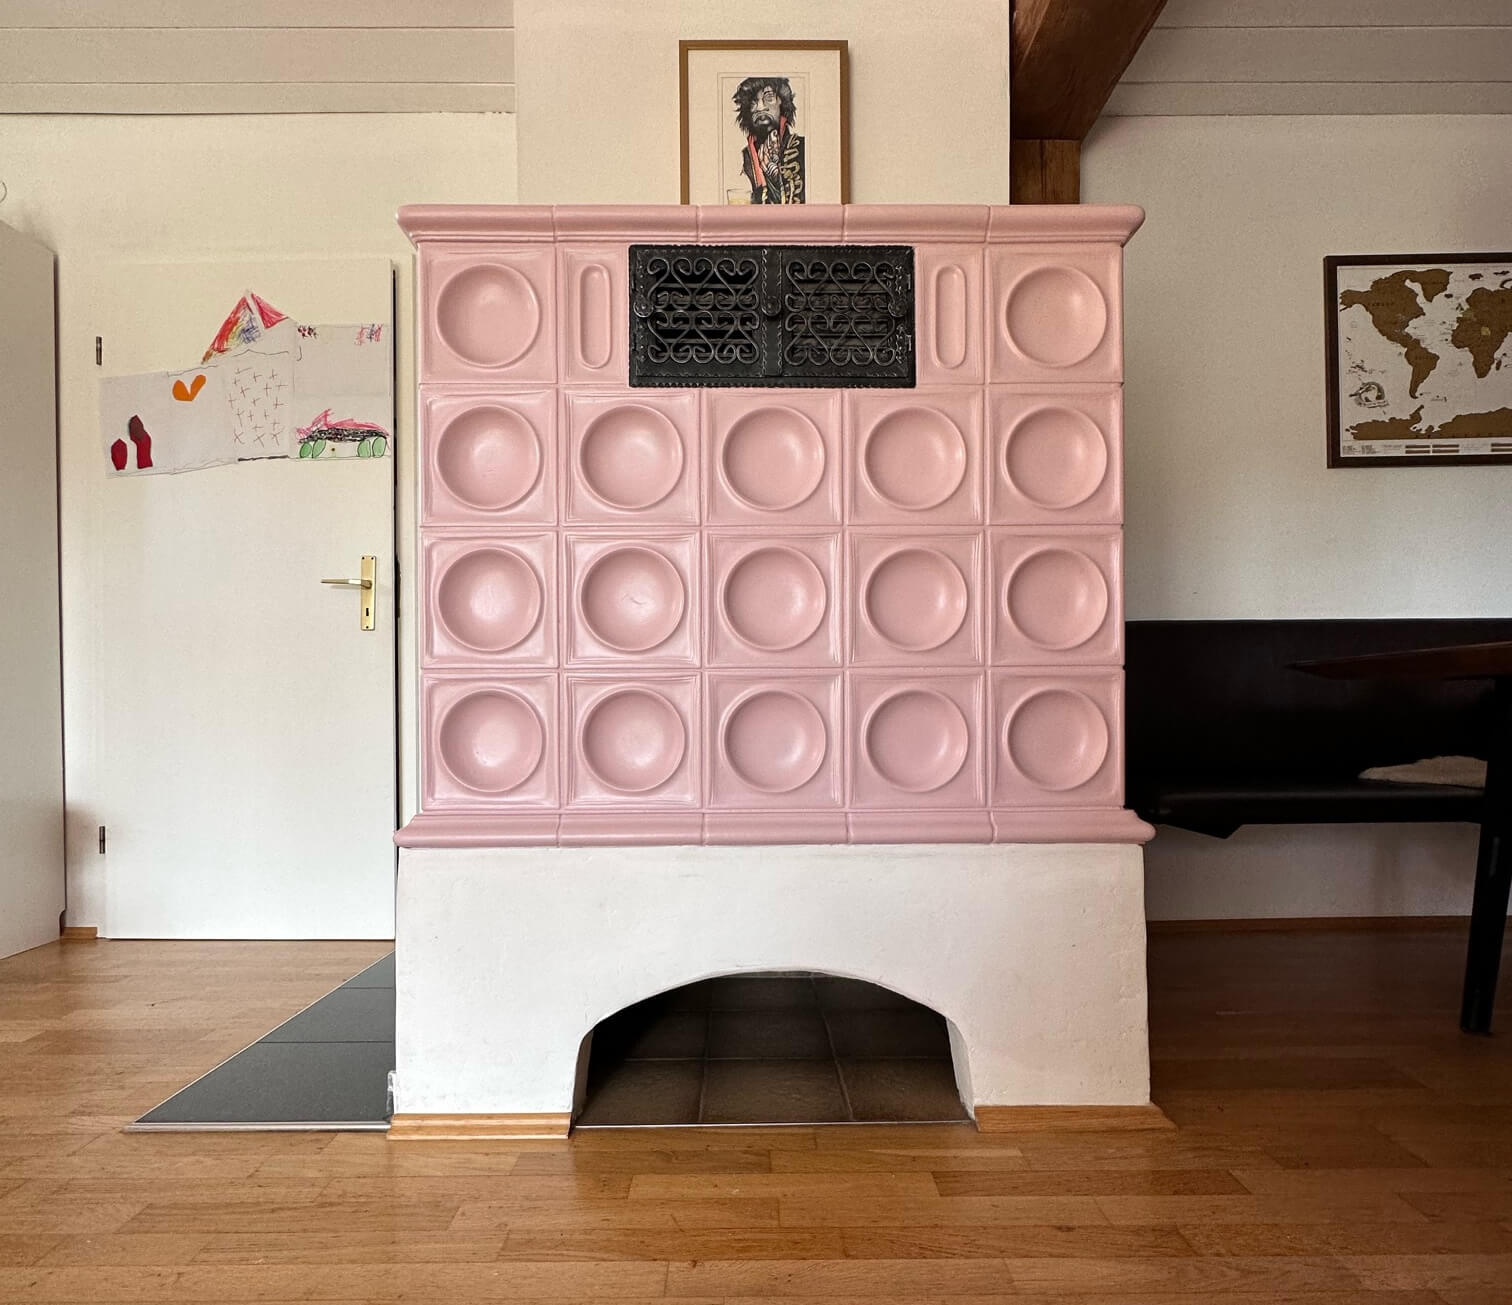
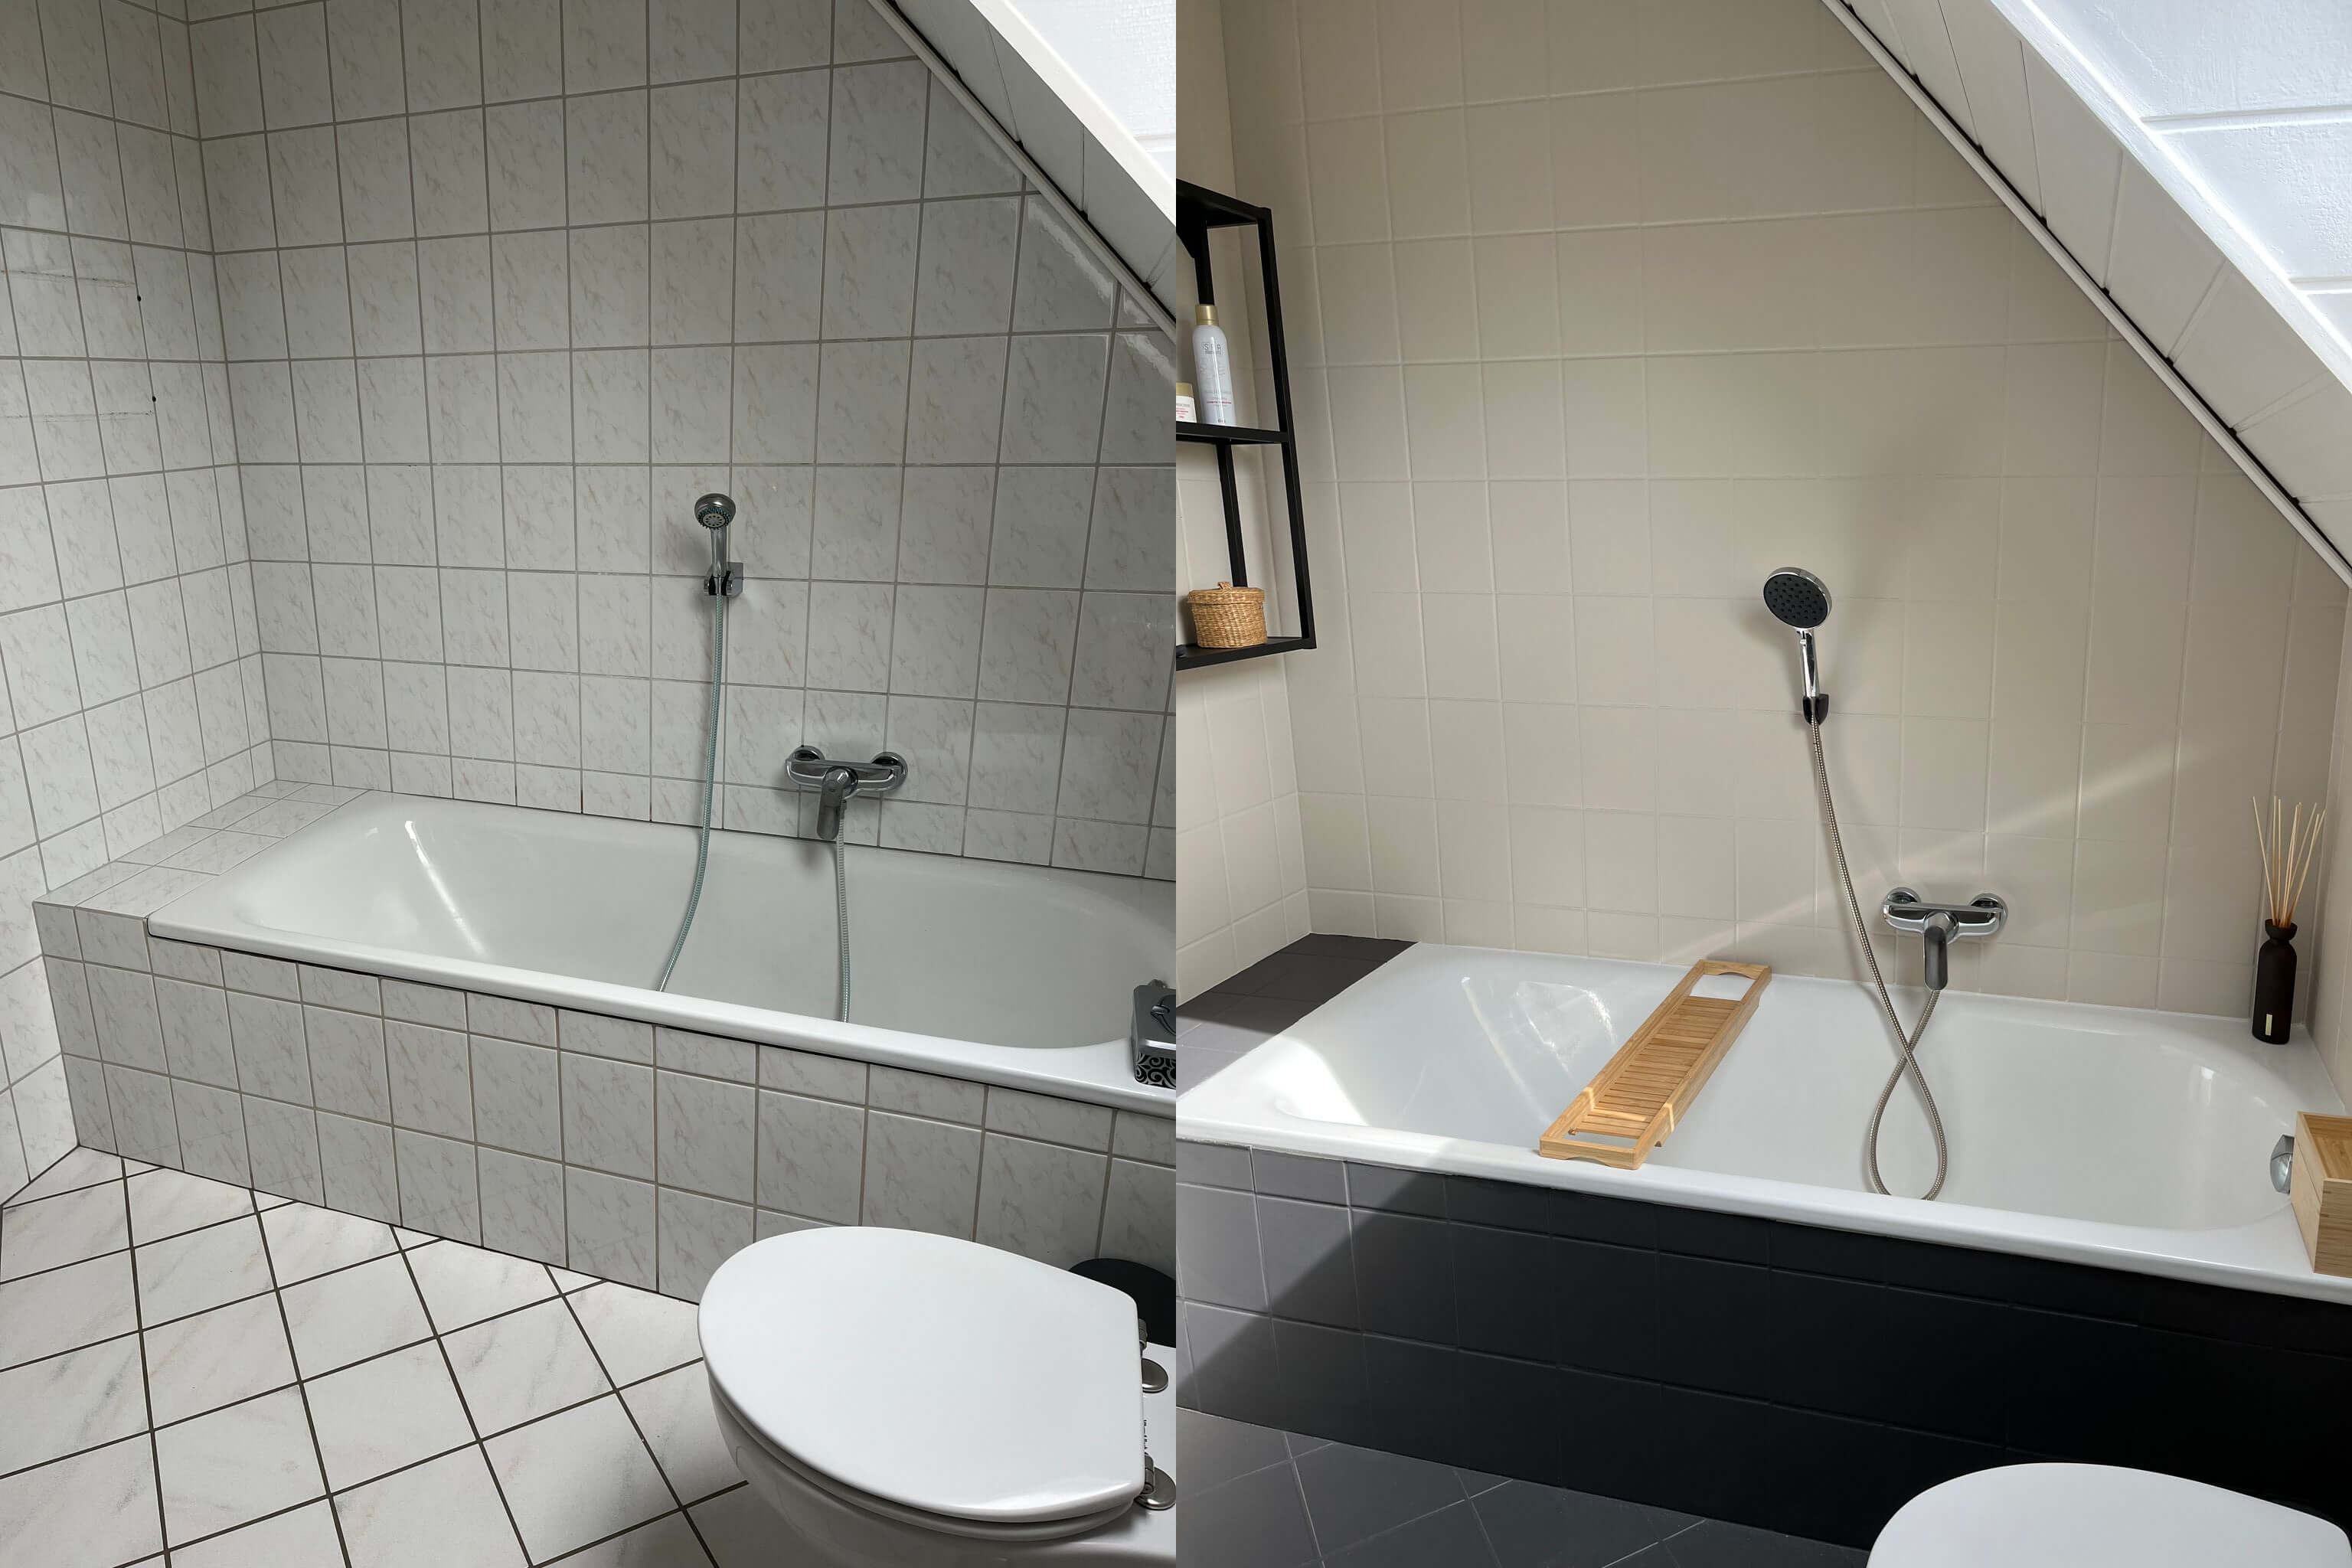
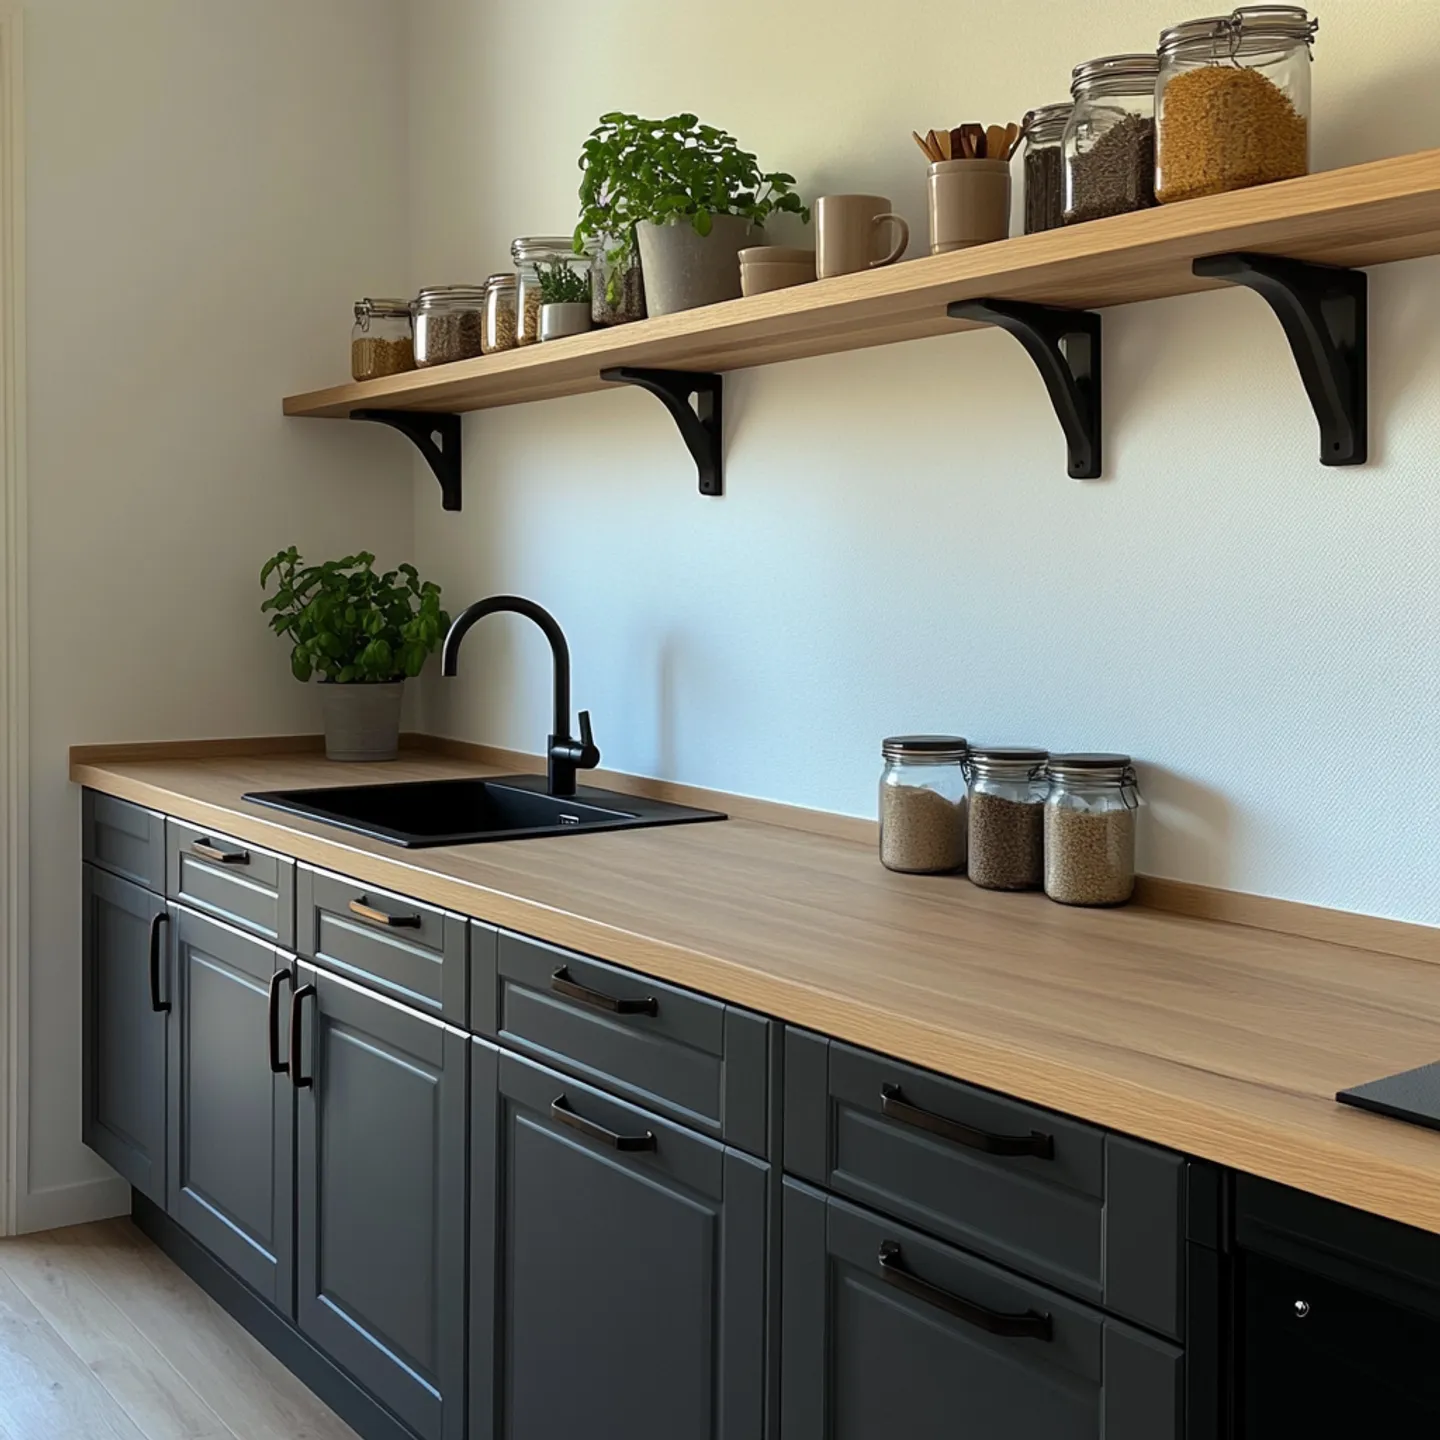
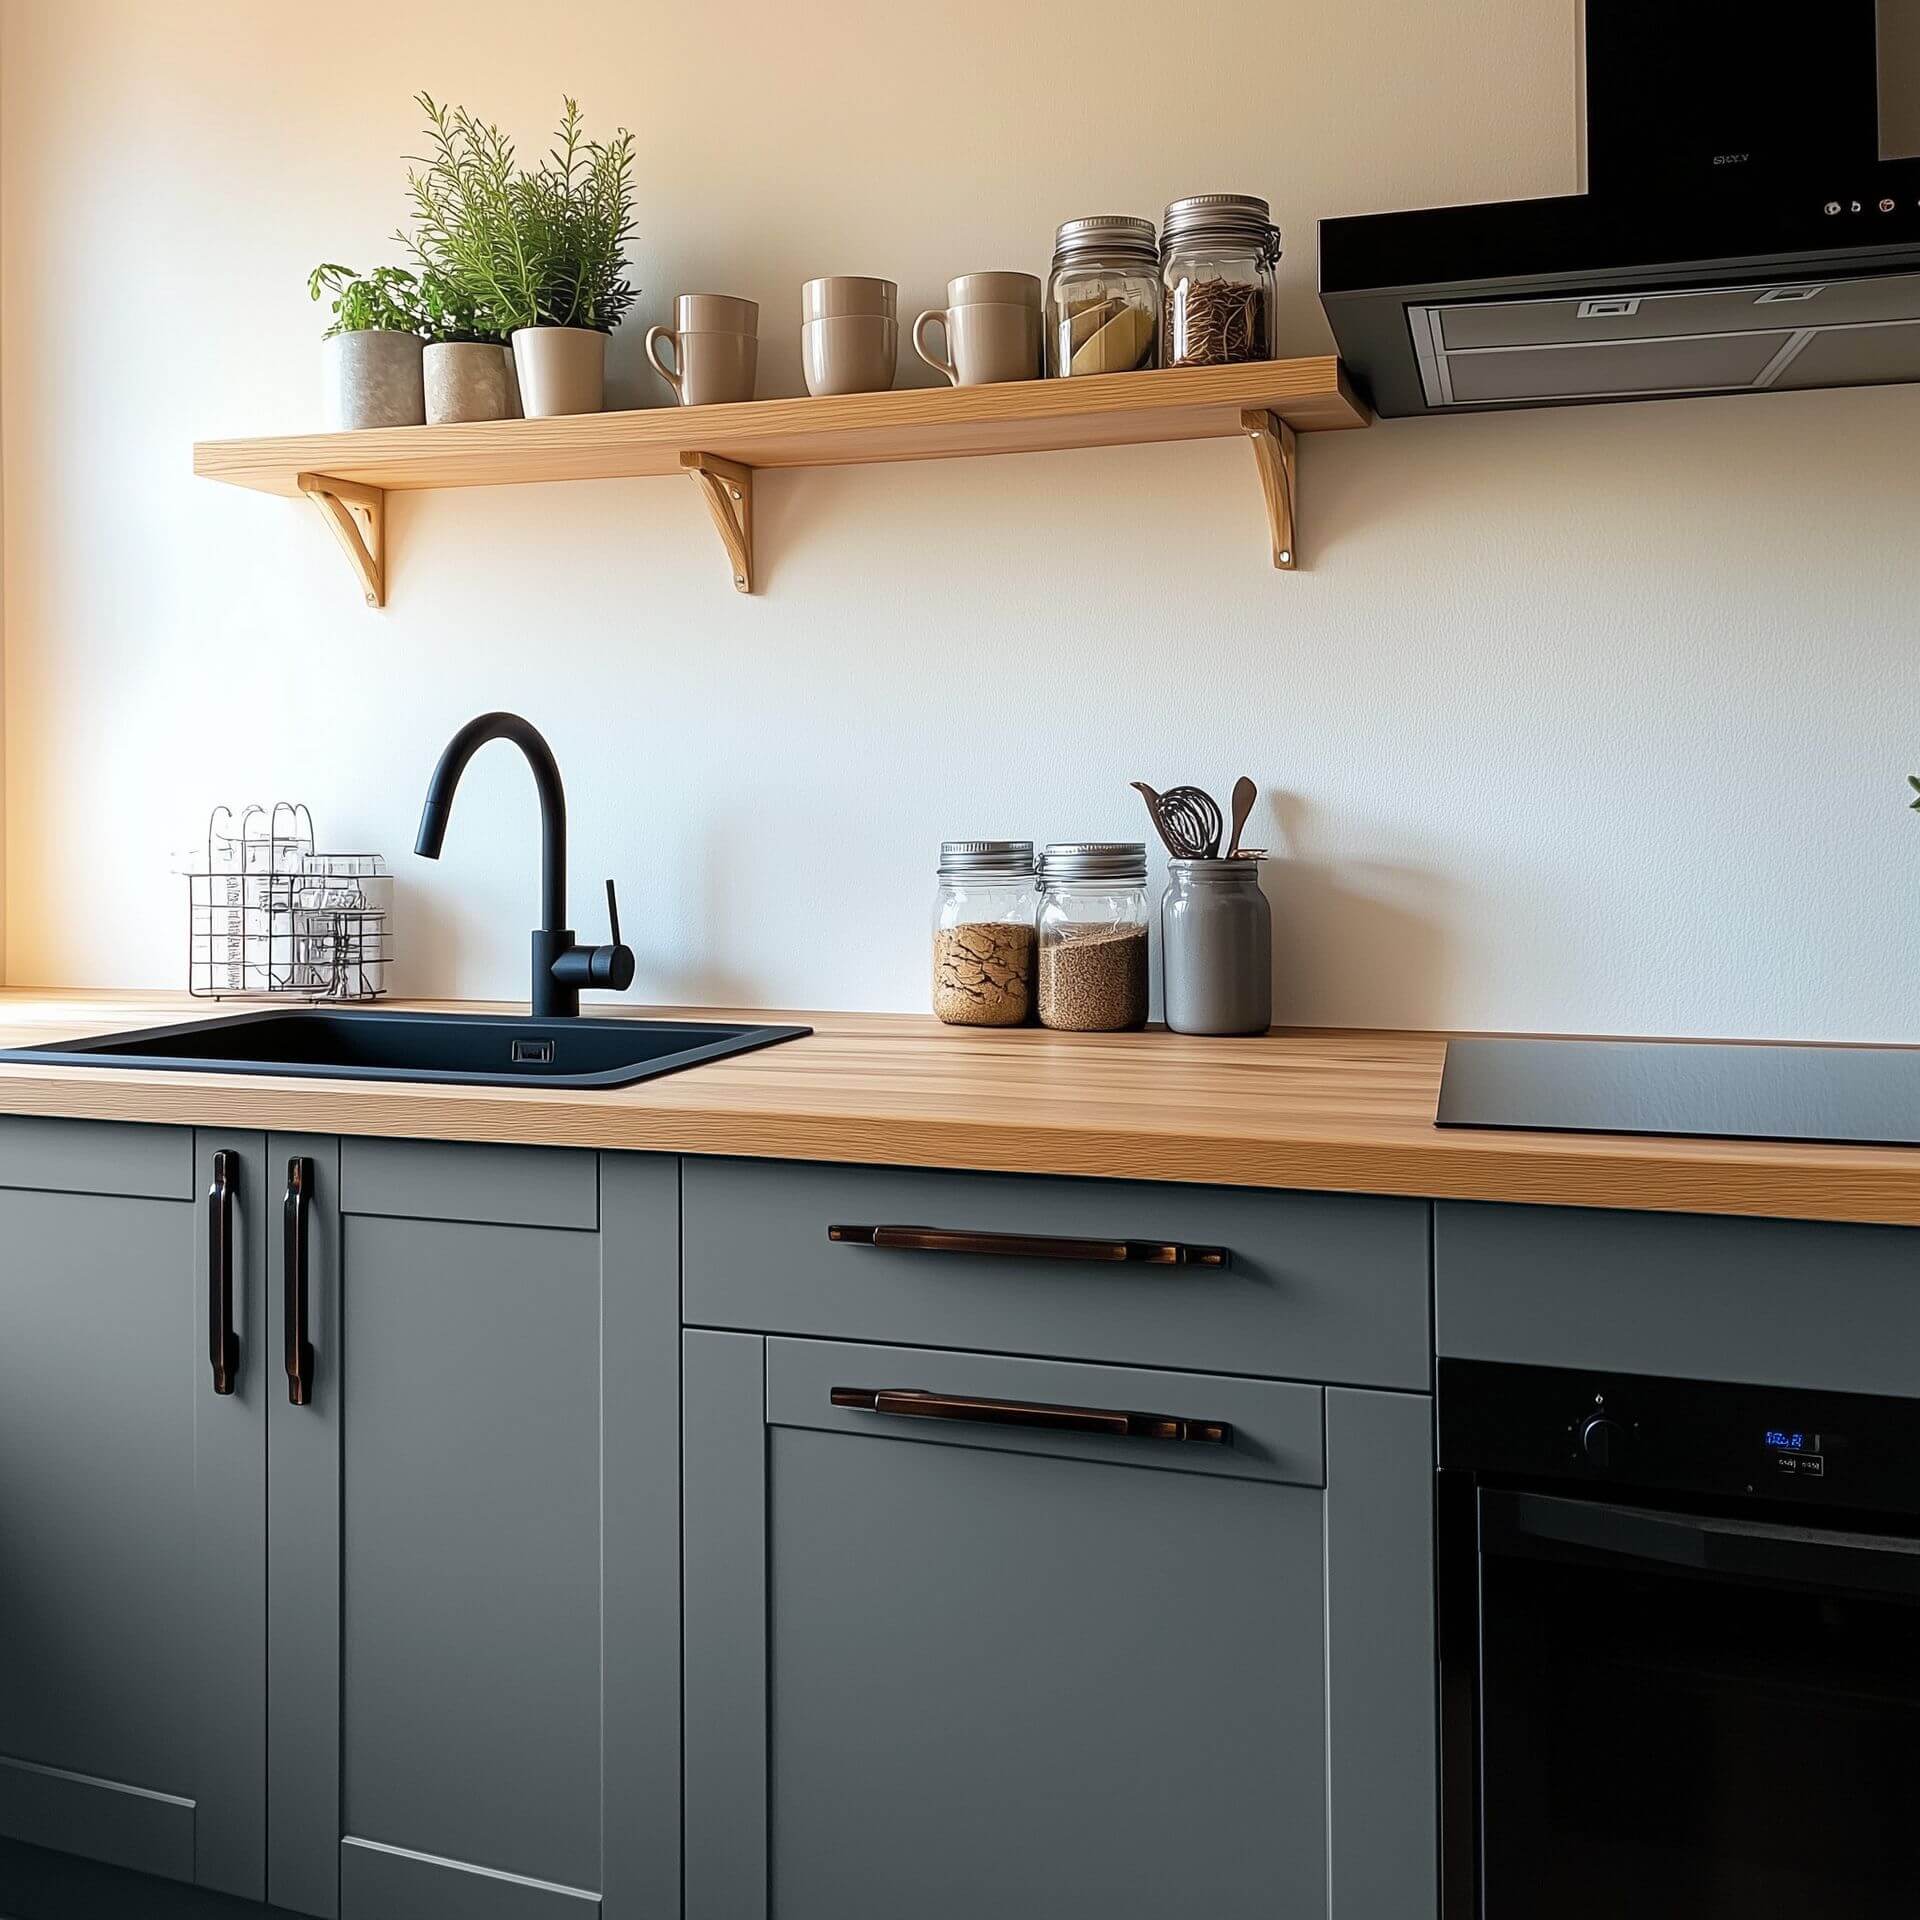
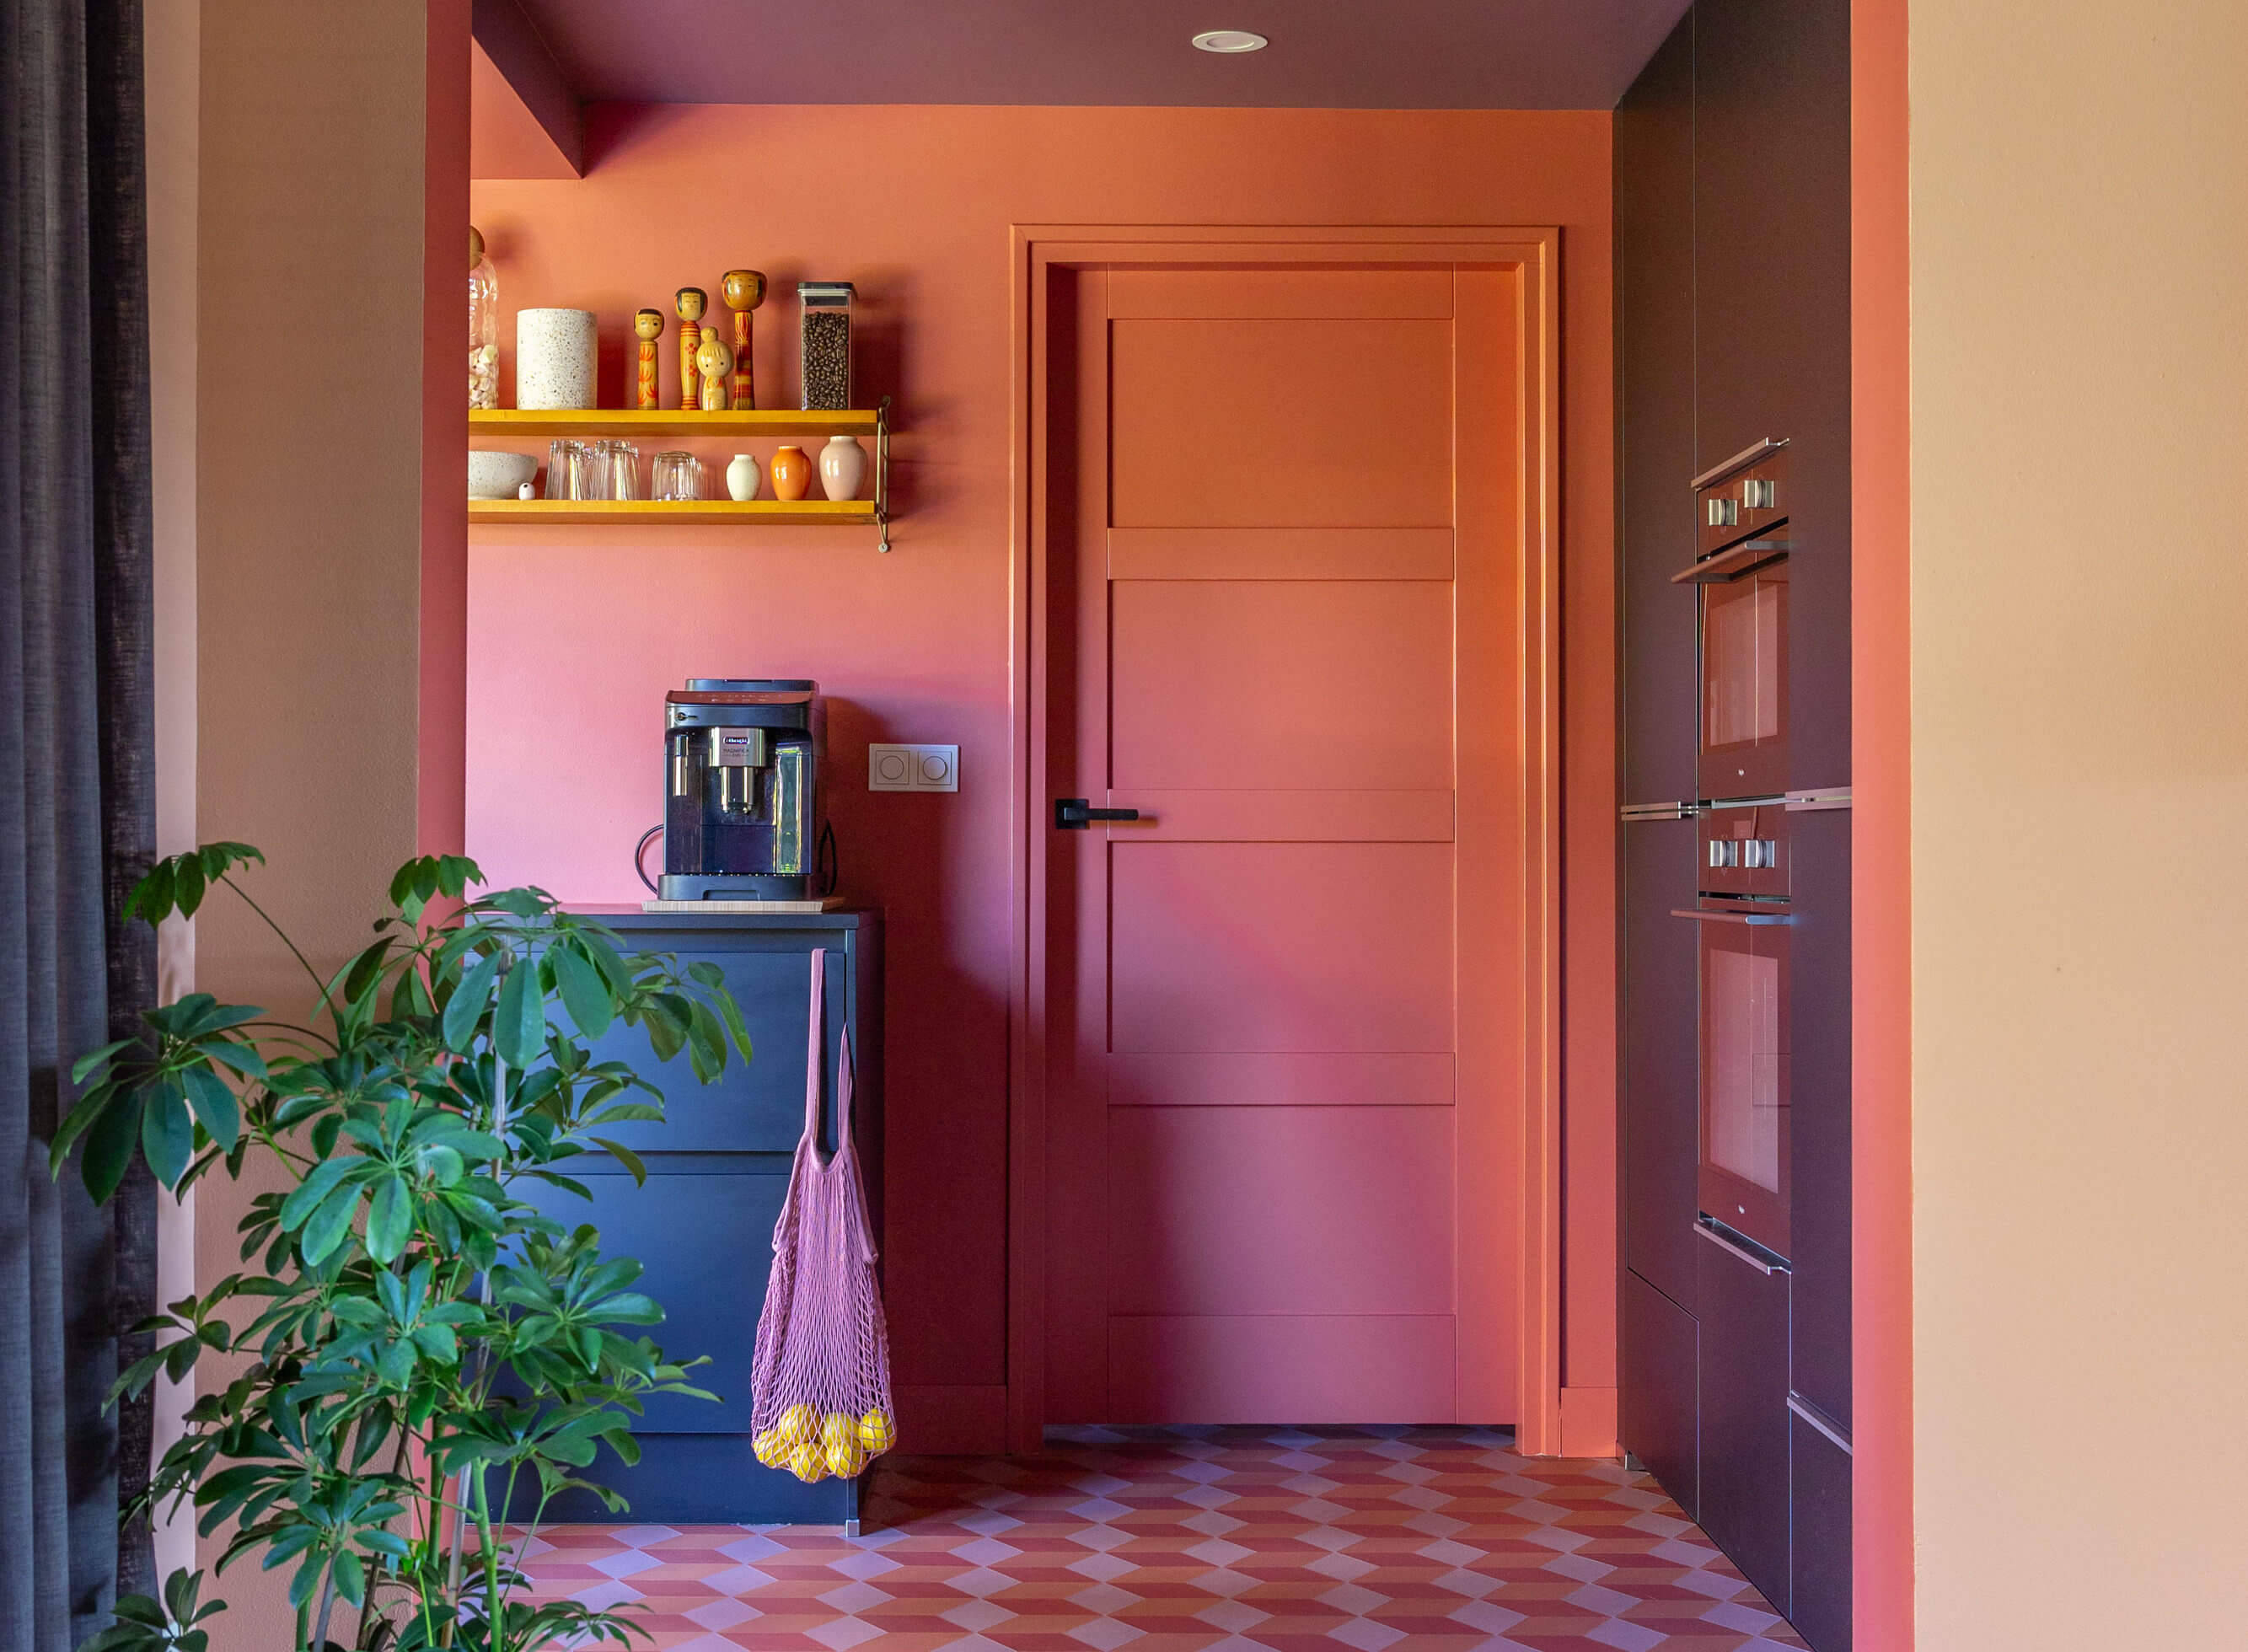
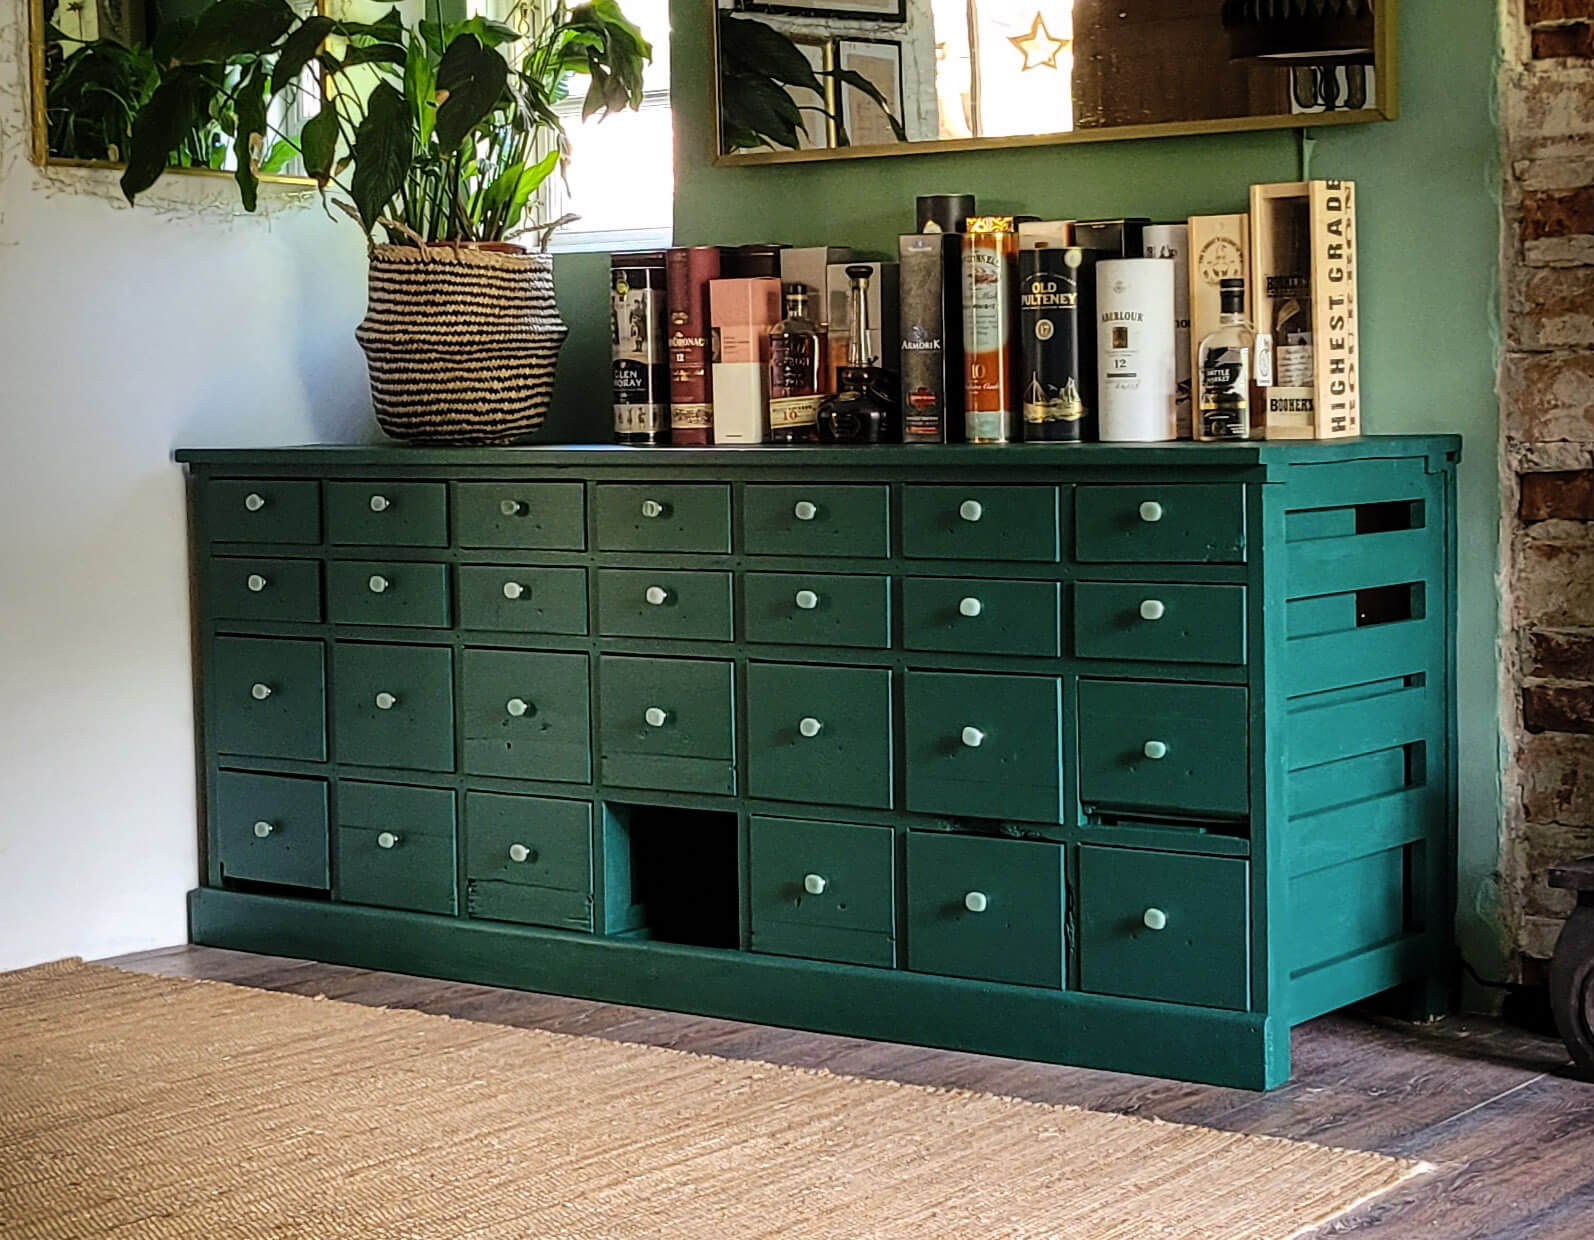
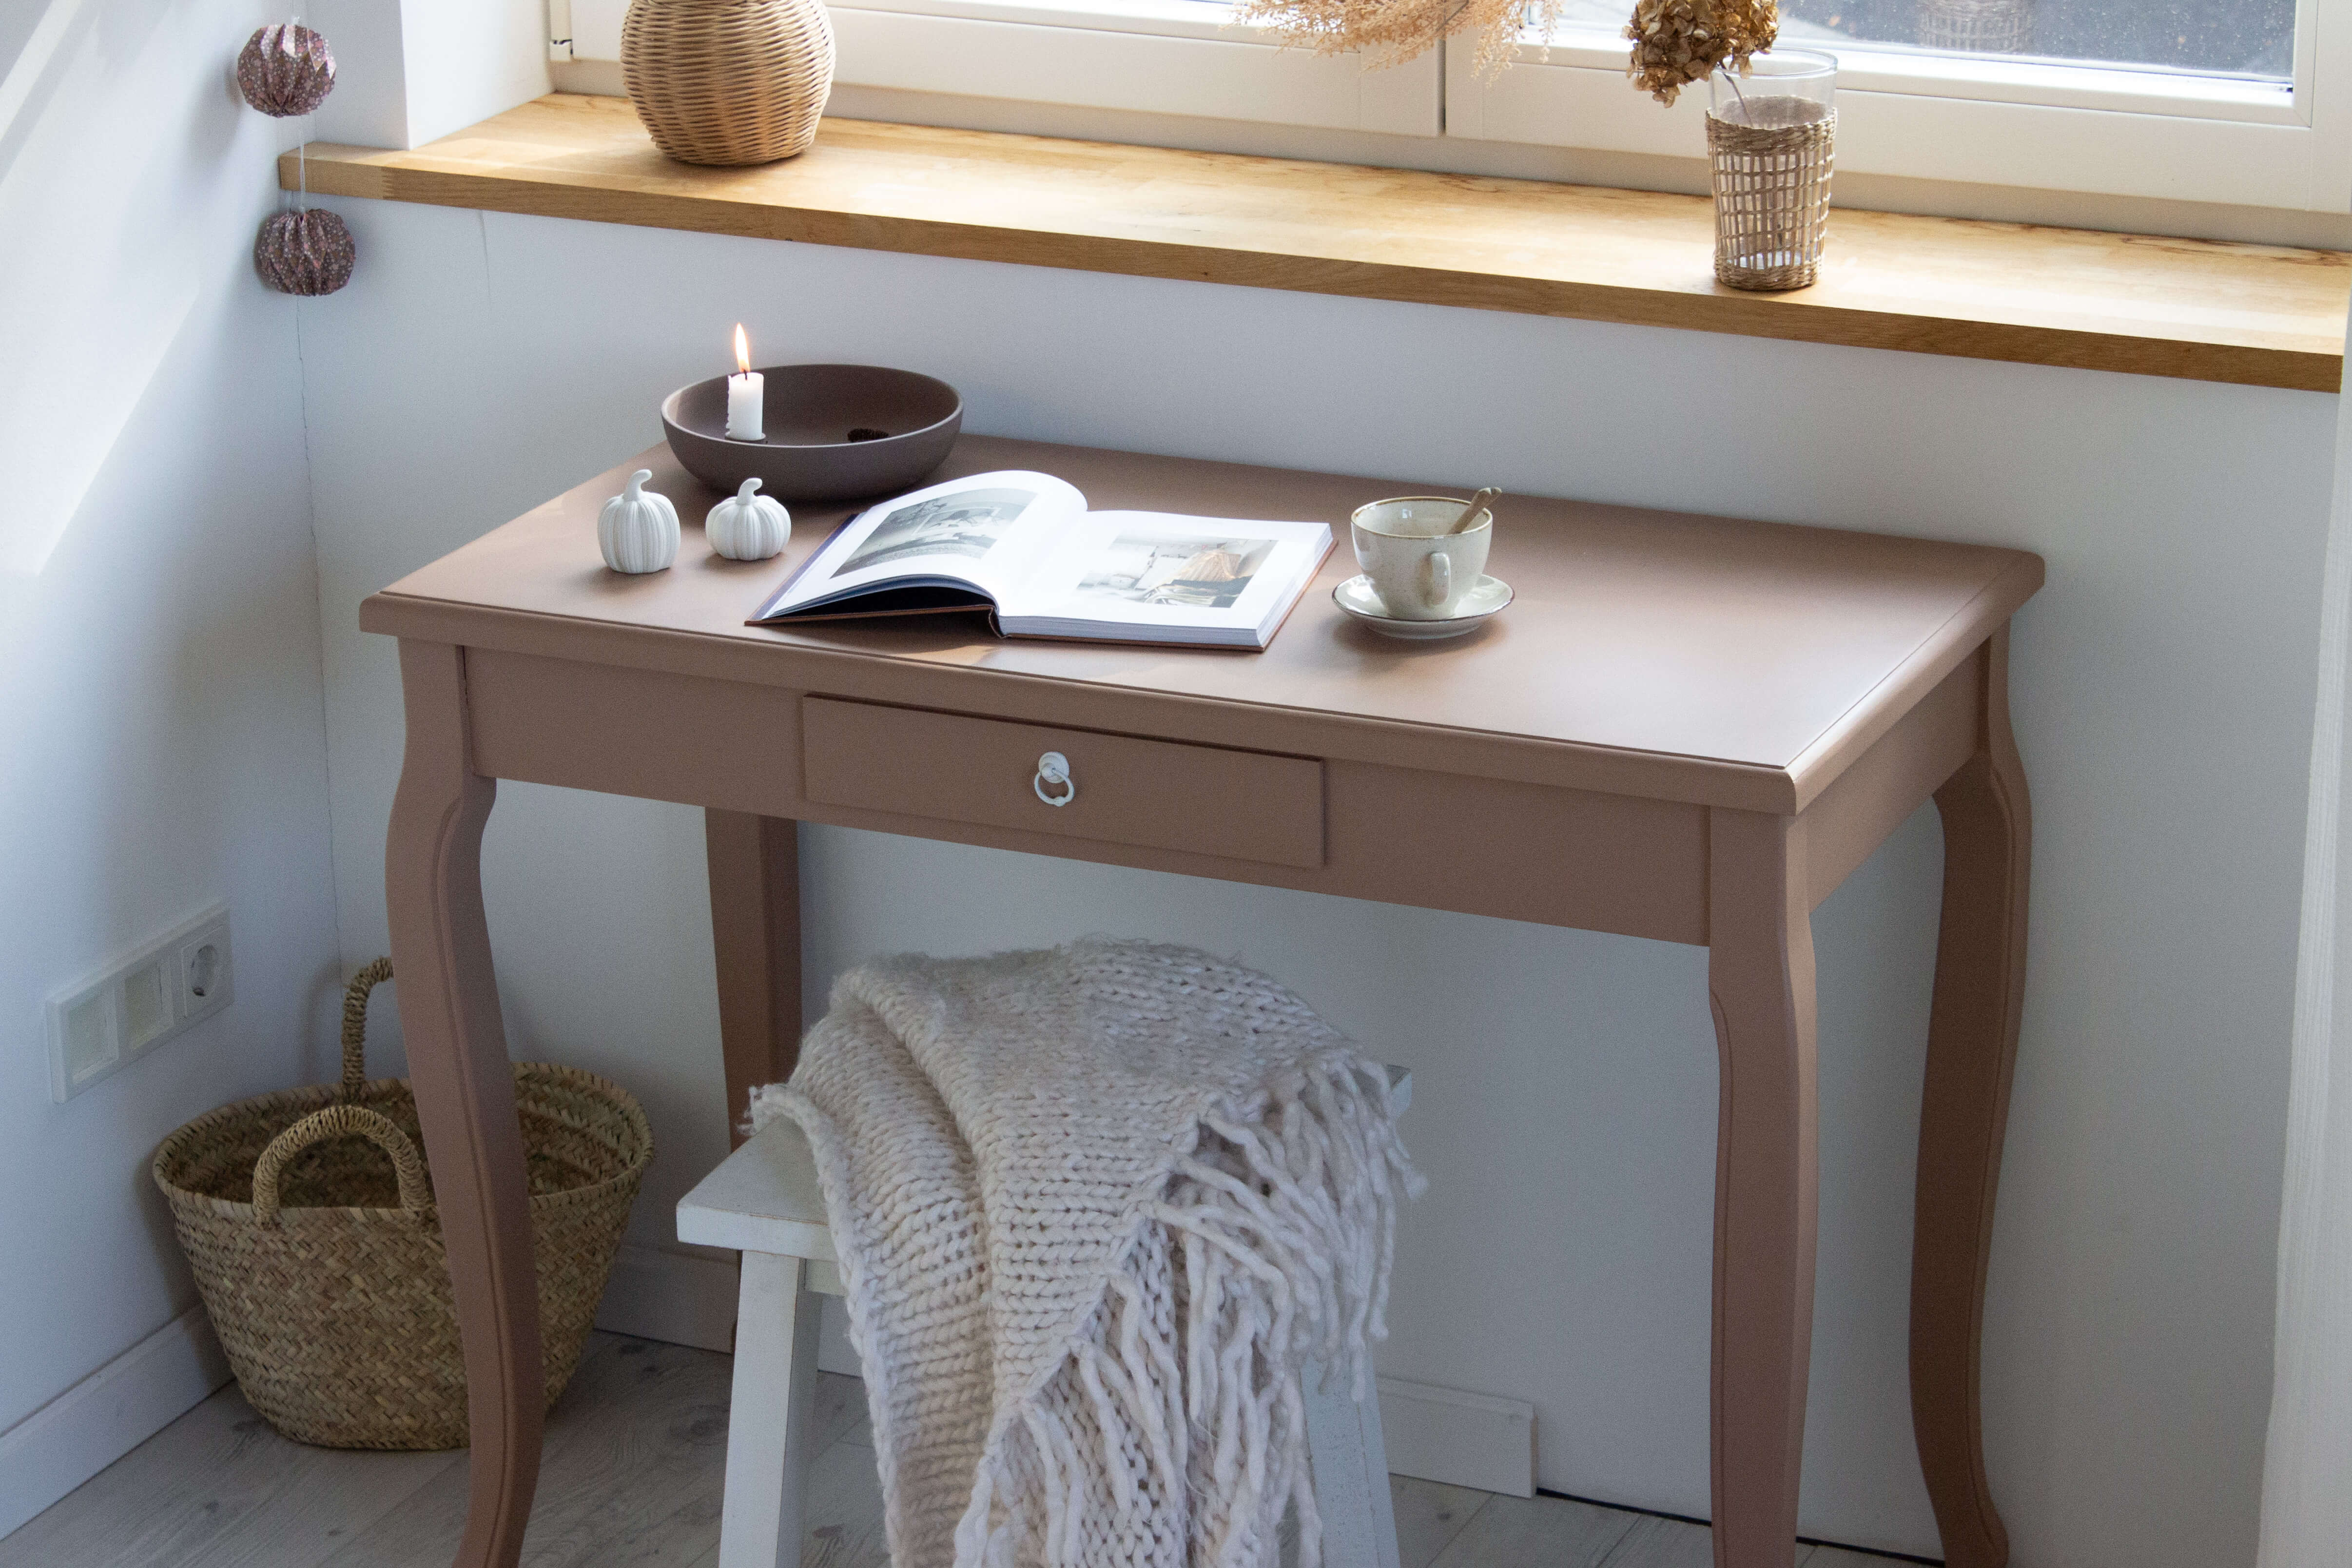
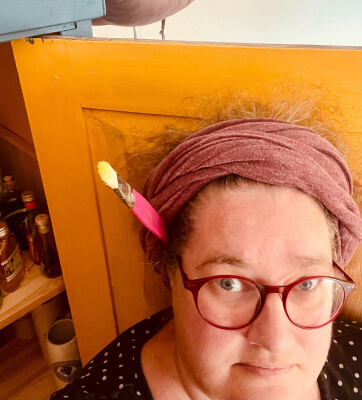
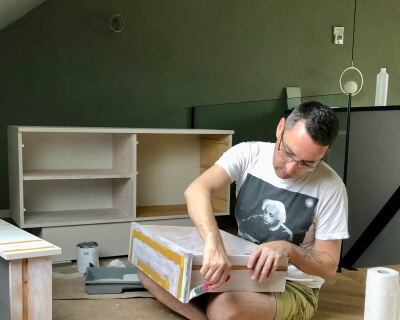
Painting a tiled stove: Before and After photos from our community
Our MissPompadour painting community has some inspiration for you on how you can show off your tiled stove or fireplace with a new coat of paint - whether subtle, classic or unusual.
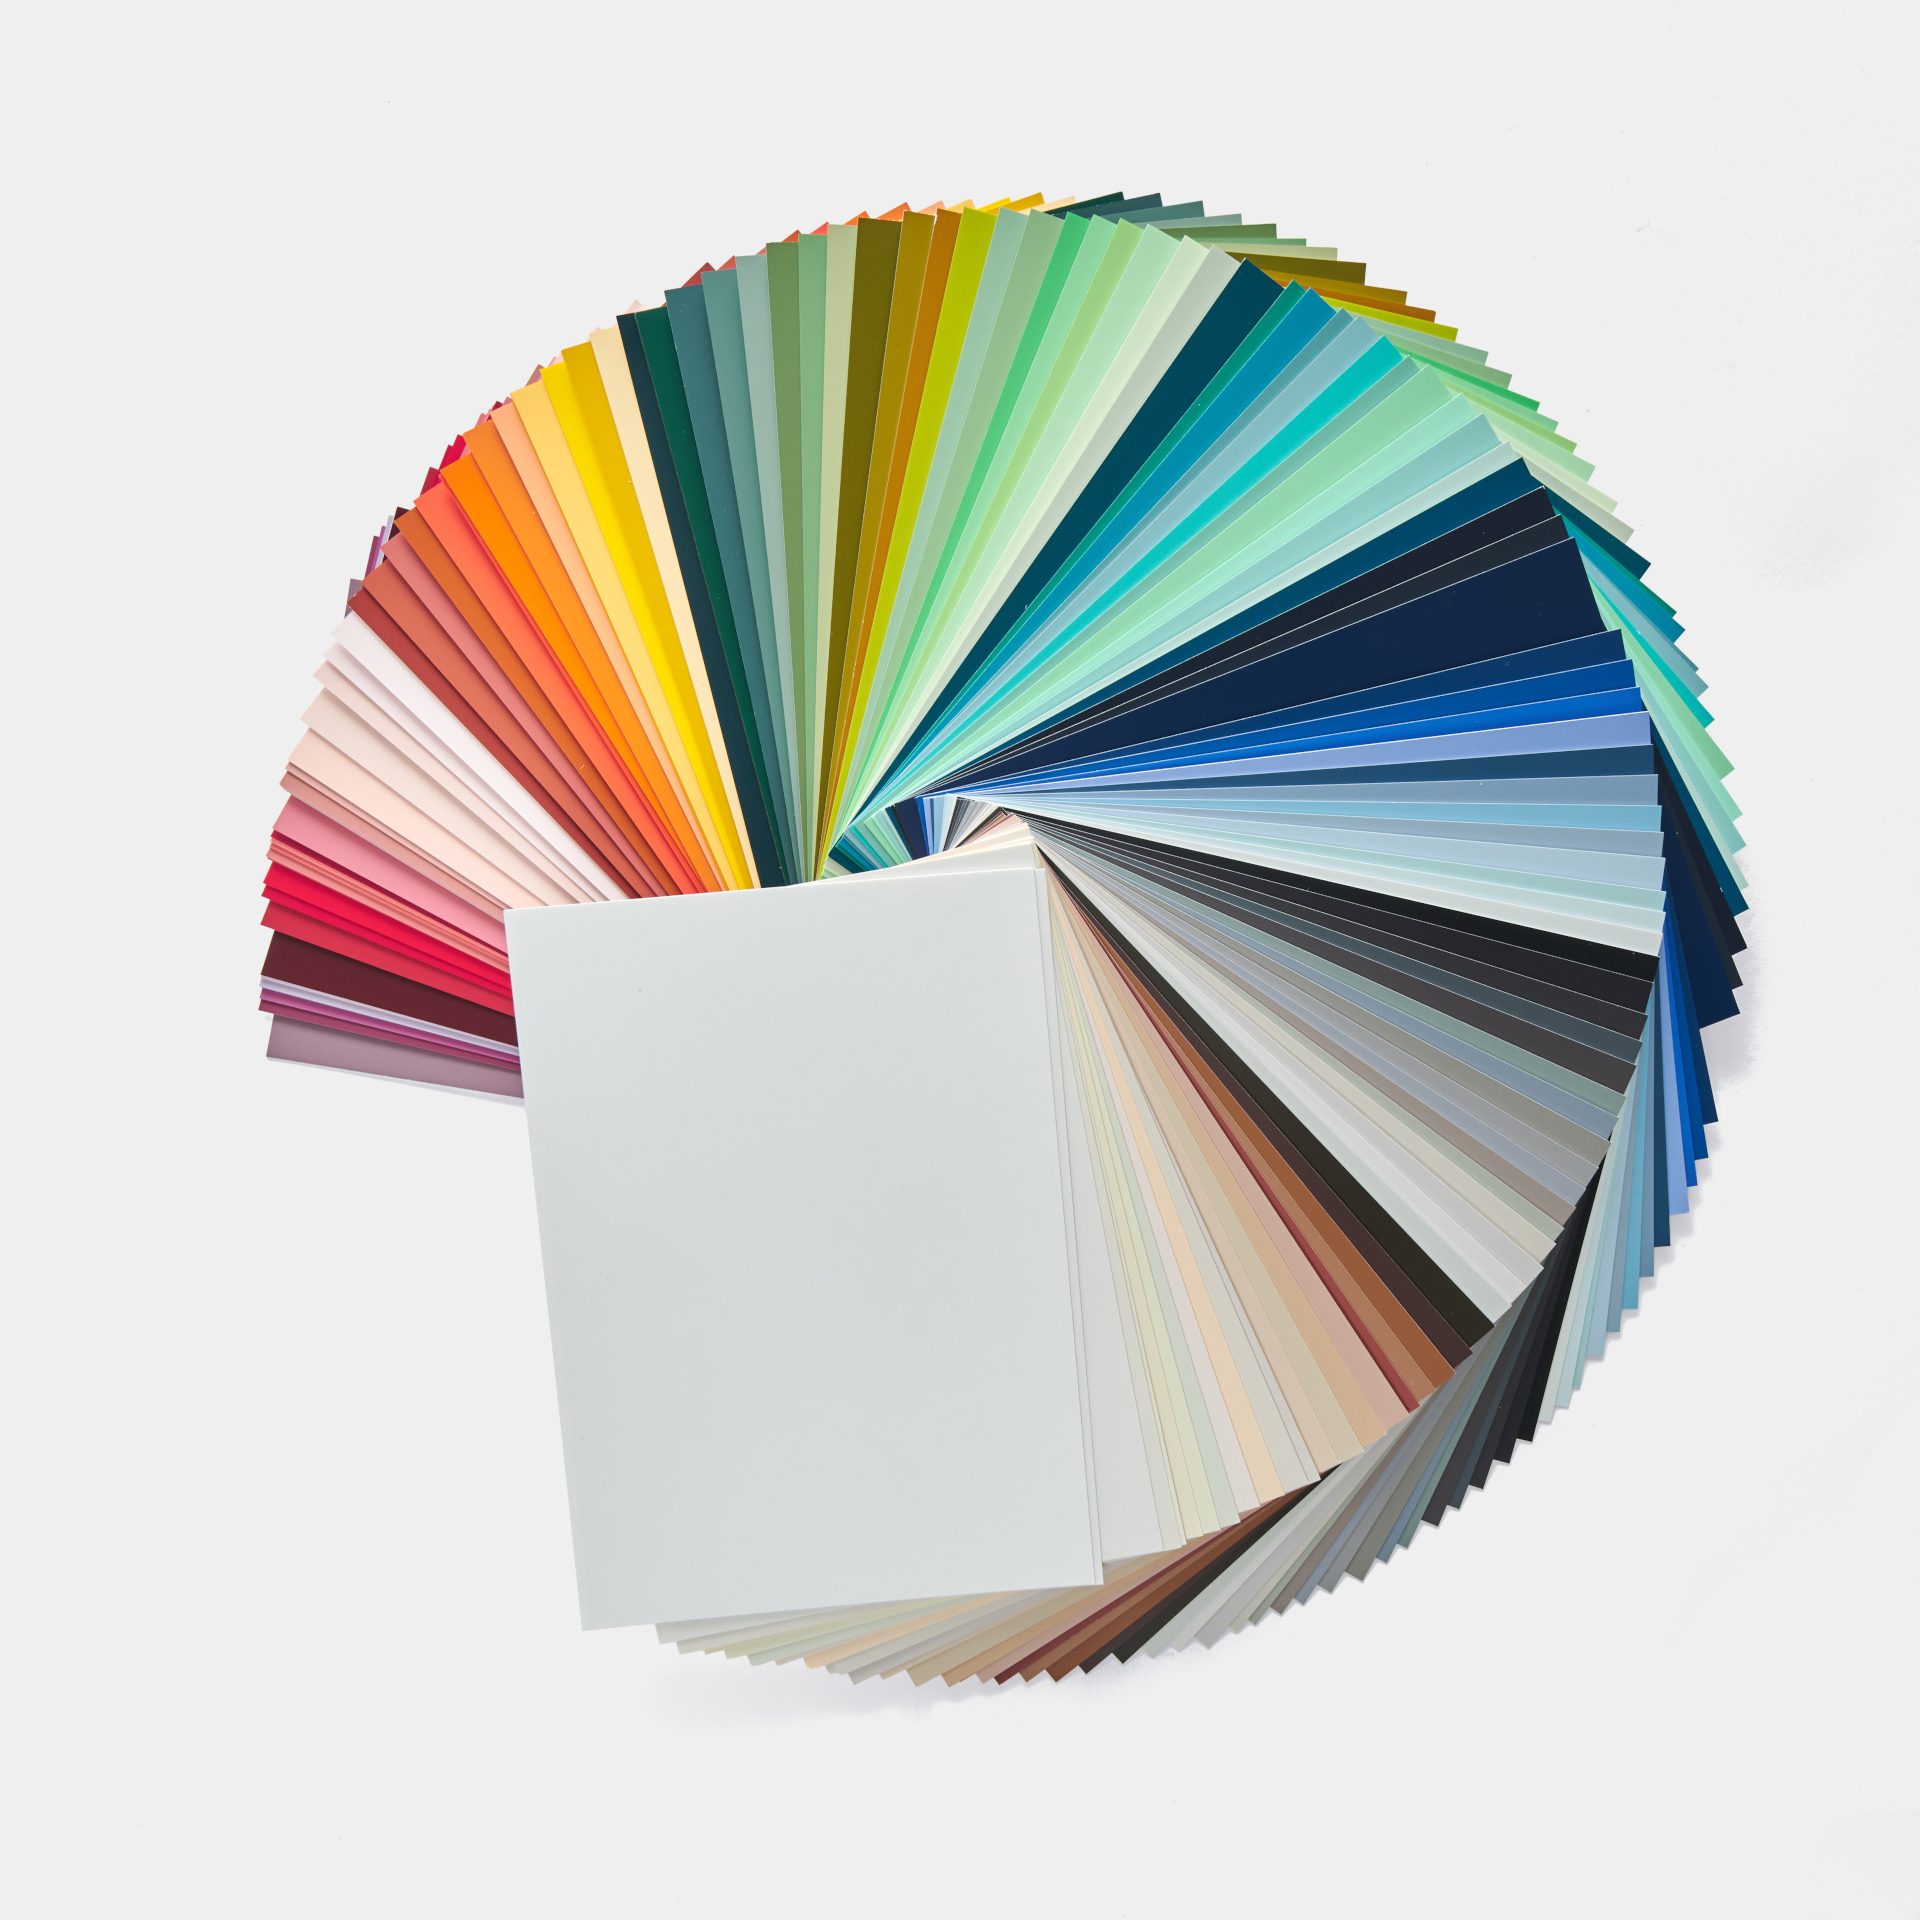
Preparation: How to choose the right colour for your tiled stove and fireplace
Which colour shades should I use?
If you choose a strong colour shade for your tiled stove or fireplace, it can make it look very powerful in the room. Especially with large tiled stoves that are integrated into the living and dining area, it is advisable to choose a subtle colour shade or to paint the tiles of the fireplace in the same shade as the walls.
Two inspirations for choosing a colour shade:
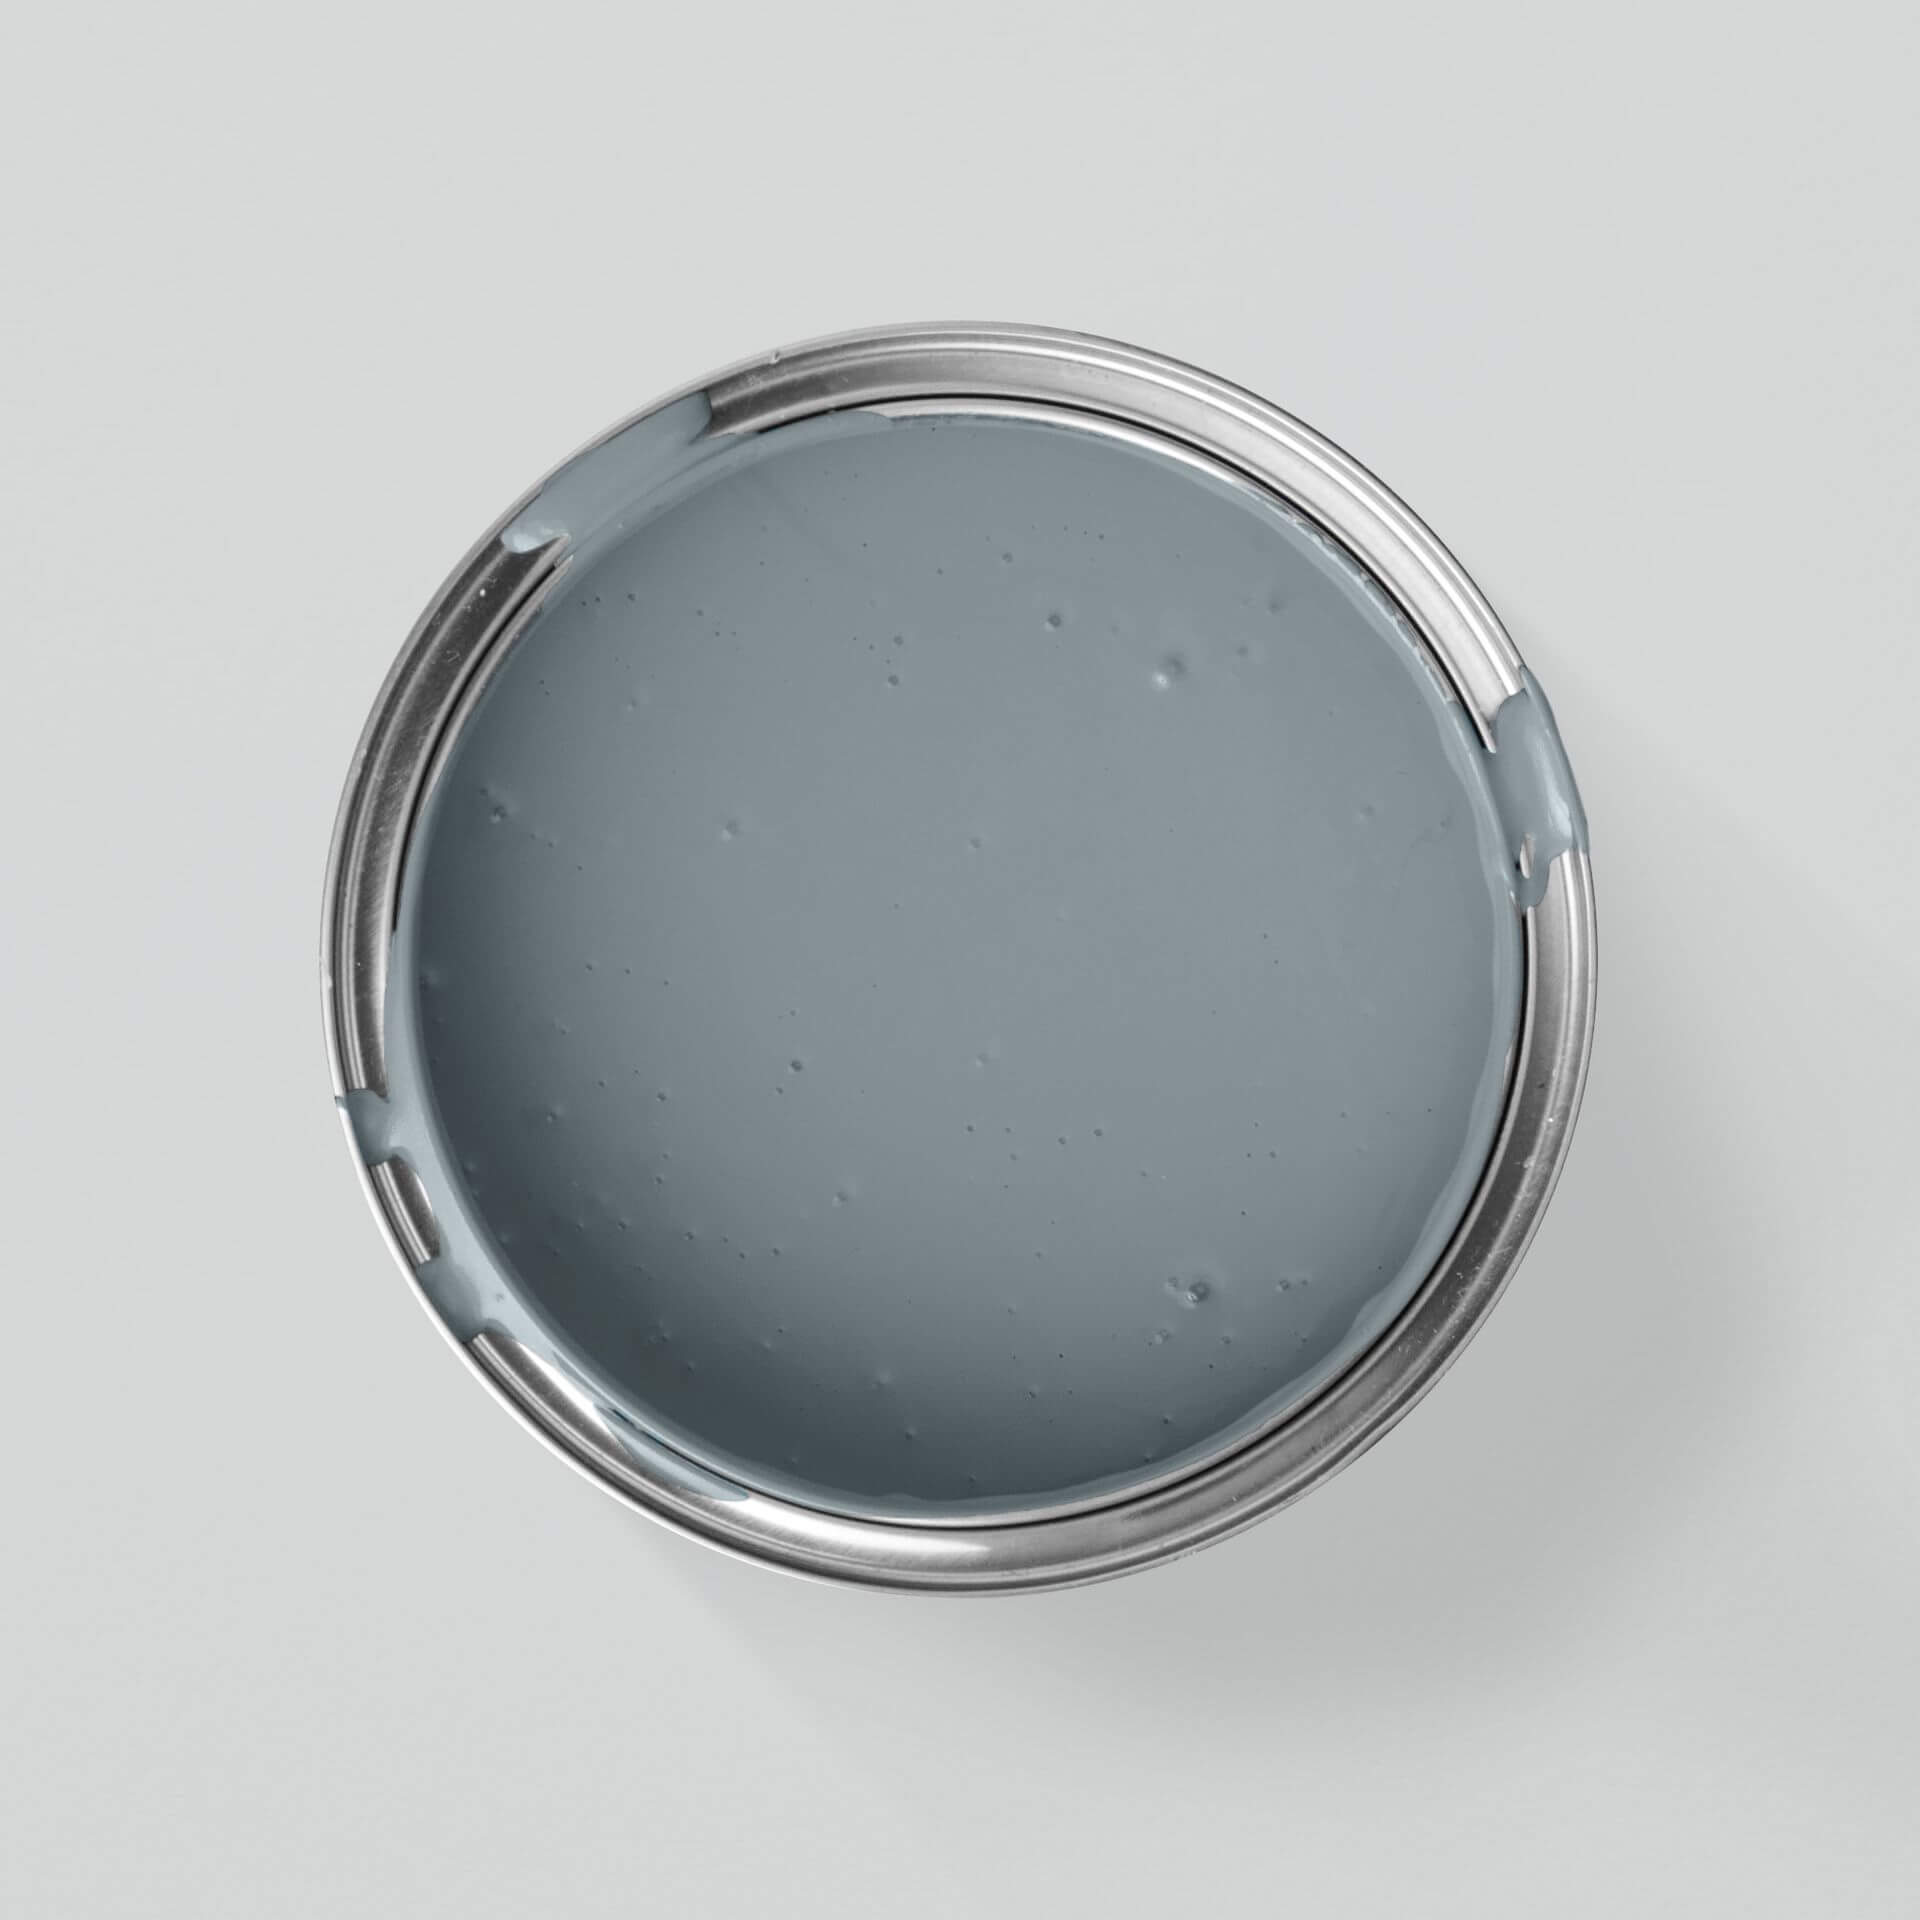
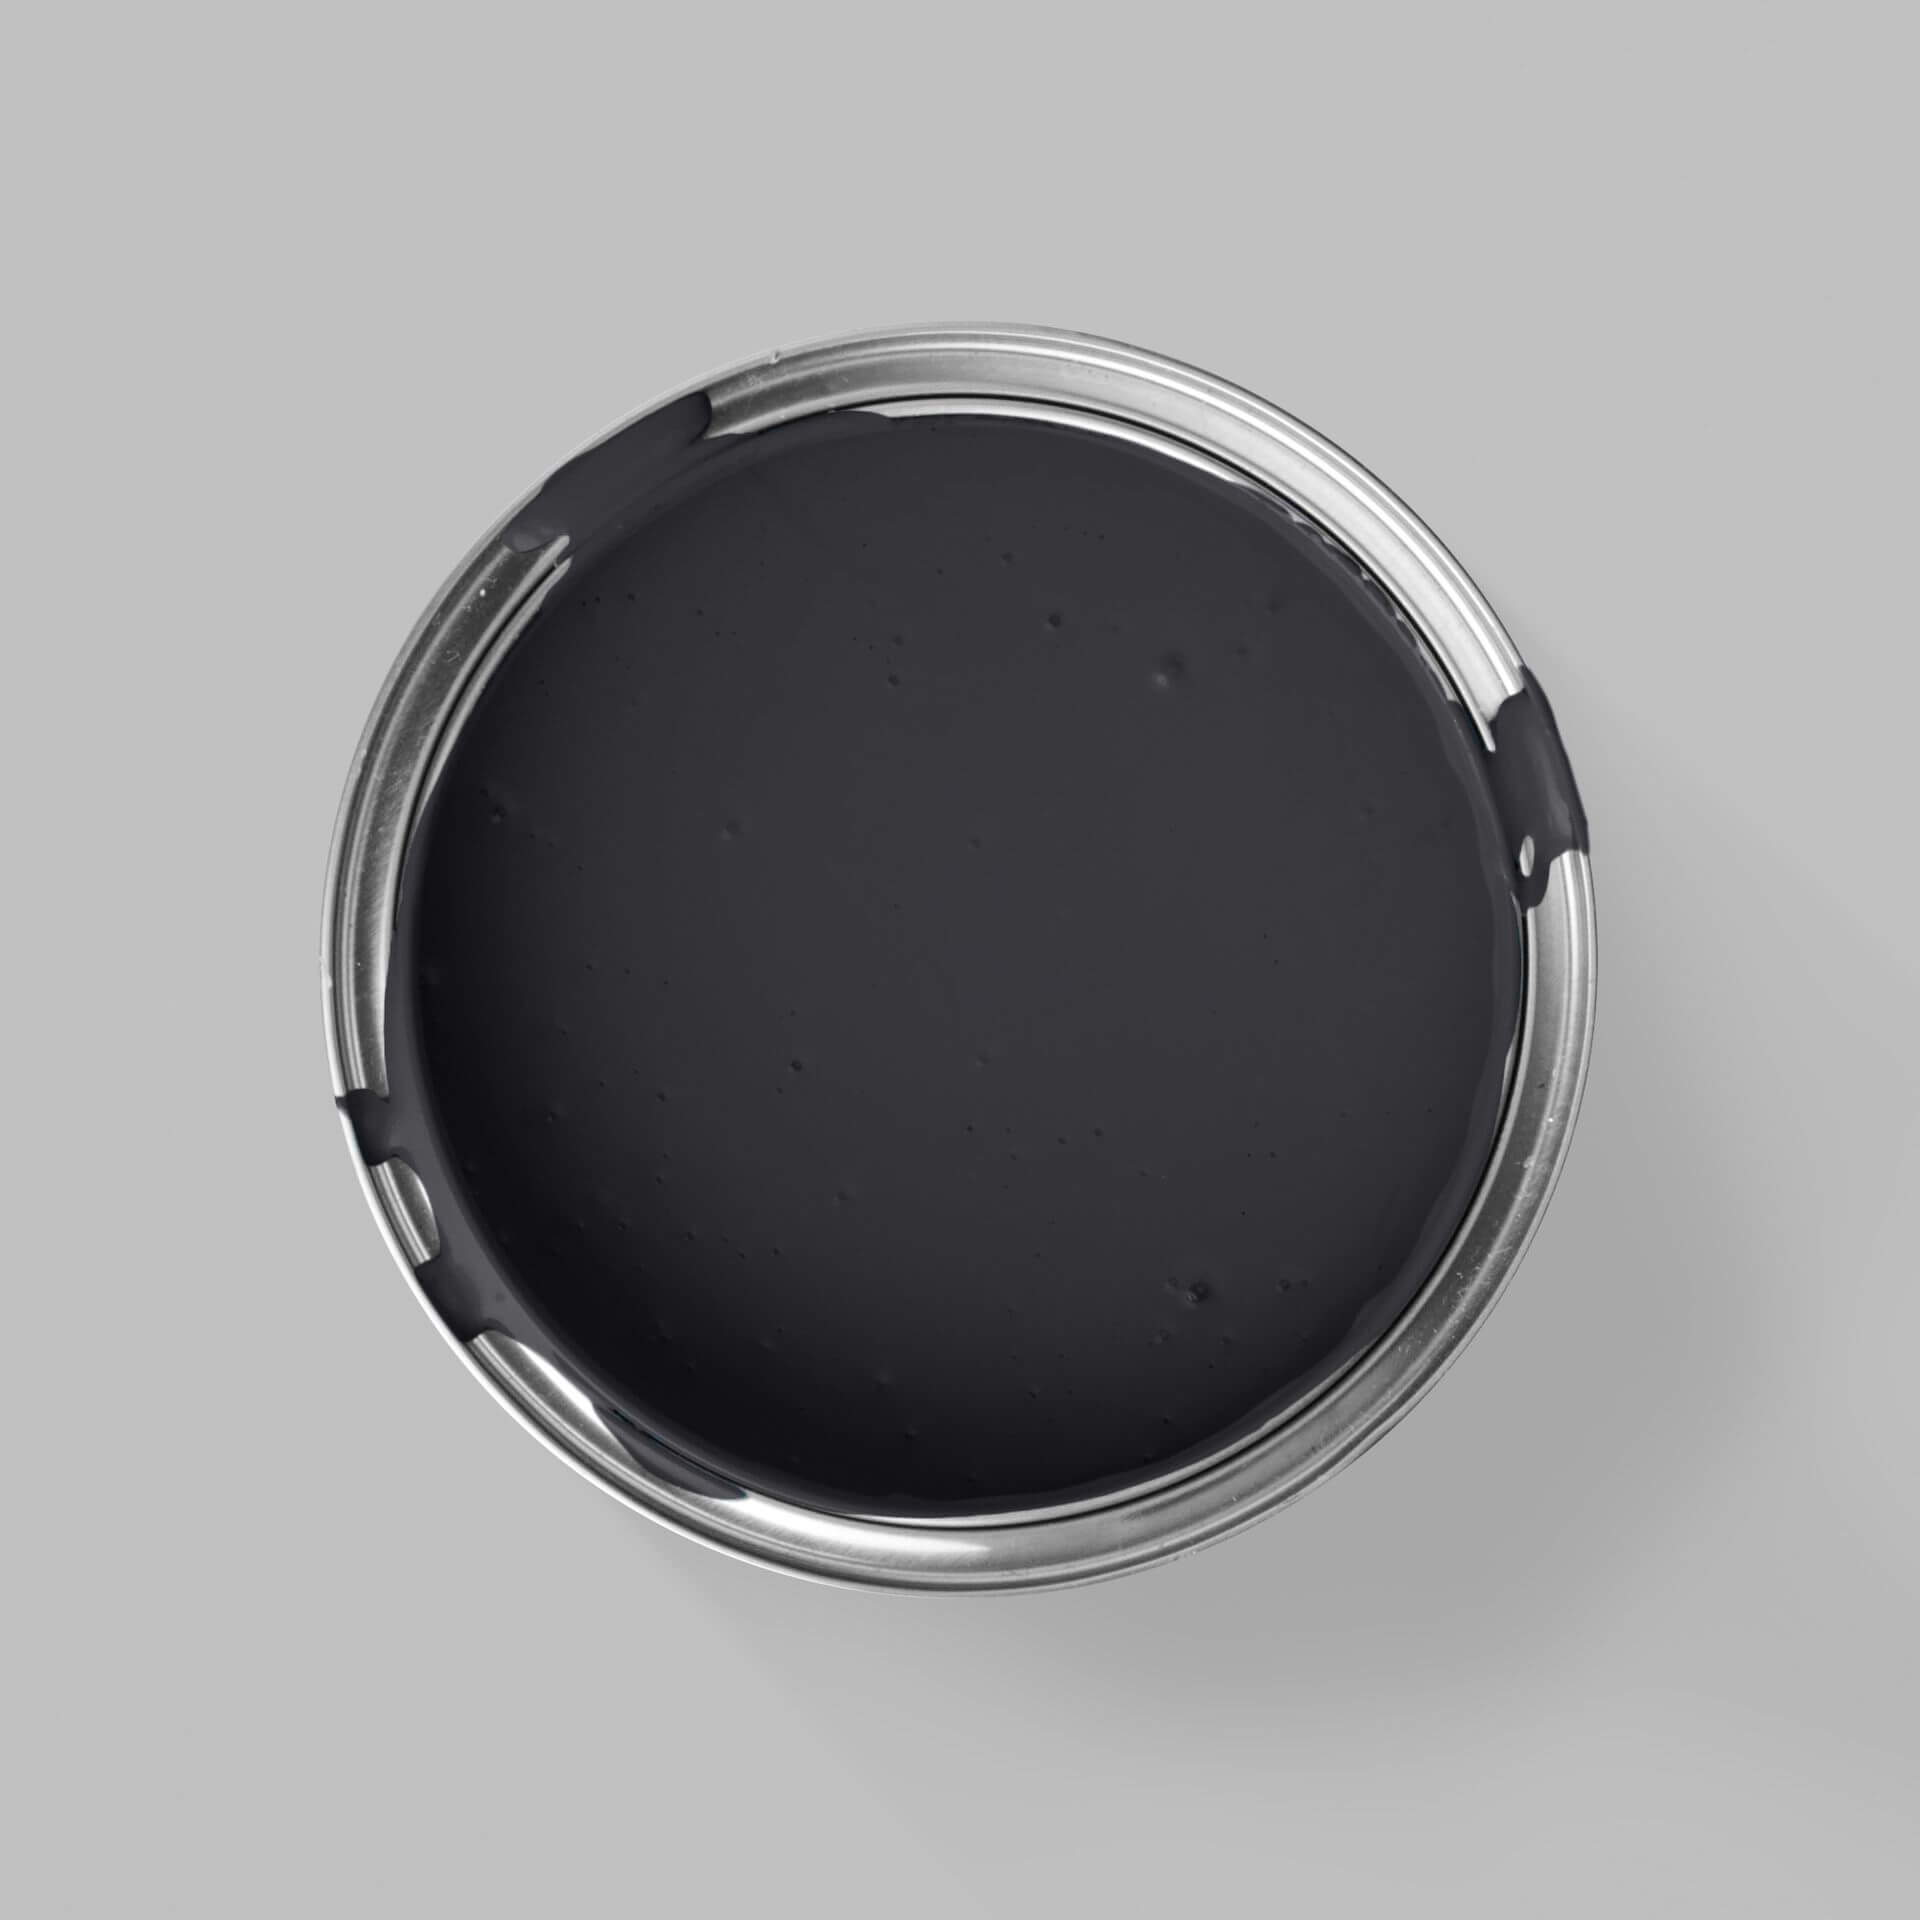
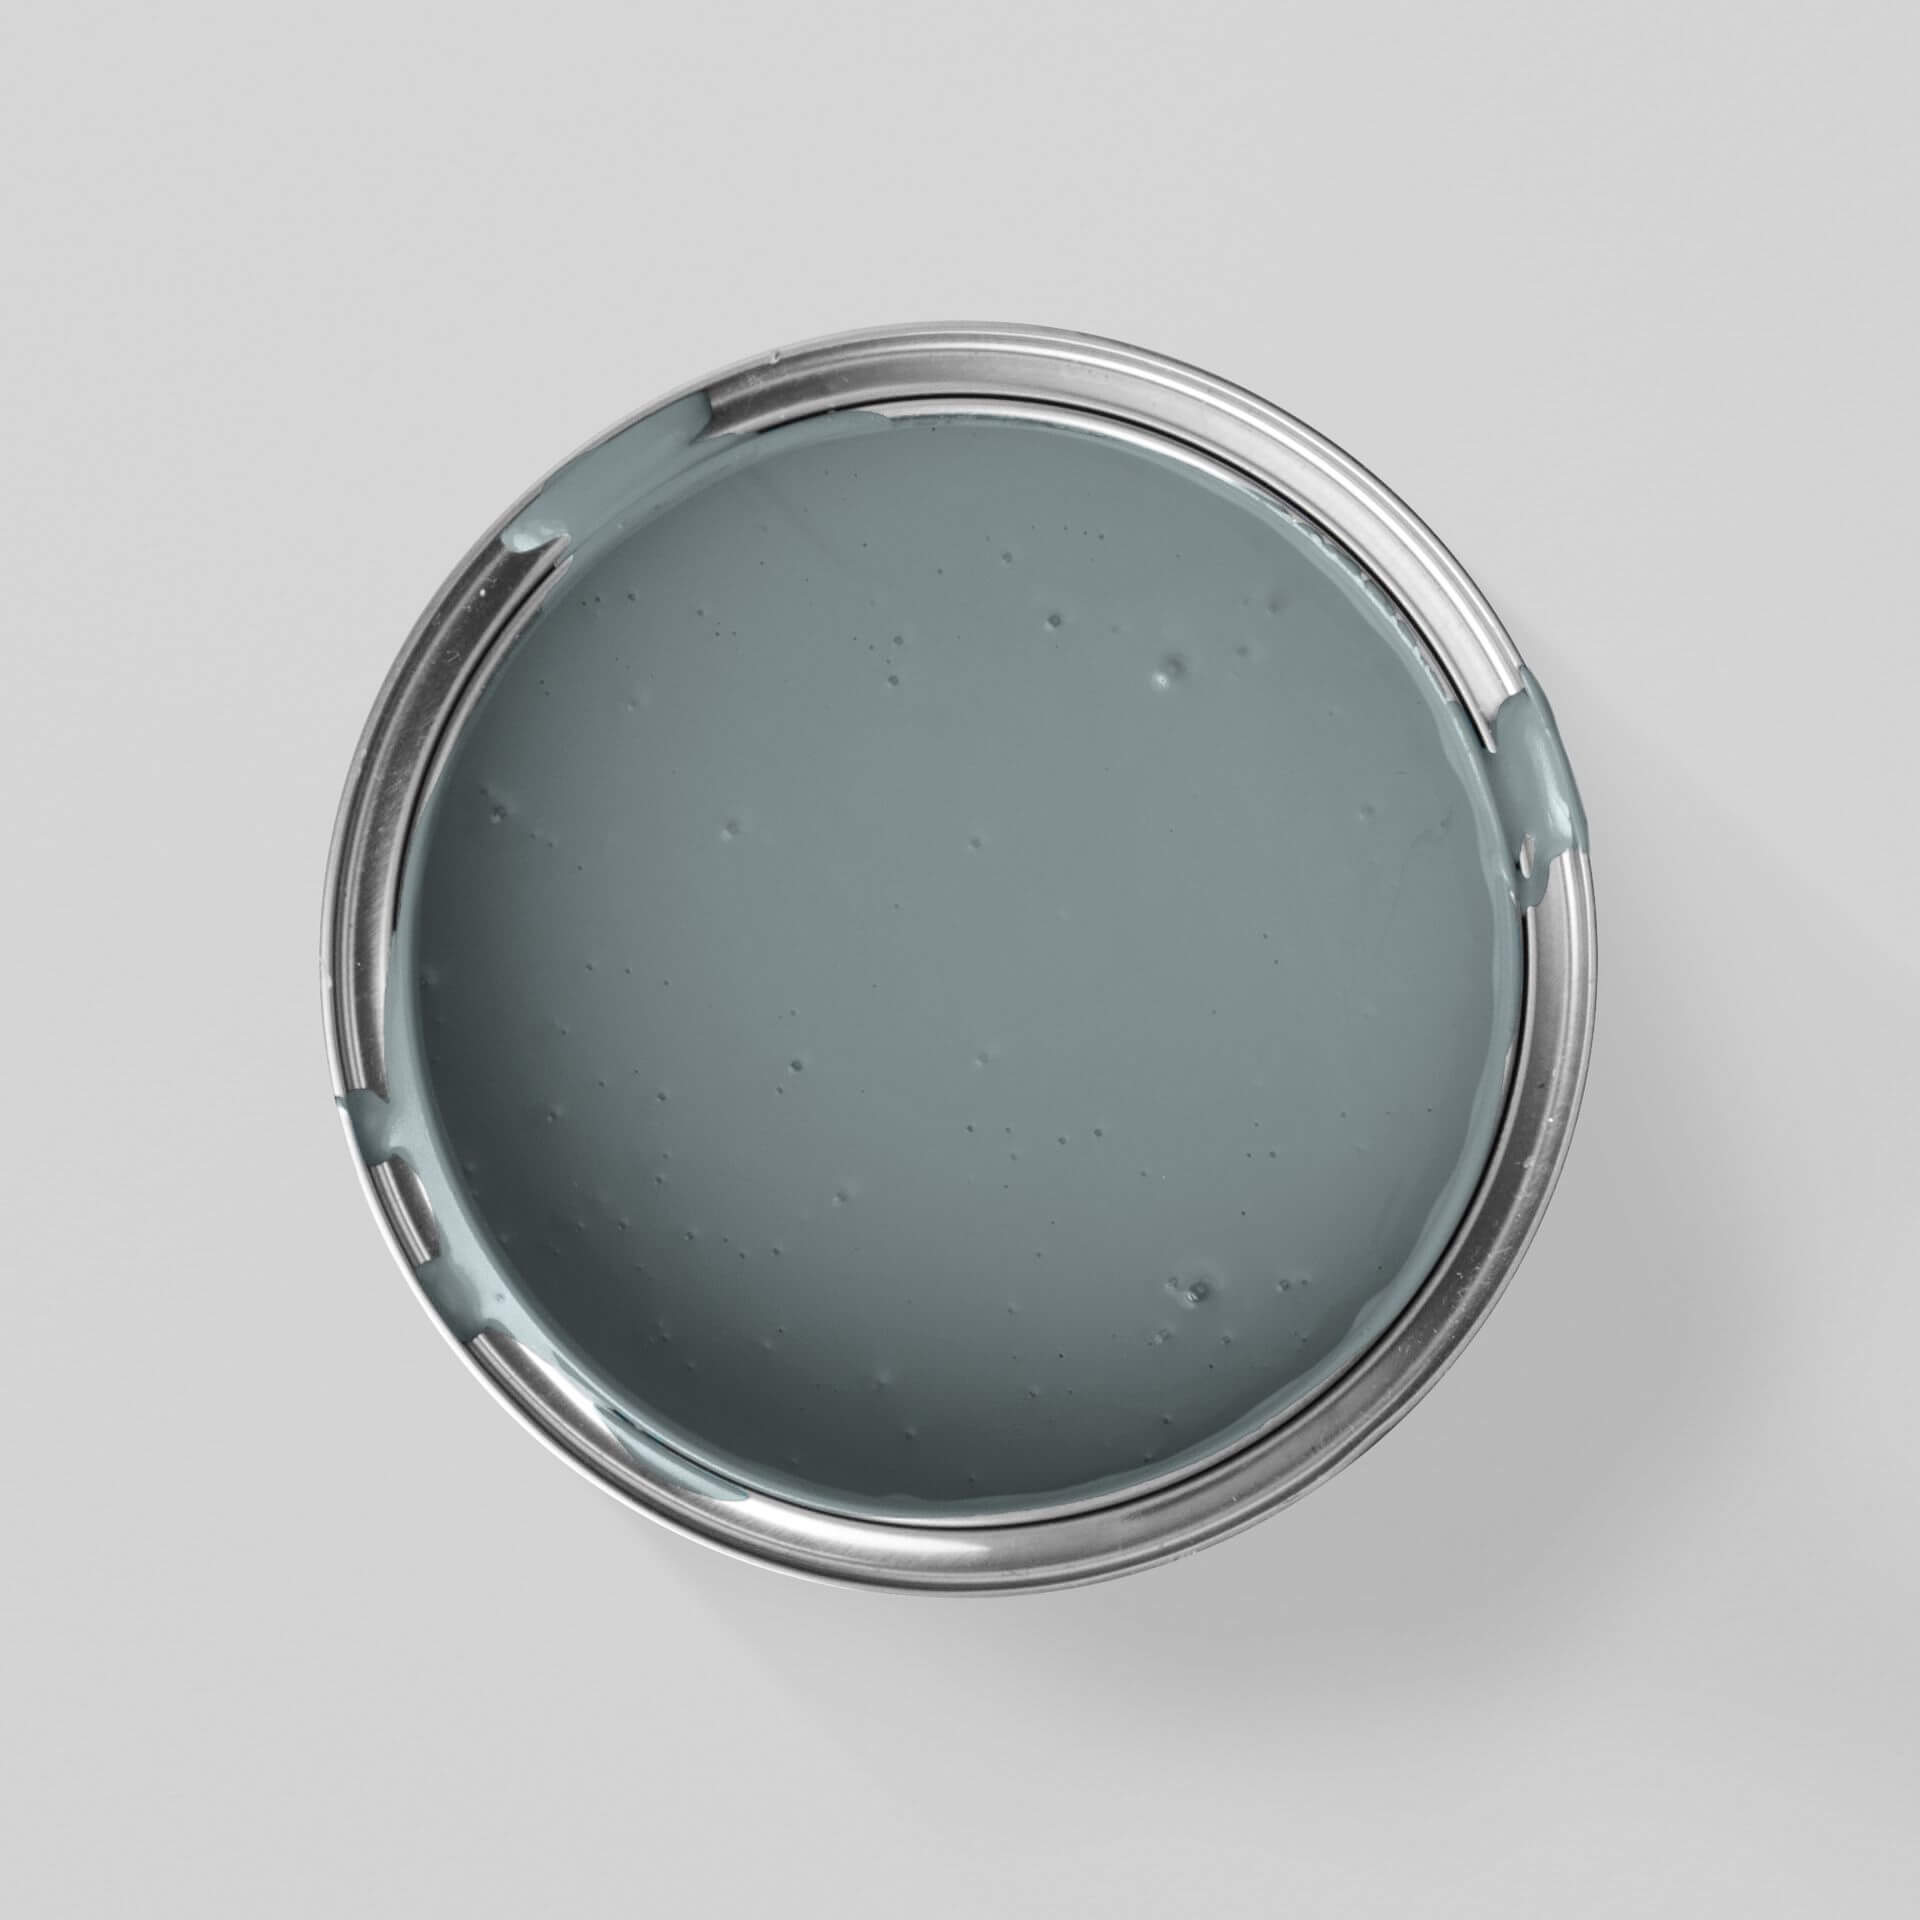
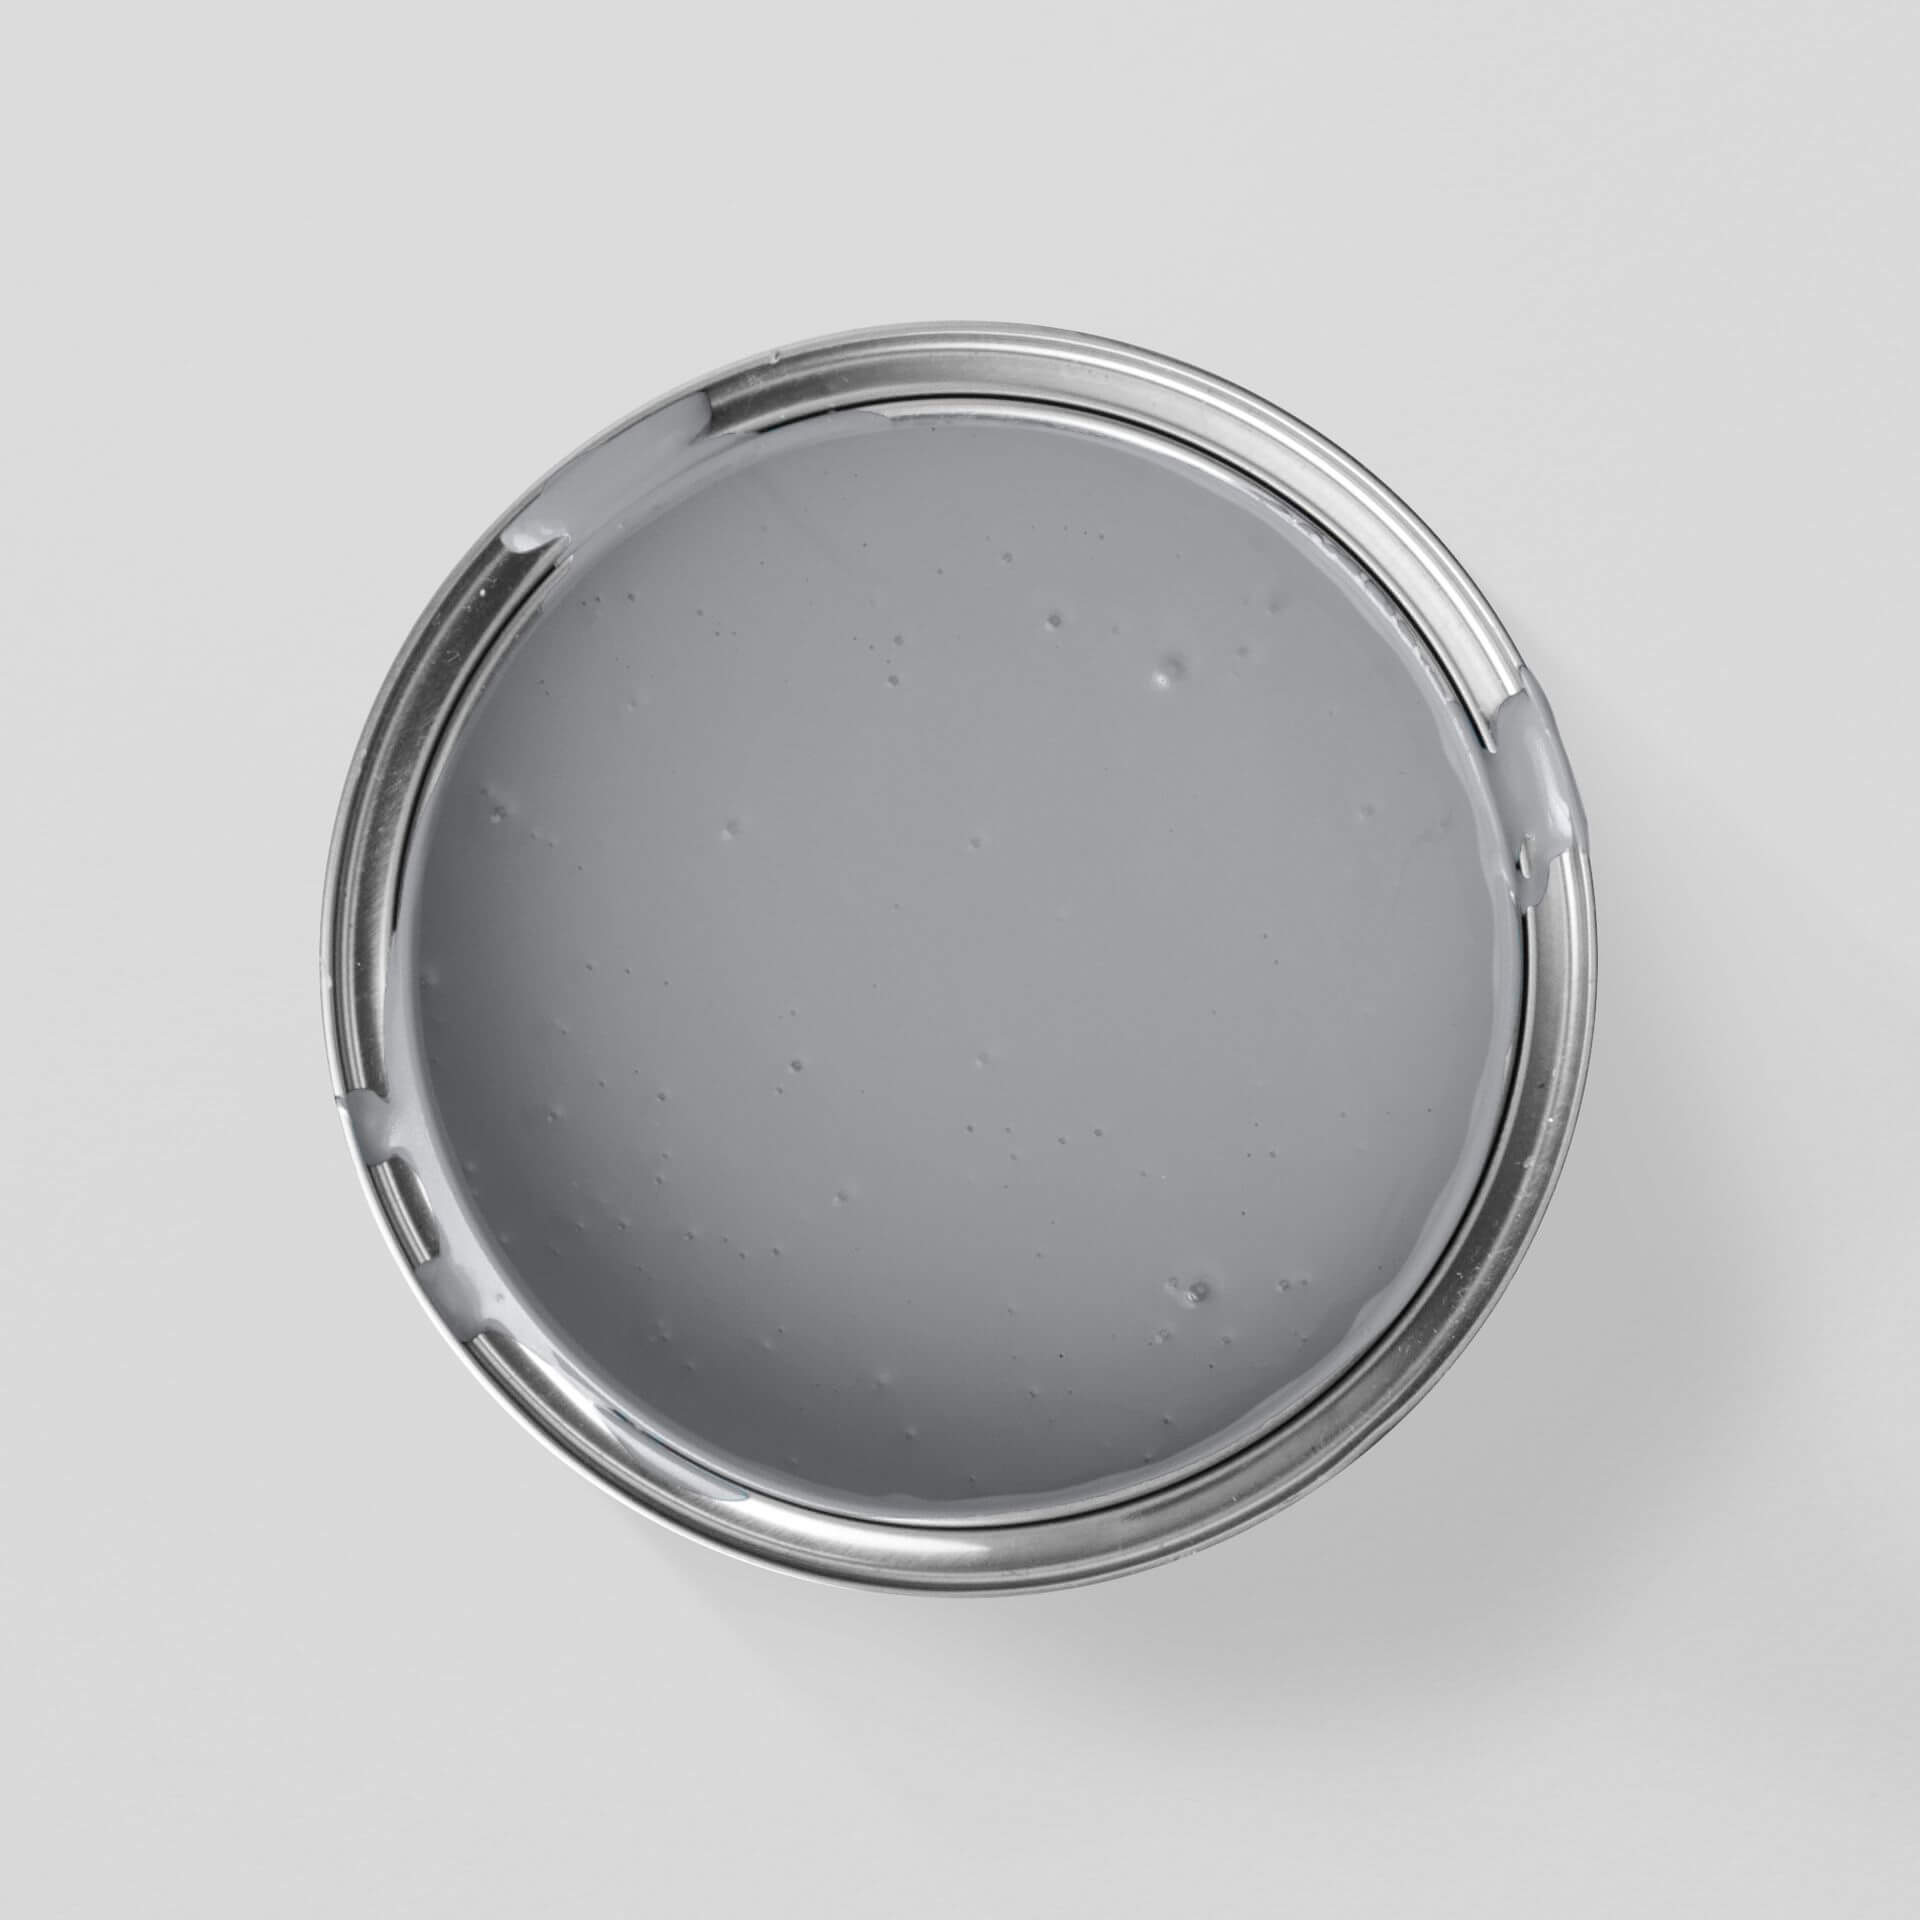
- White paints and varnishes create a classic, understated look.
- paints and varnishes in shades of green look modern and relaxing.
Which products are suitable?
When selecting colours for tiled stoves or fireplaces, the necessary heat resistance of the colours is important. Here we differentiate between paints and varnishes that can withstand temperatures up to 80°C and those that can withstand higher temperatures without damage.
All MissPompadour varnish qualities are heat-resistant up to 80°C and can therefore generally be used to paint most parts of your tiled stove or fireplace.
Paint tiled stoves and fireplaces professionally: Instructions from MissPompadour
Below we provide you with step-by-step instructions on how you can easily paint your fireplace or tiled stove yourself:
Step 1: Allow the tiled stove or fireplace to cool down completely.
Painting a tiled stove or fireplace is very easy. It is only important that you choose the right colour according to the surface temperature and that the stove or fireplace is cold before you paint. As it requires several coats of paint and these need to dry, we recommend painting at a time of year when you can do without the cosy warmth from the stove
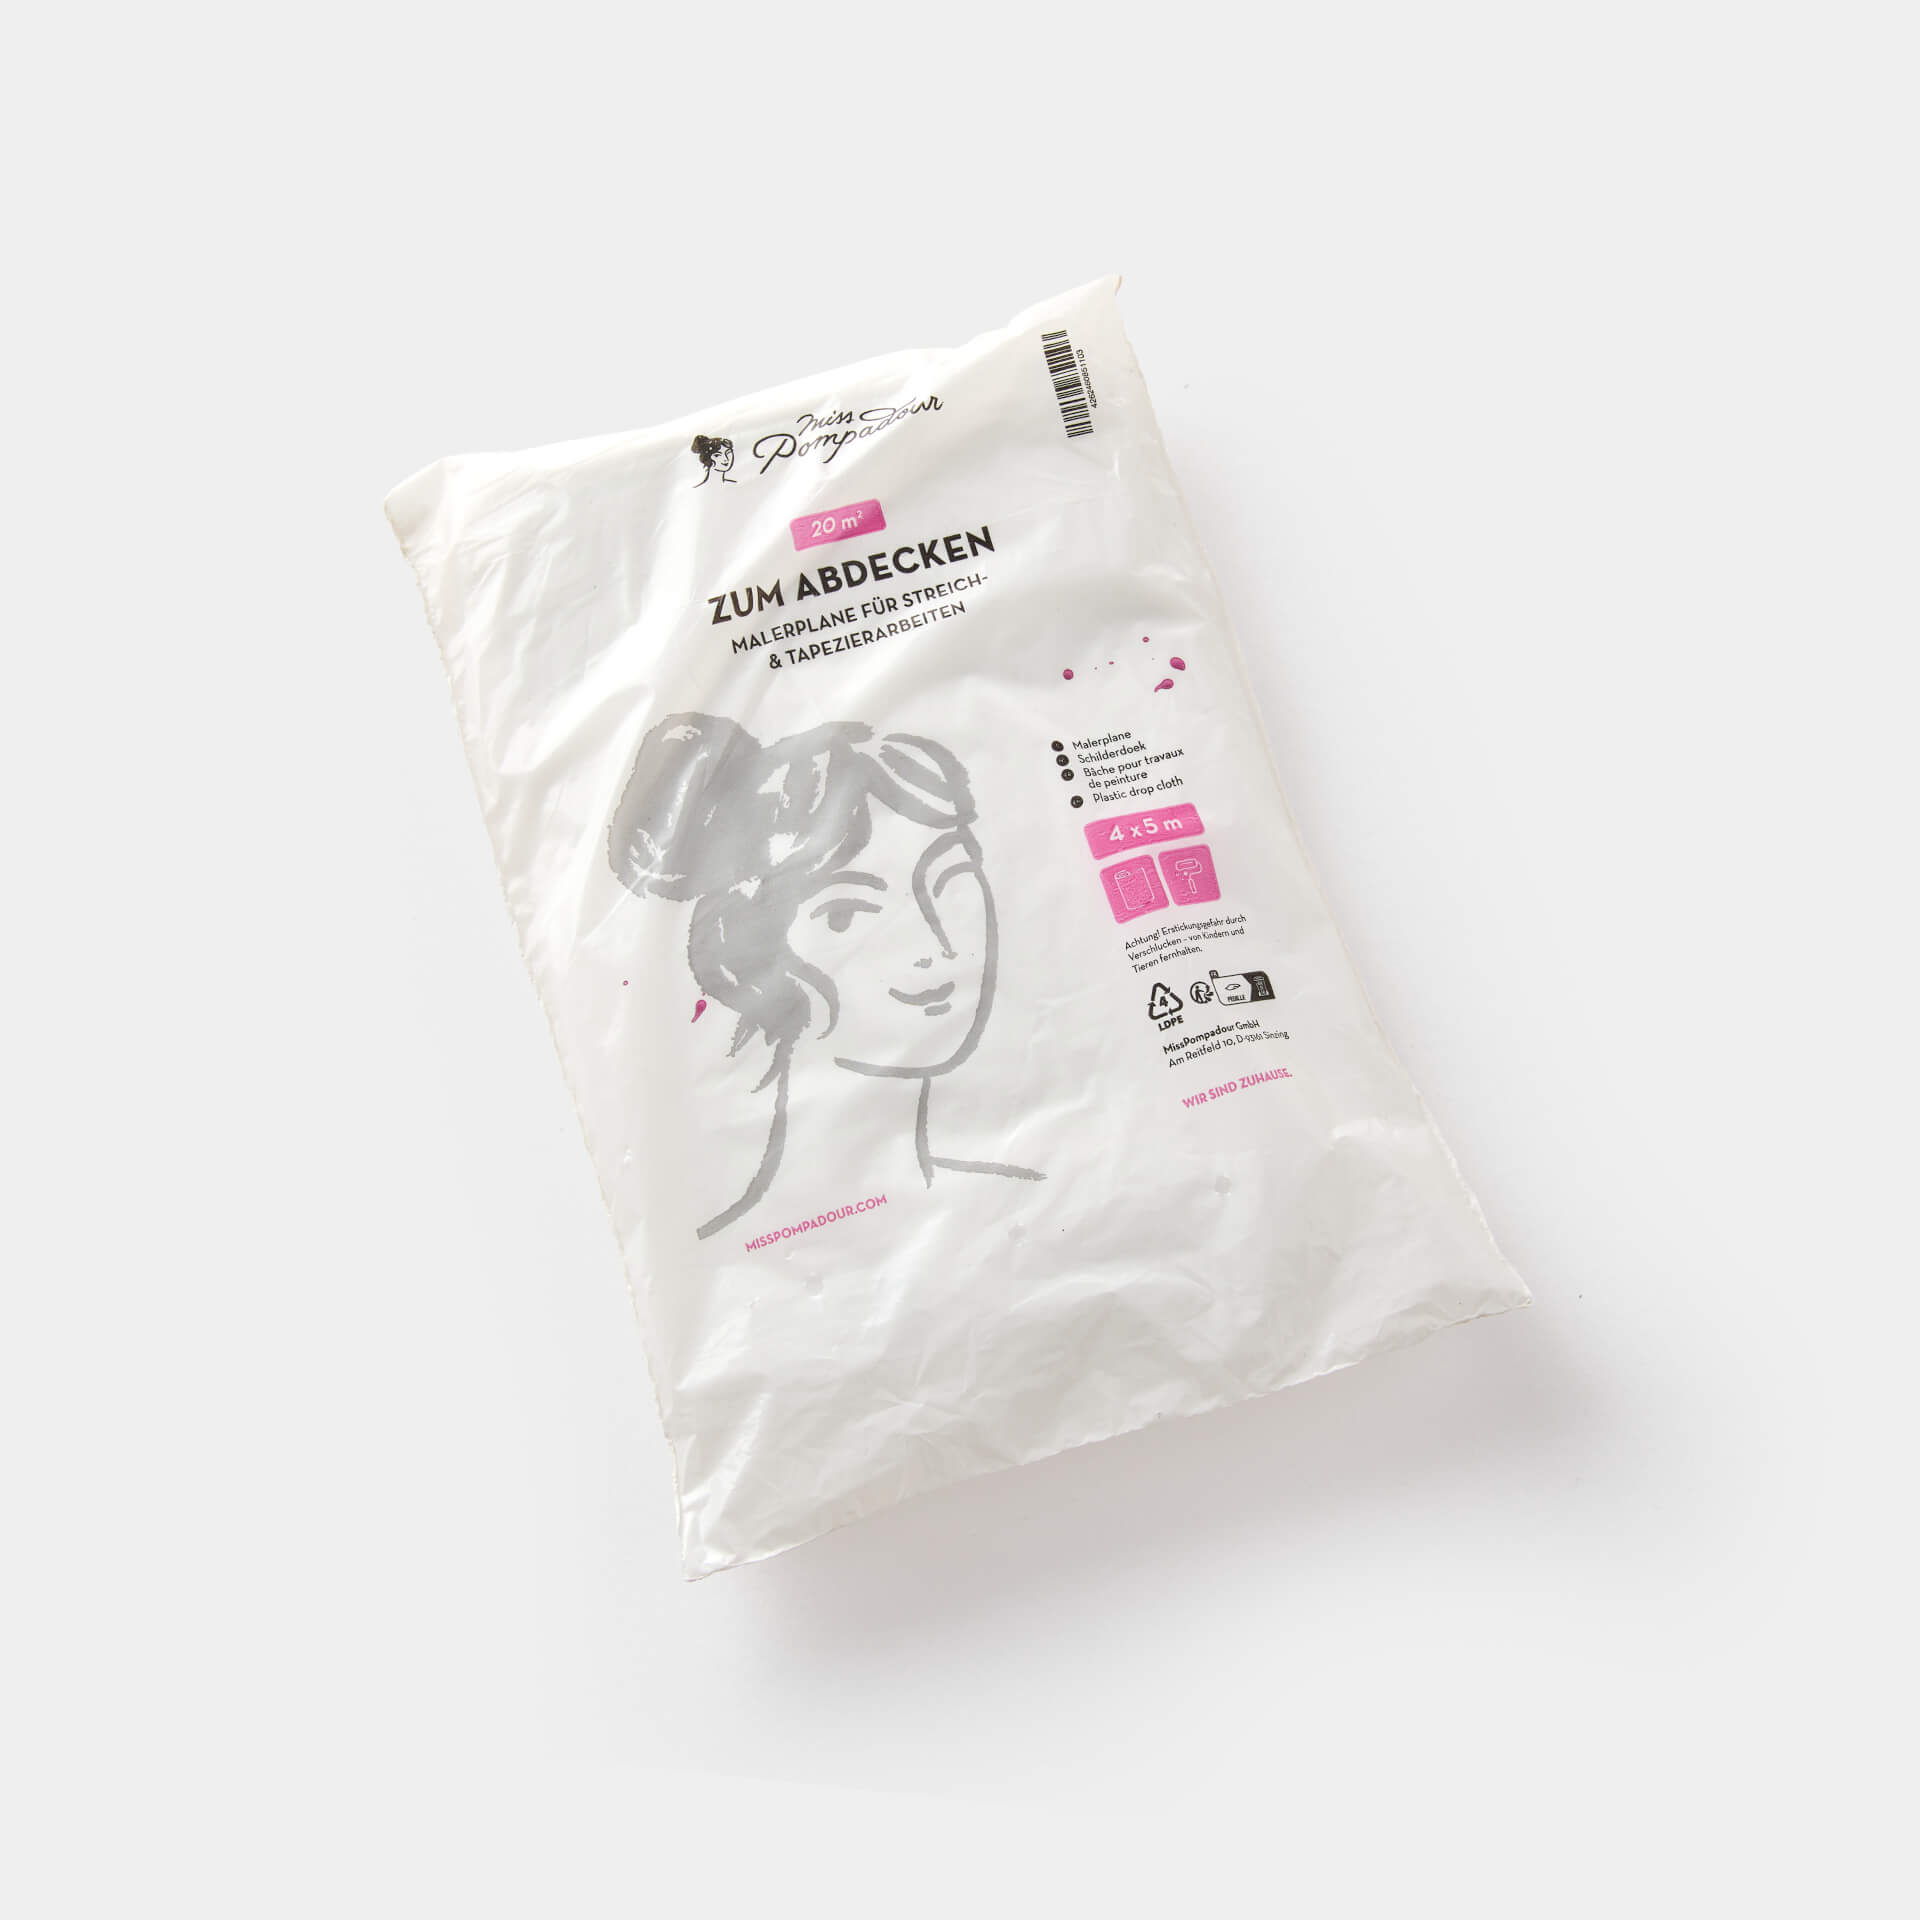
Step 2: Prepare the surroundings
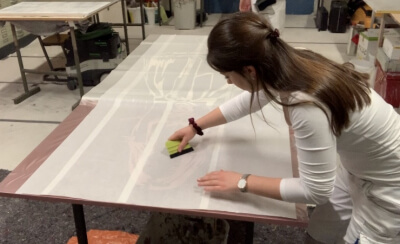
Cover the floor and walls around the stove well and protect sensitive parts with adhesive tape. The tiled stove and the surfaces to be painted should be easily accessible. Therefore, remove tools such as stove benches.
Pro tip: Be sure to press the adhesive tapes down firmly to ensure clean edges.
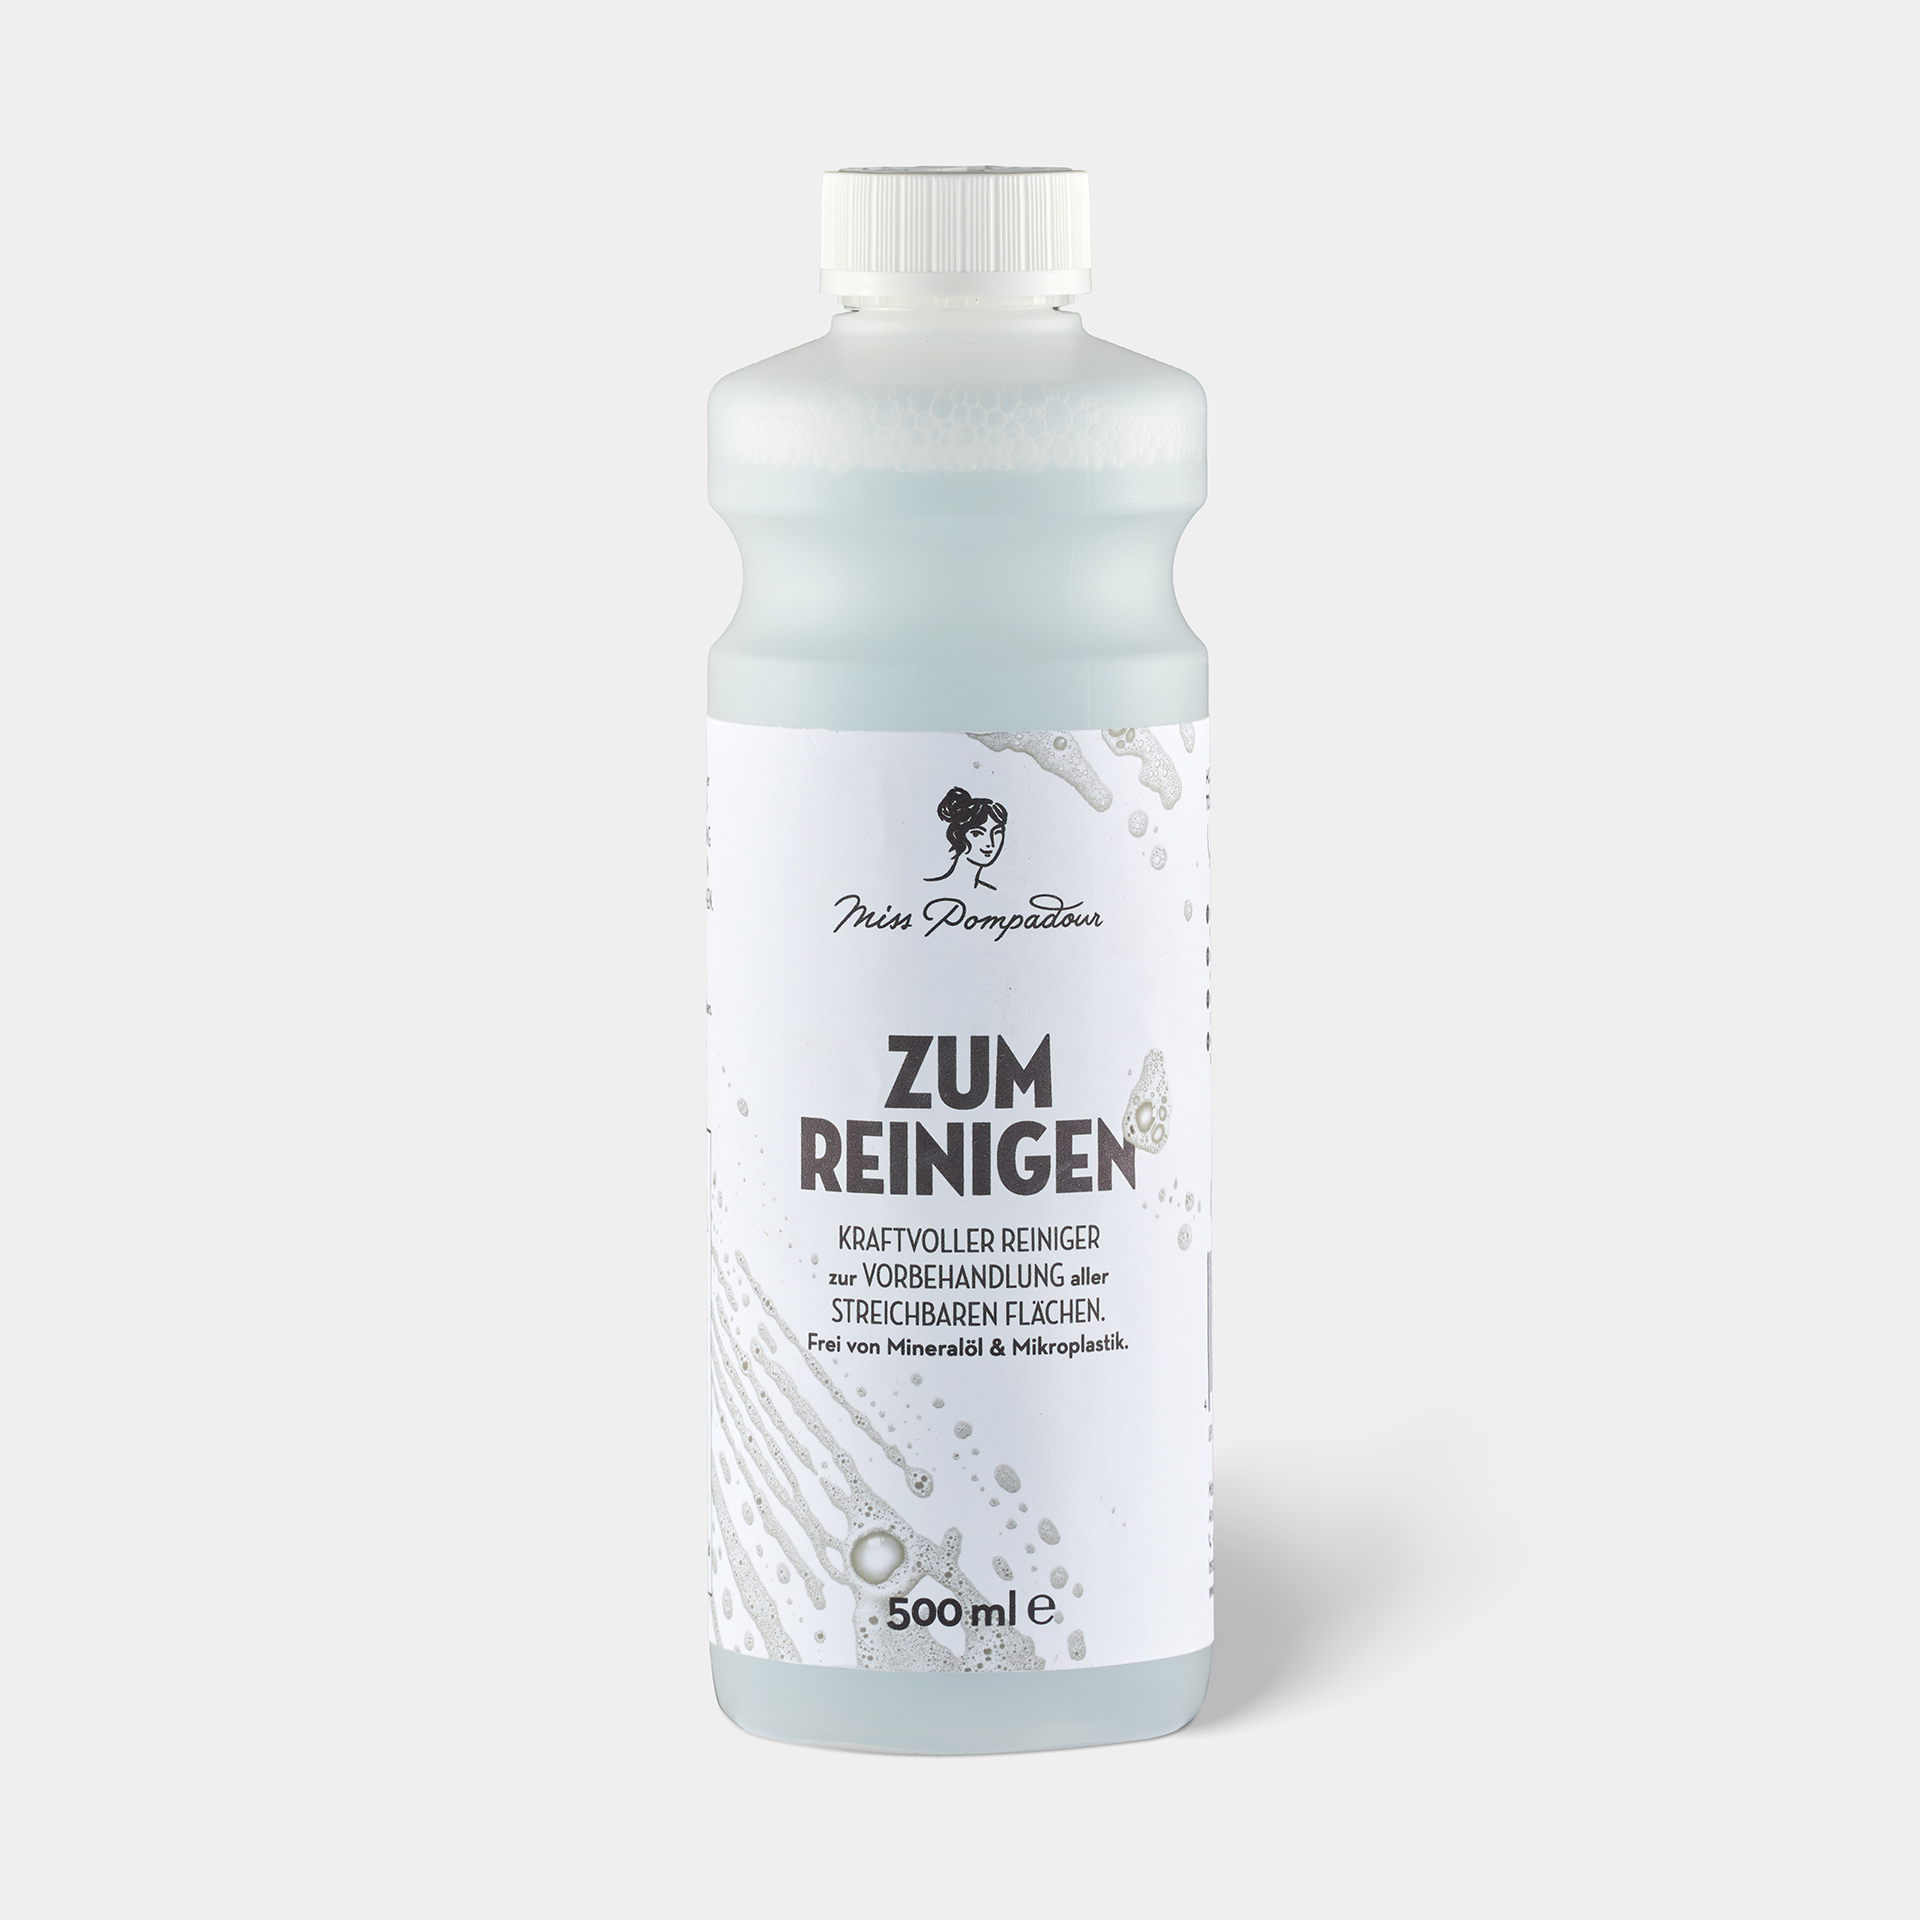
Step 3: Clean the surface
The first step is to remove dust, cobwebs and coarse dirt with a dust cloth, then clean the surface with our To Clean - MissPompadour Cleaner.
Pro tip: If the oven is very dirty in one area (e.g. due to ash), you can clean it there with an oven cleaner.
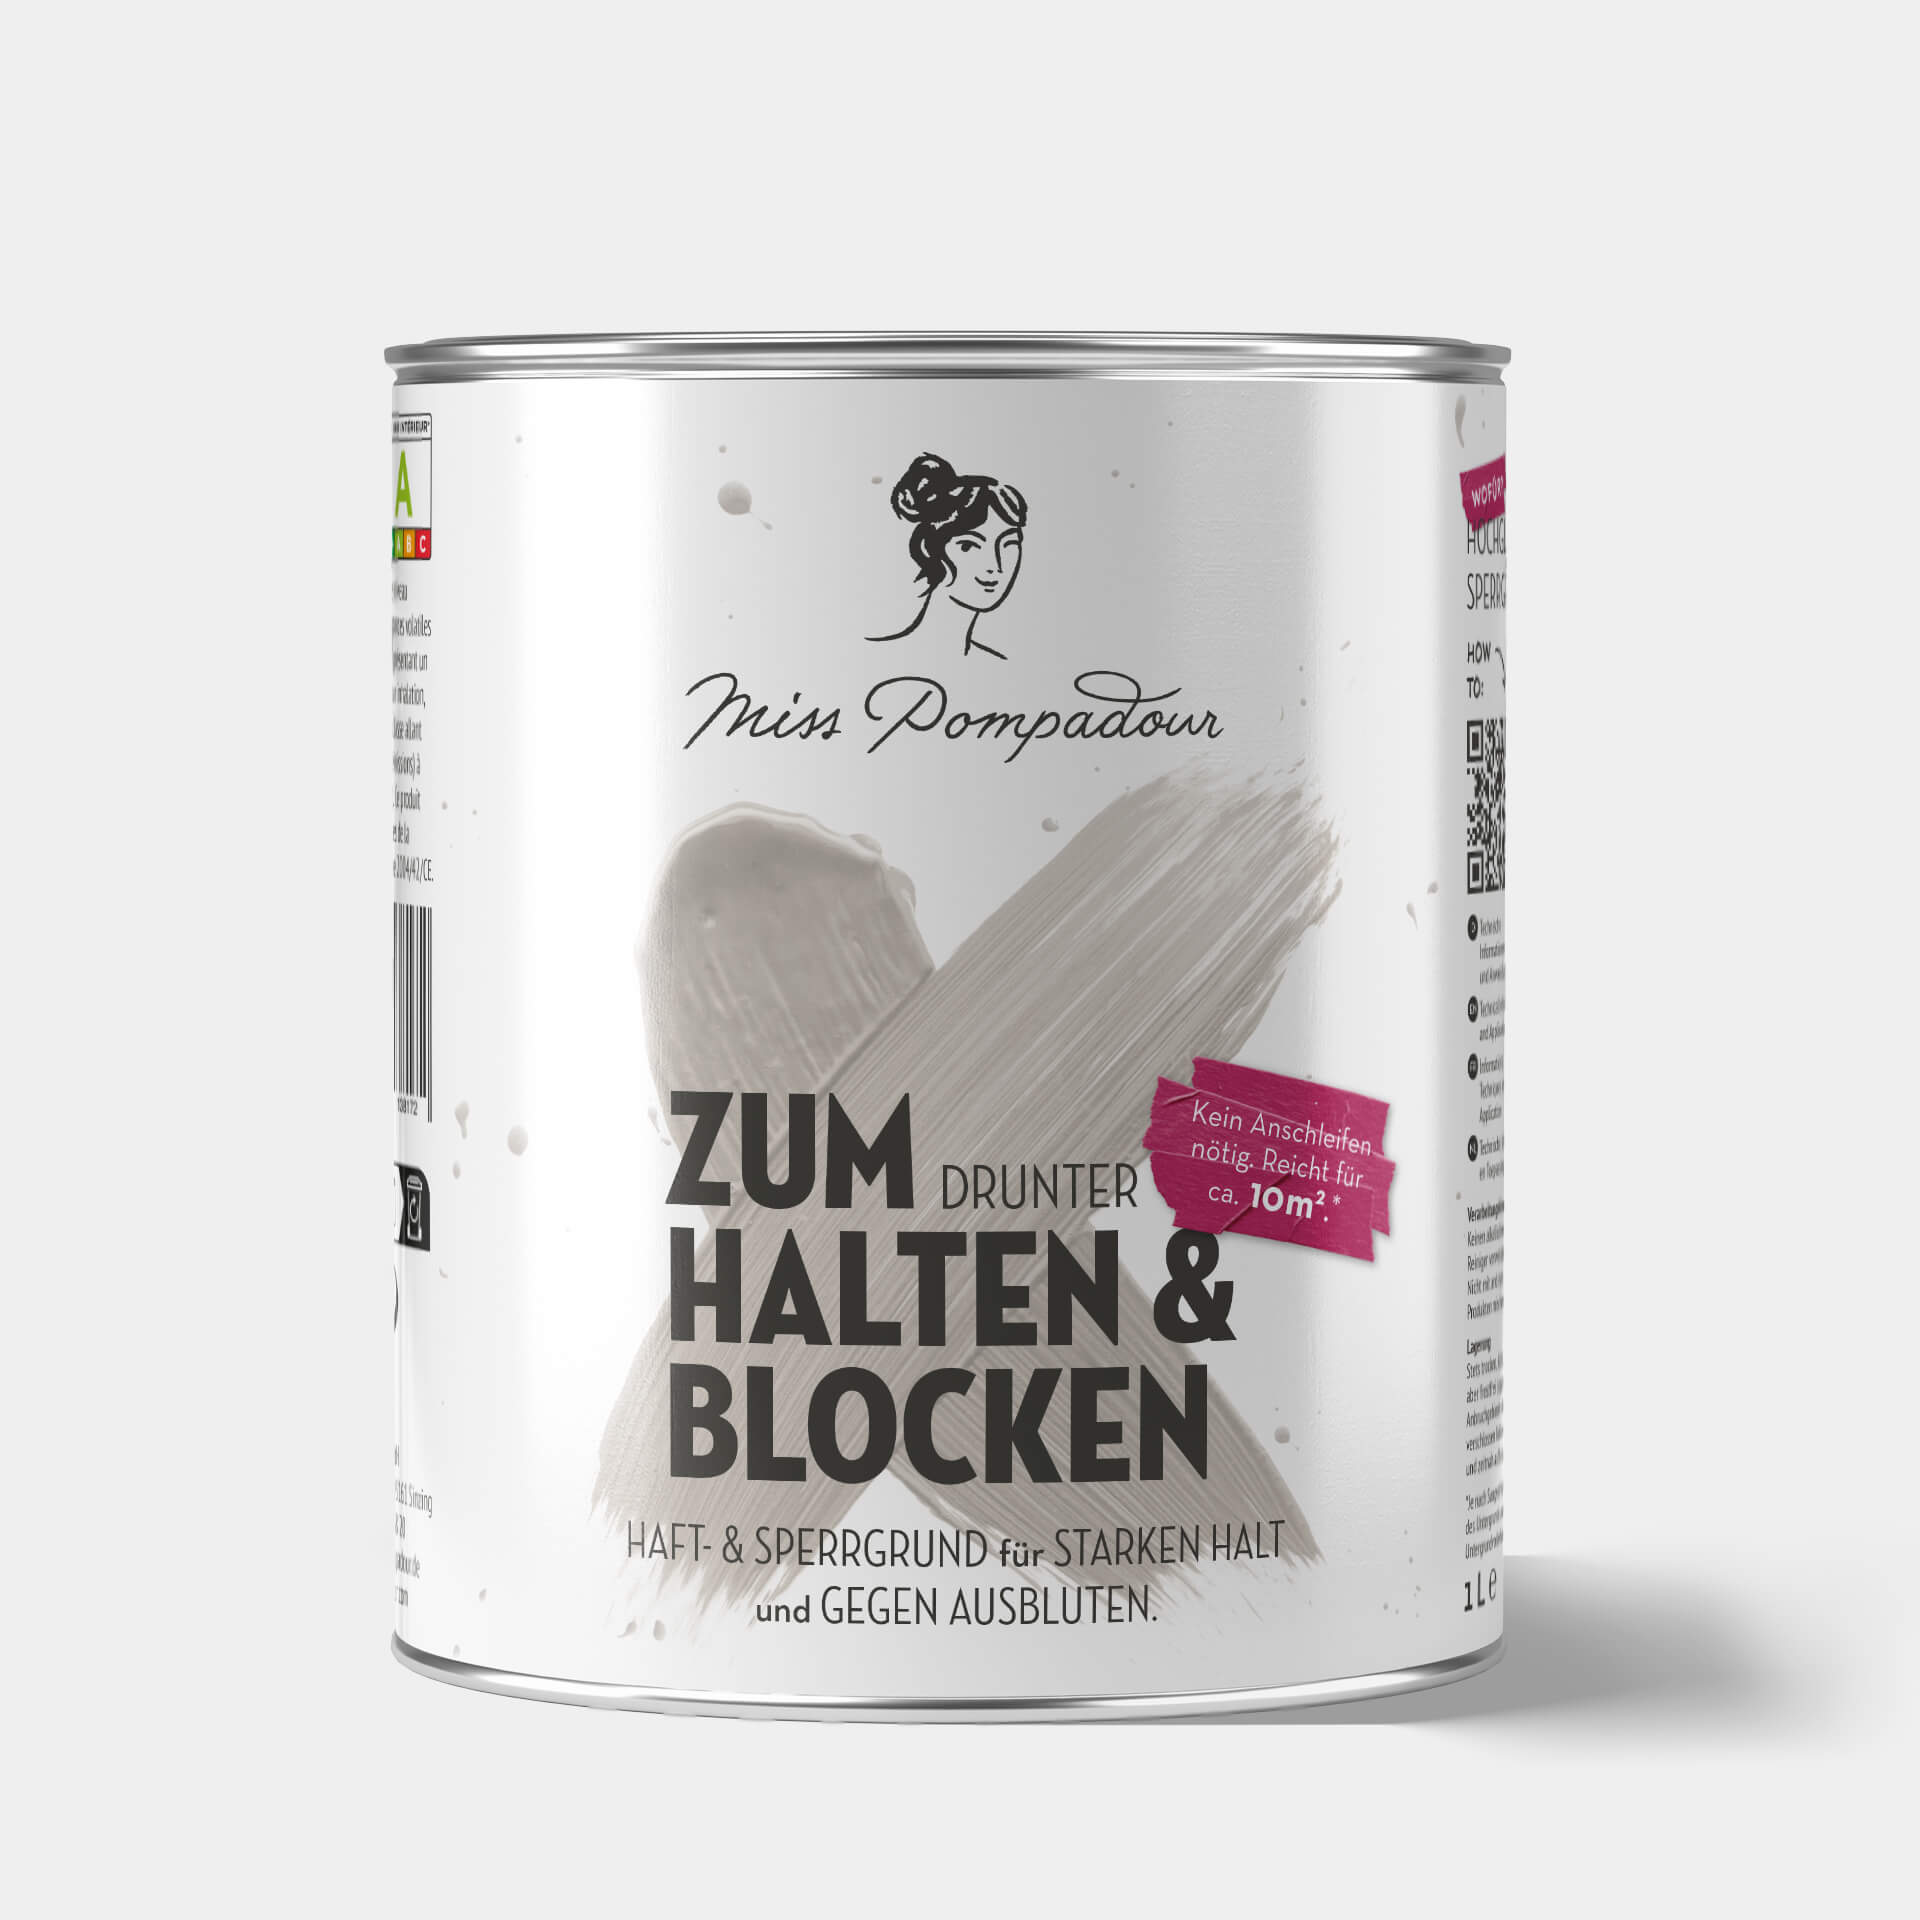
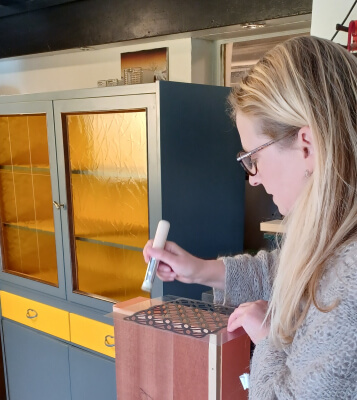
Step 4: Primer
For ovens, the colour can be applied directly to the tiles without a base coat. If the surface to be painted is not hotter than 80°C, the primer To Bond & Block - MissPompadour Primer for smooth tiles is very suitable.
If you are painting a plastered tiled stove or fireplace, you can use the wall paint. If the surface is heavily soiled with soot, remove as much of the soot as possible and apply our primer beforehand. In any case, ask the chimney sweep in advance how hot the surface will get. Priming should not be a problem at temperatures of up to 80°C.
Pro tip: The primer should be applied evenly. Always make sure to use clean tools.
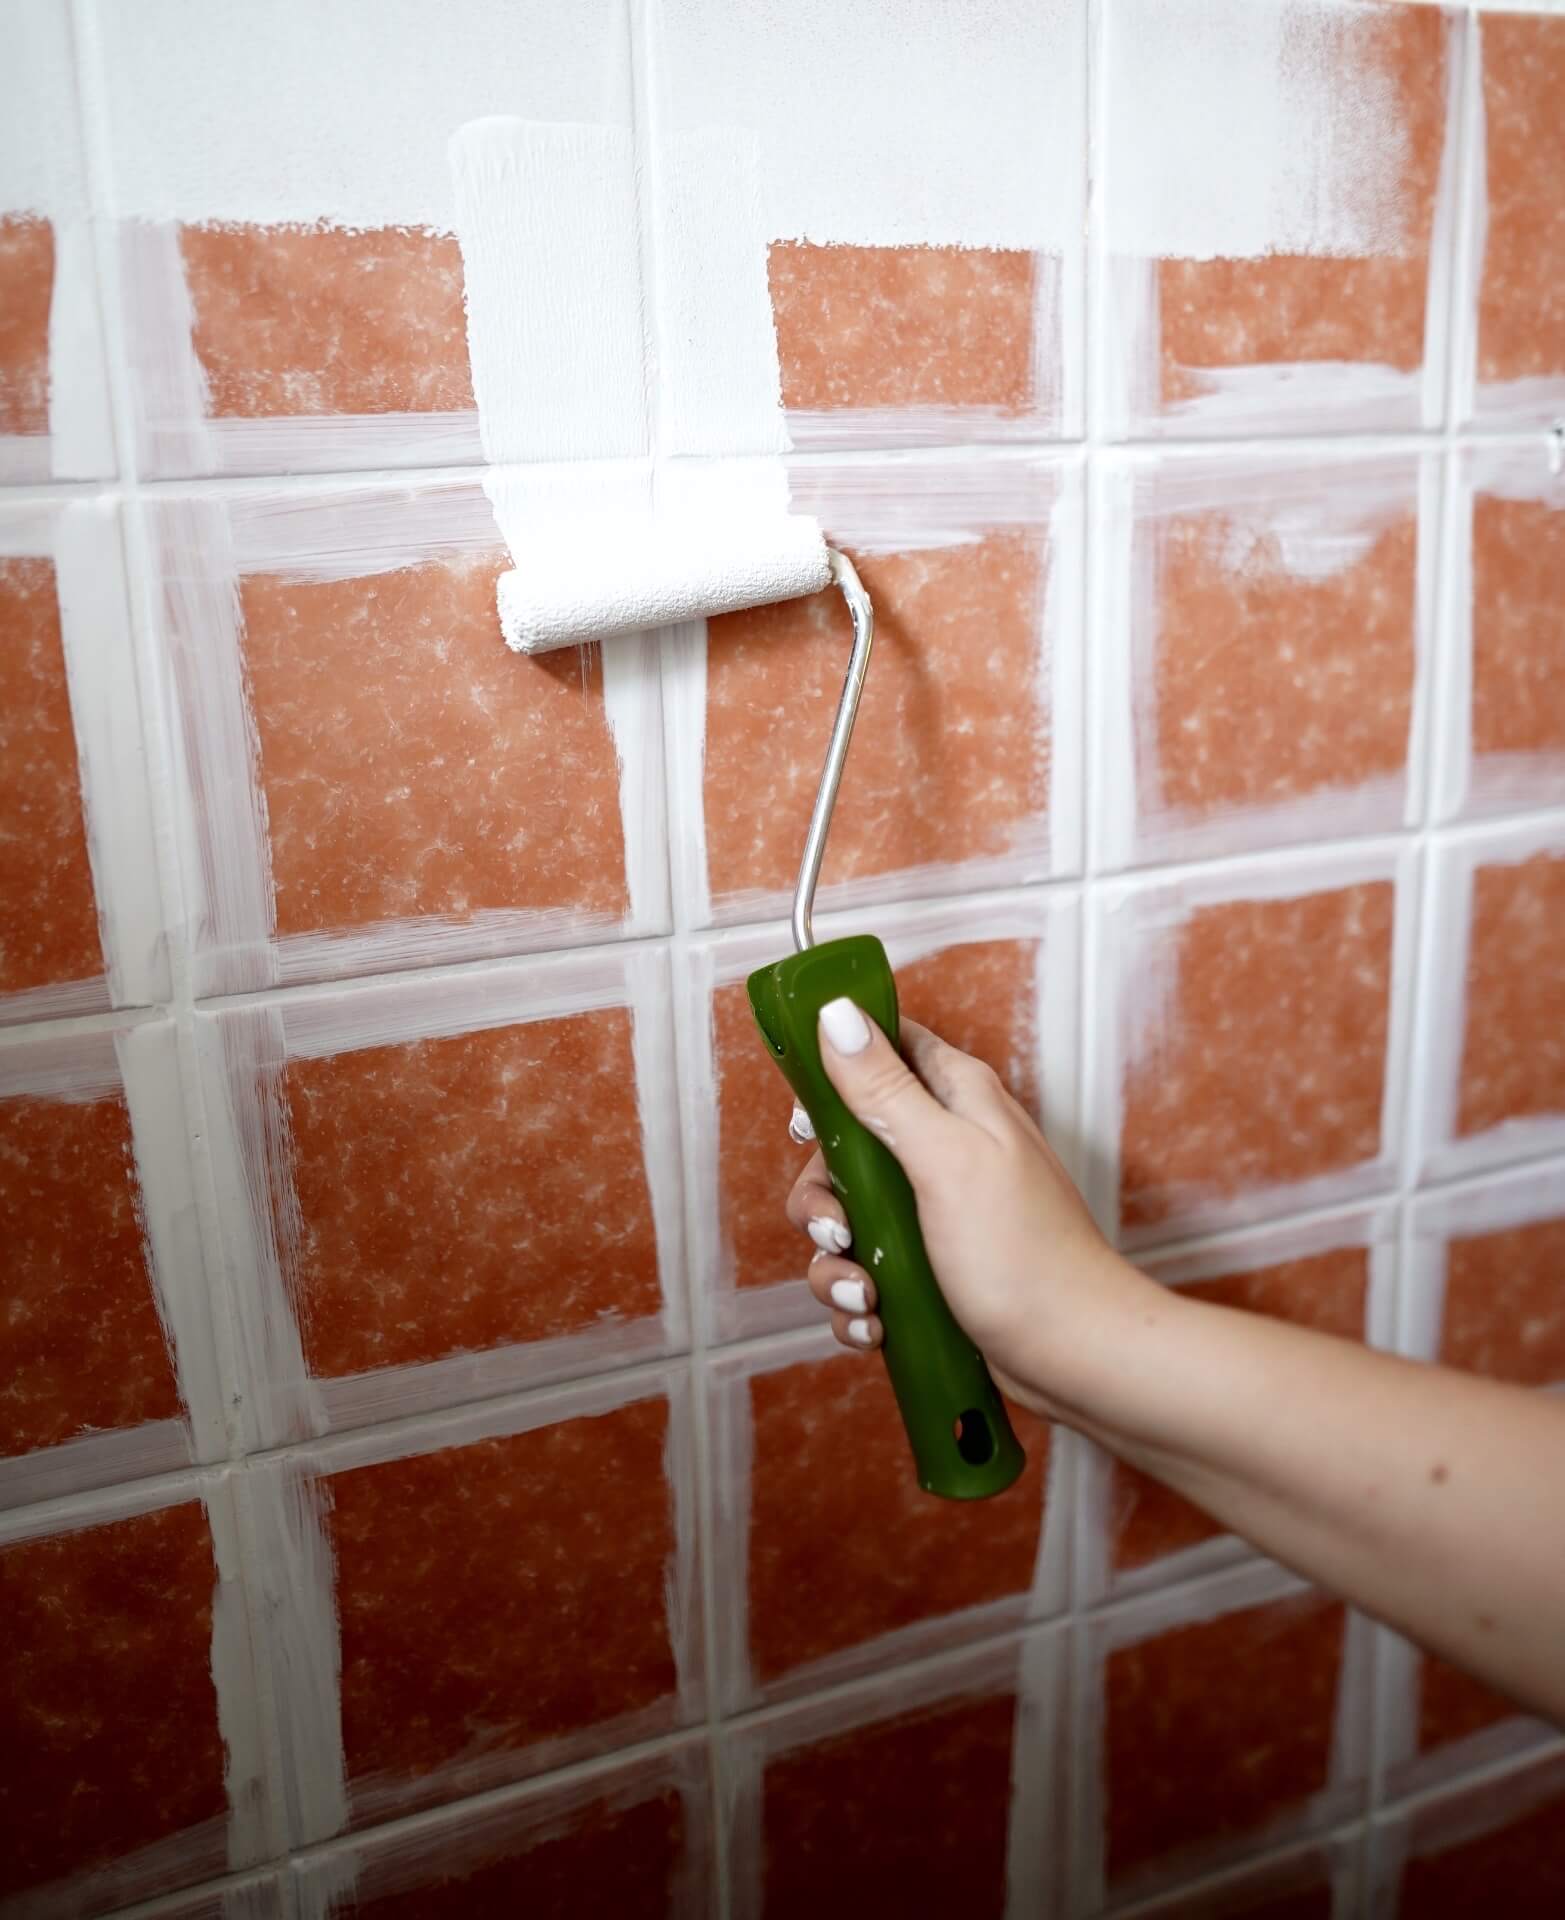
Step 5: Painting
Now you can start painting. The motto here is: It is better to use less paint per coat and possibly paint more. This will help you avoid paint drips and nosing. Wait 4 to 5 hours after each coat until the paint has dried thoroughly.
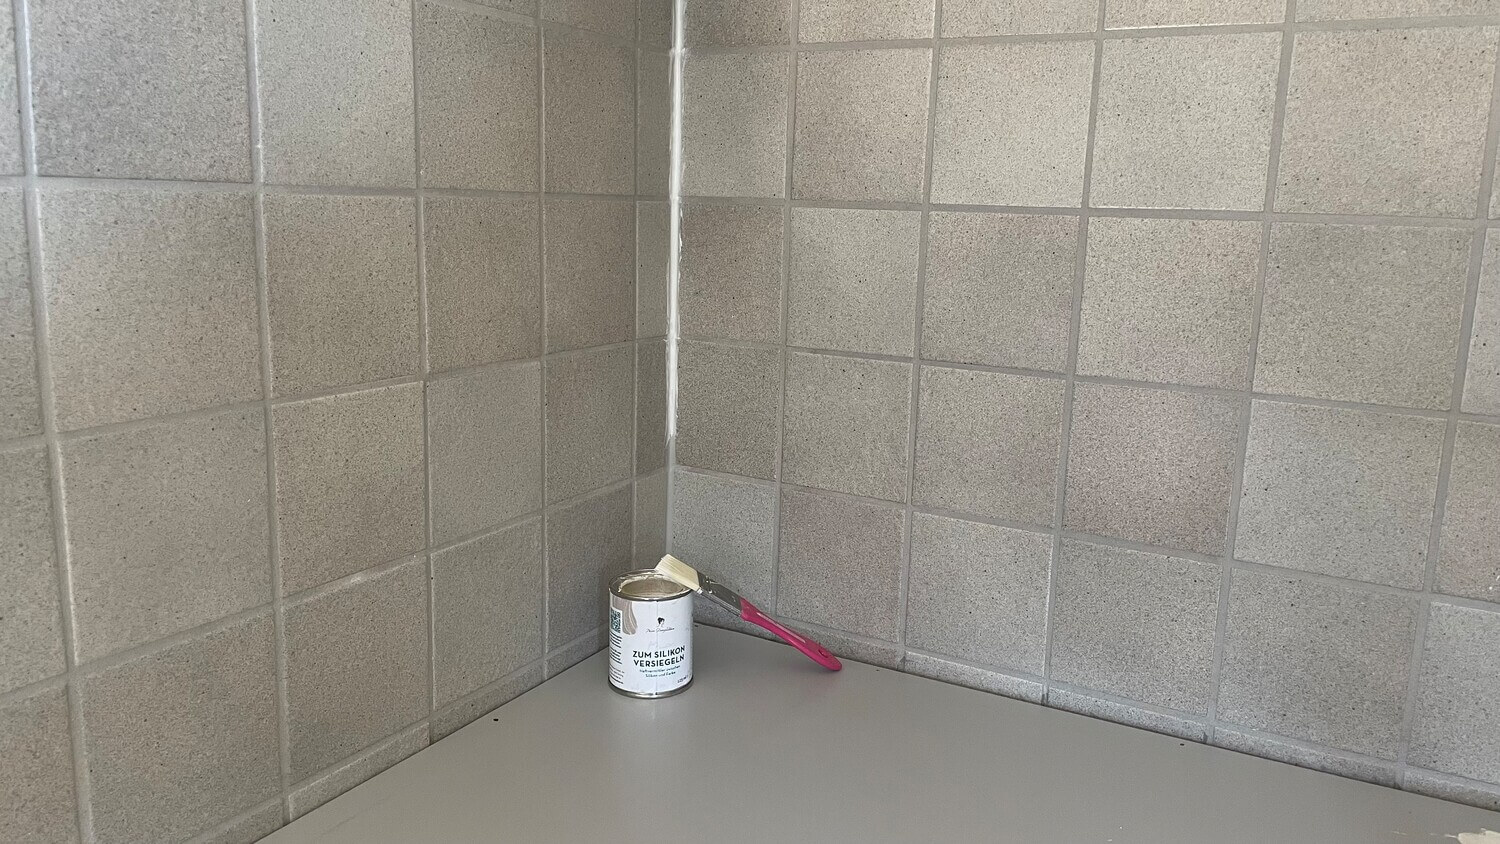
If you are painting a tiled stove or fireplace with tiles, simply paint the joints as well - we recommend painting these first and only painting the other surfaces after waiting approx. 40 minutes.
Once you have finished, always remove the adhesive tape before the paint has dried. If you have painted varnish in several layers, carefully remove the layers with a cutter before peeling off the tape.
Then leave the paint to dry for 5 to 7 days before firing up the oven again. Otherwise, bubbles may form. The varnish will be completely hardened after about 2 weeks.
If you've now acquired a taste for it, we also have instructions for you on how to paint your radiator.
FAQ: Frequently asked questions about painting hot surfaces
There are bound to be a few questions about painting wood-burning stoves. We have compiled the most frequently asked ones for you here:
Which colour is heat-resistant?
In principle, you can use our colours on hot surfaces up to a surface temperature of 80°C.
How heat-resistant is chalk paint?
It is perfectly possible to paint your fireplace or stove with chalk paint and chalk varnishes. Our chalk paints from the CosyColours and LittlePomp Collection are also heat-resistant up to 80°C. If you want to paint plastered fireplaces or tiled stoves, we recommend using wall paint.
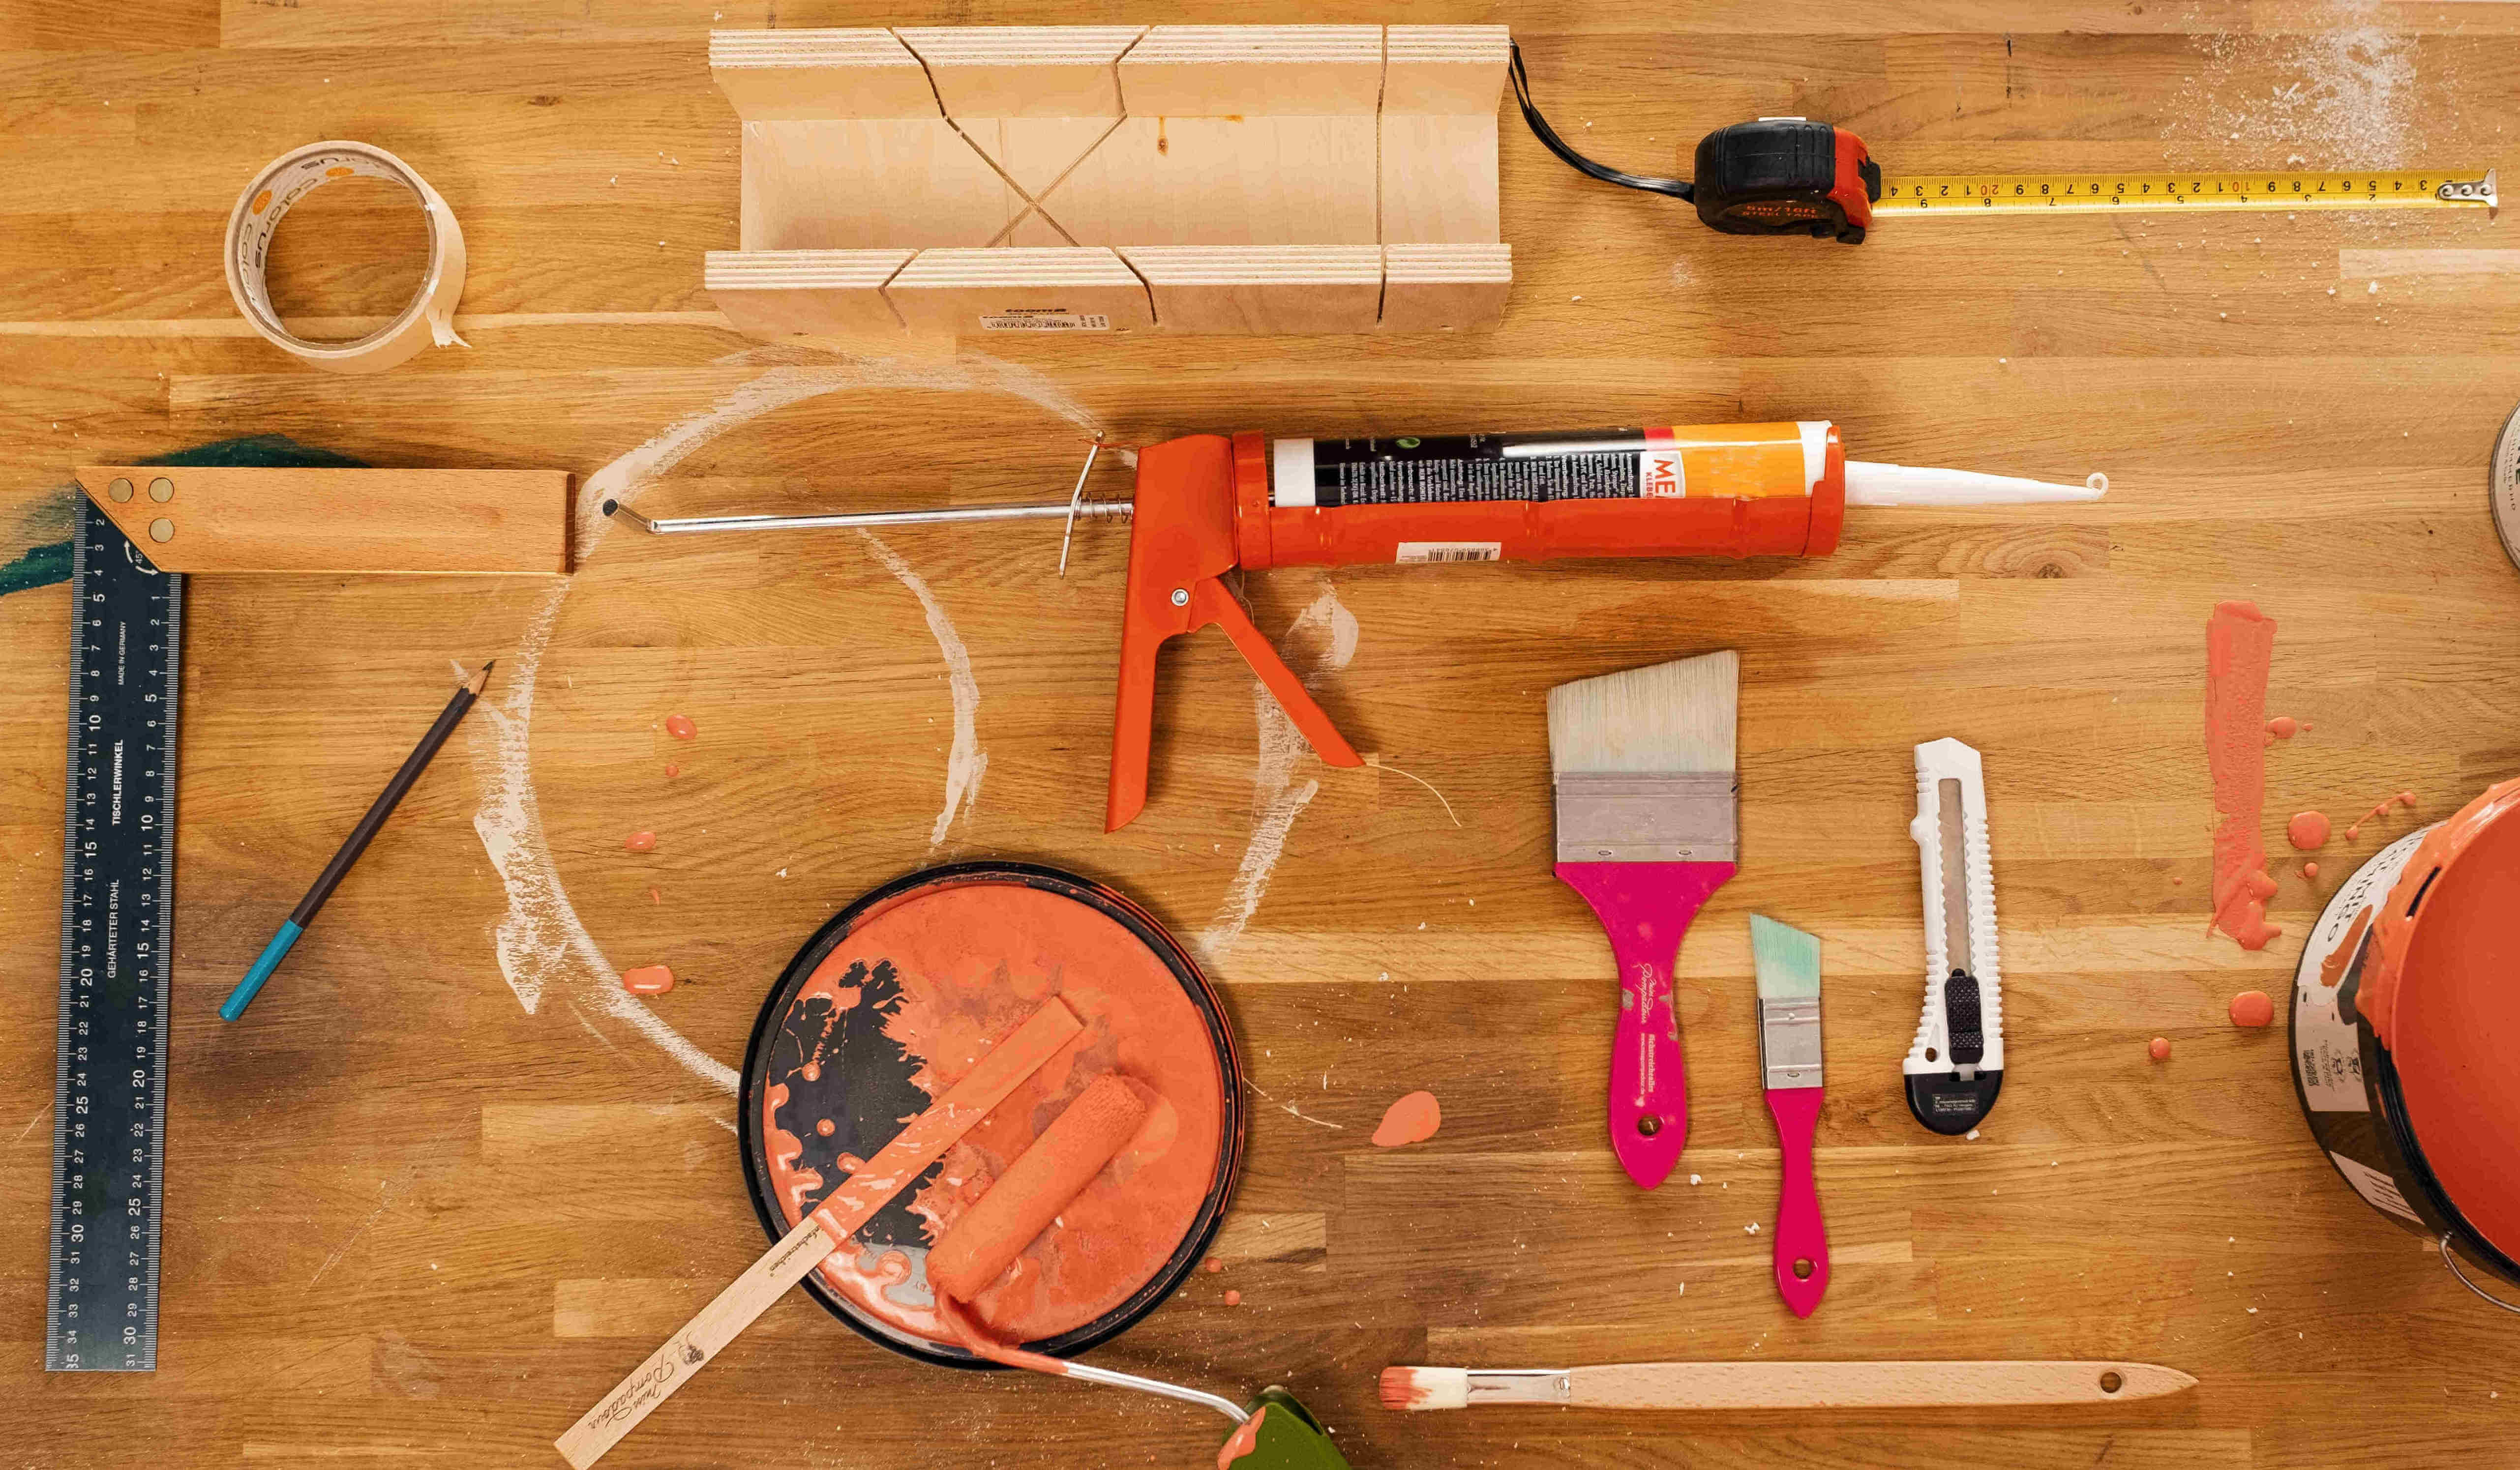
Material and tools for painting tiled stoves and fireplaces
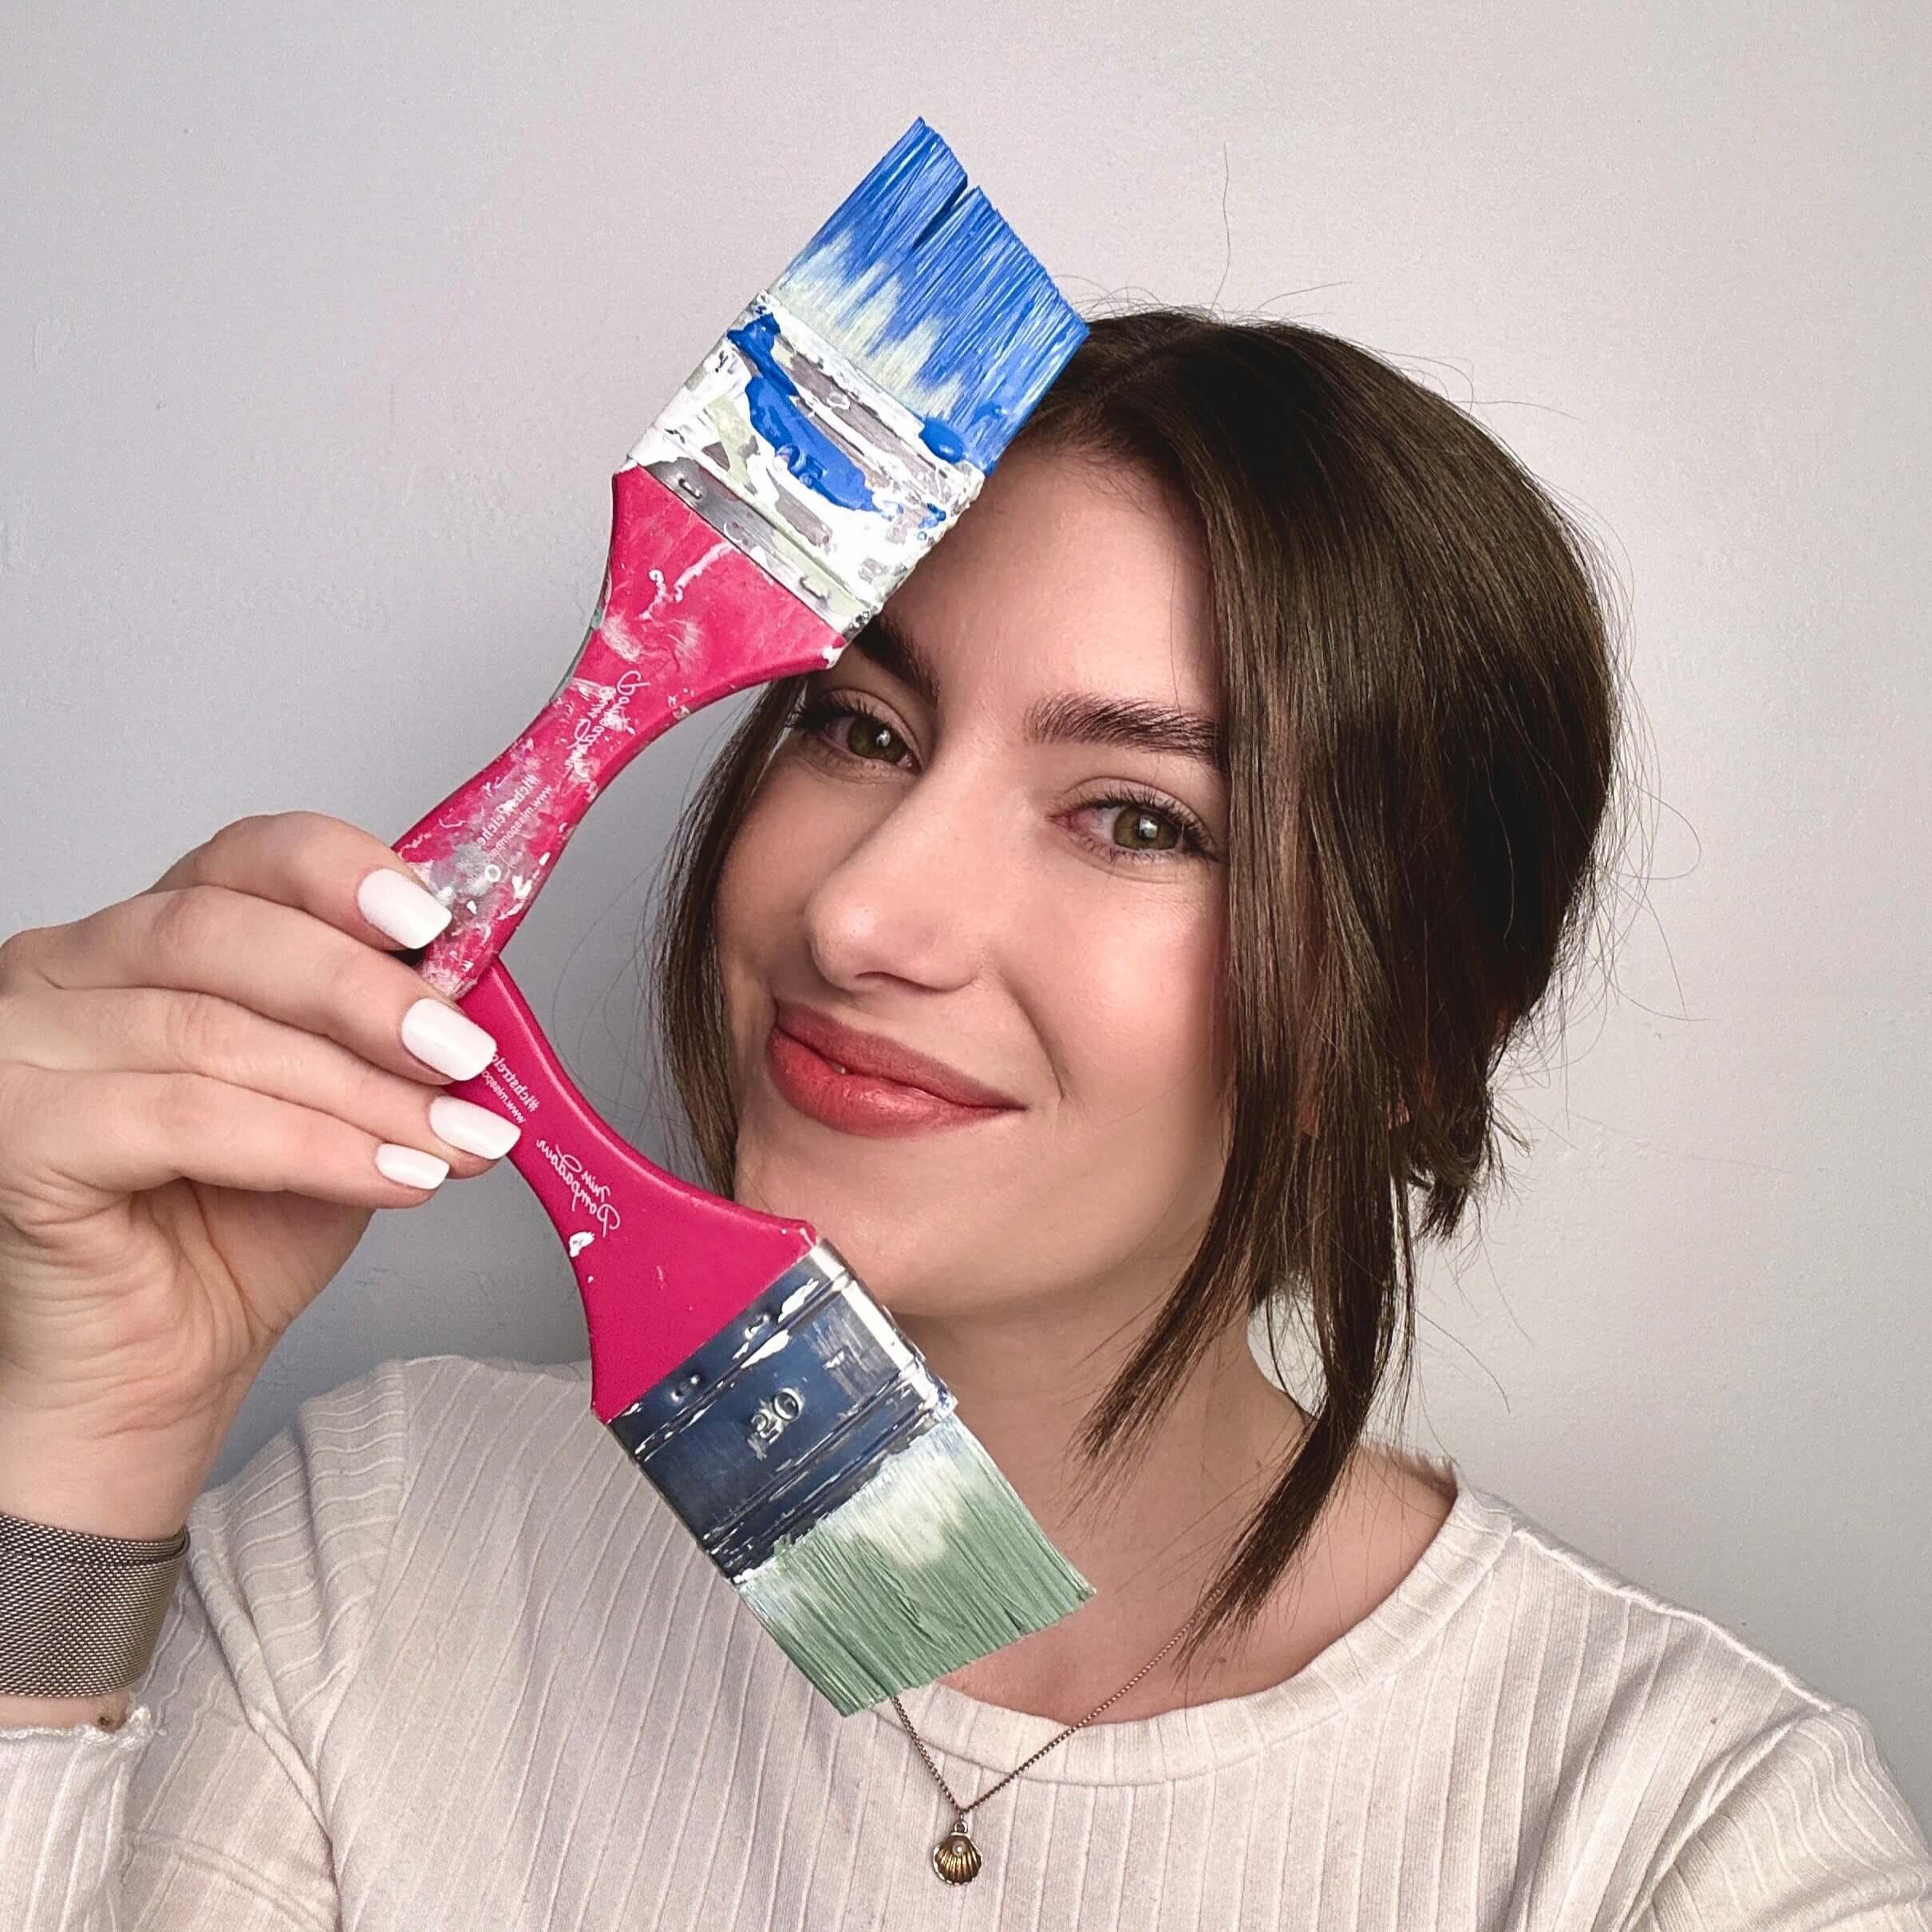
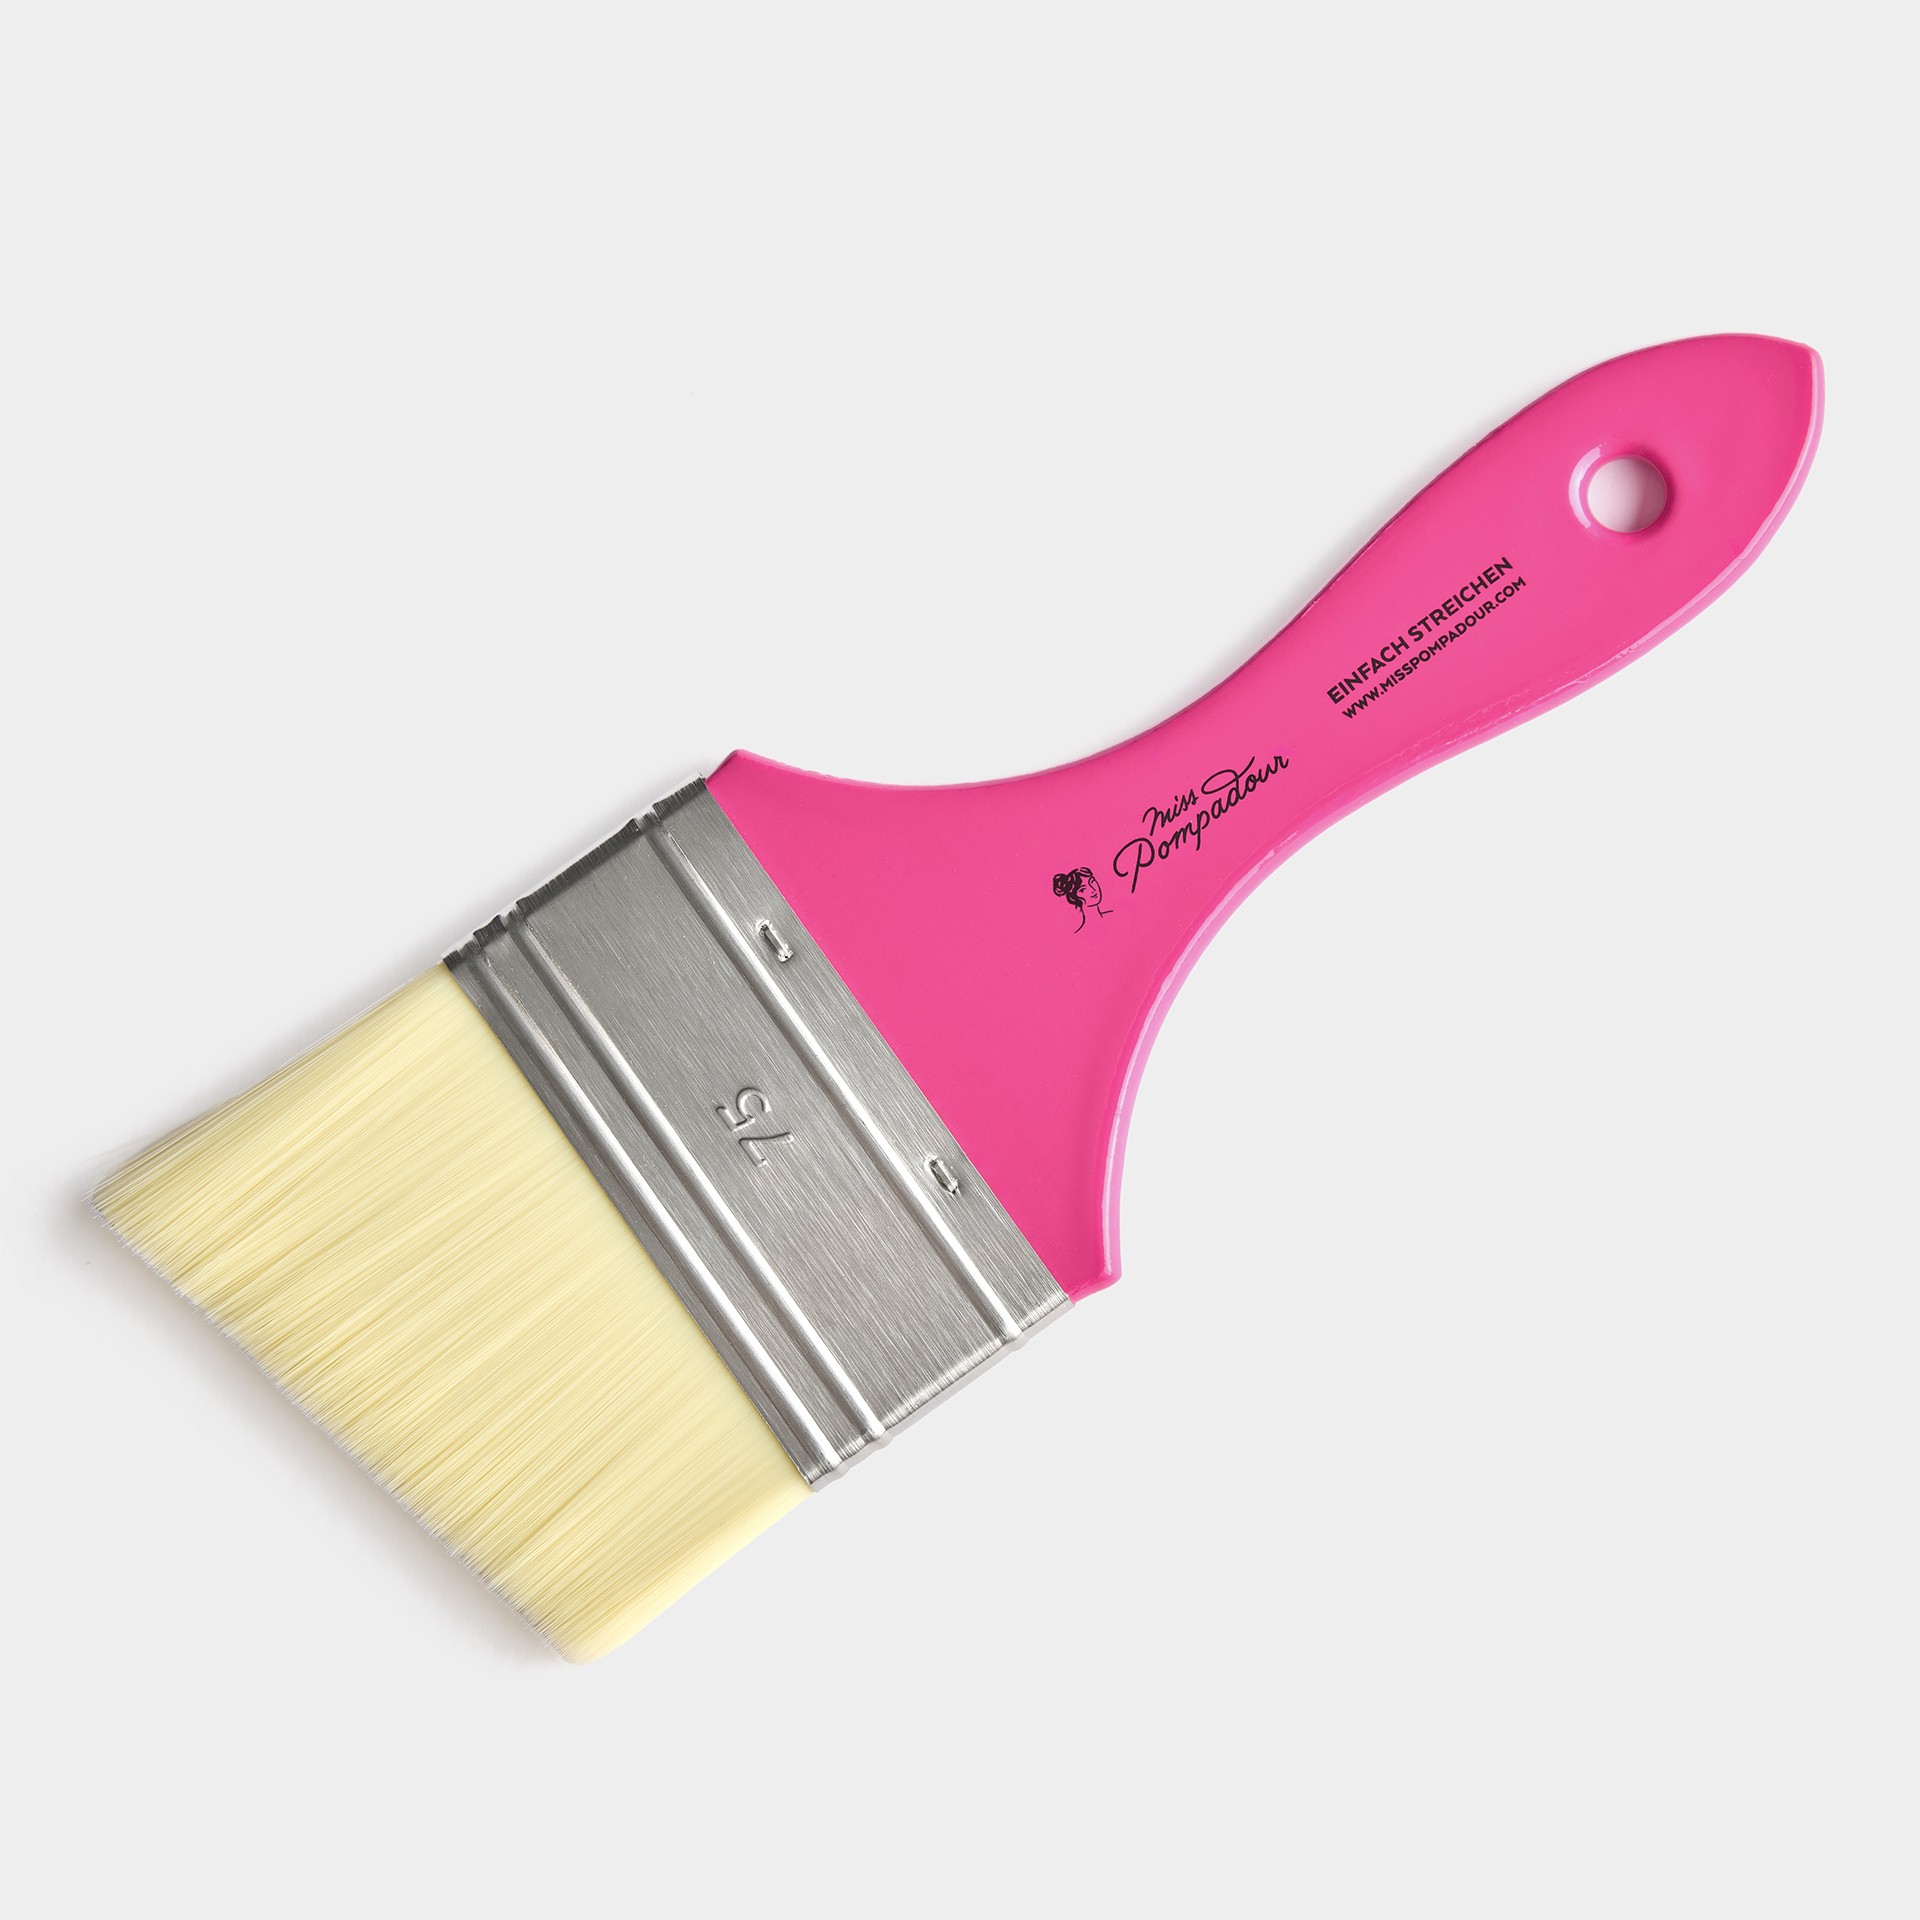
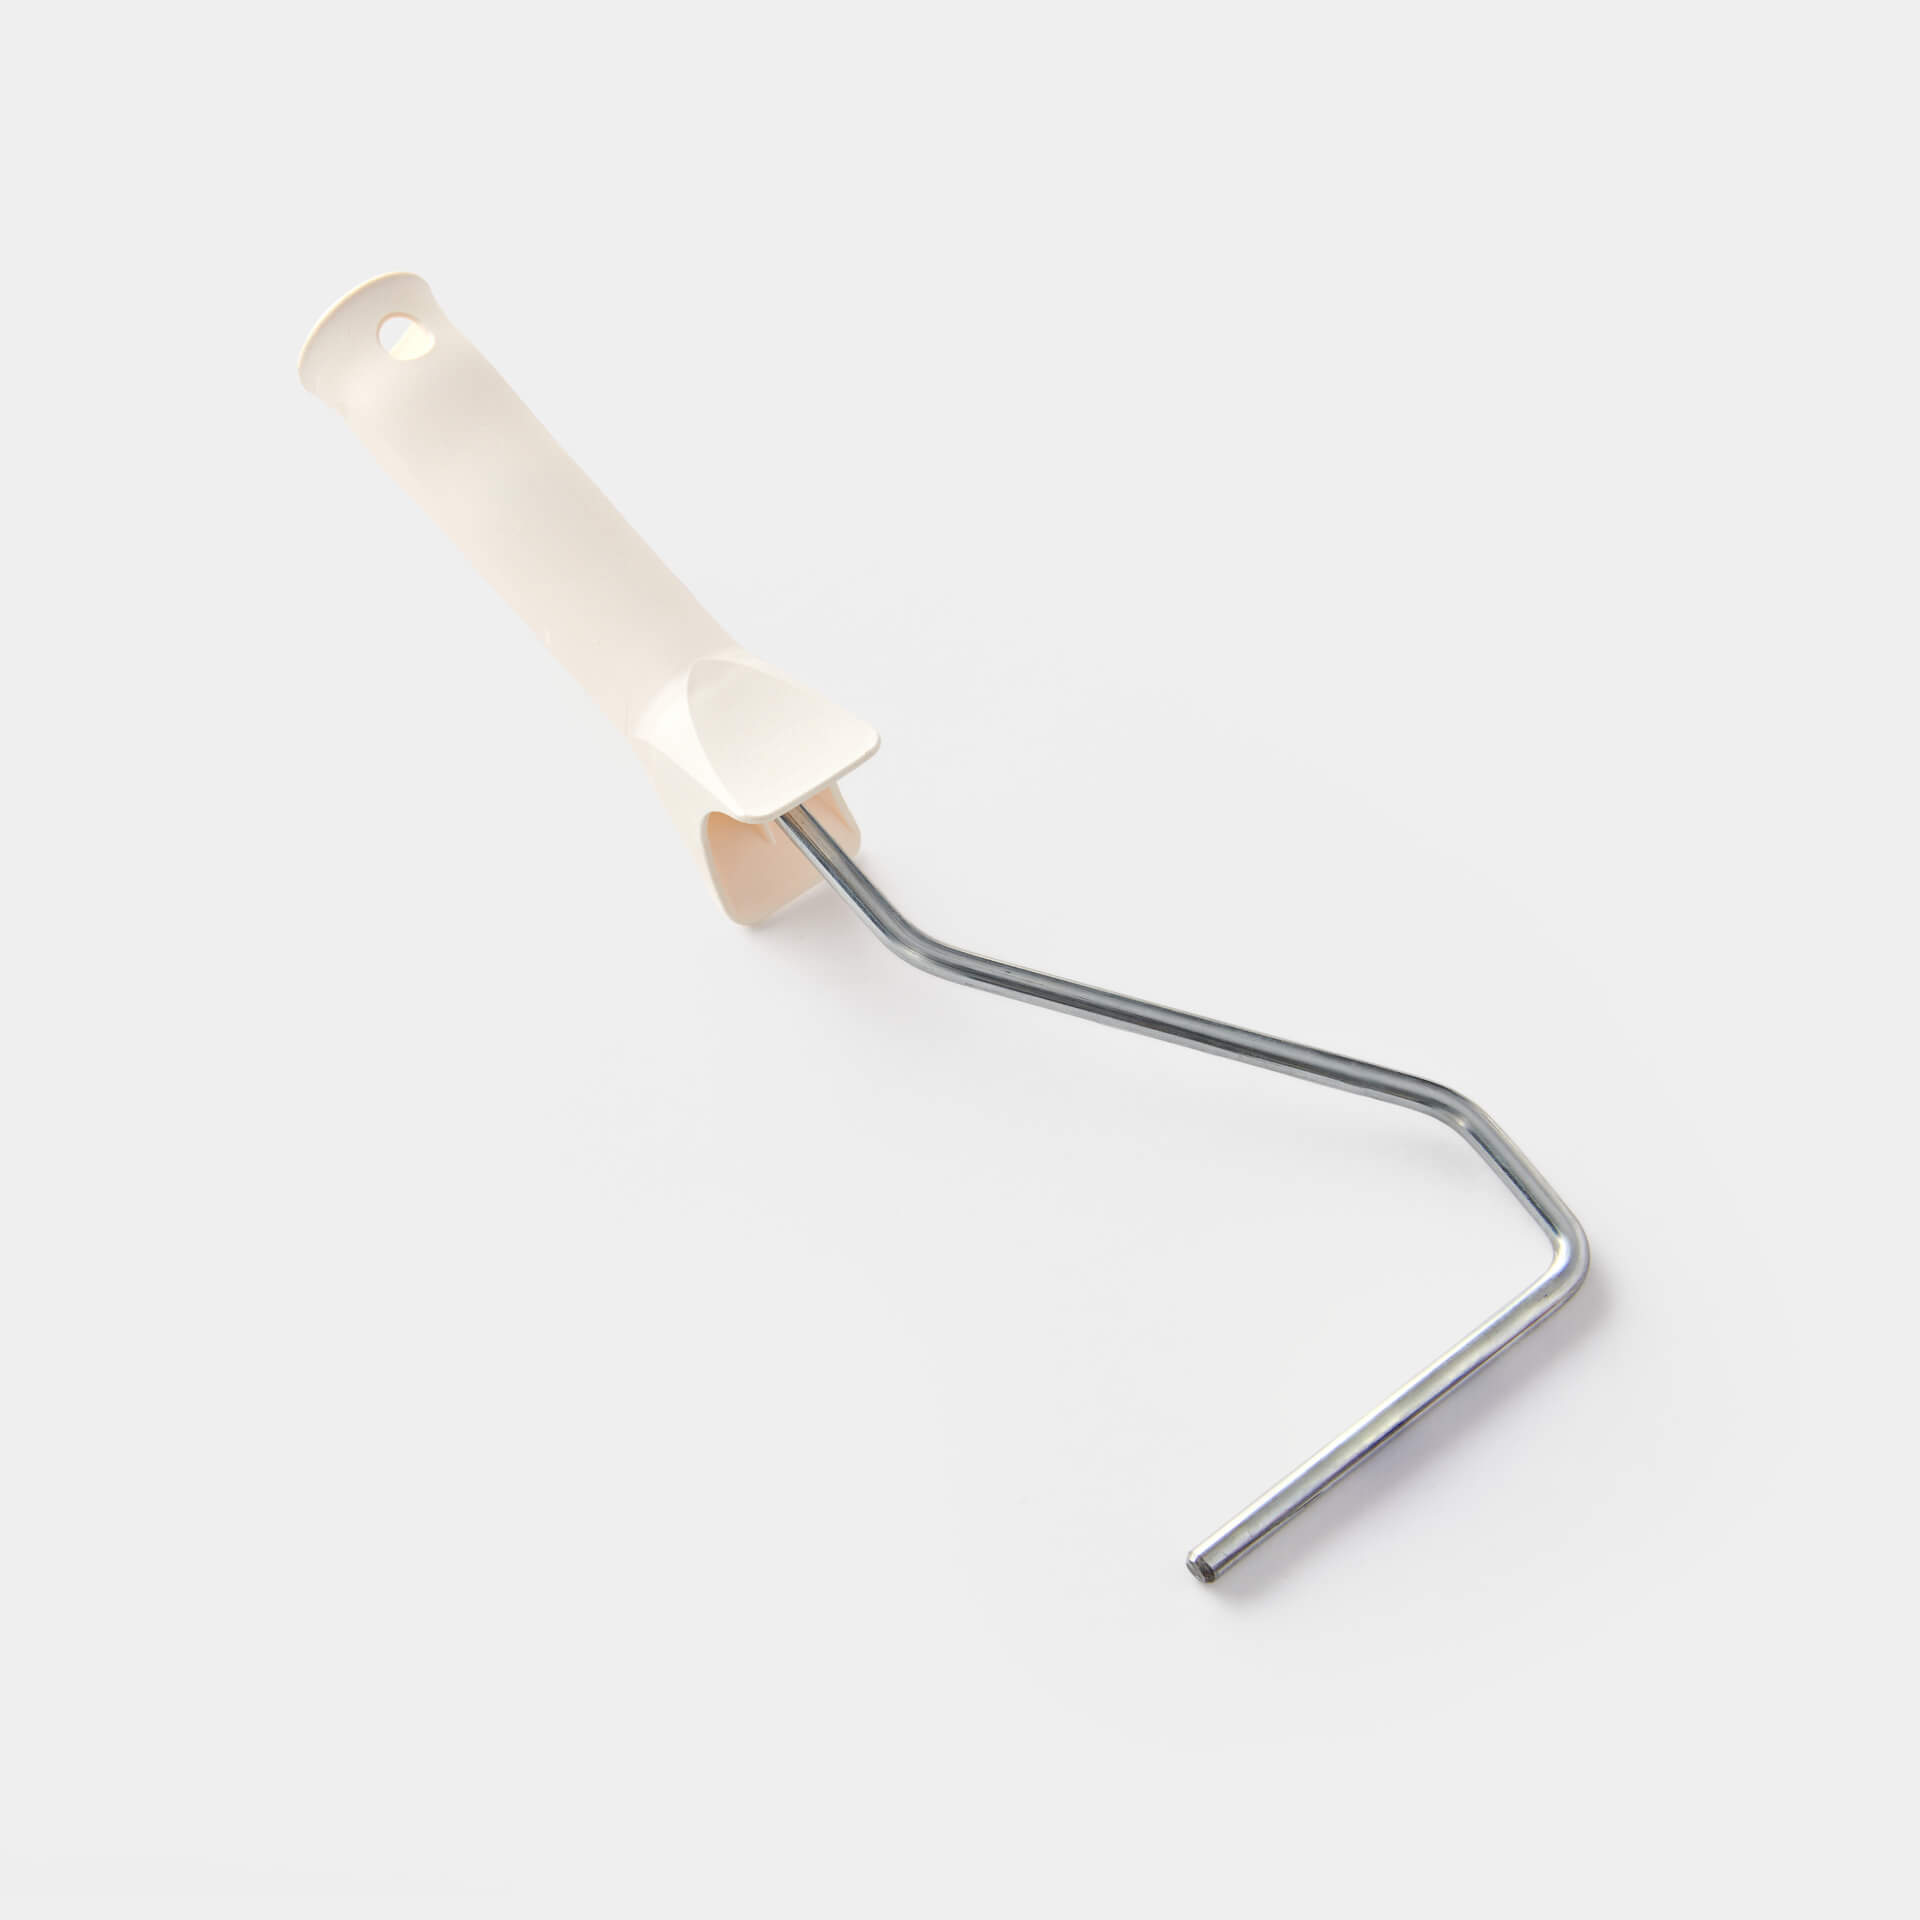
- Brush: The To Paint - MissPompadour brush in 100 mm width is ideal for painting larger areas of tiled stoves and fireplaces. The To Paint - MissPompadour brush 25 mm is perfect for the edges or borders.
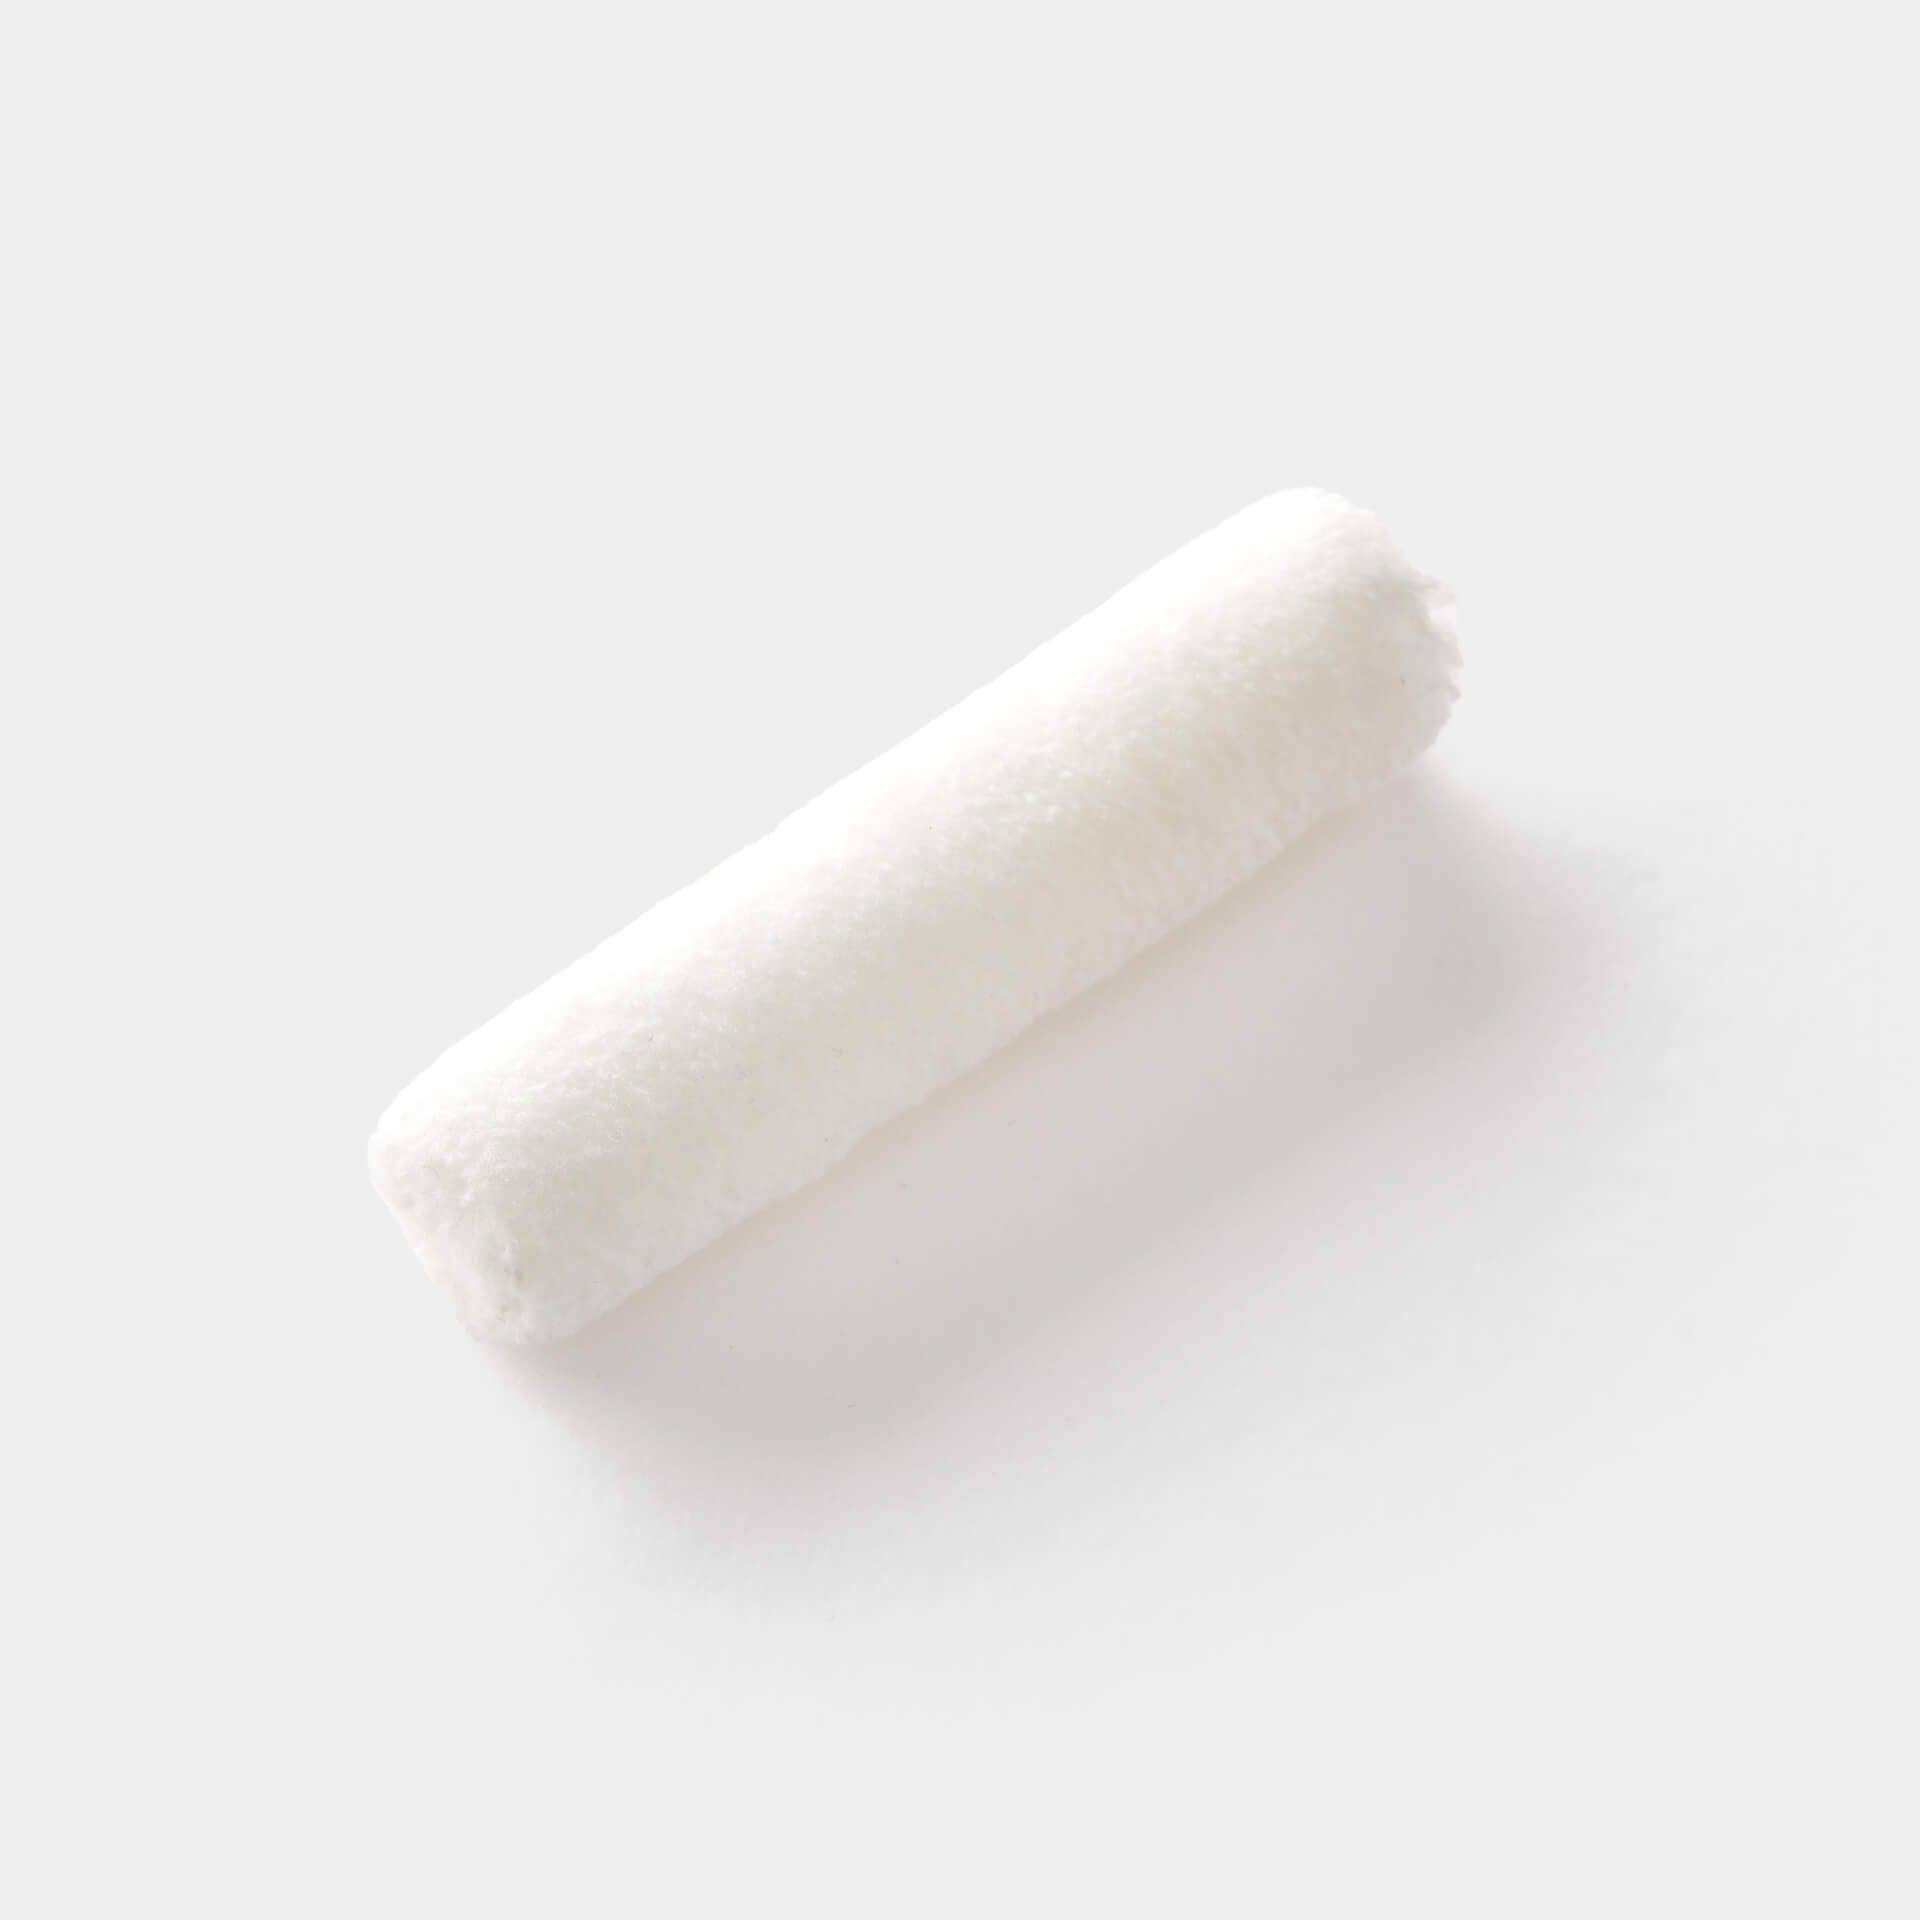
- Roller: The paint roller is also suitable for water-based varnishes - but it is more difficult to reach corners and edges with this.
- paint tray: To avoid contaminating the original can, we recommend transferring the varnish to a paint tray beforehand. This also makes it easier to pick up the paint on the Roller and brush.
- To Mask or protect the surface, use tarpaulins, cardboard and our adhesive tapes. You can find all of this in our painting tools.
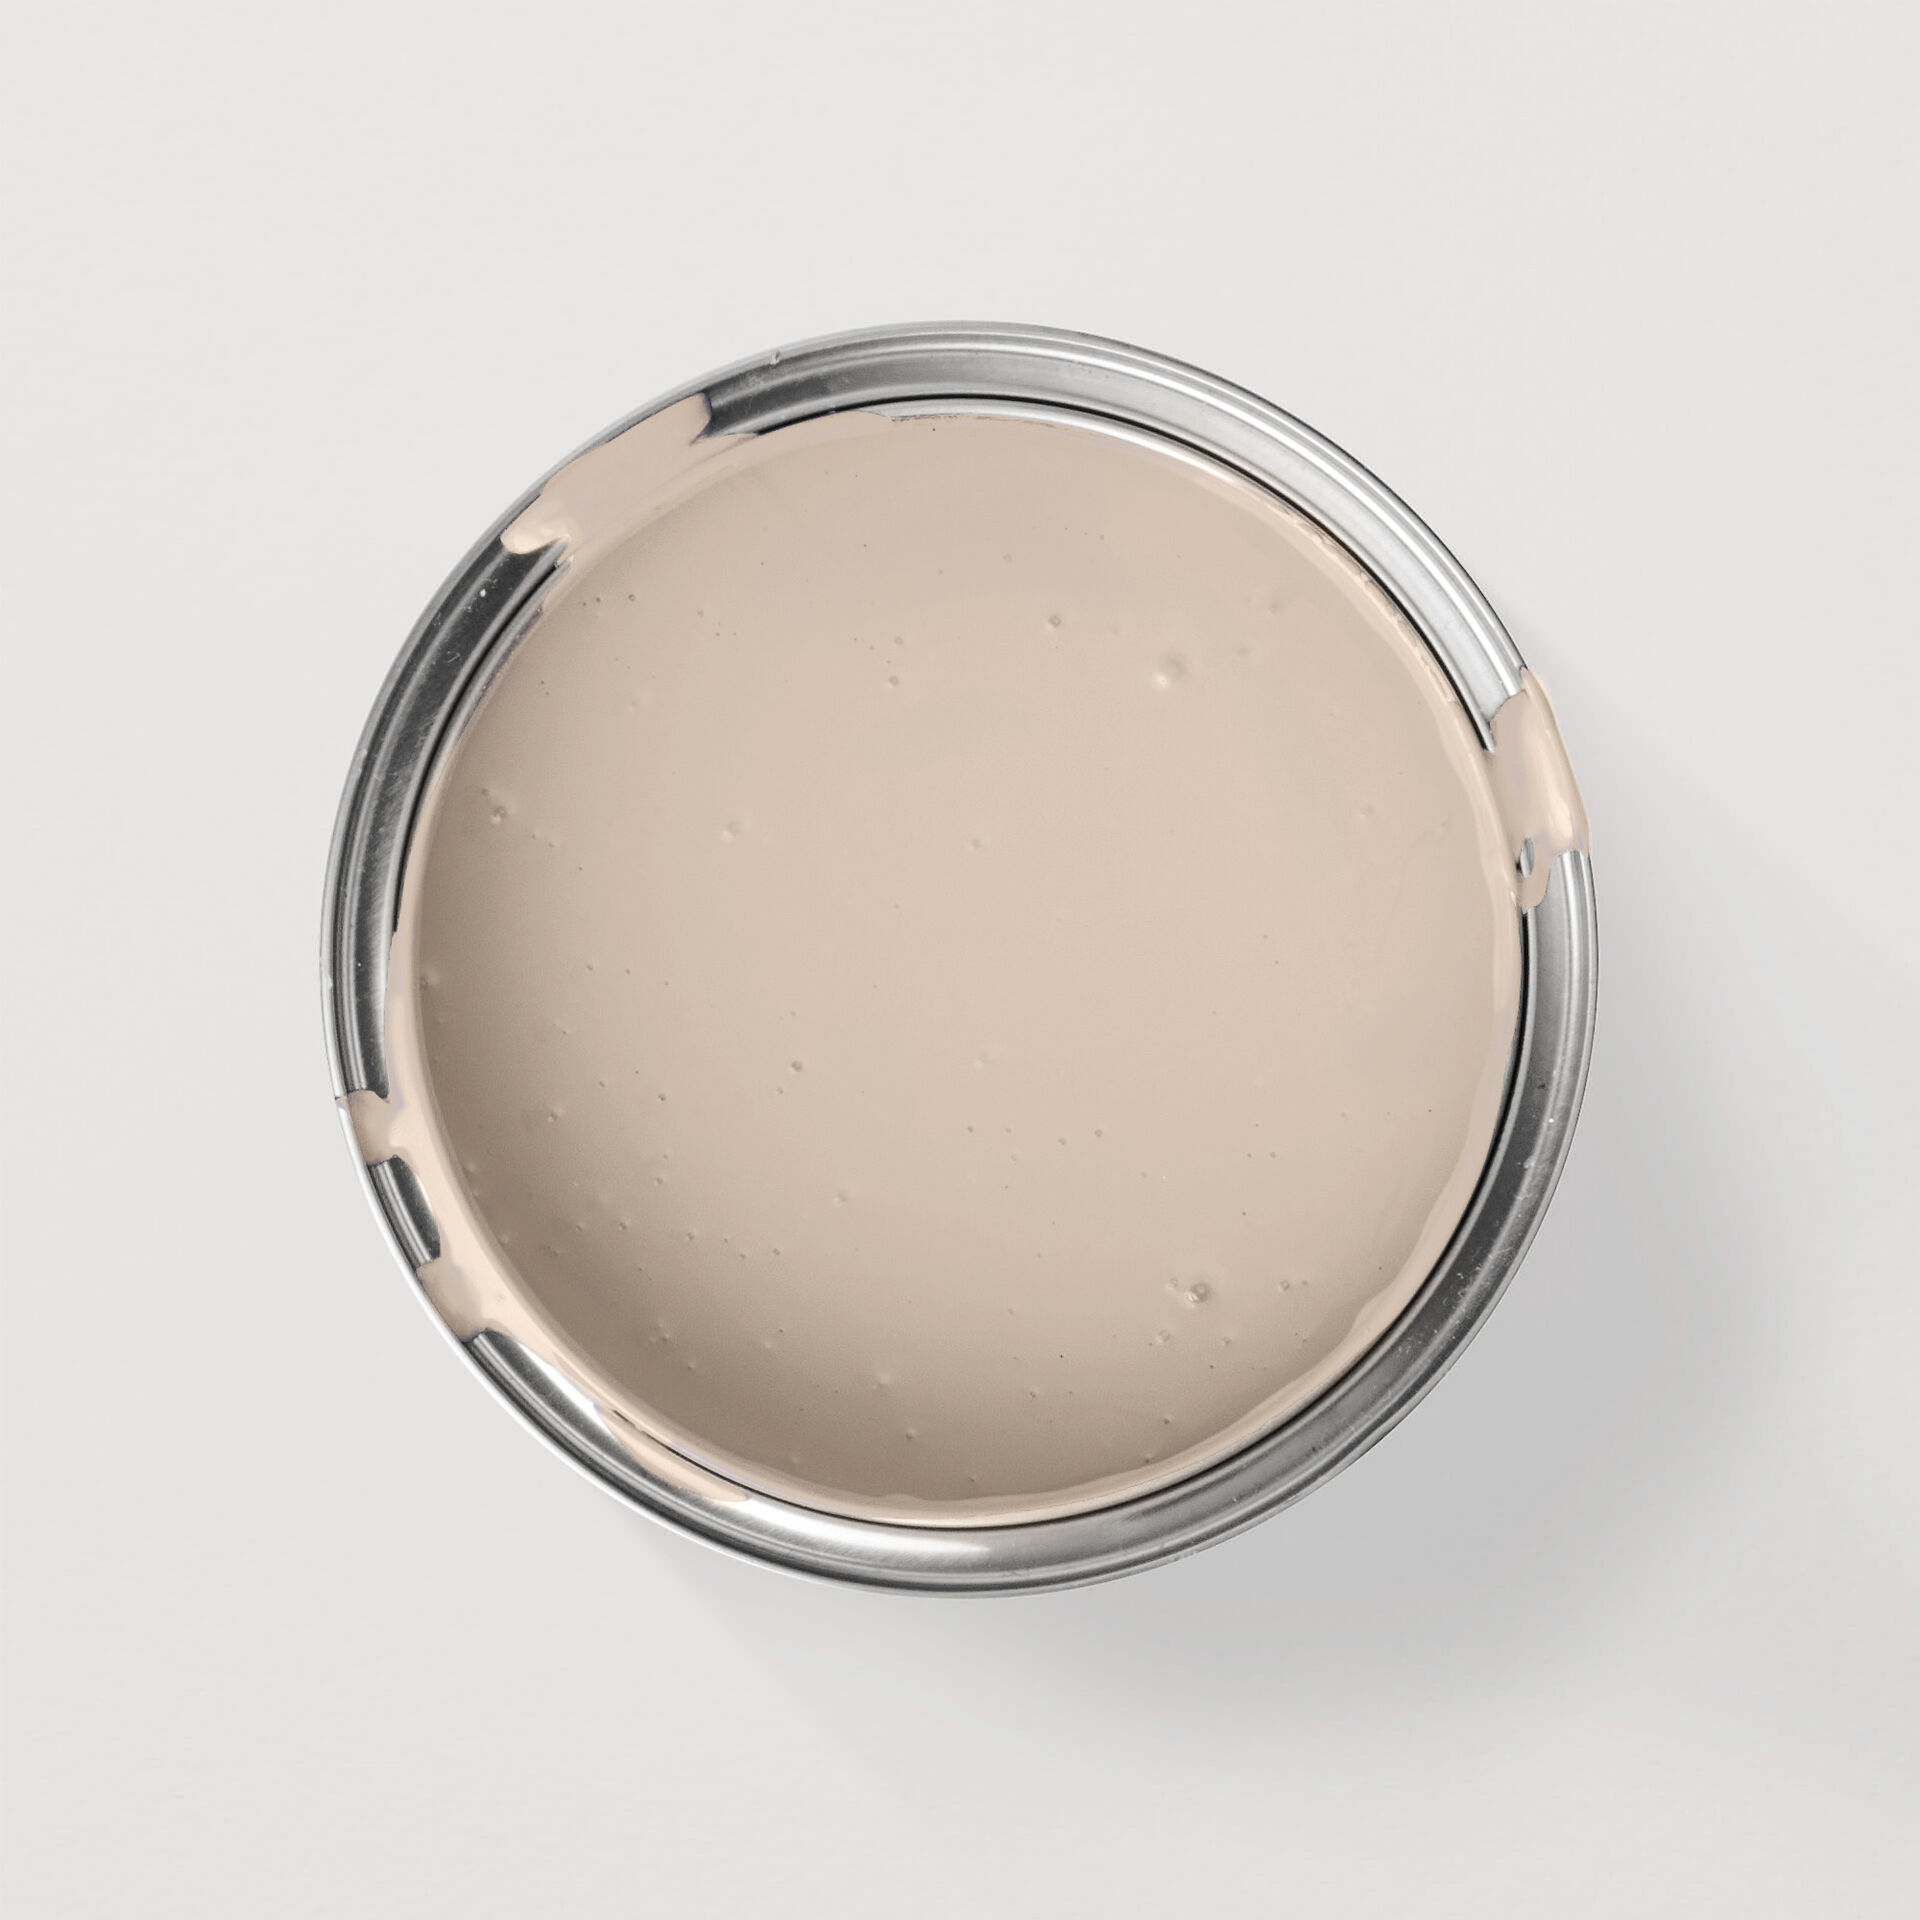
Your new favourite colour

Your perfect tools

Finished reading yet?

Questions ?
We're here to help
We'll help you anytime, via Phone or Live-Chat (Mo-Fr 09-18, Sa until 16 Uhr), via WhatsApp or directly via our Contact Form.